Introduction
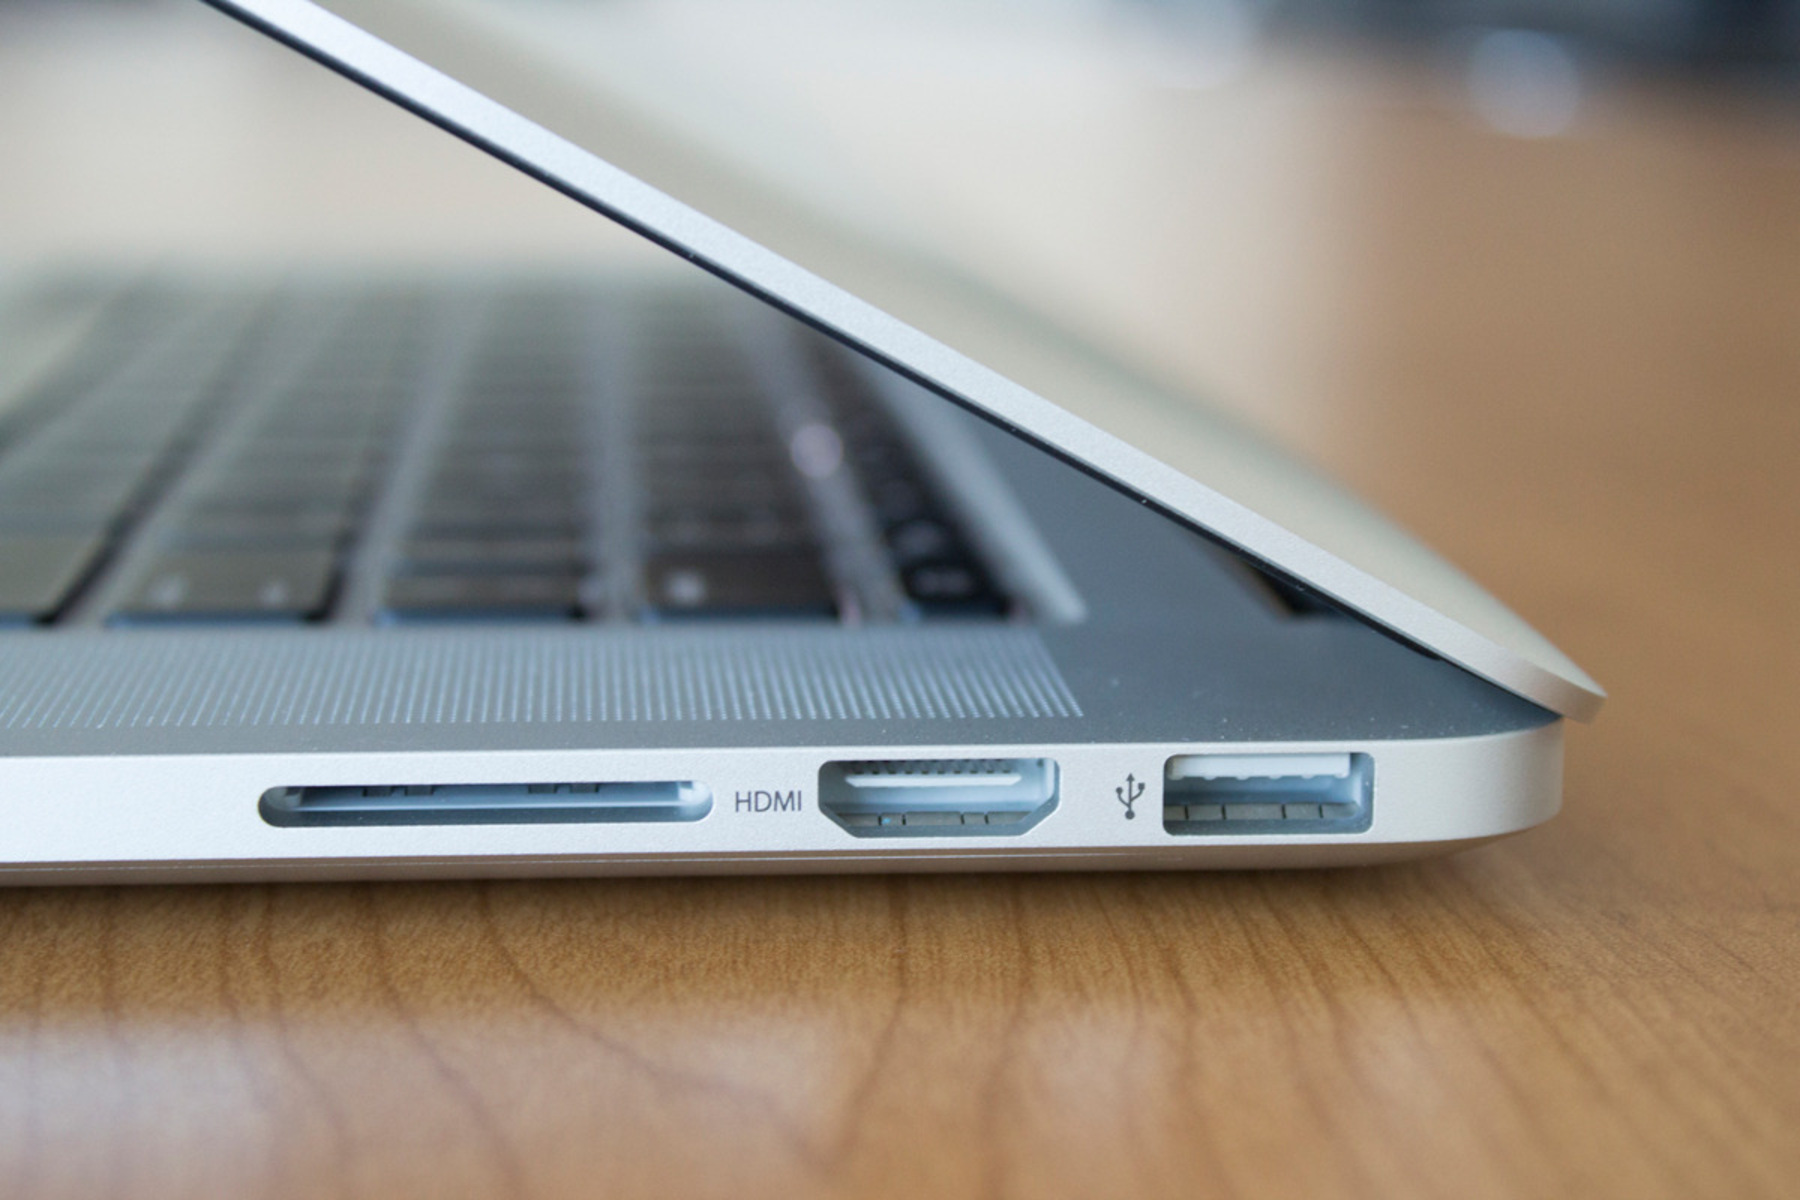
Welcome to our guide on how to change the HDMI on a laptop. HDMI (High-Definition Multimedia Interface) ports are essential for connecting laptops to external screens, projectors, or TVs for an enhanced viewing experience. Over time, these ports may become damaged or malfunction, requiring a replacement. While it may seem like a daunting task, changing the HDMI port on a laptop can be relatively straightforward with the right tools and steps.
In this article, we will provide you with a step-by-step guide to help you change the HDMI port on your laptop. We will cover everything from gathering the necessary tools to testing the new HDMI port. Whether you are a tech enthusiast or a beginner, you can follow this guide to replace the HDMI port and restore your laptop’s connectivity.
Before we dive into the steps, it’s important to note that changing the HDMI port requires some technical knowledge and precision. If you are uncomfortable with this process or unsure about your capabilities, we recommend seeking assistance from a professional technician to avoid any potential damage to your laptop.
Now, let’s get started on changing the HDMI port and bringing back high-quality visuals to your laptop’s external display!
Preparing for the HDMI Change
Before diving into the process of changing the HDMI port on your laptop, it’s crucial to make the necessary preparations. This will ensure a smooth and efficient experience, minimizing the risk of any potential damage. Here are the steps you need to take:
1. Gather the necessary tools: To successfully change the HDMI port, you’ll need a few tools, including a small screwdriver set, a pair of tweezers, and a grounding strap. These tools will help you safely remove and install the new port.
2. Power off the laptop: Before working on any hardware components of your laptop, it is essential to turn it off and disconnect it from the power source. This will prevent any accidental damage or electric shocks during the process. Additionally, remove the battery if it is easily accessible.
3. Find a suitable workspace: Choose a clean and well-lit workspace to perform the HDMI port replacement. Ensure that the area is static-free to prevent any static electricity from damaging the sensitive components of your laptop.
4. Take precautions to avoid static discharge: To protect your laptop from static electricity, it is recommended to wear an anti-static wrist strap or ensure that you are properly grounded. This will prevent any potential static discharge that could harm the internal components of your device.
By taking these preparatory steps, you are setting yourself up for a successful HDMI port replacement. It’s important to approach this process with caution and ensure you have all the necessary tools at hand. In the next section, we will begin the step-by-step process of replacing the HDMI port on your laptop.
Step 1: Gathering the Necessary Tools
Before you can begin the process of changing the HDMI port on your laptop, it’s important to gather the necessary tools. Having the right tools will make the process much easier and ensure that you can complete the task successfully. Here are the tools you will need:
1. Small Screwdriver Set: A small screwdriver set with various sizes will be essential for removing screws that secure the laptop’s casing and the HDMI port itself. Make sure to choose a screwdriver that fits the screws snugly to prevent any damage.
2. Tweezers: Tweezers can come in handy when dealing with small components or delicate wires. They will help you handle the HDMI port and other intricate parts with precision and care.
3. Grounding Strap: To prevent any electrostatic discharge that can potentially harm sensitive electronic components, it is important to wear a grounding strap. This strap will help ground your body and prevent the buildup of static electricity.
4. Anti-Static Mat: An anti-static mat provides an additional layer of protection by offering a safe, static-free work surface. It helps minimize the risk of accidental static discharge and protects your laptop from potential damage.
5. Replacement HDMI Port: Of course, you will need a replacement HDMI port for your laptop. Ensure that you have the correct port that is compatible with your laptop model. You can purchase replacement HDMI ports online or consult with a specialist to find the right one for your specific laptop.
6. Cleaning Materials: It’s also a good idea to have some cleaning materials like a microfiber cloth and isopropyl alcohol at hand to clean the area around the HDMI port and remove any dust or debris that may be present.
By gathering these tools before starting, you will be well-prepared for the HDMI port replacement process. Now that you have everything you need, we can move on to the next step: powering off the laptop.
Step 2: Powering off the Laptop
Before you can proceed with changing the HDMI port on your laptop, it’s crucial to power off the device. This step is essential to ensure your safety and prevent any potential damage to the internal components. Follow these steps to power off your laptop:
1. Save your work: Before shutting down your laptop, make sure to save any open documents or files you are working on. This will prevent any data loss or unsaved changes when you power off the device.
2. Close all applications: Close all running applications and programs on your laptop. This will help ensure a smooth shutdown process and prevent any complications during the HDMI port replacement.
3. Disconnect peripherals: Disconnect any external devices or peripherals that are connected to your laptop, such as printers, USB drives, or external hard drives. This step will avoid any potential interference during the power off process.
4. Shut down the laptop: Depending on your operating system, you can either click on the Start menu and select “Shut Down” or use the dedicated power button on your laptop to initiate the shutdown process. Allow your laptop to completely shut down before proceeding to the next step.
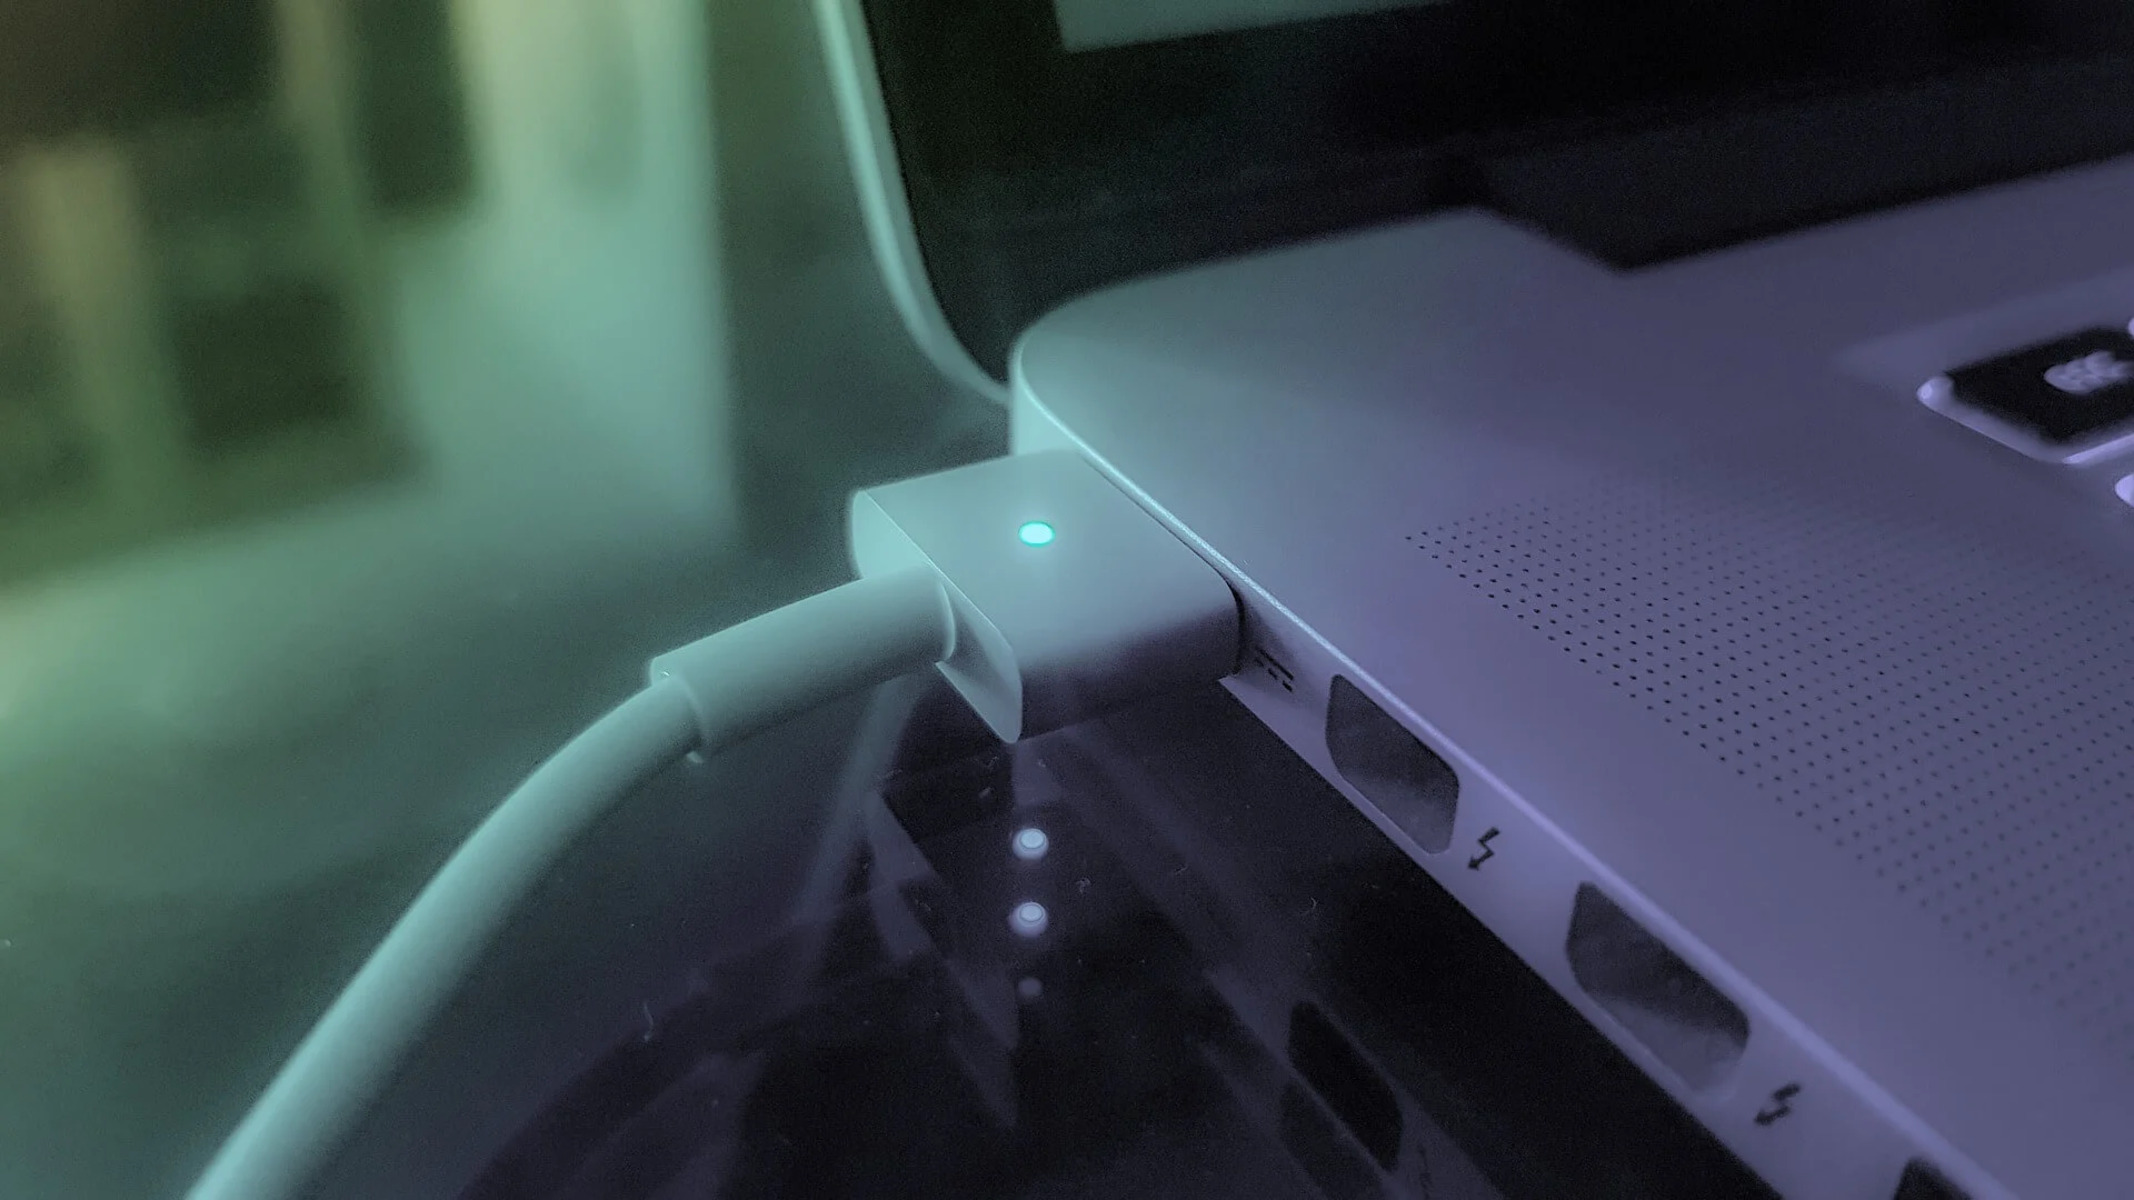
5. Unplug the power cord: Once your laptop is completely powered off, unplug the power cord from the electrical outlet and the laptop itself. This step ensures that no power is running through the device, minimizing any risk of electric shock during the HDMI port replacement.
Ensuring that your laptop is completely powered off and disconnected from any power source is crucial to your safety and the overall success of the HDMI port replacement. Once you have powered off your laptop, you are ready to move on to the next step: removing the old HDMI port.
Step 3: Removing the Old HDMI Port
Now that you have powered off your laptop, it’s time to begin the process of removing the old HDMI port. This step requires careful handling and precision to avoid any damage to the internal components. Follow these steps to remove the old HDMI port:
1. Remove the laptop’s casing: Use the small screwdriver from your toolset to remove the screws that secure the laptop’s casing. Take note of the location and size of each screw to ensure that you can easily put them back in place later. Gently pry open the casing, being mindful of any cable connections or delicate parts.
2. Locate the HDMI port: Once the laptop’s casing is removed, locate the HDMI port. It is usually situated on the side or back of the laptop. It may be connected to the motherboard by a ribbon cable or a series of connectors. Take a moment to familiarize yourself with how the port is connected before proceeding.
3. Disconnect the cables: Carefully disconnect the ribbon cable or connectors that are attached to the old HDMI port. Use the tweezers if necessary to gently detach them, being cautious not to damage any surrounding components. Take note of the connectors’ orientation to ensure proper reconnection later.
4. Remove the screws securing the HDMI port: Using the small screwdriver, remove the screws that secure the HDMI port in place. Set the screws aside in a safe place to avoid misplacement. Once the screws are removed, you should be able to lift the old HDMI port out of its slot.
5. Clean the surrounding area: Before installing the new HDMI port, take a moment to clean the area around the port with a microfiber cloth and isopropyl alcohol. This will remove any dust, debris, or residue that may have accumulated over time. A clean surface will ensure proper connectivity for the new HDMI port.
By carefully following these steps, you will be able to successfully remove the old HDMI port from your laptop. Now, you are ready to move on to the next step: installing the new HDMI port.
Step 4: Installing the New HDMI Port
With the old HDMI port successfully removed, it’s time to proceed with installing the new HDMI port on your laptop. This step requires precision and careful handling to ensure a proper and secure connection. Follow these steps to install the new HDMI port:
1. Position the new HDMI port: Take the new HDMI port and carefully align it with the slot from which you removed the old port. Make sure the port is positioned correctly, with the connectors facing the right direction and any screw holes properly aligned.
2. Secure the new HDMI port: Once the new HDMI port is positioned correctly, use the small screwdriver to secure it in place. Insert the screws from the set aside earlier and tighten them gently, ensuring that the port is held securely but not overtightened.
3. Reconnect the cables: Carefully reconnect the ribbon cable or connectors to the new HDMI port. Make sure they are properly inserted and secured, applying gentle pressure to ensure a snug fit. Take note of the orientation of the connectors and refer to your laptop’s documentation if needed.
4. Replace the laptop’s casing: Once the new HDMI port is installed and the cables are connected, carefully put the laptop’s casing back in place. Align it properly and ensure that all edges and corners are securely snapped into position. Finally, use the small screwdriver to reinsert and tighten the screws that hold the casing together.
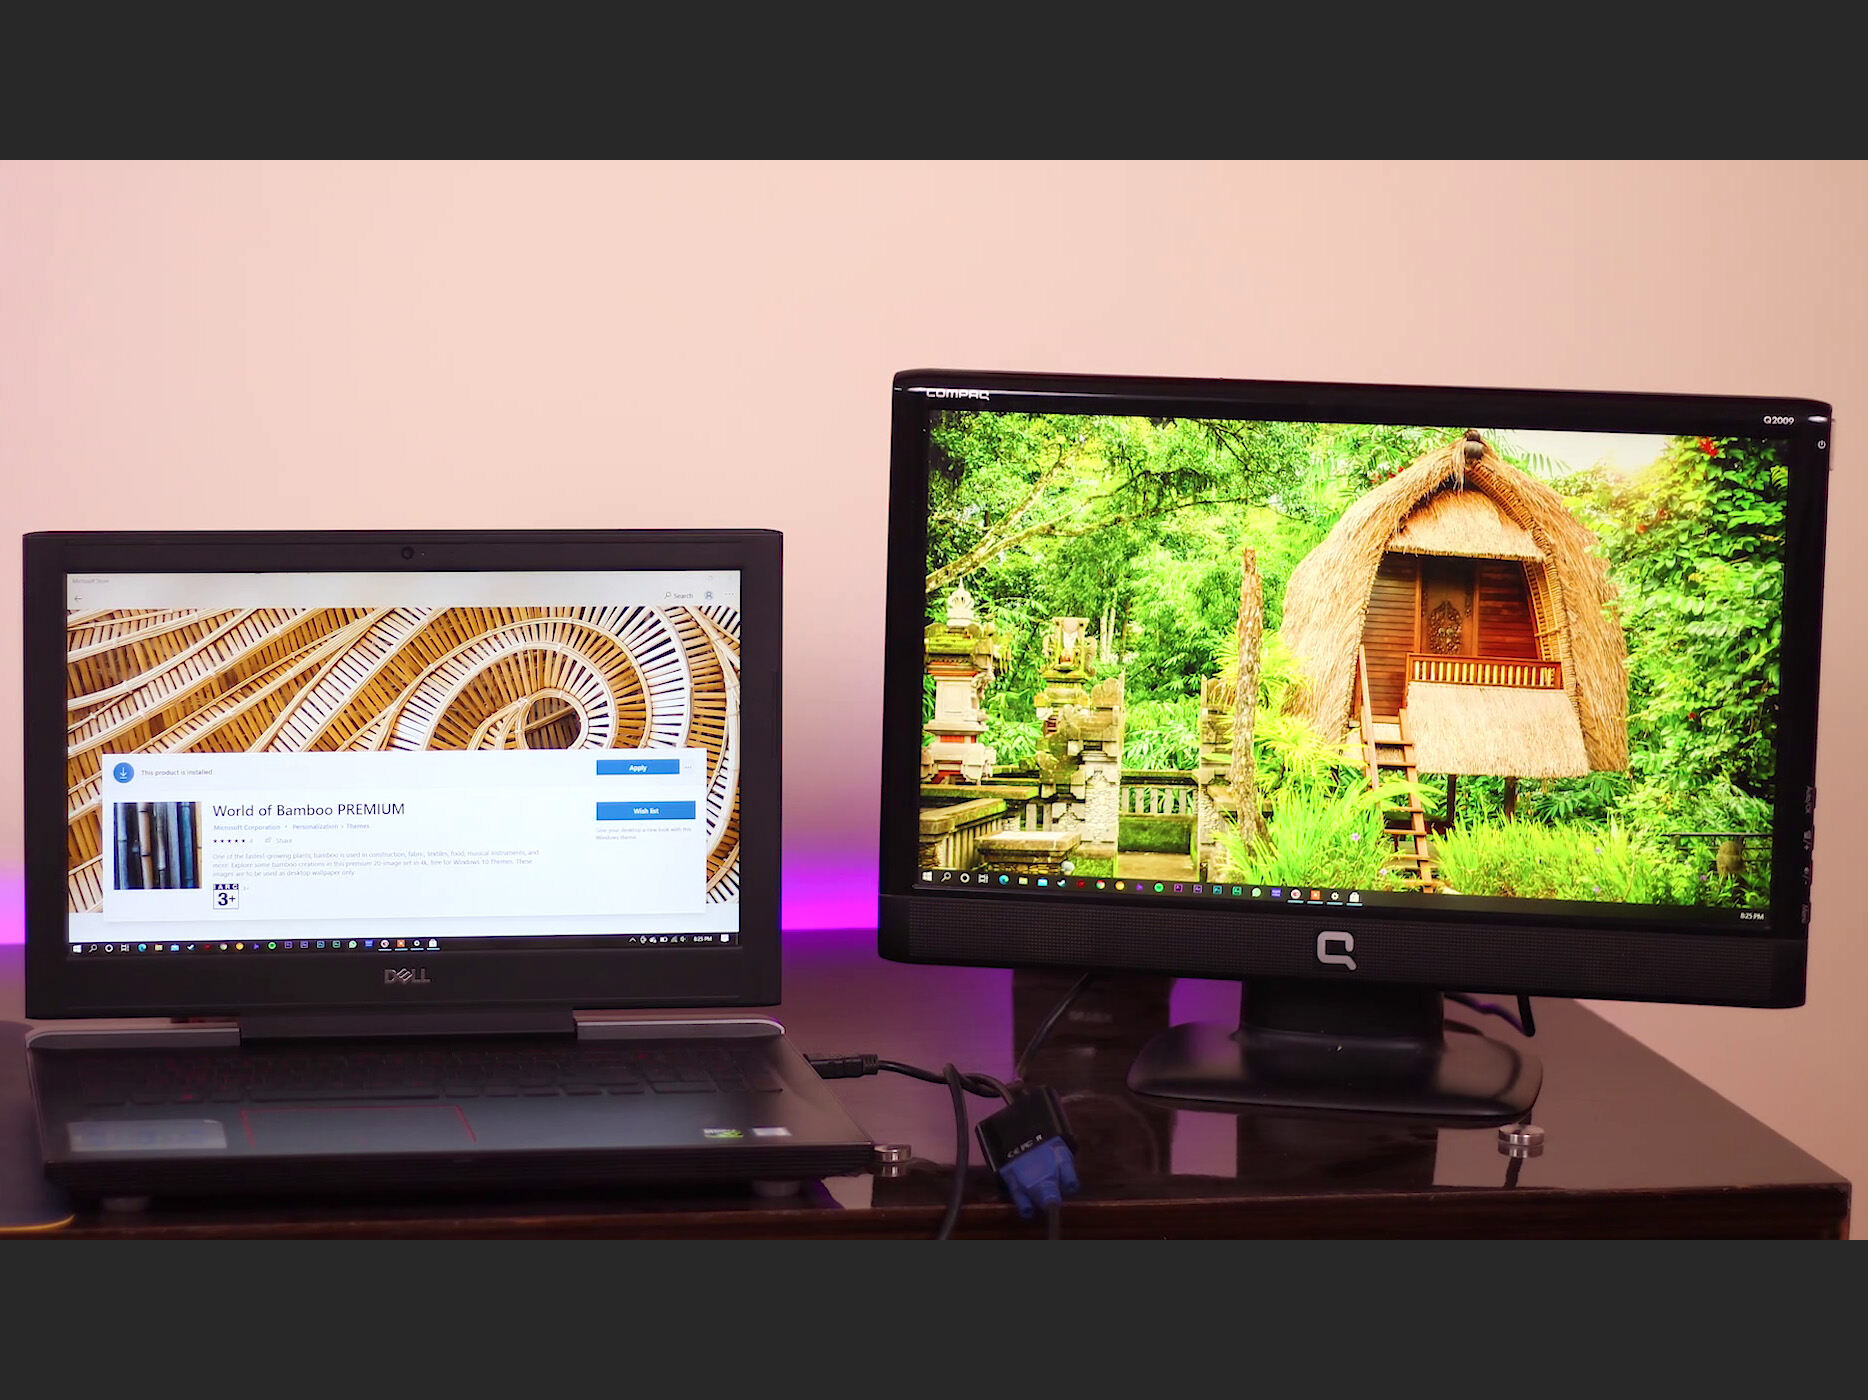
5. Test the new HDMI port: Now that the new HDMI port is installed, it’s time to test its functionality. Power on your laptop and connect it to an external screen, projector, or TV using an HDMI cable. If the connection is successful and you have a clear display, it means that the new HDMI port is working correctly.
By following these steps with care and precision, you can successfully install the new HDMI port on your laptop. However, it’s important to test the functionality before concluding the process. Let’s move on to the final step: testing the new HDMI port.
Step 5: Testing the New HDMI Port
After installing the new HDMI port on your laptop, it’s essential to test its functionality to ensure a successful replacement. Testing the new HDMI port will verify if it is working correctly and if your laptop can establish a stable connection with external displays. Follow these steps to test the new HDMI port:
1. Power on your laptop: Start by powering on your laptop and allow it to fully boot up. Make sure all the necessary drivers are installed and up to date to ensure optimal display performance.
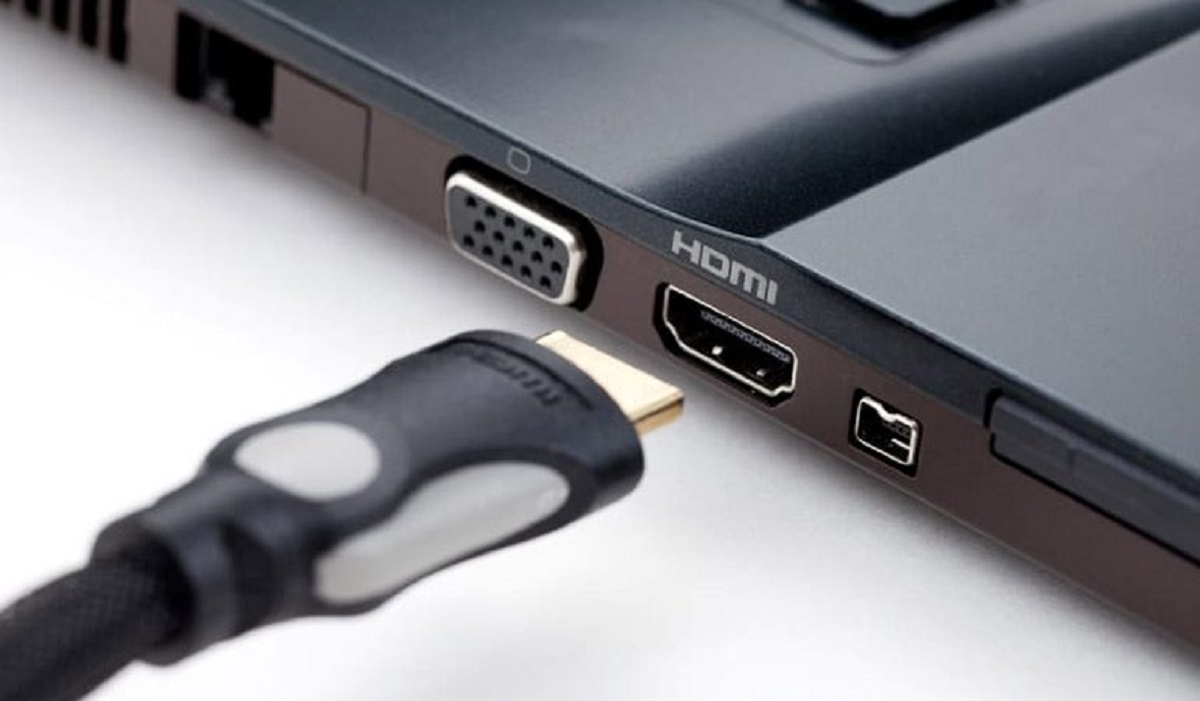
2. Connect to an external display: Take an HDMI cable and connect one end to your laptop’s new HDMI port. Connect the other end to an external screen, projector, or TV. Ensure that both devices are powered on and properly connected.
3. Select the correct input source: Use the remote control or the input/source button on the external display to select the HDMI input source that corresponds to the port you connected the cable to. This will allow the display to recognize the input from your laptop.
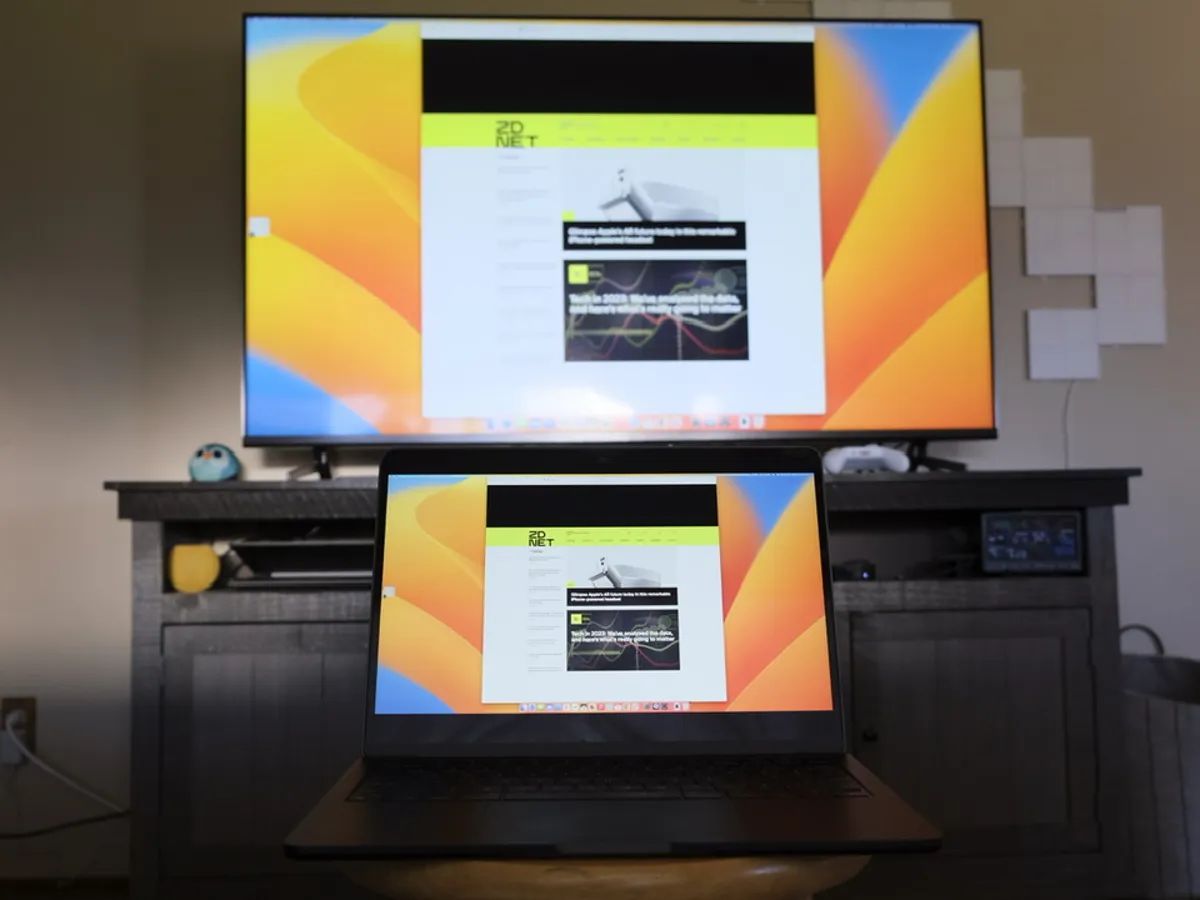
4. Check for a stable connection: Once the input source is selected, check if your laptop successfully recognizes the external display. Look for a stable connection and a clear display on the external screen. If the display appears on the external screen, it indicates that the new HDMI port is functioning correctly.
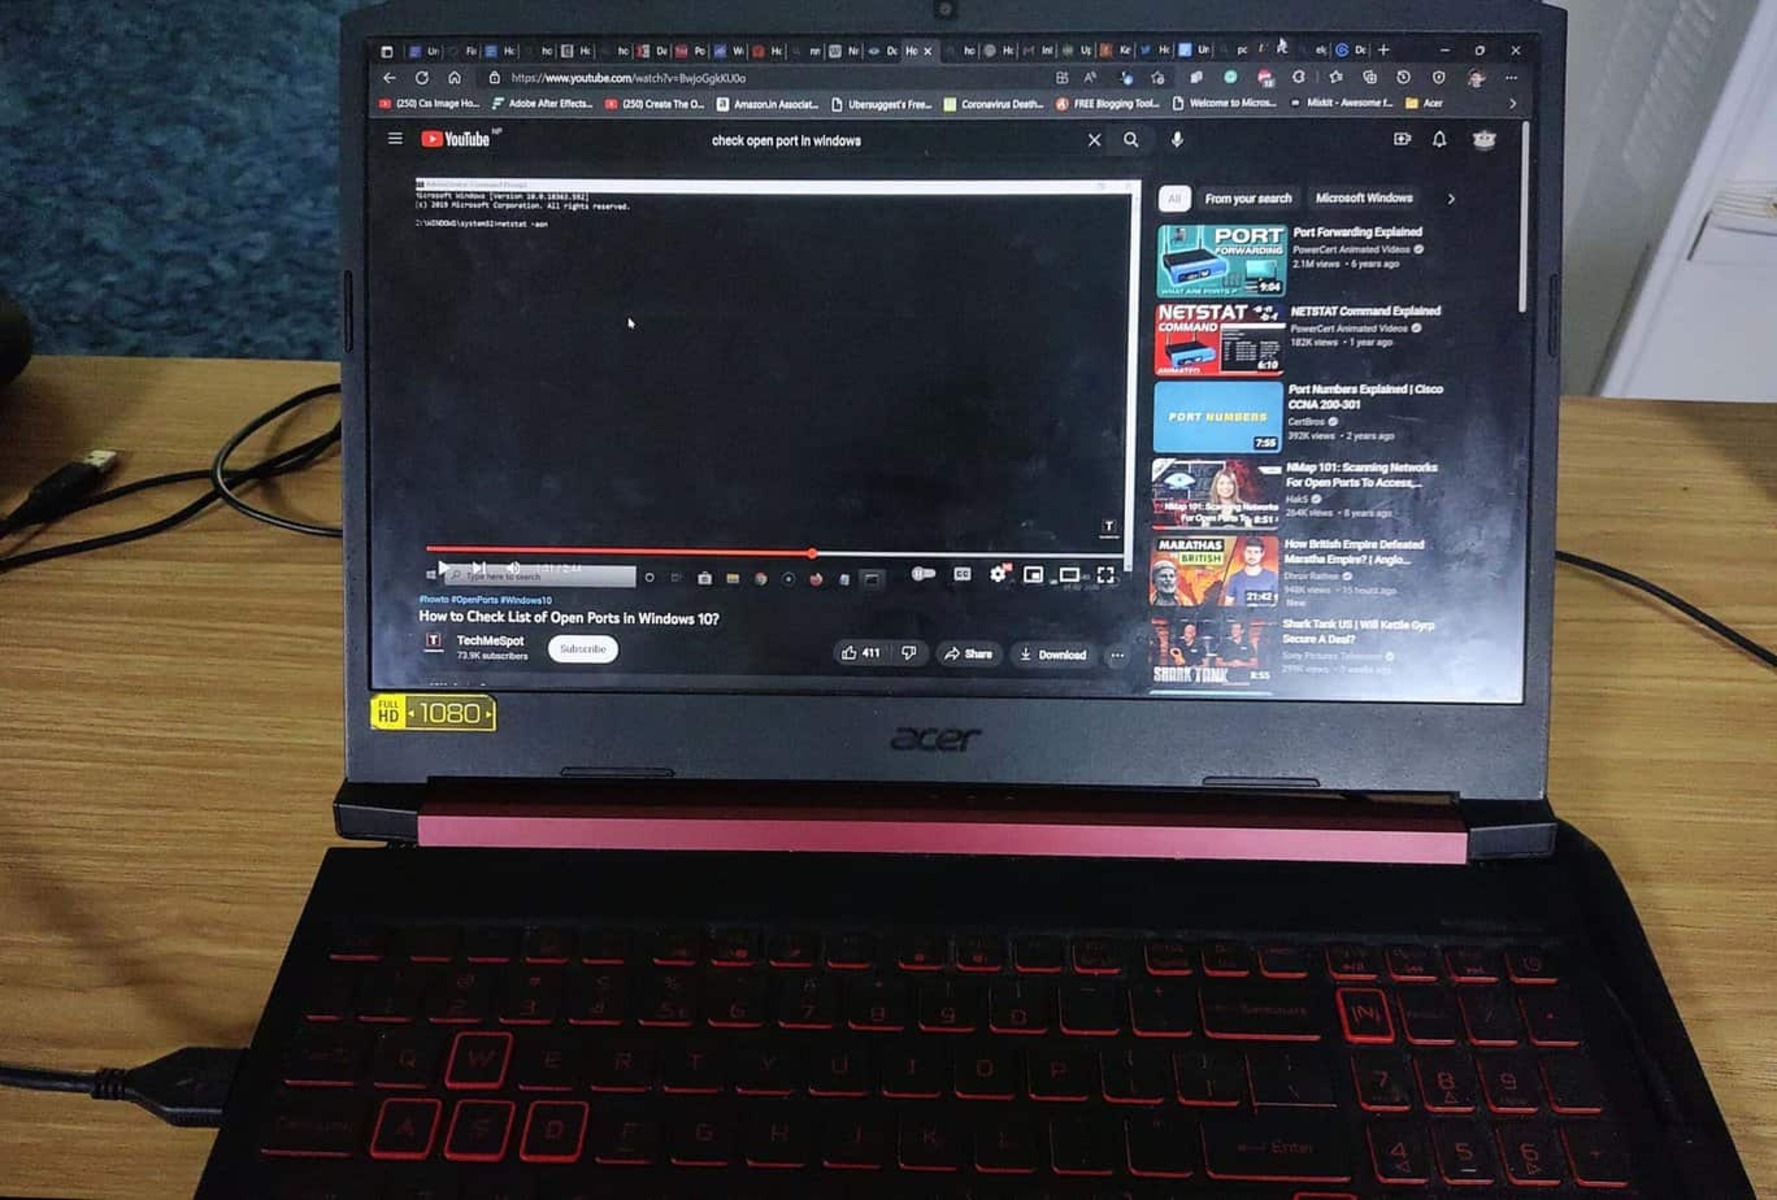
5. Test audio and video: Play a video or audio file on your laptop to ensure that both the audio and video signals are properly transmitted through the new HDMI port. Make sure the audio is coming through the external display’s speakers or connected audio system for a complete test.
If the new HDMI port passes these tests and your laptop successfully connects to the external display with both audio and video signals, congratulations! You have successfully replaced the HDMI port on your laptop.
If, for any reason, the new HDMI port is not working or you encounter issues with the connection, it is advisable to seek professional assistance from a technician or contact the laptop manufacturer’s support team for further guidance.
Remember, proper testing is crucial to ensure the new HDMI port’s functionality before concluding the process. Now that you have successfully tested the new HDMI port, you can enjoy high-quality visuals on your laptop’s external display!
Conclusion
Changing the HDMI port on a laptop might seem like a daunting task, but with the right tools, careful handling, and following the steps outlined in this guide, it can be a manageable process. By successfully replacing the HDMI port, you can restore the connectivity and enjoy high-definition visuals on your laptop’s external displays.
Throughout this guide, we covered the necessary preparations, such as gathering the tools and powering off the laptop. We then walked you through the step-by-step process of removing the old HDMI port, installing the new port, and testing its functionality.
It’s important to approach the process with caution and follow the instructions carefully to avoid damaging any internal components of your laptop. If you feel unsure or uncomfortable performing the HDMI port replacement on your own, it’s always a good idea to seek professional assistance to ensure a successful outcome.
Remember to test the new HDMI port after installation to verify its functionality and make sure it establishes a stable connection with external displays. This will ensure that you can enjoy seamless audio and video transmission while using your laptop with different visual devices.
We hope this guide has been helpful in guiding you through the process of changing the HDMI port on your laptop. By following these steps, you can successfully replace the HDMI port and continue enjoying an enhanced viewing experience on your laptop. Now, go ahead and connect your laptop to an external display and embark on a visual journey!