Introduction
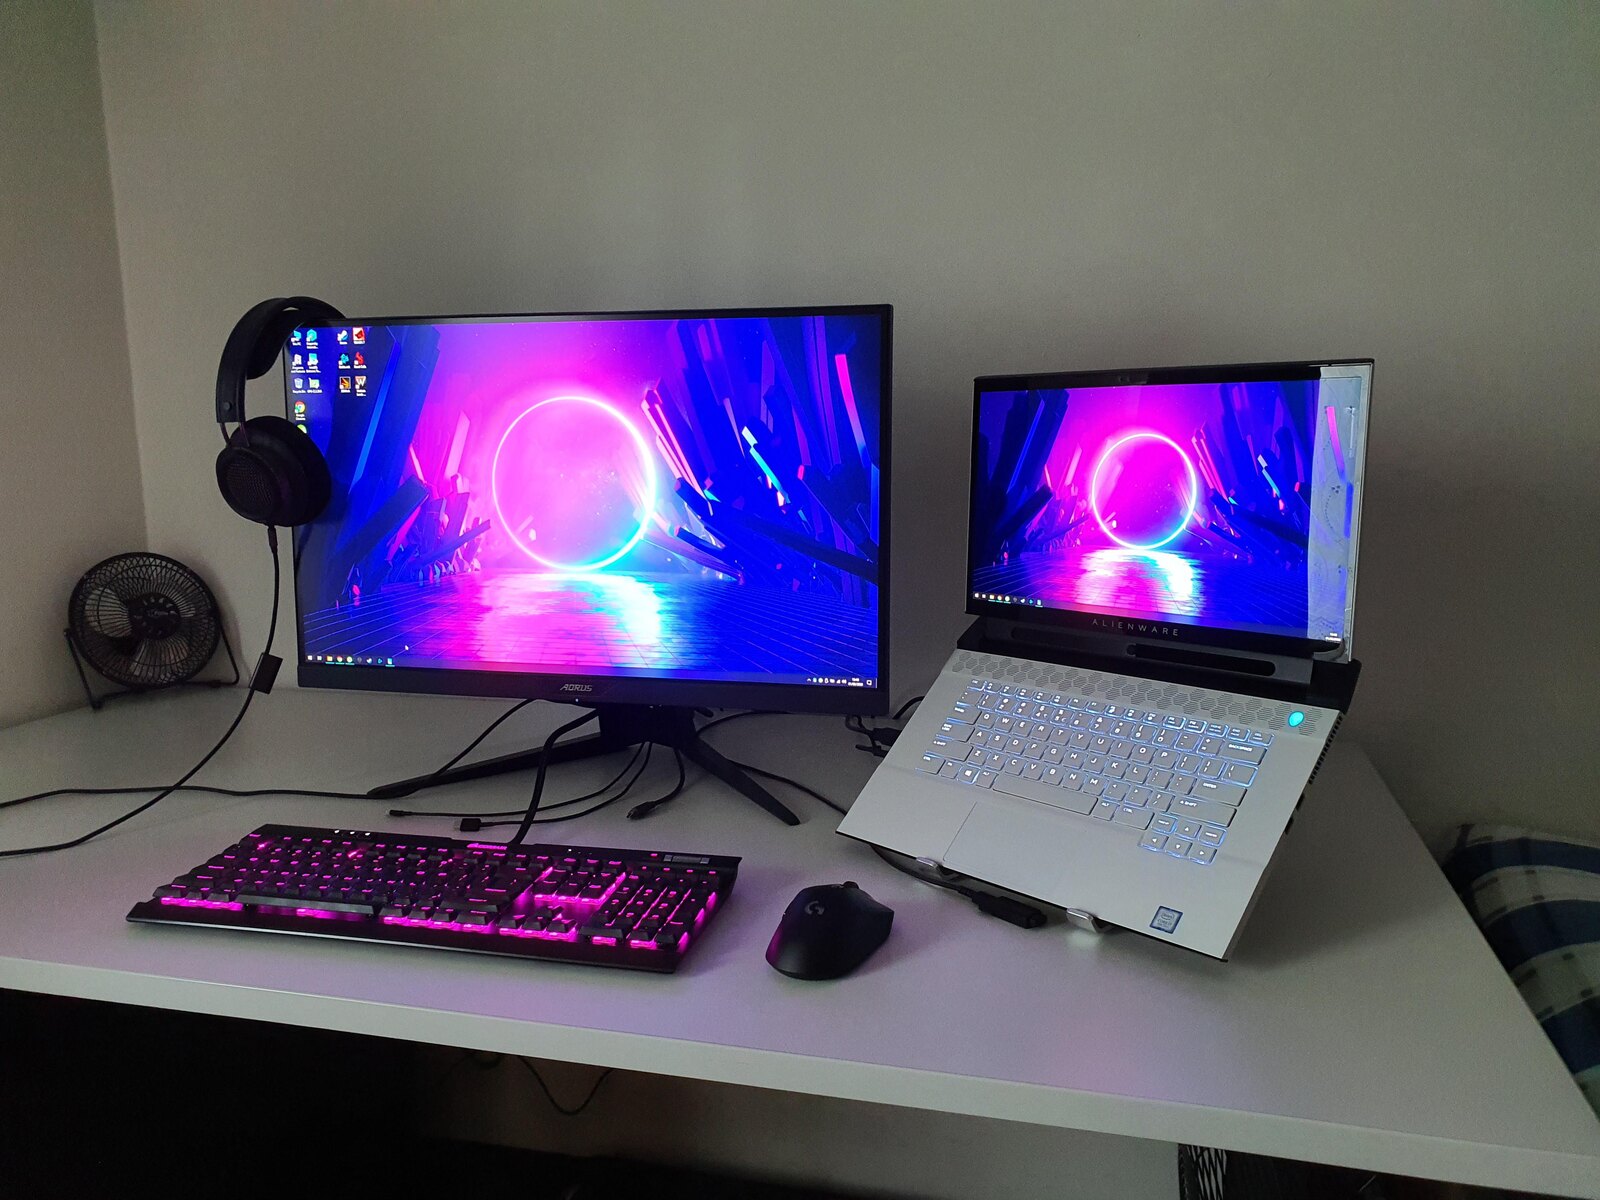
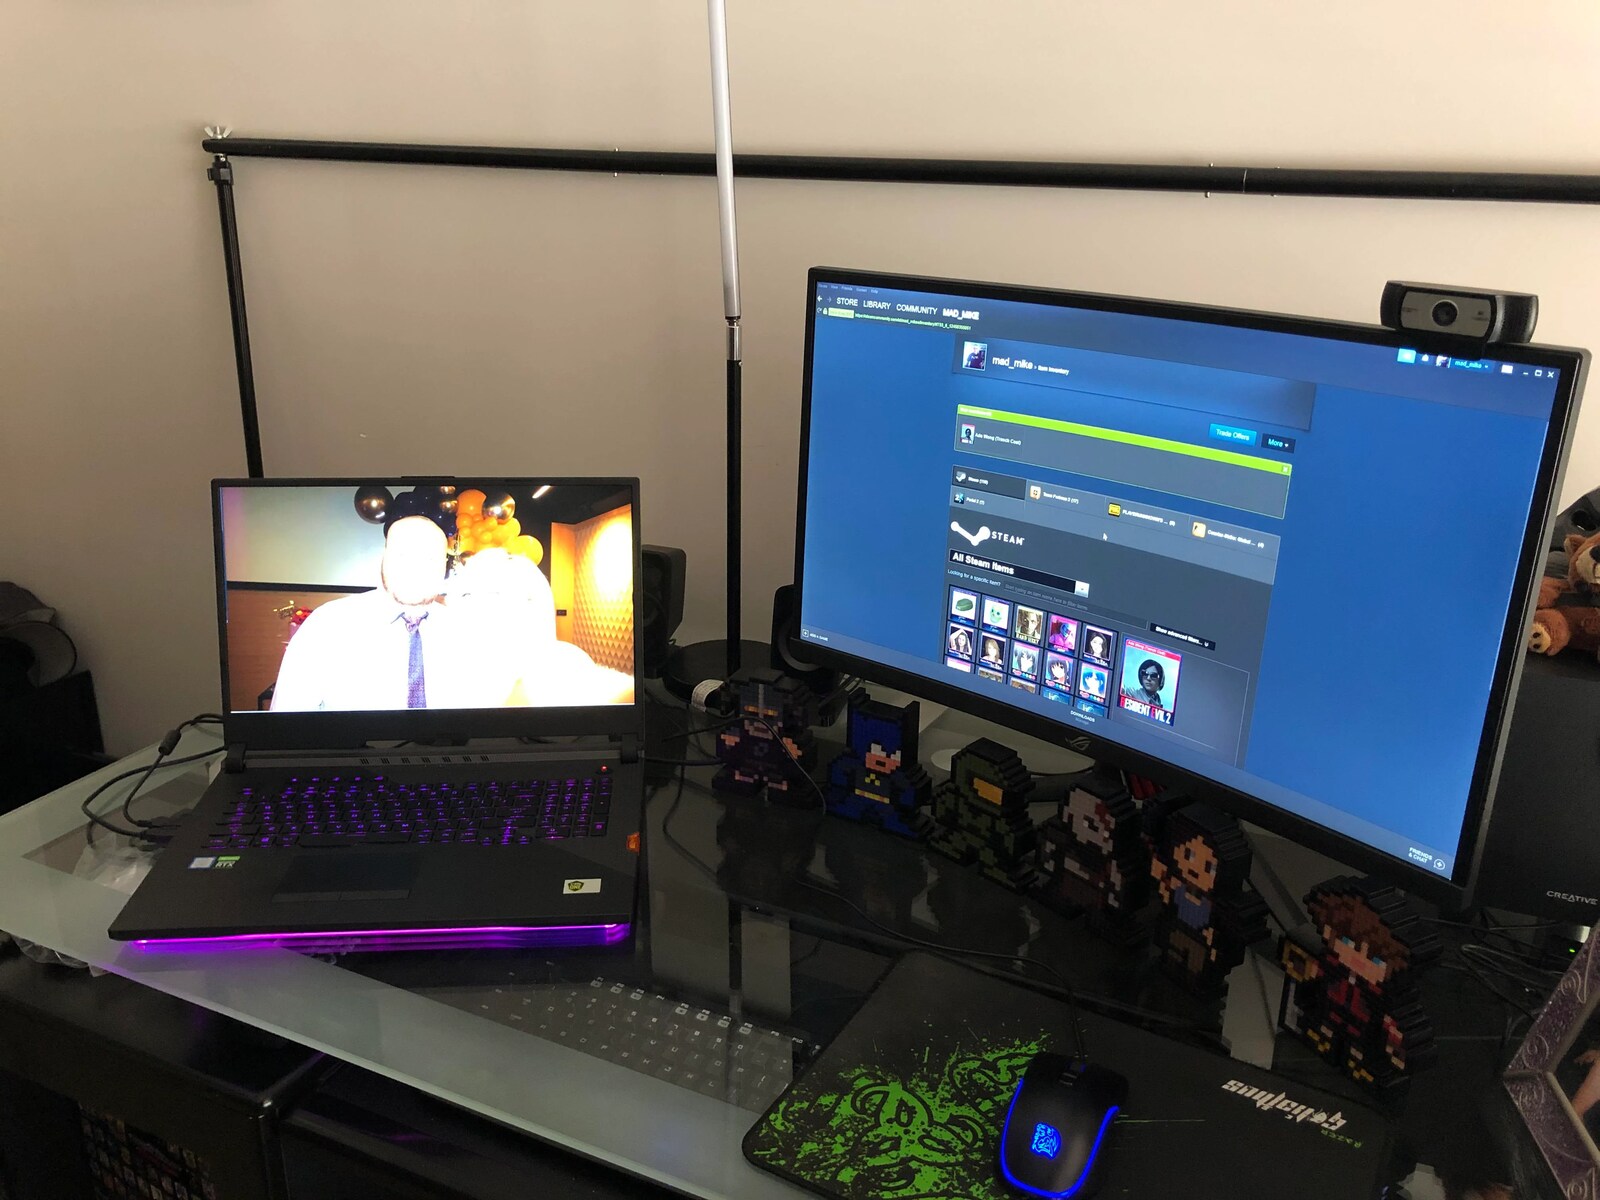
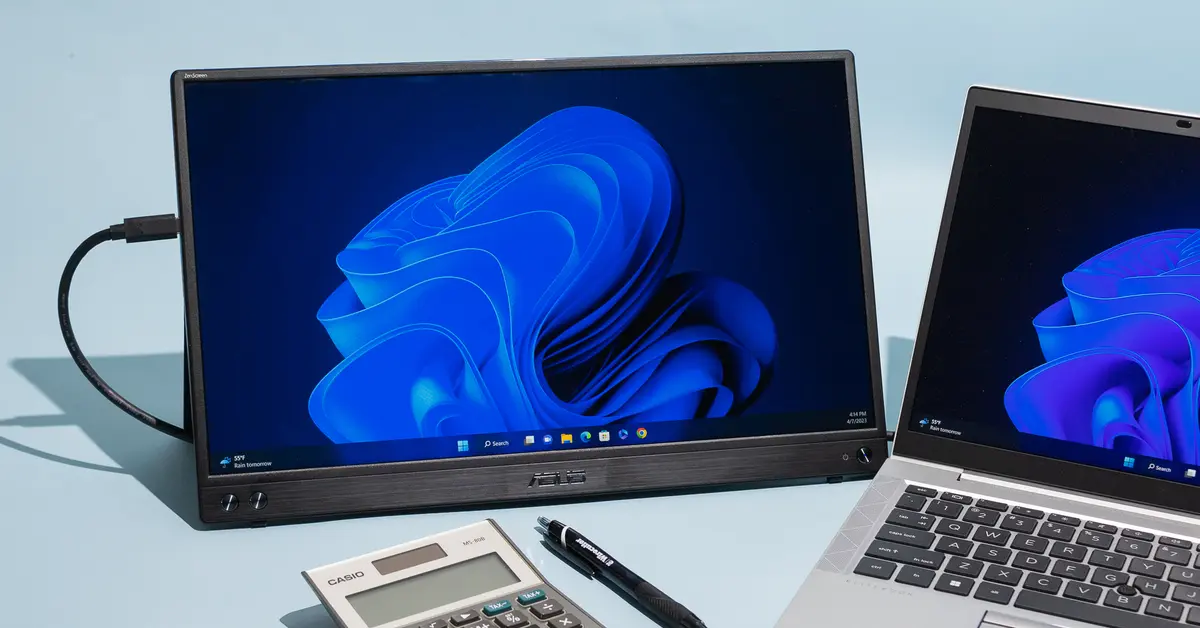
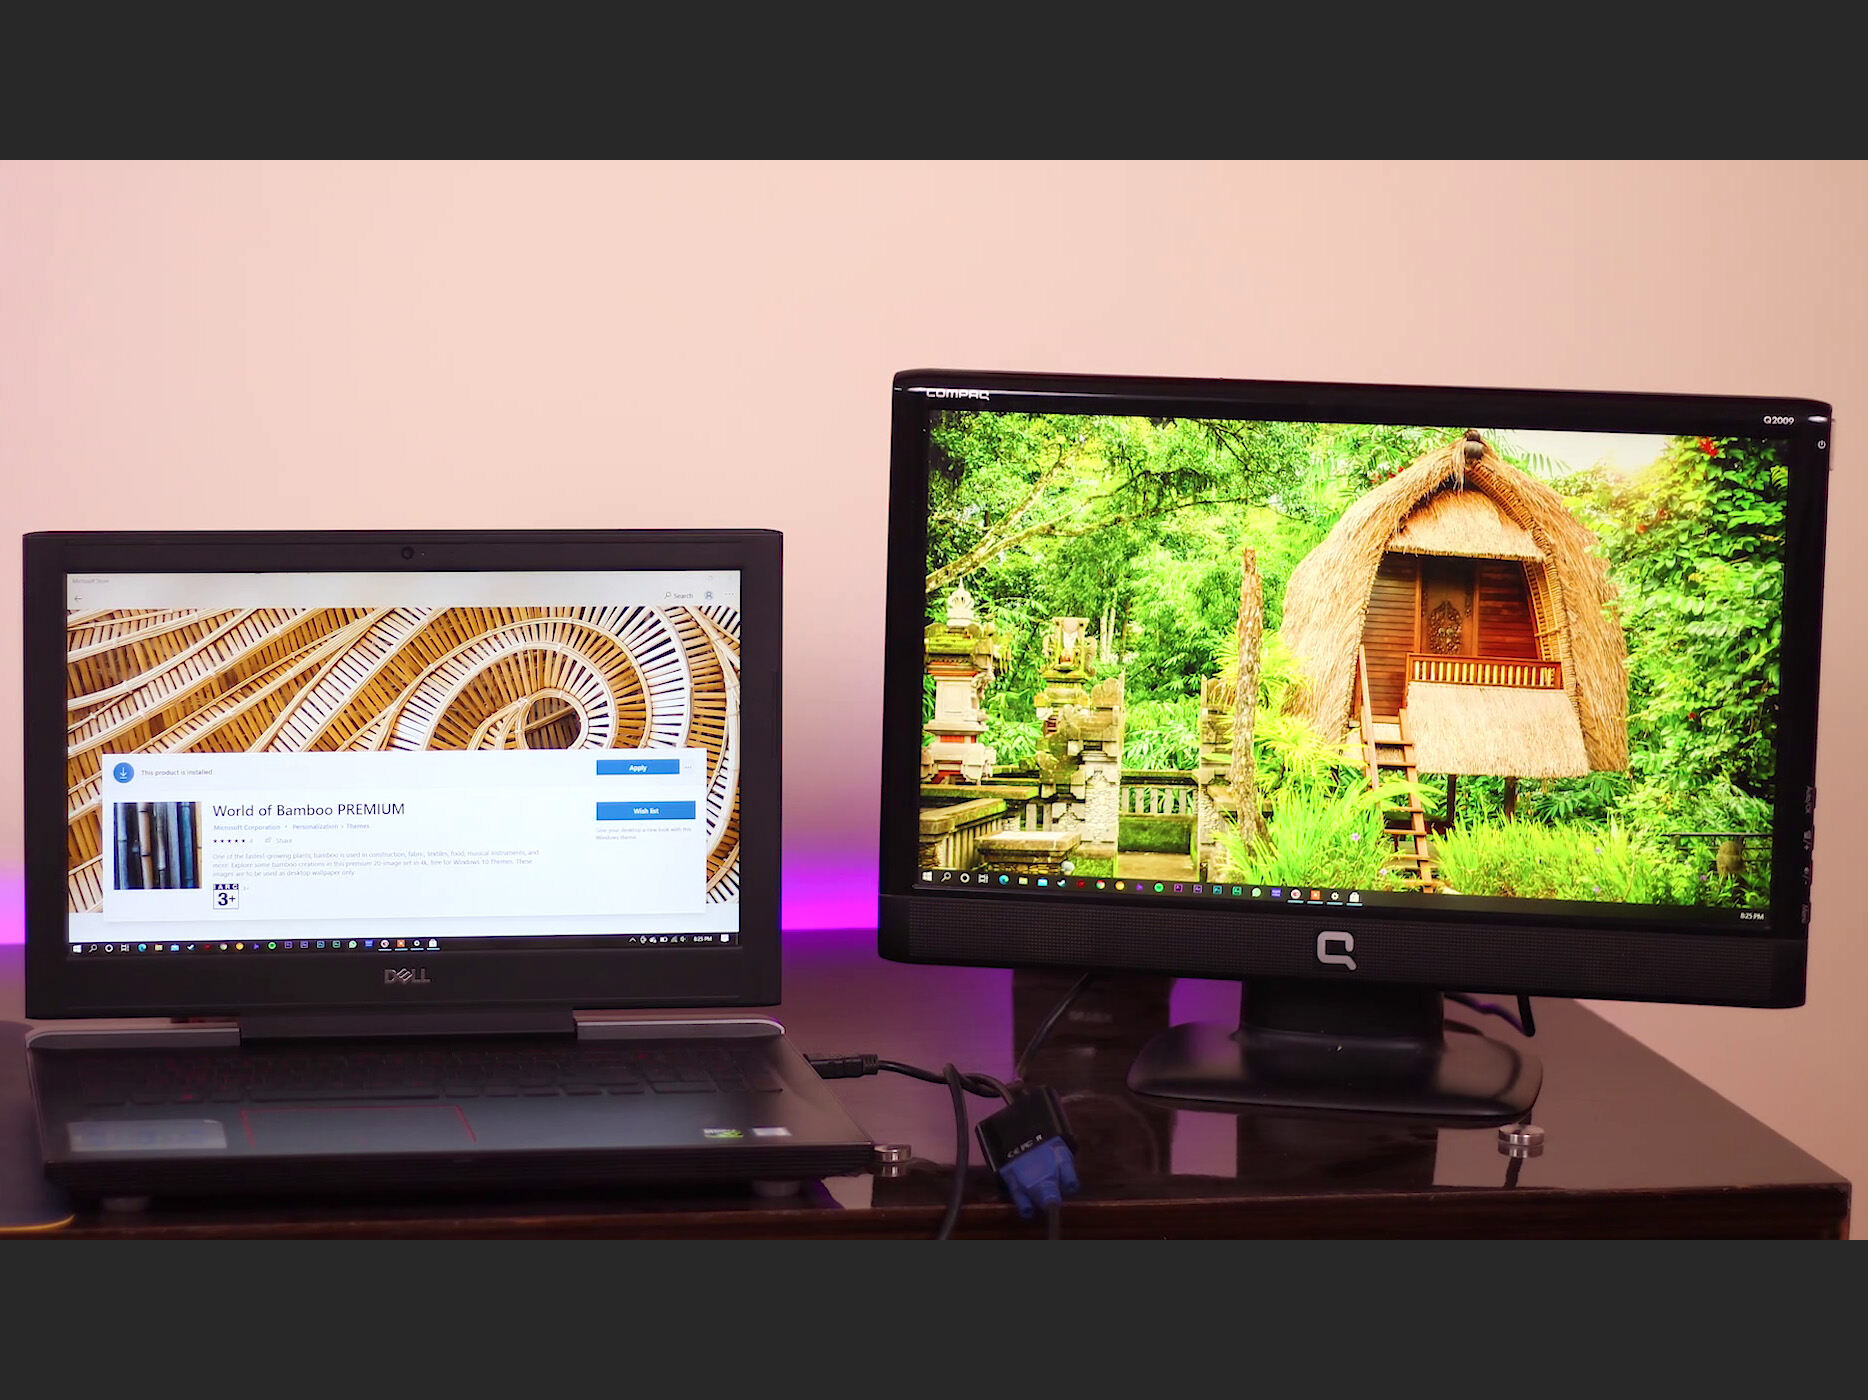
Welcome to the world of gaming! If you’re looking to take your gaming experience to the next level, connecting your gaming monitor to your laptop is a great way to do so. By doing this, you’ll be able to enjoy your games on a bigger screen with better resolution and refresh rates. Whether you’re a casual gamer or a hardcore enthusiast, this guide will walk you through the steps to connect your gaming monitor to your laptop.
Before diving into the process, it’s important to note that there are a few different types of connections you can use, depending on the ports available on your laptop and gaming monitor. The most common options are HDMI, VGA, and DVI. The specific connection you’ll use will depend on the ports available on your devices.
Don’t worry if you’re not familiar with all these technical terms – we’ve got you covered! In this guide, we’ll explain everything step by step in plain and simple language, so you can easily follow along, even if you’re a beginner. So, let’s get started and connect your gaming monitor to your laptop!
Step 1: Check the Ports on Your Laptop and Gaming Monitor
The first step in connecting your gaming monitor to your laptop is to check the ports available on both devices. This will help you determine the type of cable or adapter you need for the connection. Here’s what you need to do:
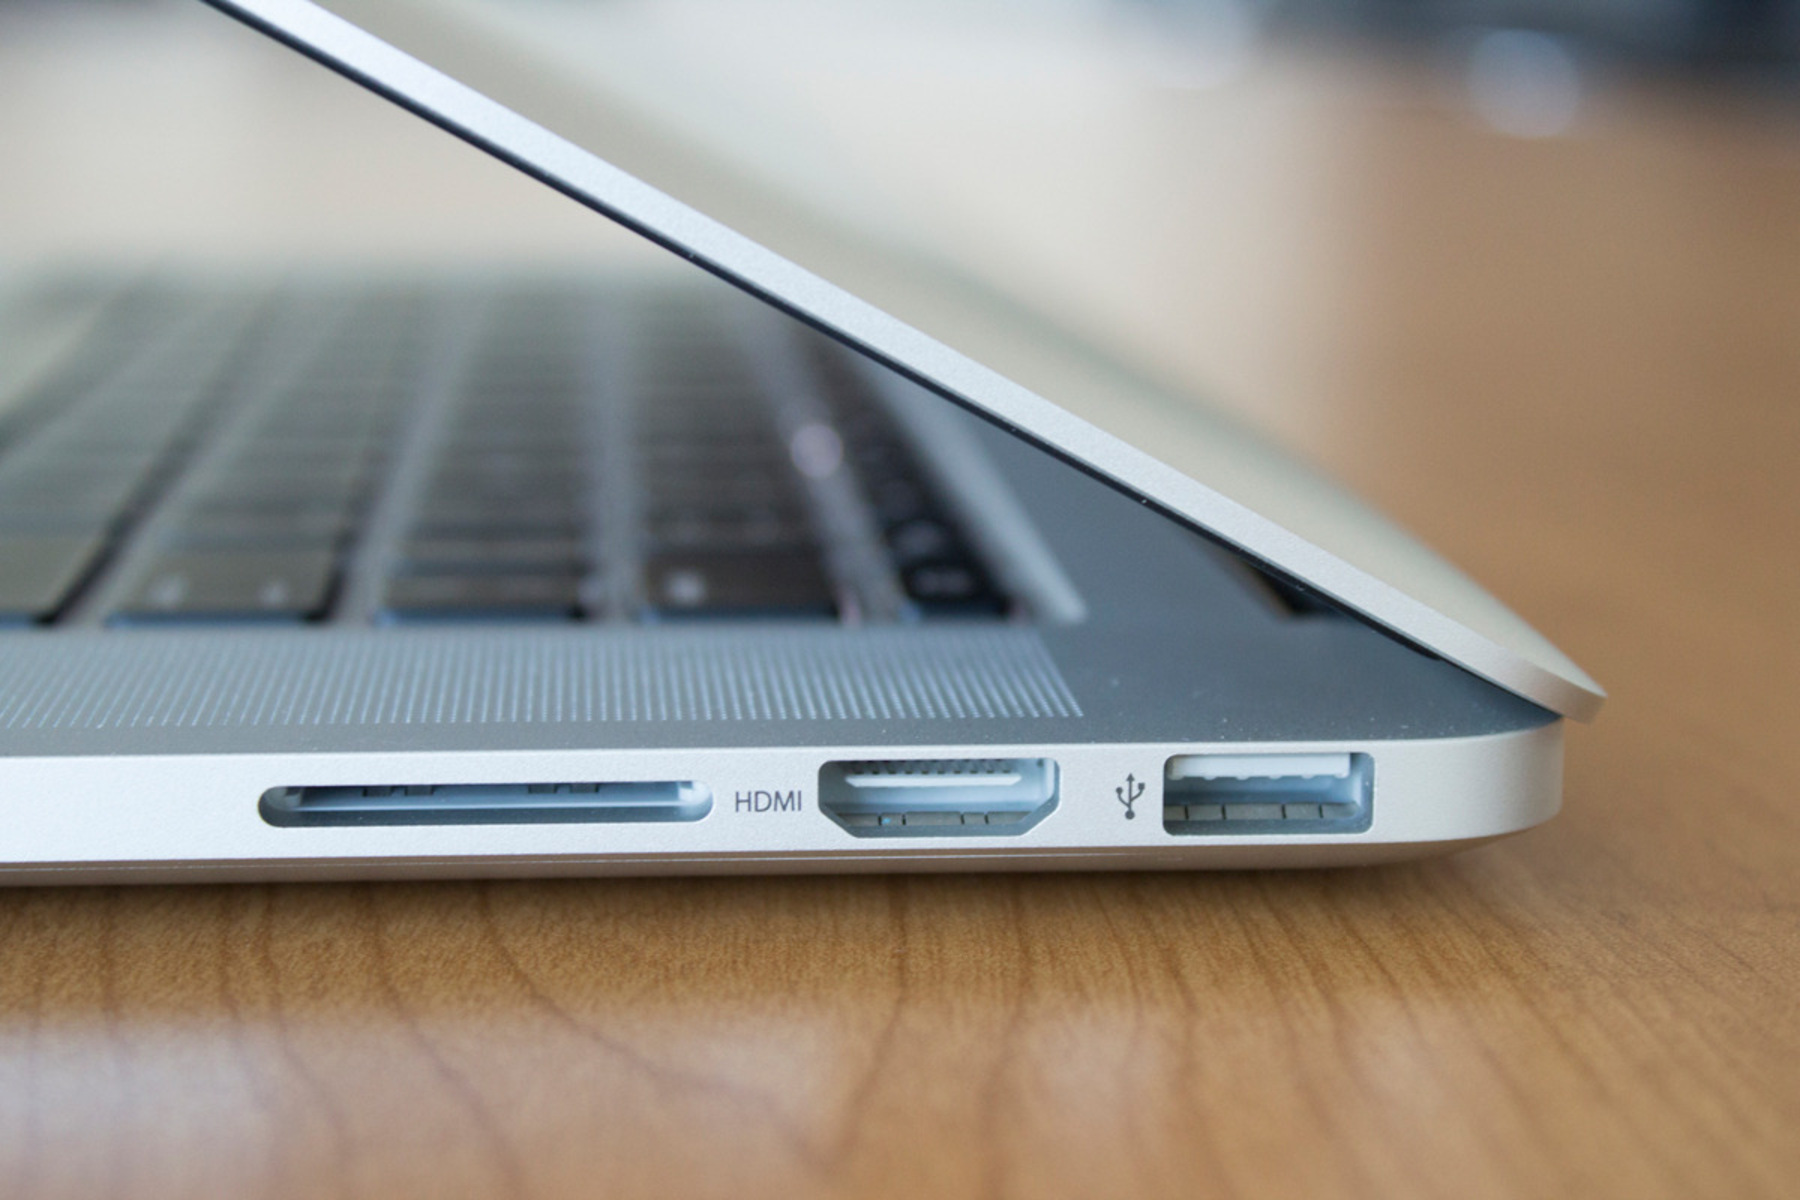
- Take a look at your laptop. Look for HDMI, VGA, or DVI ports. These are the most common types of video output ports found on laptops. If you’re not sure where to find them, check the sides or back of your laptop for small rectangular or trapezoidal ports labeled with one of these names.
- Now, turn your attention to your gaming monitor. Look for the corresponding input ports. Most gaming monitors will have multiple ports to support different connectivity options. Again, look for HDMI, VGA, or DVI ports on the monitor.
- If you see that your laptop and gaming monitor have the same type of ports, such as both having HDMI ports, then connecting them will be a breeze. You’ll simply need an HDMI cable to establish the connection.
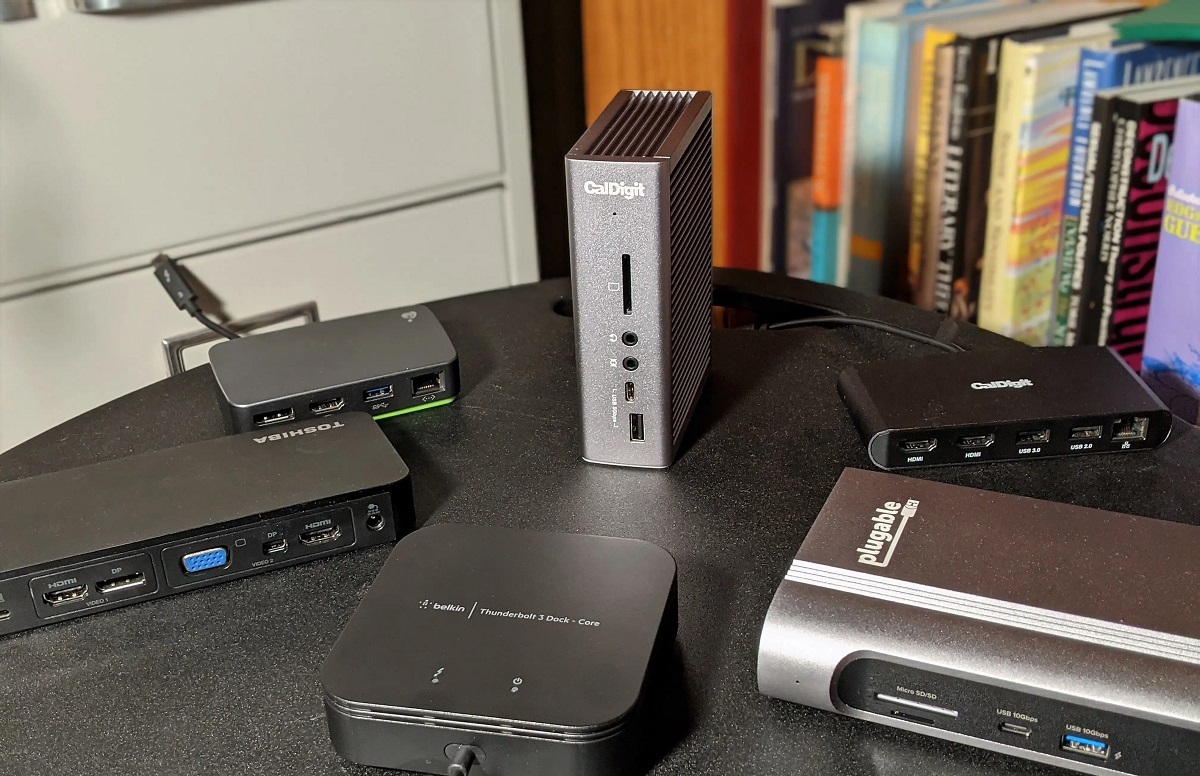
- However, if your laptop and gaming monitor have different types of ports, such as one having HDMI and the other having VGA, you’ll need to use an adapter or converter to bridge the connection between the two different port types. Adapters are easily available and can be purchased online or at electronics stores.
Remember to carefully inspect the ports to ensure that they are in good condition and not damaged. If you notice any bent pins, debris, or other issues, it’s best to get them fixed or replaced before attempting the connection.
Now that you’ve checked the ports on your laptop and gaming monitor, and know which type of connection you need, let’s move on to the next step: gathering the necessary cables and adapters.
Step 2: Gather the Necessary Cables and Adapters
Now that you know the type of connection you need to make between your gaming monitor and laptop, it’s time to gather the necessary cables and adapters. Here are the items you may need:
- HDMI Cable: If both your laptop and gaming monitor have HDMI ports, all you need is an HDMI cable. Make sure to choose a cable of sufficient length to comfortably connect the devices without strain.
- VGA Cable: If your laptop has a VGA port and your gaming monitor has a VGA input, you’ll need a VGA cable to establish the connection. Again, ensure that the cable length is suitable for your setup.
- DVI Cable: Similarly, if both your laptop and gaming monitor have DVI ports, you’ll need a DVI cable to connect them. Check the specifications of your devices to determine if you need a DVI-D or DVI-I cable.
- Adapter or Converter: If your laptop and gaming monitor have different types of ports, such as HDMI and VGA, you’ll need to use an adapter or converter to bridge the connection. For example, if your laptop has an HDMI port and your gaming monitor has a VGA input, you’ll need an HDMI to VGA adapter. Ensure that the adapter is compatible with the specific port types and resolutions of your devices.
It’s important to choose high-quality cables and adapters to ensure a reliable and stable connection. Cheap or poorly made cables can lead to signal loss, flickering, or other display issues. Look for cables and adapters from reputable brands that are designed for gaming or high-resolution displays.
Once you have gathered the necessary cables and adapters, you are ready to move on to the next step: connecting the cable to your laptop.
Step 3: Connect the HDMI/VGA/DVI Cable to Your Laptop
Now that you have the appropriate cable or adapter, it’s time to connect it to your laptop. Follow these steps:
- If you’re using an HDMI cable, locate the HDMI port on your laptop. It will usually be labeled with an “HDMI” icon next to the port. Take one end of the HDMI cable and insert it firmly into the HDMI port on your laptop.
- If you’re using a VGA cable, locate the VGA port on your laptop. It will most likely be labeled with a “VGA” icon or have blue color coding. Take one end of the VGA cable and insert it securely into the VGA port on your laptop. Make sure the pins align properly and are not bent.
- If you’re using a DVI cable, locate the DVI port on your laptop. Depending on the type of DVI cable you have (DVI-I or DVI-D), the port may have additional pins or missing pins. Insert one end of the DVI cable into the DVI port on your laptop, ensuring a snug fit.
- If you’re using an adapter or converter, connect one end of the cable to the appropriate port on the adapter, and then connect the other end of the cable to the corresponding port on your laptop (HDMI, VGA, or DVI). Remember to securely fasten the connections.
Once you have connected the cable or adapter to your laptop, you’re one step closer to enjoying gaming on your larger gaming monitor. The next step is to connect the other end of the cable to your gaming monitor.
Step 4: Connect the Other End of the Cable to Your Gaming Monitor
Now that you have connected the cable or adapter to your laptop, it’s time to connect the other end to your gaming monitor. Follow these steps:
- Locate the corresponding input port on your gaming monitor. If you’re using an HDMI cable, look for the HDMI input port on your monitor. If you’re using a VGA cable, look for the VGA input port. And if you’re using a DVI cable, locate the DVI input port.
- Take the other end of the cable that you connected to your laptop and insert it firmly into the matching input port on your gaming monitor. Ensure that it is connected securely and that the pins align properly.
- If you’re using an adapter or converter, connect the cable from your laptop to the appropriate port on the adapter, and then connect the other end of the adapter to the input port on your gaming monitor.
Once you have connected the cable or adapter to your gaming monitor, you’re almost ready to enjoy gaming on the big screen. The next step is to power on both your gaming monitor and laptop.
Step 5: Power On Your Gaming Monitor and Laptop
Now that you have successfully connected your gaming monitor to your laptop, it’s time to power on both devices. Here’s what you need to do:
- Connect the power cable to your gaming monitor and plug it into a power outlet. Ensure that the power cable is inserted securely on both ends.
- Press the power button on your gaming monitor to turn it on. You should see the monitor’s logo or a display light up.
- Next, locate the power button on your laptop. Press the power button to turn on your laptop.
As your laptop boots up, it will detect the external display (your gaming monitor) and may automatically adjust the display settings for optimal performance. If the display does not show up on the gaming monitor, make sure the correct input source is selected on the monitor. You may need to use the monitor’s menu buttons to navigate and choose the appropriate input source.
It’s important to note that some laptops may require you to press a specific key combination to activate the external display. This key combination is usually a function key (F1, F2, etc.) along with the “Fn” key. Look for a key on your laptop’s keyboard that has an icon resembling a monitor or two screens and press that key in combination with the “Fn” key.
After powering on your gaming monitor and laptop, you’re almost there! The next steps involve adjusting the display settings on your laptop and gaming monitor to ensure the best gaming experience. Stay tuned!
Step 6: Adjust Display Settings on Your Laptop
Now that your gaming monitor and laptop are powered on and connected, it’s time to adjust the display settings on your laptop. Tweaking these settings will ensure that your gaming experience is smooth and optimized. Follow these steps:
- Right-click on an empty area of your desktop and select “Display settings” from the context menu.
- In the display settings window, you will see two displays listed. The first display represents your laptop’s built-in monitor, and the second display represents your external gaming monitor.
- Click on the drop-down menu under “Multiple displays” to choose how you want to use the external monitor. You can select “Extend desktop” to use the gaming monitor as an additional display, or choose “Duplicate desktop” to mirror the laptop screen on the gaming monitor.
- Next, click on the second display (your gaming monitor) in the display settings window. You will see various options to customize the resolution, orientation, and other display settings of the external monitor.
- Adjust the resolution setting to match the native resolution of your gaming monitor. This ensures that the display appears sharp and vibrant.
- Explore the other display settings, such as brightness, contrast, and color calibration, to adjust the visuals according to your preference. Some laptops also offer gaming-specific display settings, such as a gaming mode or color profiles optimized for gaming.
- Once you have made the desired adjustments, click “Apply” to save the changes. You may be prompted to keep the changes or revert them if the monitor switches off briefly.
By adjusting the display settings on your laptop, you can optimize the visuals for gaming on the external monitor. Take some time to experiment with the settings and find the configuration that suits your gaming needs and personal preferences.
Now that the display settings on your laptop are adjusted, it’s time to move on to the next step: adjusting the display settings on your gaming monitor itself. Stay with us!
Step 7: Adjust Display Settings on Your Gaming Monitor
Now that you have adjusted the display settings on your laptop, it’s time to fine-tune the settings on your gaming monitor itself. This step is crucial to ensure that the visuals are optimized and calibrated for the best gaming experience. Follow these steps:
- Locate the menu button(s) on your gaming monitor. These buttons are usually located on the front or side of the monitor and are labeled with icons or text.
- Press the menu button to access the monitor’s on-screen display (OSD) menu. Use the arrow buttons or navigation buttons on the monitor to navigate through the menu options.
- Look for options related to display settings, such as brightness, contrast, color temperature, sharpness, and picture mode. The specific options and menu layout may vary depending on the make and model of your gaming monitor.
- Adjust the brightness and contrast settings to suit your preference and the lighting conditions in your gaming environment. A balance between brightness and contrast can enhance the details and visibility in games.
- Experiment with the color temperature settings to achieve the desired color accuracy and vibrancy. Some monitors also offer presets or color profiles for different types of content, such as gaming, movies, or sRGB.
- Explore additional options, such as sharpness and picture mode, to fine-tune the image quality. Depending on your monitor, you may find options like “Game Mode” or “FPS Mode” that optimize the display for gaming.
- Once you have made the necessary adjustments, navigate to the exit or save option in the OSD menu and save the changes.
Adjusting the display settings on your gaming monitor can greatly enhance the visuals and immersion while gaming. Take some time to experiment with the settings and find the configuration that provides you with the best gaming experience.
Now that you have adjusted the display settings on both your laptop and gaming monitor, it’s time for the final step: testing the connection and enjoying gaming on the big screen. Let’s move on!
Step 8: Test the Connection and Enjoy Gaming on the Big Screen
Congratulations! You have successfully connected your gaming monitor to your laptop and adjusted the display settings. Now it’s time to test the connection and start enjoying your favorite games on the big screen. Follow these final steps:
- Ensure that both your gaming monitor and laptop are powered on.
- If you haven’t already, close any open applications or windows on your laptop to focus solely on the gaming experience.
- Launch your favorite game on your laptop. The game should automatically detect and display on the external gaming monitor.
- Take a moment to appreciate the enhanced visuals, larger screen size, and immersive gaming experience that the gaming monitor provides.
- Play your game as you normally would, but now enjoy the benefits of a larger and more detailed display. Immerse yourself in the action and take advantage of the improved graphics and refresh rates.
- During your gaming sessions, you may want to explore the various display options or settings within your game itself to further customize and optimize the gaming experience.
- When you’re done gaming, properly exit the game and shut down your laptop.
- If you plan to disconnect the gaming monitor from your laptop, ensure that both devices are powered off and safely disconnect the cable or adapter.
Remember to take breaks and maintain good posture while gaming to avoid any discomfort or strain. Your gaming monitor and laptop combination provides an enhanced gaming experience, allowing you to fully immerse yourself in the virtual world.
Now that you have successfully tested the connection and experienced gaming on the big screen, you can continue to enjoy your favorite games with a whole new level of visual enjoyment and immersion. Happy gaming!
Conclusion
Connecting your gaming monitor to your laptop opens up a whole new world of gaming possibilities. By following the step-by-step guide outlined in this article, you can easily accomplish this task and enjoy your favorite games on a larger screen with enhanced visuals.
We started by checking the ports on both your laptop and gaming monitor, ensuring compatibility between the two devices. After that, we gathered the necessary cables and adapters based on the available ports. With the cables and adapters in hand, we proceeded to connect the HDMI, VGA, or DVI cable to your laptop and gaming monitor, securely fastening the connections.
After connecting the cable, we powered on both the gaming monitor and the laptop. Adjustments to the display settings were made on the laptop, followed by adjustments on the gaming monitor itself. These adjustments ensured optimal image quality, color accuracy, and brightness for an immersive gaming experience.
Finally, we tested the connection by launching a game and enjoying the gaming experience on the big screen. The enhanced visuals, larger display, and immersive atmosphere provided by the gaming monitor truly enhanced the gaming experience.
Now that you have successfully connected your gaming monitor to your laptop and enjoyed gaming on the big screen, you can continue to explore and delve into countless gaming adventures with improved graphics and a more immersive experience.
Remember to take regular breaks, maintain good posture, and optimize your game settings for the best gaming experience. Stay tuned for more exciting gaming tips and guidance.


