Introduction
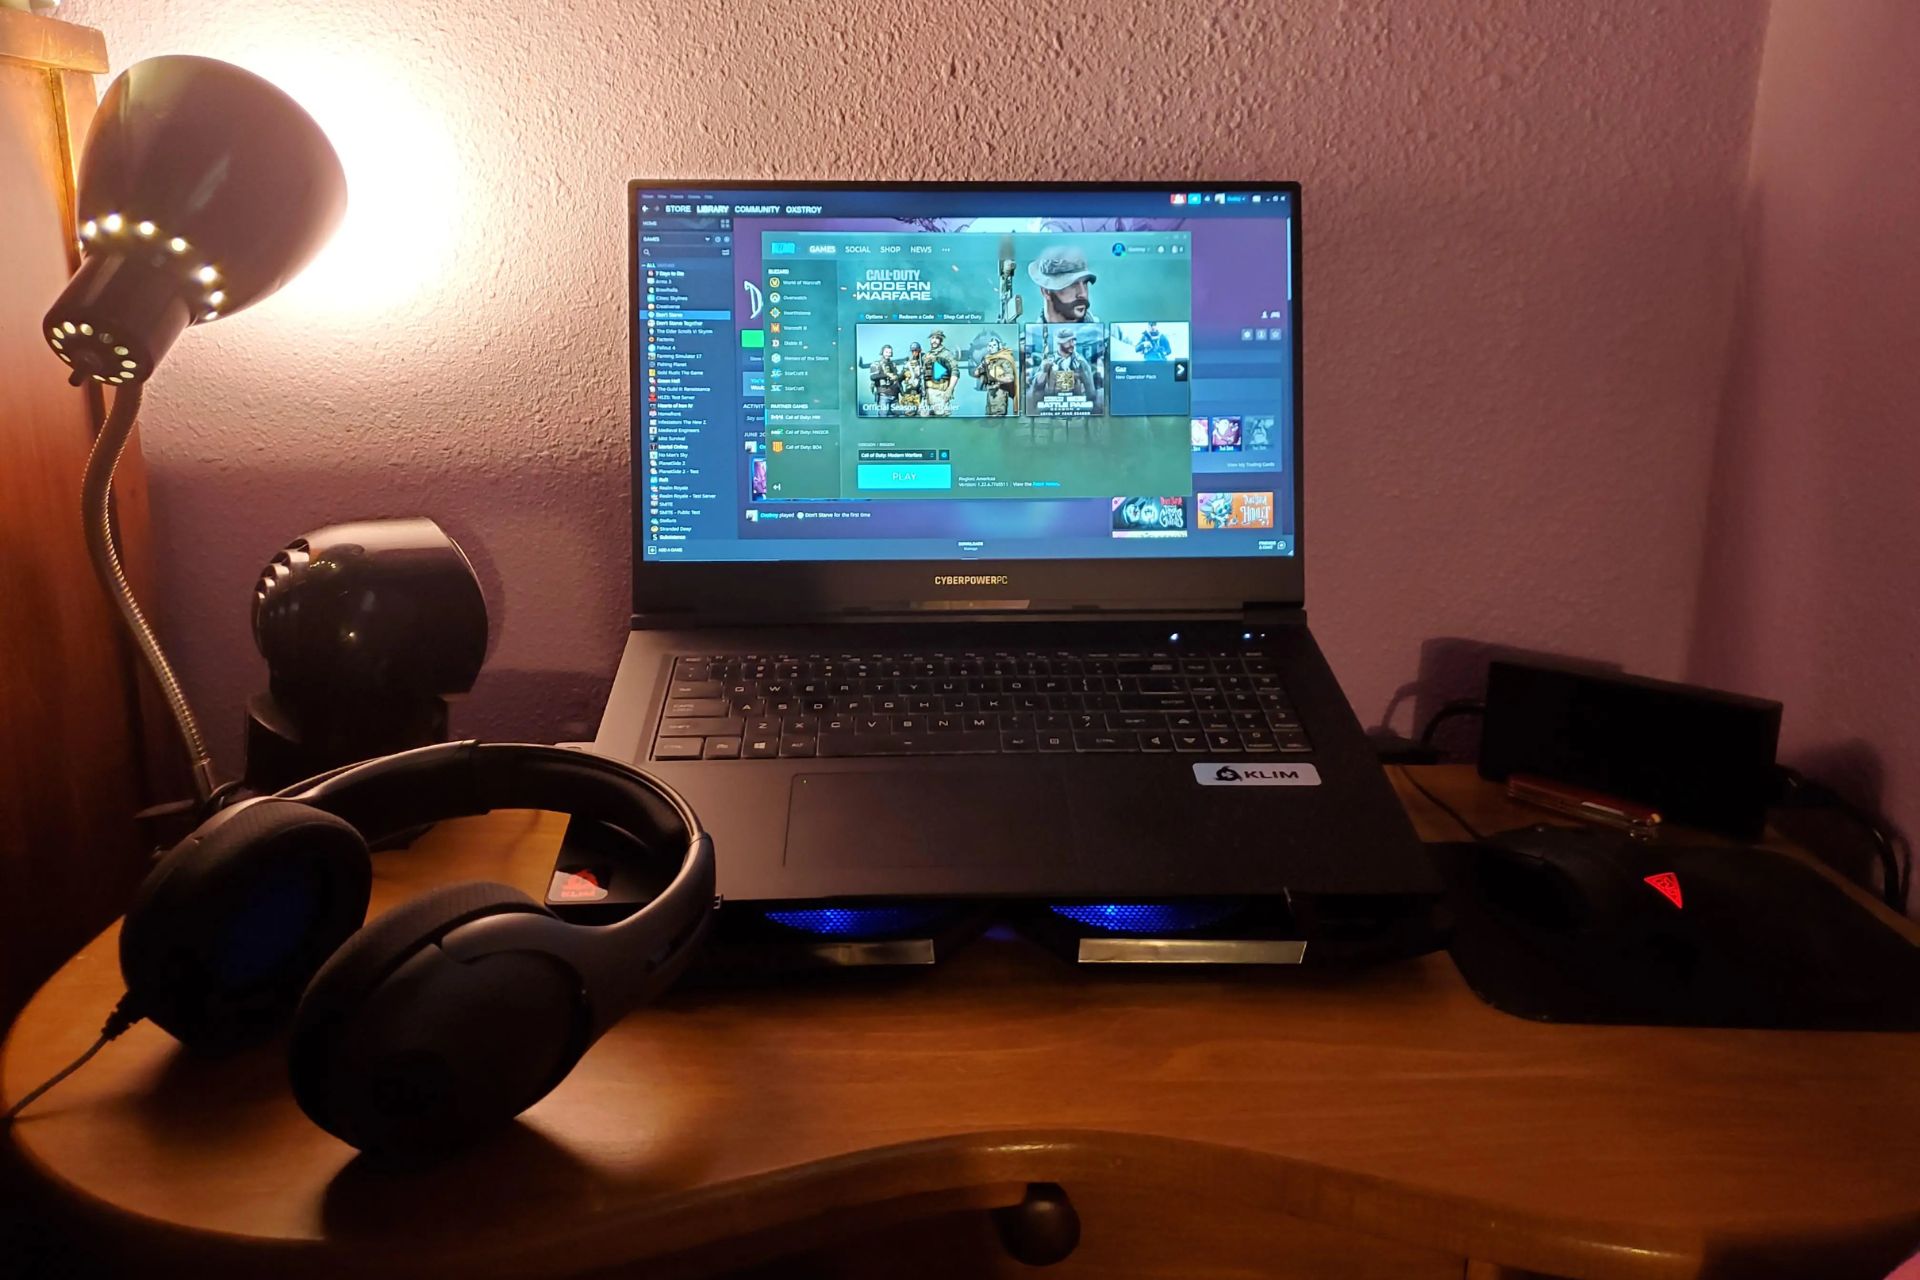
Welcome to the world of gaming, where immersive experiences and thrilling adventures await. But what if you don’t have a gaming monitor? Can you still enjoy your favorite games on a laptop? The answer is a resounding yes! In this article, we will show you how to use your laptop as a gaming monitor, allowing you to indulge in your gaming passion without the need for an additional display.
Whether you’re a casual gamer or a hardcore enthusiast, the ability to utilize your laptop as a gaming monitor can be a game-changer. Not only does it provide a cost-effective solution, but it also offers the convenience of mobility. Imagine being able to play your favorite games wherever you go, whether it’s at a friend’s house, a LAN party, or even while traveling.
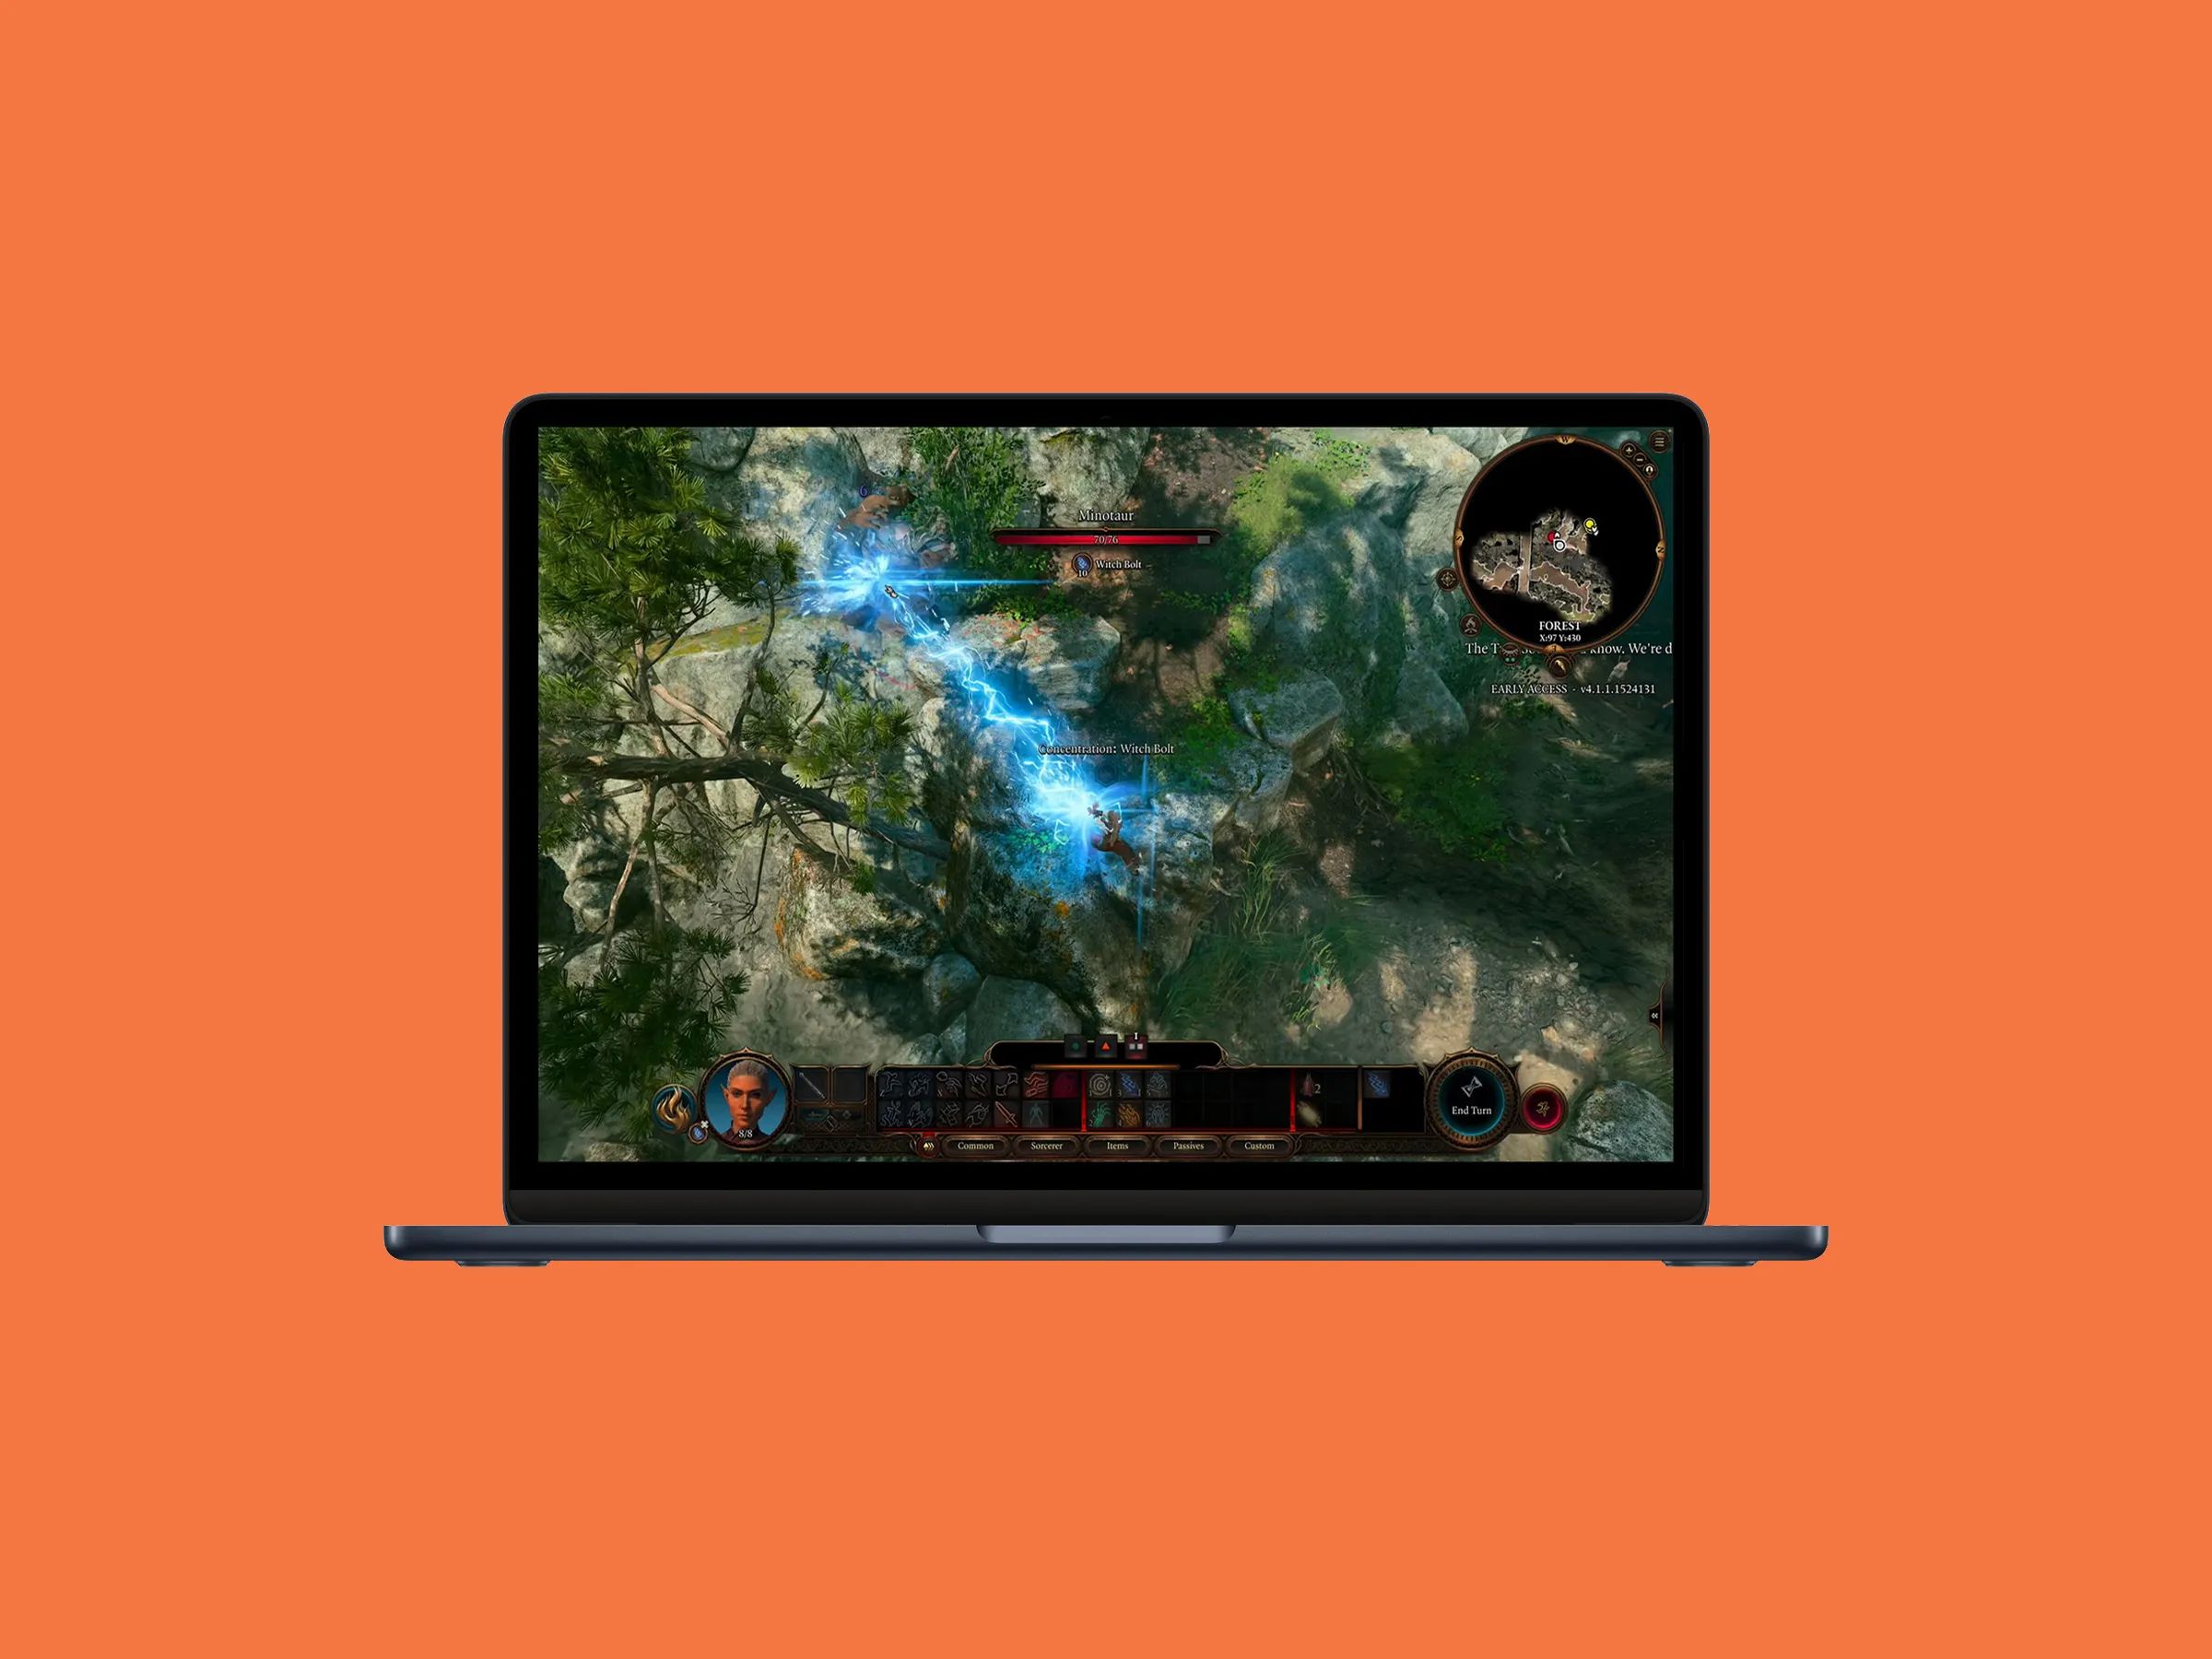
While laptops are primarily designed for everyday computing tasks, many modern laptops boast impressive graphics capabilities that rival dedicated gaming monitors. By following a few simple steps, you can tap into the full potential of your laptop and enjoy a seamless gaming experience.
Before we begin, it’s important to note that not all laptops are created equal. While most laptops can handle lightweight gaming, to fully harness the power of your laptop as a gaming monitor, you will need a laptop with a dedicated graphics card and a high refresh rate display. However, even if your laptop doesn’t meet the highest gaming specifications, you can still enjoy many games with satisfactory results.
So, if you’re ready to dive into the world of laptop gaming, let’s take a look at the requirements and step-by-step process of using your laptop as a gaming monitor.
Requirements
Before you can transform your laptop into a gaming monitor, there are a few essential requirements that you need to fulfill:
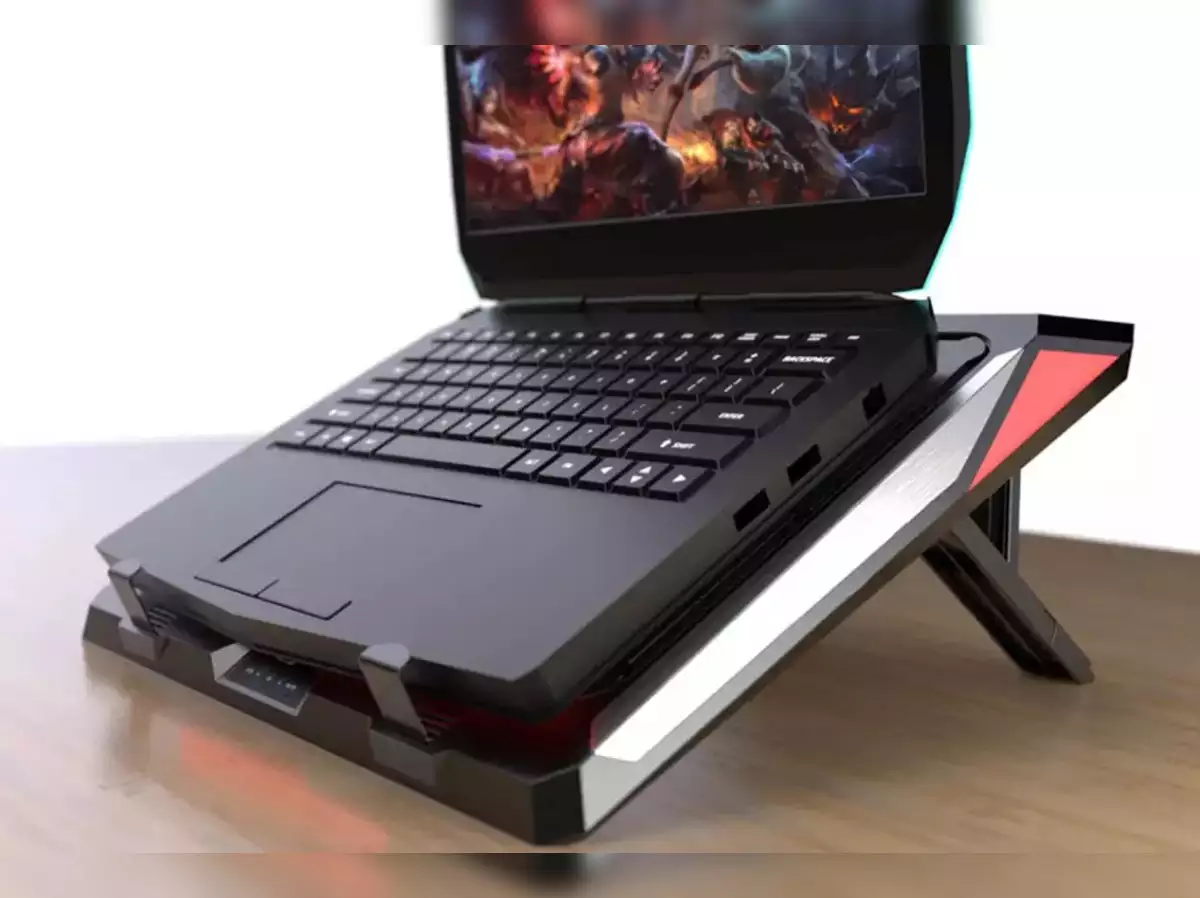
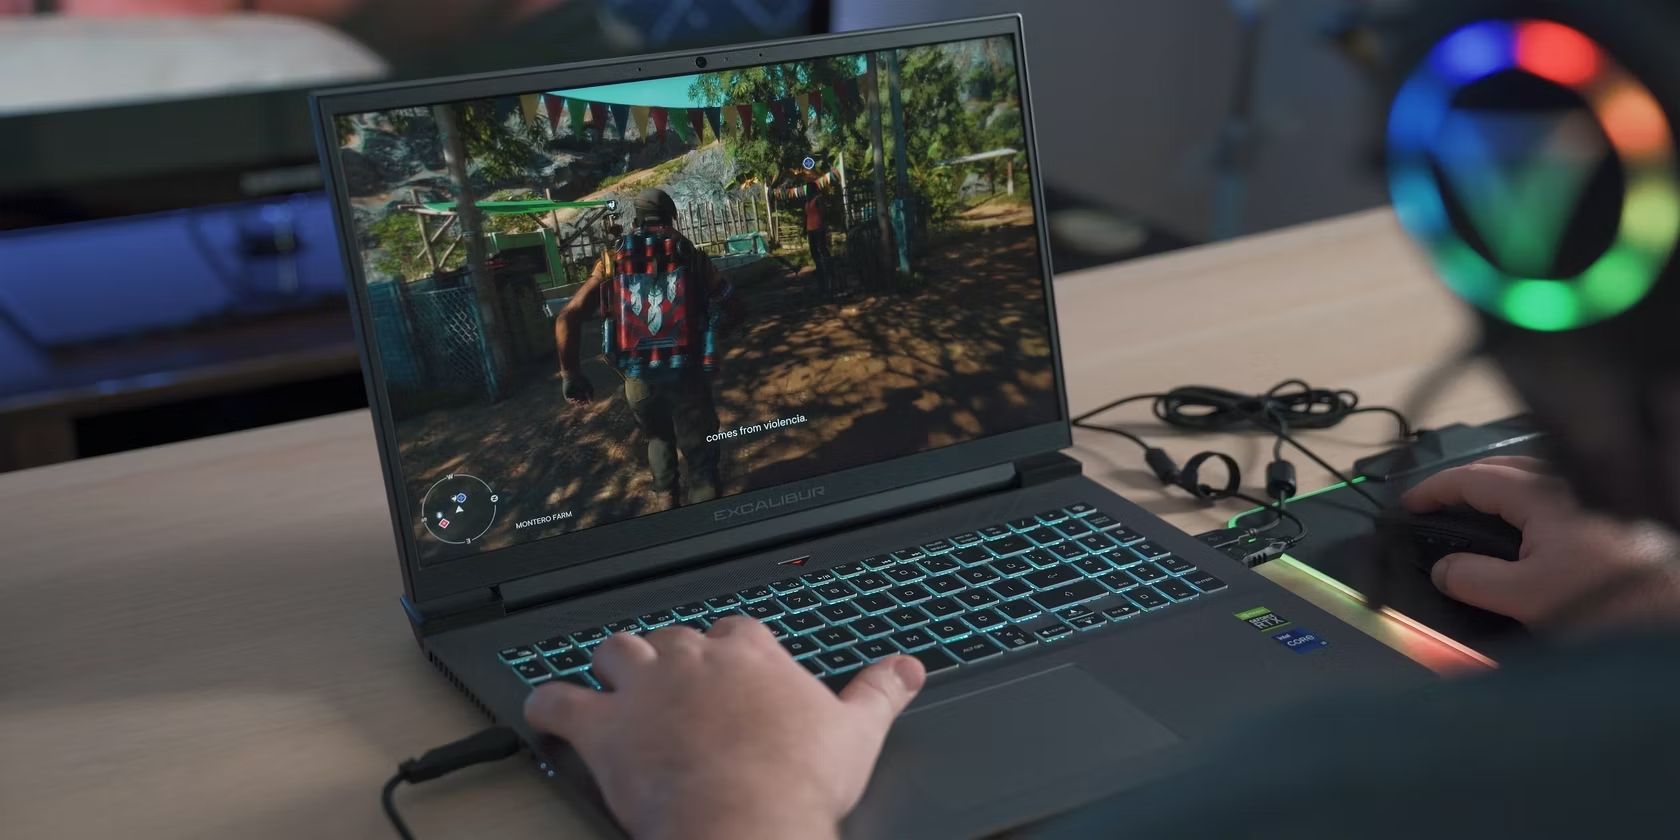
- A Laptop with High Graphics Capability: To ensure smooth gaming performance, your laptop should have a dedicated graphics card. Integrated graphics may work for some less demanding games, but for a better experience, a dedicated GPU is recommended. Additionally, a laptop with a high refresh rate display will provide a more fluid and responsive gaming experience.
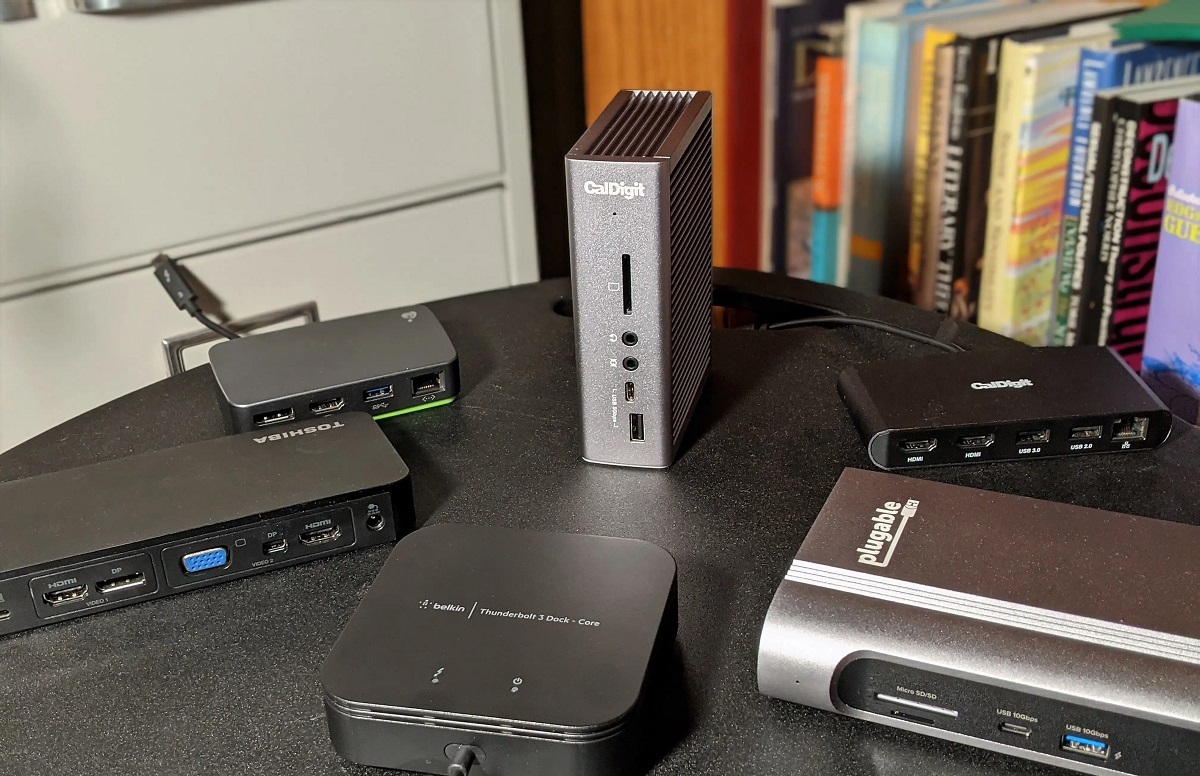
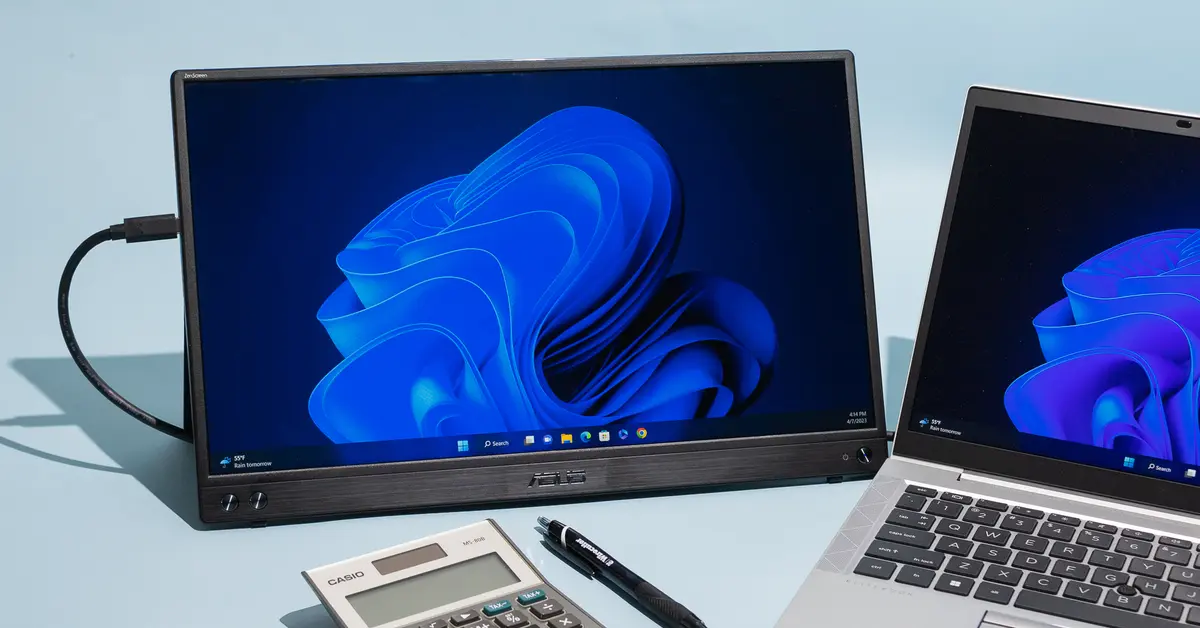
- An HDMI or DisplayPort Output: Your laptop should have an HDMI or DisplayPort output to connect it to the gaming console or device. These ports allow for high-quality video and audio transmission.
- An HDMI or DisplayPort Cable: You will need an HDMI or DisplayPort cable to connect your laptop to the gaming console. Make sure the cable is of sufficient length to reach from your console to your laptop.
- Gaming Console or Device: You will need a gaming console or device, such as a PlayStation, Xbox, or Nintendo Switch, to play games. Ensure that the console supports HDMI or DisplayPort output for video transmission.
While these are the primary requirements, you may also need additional accessories depending on your specific setup. For example, if you want to connect external speakers or headphones for better sound quality, make sure you have the necessary audio cables or adapters.
Now that you have a clear understanding of the prerequisites, let’s move on to the next section where we will guide you through the process of connecting your laptop to the gaming console.
Step 1: Connecting Your Laptop to the Gaming Console
Once you have ensured that your laptop meets the necessary requirements, it’s time to connect it to the gaming console. Follow these steps to establish the connection:
- Turn off both your laptop and the gaming console: Before connecting any cables, it’s crucial to turn off both devices to avoid any potential damage.
- Locate the HDMI or DisplayPort output on your laptop and the input on the gaming console: Most laptops have an HDMI port, while some may also have a DisplayPort. Determine which port your laptop has and ensure that your gaming console has the corresponding HDMI or DisplayPort input.
- Connect one end of the HDMI or DisplayPort cable to the laptop: Insert one end of the cable into the HDMI or DisplayPort output port on your laptop. Ensure that the connection is snug and secure.
- Connect the other end of the cable to the gaming console: Connect the other end of the cable to the HDMI or DisplayPort input port of the gaming console. Again, ensure that the connection is secure.
- Turn on your laptop and the gaming console: Once the cable is connected, power on both your laptop and the gaming console. Your laptop screen should now mirror the display of the gaming console.
- Adjust the laptop screen positioning if needed: Depending on your preference, you may need to adjust the positioning of your laptop screen. Some laptops have different screen orientation settings that allow you to rotate the display if necessary.
Once you have successfully connected your laptop and the gaming console, you are now ready to move on to the next step, where we will guide you through adjusting the display settings for optimal gaming experience.
Step 2: Adjusting Display Settings
After connecting your laptop to the gaming console, it’s important to configure the display settings for the best gaming experience. Follow these steps to adjust the display settings:
- Open the Display Settings on your laptop: Access the display settings by right-clicking on the desktop and selecting “Display settings” or by navigating through the Control Panel.
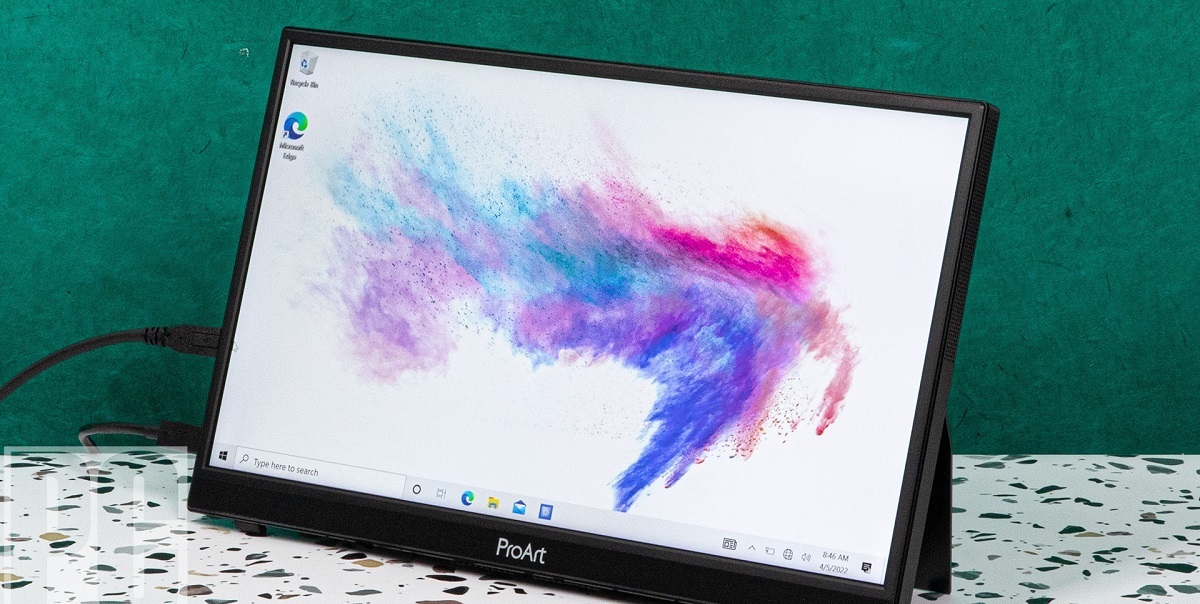
- Identify the external display: In the display settings, you should see both the laptop screen and the connected gaming console displayed. Identify the external display, which represents the gaming console.
- Set the external display as the primary display: To ensure that the gaming console is the primary display, select the external display and click on the “Make this my main display” option. This step will ensure that the visuals appear on the gaming console rather than the laptop screen.
- Adjust the display resolution: In the display settings, you can also modify the resolution of the external display. Choose a resolution that is suitable for your gaming experience. Higher resolutions offer sharper visuals, but make sure your laptop can handle the selected resolution.
- Tweak additional display settings: Depending on your laptop and graphics card software, you may have additional display settings available. These settings can include color calibration, refresh rate adjustment, and other visual enhancements. Experiment with these settings to find the optimal configuration for your gaming needs.
- Apply the changes: Once you have adjusted the display settings to your satisfaction, click on the “Apply” button to save the changes.
By following these steps, you have successfully configured the display settings for your laptop as a gaming monitor. Now, let’s move on to the next section, where we will discuss how to configure the sound output to ensure an immersive gaming experience.
Step 3: Configuring Sound Output
Having a captivating audio experience is as important as having stunning visuals when it comes to gaming. To ensure optimal sound output while using your laptop as a gaming monitor, follow these steps:
- Locate the audio output options on your laptop: Most laptops have built-in speakers and a headphone jack. Additionally, some laptops may have other audio output options such as Bluetooth or USB ports.
- Choose the desired audio output: Decide whether you want to use the laptop’s built-in speakers or connect external speakers or headphones to enhance the audio experience.
- Connect external speakers or headphones: If you prefer using external speakers or headphones, make sure to connect them to the appropriate audio output port on your laptop.
- Adjust the volume settings: Use the volume controls on your laptop or the connected audio device to adjust the volume level to your desired preference.
- Configure audio settings: You may need to configure the audio settings on your laptop to ensure that the sound is routed to the selected audio output. Access the audio settings through the Control Panel or system preferences and select the desired output device.
- Test the audio output: Play a sample audio or a game to test the sound output. Ensure that the audio is being played through the selected output device and adjust the volume accordingly.
By following these steps, you can configure the sound output of your laptop to ensure an immersive gaming experience. With visuals and sound perfectly aligned, you’ll be ready to delve into exciting gaming sessions. Now, let’s move on to the next section, where we explore the use of third-party software to enhance your gaming experience even further.
Step 4: Using Third-Party Software for Enhanced Gaming Experience
To truly elevate your gaming experience while using your laptop as a gaming monitor, you can take advantage of various third-party software options. These software tools offer additional features and customization options to enhance your gameplay. Follow these steps to explore the use of third-party software:
- Research and choose reputable gaming software: Look for trusted software options that are widely used by the gaming community. Read reviews, check user feedback, and compare features to make an informed decision.
- Download and install the selected software: Visit the official website of the software provider and download the appropriate version for your laptop. Follow the installation instructions to install the software on your system.
- Explore the features and customization options: Once the software is installed, launch it and familiarize yourself with the available features. These can include options for screen capture, video recording, custom overlays, and more. Customize the settings according to your preferences.
- Optimize game settings: Many gaming software tools offer optimization features that can automatically adjust the game settings for optimal performance. These features can help fine-tune graphics, frame rate, and other parameters to ensure smooth gameplay.
- Experiment with additional features: Apart from optimization, third-party software may provide additional features like live streaming integration, voice chat overlays, and macros for personalized gaming experiences. Explore these features and see how they can enhance your gaming sessions.
- Stay updated: Keep the software up to date by regularly checking for updates from the software provider. Updates often bring bug fixes, performance improvements, and new features, ensuring you have the best gaming experience.
By utilizing third-party software, you can enhance your gaming experience, unleash new possibilities, and personalize your gameplay. Now that you have explored the use of third-party software, let’s move on to the final section where we will provide troubleshooting tips to overcome common issues while using your laptop as a gaming monitor.
Step 5: Troubleshooting Tips
While using your laptop as a gaming monitor can provide an immersive gaming experience, you may encounter some common issues along the way. Here are a few troubleshooting tips to help you overcome these challenges:
- No display on the external monitor: Ensure that the HDMI or DisplayPort cable is securely connected to both your laptop and the gaming console. Additionally, check the input source on the gaming console to ensure it is set to the correct display.
- Poor image quality: Adjust the display settings on your laptop to match the recommended resolution and refresh rate of the gaming console. Additionally, ensure that the graphics drivers on your laptop are up to date.
- No sound or distorted audio: Confirm that the audio output settings on your laptop are correctly configured. Check the volume levels and ensure that the correct audio output device is selected.
- Input lag or latency issues: Input lag can occur due to various factors, including the performance of your laptop, the graphics settings of the game, and the connection between your laptop and the gaming console. Minimize lag by closing unnecessary background applications, reducing graphics settings, and using a high-quality HDMI or DisplayPort cable.
- Overheating of your laptop: Extended gaming sessions can sometimes cause laptops to overheat. Ensure proper ventilation by using a cooling pad or elevating your laptop to allow better airflow. Clean the vents and ensure they are not blocked by dust or debris.
- Software compatibility issues: Some gaming software may not be compatible with certain games or hardware configurations. Before installing any software, check its requirements and compatibility to avoid potential issues.
If you encounter any persisting issues that cannot be resolved using the troubleshooting tips mentioned above, consult the support resources provided by your laptop manufacturer, gaming console manufacturer, or the specific software developer for further assistance.
By following these troubleshooting tips, you can overcome common issues that may arise while using your laptop as a gaming monitor, ensuring a smooth and enjoyable gaming experience. Now that we have covered troubleshooting, let’s wrap up this guide on using your laptop as a gaming monitor.
Conclusion
Congratulations! You have successfully learned how to transform your laptop into a gaming monitor. By following the steps outlined in this guide, you can enjoy your favorite games on a larger screen with enhanced visuals and immersive sound.
We began by discussing the requirements for using your laptop as a gaming monitor, emphasizing the importance of a dedicated graphics card, HDMI or DisplayPort output, and a gaming console or device. Ensuring that your laptop meets these requirements is crucial for optimal gaming performance.
We then walked through the step-by-step process of connecting your laptop to the gaming console, adjusting the display settings, and configuring the sound output. These steps ensure that the visuals are seamlessly mirrored on your laptop screen while the audio is directed to the desired output device, be it built-in speakers or external speakers/headphones.
To take your gaming experience even further, we explored the use of third-party software, providing you with the opportunity to customize and optimize your gaming settings. These software tools offer features such as screen capture, video recording, optimization options, live streaming integration, and more.
Lastly, we discussed troubleshooting tips to help you overcome common issues you may encounter while using your laptop as a gaming monitor. From no display or poor image quality to sound issues and input lag, these troubleshooting tips will guide you in resolving problems effectively.
Remember, while using your laptop as a gaming monitor can be a convenient and cost-effective solution, it’s important to ensure that your laptop can handle the demands of gaming. Regularly update your graphics drivers, keep your laptop’s cooling system in check, and stay vigilant for any signs of overheating.
Now that you have the knowledge and tools to utilize your laptop as a gaming monitor, go ahead and immerse yourself in thrilling gaming experiences wherever you go. Happy gaming!