Introduction
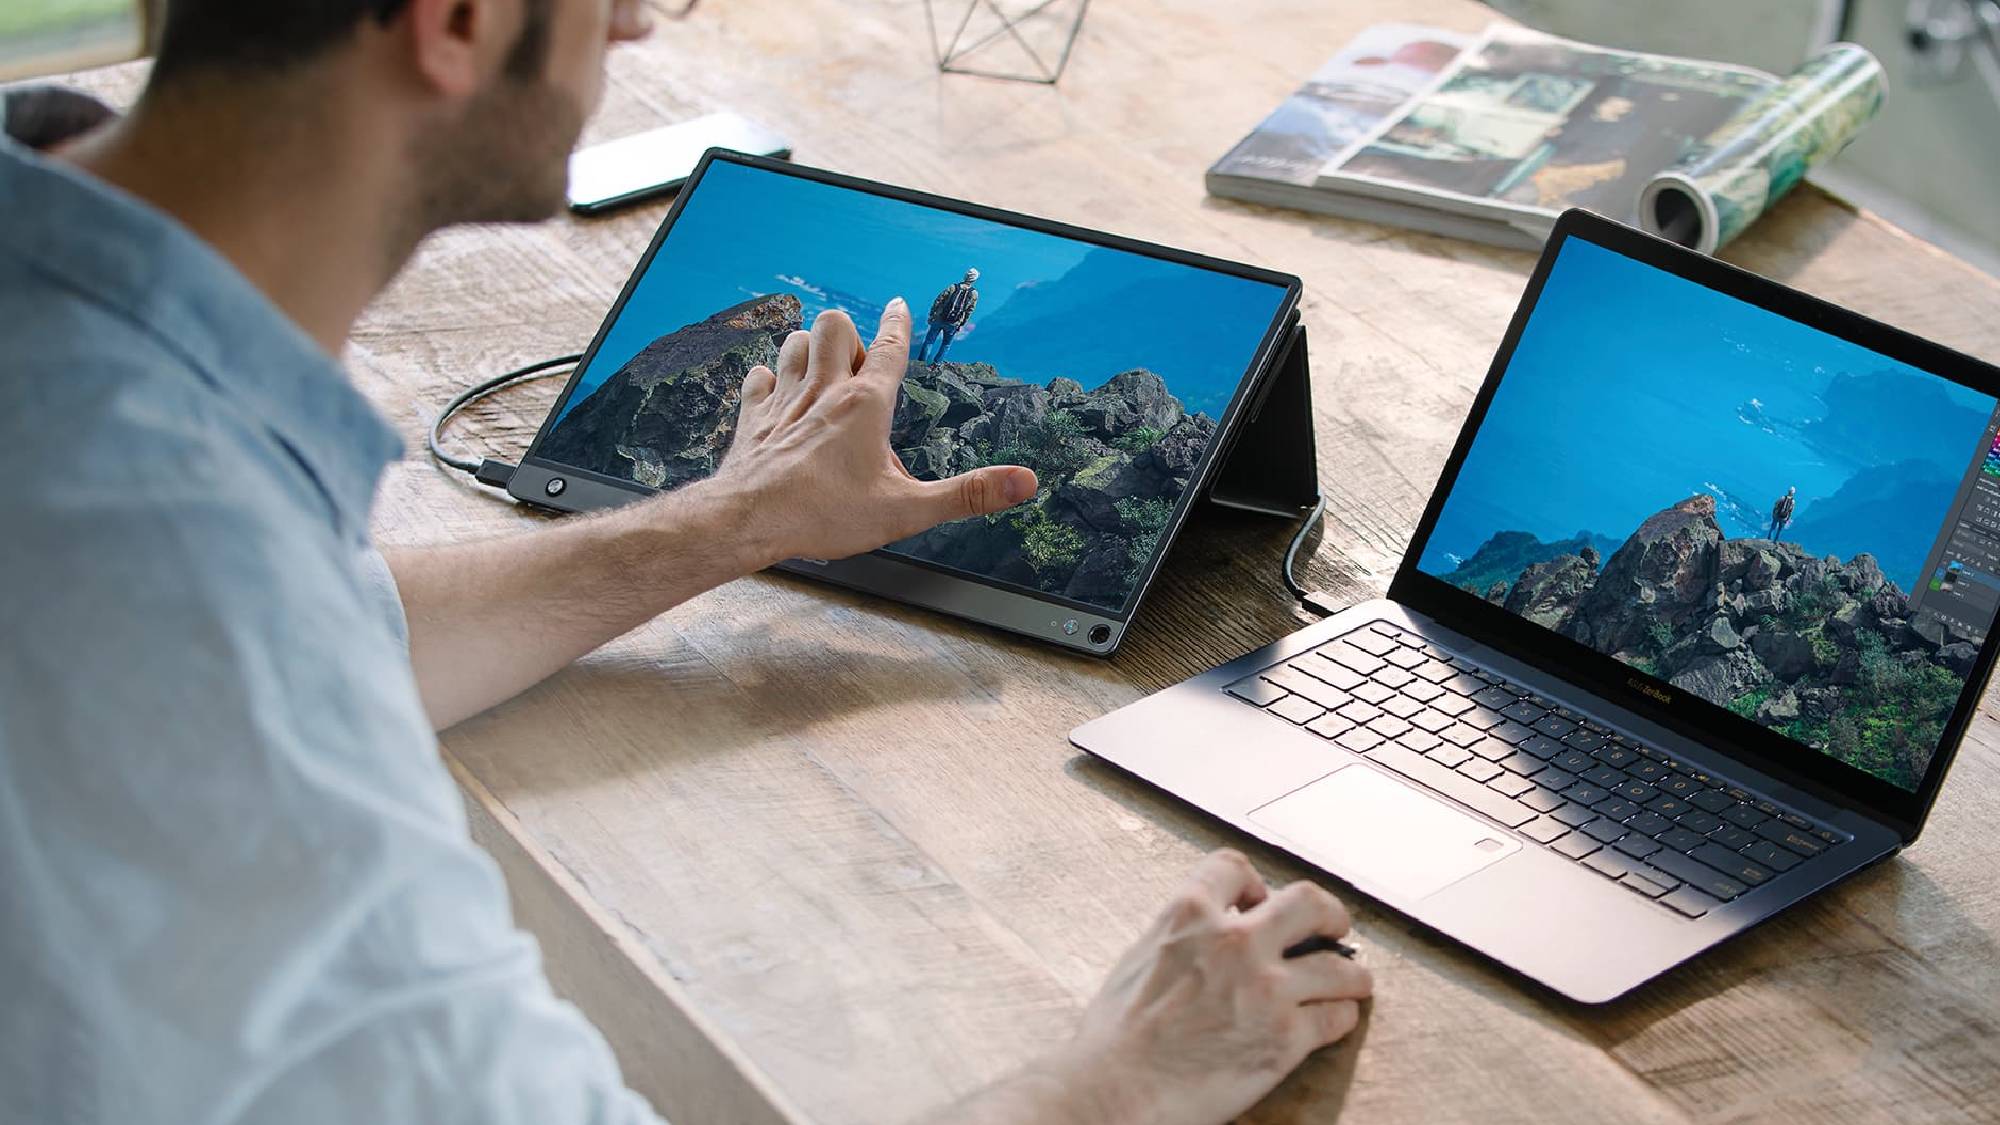
Gaming laptops offer the convenience of portable gaming, allowing you to enjoy your favorite games wherever you go. However, for a more immersive gaming experience, connecting your laptop to a larger monitor can make a significant difference. A larger display not only enhances the visuals but also provides a wider field of view and allows for more precise gameplay.
If you’re new to connecting a monitor to a gaming laptop, don’t worry. It’s a straightforward process that requires just a few steps. In this guide, we’ll walk you through the process of connecting a monitor to your gaming laptop, helping you enjoy a bigger and better gaming experience.
Before diving into the steps, make sure you have the necessary equipment. You’ll need a compatible monitor, a cable to connect the laptop and monitor, and possibly an adapter if the ports are not a perfect match. It’s also recommended to have the latest graphics drivers installed on your laptop to ensure optimal performance.
So, whether you’re a casual gamer looking to increase the screen size or a competitive gamer aiming for better visibility and responsiveness, let’s get started and learn how to connect a monitor to your gaming laptop.
Required Equipment
Before you begin the process of connecting a monitor to your gaming laptop, ensure that you have the following equipment on hand:
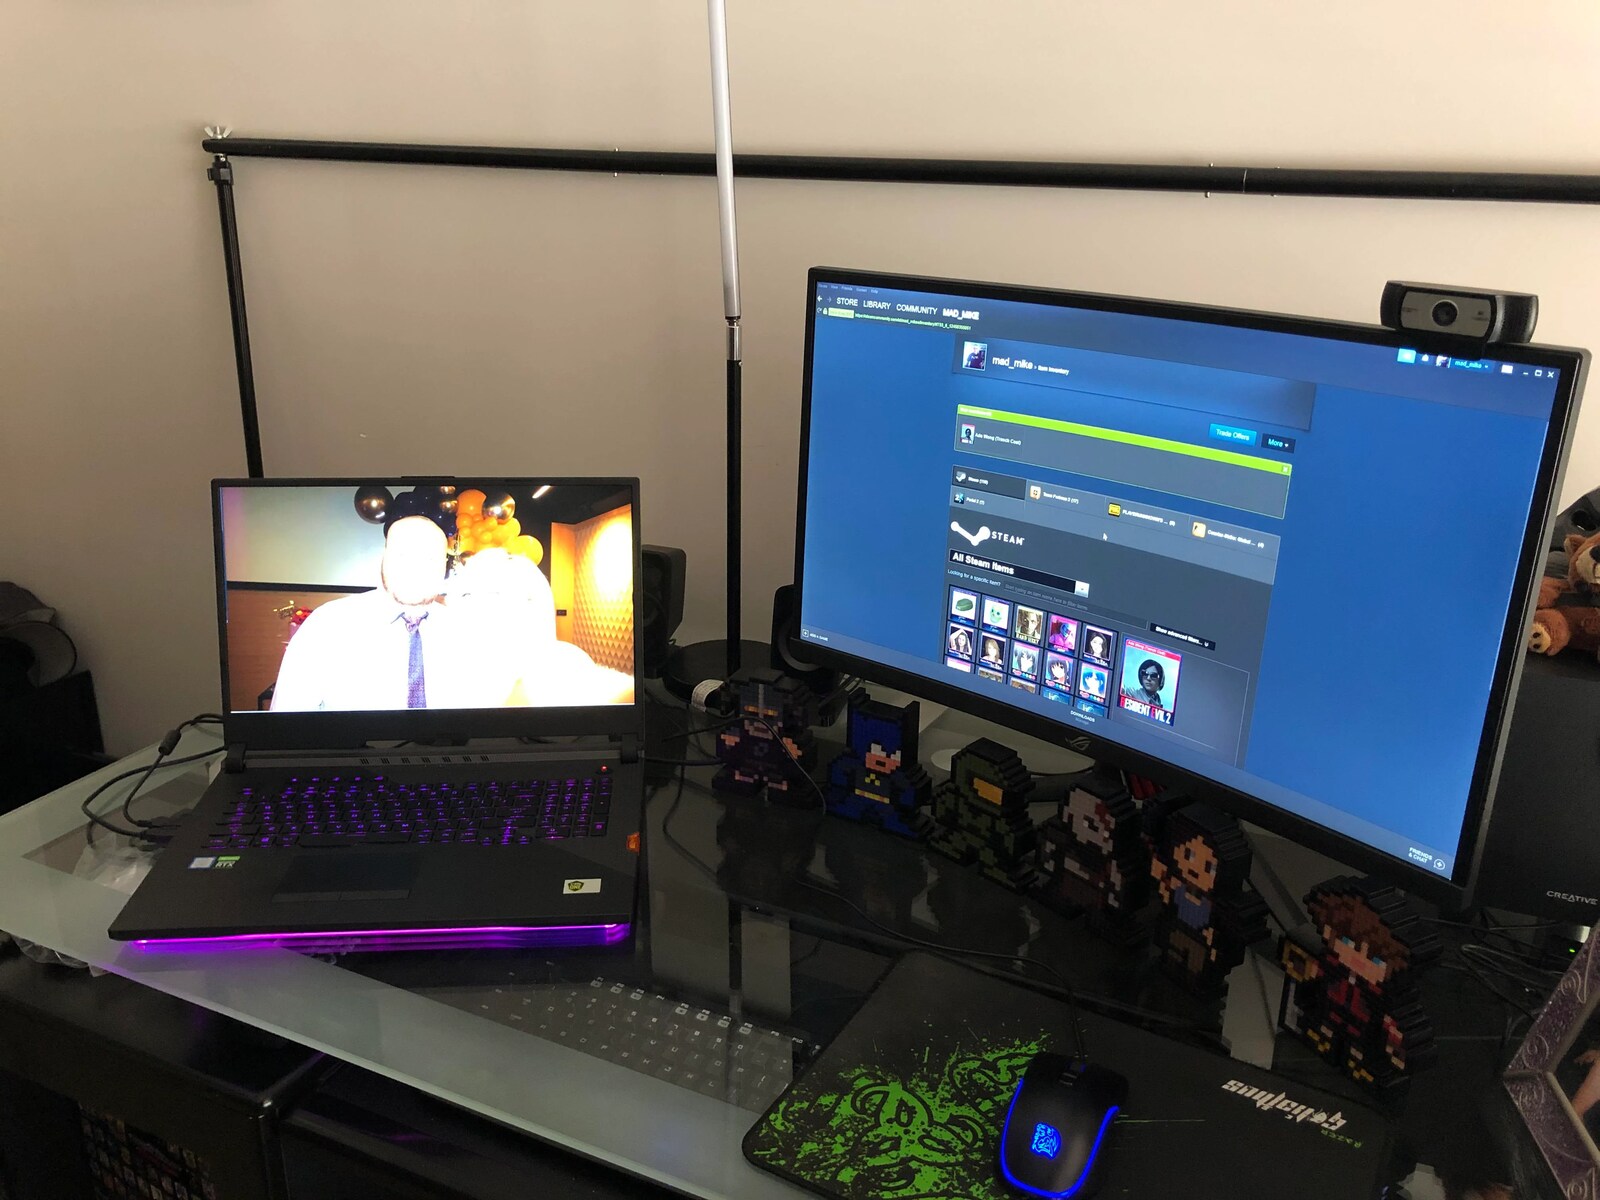
- Gaming Laptop: Make sure you have a fully functional gaming laptop with a video output port. Most modern gaming laptops come equipped with HDMI or DisplayPort connections, but double-check your laptop’s specifications to confirm.
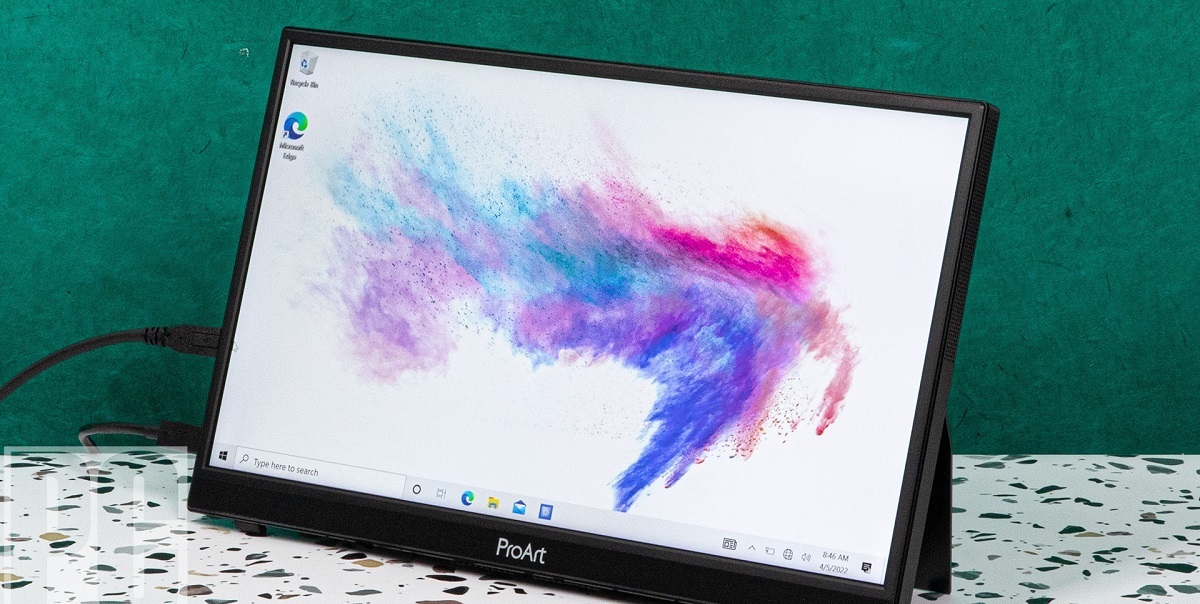
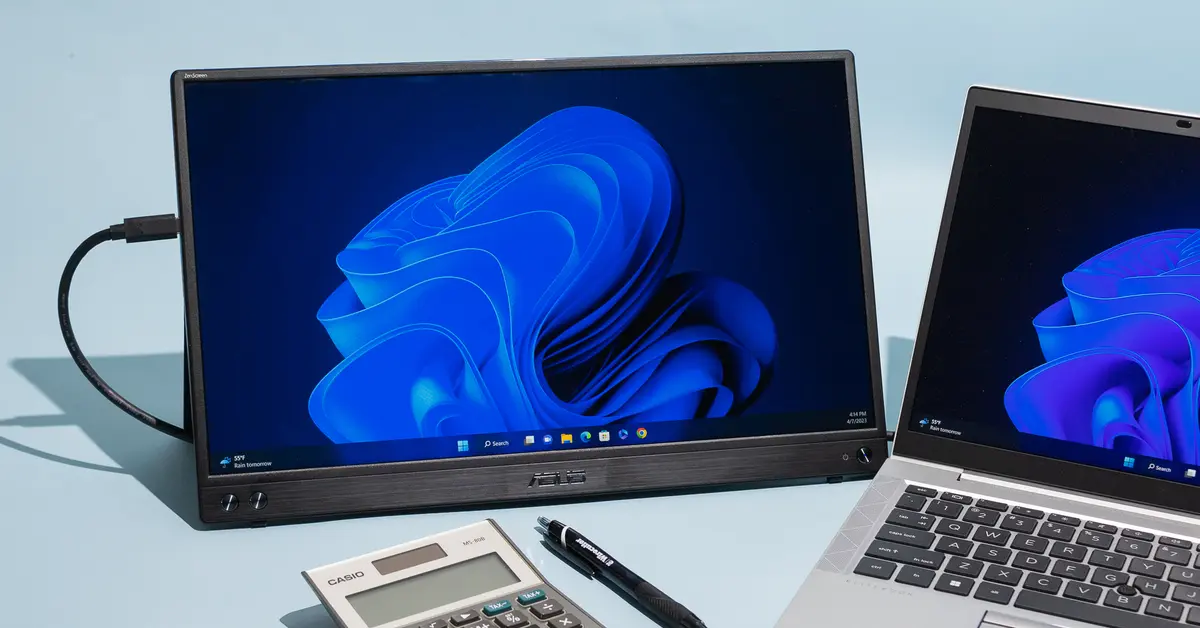
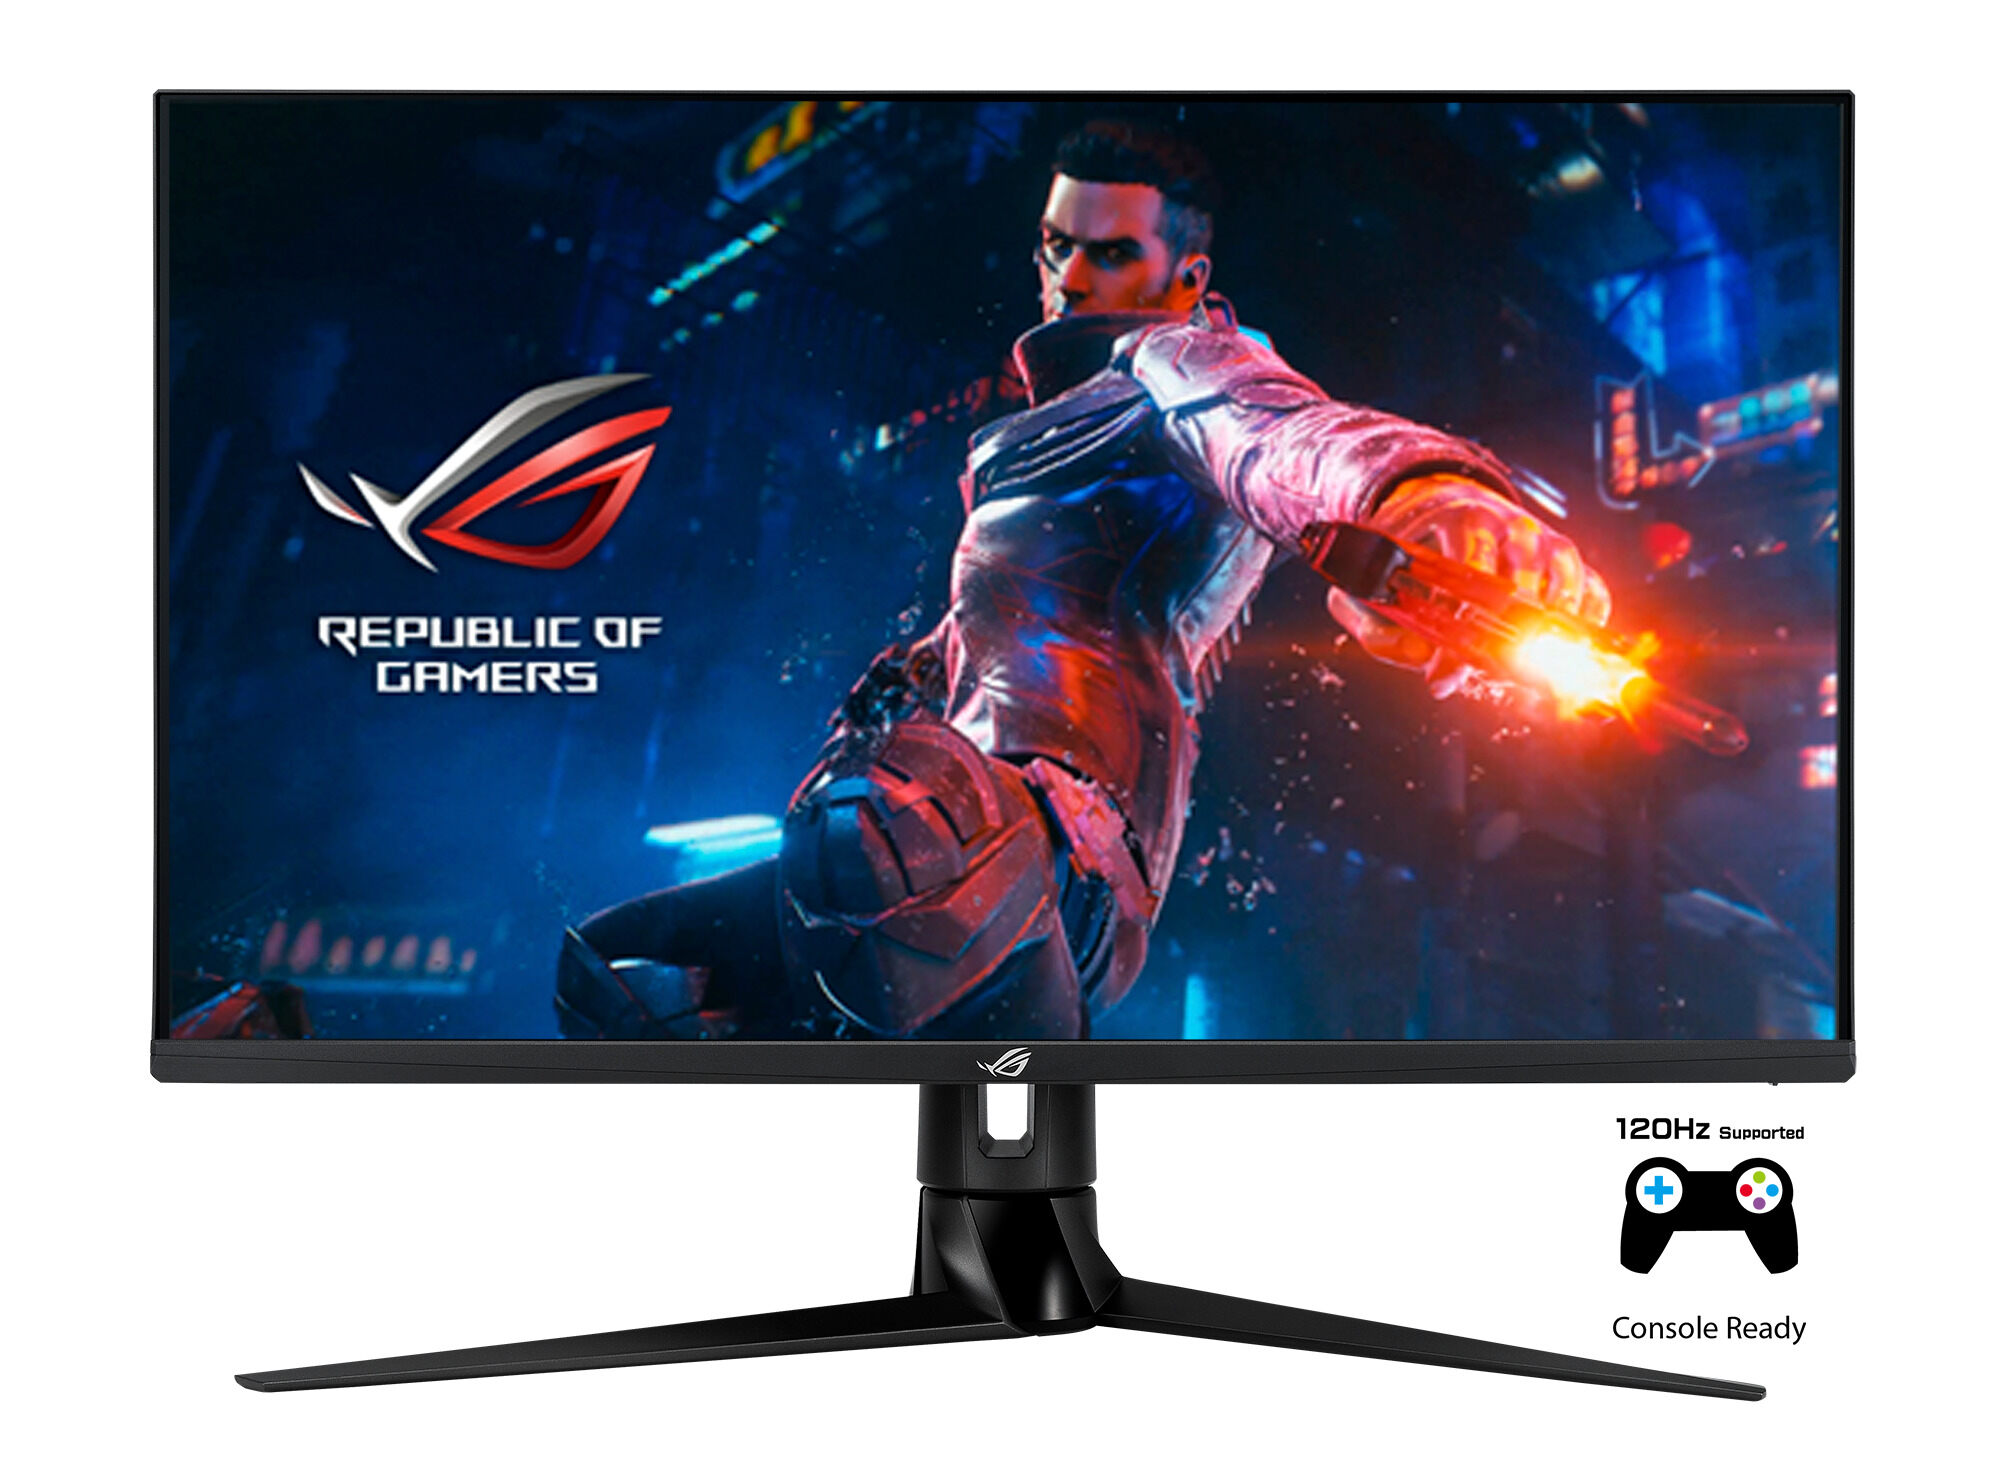
- Monitor: Choose a monitor that suits your needs and budget. Select a monitor with a display size and resolution that enhances your gaming experience. Look for monitors with HDMI or DisplayPort inputs for easy compatibility.
- Cable: You’ll need a cable to connect your laptop and monitor. The type of cable you require will depend on the available ports on your laptop and monitor. Most commonly, HDMI and DisplayPort cables are used for high-quality video and audio transmission.
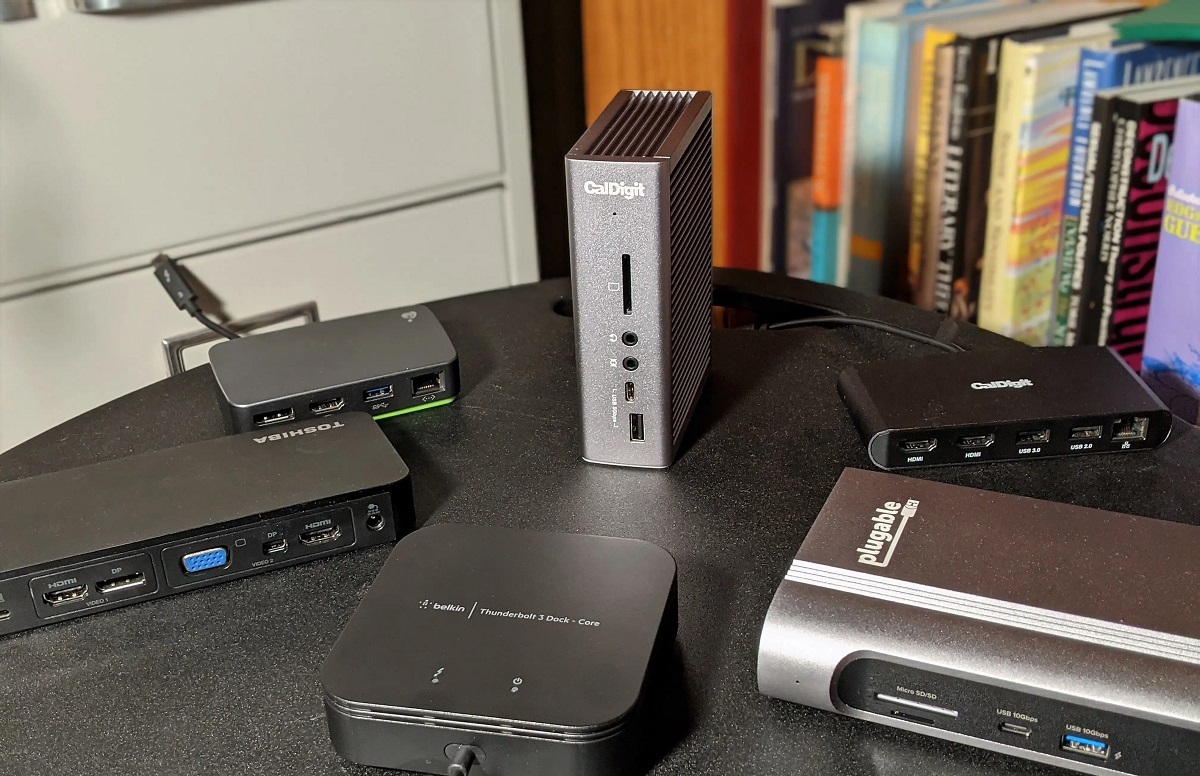
- Adapter (optional): If your laptop and monitor use different types of ports, you may need an adapter to bridge the connection. For example, if your laptop has a DisplayPort output and your monitor only has an HDMI input, you’ll need a DisplayPort-to-HDMI adapter.
- Power Cables: Make sure you have the necessary power cables for both your laptop and monitor.
Once you have gathered all the required equipment, you’re ready to proceed with connecting your monitor to your gaming laptop. Follow the step-by-step instructions outlined in the next sections to ensure a seamless and successful connection.
Step 1: Check the Laptop’s Video Output Ports
Before connecting your gaming laptop to a monitor, it’s essential to identify the type of video output ports available on your laptop. Most modern gaming laptops come with HDMI, DisplayPort, or USB-C ports. Here’s how you can check which ports your laptop has:
- Refer to the laptop’s user manual: The user manual or documentation that came with your laptop should indicate the types of video output ports available.
- Inspect the sides and back of the laptop: Look for any visible HDMI, DisplayPort, or USB-C ports. These ports are usually labeled with their respective symbols.
- Access your computer’s display settings: On Windows laptops, you can right-click on the desktop and select “Display settings” from the context menu. On Mac laptops, go to the Apple menu, click on “System Preferences,” then choose “Displays.” These settings should indicate the available video output options.
Once you have identified the video output ports on your gaming laptop, make a note of them. This information will be essential when selecting the appropriate cable to connect your laptop to the monitor. If your laptop has multiple video output ports, consider which one suits your needs best and offers the highest quality output.
It’s worth noting that some older laptops may only have VGA (Video Graphics Array) ports, which are less common nowadays. VGA ports do not support high-definition output, so it’s recommended to use HDMI, DisplayPort, or USB-C if available.
With Step 1 complete, you are now familiar with the type of video output ports available on your gaming laptop. Moving forward, you can proceed to the next step, where you will determine the input ports on your monitor.
Step 2: Determine the Monitor’s Input Ports
Once you know the video output ports available on your gaming laptop, the next step is to identify the input ports on your monitor. This will help you determine the compatibility and the type of cable you’ll need to connect your laptop to the monitor. Here’s how you can determine the monitor’s input ports:
- Check the monitor’s user manual: The user manual or documentation that came with your monitor should provide information on the available input ports.
- Inspect the back or sides of the monitor: Look for visible HDMI, DisplayPort, VGA, DVI, or USB-C ports. These ports are usually labeled or marked with their respective symbols.
- Access the monitor’s on-screen display (OSD) menu: Use the buttons or controls on the monitor to navigate through the OSD menu. Look for an option that provides details about the input ports available on the monitor.
Make a note of the input ports available on your monitor. Once you know the input ports, you can choose the appropriate cable to connect your gaming laptop to the monitor. Ideally, you want to use the same type of input port on both your laptop and monitor for the best compatibility and video quality.
If your laptop and monitor have different types of ports, don’t worry, there are adapters available that can help bridge the connection. For example, if your laptop has an HDMI output but your monitor only has a VGA input, you’ll need an HDMI-to-VGA adapter to connect the two.
By completing Step 2, you have successfully determined the input ports available on your monitor. With this information in hand, you can proceed to the next step, where you’ll acquire the necessary cable to connect your laptop to the monitor.
Step 3: Acquire the Necessary Cable
With the knowledge of the video output ports on your gaming laptop and the input ports on your monitor, you can now acquire the necessary cable to connect the two devices. The type of cable you’ll need depends on the available ports on both devices.
If your gaming laptop and monitor have matching ports, such as HDMI to HDMI or DisplayPort to DisplayPort, simply purchase a cable that supports the desired length and is suitable for your gaming needs. HDMI and DisplayPort cables are widely available and offer high-quality video and audio transmission.
However, if your laptop and monitor have different types of ports, you may need to use an adapter along with the corresponding cable. For example:
- If your laptop has an HDMI output and your monitor only has a VGA input, you’ll need an HDMI-to-VGA adapter along with a VGA cable.
- If your laptop has a DisplayPort output and your monitor has an HDMI input, you’ll need a DisplayPort-to-HDMI adapter along with an HDMI cable.
- If your laptop has a USB-C output and your monitor has a DisplayPort input, you’ll need a USB-C-to-DisplayPort cable.
Make sure to purchase high-quality cables or adapters that offer reliable connectivity and support the desired resolution and refresh rate. It’s often recommended to opt for cables with gold-plated connectors and sturdy construction for optimal performance.
Once you have acquired the necessary cable or cables, move on to the next step, where we will power off the laptop and monitor in preparation for the connection process.
Step 4: Power Off the Laptop and Monitor
Before making any connections, it’s crucial to power off both your gaming laptop and the monitor. This ensures a safe and hassle-free connection process.
To power off your laptop, follow these steps:
- Save any open files and close all running applications on your gaming laptop.
- Click on the Start menu or press the Windows key, then select “Power” and choose “Shut down” from the options.
- Allow the laptop to completely shut down before proceeding to the next step.
Once your laptop is powered off, move on to the monitor and follow these steps:
- Locate the power button on the monitor and press it to turn off the device. Some monitors may have an on-screen power button or a physical button.
- Wait a few moments to ensure that the monitor is fully powered off.
By powering off both your laptop and monitor, you eliminate the risk of any electrical shorts or incorrect connections during the setup. Now that both devices are turned off, you can move on to the next step, where we will connect the necessary cable to your gaming laptop.
Step 5: Connect the Cable to the Laptop
Now that your laptop and monitor are powered off, it’s time to connect the cable between your gaming laptop and the monitor. Follow these steps to successfully connect the cable to your laptop:
- Locate the video output port on your laptop. Common ports include HDMI, DisplayPort, and USB-C, which are typically found on the sides or back of the laptop.
- Take the appropriate cable based on the available ports on your laptop and monitor. For example, if both devices have HDMI ports, use an HDMI cable.
- Once you have the cable, insert one end into the video output port on your laptop. Ensure that the connector is inserted securely.
- If the cable has screws or latches, tighten them to lock the cable securely in place. This step may not be necessary for some cables.
Now that the cable is properly connected to your laptop, you’re ready to move on to the next step, where we will connect the cable to the monitor.
Step 6: Connect the Cable to the Monitor
After connecting the cable to your gaming laptop, it’s time to connect the other end of the cable to your monitor. Follow these steps to ensure a successful connection:
- Locate the input port on your monitor. Common input ports include HDMI, DisplayPort, VGA, DVI, and USB-C. These ports are usually located on the back or side of the monitor.
- Take the other end of the cable that you connected to your laptop.
- Insert the cable securely into the matching input port on your monitor. Make sure the connector is inserted all the way in.
- If the cable has screws or latches, tighten them to secure the connection. Note that not all cables will have this feature.
Ensure that the cable is securely connected to both your laptop and monitor. A loose connection may result in a poor signal or no signal at all. Double-check that the cable is firmly in place before proceeding to the next step.
With the cable now connected to both your gaming laptop and monitor, you’re ready to move on to the next step, where we will power on both devices and configure the display settings on your laptop.
Step 7: Power On the Laptop and Monitor
Now that the cable is securely connected to both your gaming laptop and monitor, it’s time to power on both devices. Follow these steps to ensure a smooth power-on process:
- Locate the power button on your gaming laptop. It is usually located on the top of the keyboard or on the side of the laptop.
- Press the power button to turn on your laptop. Wait for the system to boot up, which may take a few moments.
- Next, locate the power button on your monitor. It is typically located on the front or side of the monitor.
- Press the power button to turn on your monitor. Wait for the monitor to power up and display an image.
As both your gaming laptop and monitor power on, make sure to check that the connections are secure and that the cable is functioning properly. If you encounter any issues, double-check the connections and make sure the correct input source is selected on the monitor.
With your laptop and monitor powered on and displaying an image, you’re almost ready to start enjoying your gaming experience on the larger screen. The next steps will involve configuring the display settings on your laptop and testing the extended display.
Step 8: Configure Display Settings on the Laptop
After powering on both your laptop and monitor, it’s time to configure the display settings on your gaming laptop to ensure proper functionality. Follow these steps to configure the display settings:
- Right-click on the desktop of your gaming laptop and select “Display settings” from the context menu. This will open the display settings panel.
- In the display settings panel, you will see a visual representation of your laptop’s display and the connected external monitor. Review these displays to ensure they are correctly identified.
- Under the “Multiple displays” section, you will find options to extend, duplicate, or select a display. Choose the “Extend these displays” option to use the external monitor as an extended display of your laptop.
- If you wish to change the position of the external monitor in relation to your laptop’s display, click and drag the display icons in the settings panel to rearrange them accordingly.
- Adjust other display settings such as resolution, orientation, and brightness according to your preferences.
- Click on “Apply” or “OK” to save the changes and apply the configured display settings.
Once you have configured the display settings on your laptop, you should see the extended desktop displayed on your external monitor. Your gaming laptop’s display and the monitor will now act as two separate screens, offering a larger workspace for gaming or multitasking.
If the display does not appear on your external monitor, double-check the cable connections and ensure that the correct input source is selected on the monitor. If the issue persists, you may need to update your graphics drivers or consult the troubleshooting guide provided by your laptop manufacturer.
With the display settings configured, you’re ready to move on to the next step, where we will test and adjust the extended display settings for optimal functionality.
Step 9: Test and Adjust the Extended Display Settings
With the extended display set up, it’s important to test and adjust the settings to ensure optimal functionality and usability. Here’s how you can test and make adjustments to the extended display settings:
- Move your mouse cursor to the edge of your laptop’s screen and observe if it moves smoothly onto the external monitor. This indicates that the extended display is working correctly.
- Open an application or game and drag it from your laptop’s screen to the external monitor. This allows you to utilize the additional screen space for better multitasking or gaming experience.
- Check the audio output settings and ensure that the sound is directed to the appropriate device. You can do this by right-clicking on the volume icon in the system tray and selecting the correct audio output device.
- Test the performance and responsiveness of the extended display by running graphically demanding applications or games. Monitor the frame rate and ensure that there are no noticeable lags or visual anomalies.
- If necessary, adjust the color calibration and brightness settings on your external monitor to match your desired preferences. Most monitors have built-in settings that allow you to modify these parameters.
- Experiment with different window management options, such as snapping windows to different screens or utilizing virtual desktops, to maximize productivity and streamline your workflow.
- If you encounter any issues or inconsistencies, refer to the user manual or online support resources provided by your laptop or monitor manufacturer for troubleshooting guidance.
By testing the extended display settings and making necessary adjustments, you can ensure that both your laptop and external monitor work harmoniously to provide an enhanced gaming or multitasking experience.
Now that you have successfully tested and adjusted the extended display settings, you are ready to enjoy the benefits of a larger screen and improved visuals while gaming or working on your gaming laptop connected to a monitor.
Conclusion
Connecting a monitor to your gaming laptop is a simple process that can greatly enhance your gaming experience. By following the step-by-step instructions provided in this guide, you can successfully connect and configure an external monitor to your laptop, providing you with a larger display and improved visuals.
From checking the video output ports on your gaming laptop to determining the input ports on the monitor, acquiring the necessary cable, and powering on both devices, each step is important in establishing a secure and functional connection.
Configuring the display settings and testing the extended display functionality ensures that you can take full advantage of the additional screen space, allowing you to multitask efficiently or enjoy an immersive gaming experience.
Remember to choose high-quality cables or adapters and update your graphics drivers if necessary to ensure optimal performance. Additionally, familiarize yourself with the user manuals and troubleshooting guides provided by your laptop and monitor manufacturers for any troubleshooting needs.
By following the steps outlined in this guide, you can seamlessly connect your gaming laptop to a monitor and unlock the potential for immersive gaming, improved productivity, and an enriched visual experience.
So, go ahead and enjoy the benefits of a larger screen size, increased field of view, and enhanced gameplay as you connect your gaming laptop to a monitor and take your gaming sessions to the next level!