Introduction
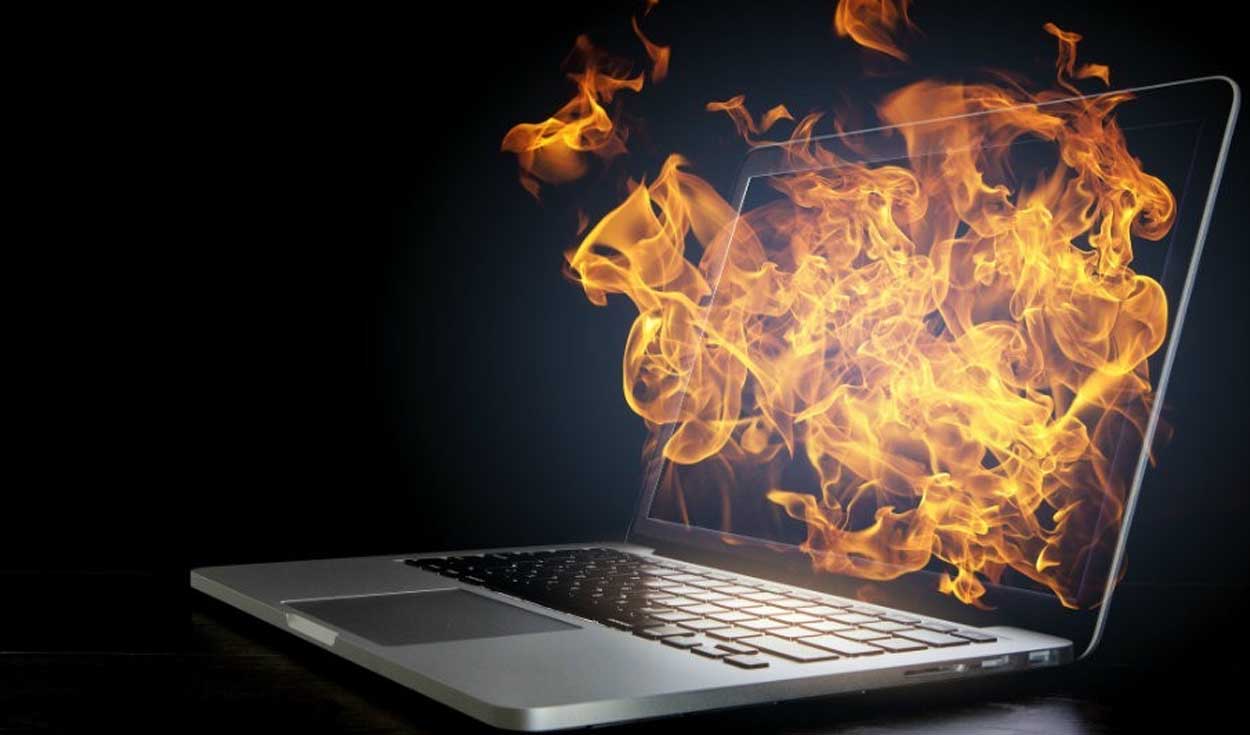
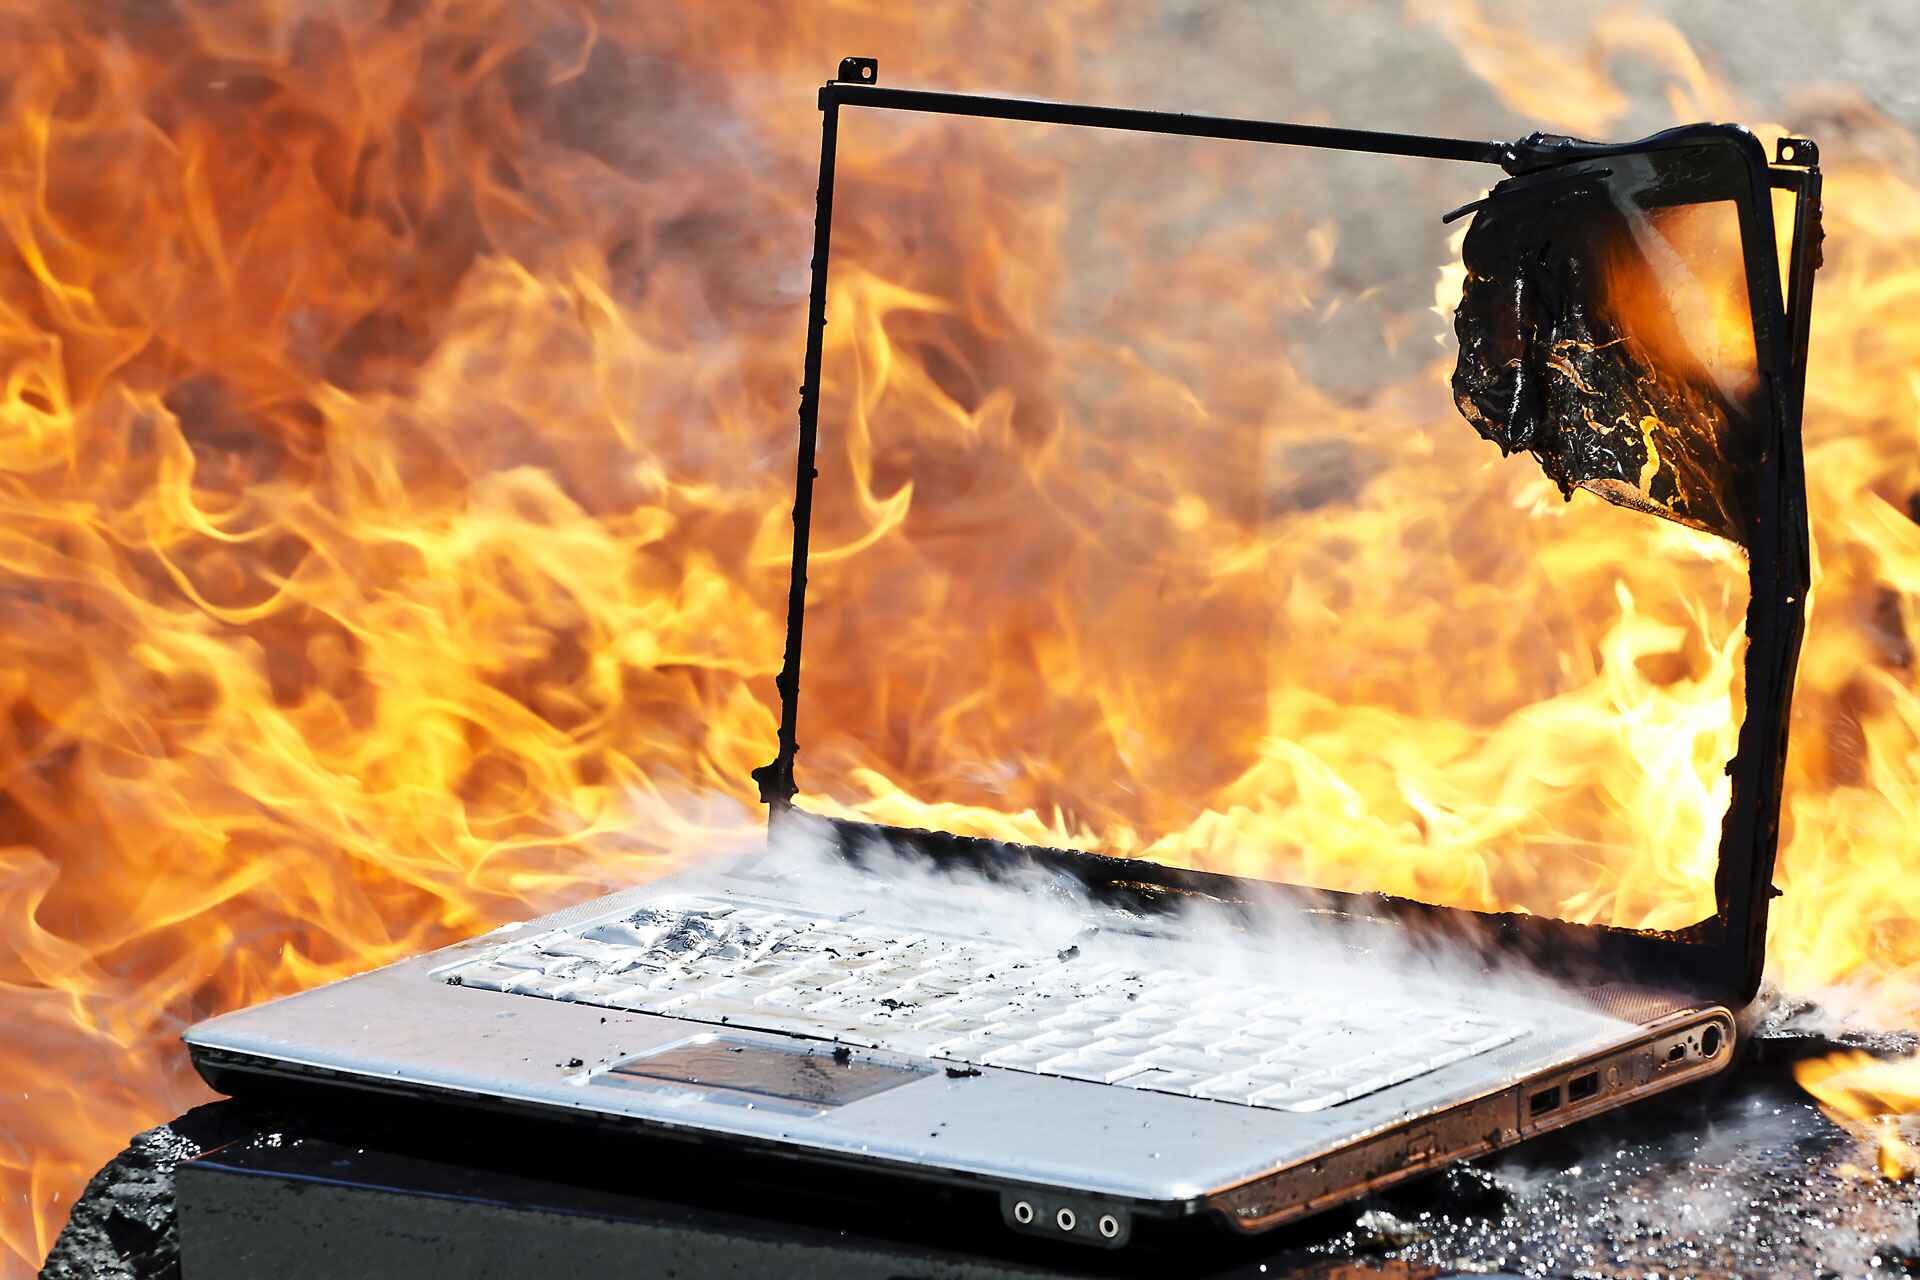
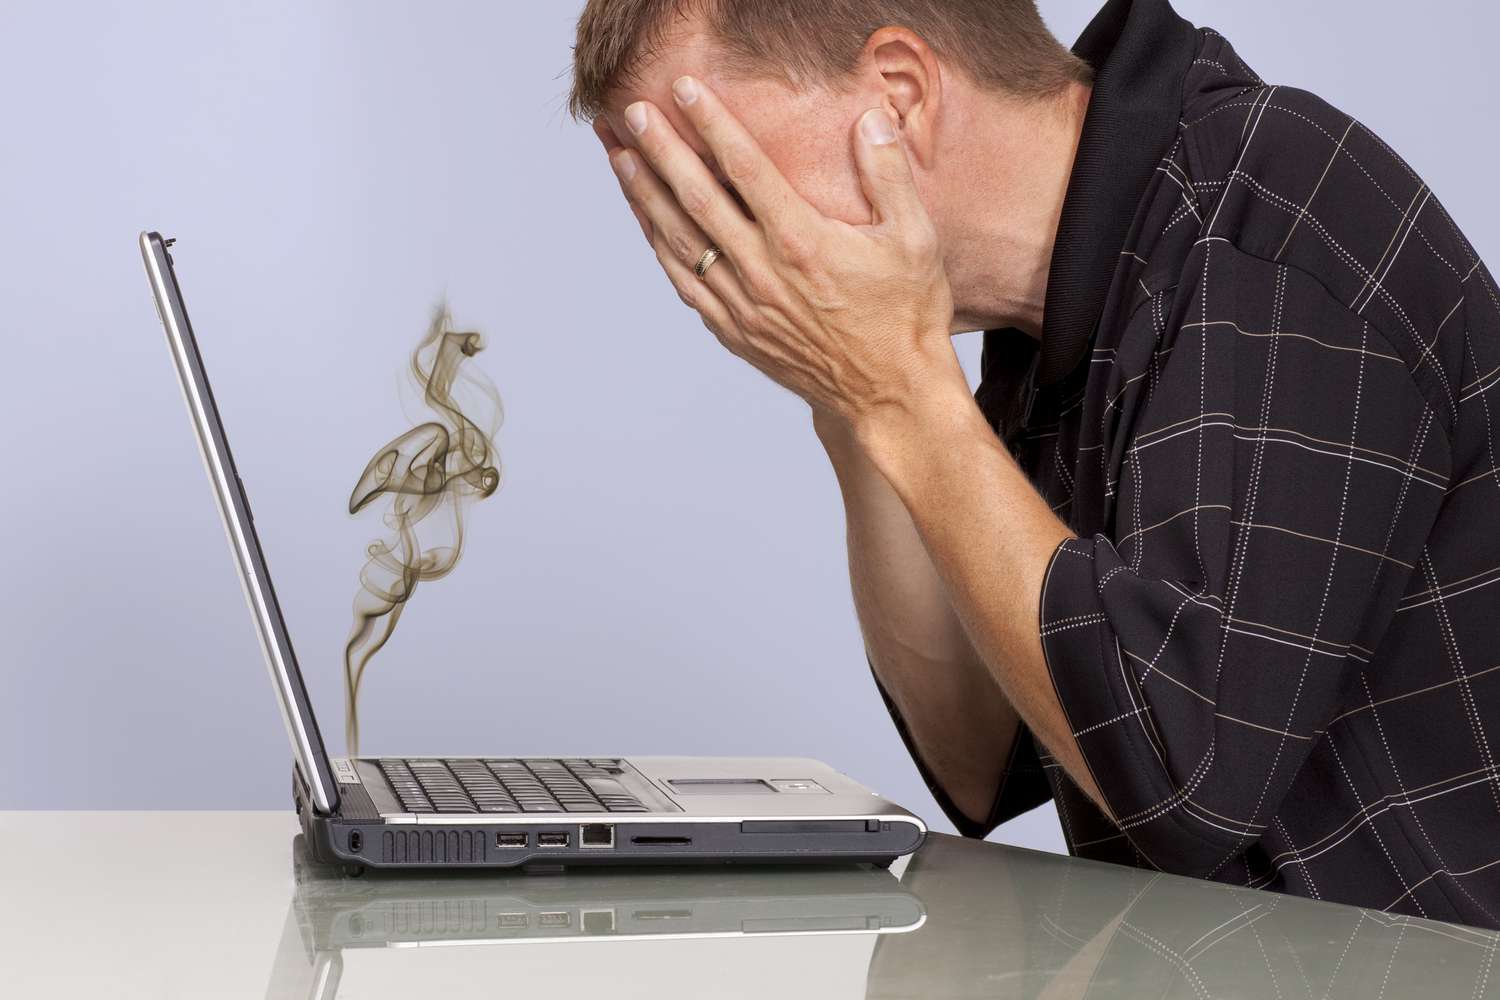
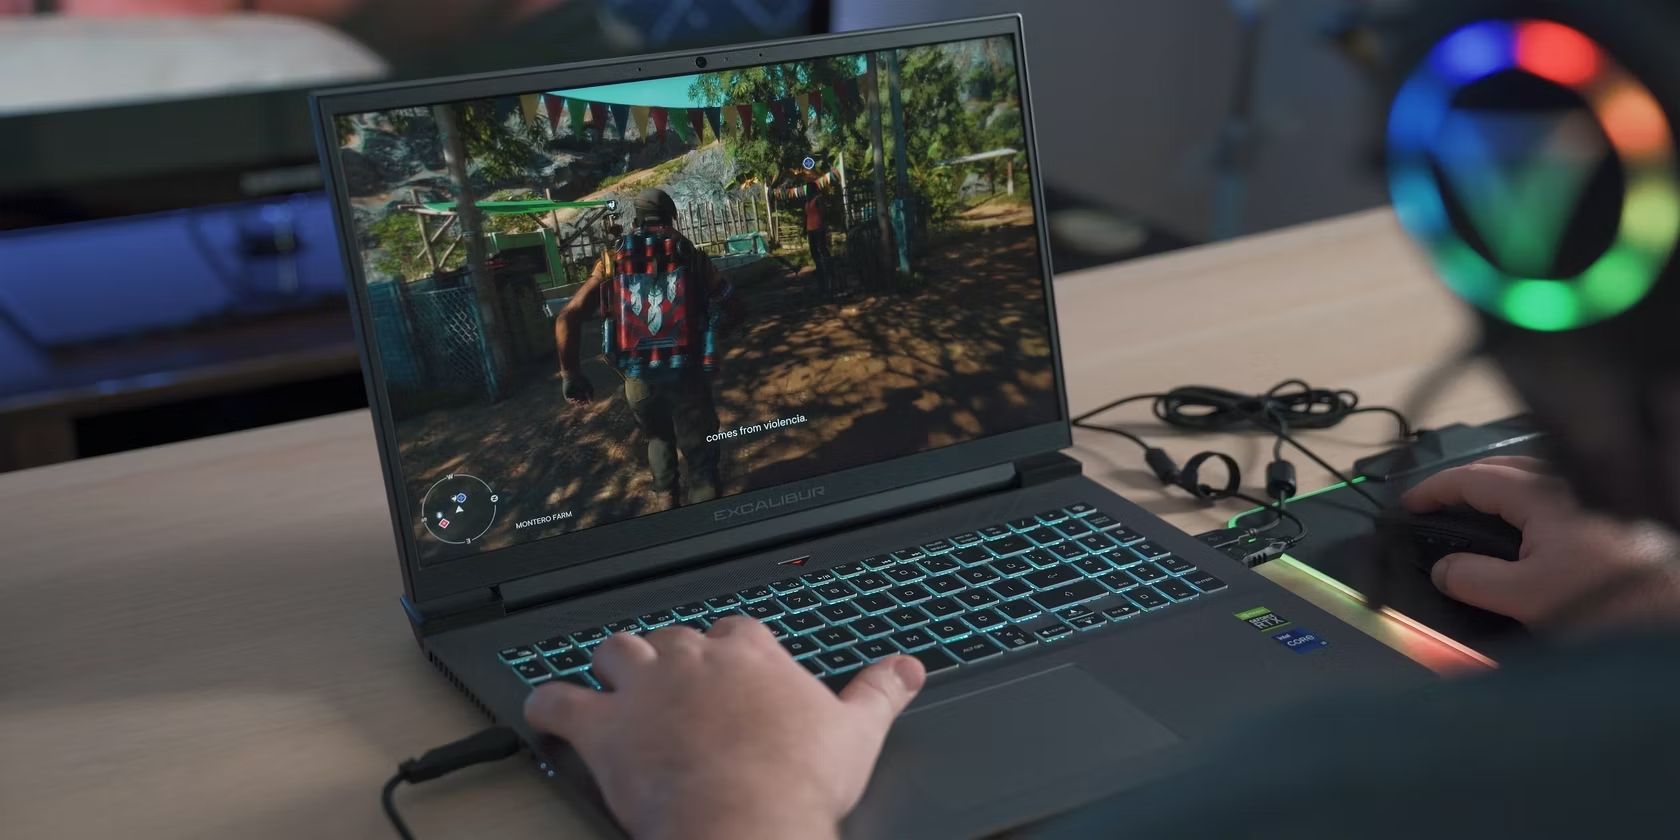
Gaming laptops have become increasingly popular among gamers due to their portability and powerful performance. However, one common challenge that gamers face is dealing with high temperatures. When gaming, intensive graphics and processor usage can cause a laptop’s internal components to heat up quickly, potentially leading to decreased performance, system instability, and even hardware damage.
Understanding the importance of lowering gaming laptop temperatures is crucial for preserving the longevity and optimal functionality of your device. By implementing effective cooling techniques and following best practices, you can maintain reasonable temperatures, ensuring smooth and uninterrupted gameplay.
In this article, we will explore various strategies and tips to help you decrease the temperatures of your gaming laptop. From cleaning the cooling system to using external cooling solutions, optimizing in-game settings, and monitoring CPU and GPU usage, we will cover the essential steps you need to take to keep your laptop cool and performing at its best.
While it’s important to note that every gaming laptop is different in terms of specifications and design, the general principles and strategies discussed here can be applied to most models. By understanding how to effectively manage temperature control for your gaming laptop, you can maximize its lifespan, prevent performance issues, and enhance your overall gaming experience.
Understanding the Importance of Lowering Gaming Laptop Temperatures
When it comes to gaming laptops, temperature management is crucial for several reasons. Excessive heat can negatively impact various components of your laptop, including the CPU (Central Processing Unit) and GPU (Graphics Processing Unit), leading to performance issues and potential hardware damage. Here are a few key reasons why lowering gaming laptop temperatures should be a priority:
- Extended Lifespan: High temperatures can shorten the lifespan of your gaming laptop. Prolonged exposure to heat can degrade internal components, such as the CPU and GPU, resulting in reduced performance and a shorter overall lifespan. By keeping temperatures in check, you can ensure that your laptop remains reliable and functional for years to come.
- Optimal Performance: Gaming tasks, especially graphics-intensive ones, can push your laptop’s hardware to the limit. When temperatures rise, the CPU and GPU can throttle, meaning they slow down or limit their performance to prevent overheating. By actively managing temperatures, you can maintain optimal performance levels, ensuring smooth gameplay and minimizing lag or frame rate drops.
- Prevent System Instability: High temperatures can cause system instability, resulting in crashes, freezes, and unexpected shutdowns during gameplay. This not only interrupts your gaming experience but can also lead to data loss or damage to the operating system. By reducing temperatures, you can minimize the risk of system instability and enjoy a more stable and hassle-free gaming environment.
- Protect Hardware Components: Excessive heat can put a strain on your laptop’s internal hardware, potentially leading to permanent damage. Heat can cause solder connections to weaken, capacitors to degrade, and other critical components to malfunction. By actively managing and reducing temperatures, you can ensure the longevity and reliability of your gaming laptop’s hardware.
To sum it up, lowering gaming laptop temperatures is essential for prolonging the lifespan of your device, maintaining optimal performance, preventing system instability, and protecting the integrity of the hardware components. In the following sections, we will explore various strategies and techniques you can utilize to effectively control and lower the temperatures of your gaming laptop.
Cleaning Your Gaming Laptop’s Cooling System
Over time, dust and debris can accumulate in your gaming laptop’s cooling system, hindering its ability to effectively dissipate heat. Cleaning the cooling system is an important step in maintaining optimal temperature levels. Here’s how you can do it:
- 1. Shut Down and Unplug: Before starting the cleaning process, ensure that your laptop is powered off and unplugged from any power sources. This will prevent any electrical damage and ensure your safety.
- 2. Acquire the Proper Tools: To clean the cooling system effectively, you will need a can of compressed air, a soft brush or microfiber cloth, and isopropyl alcohol.
- 3. Access the Cooling System: Depending on your laptop model, you may need to remove the bottom panel or keyboard to access the cooling system. Refer to your laptop’s user manual or manufacturer’s instructions for guidance.
- 4. Use Compressed Air: With the laptop open, use the can of compressed air to blow out any accumulated dust from the cooling vents, fan blades, and heat sinks. Make sure to hold the can upright and use short bursts to prevent moisture from entering the system.
- 5. Dust Off the Components: Use a soft brush or microfiber cloth to gently remove any remaining dust from the cooling system. Pay attention to the fan blades, heat sinks, and other areas where dust may have settled.
- 6. Clean with Isopropyl Alcohol (Optional): If there are stubborn stains or dirt on the components, you can moisten a cloth or cotton swab with isopropyl alcohol and gently clean the affected areas. Ensure that the laptop is completely dry before reassembling.
- 7. Reassemble and Test: Once you have cleaned the cooling system, carefully reassemble any disassembled parts and ensure they are securely in place. Power on your laptop and monitor the temperature levels to ensure that the cleaning process was effective.
Regularly cleaning your gaming laptop’s cooling system, ideally every few months or as needed, will help maintain optimal airflow and prevent heat buildup. By keeping the cooling system clean, you can ensure that your laptop runs at cooler temperatures, extending its lifespan and maintaining peak performance during intensive gaming sessions.
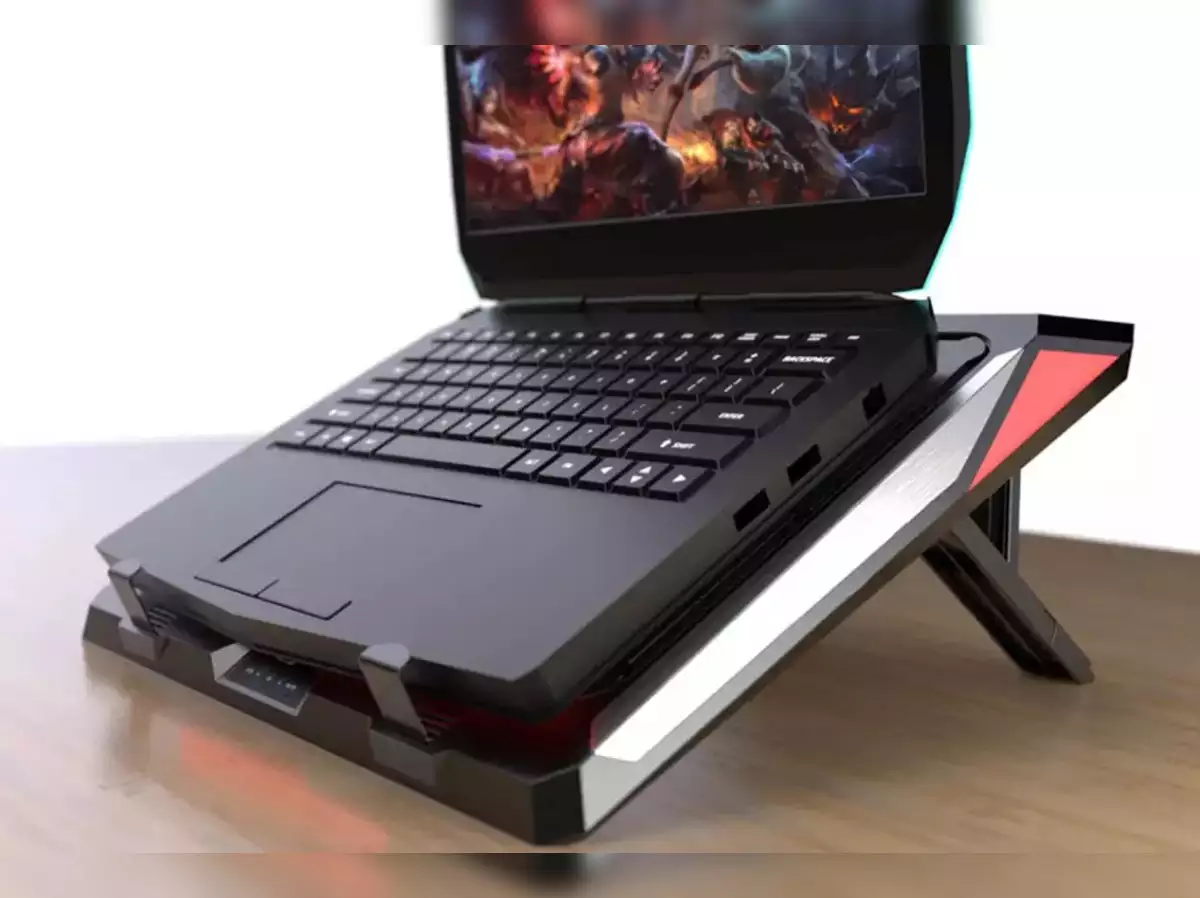
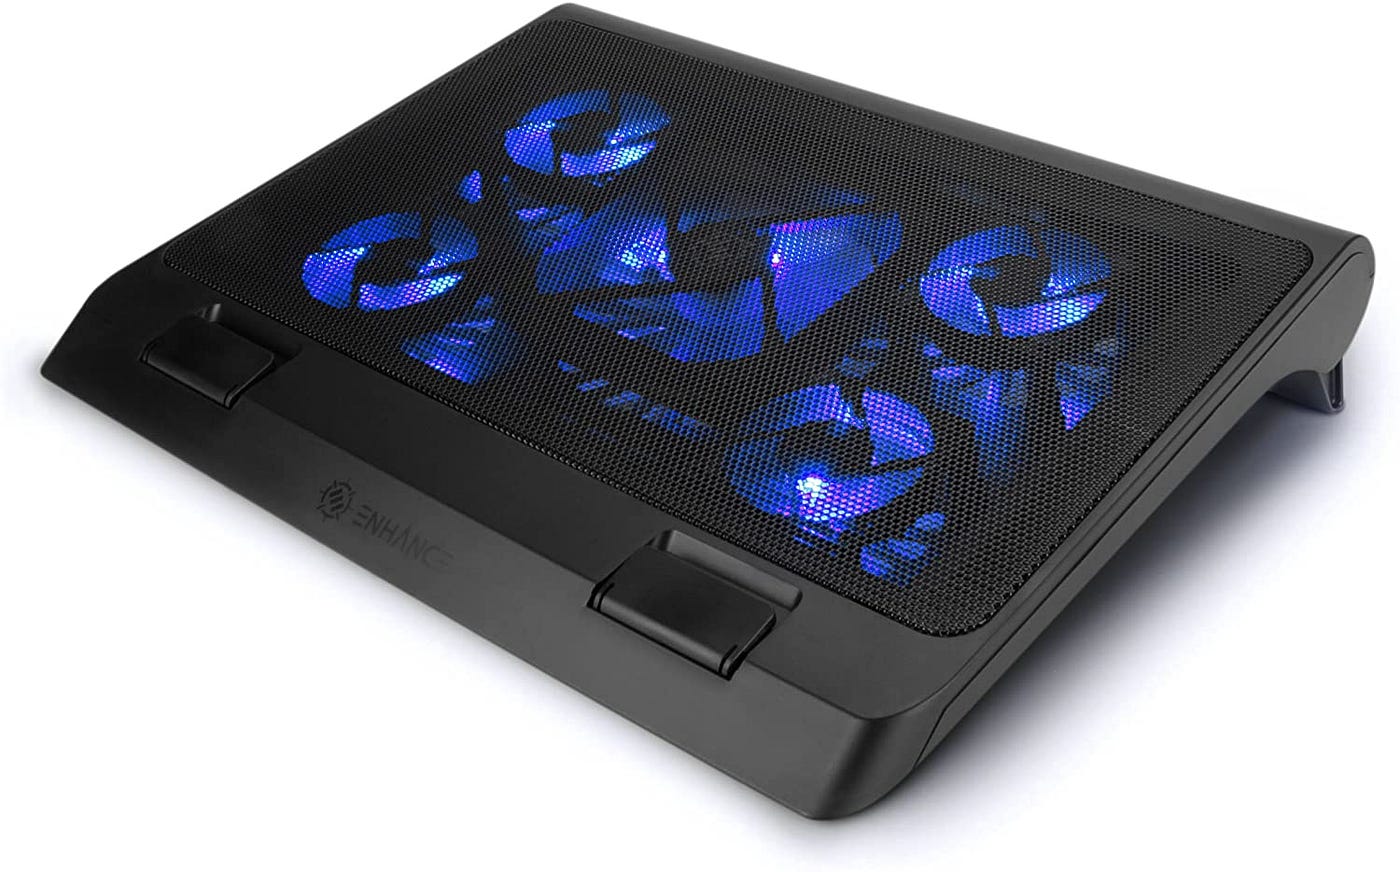
Using Cooling Pads and External Fans
When it comes to effectively cooling your gaming laptop, utilizing cooling pads and external fans can significantly improve airflow and dissipate heat more efficiently. These accessories work by providing additional cooling mechanisms to alleviate the strain on your laptop’s internal cooling system. Here’s how you can make the most of cooling pads and external fans:
- 1. Cooling Pads: Cooling pads are designed to provide additional ventilation and airflow beneath your laptop. They usually consist of a raised platform with built-in fans that help dissipate heat from the bottom of the laptop. By elevating your laptop and improving airflow, cooling pads can effectively reduce temperatures during gaming sessions. Choose a cooling pad that is compatible with your laptop size and offers adjustable fan speeds for optimal cooling performance.
- 2. Positioning: Place the cooling pad on a flat and stable surface, ensuring that it is positioned in a way that allows ample airflow to reach the laptop’s intake vents. Make sure any obstructing objects, such as cables or papers, are removed to avoid impeding airflow.
- 3. External Fans: In addition to cooling pads, you can also use external fans to further enhance the cooling of your gaming laptop. These fans are portable, USB-powered devices that can be placed near the laptop’s exhaust vents to help extract hot air more efficiently. By assisting the internal cooling system, external fans can significantly lower temperature levels and improve overall performance. Consider investing in a high-quality external fan with adjustable fan speed and direction for optimal cooling control.
- 4. Combine Cooling Solutions: For maximum cooling effectiveness, you can combine cooling pads with external fans. This combination ensures that cool air is being pumped into the laptop while hot air is efficiently being expelled. Having both cooling accessories working together can provide a powerful cooling solution, especially during intensive gaming sessions.
- 5. Regular Maintenance: It’s important to keep your cooling pads and external fans clean to maintain their optimal performance. Dust and debris can accumulate on the fans, hindering their ability to effectively cool your laptop. Regularly clean the fans and ensure they are free from any obstructions that might impede airflow.
By utilizing cooling pads and external fans, you can enhance the cooling capabilities of your gaming laptop and reduce temperatures during intense gaming sessions. These accessories offer an affordable and practical solution to alleviate heat-related issues and promote optimal performance.
Optimizing In-Game Settings and Performance
One effective way to lower the temperatures of your gaming laptop is to optimize in-game settings and performance. By adjusting certain graphics and performance settings, you can reduce the strain on your laptop’s hardware and subsequently decrease temperature levels. Here are some tips to help you optimize your in-game settings:
- 1. Graphics Settings: Start by adjusting the graphics settings within the game. Lowering the resolution, turning off anti-aliasing, and reducing details such as shadows and reflections can significantly reduce the workload on your laptop’s GPU and help keep temperatures in check. Experiment with different settings to find the right balance between performance and visual quality.
- 2. Frame Rate Cap: Consider capping the frame rate in your games to a specific value. Limiting the maximum frames per second (FPS) can prevent your GPU from working excessively, reducing heat generation. A slightly lower frame rate can still provide a smooth gaming experience while maintaining lower temperatures.
- 3. V-Sync: Enabling Vertical Sync (V-Sync) can help prevent screen tearing, but it can also reduce the workload on your GPU by synchronizing the frame rate with your monitor’s refresh rate. Although it may slightly impact input lag, it can contribute to lower GPU temperatures.
- 4. Background Processes: Close any unnecessary background processes or applications running on your laptop while gaming. These processes can consume system resources and increase heat production. Use the Task Manager or a third-party application to identify and close unwanted programs.
- 5. Power Settings: Adjust your laptop’s power settings to favor performance over power saving. In the power options, select the high-performance mode to ensure that your laptop is utilizing its full potential during gaming sessions. However, keep in mind that this may impact your laptop’s battery life.
- 6. Game Optimization Software: Some gaming laptops come with pre-installed software or third-party programs that can optimize in-game settings for you, based on your laptop’s hardware capabilities. These tools can automatically adjust the graphics and performance settings to achieve the best balance between performance and temperature.
Optimizing your in-game settings and performance not only helps lower temperatures but also ensures a smoother and more enjoyable gaming experience. By finding the right balance between visual quality and performance optimization, you can significantly reduce the strain on your laptop’s hardware and promote cooler and more stable gameplay.
Ensuring Proper Airflow and Ventilation
Proper airflow and ventilation are crucial to maintaining lower temperatures and preventing heat buildup in your gaming laptop. When the air around your laptop can freely circulate and dissipate heat, the internal components can operate more efficiently. Here are some tips to ensure proper airflow and ventilation for your gaming laptop:
- 1. Positioning: When using your laptop, make sure it is placed on a flat, solid surface. Avoid placing it on soft materials like a bed or pillow, as these can obstruct the airflow vents and trap heat. Using a laptop stand or cooling pad can help elevate and position your laptop in a way that improves ventilation.
- 2. Cleaning Vents: Regularly clean the ventilation ports and intake vents of your laptop to remove any dust or debris that may be blocking the airflow. Use compressed air or a soft brush to gently clean the vents and ensure optimal airflow. Keep in mind that different laptop models may have vents located in different areas, so consult your user manual for guidance.
- 3. Avoid Obstructing Vents: Ensure that the ventilation ports and intake vents are not blocked by objects like papers, cables, or even your hands when using the laptop. Blocking these vents can limit the airflow and cause heat buildup, leading to higher temperatures.
- 4. Temperature-Sensitive Surfaces: Be cautious about using your laptop on surfaces that can absorb and trap heat, such as blankets or cushions. These materials can prevent the natural airflow and cause the laptop to overheat. If you must use your laptop on these surfaces, consider using a cooling pad to maintain proper airflow.
- 5. Elevate Your Laptop: Using a laptop cooling pad or a stand can help elevate your laptop, allowing for better airflow underneath. This elevation helps cool the bottom of the laptop, where components like the processor and graphics card are located.
- 6. Avoid Overworking the Laptop: Running demanding tasks or multiple resource-intensive applications simultaneously can put a strain on your laptop’s cooling system. Whenever possible, try to close unnecessary programs and limit the number of tasks you are running simultaneously to prevent excessive heat buildup.
By ensuring proper airflow and ventilation, you can effectively manage and reduce the temperatures of your gaming laptop. Maintaining a well-ventilated environment around your laptop improves its cooling efficiency, enhances performance, and safeguards against overheating-related issues.
Monitoring and Managing CPU and GPU Usage
Monitoring and managing the CPU (Central Processing Unit) and GPU (Graphics Processing Unit) usage is essential to keep temperatures in check and prevent overheating in your gaming laptop. By closely monitoring the usage of these components, you can identify any performance bottlenecks and take necessary actions to manage temperature levels. Here’s what you can do:
- 1. Use Monitoring Software: Install monitoring software, such as MSI Afterburner or HWMonitor, to keep track of your CPU and GPU temperatures, clock speeds, and usage percentages. These tools provide real-time data that can help you identify any potential issues or excessive heat generation.
- 2. Manage Background Processes: Close any unnecessary background processes or applications that may be putting additional strain on your CPU and GPU. Some programs running in the background can consume system resources, resulting in increased heat production. Use the Task Manager to identify and close any unwanted processes.
- 3. Optimize Multitasking: If you tend to run multiple programs or tasks simultaneously while gaming, consider closing non-essential programs to free up CPU and GPU resources. This can help reduce heat generated by excessive multitasking and ensure smoother gaming performance.
- 4. Set FPS Limits: With the help of gaming software or in-game settings, cap the maximum frame rate (FPS) to a level that your gaming laptop can comfortably handle. Limiting the FPS can reduce the workload on your GPU and prevent it from running at full capacity, resulting in lower temperatures.
- 5. Adjust Power Settings: Modify your laptop’s power settings to ensure optimal performance without excessive power consumption. Look for power-saving options in your system settings and balance the power mode accordingly. This adjustment can help regulate CPU and GPU usage, resulting in lower heat generation.
- 6. Update Drivers and Firmware: Regularly update your GPU drivers and laptop firmware to ensure compatibility and optimize performance. Outdated drivers or firmware can sometimes cause high CPU or GPU usage, resulting in increased heat output. Check the manufacturer’s website for the latest updates and install them accordingly.
By monitoring and managing the CPU and GPU usage, you can effectively regulate temperature levels in your gaming laptop. By taking proactive steps to control excessive usage and optimize performance, you can prevent overheating issues and ensure a smoother and more enjoyable gaming experience.
Overclocking the GPU Responsibly
Overclocking the GPU (Graphics Processing Unit) can be a tempting way to boost gaming performance, but it’s essential to approach it responsibly to prevent excessive heat buildup and potential damage to your gaming laptop. When done correctly, overclocking can provide improved performance without compromising stability. Here are some tips to help you overclock your GPU responsibly:
- 1. Research and Understand: Before attempting to overclock your GPU, take the time to research and understand the process. Familiarize yourself with the specific model of your GPU and learn about its limitations, cooling capabilities, and recommended settings.
- 2. Use Reliable Overclocking Software: Use reliable and reputable overclocking software designed for your GPU. Popular options include MSI Afterburner, EVGA Precision X, and ASUS GPU Tweak. These tools provide a user-friendly interface to adjust clock speeds, voltages, and fan controls.
- 3. Gradual Approach: Take a gradual approach when overclocking. Start with small increments and test the stability and temperature levels after each adjustment. This method allows you to find the optimal balance between performance and temperature without pushing the GPU to its limits too quickly.
- 4. Monitor Temperatures: When overclocking, closely monitor the GPU temperature using monitoring software. Be aware that higher clock speeds can generate additional heat, which may require improved cooling solutions to maintain safe temperatures.
- 5. Stress Testing: Use stress-testing software, such as FurMark or Heaven Benchmark, to evaluate the stability and temperature levels of your overclocked GPU. Run these tests for an extended period to ensure that your GPU can handle the increased load without overheating or crashing.
- 6. Adjust Fan Speeds: Increase the fan speeds of your GPU using overclocking software or the manufacturer’s utility. This helps to dissipate heat more effectively and maintain lower temperatures during demanding gaming sessions.
- 7. Be Mindful of Warranty: Keep in mind that overclocking may void the warranty of your GPU. Check the manufacturer’s warranty terms and conditions to ensure that you won’t be voiding your coverage by overclocking.
Overclocking the GPU can provide a performance boost, but it’s important to approach it responsibly and cautiously. By following these tips and being mindful of temperature levels, you can safely overclock your GPU and enjoy enhanced gaming performance without risking damage to your gaming laptop.
Considering Undervolting for Temperature Control
Undervolting is a technique that involves lowering the voltage supplied to the CPU (Central Processing Unit) or GPU (Graphics Processing Unit) to reduce heat generation without sacrificing performance. It can be an effective method for temperature control in your gaming laptop. Here are some considerations for undervolting:
- 1. Research your CPU/GPU: Not all CPUs and GPUs can be undervolted, so it’s important to research whether your specific model supports undervolting. Check the manufacturer’s documentation, online forums, and guides to determine compatibility.
- 2. Use Undervolting Software: Undervolting can be done using specialized software such as Intel XTU (Extreme Tuning Utility) for Intel processors or MSI Afterburner for GPUs. These tools provide a user-friendly interface to adjust voltage settings.
- 3. Start with Small Adjustments: Begin by slightly reducing the voltage and test for stability. Gradually decrease the voltage in small increments while monitoring the CPU/GPU temperatures and system stability.
- 4. Stress Test for Stability: After each voltage adjustment, run stress tests or intensive applications to ensure system stability. Monitor the temperatures to ensure they remain within safe limits.
- 5. Be Mindful of Performance Impact: Undervolting can have a slight impact on performance, so it’s important to find the right balance between temperatures and performance. Test various voltage settings to achieve optimal temperature reduction without significant performance degradation.
- 6. Note Potential Instability: Some CPUs/GPUs may become unstable at certain undervolted settings. If you encounter instability, such as system crashes or freezes, revert to the previous voltage setting or consider a higher voltage level.
- 7. Monitor Temperatures: Keep an eye on CPU/GPU temperatures after undervolting. Ensure that the undervolting adjustments are effectively reducing temperatures without causing any thermal throttling or overheating issues.
- 8. Warranty Considerations: Undervolting generally does not void the warranty, but it’s always good to check the manufacturer’s warranty terms and conditions to be sure.
Undervolting can be an effective temperature control method for your gaming laptop, reducing heat generation without significant performance loss. Experimenting with conservative undervolting settings and monitoring temperatures will help you find the optimal balance between temperature reduction and system stability, providing a cooler and more efficient gaming experience.
Installing Software for Temperature Monitoring
Installing software for temperature monitoring is crucial for keeping track of the temperatures of your gaming laptop. By monitoring temperature levels in real-time, you can ensure that your laptop is operating within safe limits and take necessary actions to prevent overheating. Here’s what you need to know about temperature monitoring software:
- 1. Choose Reliable Monitoring Software: There are several temperature monitoring software options available, such as HWMonitor, Core Temp, and SpeedFan. Choose a reliable and reputable software that is compatible with your laptop’s hardware.
- 2. Install the Software: Download the chosen software from the manufacturer’s website or a trusted source. Follow the installation instructions and enable any necessary drivers or components for accurate temperature readings.
- 3. Familiarize Yourself with the Interface: Once installed, familiarize yourself with the software’s interface and features. Most temperature monitoring software provides detailed information about CPU, GPU, and other hardware components, as well as fan speeds and voltages.
- 4. Monitor Temperature Readings: Keep an eye on the temperature readings displayed by the software. Pay specific attention to the CPU and GPU temperatures, as these are the components most prone to heat buildup during gaming.
- 5. Set up Alarms or Notifications: Some temperature monitoring software allows you to set up alarms or notifications when temperatures exceed a certain threshold. This feature can alert you to potential overheating issues and prompt you to take immediate action.
- 6. Log Temperature Data: Consider enabling the logging feature of the software to record temperature data over time. This can be helpful for analyzing temperature trends and identifying patterns that may lead to heat-related problems.
- 7. Understand Safe Temperature Ranges: Different components have different safe temperature ranges. Research the recommended temperature limits for your CPU and GPU to ensure that you stay within the acceptable temperature range during gaming sessions.
- 8. Regularly Update the Software: Keep your temperature monitoring software up to date by installing the latest updates and patches provided by the manufacturer. This ensures optimal performance, compatibility, and accurate temperature readings.
By installing temperature monitoring software and actively monitoring your laptop’s temperatures, you can address heat buildup in a timely manner and prevent potential issues. Regularly checking temperature readings and taking necessary steps to mitigate any temperature-related problems will help maintain optimal temperature levels and prolong the lifespan of your gaming laptop.
Conclusion
Keeping your gaming laptop temperatures under control is vital for maintaining optimal performance, extending its lifespan, and ensuring a smooth gaming experience. By implementing the strategies discussed in this article, you can effectively lower temperatures and prevent heat-related issues.
Start by understanding the importance of temperature management and how it impacts your laptop’s longevity and performance. Cleaning the cooling system, using cooling pads and external fans, and ensuring proper airflow and ventilation are crucial steps in enhancing heat dissipation. Optimizing in-game settings and managing CPU and GPU usage can reduce strain on the hardware and minimize heat generation. Additionally, responsible techniques such as undervolting and monitoring temperatures using software provide further control over heat levels.
It’s important to strike a balance between performance and temperature reduction. While taking precautions to lower temperatures, always consider the impact on system stability and warranty conditions. Regularly monitor temperatures, use reliable hardware monitoring software, and promptly take action if temperatures exceed safe limits.
By following these guidelines and implementing the appropriate measures, you can enjoy gaming sessions without worrying about overheating, system instability, or hardware damage. A cool gaming laptop not only enhances performance but also ensures a longer lifespan, allowing you to fully immerse yourself in the world of gaming.