Introduction
Welcome to our guide on how to connect a laptop to Roku TV using an HDMI cable. If you have a laptop and a Roku TV, connecting them together opens up a world of possibilities. With just a simple connection, you can stream your favorite movies, videos, and even browse the internet directly on your TV screen. This allows for a more immersive and enjoyable viewing experience, whether you’re watching Netflix, playing games, or giving a presentation.
The HDMI (High-Definition Multimedia Interface) cable is the key component that allows you to transmit both audio and video signals from your laptop to the Roku TV. This eliminates the need for additional cables and ensures high-quality playback. Connecting your laptop to your Roku TV is a straightforward process that anyone can accomplish with a few simple steps.
In this guide, we will walk you through the step-by-step process of connecting your laptop to your Roku TV using an HDMI cable. You don’t need to be technically inclined to follow along, as we will provide clear instructions and explanations along the way. By the end of this guide, you’ll be ready to enjoy all the benefits of connecting your laptop to your Roku TV and take your entertainment experience to the next level.
Step 1: Gather the necessary equipment
Before you begin the process of connecting your laptop to Roku TV, it’s important to ensure that you have all the necessary equipment. Here’s what you’ll need:
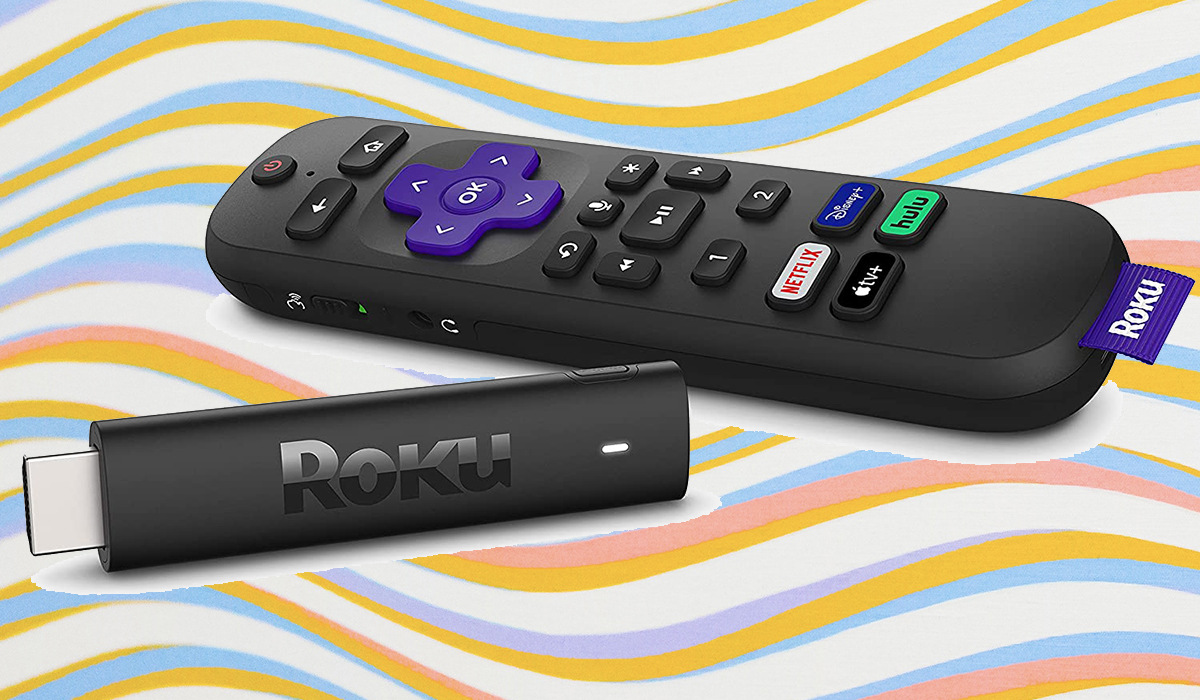
1. HDMI cable: You will need an HDMI cable to connect your laptop to your Roku TV. Make sure the cable is long enough to reach from your laptop to your TV.
2. Laptop: Ensure that your laptop has an HDMI output port. This is typically found on the side or back of the laptop. It is a small, rectangular-shaped port with the HDMI logo next to it. If your laptop doesn’t have an HDMI port, you may need to use an HDMI adapter or an alternate connection method.
3. Roku TV: Of course, you’ll need a Roku TV to connect your laptop to. Make sure your Roku TV is turned on and functioning properly.
4. Power source: Ensure that both your laptop and Roku TV are connected to a power source. This will prevent any interruption during the connection process.
5. Wireless keyboard and mouse (Optional): While not essential, having a wireless keyboard and mouse can make it easier to navigate the content on your laptop when it’s displayed on your Roku TV.
Once you have gathered all of the necessary equipment, you are ready to move on to the next step: connecting the HDMI cable from your laptop to your Roku TV. Taking the time to gather the equipment beforehand will ensure a smooth and hassle-free connection process.
Step 2: Connect the HDMI cable to your laptop
Now that you have gathered all the necessary equipment, it’s time to connect the HDMI cable to your laptop. Follow these steps:
- Locate the HDMI port: On your laptop, find the HDMI output port. It’s usually on the side or back of the laptop and will have the HDMI logo next to it. Take note of the port’s orientation and the number of available ports if there are multiple options.
- Prepare the HDMI cable: Take one end of the HDMI cable and insert it into the HDMI output port on your laptop. Make sure the cable is securely inserted, and it should fit snugly into the port. Don’t force it in; it should slide in easily.
- Connect the other end of the cable: Take the other end of the HDMI cable and connect it to the HDMI input port on your Roku TV. The HDMI input ports are usually located at the back or side of your TV. Ensure that you insert the cable into the correct HDMI input port.
Once you have connected the HDMI cable to your laptop and Roku TV, you are one step closer to enjoying your laptop’s content on a larger screen. Before moving on to the next step, make sure the cable connections are secure and tight to avoid any signal issues during the display.
Step 3: Connect the other end of the HDMI cable to your Roku TV
With the HDMI cable connected to your laptop, it’s time to complete the connection by attaching the other end of the cable to your Roku TV. Follow these simple steps:
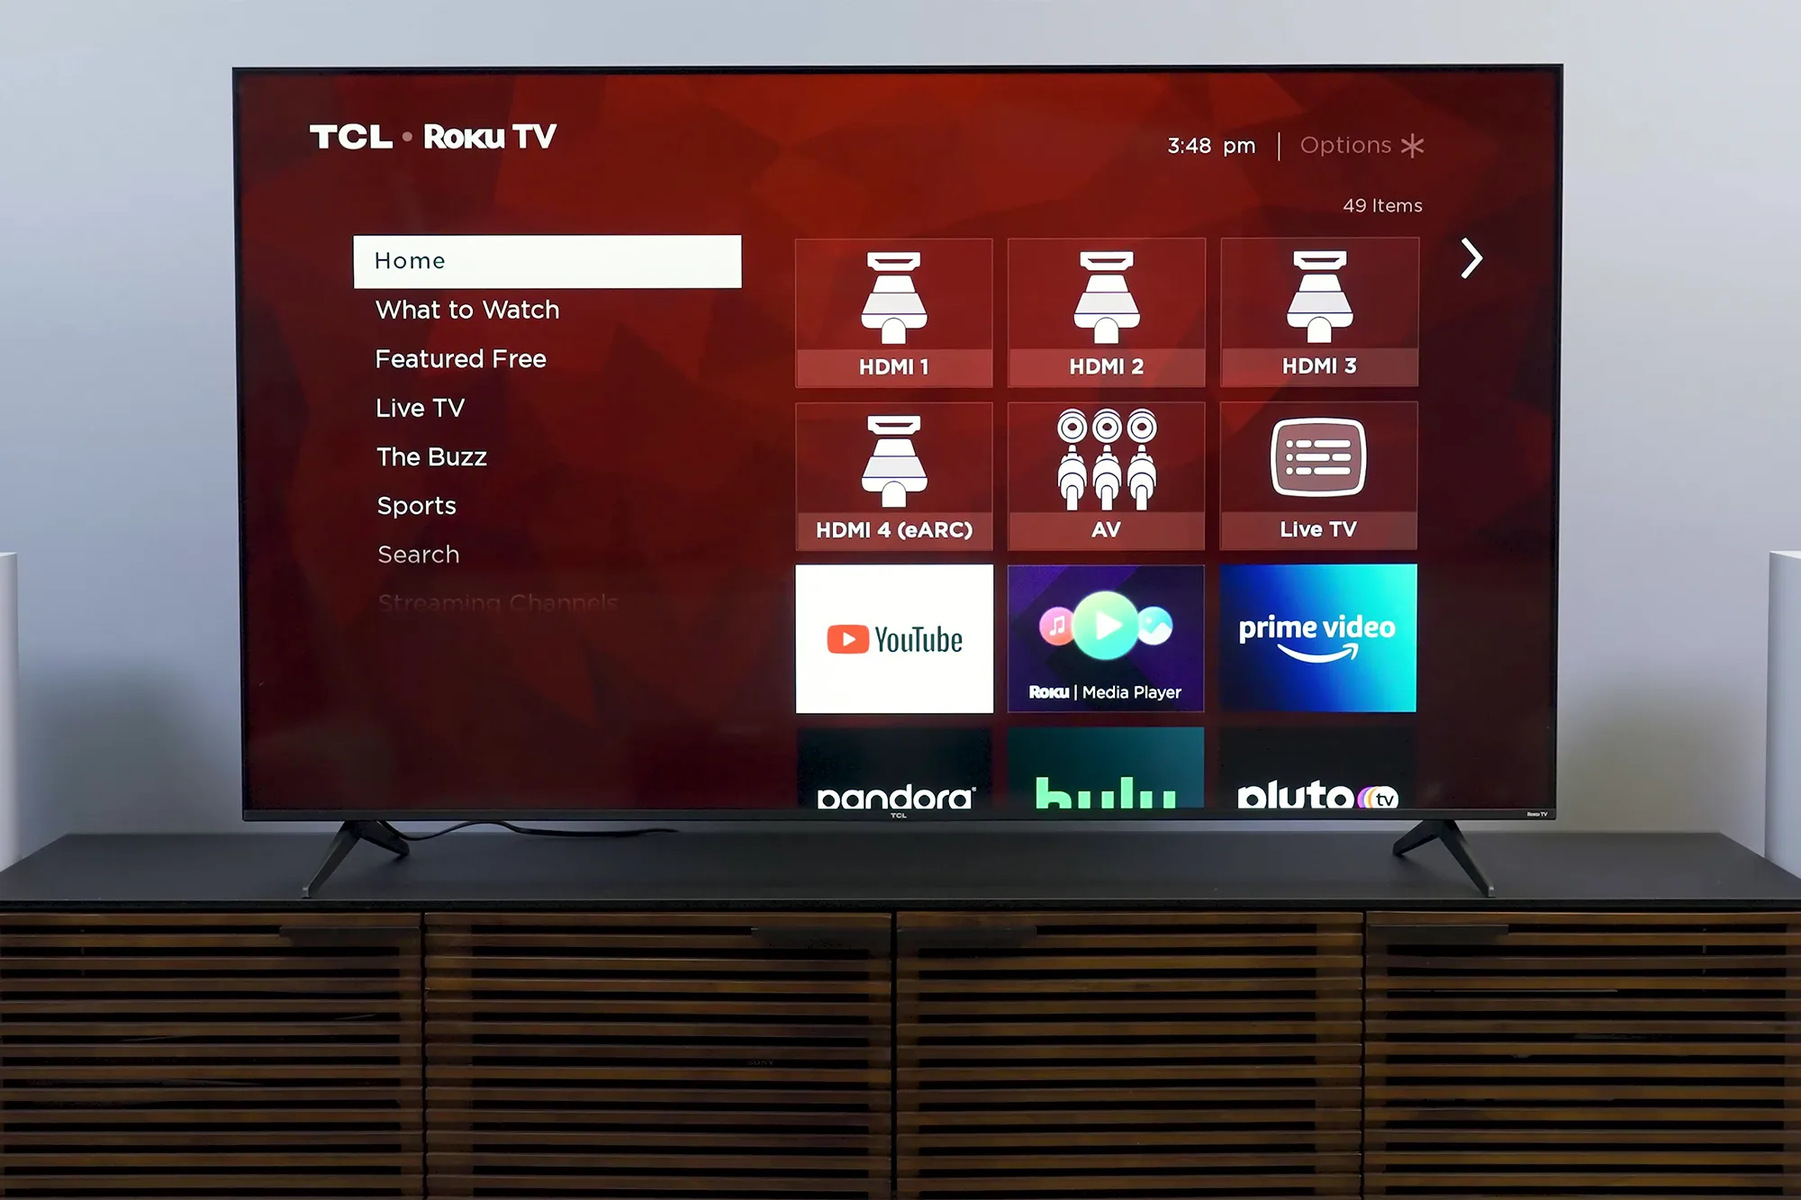
- Locate the HDMI input port: On your Roku TV, find the HDMI input port that corresponds to the one you connected the cable to. The HDMI input ports are usually labeled HDMI1, HDMI2, etc. Take note of the port number or label.
- Prepare the HDMI cable: Verify that you have connected the other end of the HDMI cable securely to your laptop and that it is not loose. Ensure that the connection is snug and there are no loose cables.
- Connect the cable to your Roku TV: Take the other end of the HDMI cable (the one connected to your laptop) and insert it into the HDMI input port on your Roku TV. Make sure to insert it fully into the port to establish a proper connection.
Once you’ve connected the HDMI cable to your Roku TV, the laptop’s display should appear on the TV screen. If it doesn’t, ensure that the TV is set to the correct input source by using the Roku TV remote to select the corresponding HDMI input port you connected the cable to.
It’s important to note that some Roku TVs may have multiple HDMI ports, so if you’re not seeing the laptop’s display, you may need to switch to a different HDMI input on your TV until you find the correct one. Refer to your TV’s user manual if you’re unsure about which HDMI input port to select.
With the cable successfully connected to your Roku TV, you are now ready to move on to the next step and adjust the display settings on your laptop to ensure the optimal viewing experience on your TV screen.
Step 4: Adjust the display settings on your laptop
After connecting the HDMI cable from your laptop to your Roku TV, it’s important to adjust the display settings on your laptop to ensure the best visual experience. Follow these steps to adjust the display settings:
- Access the display settings: On your laptop, right-click on the desktop and select “Display settings” from the context menu. Alternatively, you can access the display settings through the Control Panel or System Preferences, depending on your operating system.
- Select the external display: Within the display settings, look for the “Multiple displays” or “Display mode” option. Choose the option that allows you to extend the display or use the external display only. This will ensure that your laptop’s screen is mirrored or extended onto your Roku TV.
- Adjust the resolution: Next, make sure the resolution setting is suitable for your Roku TV. Select the recommended or optimal resolution for your TV’s display. It’s best to choose a resolution that matches the native resolution of your TV for the best picture quality.
- Configure additional settings (optional): Depending on your preferences, you can make additional adjustments such as adjusting the screen brightness, color balance, or orientation. These settings can be found within the display settings menu.
Once you have adjusted the display settings on your laptop, the changes should be reflected on your Roku TV screen. Take a moment to ensure that the display is clear, crisp, and properly aligned. If you encounter any issues with the display, double-check the HDMI connections and the settings on your laptop.
Keep in mind that adjusting the display settings on your laptop may vary depending on the operating system and graphics card you’re using. If you’re unsure about the specific steps or options within the display settings, refer to your laptop’s user manual or online support resources for detailed instructions.
Now that the display settings on your laptop are properly adjusted, you can move on to the next step: configuring the display settings on your Roku TV to optimize the viewing experience.
Step 5: Configure the display settings on your Roku TV
With the HDMI cable connected and the display settings adjusted on your laptop, it’s time to configure the display settings on your Roku TV. Follow these steps to ensure the optimal viewing experience:
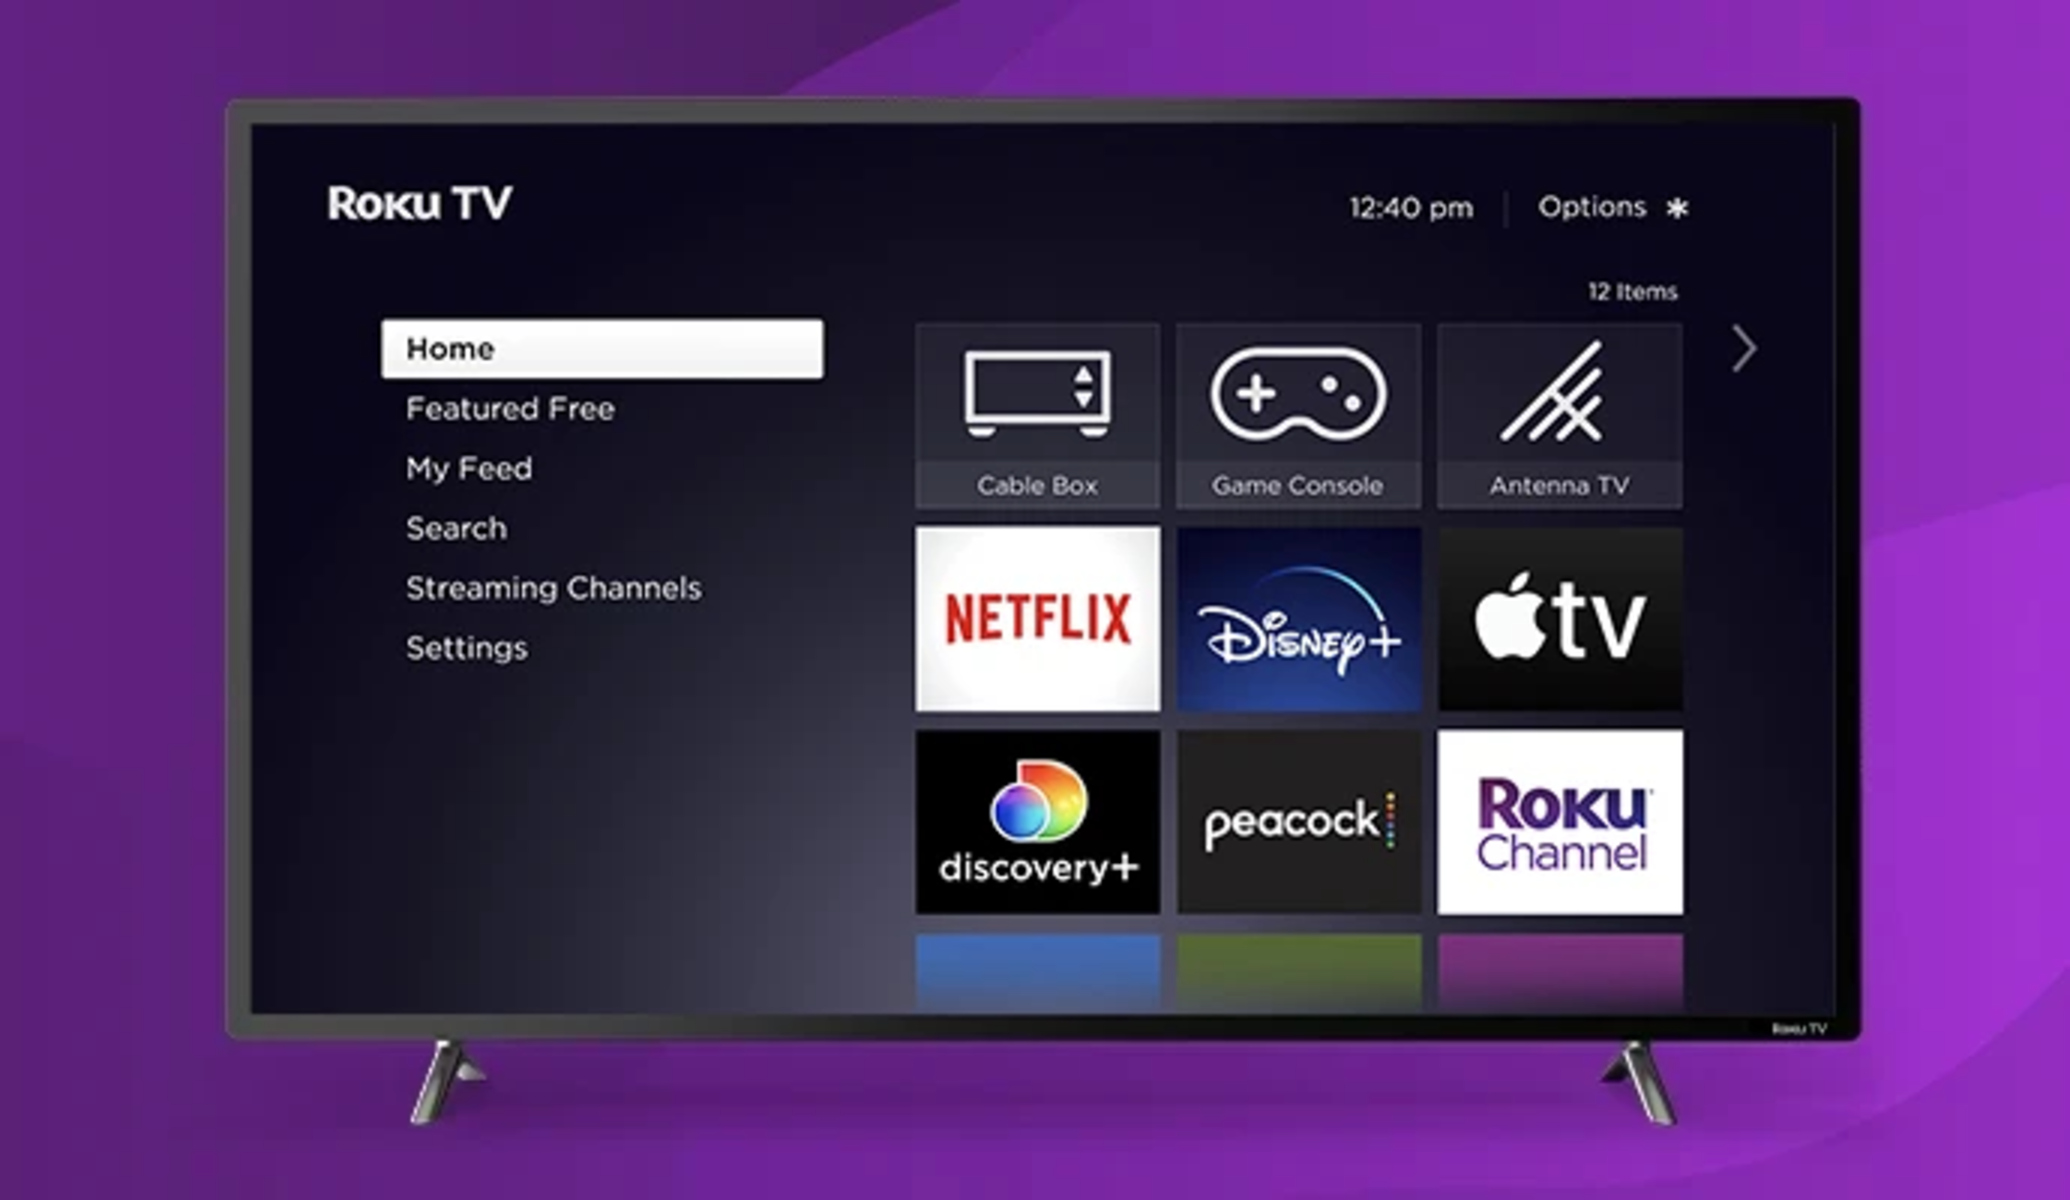
- Access the Roku TV settings: On your Roku TV remote, press the Home button to navigate to the main menu. From there, scroll to the left and select “Settings” to access the Roku TV settings.
- Choose the display type: Within the Settings menu, select “Display type” or “Display settings” to configure the display settings specific to your Roku TV.
- Select the correct HDMI input: In the Display type settings, make sure the HDMI input you connected your laptop to is selected as the active input. This will ensure that your laptop’s display is properly detected and shown on your Roku TV.
- Adjust the display settings: Within the Display settings, you may have options to adjust the picture mode, brightness, contrast, and other visual settings. Take some time to experiment with these settings to find the configuration that suits your preferences.
- Test the display: To ensure that the configuration is correct, play a video or open a web page on your laptop. The content should now be displayed on your Roku TV screen. Take a moment to verify that the display quality and alignment are as desired.
By configuring the display settings on your Roku TV, you can optimize the visual experience and tailor it to your liking. Don’t hesitate to make adjustments and experiment with different settings until you achieve the desired picture quality and display setup.
If you encounter any issues with the display or settings configuration, refer to your Roku TV’s user manual or online support resources for detailed instructions and troubleshooting steps. Each Roku TV model may have slightly different settings and options, so it’s important to consult the specific documentation for your device.
Congratulations! You have successfully connected your laptop to your Roku TV using an HDMI cable and configured the display settings on both devices. You can now enjoy your laptop’s content on a larger screen, whether it’s streaming movies, playing games, or giving presentations.
Conclusion
In this guide, we have outlined the step-by-step process of connecting your laptop to your Roku TV using an HDMI cable. By following these instructions and adjusting the display settings on both devices, you can enjoy your laptop’s content on a larger screen and enhance your viewing experience.
Connecting your laptop to your Roku TV opens up a world of possibilities. You can now stream your favorite movies and videos, play games, browse the web, or even give presentations on the big screen. The HDMI cable serves as the bridge that transmits both audio and video signals, ensuring high-quality playback and a seamless connection.
Remember to gather all the necessary equipment before you begin, including an HDMI cable, a laptop with an HDMI output port, and a functioning Roku TV. Take your time to properly connect the HDMI cable, making sure the connections are secure on both ends. Adjust the display settings on your laptop to extend the display or use the external display only.
Once you have successfully connected your laptop to your Roku TV, you can further optimize your viewing experience by configuring the display settings on your Roku TV. Experiment with different settings to achieve the desired picture quality and alignment.
If you encounter any difficulties during the process, consult the user manual or online support resources for your specific devices. Each laptop and Roku TV model may have slight variations in their settings and options, so it’s important to refer to the appropriate documentation.
With your laptop now connected to your Roku TV, you can sit back, relax, and enjoy a larger and more immersive viewing experience. Whether you’re watching movies, playing games, or giving presentations, the combination of your laptop and Roku TV will provide a whole new level of entertainment.