Introduction
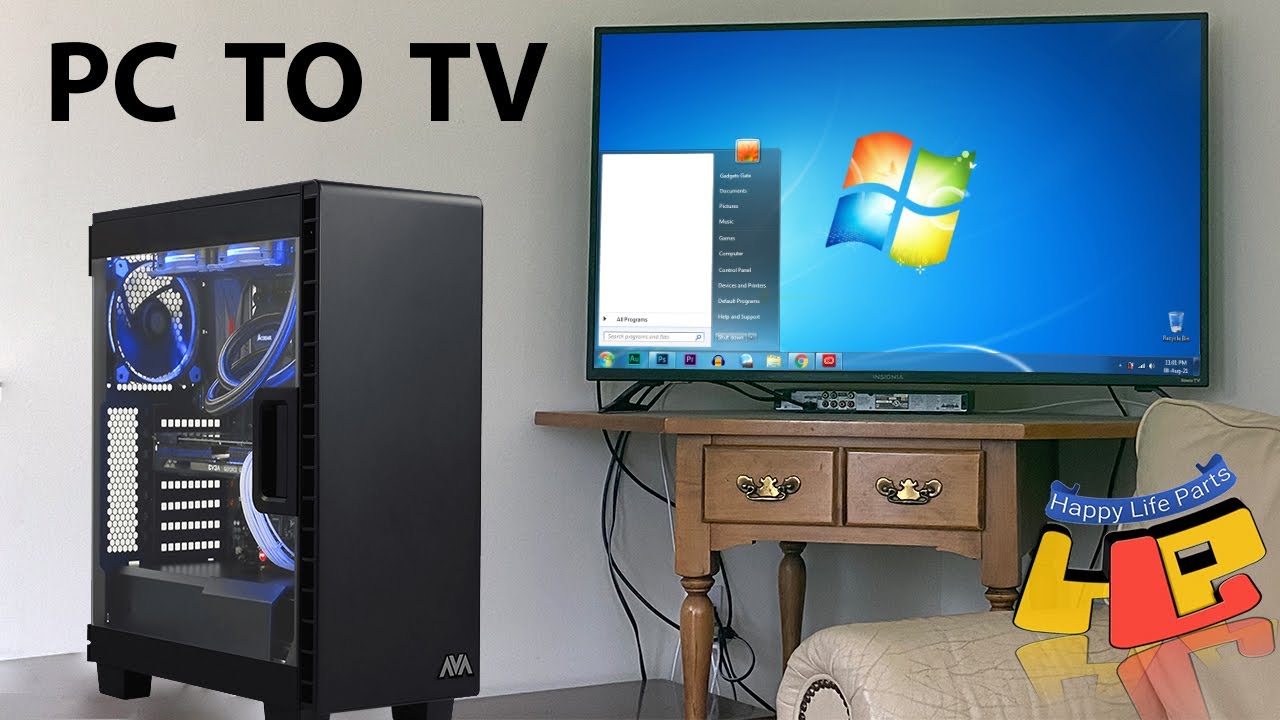
Connecting a computer to a TV using an HDMI cable is a simple and effective way to enjoy your favorite media on a larger screen. Whether you want to stream movies, play video games, display presentations, or simply extend your desktop, HDMI provides a convenient solution for connecting the two devices.
In this guide, we will walk you through the steps to connect a computer to a TV using an HDMI cable. By following these instructions, you can easily set up the connection and start enjoying a bigger and better viewing experience.
Before we begin, it’s important to note that HDMI (High-Definition Multimedia Interface) is one of the most widely used and versatile connectivity options available. It supports both high-definition audio and video, making it ideal for connecting a computer to a TV. Additionally, HDMI cables are easy to find and relatively inexpensive.
Now, let’s dive into the steps to connect your computer to a TV using an HDMI cable.
Step 1: Check Your Computer and TV Ports
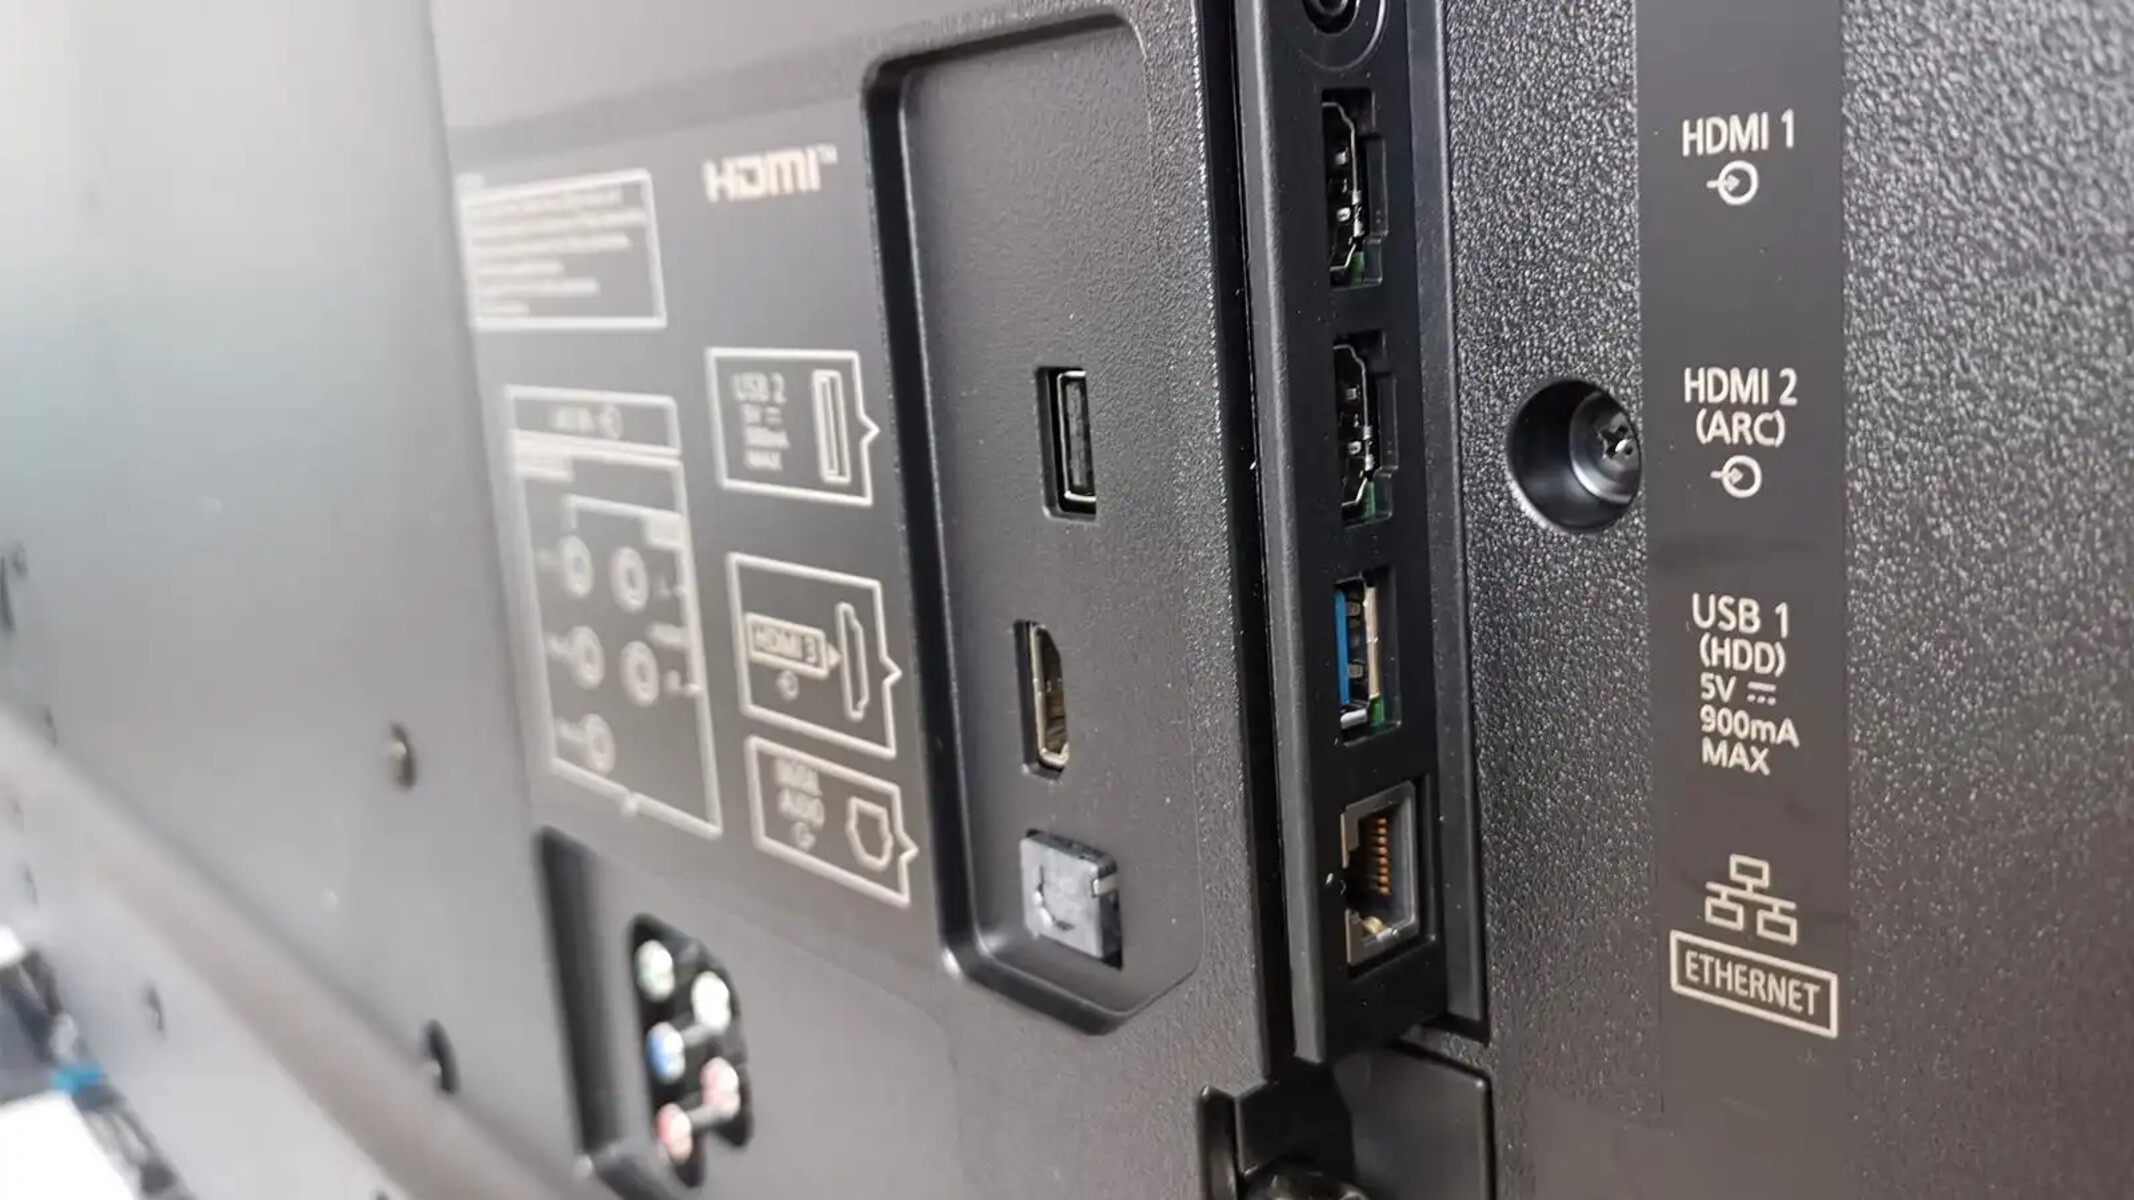
Before you can connect your computer to a TV using an HDMI cable, it’s essential to ensure that both your computer and TV have HDMI ports. Most modern computers and TVs have HDMI ports, but older models may not support this connectivity option.
Start by examining the ports on your computer and TV. Look for an HDMI port on your computer, which is typically located on the side or back panel. It is usually labeled “HDMI” and looks like a small trapezoid with a row of pins inside.
Next, locate the HDMI input port on your TV. This is where you will connect the HDMI cable from your computer. The HDMI input on your TV is often labeled “HDMI” or “HDMI Input” and is typically found on the back or side panel of the TV.
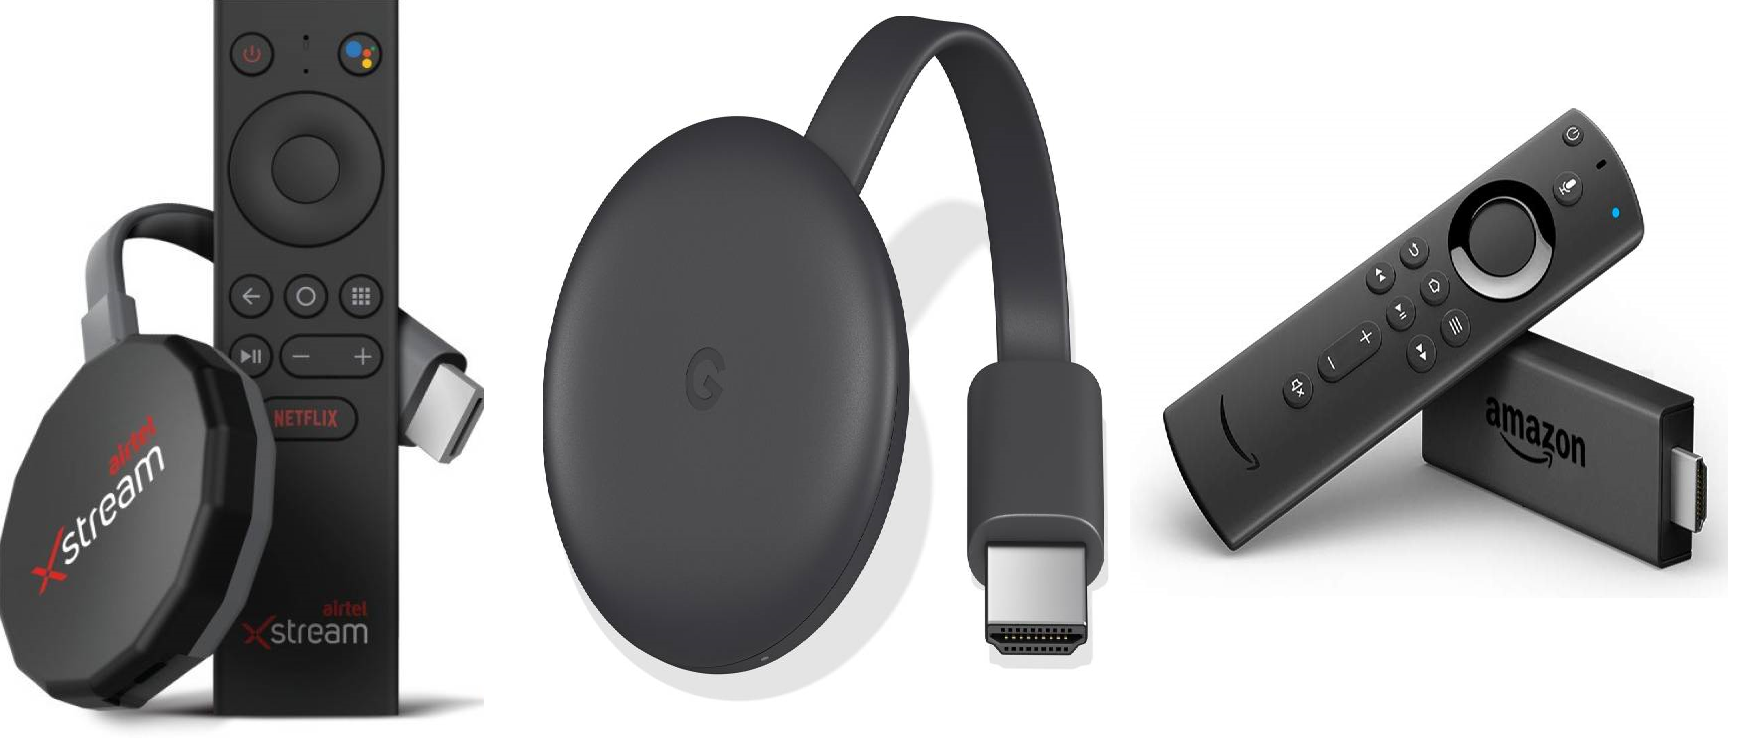
If your computer or TV does not have an HDMI port, don’t worry. There are alternative options available, such as VGA, DVI, or DisplayPort connections. However, keep in mind that these connections may require additional adapters or cables to connect to your TV.
Once you have confirmed that both your computer and TV have HDMI ports, you are ready to move on to the next step of the setup process.
Step 2: Obtain an HDMI Cable
Now that you have confirmed that your computer and TV have HDMI ports, the next step is to obtain an HDMI cable. HDMI cables are widely available and come in various lengths, so choose one that suits your needs.
When it comes to purchasing an HDMI cable, there are a few things to consider. Firstly, make sure to buy a cable that is long enough to connect your computer to your TV without straining the cable or causing any inconvenience. Measure the distance between your computer and TV to determine the appropriate cable length.
Additionally, it’s worth noting that HDMI cables come in different versions, such as HDMI 1.4, HDMI 2.0, and HDMI 2.1. The version you choose depends on the capabilities of your computer and TV. If you want to take advantage of features like 4K resolution or higher refresh rates, ensure that you select an HDMI cable that supports the desired specifications.
While there are expensive HDMI cables on the market, keep in mind that the price doesn’t necessarily indicate better performance. In most cases, a standard HDMI cable will work perfectly fine for connecting your computer to your TV. However, it’s always a good idea to read customer reviews or seek recommendations to ensure the cable you choose is of good quality and reliable.
Once you have obtained an HDMI cable, you are one step closer to connecting your computer to your TV and enjoying an immersive viewing experience.
Step 3: Connect the HDMI Cable to Your Computer
With the HDMI cable in hand, it’s time to connect it to your computer. Follow these simple steps to establish the connection:
- Locate the HDMI port on your computer. It is usually found on the side or back panel, labeled “HDMI” and resembling a small trapezoid with a row of pins inside.
- Take one end of the HDMI cable and insert it into the HDMI port on your computer. Ensure that the cable is firmly connected to the port.
- If the HDMI cable has a locking mechanism, such as a screw or latch, make sure to secure it to prevent accidental disconnection.
By connecting the HDMI cable to your computer, you are establishing a link between the two devices, allowing for the transmission of audio and video signals.
Note that if your computer has multiple HDMI ports, choose the one that corresponds to your primary display or the one you wish to connect to your TV.
Now that you have successfully connected the HDMI cable to your computer, it’s time to move on to the next step: connecting the other end of the HDMI cable to your TV.
Step 4: Connect the HDMI Cable to Your TV
Now that you have connected one end of the HDMI cable to your computer, it’s time to connect the other end to your TV. Follow these steps to complete the setup:
- Locate the HDMI input port on your TV. It is usually found on the back or side panel, labeled “HDMI” or “HDMI Input.”
- Take the other end of the HDMI cable and insert it into the HDMI input port on your TV. Ensure that the cable is firmly connected to the port.
- If your TV has multiple HDMI input ports, remember which one you used for future reference.
Once the HDMI cable is securely connected to your TV, your computer and TV are now linked, and you are ready to proceed to the next step.
In some cases, you may need to adjust the display settings on your TV to ensure proper video output. Refer to your TV’s user manual or on-screen menu to access the display settings. You may need to select the corresponding HDMI input or make adjustments such as changing the aspect ratio or screen resolution.
Once you have completed the necessary display adjustments, you are ready to move on to the next step and configure the display settings on your computer.
Step 5: Configure Display Settings
After connecting the HDMI cable to both your computer and TV, it’s time to configure the display settings to ensure optimal viewing experience. Follow these steps to configure the display settings:
- On your computer, go to the “Display Settings” or “Graphics Settings” menu. You can usually access this menu through the Control Panel or by right-clicking on the desktop and selecting “Display Settings.”
- In the display settings menu, you should see options for managing multiple displays. Select the option that allows you to extend or mirror your desktop to the TV.
- If you want the TV to act as an extended display, choose the “Extend desktop to this display” option. This will allow you to move windows and applications between your computer and the TV.
- If you prefer to mirror your computer’s screen on the TV, select the “Duplicate desktop on this display” option. This will show the same content simultaneously on your computer and TV.
- Make sure the refresh rate and screen resolution settings are appropriate for your TV. You can usually choose from a list of available resolutions supported by your TV to ensure the best picture quality.
- Save the changes and exit the display settings menu. Your computer will apply the new settings and adjust the output to the connected TV.
By configuring the display settings correctly, you can ensure that the content displayed on your computer is properly projected onto the TV. Now, it’s time for the final step: testing the connection between your computer and TV.
Step 6: Test the Connection
Now that you have connected your computer to your TV and configured the display settings, it’s important to test the connection to ensure that everything is working as expected. Follow these steps to test the connection:
- Turn on your TV and set it to the correct HDMI input that you connected your computer to.
- Turn on your computer, and if necessary, enter your login credentials to access the desktop.
- Once your computer is fully booted up, you should see your desktop appear on the TV screen. If the screen is blank or shows an error message, check the HDMI cable connections and make sure that the TV is set to the correct input source.
- Try playing a video or opening a browser window on your computer. The content should be displayed on the TV screen as well.
- Listen for audio through the TV speakers. If the audio is not playing through the TV, you may need to adjust the audio settings on your computer or TV to ensure the correct audio output.
- Test different applications, games, or media files to ensure that the connection is stable and provides the desired performance.
If everything is working as expected and you can successfully view and hear the content from your computer on your TV, congratulations! You have successfully connected your computer to your TV using an HDMI cable.
However, if you encounter any issues during the testing phase, double-check the cables, settings, and make sure that both your computer and TV are compatible with the HDMI connection. If the problem persists, consult the user manuals or seek technical support for further assistance.
With the connection successfully tested, you can now enjoy a larger display and enhanced audio on your TV by using your computer.
Conclusion
Connecting a computer to a TV using an HDMI cable is a straightforward process that opens up a world of possibilities for enjoying multimedia content on a larger screen. By following the steps outlined in this guide, you can easily establish a connection and take advantage of the combined power of your computer and TV.
Starting with checking the ports on your computer and TV, verifying the availability of HDMI ports is crucial. Obtaining an appropriate HDMI cable is the next step, considering factors such as length and version compatibility. Then, connecting the HDMI cable to your computer and TV ensures a solid physical connection.
Configuring the display settings on your computer allows you to optimize the viewing experience, whether extending your desktop or mirroring your screen. It is important to select the correct refresh rate and screen resolution to achieve the best possible image quality.
Once the connection is established and the display settings are configured, it’s essential to test the connection by playing videos or accessing other media content. Troubleshoot any issues that may arise, ensuring both video and audio are working as expected.
With a successful connection and thorough testing, you can now enjoy an immersive viewing experience, whether you’re streaming movies, playing games, giving presentations, or simply working on a larger screen.
Remember, the process of connecting a computer to a TV using an HDMI cable may vary depending on your specific devices and operating systems. Always refer to the user manuals or consult technical support if you encounter any difficulties or need additional assistance.
Now, it’s time to sit back, relax, and enjoy your favorite content on the big screen!