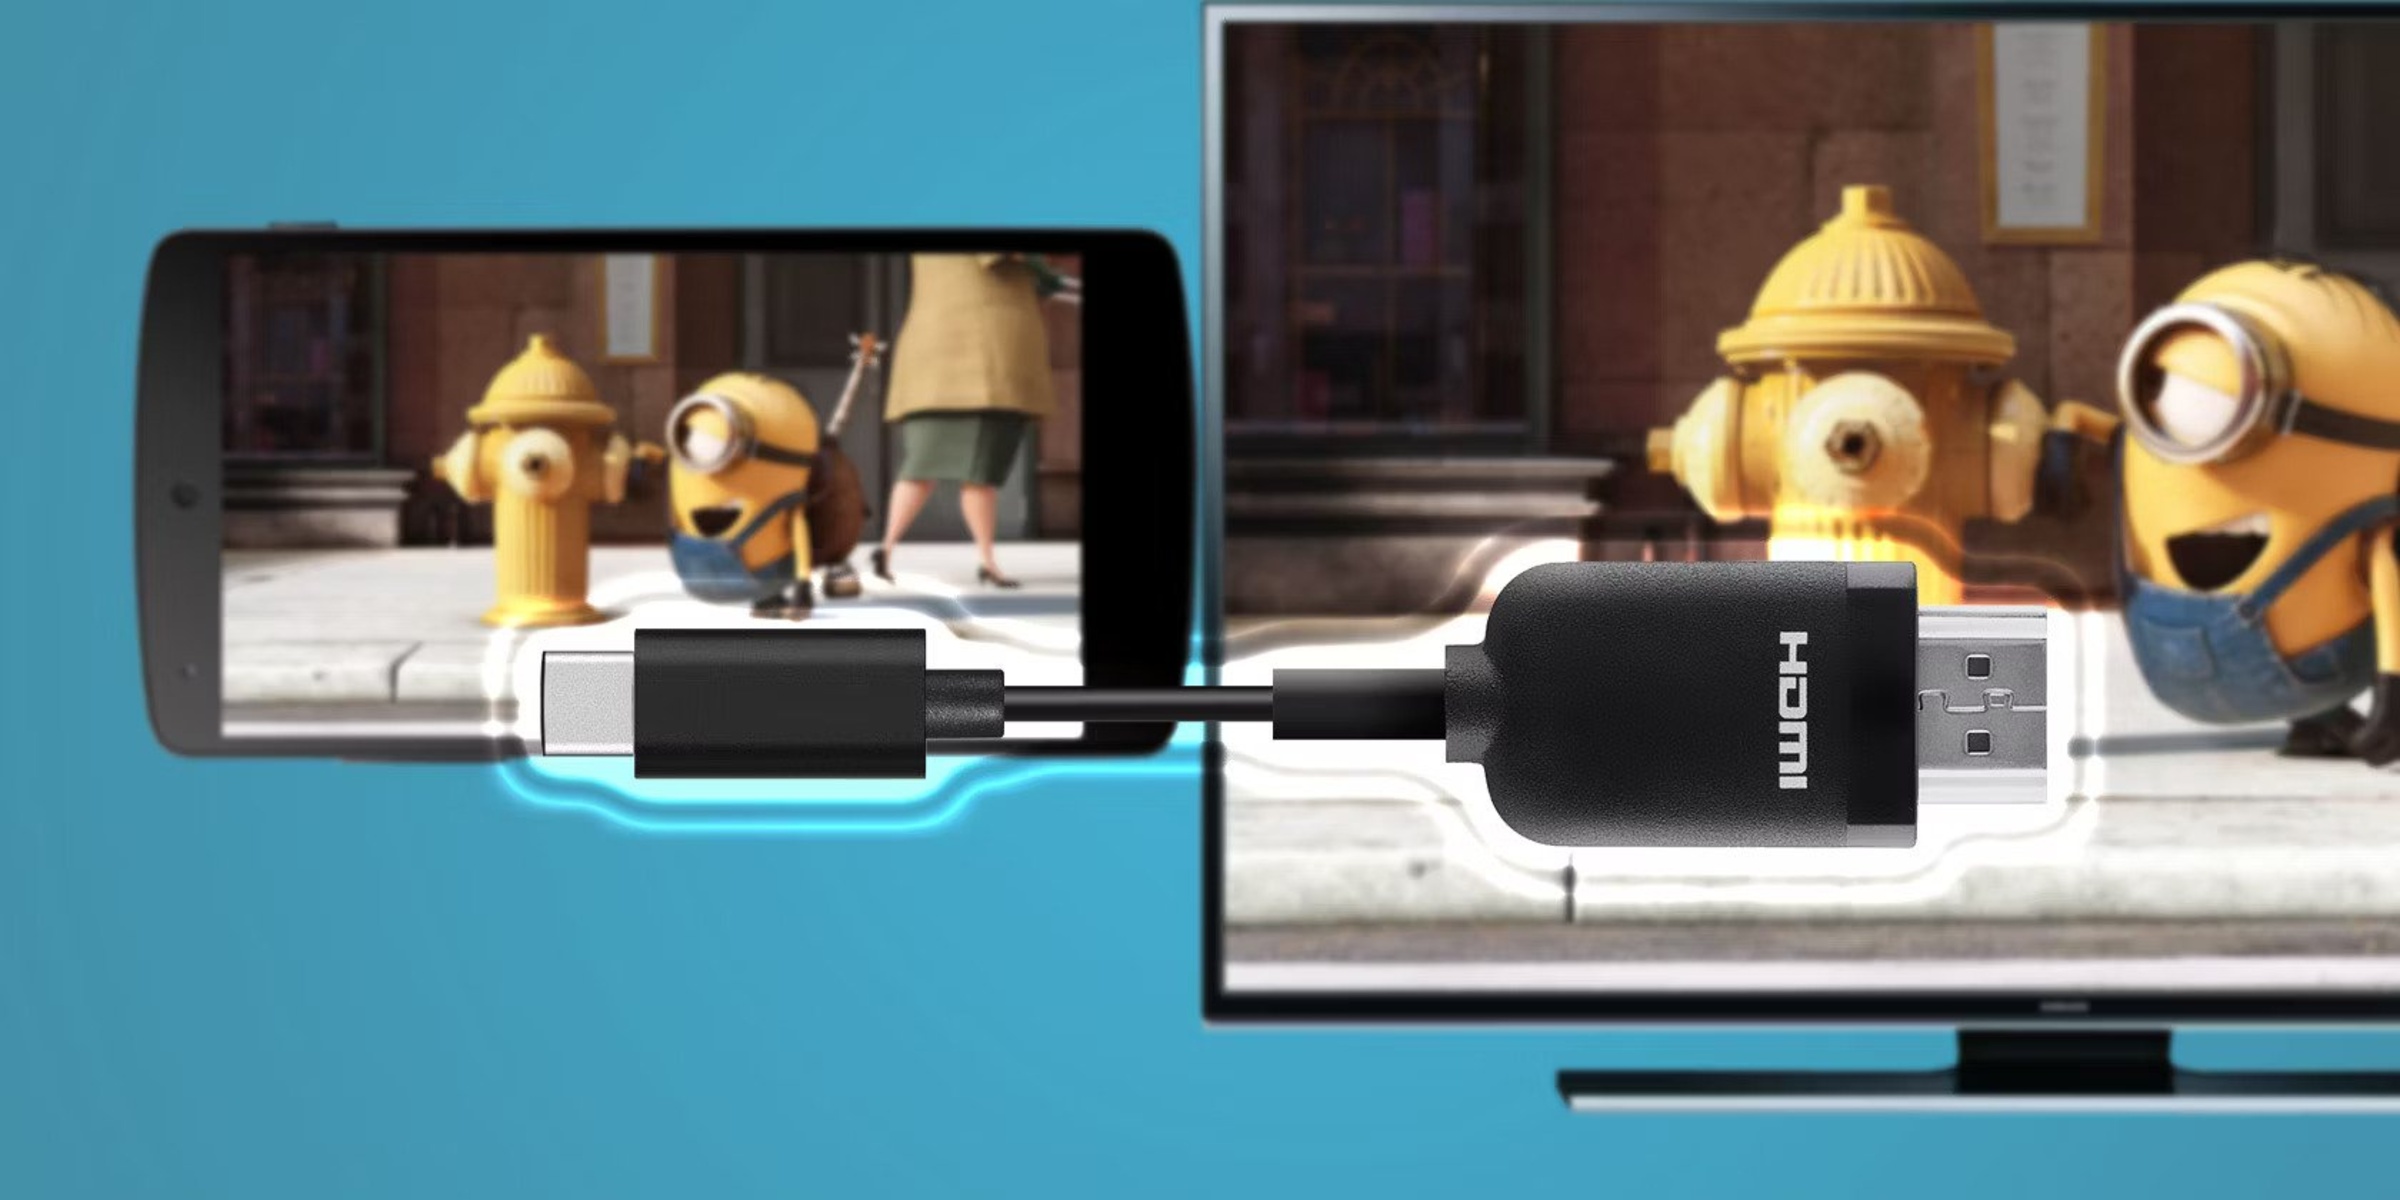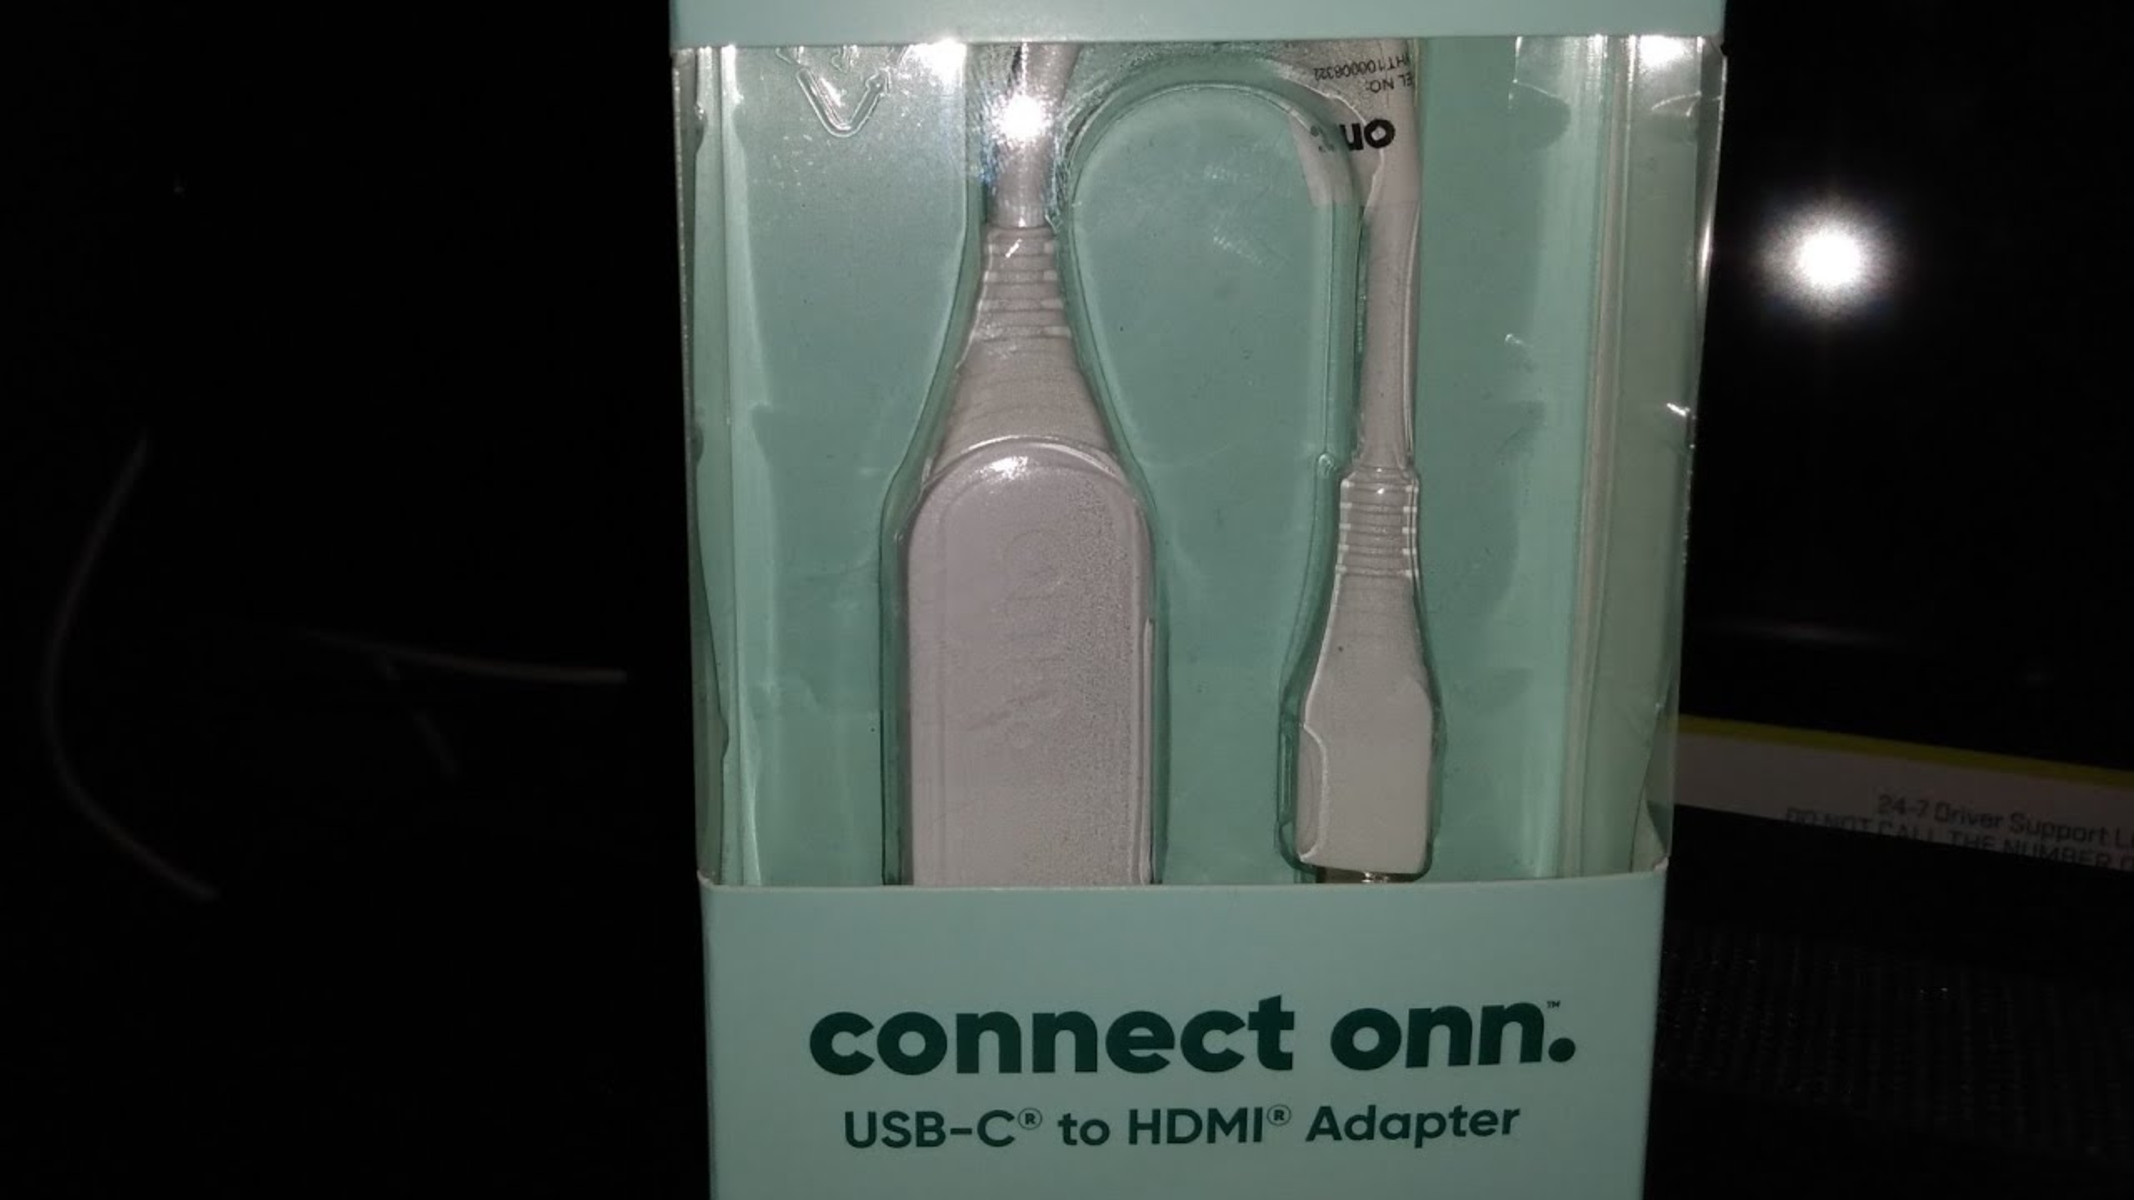
To use the Onn USB-C to HDMI adapter, plug the adapter's USB-C connector into your laptop, phone, or tablet, then connect an HDMI cable from the adapter to your TV or monitor, and select the correct HDMI input on the display. The entire setup is plug-and-play, requiring no drivers, and works with Windows, macOS, and ChromeOS devices that have a USB-C port supporting DisplayPort Alt Mode.
Before you start: what you need to use the Onn USB-C to HDMI adapter
Before connecting anything, confirm you have all the necessary components and that your devices are compatible. The Onn USB-C to HDMI Adapter (Model: 100004344) is a bridge between a USB-C device and an HDMI display, but it requires specific hardware to function.
- A source device with a USB-C port that supports video output. This is the most critical requirement. The USB-C port must support DisplayPort Alternate Mode (Alt Mode) or Thunderbolt. Most modern laptops (Windows, macOS, ChromeOS), tablets, and smartphones have this, but some budget or older devices may only support charging or data transfer. Check your device's specifications or manual if you are unsure.
- An HDMI display. This can be a TV, computer monitor, or projector with an available HDMI input port.
- A standard HDMI cable. The Onn adapter has a female HDMI port, so you must supply your own HDMI cable. It is not included in the box. For best results, use a high-speed HDMI cable, especially for 4K resolutions.
- The Onn USB-C to HDMI Adapter itself. Ensure you have the correct model (100004344) and not the "Onn 3-in-1 USB-C Adapter," which is a different product with additional ports.
- Maximum resolution.
Step-by-step guide to connect using the Onn USB-C to HDMI adapter
Once you have confirmed all prerequisites, the physical connection takes less than a minute. Follow these steps in order for a successful setup.
- Connect the HDMI cable to the adapter. Take your standard HDMI cable and plug one end into the HDMI female port on the Onn USB-C to HDMI Adapter.
- Connect the other end of the HDMI cable to your display. Plug the other end of the HDMI cable into an available HDMI input port on your TV, monitor, or projector. Note which HDMI port number you use (e.g., HDMI 1, HDMI 2).
- Plug the adapter into your source device. Insert the USB-C male connector of the Onn adapter into the USB-C port on your laptop, tablet, or smartphone. You should feel a secure connection.
- Power on your devices. Turn on your source device and your HDMI display. It is advisable to have your source device powered on before connecting, but the adapter is hot-pluggable, so it will work either way.
- Select the correct HDMI input on your display. Using your display's remote control or on-screen menu buttons, navigate to the input/source selection and choose the HDMI port you connected the cable to. For example, if you plugged into "HDMI 1," select that input.
Your source device should automatically detect the external display and either mirror or extend your screen. If nothing happens, proceed to the configuration and troubleshooting sections below.
How to configure your display settings for mirroring or extending
After the physical connection, your operating system should automatically detect the HDMI display. However, you may need to adjust the display mode to suit your needs. Here is how to do it on the three main operating systems.
Windows
- Right-click on your desktop and select Display settings (or go to Settings > System > Display).
- Scroll down to the Multiple displays section.
- Click the dropdown menu and choose one of the following:
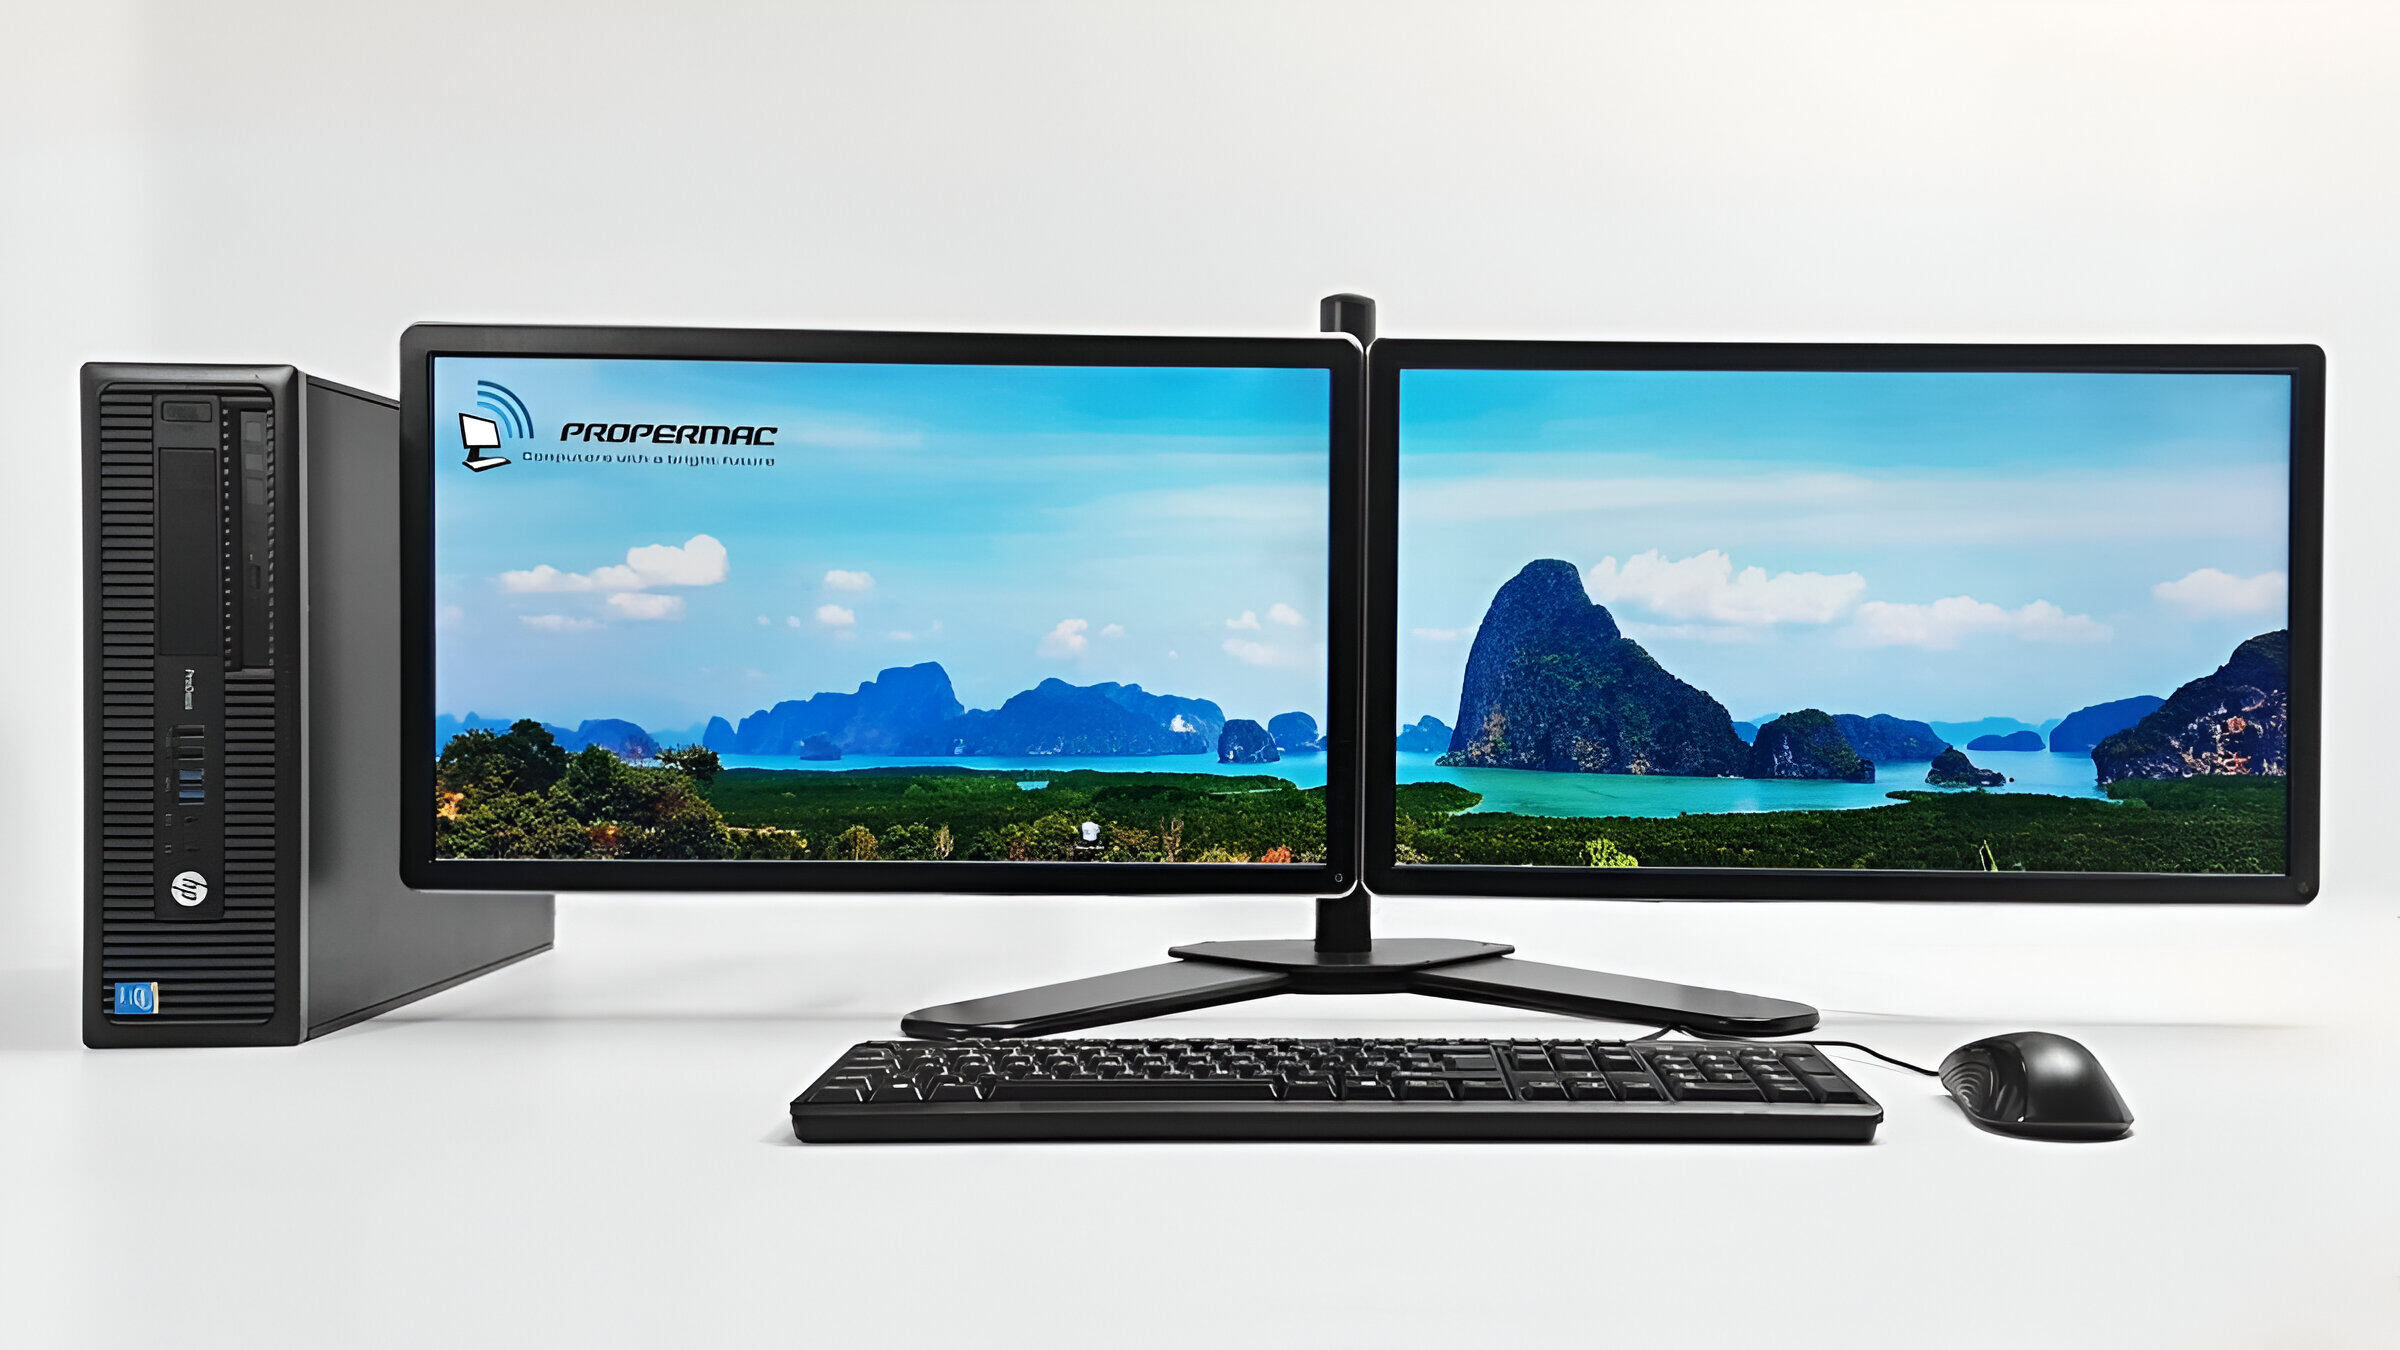
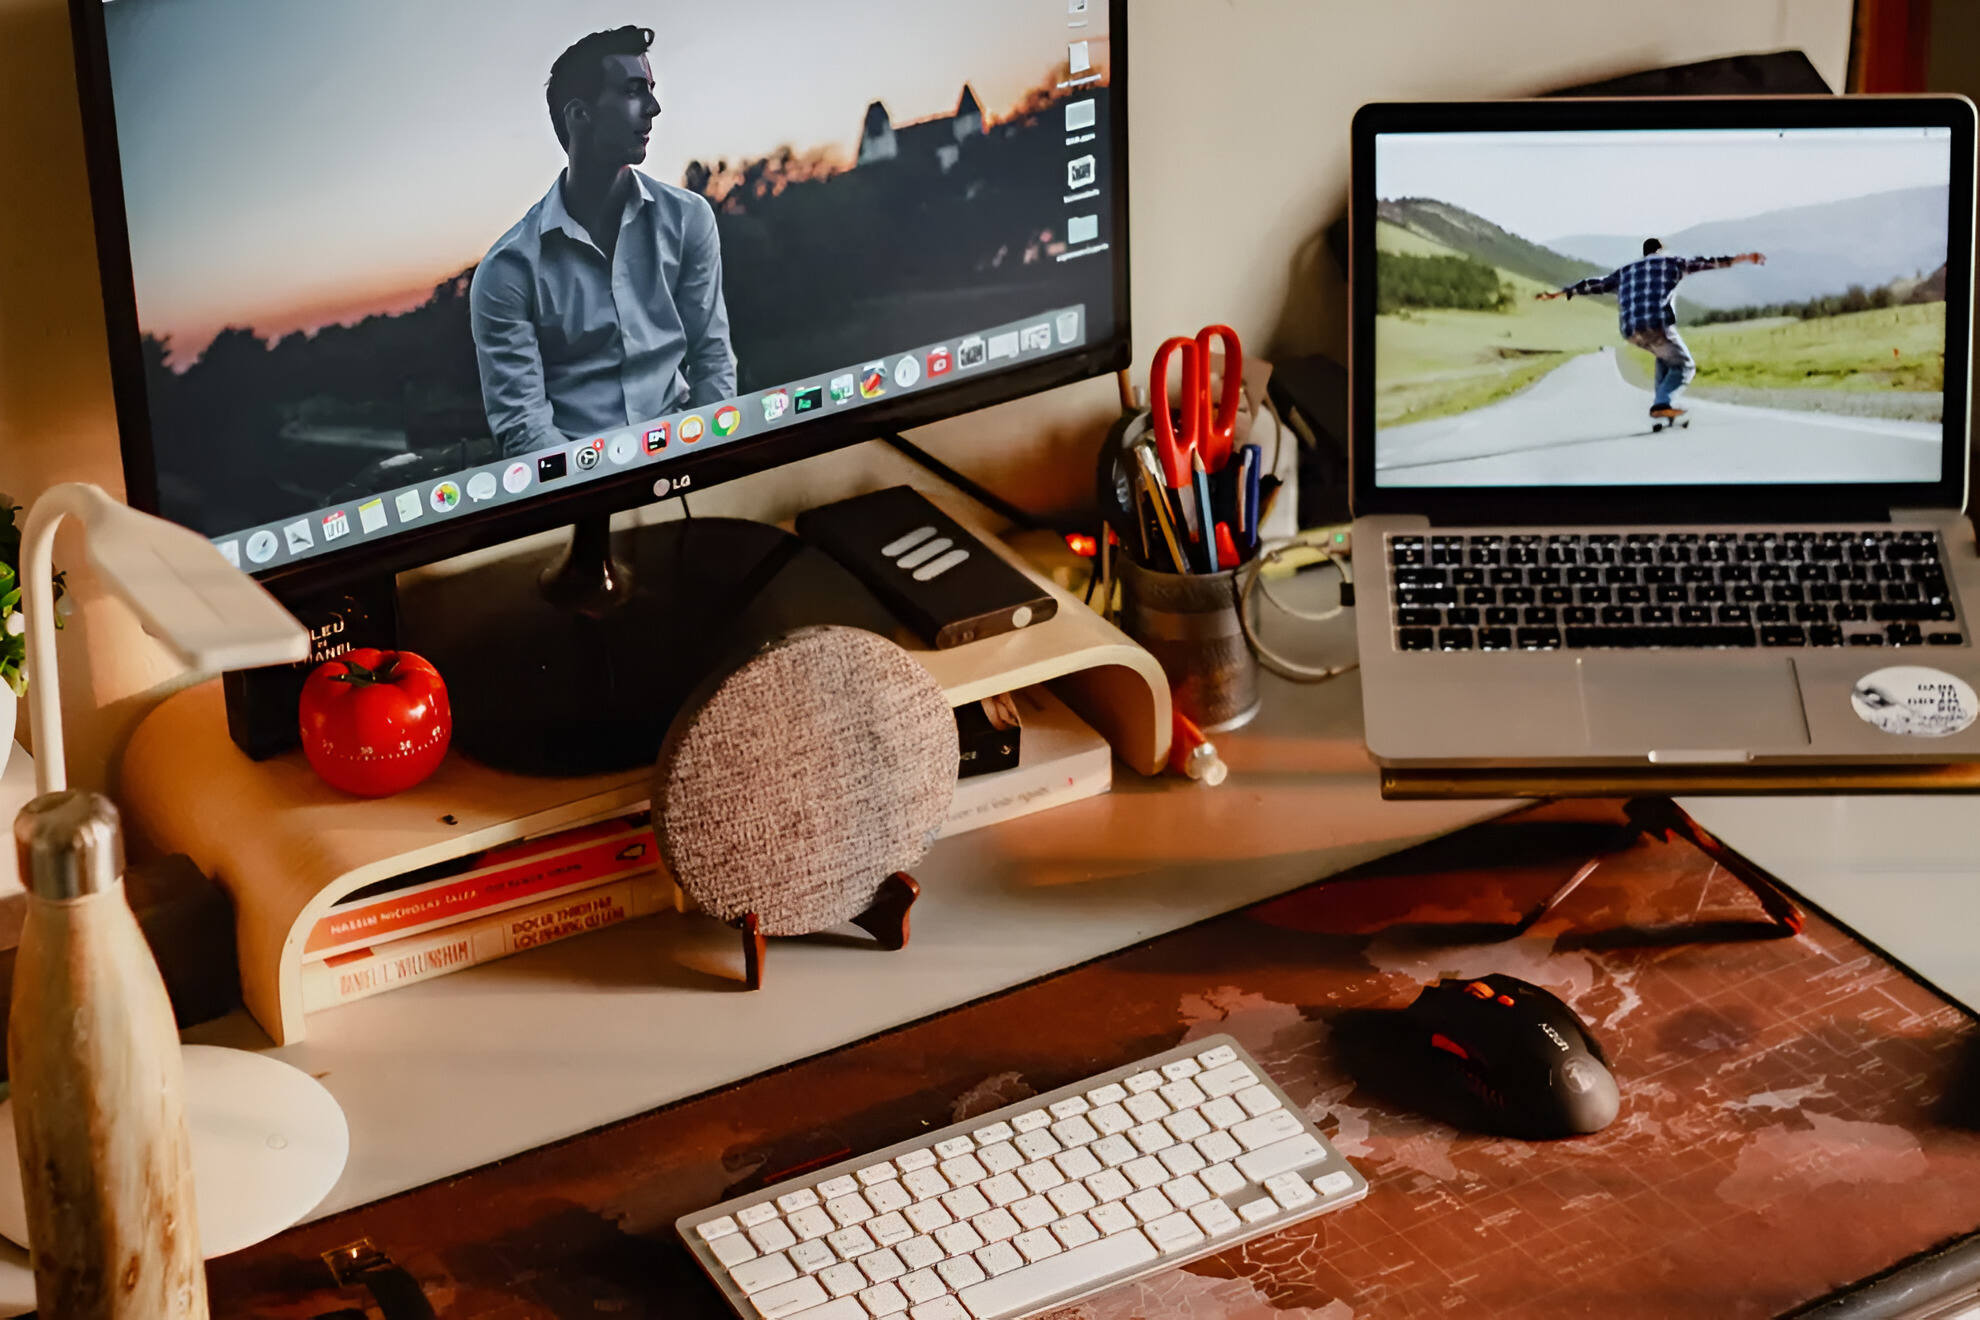
- Duplicate these displays, Shows the same content on both your laptop screen and the external monitor.
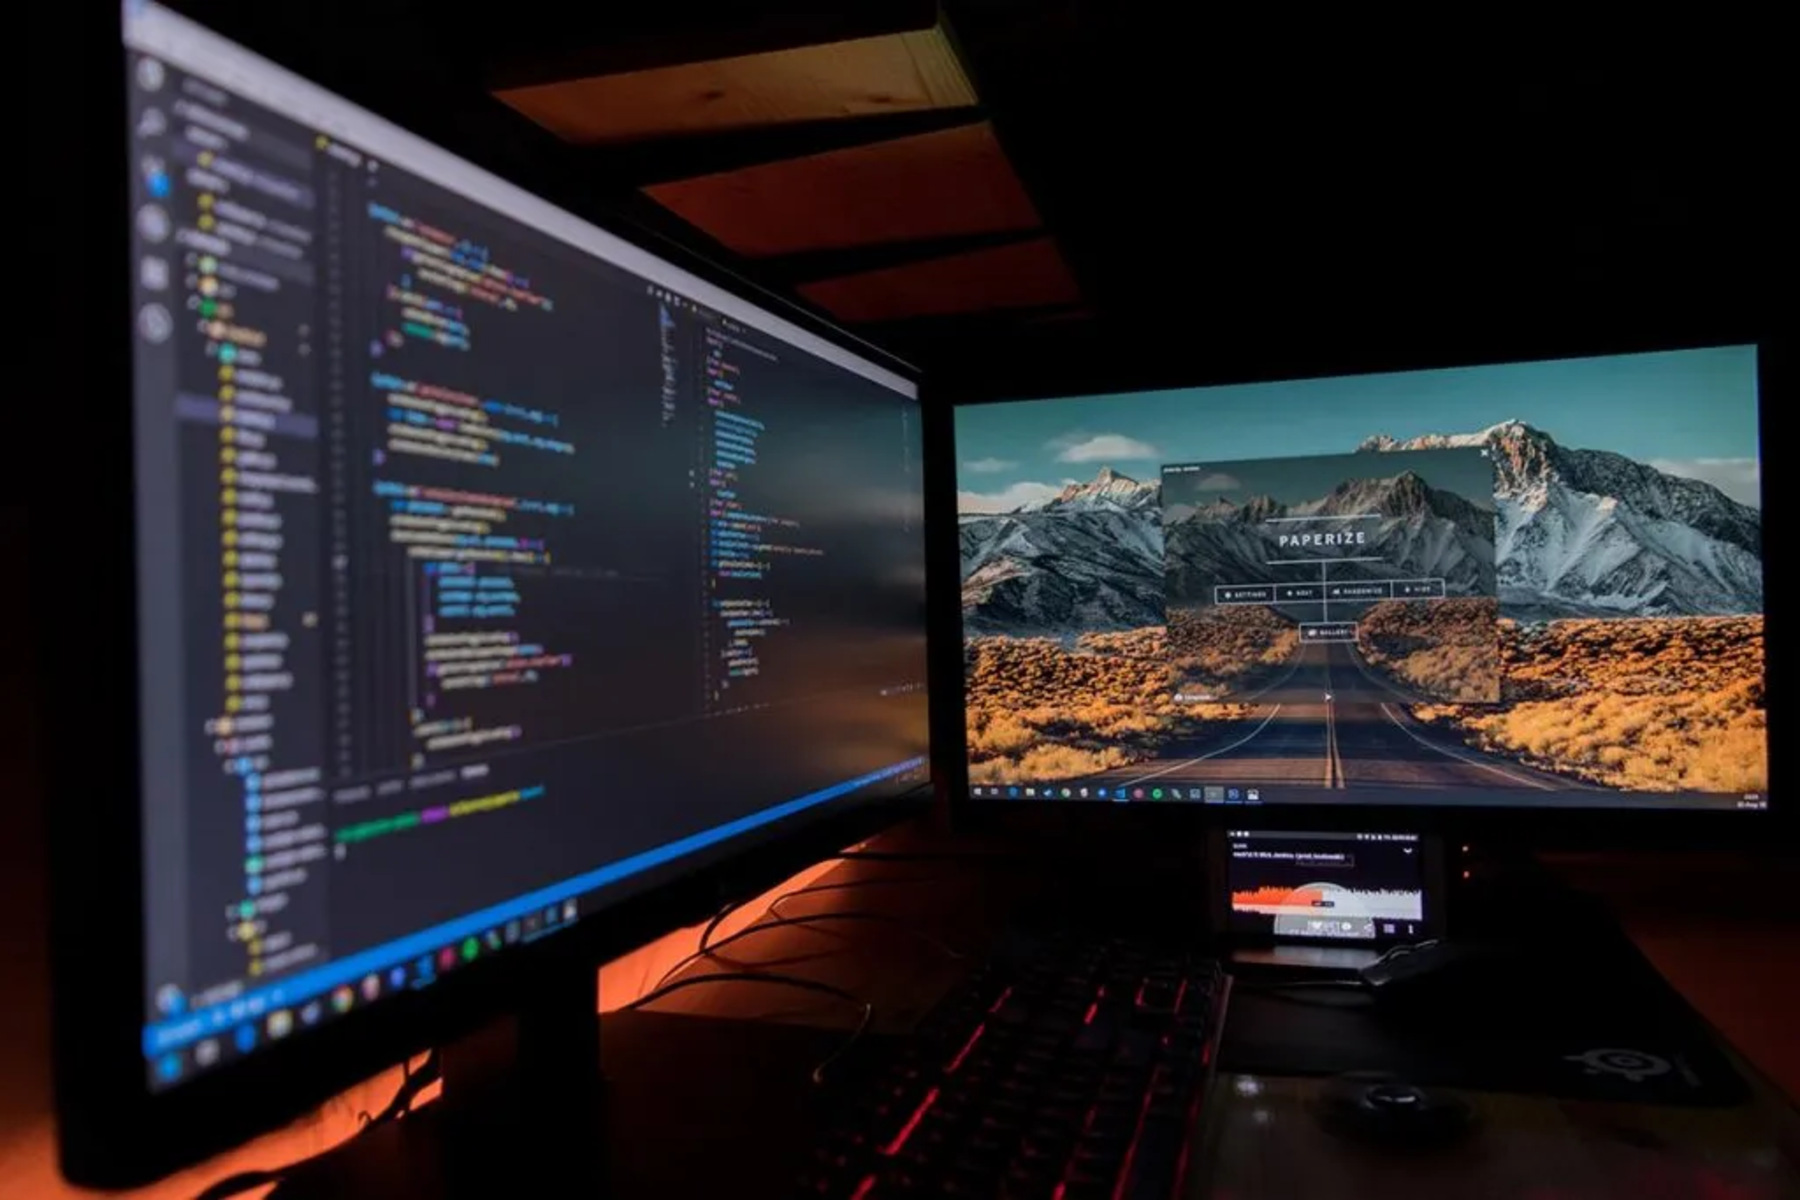
- Extend these displays, Treats the external monitor as an additional desktop, allowing you to drag windows between screens.
- Second screen only, Turns off your laptop screen and uses only the external monitor.
- Click Apply to save the changes.
macOS
- Open System Settings (or System Preferences on older versions) and click Displays.
- Click the Arrangement tab.
- To mirror, check the box that says Mirror Displays.
- To extend, uncheck the box. You can then drag the white menu bar to the desired display to set your primary screen.
ChromeOS
- Click on the clock in the bottom-right corner, then select the gear icon (Settings).
- Go to Device > Displays.
- Under Built-in display, you will see options for the external monitor. Choose Mirror or Extend from the dropdown menu.
To adjust resolution, go back to the display settings and select the recommended resolution for your external monitor. Always choose the highest resolution that both your source device and the display support for the sharpest image.
Fixing sound: how to set your audio output to the TV or monitor
The Onn USB-C to HDMI adapter transmits both video and audio over the same cable. However, your source device may not automatically switch the audio output. If you have a picture but no sound, follow these steps to select the correct audio device.
Windows
- Right-click the speaker icon in the system tray (bottom-right corner) and select Sound settings (or Open Sound settings).
- Under Output, click the dropdown menu and select your HDMI display. It will typically be listed as the name of your TV or monitor (e.g., "LG TV" or "DELL P2715Q") with a label like "HDMI" or "Digital Output."
- If you don't see it, click Manage sound devices, find your display in the list, and click Enable if it is disabled.
macOS
- Open System Settings > Sound.
- Under Output, select your HDMI display from the list of devices.
ChromeOS
- Click on the status area (bottom-right), then click the volume icon.
- Click the chevron (^) next to the volume slider and select your HDMI display as the output device.
If you still have no sound, ensure the volume on both your source device and the display is turned up and not muted. Also, try unplugging and re-plugging the HDMI cable to force the system to re-negotiate the audio connection.
Troubleshooting: no picture on the screen
This is the most common issue. If your display shows "No Signal" or remains black after connecting, work through these steps in order.
- Check power. Ensure both your source device and the display are powered on. Some displays have a standby mode that may need to be activated.
- Verify secure connections. Unplug and re-plug both ends of the HDMI cable and the USB-C connector from the adapter. Make sure they are pushed in firmly. A loose connection is a frequent cause of failure.
- Confirm the correct HDMI input. On your display, cycle through the input/source options (HDMI 1, HDMI 2, etc.) to make sure you are on the correct port. Use the display's remote control or physical buttons.
- Check DisplayPort Alt Mode support. This is the most common hardware issue. Your source device's USB-C port must support video output. If your port only supports charging or data, the adapter will not work. Check your device's specifications or try a different USB-C port if available.
- Restart your source device. Sometimes a simple reboot is enough. With the adapter and HDMI cable connected, restart your laptop or phone. This forces the operating system to re-detect the display.
- Try a different HDMI cable. HDMI cables can go bad. Test with a different high-speed HDMI cable to rule out a faulty cable.
- Test with another display. If possible, connect the adapter to a different TV or monitor. This isolates whether the issue is with the adapter/cable or the original display.
If you have tried all these steps and still have no picture, the problem may be with the adapter itself or your source device's USB-C port. Test the adapter with another device if possible.
Troubleshooting: flickering, wrong resolution, or adapter overheating
If you have a picture but it is unstable or not displaying correctly, use these targeted solutions.
Flickering or unstable display
- Check all connections. A loose HDMI or USB-C connection can cause intermittent flickering. Unplug and reconnect both ends securely.
- Try a different HDMI cable. A cable with insufficient shielding or bandwidth can cause flickering, especially at higher resolutions. Use a high-speed HDMI cable rated for 4K if possible.
- Reduce the resolution or refresh rate. In your display settings, lower the refresh rate (e.g., from 60Hz to 30Hz) or the resolution (e.g., from 4K to 1080p). This reduces the data transmission load and can stabilize the signal.
Wrong resolution or blurry text
- Check device and display specs. Ensure both your source device and the display support the desired resolution. For example, if your laptop supports 4K but your monitor is 1080p, the image will be downscaled.
- Adjust display settings.
- Use a high-speed HDMI cable.
Adapter overheating
- Ensure proper airflow. The adapter can get warm during use, but if it is too hot to touch, it may overheat. Do not cover the adapter with papers, cloth, or other objects. Place it on a flat, open surface.
- Unplug and let it cool down. If it overheats, disconnect the adapter from your device and let it cool for a few minutes before using it again.
- Consider a USB-C extension cable. If the adapter gets too hot because it is close to your device's heat source, use a short USB-C extension cable to move it away. This provides more space and airflow.
- Reduce power load. If you are using a power-hungry laptop, the adapter may be drawing extra power. Ensure your device is plugged into a power source, not running on battery, especially during extended use.
Related reading: How To Use Samsung Portable SSD T7, How To Use HDMI On Lenovo Laptop, and How To Charge Logitech Spotlight Presentation Remote.