Introduction
Welcome to this guide on how to use the Onn Projector! Whether you’re looking to enjoy a movie night at home, give a presentation, or create an immersive gaming experience, the Onn Projector is a versatile device that can meet your needs. In this article, we’ll provide you with step-by-step instructions on setting up and using your Onn Projector, as well as tips and tricks to optimize the image and troubleshoot common issues.
The Onn Projector is designed to be user-friendly, even for those who may be new to projectors. It offers a range of features and customization options to ensure a seamless and enjoyable viewing experience. From connecting your devices to adjusting settings and controlling the projector, we’ve got you covered. So let’s dive in and get started!
In the following sections, we’ll go through the process of setting up the Onn Projector, connecting it to your devices, adjusting the projector settings, and optimizing the image and display quality. We’ll also explore how to use the convenient Onn Projector remote control and troubleshoot any common issues you may encounter. Lastly, we’ll provide some tips on maintaining and caring for your Onn Projector to ensure its longevity.
By the end of this guide, you’ll have a clear understanding of how to make the most of your Onn Projector and enhance your entertainment or professional experiences. So let’s not waste any more time and begin exploring the wonderful world of the Onn Projector!
Setting Up the Onn Projector
Before you can start enjoying the amazing features of the Onn Projector, you’ll need to set it up properly. But don’t worry, the setup process is straightforward and hassle-free. Just follow these simple steps:
1. Find a suitable location: Begin by selecting a suitable location for your Onn Projector. Consider factors such as screen size, projection distance, and ambient light. Choose a space with enough room for your desired screen size and ensure that there are no obstructions in the projection path.
2. Connect the power cord: Plug in the power cord of the Onn Projector and connect it to a power outlet. Make sure the projector is properly grounded to avoid any electrical issues.
3. Adjust the projector position: Position the projector according to your desired screen size and projection distance. Use the adjustable feet or tripod mount to ensure a stable and level projection surface.
4. Connect the video source: Depending on your preferences and available options, connect your video source to the Onn Projector. This can be done via HDMI, VGA, USB, or other compatible ports. Ensure that both the projector and the video source are turned off before making any connections.
5. Power on the projector: Once all the connections are made, power on the Onn Projector. Wait for it to initialize and warm up, as this may take a few moments.
6. Adjust the focus and keystone correction: To achieve a clear and well-aligned image, use the focus and keystone adjustment controls on the projector or its remote control. Adjust these settings until the image appears sharp and distortion-free.
7. Select the input source: Use the projector’s menu or remote control to select the input source corresponding to your connected video device. This ensures that the projector receives the correct signal and displays the content accordingly.
8. Test the projection: Play a video or display an image on your connected video device to test the projection. Check for any issues with the image quality or alignment, and make further adjustments if necessary.
These are the basic steps for setting up your Onn Projector. Once you’ve completed these steps, you’re ready to start enjoying your favorite movies, presentations, or games on the big screen. Keep in mind that specific steps may vary depending on the model of your Onn Projector, so refer to the user manual for detailed instructions tailored to your device.
Now that your Onn Projector is all set up, let’s move on to the next section and learn how to connect it to your devices.
Connecting the Onn Projector to Your Devices
Now that your Onn Projector is set up, it’s time to connect it to your devices. Whether you want to stream movies from your laptop, connect your gaming console, or mirror your smartphone screen, the Onn Projector offers various connectivity options. Here’s how you can easily connect your devices:
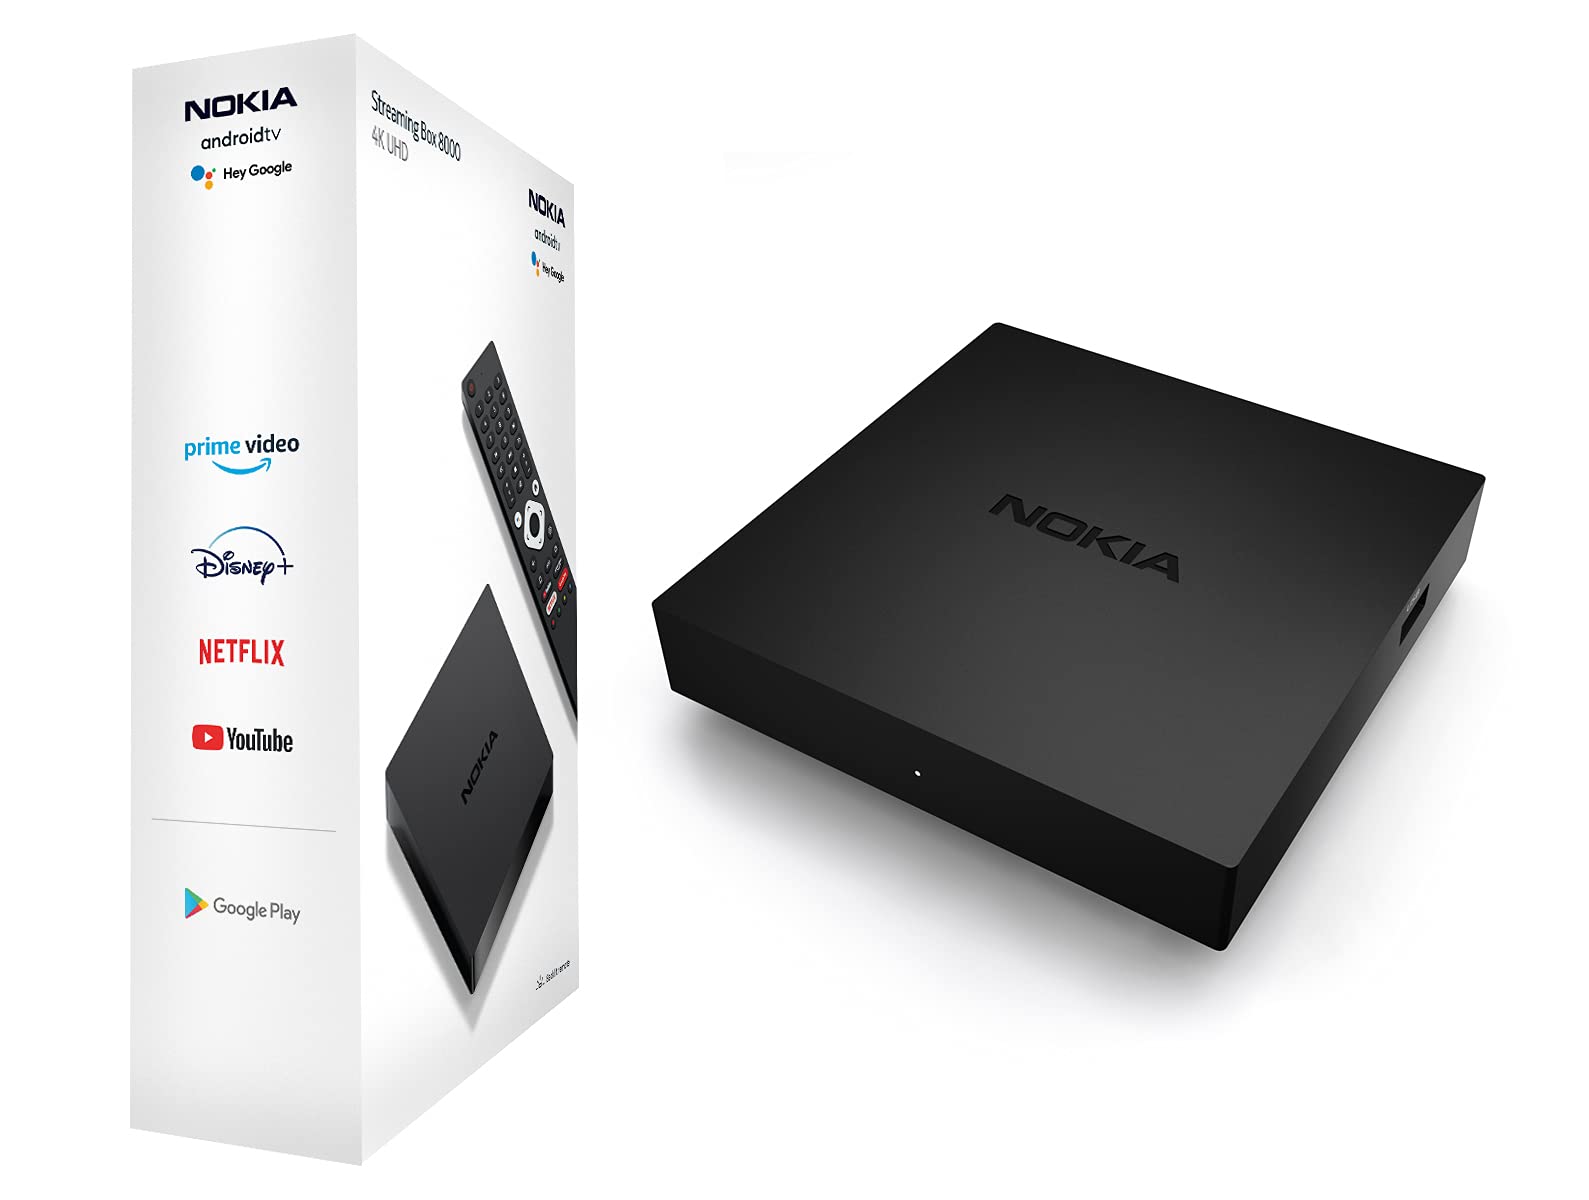
1. HDMI Connection: The most common and recommended way to connect your devices to the Onn Projector is through an HDMI cable. Most modern laptops, gaming consoles, streaming devices, and DVD/Blu-ray players come with HDMI ports. Simply connect one end of the HDMI cable to the output port of your device and the other end to the HDMI input port of the Onn Projector.
2. VGA Connection: If your device (such as an older laptop or desktop computer) does not have an HDMI port, you can use a VGA connection instead. Connect one end of the VGA cable to the VGA output port of your device and the other end to the VGA input port of the Onn Projector. Keep in mind that VGA does not transmit audio, so you may need a separate audio cable connection for sound.
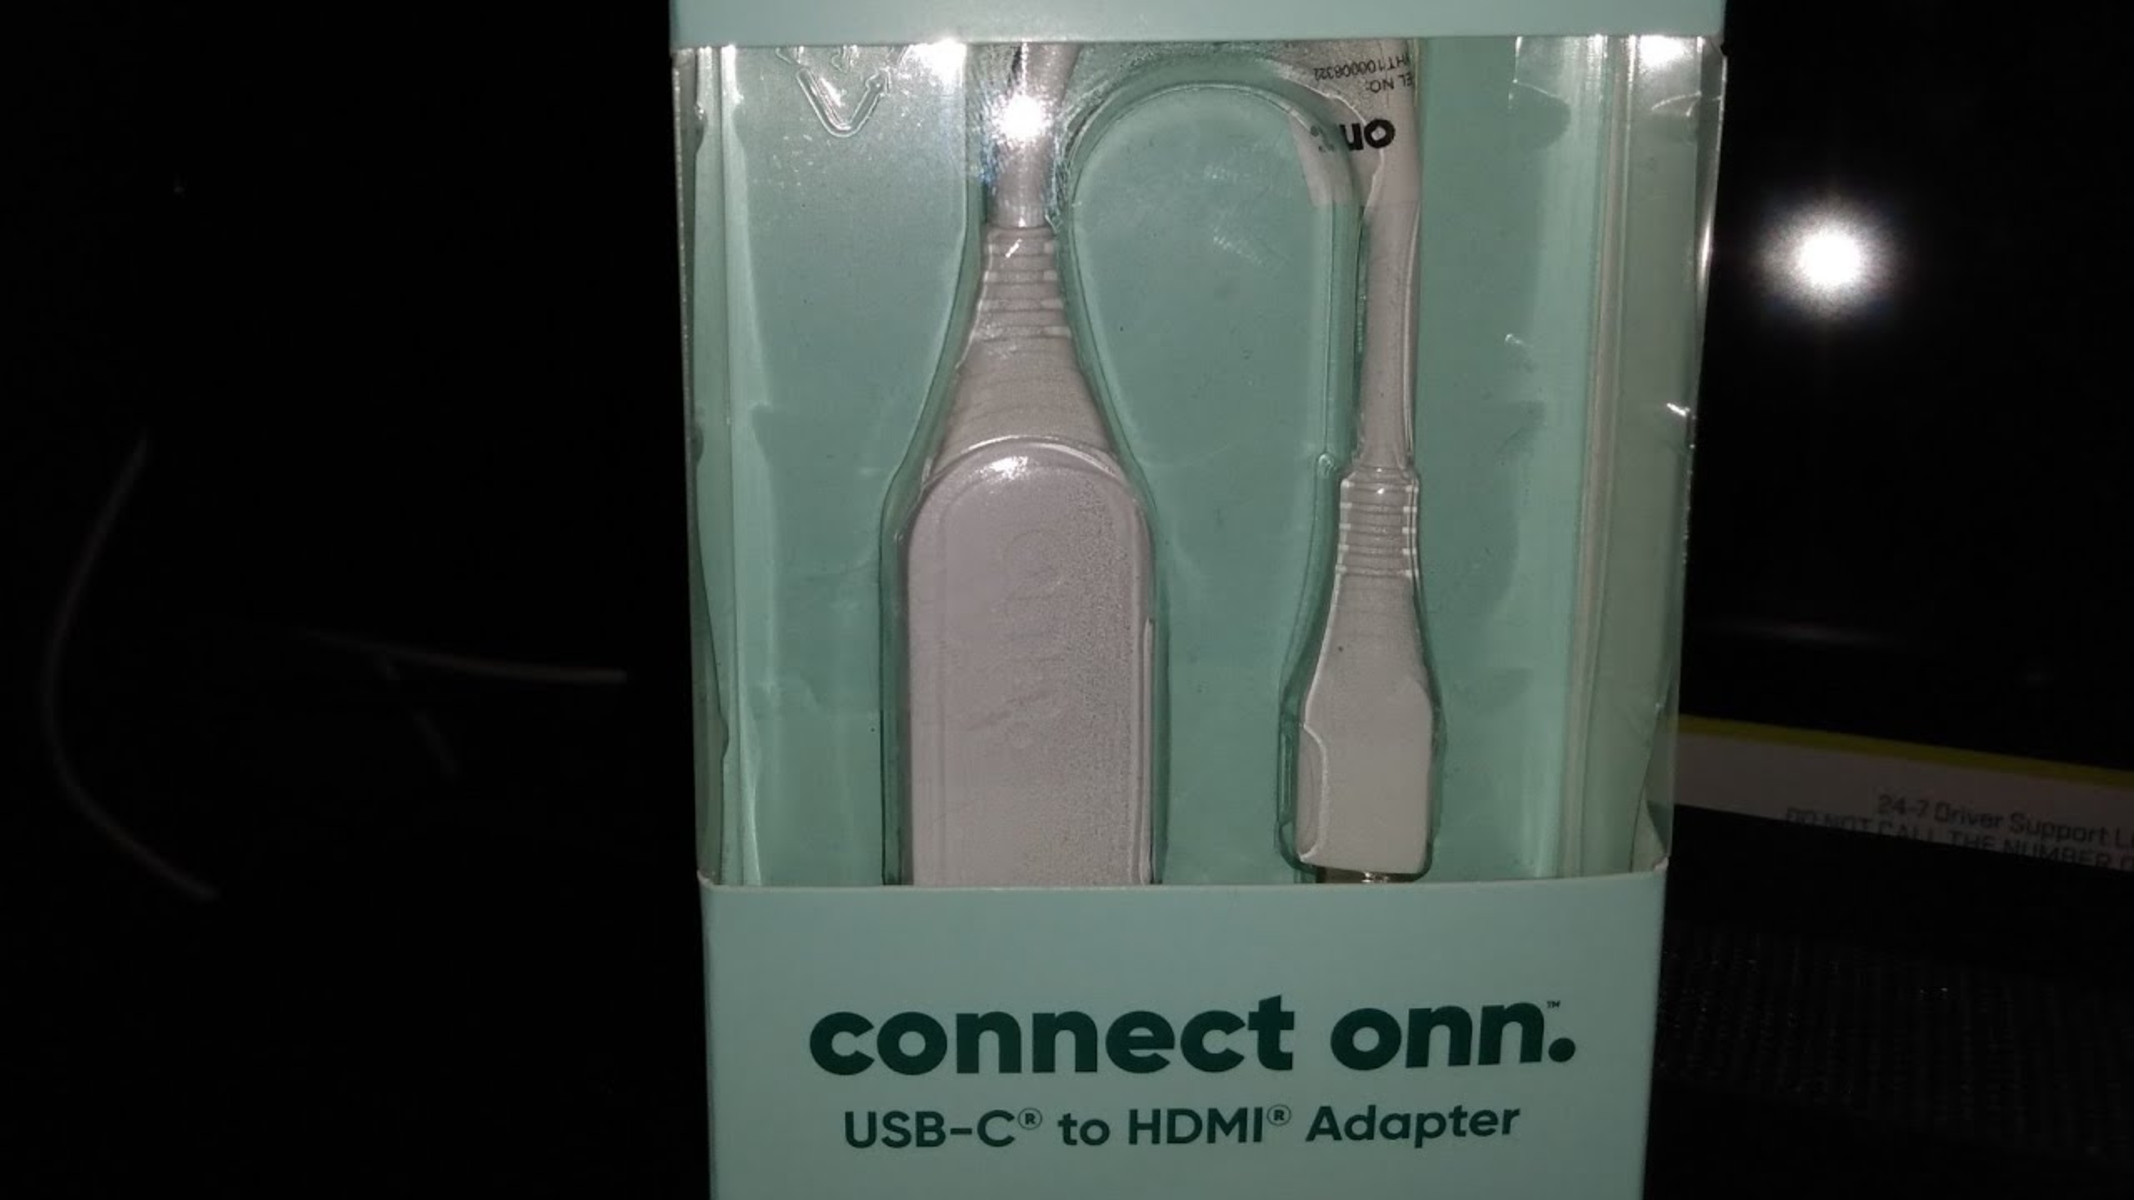
3. USB Connection: Some devices, such as smartphones and tablets, support USB connectivity. If your device has a USB-C or a micro USB port, you can use a compatible USB adapter to connect it to the USB input port of the Onn Projector. This allows you to mirror your device’s screen and project content directly from your mobile device.
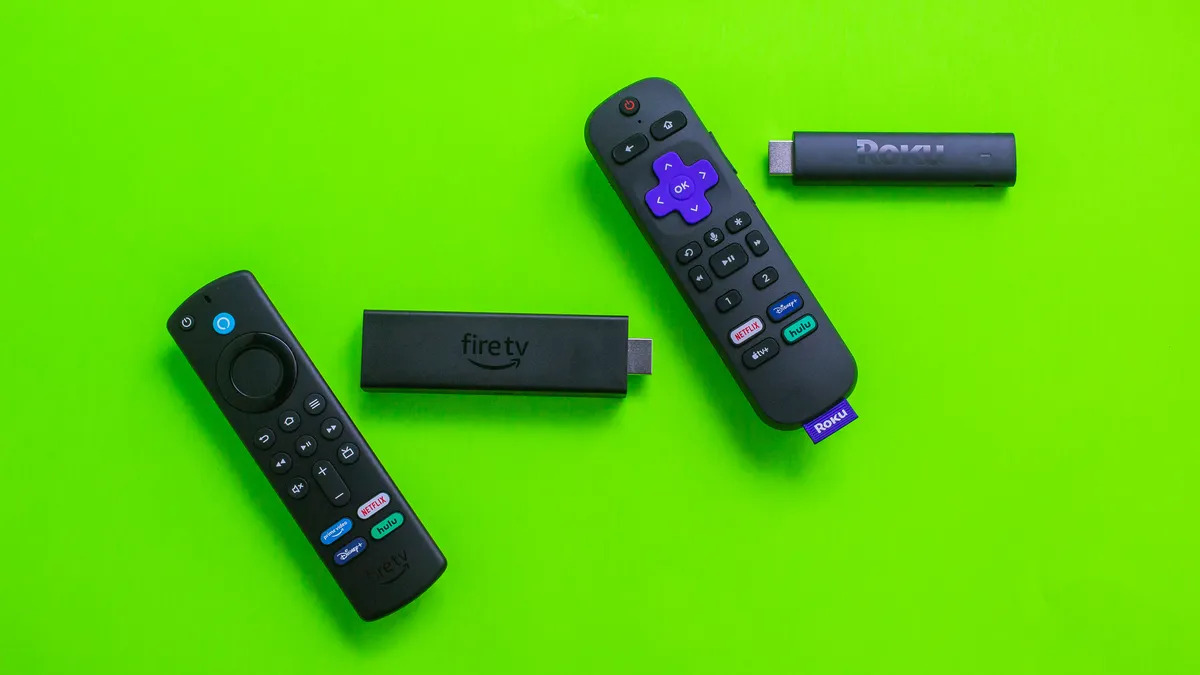
4. Wireless Connection: Depending on your Onn Projector model, you may have the option for wireless connectivity. This allows you to connect your devices to the projector without the need for cables. Simply enable the wireless projection feature on the projector and follow the on-screen instructions to connect your device wirelessly. Note that this feature may require additional setup or the installation of companion apps.
5. Audio Connection: To enjoy sound alongside your projected content, you’ll need to connect an audio source to your projector. This can be done by using the audio output port on your device (if available) and connecting it to the audio input port of the Onn Projector. Alternatively, you can connect external speakers or a sound system directly to your device or the projector for a more immersive audio experience.
Once your devices are connected to the Onn Projector, you can easily switch between inputs using the projector’s menu or remote control. This allows you to seamlessly switch from watching a movie on your laptop to playing games on your gaming console, all on the big screen.
Now that you know how to connect your devices, let’s move on to the next section and explore how to adjust the projector settings to enhance your viewing experience.
Adjusting the Projector Settings
After successfully connecting your devices to the Onn Projector, it’s time to adjust the settings to optimize your viewing experience. The projector settings allow you to customize aspects such as picture quality, aspect ratio, display mode, and more. Here are the key settings you can adjust:
1. Picture Mode: The Onn Projector typically offers multiple picture modes, such as Standard, Movie, Game, and Dynamic. These modes are pre-configured to enhance picture quality for different types of content. Experiment with the modes to find the one that best suits your preferences and the content you’re watching.
2. Aspect Ratio: Adjusting the aspect ratio helps ensure that the projected image fills the screen properly and maintains the correct proportions. The most common aspect ratios are 16:9 (widescreen) and 4:3 (standard). Select the aspect ratio that matches your content or personal preference.
3. Keystone Correction: Keystone correction is essential when the projector is not perfectly aligned with the projection surface, resulting in a skewed or distorted image. The Onn Projector typically offers both manual and automatic keystone correction options. Use these to ensure a straight and properly aligned image.
4. Color and Contrast: Fine-tuning the color and contrast settings can significantly improve the image quality. Adjust the color temperature, brightness, contrast, and saturation to achieve vibrant and realistic colors. The projector’s menu or remote control typically provides easy access to these settings.
5. Display Mode: Some Onn Projectors offer different display modes, such as Standard, Eco, and Dynamic. These modes affect the brightness and energy consumption of the projector. Choose the mode that best suits your viewing environment and preferences.
6. Noise Reduction: If you notice any visual artifacts or noise in the projected image, enabling the noise reduction feature can help reduce these distractions. Experiment with the noise reduction settings to find the optimum balance between image clarity and noise reduction.
7. Zoom and Focus: The Onn Projector allows you to adjust the zoom and focus to ensure a sharp and properly sized image. Depending on your model, you can manually adjust these settings using rings or buttons on the projector or through the remote control.
8. Language and Menu Settings: Customize the language and menu settings of the Onn Projector to your preferred language and navigate through the settings more comfortably.
It’s important to note that the specific settings and customization options may vary depending on the model of your Onn Projector. Refer to the user manual for detailed instructions and information specific to your device.
Take some time to experiment with these settings and find the configuration that provides the best viewing experience for you. Remember, everyone’s preferences may differ, so feel free to adjust the settings to match your personal taste and the content you’re enjoying.
Now that we’ve covered adjusting the projector settings, let’s explore how to optimize the image and display quality for an immersive viewing experience in the next section.
Optimizing the Image and Display Quality
To truly enjoy your Onn Projector to its fullest potential, it’s important to optimize the image and display quality. By making a few adjustments and following some best practices, you can enhance the clarity, sharpness, and overall visual experience. Here are some tips to help you optimize the image and display quality:
1. Screen and Projection Surface: Ensure that your projection surface is clean, smooth, and free from any wrinkles or imperfections. Use a white or light-colored screen or wall for the best image quality. Avoid projecting onto textured or highly reflective surfaces, as they can adversely affect the clarity and brightness of the image.
2. Projection Distance and Size: Adjust the projector’s distance from the screen to achieve your desired image size. Avoid excessive stretching or compressing of the image, as it may result in distortion. Refer to the projector’s user manual for the recommended projection distances and image sizes for optimal performance.
3. Lighting Conditions: Consider the ambient lighting conditions in your viewing environment. Avoid direct or excessive light falling on the projection surface, as it can wash out the image and reduce contrast. Dim the lights or use curtains to create a darker atmosphere for a better viewing experience, especially when watching movies or playing games that require more immersion.
4. Image Calibration: Most Onn Projectors offer advanced image calibration options, such as color temperature, gamma settings, and color space selection. Experiment with these settings to find the configuration that best suits your preferences and the content you’re watching. Calibration tools and test patterns can also help you achieve accurate colors and optimal image quality.
5. Sound Quality: Enhance your viewing experience by connecting external speakers or a sound system to the Onn Projector. While projectors usually have built-in speakers, external audio devices can deliver superior sound quality. Whether you choose a surround sound system or a Bluetooth speaker, a good audio setup can greatly complement the visual experience.
6. Cleaning and Maintenance: Regularly clean the lens and vents of the Onn Projector to prevent dust buildup, which can affect image quality and projector performance. Follow the manufacturer’s instructions and use a microfiber cloth or a lens cleaning kit to ensure a clear and pristine projection.
7. Firmware Updates: Check for firmware updates for your Onn Projector regularly. Manufacturers often release updates to improve performance, add new features, and enhance stability. Keeping your projector firmware up to date ensures that you’re getting the best possible performance and compatibility.
By following these tips and taking the time to optimize the image and display quality, you’ll be able to immerse yourself in stunning visuals and enjoy a truly cinematic experience from the comfort of your home.
Now that we’ve covered optimizing the image and display quality, let’s move on to the next section and learn how to use the convenient Onn Projector remote control.
Using the Onn Projector Remote Control
The Onn Projector remote control is a handy tool that allows you to conveniently navigate through the projector’s menu, adjust settings, and control various functions without having to physically interact with the device. Here’s a guide on how to effectively use the Onn Projector remote control:
1. Power On/Off: The remote control usually features dedicated buttons to power on and power off the projector. Press the corresponding button to turn the projector on or off, allowing for quick and easy control.
2. Navigation Buttons: The remote control typically includes arrow buttons or a navigation wheel that allows you to navigate through the projector’s menu and select different settings or options. Use these buttons to scroll up, down, left, and right, as well as to confirm your selections.
3. Menu Access: Look for a “Menu” or “Settings” button on the remote control. Pressing this button will open up the projector’s menu interface on the screen, allowing you to access various settings and customization options. Use the navigation buttons to move through the menu and select different options.
4. Input Selection: The remote control often includes dedicated buttons for selecting different input sources, such as HDMI, VGA, USB, or wireless. Use these buttons to switch between your connected devices and easily choose the desired input source for your content.
5. Volume Control: Adjust the volume of the projector’s built-in speakers or connected audio devices using the volume control buttons on the remote control. Increase or decrease the volume to your desired level for an immersive audio experience.
6. Keystone Correction: Some remote controls provide dedicated buttons for adjusting keystone correction, allowing you to straighten and align the projected image without the need to access the menu settings. Use these buttons to quickly correct any keystone distortion and ensure that the image appears properly aligned.
7. Shortcut Buttons: Depending on the model, the remote control may have additional shortcut buttons that allow quick access to commonly used functions or settings. These buttons may include options such as picture mode, aspect ratio, mute, freeze frame, and more. Consult your user manual to understand the specific functionality of these shortcut buttons.
8. Remote Control Range: Keep in mind that the range of the remote control may vary depending on the model and environmental factors. Ensure that you are within a reasonable distance from the projector and that there are no obstructions between the remote control and the projector for optimal signal reception.
Remember to replace the batteries of the remote control when necessary to ensure reliable performance. If you encounter any issues with the remote control, refer to the user manual or contact customer support for troubleshooting and assistance.
Now that you’re familiar with using the Onn Projector remote control, let’s move on to the next section and explore some common issues that you may encounter and how to troubleshoot them.
Troubleshooting Common Issues with the Onn Projector
While the Onn Projector is designed to provide a seamless viewing experience, you may encounter some common issues along the way. Don’t worry, troubleshooting these issues is usually straightforward. Here are some common problems you may face with your Onn Projector and how to resolve them:
1. No Power: If your Onn Projector does not turn on, first ensure that it is properly connected to a power source and that the power cord is securely plugged in. Check if the power outlet is functioning by plugging in another device. If the projector still does not power on, try using a different power cord or contact customer support for further assistance.
2. No Image or Display: If you’re not getting any image or display, double-check the connections between your devices and the projector. Make sure that the correct input source is selected on the projector. Adjust the brightness and keystone settings to ensure a clear and properly aligned image. If using a laptop, make sure it is not in sleep mode or disconnected from the power source.
3. Audio Issues: If you encounter audio issues, verify that the volume is not muted and that the correct audio source is selected on the projector. Ensure that the audio cables are securely connected and that the volume level on the connected device is high enough. If using external speakers or a sound system, check the connections and the volume levels on those devices as well.
4. Distorted Image: If the projected image appears distorted or misaligned, adjust the keystone correction settings using the remote control or the projector’s menu. Use the keystone adjustment buttons to fine-tune and align the image until it appears straight and properly proportioned.
5. Connectivity Issues: If you’re having trouble connecting your devices to the Onn Projector, make sure that the cables are securely plugged in and that the correct input source is selected. Ensure that your device’s display output is enabled and that it is recognized by the projector. If using wireless connections, ensure that the projector and the device are on the same network and that the wireless projection feature is properly set up.
6. Software Updates: Periodically check for software updates for your Onn Projector. Manufacturers often release updates to address bugs, improve performance, and introduce new features. Make sure your projector’s firmware is up to date by visiting the manufacturer’s website or using the provided software update tool.
If you have tried the above troubleshooting steps and are still experiencing issues, consult the user manual or contact customer support for further assistance. Provide them with specific details about the problem and any error messages you may have encountered for a more precise diagnosis and resolution.
Now that we’ve covered some common troubleshooting tips, let’s move on to the next section and discuss how to maintain and care for your Onn Projector to ensure its longevity.
Maintaining and Caring for Your Onn Projector
To prolong the lifespan and ensure optimal performance of your Onn Projector, it’s essential to maintain and care for it properly. Here are some tips to help you keep your projector in excellent condition:
1. Cleaning the Lens: Regularly clean the lens of the projector to remove dust and smudges that can affect image quality. Use a microfiber cloth or lens cleaning solution specifically designed for optics. Gently wipe the lens in a circular motion to avoid scratching or damaging the surface.
2. Ventilation and Dust Removal: Ensure that the projector’s vents and air filters are clean and free from dust. Use a soft brush or a can of compressed air to gently remove any accumulated dust or debris. Adequate ventilation helps prevent overheating and extends the lifespan of the projector’s internal components.
3. Proper Shutdown: Always follow the proper shutdown procedure for your Onn Projector. Avoid turning off the power supply abruptly, as this can potentially cause damage. Allow the projector to cool down before unplugging it or moving it to a different location.
4. Transporting Safely: When moving or transporting the projector, handle it with care. Use the original packaging or a protective carrying case to provide cushioning and prevent any physical damage. Avoid tilting or shaking the projector excessively during transportation.
5. Environment Considerations: Place the projector in a well-ventilated and dust-free environment. Avoid exposing it to extreme temperatures, humidity, direct sunlight, or liquids, as these conditions can adversely affect its performance and internal components.
6. Lamp Replacement: The projector’s lamp has a limited lifespan. Refer to the user manual to determine the recommended lamp replacement interval for your specific model. When replacing the lamp, ensure that the projector is completely powered off and has cooled down to prevent any accidents or burns.
7. Power Surges and Protection: To safeguard your Onn Projector from power surges or electrical fluctuations, consider using a surge protector or an uninterruptible power supply (UPS). These devices help protect the projector’s internal components from potential damage caused by sudden power spikes or outages.
8. Regular Maintenance Check: Conduct periodic maintenance checks on your Onn Projector to ensure that all connections, cables, and components are in good condition. Inspect the power cord, video cables, and audio connections for any signs of wear or damage. Replace and repair any faulty or worn-out parts as needed.
By following these maintenance and care tips, you can prolong the life of your Onn Projector and enjoy its exceptional performance for years to come.
Now that you know how to maintain and care for your projector, you’re equipped to make the most of your investment. In the following section, we’ll recap the key points covered in this guide before concluding.
Conclusion
Congratulations! You have now become familiar with how to use the Onn Projector effectively. We’ve covered everything from setting up the projector and connecting it to your devices to adjusting the settings, optimizing image quality, using the remote control, troubleshooting common issues, and maintaining the projector for longevity.
Remember, the Onn Projector offers a versatile and immersive viewing experience, whether you’re enjoying movies, giving presentations, or gaming. By following the steps outlined in this guide, you’ll be able to maximize the potential of your projector and enhance your entertainment or professional endeavors.
Always refer to the user manual specific to your Onn Projector model for detailed instructions and troubleshooting information. If you encounter any issues or have questions, don’t hesitate to contact the manufacturer’s customer support for assistance.
Now, it’s time to put your knowledge into practice and start enjoying the incredible visuals and immersive experience that the Onn Projector provides. Set up the projector in your desired location, connect your devices, adjust the settings to your liking, and sit back and enjoy the big screen experience from the comfort of your own home or office.
Thank you for choosing the Onn Projector, and we hope this guide has equipped you with the necessary knowledge and confidence to make the most of your device. Happy viewing!