Introduction
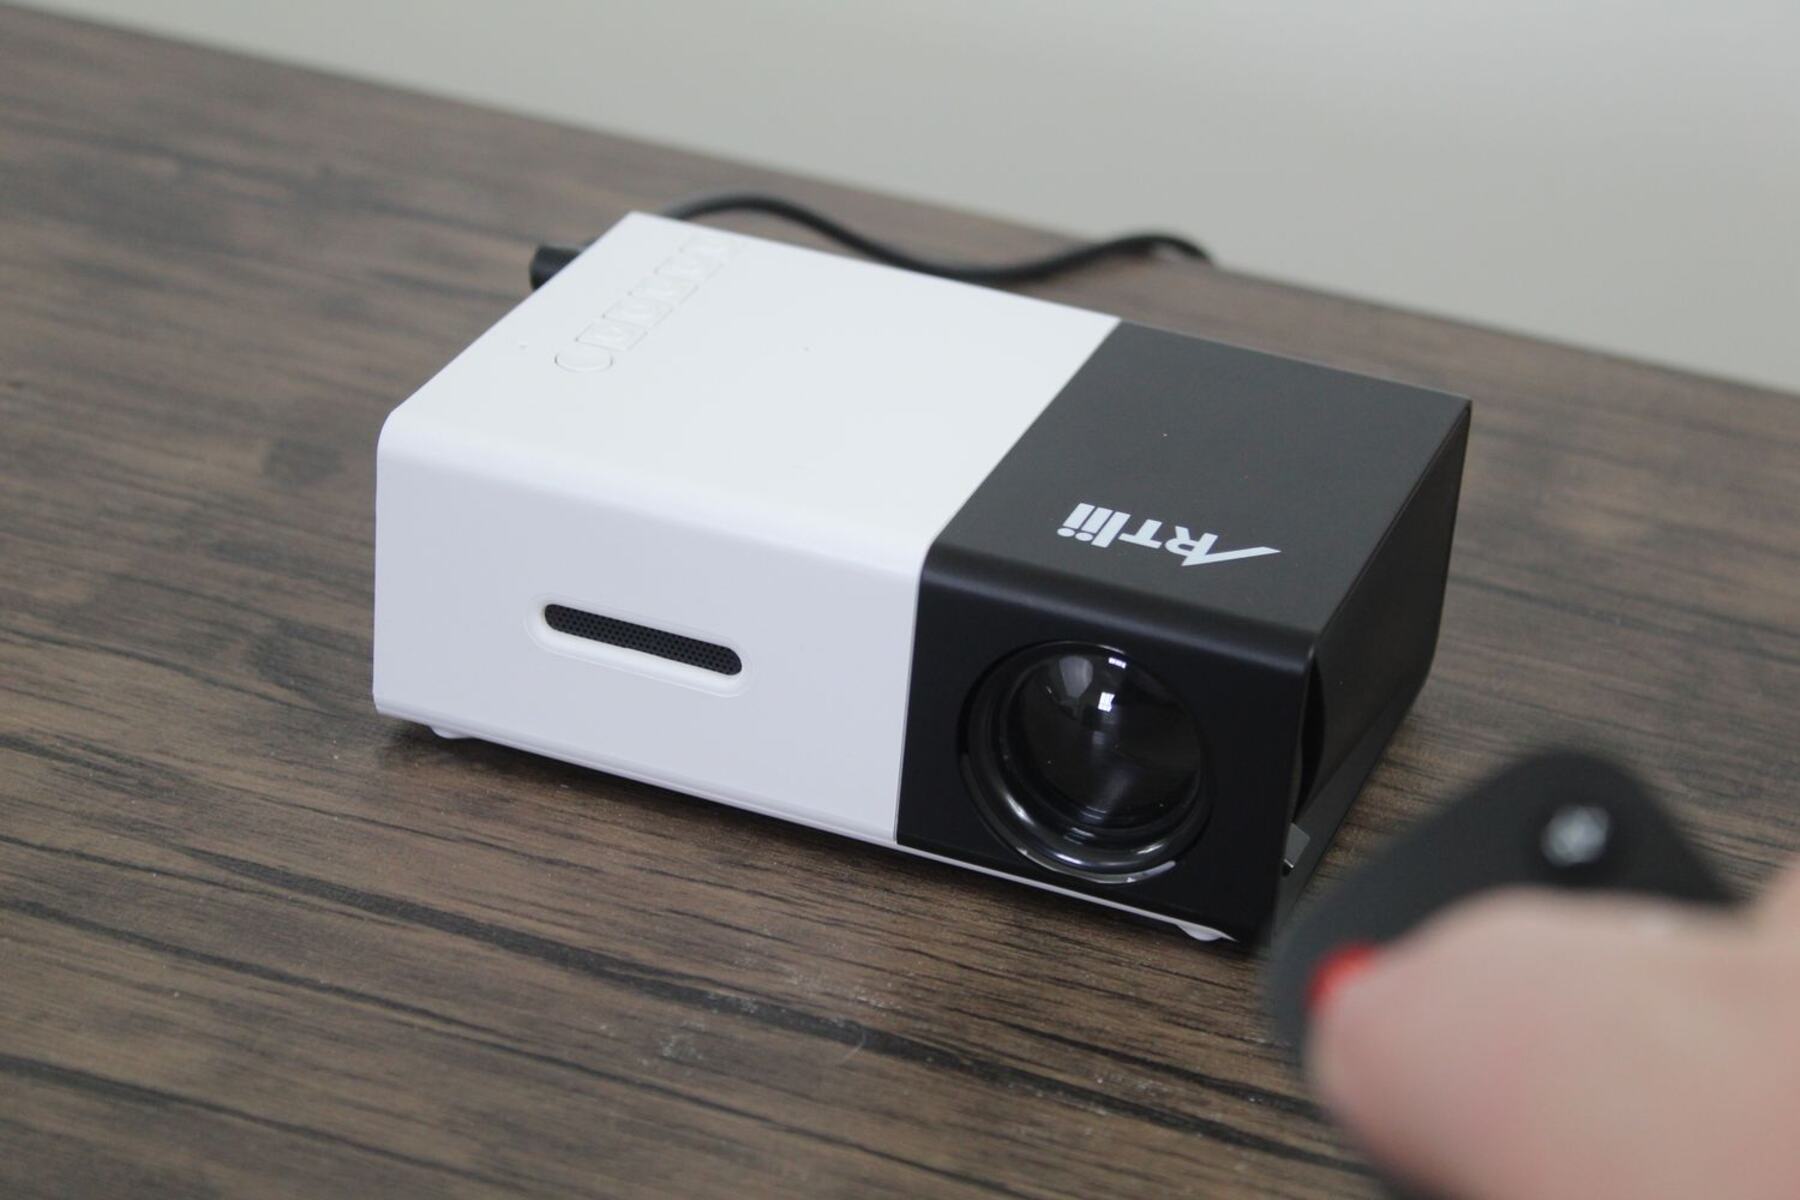
Welcome to our guide on how to clean the inside of a projector lens! Projectors are fantastic devices that allow us to project images and videos on a larger screen, bringing cinematic experiences to our homes or presentations to our offices. However, over time, dust, dirt, and debris can accumulate on the inside of the projector lens, resulting in decreased image quality and overall performance. Cleaning the inside of a projector lens is crucial to maintain optimal clarity and ensure that you continue to enjoy crisp, vibrant visuals.
While many people focus on cleaning the outer surface of the projector lens, it is equally important to pay attention to the interior. Cleaning the inside may seem daunting, but with the right tools and techniques, it can be a straightforward and rewarding process. In this guide, we will take you step-by-step through the process of cleaning the inside of a projector lens, ensuring that you can achieve the best possible image projection.
Before we delve into the cleaning process, it’s essential to understand why it’s important to clean the inside of a projector lens. Dust and debris that accumulate on the interior can obstruct the light path, resulting in reduced brightness, image clarity, and overall projection quality. Additionally, the build-up of dirt can lead to overheating, which can have long-term effects on the projector’s lifespan and performance.
Now that we understand the significance of cleaning the inside of a projector lens, let’s explore the tools you will need for the cleaning process. Armed with the necessary equipment, we can ensure a successful cleaning experience and restore your projector to its optimal state.
Why is it important to clean the inside of a projector lens?
Keeping the inside of a projector lens clean is essential for maintaining optimal image quality and overall performance. Here are a few key reasons why this cleaning task should not be overlooked:
1. Image Clarity and Sharpness: Over time, dust, dirt, and debris can accumulate on the inside of the projector lens. This build-up can effectively block and scatter the light passing through the lens, resulting in reduced image clarity and sharpness. By cleaning the inside of the lens, you can remove these obstructions and restore the projector’s ability to project clear and sharp images.
2. Brightness and Contrast: When dust and dirt settle on the inside of the projector lens, they can obstruct the light path and decrease the overall brightness of the projected image. This can lead to a dull and dim appearance. Cleaning the inside of the lens ensures that the maximum amount of light can pass through, maintaining the projector’s brightness capability and enhancing the contrast levels for a more vivid viewing experience.
3. Color Accuracy: Dust particles and debris on the lens can also affect the projector’s ability to accurately reproduce colors. As these particles accumulate, they can alter the balance of colors, leading to inaccurate or distorted color representation. Cleaning the inside of the lens helps restore color accuracy, ensuring that the projected images have vibrant and true-to-life colors.
4. Longevity and Performance: When debris settles on the inside of the projector lens, it can also affect the internal components, such as the lamp and cooling system. Excessive build-up can cause the projector to overheat, potentially leading to reduced performance and even damage to the internal components. By regularly cleaning the inside of the lens, you can prevent overheating issues and extend the lifespan of your projector.
5. Maintenance and Cost Savings: Neglecting to clean the inside of a projector lens can result in decreased performance and potential damage to internal components. This may lead to costly repairs or even the need for a replacement projector. By regularly cleaning the inside of the lens, you can avoid unnecessary expenses and ensure that your projector continues to function optimally.
Now that we understand why it is crucial to clean the inside of a projector lens, let’s move on to the next section, where we will discuss the essential tools needed for this cleaning task.
What cleaning tools do you need?
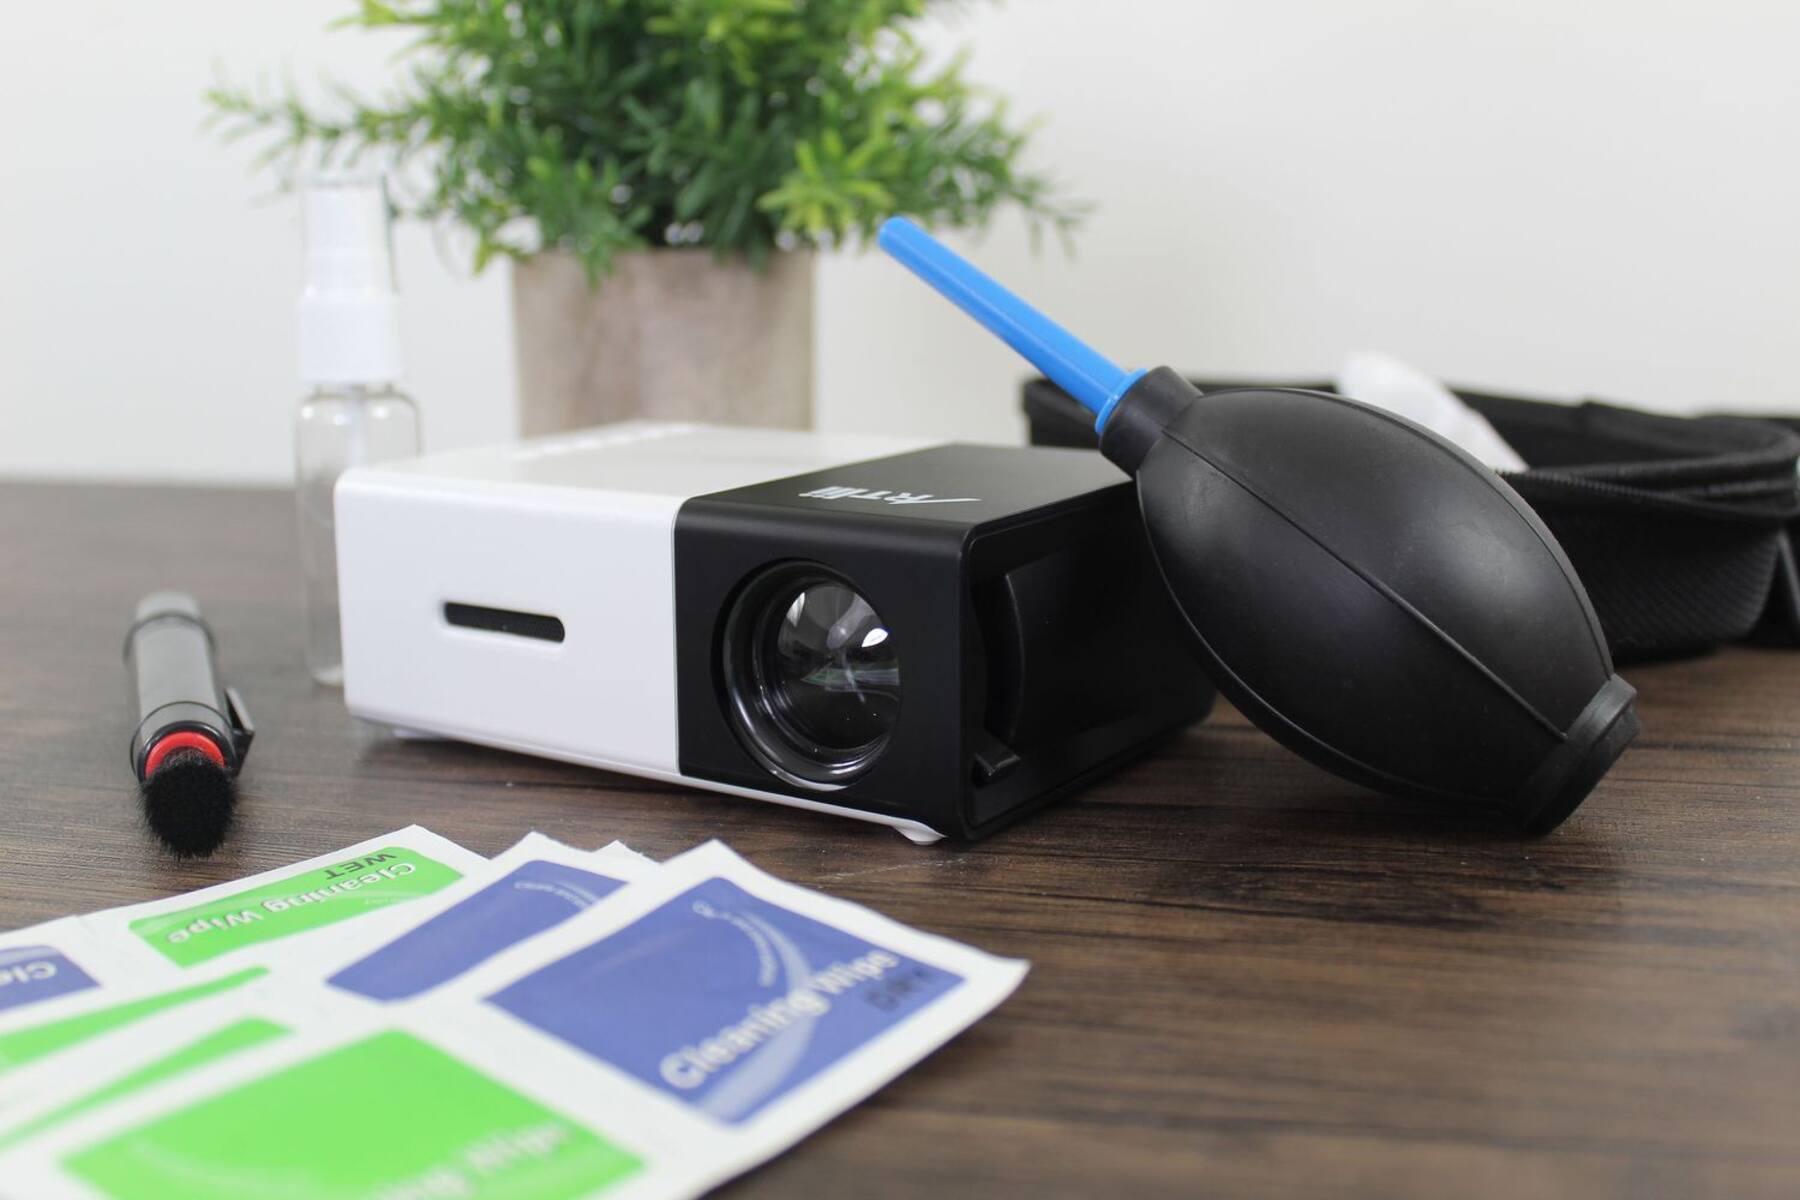
Before you embark on the task of cleaning the inside of a projector lens, it is important to gather the necessary tools. Having the right equipment will ensure that you can effectively and safely remove dust and debris from the lens. Here are the essential cleaning tools you will need:
1. Compressed Air Canister: A canister of compressed air is a handy tool for removing loose dust and debris from the inside of the projector lens. The high-pressure air can effectively dislodge particles without the need for direct contact, minimizing the risk of damaging the lens.
2. Lens Cleaning Solution: A lens cleaning solution specifically designed for optical surfaces is essential for a thorough cleaning. Look for a cleaning solution that is safe for use on projector lenses and does not leave residue or streaks. Avoid using harsh chemicals or household cleaners that can damage the lens coating.
3. Microfiber Cloth: A soft and lint-free microfiber cloth is ideal for gently wiping the inside of the projector lens. Microfiber cloths are effective in removing smudges, fingerprints, and other debris without scratching or leaving fibers behind.
4. Lens Cleaning Brush: A lens cleaning brush with soft bristles is useful for gently removing stubborn dust particles that may be stuck to the lens surface. Make sure to choose a brush specifically designed for delicate surfaces to avoid scratching the lens.
5. Cleaning Gloves: Wearing gloves while cleaning the inside of a projector lens can help prevent the transfer of oils, dirt, and fingerprints from your hands to the lens. Opt for lint-free and powder-free gloves to ensure a clean and safe cleaning process.
6. Cleaning Swabs or Pads: In some cases, you may need specialized cleaning swabs or pads to access hard-to-reach areas of the lens. These swabs or pads are designed to safely remove dirt and residue without causing any damage to the lens or its coating.
7. Lens Cap or Protective Cover: To prevent dust and debris from settling on the lens when the projector is not in use, it is advisable to use a lens cap or a protective cover. This will help reduce the frequency of cleaning and maintain the cleanliness of the lens for longer periods.
With these essential cleaning tools at your disposal, you are now ready to proceed to the step-by-step guide on cleaning the inside of a projector lens.
Step-by-step guide to clean the inside of a projector lens
Now that you have gathered the necessary cleaning tools, let’s walk through a step-by-step guide on how to clean the inside of a projector lens:
- Prepare the workspace: Start by ensuring that the area you will be working in is clean and free from dust. It is also a good idea to turn off the projector and unplug it for safety.
- Remove the lens: Check your projector’s manual for instructions on how to remove the lens. Different projector models may have varying methods for lens removal. Carefully detach the lens without applying excessive force.
- Blow away loose dust: Use a canister of compressed air to blow away any loose dust and debris from the inside of the lens. Hold the canister upright and maintain a safe distance from the lens to prevent accidental damage.
- Apply lens cleaning solution: Dampen a soft microfiber cloth with a small amount of lens cleaning solution. Avoid saturating the cloth, as excessive moisture can be harmful. Gently wipe the inside of the lens in a circular motion, starting from the center and working your way outward.
- Remove stubborn dirt: For stubborn dust or smudges, use a lens cleaning brush with soft bristles. Lightly brush the affected areas to dislodge the particles. Be gentle and avoid applying too much pressure.
- Clean hard-to-reach areas: If there are hard-to-reach areas that the cloth or brush cannot reach, consider using cleaning swabs or pads designed for optical cleaning. Follow the manufacturer’s instructions to safely clean these areas.
- Dry the lens: Once you have thoroughly cleaned the inside of the lens, use a dry microfiber cloth to gently wipe away any remaining moisture. Ensure that the lens is completely dry before reattaching it to the projector.
- Reattach the lens: Carefully align the lens and slide it back into place according to the manufacturer’s instructions. Make sure it is securely attached before moving on to the next step.
- Test and clean the exterior: Turn on the projector and test the image quality to ensure that the cleaning process has been successful. If needed, clean the outer surface of the lens using a separate microfiber cloth and lens cleaning solution.
Remember to refer to your projector’s manual for specific instructions and precautions related to lens removal and cleaning. Taking the time to clean the inside of a projector lens regularly will help maintain optimal performance and ensure a clear and vibrant image projection.
Safety precautions to consider
When cleaning the inside of a projector lens, it’s important to prioritize safety to prevent any accidents or damage. Here are some essential safety precautions to consider:
- Turn off and unplug the projector: Before starting the cleaning process, always ensure that the projector is turned off and unplugged from the power source. This will minimize the risk of electric shock and protect both you and the projector.
- Allow the projector to cool down: Projectors can become hot during use. Wait for the projector to cool down completely before attempting to remove the lens or clean the inside. This will prevent any potential burns or damage to the equipment.
- Read the manual: Familiarize yourself with the specific instructions provided by the projector manufacturer. Follow their guidelines for lens removal, cleaning, and reattachment to avoid any unintended damage to the projector.
- Handle the lens with care: When removing and cleaning the lens, handle it gently to avoid scratches or other damage. Hold the lens carefully by the edges, and avoid touching the glass surface with your fingers to prevent oil transfers.
- Use cleaning tools correctly: Ensure that you are using the appropriate cleaning tools, such as compressed air, microfiber cloth, and lens cleaning solution. Follow the instructions provided with each tool to use them correctly and avoid any mishaps.
- Avoid harsh chemicals: Do not use harsh chemicals, solvents, or abrasive cleaning agents to clean the inside of the projector lens. These substances can damage the lens or its coating. Stick to gentle cleaning solutions specifically designed for optical surfaces.
- Protect your eyes: Wear protective eyewear, such as safety goggles, to shield your eyes from any debris or cleaning solution that may inadvertently come into contact with them during the cleaning process.
- Work in a well-ventilated area: Ensure that you are working in a well-ventilated space to prevent the build-up of fumes from cleaning solutions or compressed air. Good ventilation will also help dissipate any potential odors.
- Adhere to manufacturer’s guidelines: Always follow the cleaning recommendations provided by the projector manufacturer. Each projector model may have specific instructions or precautions to ensure safe and effective cleaning.
- Don’t rush the process: Take your time and be patient when cleaning the inside of a projector lens. Rushing the process can lead to accidents or inadequate cleaning. Careful attention to detail will result in better outcomes.
By following these safety precautions, you can minimize any risks involved in cleaning the inside of a projector lens and ensure a safe and successful cleaning experience.
Common mistakes to avoid while cleaning the inside of a projector lens
Cleaning the inside of a projector lens requires precision and care to avoid potential damage. To ensure a successful cleaning experience, it’s important to be aware of common mistakes and avoid them. Here are some mistakes to avoid when cleaning the inside of a projector lens:
- Using abrasive materials: Avoid using abrasive materials, such as rough cloths or paper towels, as they can scratch the lens. Stick to soft microfiber cloths specifically designed for optical surfaces.
- Using excessive force: Be gentle when cleaning the lens to avoid applying excessive force. Pressure or rough handling can lead to scratches or other damage to the delicate lens surface.
- Using incorrect cleaning solutions: Using harsh chemicals or household cleaners can damage the lens coating. Stick to lens cleaning solutions that are specifically designed for optical surfaces.
- Cleaning without dust removal: Skipping the step of blowing away loose dust and debris from the inside of the lens can result in scratches if particles are inadvertently trapped under the cleaning cloth.
- Not following manufacturer’s instructions: Each projector model may have specific instructions for lens removal, cleaning, and reattachment. Always follow the manufacturer’s guidelines to avoid any unintended damage.
- Ignoring safety precautions: Safety precautions, such as turning off and unplugging the projector and wearing protective eyewear, should not be overlooked. Ignoring these precautions can lead to accidents or injuries.
- Cleaning while the projector is still warm: Wait for the projector to cool down completely before attempting to clean the inside of the lens. Cleaning a hot projector can increase the risk of burns or damage to the equipment.
- Skipping regular maintenance: Regularly cleaning the inside of a projector lens is essential for maintaining optimal image quality. Skipping this maintenance task can result in decreased performance and the need for costly repairs in the future.
- Relying on compressed air alone: While compressed air can be useful for removing loose dust, it may not be sufficient for thorough cleaning. It’s important to use a combination of appropriate cleaning tools, such as microfiber cloths and lens cleaning solution, for a more effective cleaning process.
- Reattaching the lens incorrectly: Improperly attaching the lens after cleaning can lead to misalignment or gaps, which can negatively impact image quality. Be sure to carefully follow the manufacturer’s instructions for reattaching the lens.
By avoiding these common mistakes and following proper cleaning techniques, you can successfully clean the inside of a projector lens without causing any damage and ensure that your projector continues to perform optimally.
Conclusion
Cleaning the inside of a projector lens is an important maintenance task that should not be overlooked. Dust, dirt, and debris that accumulate on the inside of the lens can hinder image quality, brightness, and color accuracy. By following the step-by-step guide in this article and using the proper cleaning tools, you can effectively remove these obstructions and restore your projector to its optimal performance.
Remember to prioritize safety by turning off and unplugging the projector, allowing it to cool down, and following the manufacturer’s instructions. Avoid common mistakes such as using abrasive materials, applying excessive force, or using incorrect cleaning solutions. By adhering to these guidelines and taking the time to clean the inside of a projector lens regularly, you can enjoy crisp, vibrant visuals and extend the lifespan of your projector.
If you are unsure or uncomfortable with cleaning the inside of a projector lens yourself, it is recommended to consult a professional technician or the projector manufacturer for assistance. They can provide expert guidance and ensure that the cleaning process is done safely and effectively.
Investing time in maintaining and cleaning the inside of the projector lens not only enhances your viewing experience but also prolongs the lifespan of your projector. So, grab your cleaning tools, follow the steps outlined in this guide, and enjoy an uninterrupted projection experience with a clean and clear projector lens.