Introduction
Projectors are becoming increasingly popular for home theaters, presentations, and classroom settings. Their ability to display large images and videos in high definition has made them a favorite among many. However, like any electronic device, projectors require regular maintenance to ensure optimal performance and longevity. One vital component that often gets overlooked is the inside lens of the projector.
The inside lens of a projector plays a crucial role in projecting clear and sharp images. Over time, dust, dirt, and fingerprints can accumulate on the lens, impairing the image quality and reducing brightness. Cleaning the inside lens of a projector should be a routine task to maintain optimal image projection and prevent any damage to the lens.
While the process may seem daunting, it is relatively simple and can be done with a few tools and a little patience. In this article, we will provide you with a step-by-step guide on how to clean the inside lens of a projector properly. Additionally, we will discuss the importance of cleaning the lens and provide some tips on maintaining a clean lens for long-term usage.
Why is it important to clean the inside lens of a projector?
The inside lens of a projector plays a crucial role in the quality of image projection. Over time, dust, dirt, and fingerprints can accumulate on the lens, leading to a decline in image quality. Here are a few reasons why it is important to regularly clean the inside lens of your projector:
- Improved image clarity: Dust particles and dirt on the lens can cause blur or distortions in the projected image. Cleaning the lens ensures that you enjoy a clear and sharp image with vibrant colors.
- Enhanced brightness: A dirty lens can obstruct the light output, resulting in a dim and dull image. By cleaning the inside lens, you can restore the brightness of the projector and create a more immersive viewing experience.
- Prevention of overheating: When dust accumulates on the inside lens, it can obstruct the airflow, causing the projector to overheat. Regular cleaning helps maintain proper ventilation and prevents potential damage to the internal components.
- Extended lifespan: Cleaning the inside lens of a projector is an essential maintenance practice that can prolong the life of the device. By preventing the build-up of dust and dirt, you reduce the risk of damage to the lens and other sensitive parts of the projector.
- Professionalism: Whether you are using a projector for business presentations or educational purposes, maintaining a clean inside lens adds a touch of professionalism. A clean lens ensures that your presentations are visually appealing and free from distracting artifacts.
By regularly cleaning the inside lens of your projector, you can enjoy optimal image quality, brighter projections, prevent overheating, extend the lifespan of your device, and present with professionalism. Now that we understand the importance of cleaning the inside lens, let’s move on to the tools required for this task.
Tools required for cleaning the inside lens of a projector
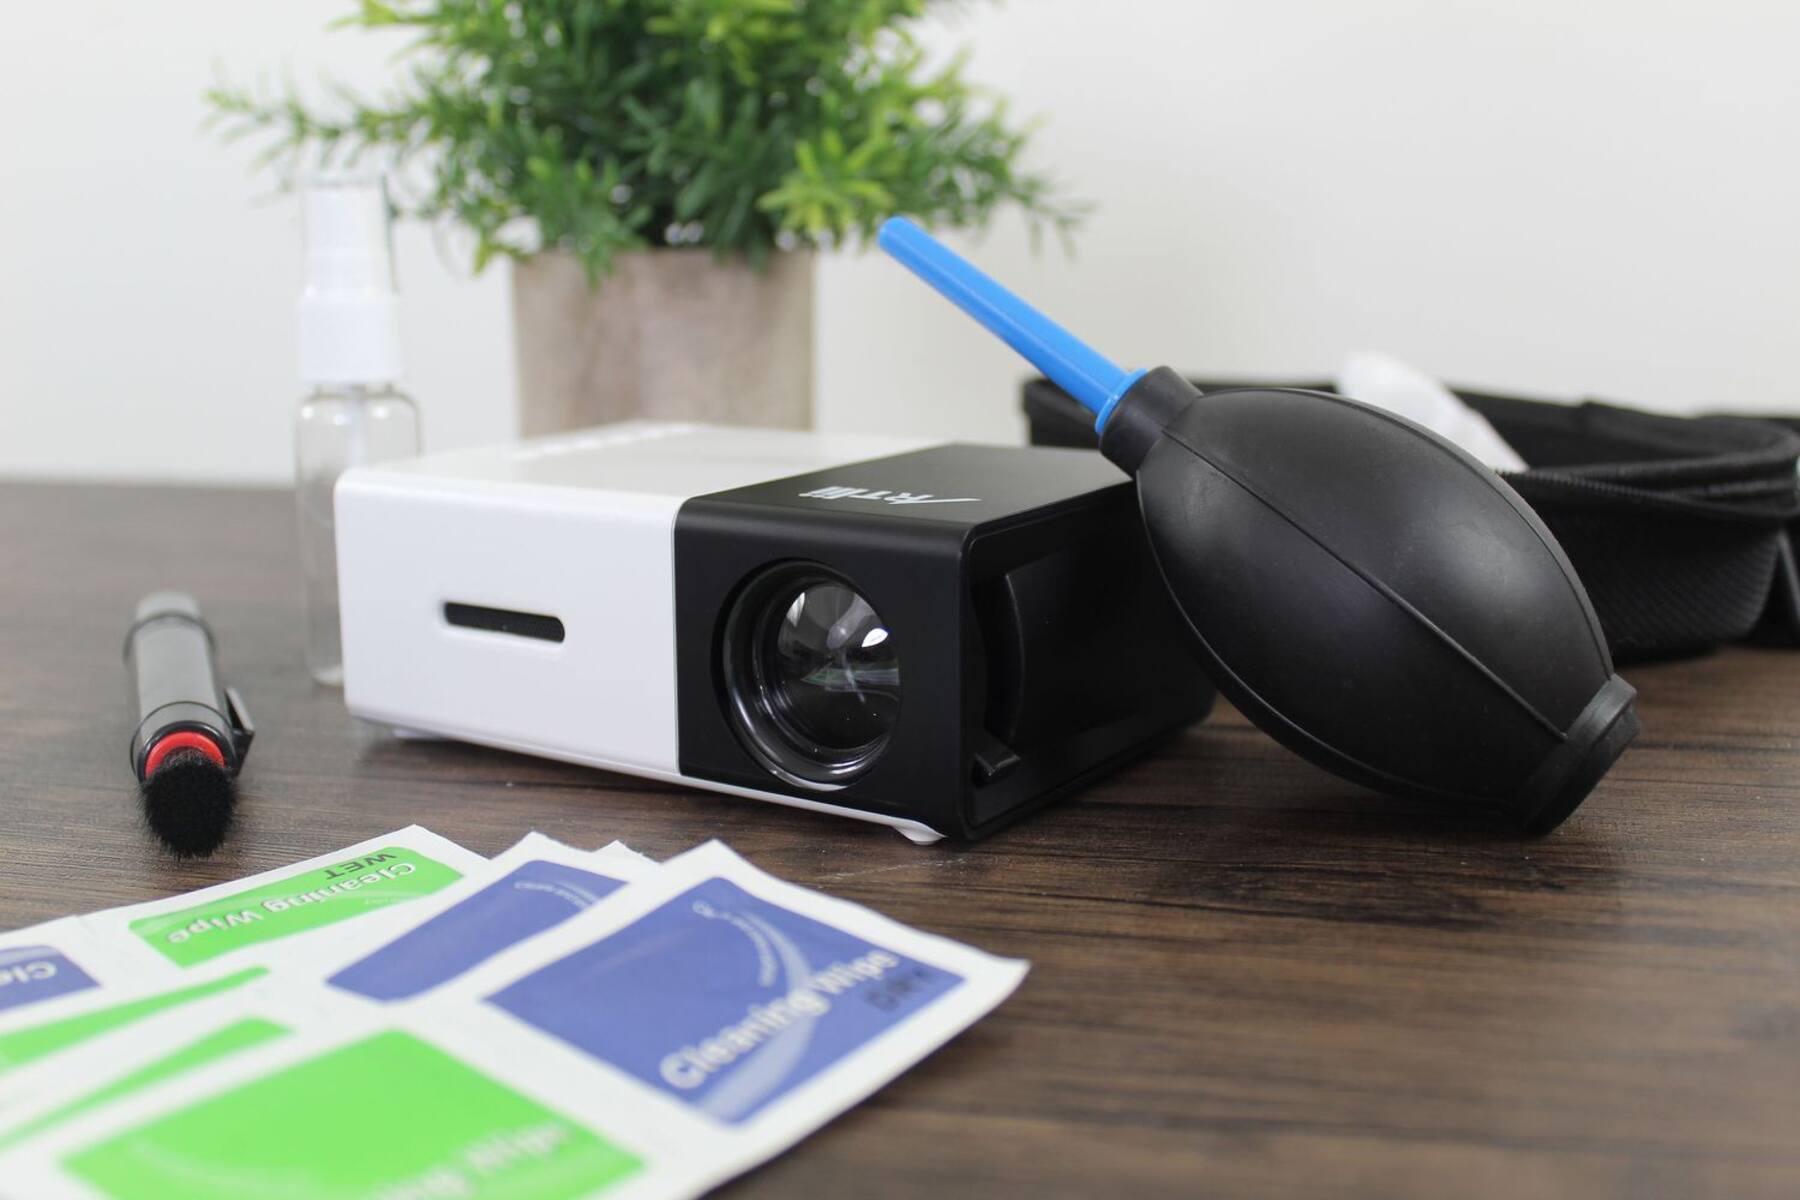
Before you begin cleaning the inside lens of your projector, you will need to gather a few essential tools to ensure a thorough and safe cleaning process. Here are the tools you will need:
- Microfiber cloth: A soft, lint-free microfiber cloth is the ideal choice for cleaning the inside lens. It is gentle on the lens and helps to remove smudges, dust, and fingerprints without scratching the surface.
- Blower bulb or air blower: A blower bulb or air blower is used to remove loose dust particles from the lens. It provides a gentle burst of air that dislodges the dust, making it easier to clean.
- Lens cleaning solution: A specialized lens cleaning solution is recommended for removing stubborn dirt and smudges from the lens. Make sure to choose a non-abrasive, alcohol-free solution to avoid damaging the lens coating.
- Canned air: Canned air can be used as an alternative to a blower bulb or air blower. It helps to blow away dust particles from hard-to-reach areas of the lens.
- Swabs: In some cases, you may need swabs or cotton buds to clean stubborn dirt or fingerprints on the lens. Make sure to choose lint-free swabs to prevent leaving fibers on the lens.
It is important to note that each projector model may have specific cleaning recommendations in the user manual. Therefore, it is always advisable to refer to the manufacturer’s guidelines and follow their recommended cleaning procedures.
Now that you have gathered the necessary tools, let’s proceed to the step-by-step guide for cleaning the inside lens of a projector.
Step-by-step guide to cleaning the inside lens of a projector
Cleaning the inside lens of a projector may sound daunting, but following a step-by-step process can make it a simple and effective task. Here’s a guide to help you clean the inside lens of your projector:
- Turn off the projector: Before cleaning the inside lens, make sure to turn off and unplug the projector. This ensures your safety and prevents any damage to the device.
- Access the lens: Consult your projector’s user manual to locate the lens and access it. Some projectors have a removable lens, while others require you to remove a panel or cover to access the lens.
- Remove loose dust: Use a blower bulb, air blower, or canned air to gently blow away any loose dust particles from the lens. Start from the center and work your way towards the edges.
- Apply lens cleaning solution: If there are stubborn dirt or smudges on the lens, dampen a microfiber cloth with a small amount of lens cleaning solution. Avoid spraying or pouring the solution directly onto the lens.
- Gently clean the lens: Using the damp microfiber cloth, gently wipe the lens in a circular motion. Be careful not to apply too much pressure to avoid scratching the lens. For stubborn stains, you can use a swab or cotton bud dipped in the cleaning solution.
- Dry the lens: Once you have cleaned the lens, use a dry section of the microfiber cloth to remove any leftover moisture. Make sure the lens is completely dry before reassembling or turning on the projector.
- Reassemble and test: Follow the user manual instructions to reassemble any panels or covers you removed to access the lens. Once done, plug in the projector and turn it on to test the image quality and ensure that the cleaning process was successful.
Remember, each projector model may have specific cleaning instructions, so always refer to the manufacturer’s guidelines for the best results. Taking proper precautions during the cleaning process is essential to maintain the integrity of the lens and ensure a long-lasting performance.
Now that you have successfully cleaned the inside lens of your projector, it’s important to be aware of the precautions to take to prevent any damage during future cleanings.
Precautions to take while cleaning the inside lens of a projector
While cleaning the inside lens of a projector is a necessary maintenance task, it is important to take certain precautions to ensure that no damage occurs during the cleaning process. Here are some precautions to keep in mind:
- Power off and unplug: Always remember to turn off and unplug the projector before cleaning the inside lens. This prevents any electrical accidents and ensures your safety.
- Gentle cleaning: Use a gentle touch when cleaning the lens to avoid scratches or damage. Avoid using paper towels, tissues, or any rough materials that may leave lint or fibers on the lens.
- Follow manufacturer’s instructions: Every projector model may have specific cleaning guidelines. It is crucial to refer to the manufacturer’s instructions and recommendations to ensure you are using the correct cleaning methods and materials.
- Avoid excessive moisture: While using a lens cleaning solution is necessary for stubborn stains, make sure to apply only a small amount and avoid saturating the lens. Excessive moisture can seep into the projector and cause damage.
- Avoid direct contact with lens: When handling the lens, avoid touching it with your fingers. The natural oils on your skin can leave smudges or even damage the lens surface. If necessary, use a microfiber cloth or a cotton bud to clean the lens.
- Be mindful of the surroundings: Ensure that the area where you are cleaning the inside lens is clean and free from dust or debris. Working in a dusty environment can lead to contamination of the lens immediately after cleaning.
- Inspect before reassembling: Before closing up the projector, thoroughly inspect the lens and surrounding components to ensure there are no loose fibers, dust particles, or moisture. This ensures a clean and optimal functionality after reassembly.
By taking these precautions, you can protect the inside lens of your projector from any potential damage during the cleaning process. Now that you have successfully cleaned the lens and taken the necessary precautions, it’s time to learn some tips for maintaining a clean inside lens for long-term usage.
Tips for maintaining a clean inside lens of a projector
Keeping the inside lens of your projector clean is crucial for optimal image quality and longevity. Here are some tips to help you maintain a clean inside lens:
- Regular cleaning: Make it a habit to clean the inside lens of your projector regularly. Dust and dirt can accumulate quickly, so a weekly or monthly cleaning routine is recommended.
- Minimize exposure to dust: Prevent excessive dust from entering the projector by keeping the room clean and dust-free. Regularly dust the surrounding area and ensure proper ventilation to reduce dust accumulation.
- Avoid touching the lens: As much as possible, avoid touching the inside lens with your fingers. Fingerprints can leave smudges and attract more dust. If you need to handle the lens, use a microfiber cloth or gloves to prevent contact with skin oils.
- Use protective covers: If your projector has a removable lens, consider using a protective cover when it’s not in use. This can prevent dust and dirt from settling on the lens and reduce the frequency of cleaning.
- Maintain proper ventilation: Ensure that the projector is well-ventilated to prevent heat buildup. A well-ventilated projector reduces the accumulation of dust inside and minimizes the need for frequent cleaning.
- Avoid smoking around the projector: Smoking near the projector can contribute to the buildup of sticky residue on the lens. Avoid smoking in the same room or ensure there is ample ventilation to prevent residue from settling on the lens.
- Store the projector properly: When not in use, make sure to store the projector in a clean and dust-free environment. Use a protective case or cover to shield it from dust and other contaminants.
- Regular maintenance: Follow the manufacturer’s recommended maintenance schedule for your projector. This may include replacing air filters or having the projector serviced periodically to ensure optimal performance.
By following these tips and incorporating them into your projector maintenance routine, you can keep the inside lens clean and enjoy high-quality projections for a longer period of time.
Now that you are equipped with the knowledge to clean and maintain the inside lens of your projector, you can ensure a crystal-clear and visually pleasing projection experience. Remember to consult the manufacturer’s guidelines specific to your projector model for the best results. Happy projecting!
Conclusion
Maintaining a clean inside lens of your projector is essential for optimal image projection and longevity. By regularly cleaning the inside lens, you can enjoy improved image clarity, enhanced brightness, and prevent overheating of the device. Additionally, a clean lens adds a touch of professionalism to your presentations or home theater experience.
Remember to gather the necessary tools such as a microfiber cloth, blower bulb or air blower, lens cleaning solution, canned air, and swabs before you begin cleaning. Following a step-by-step guide ensures a thorough and safe cleaning process, while taking precautions helps prevent any damage to the lens or projector.
To maintain a clean inside lens for the long term, incorporate simple practices into your projector maintenance routine. Regular cleaning, minimizing dust exposure, avoiding direct contact with the lens, and using protective covers are just a few tips to keep the lens in pristine condition.
Always refer to the manufacturer’s instructions for specific cleaning recommendations and maintenance guidelines tailored to your projector model. By following these guidelines and incorporating the tips and precautions mentioned, you can enjoy clear, vibrant, and high-quality projections from your projector for years to come.
So, go ahead and give your projector the care it deserves by cleaning the inside lens regularly. Get ready to immerse yourself in stunning visuals and enjoy an optimal movie-watching or presentation experience. Happy projecting!