Introduction
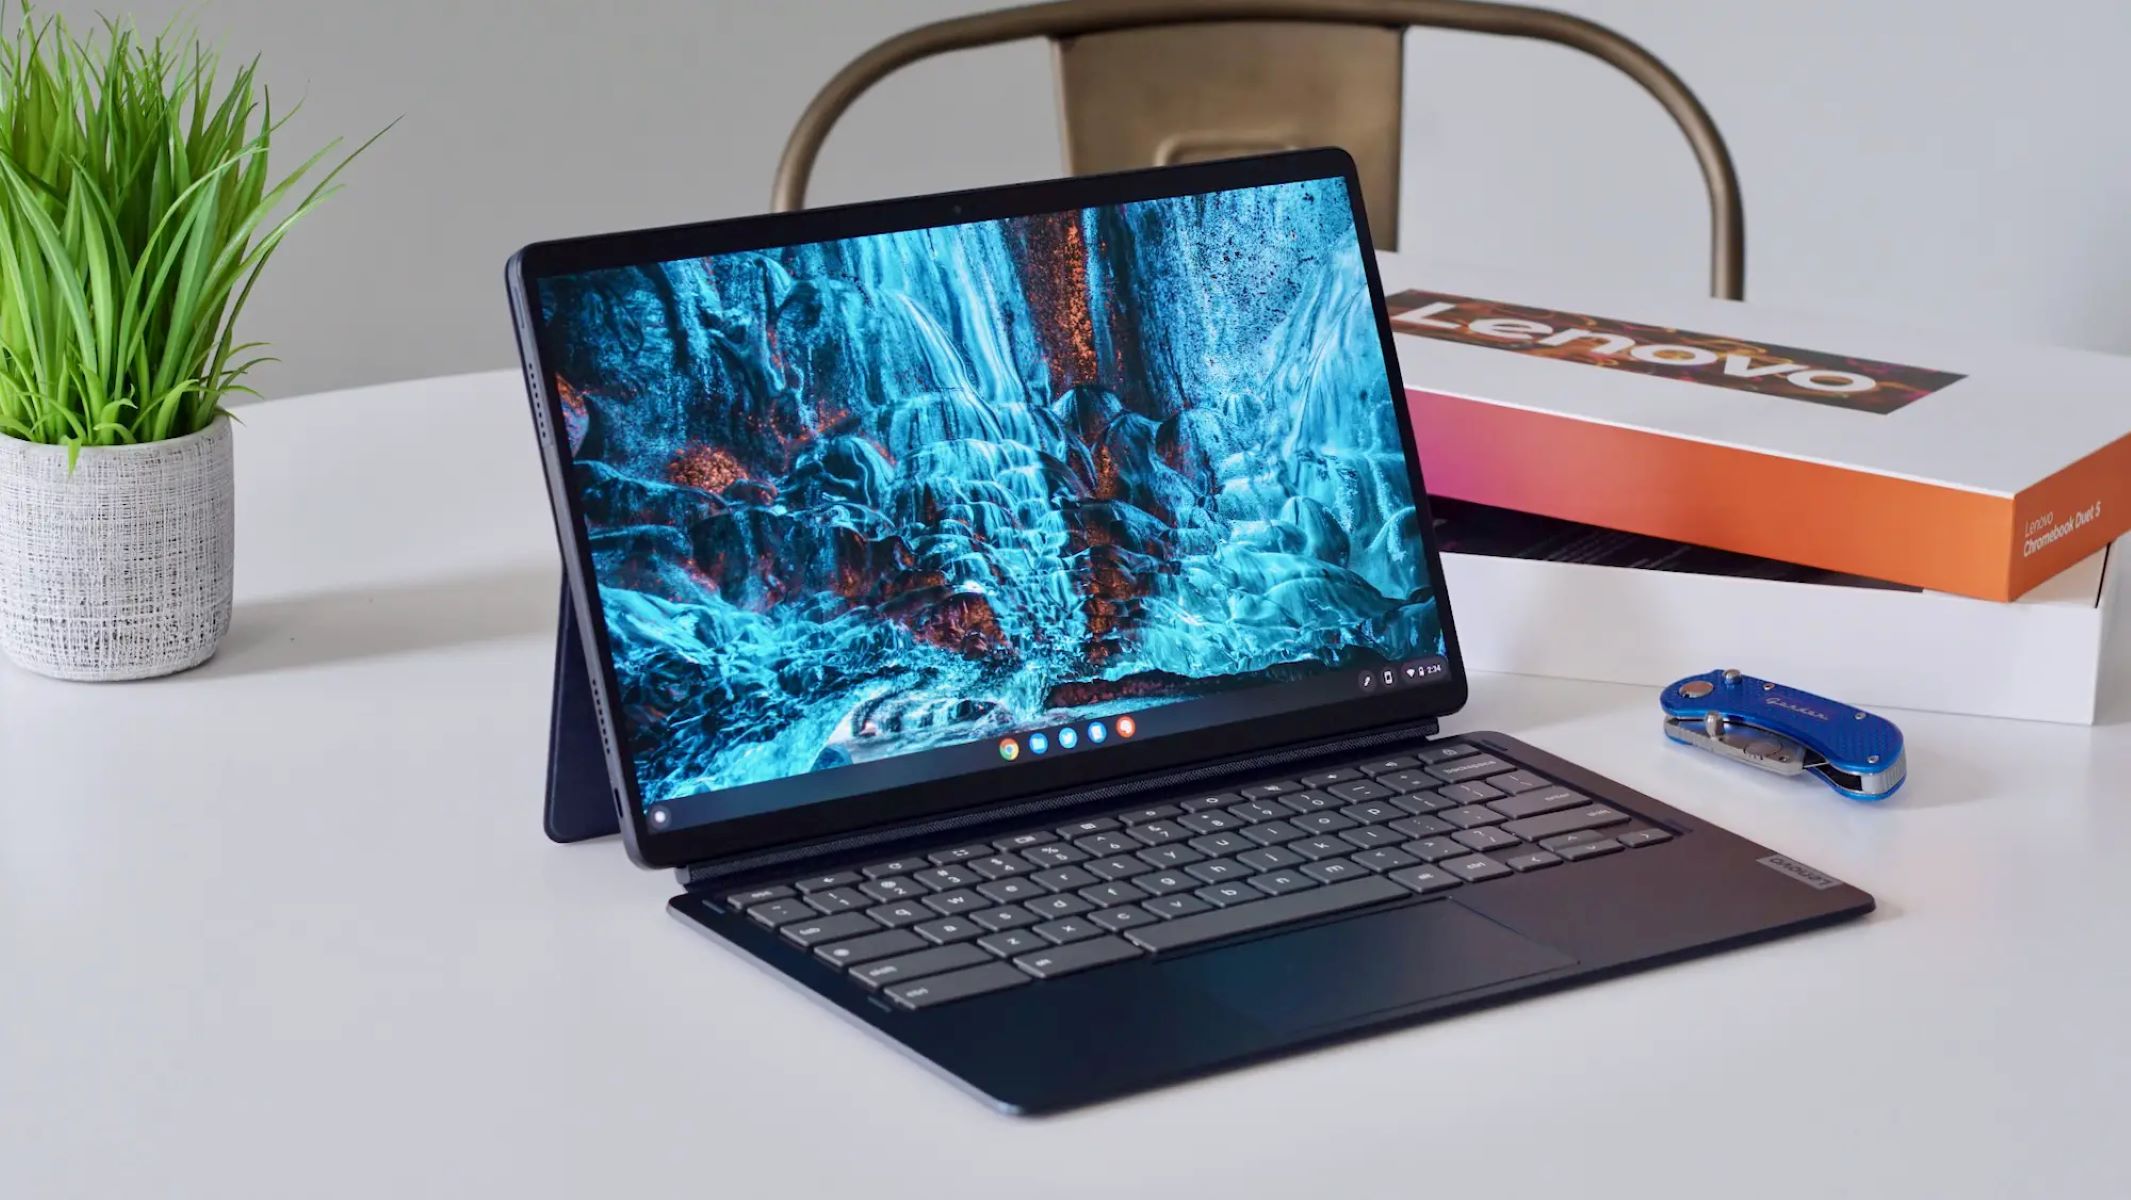
Welcome to the world of Chromebooks, where simplicity and efficiency meet. These lightweight laptops have gained immense popularity due to their user-friendly interface and seamless integration with various Google services. If you’re a Chromebook user and looking to connect your device to a projector for presentations, videos, or any other multimedia content, you’ve come to the right place.
In this article, we will guide you through the process of connecting your Chromebook to a projector and adjusting the display settings to ensure a smooth and hassle-free experience. We will also address common issues that you might encounter and provide troubleshooting tips to help you overcome these challenges.
Whether you’re a student, a professional, or simply someone who wants to enjoy a larger screen for entertainment purposes, knowing how to connect your Chromebook to a projector is a valuable skill. It allows you to share your work with others, deliver engaging presentations, or enjoy your favorite movies and shows on a big screen.
Before we dive into the steps, it’s important to note that the process may vary slightly depending on the specific model of your Chromebook and the type of projector you’re using. However, the general principles and steps we’ll discuss should apply to most scenarios.
So, let’s get started and make your Chromebook shine on the big screen!
Connecting the Chromebook to the Projector
Connecting your Chromebook to a projector is a straightforward process. Follow these steps to ensure a successful connection:
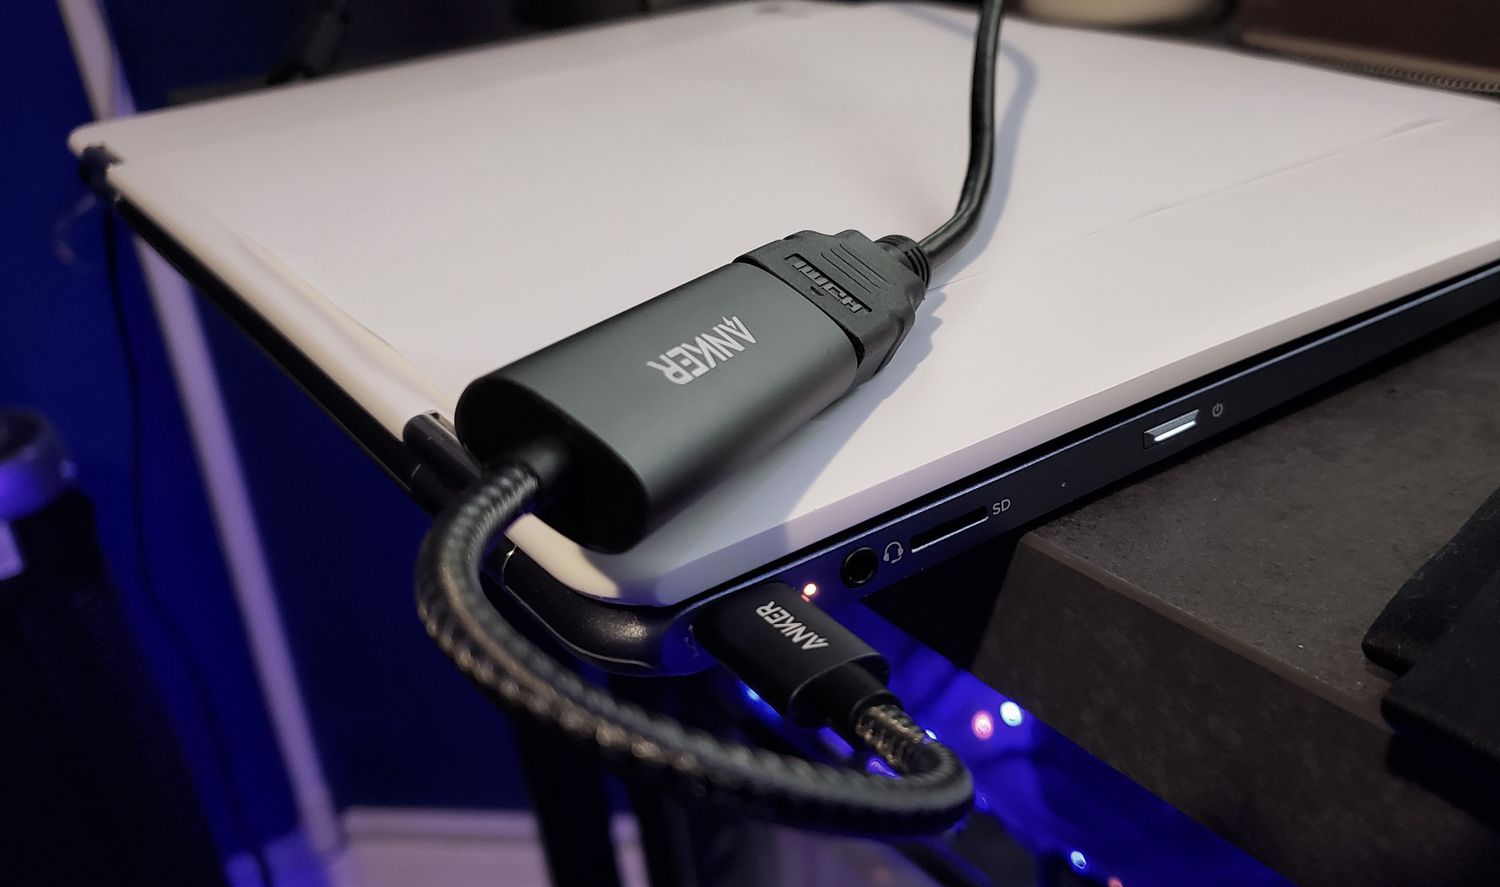
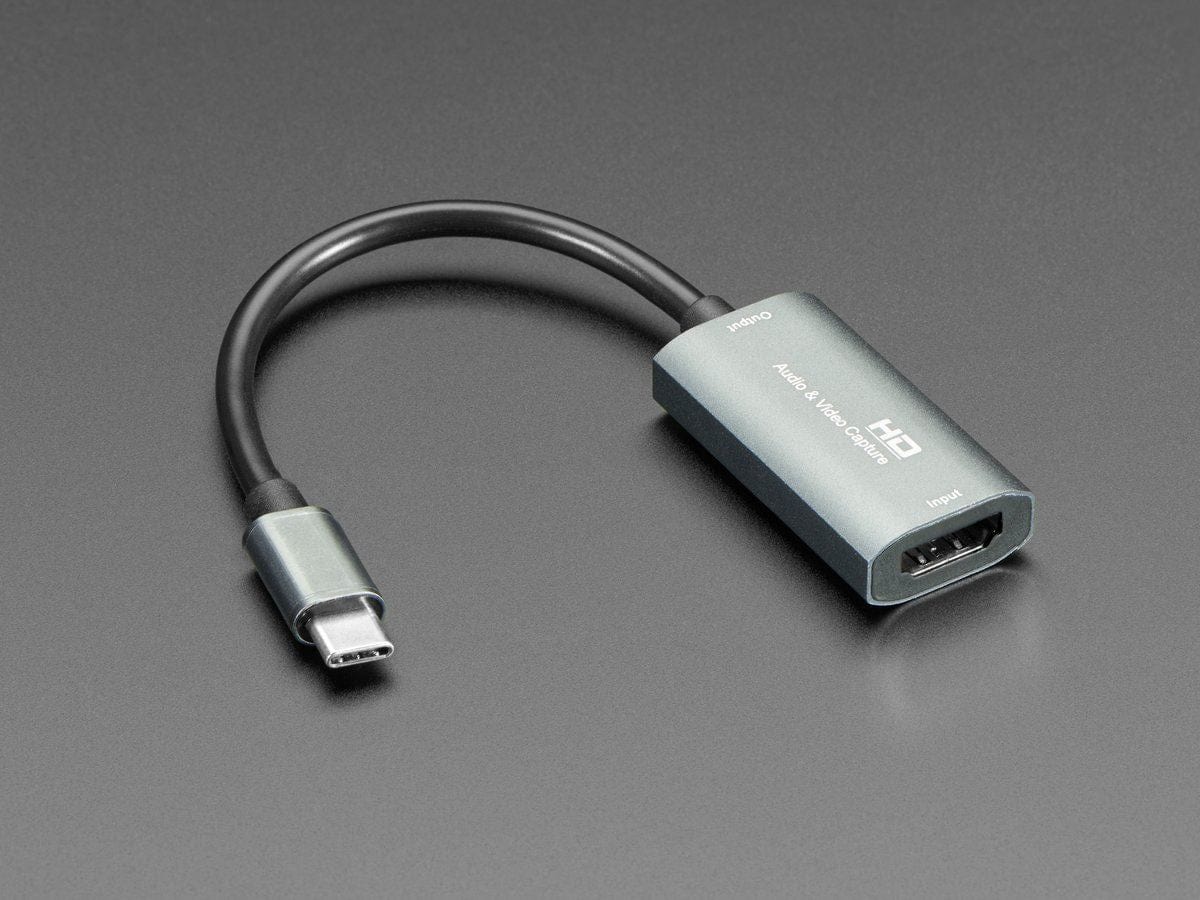
- Check the ports: Start by identifying the ports available on your Chromebook and the projector. The most common port on Chromebooks is the HDMI port, while projectors usually have multiple input options such as HDMI, VGA, or DisplayPort. Make sure you have the necessary cables to connect the two devices.
- Power off both devices: Before connecting any cables, power off your Chromebook and the projector. This will prevent any potential damage to the devices or data loss.
- Connect the cable: Take the appropriate cable (HDMI, VGA, or DisplayPort) and connect one end to the corresponding port on your Chromebook. Then, connect the other end to the projector’s input port. Ensure a secure and snug fit for a stable connection.
- Power on the projector: Once the cable is securely connected, power on the projector. It may take a few moments for the projector to initialize.
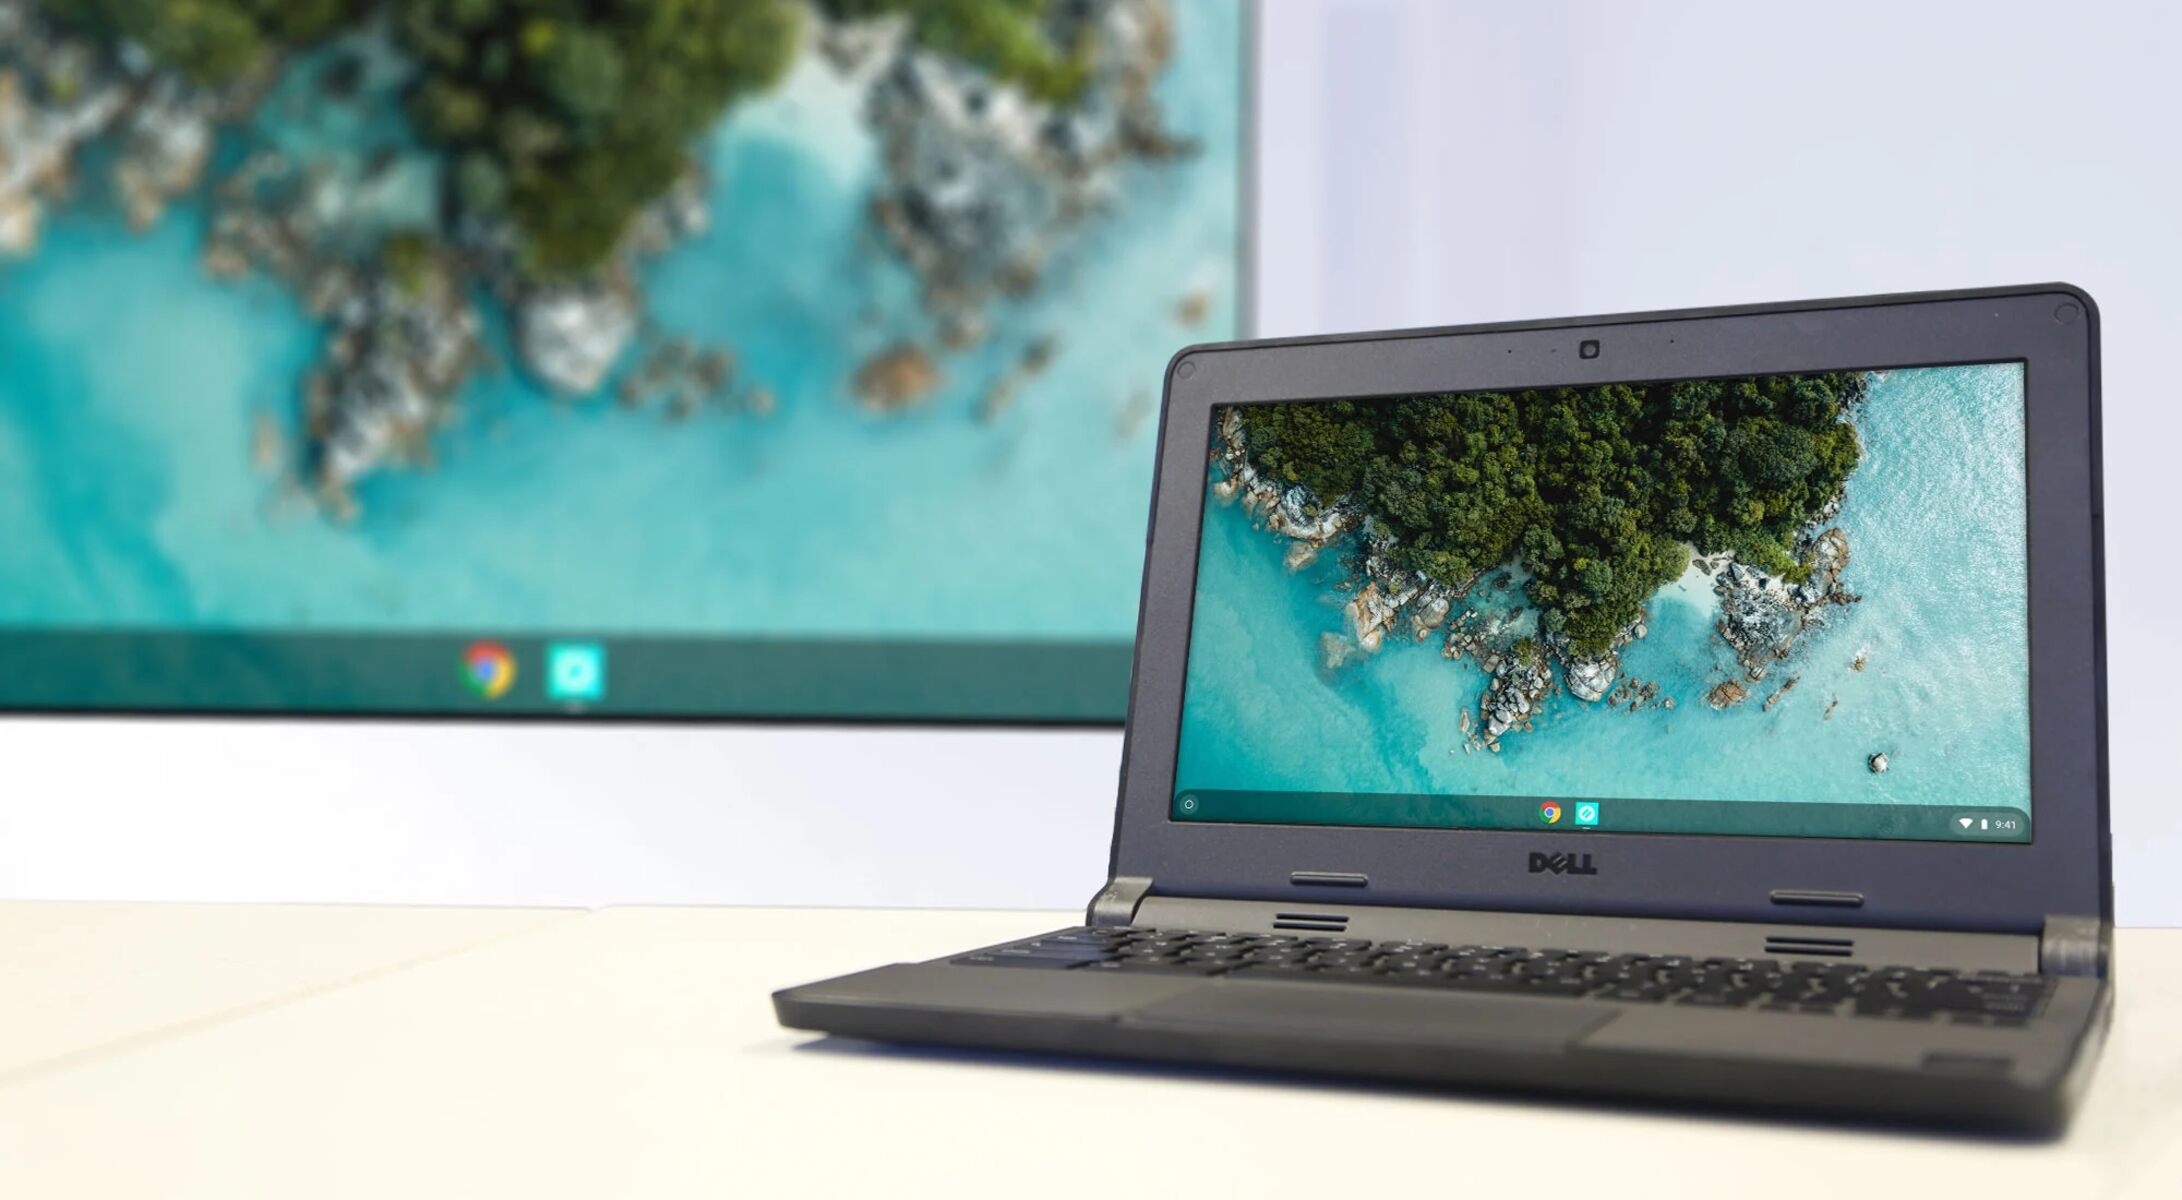
- Power on the Chromebook: After the projector is turned on, power on your Chromebook. It should automatically detect the projector connection and adjust the display settings accordingly.
- Switch display modes (if necessary): In some cases, you may need to manually switch the display mode on your Chromebook to ensure the content is properly displayed on the projector. To do this, press the “Ctrl” and “F4” keys simultaneously or look for the “Display” settings in your Chromebook’s menu.
- Adjust resolution (if necessary): If the projected image appears distorted or doesn’t fit the screen properly, you may need to adjust the resolution settings on your Chromebook. Open the “Display” settings and experiment with different resolution options until you find the optimal one for your projector.
Once you’ve completed these steps, your Chromebook should be successfully connected to the projector, and you’re ready to showcase your content on the big screen.
Remember, the specific steps may vary depending on the Chromebook model and projector you’re using. If you have any difficulties or encounter any issues, refer to the user manuals for both devices or consult the manufacturer’s website for further instructions.
Adjusting Display Settings on the Chromebook
After connecting your Chromebook to a projector, you may need to adjust the display settings to ensure optimal visuals. Here are some key adjustments you can make:
- Display mode: Depending on your preferences and the type of content you’re displaying, you can choose between different display modes on your Chromebook. Open the “Display” settings and select the desired mode, such as mirroring the Chromebook screen or using the projector as an extended display.
- Screen resolution: If the projected image appears blurry or distorted, you can experiment with different screen resolution settings. Access the “Display” settings and try adjusting the resolution until the image looks sharp and fits the projected screen properly.
- Aspect ratio: Projectors often have different aspect ratios, such as 4:3 or 16:9. Make sure to select the correct aspect ratio on your Chromebook to ensure that the content is displayed without any stretching or distortion. This setting can usually be found in the “Display” or “Appearance” settings.
- Screen position: If the projected image is not aligned properly on the screen, you can adjust the screen position settings. Some projectors have built-in keystone correction or image shift features that allow you to manually position the image. Additionally, you can use the “Display” settings on your Chromebook to fine-tune the screen position.
- Brightness and contrast: To optimize the visual quality of the projected image, you can adjust the brightness and contrast settings on your Chromebook. Open the “Display” settings and slide the corresponding sliders to find the right balance that suits your viewing environment.
Remember to make these adjustments while the projector is active and displaying content. This will allow you to see the immediate effect of the changes and make any necessary fine-tuning.
It’s worth noting that the availability of certain display settings may vary depending on your Chromebook model and the operating system version. If you’re unable to locate a specific setting or have any questions, refer to the Chromebook’s user manual or visit the manufacturer’s website for more detailed instructions.
By adjusting the display settings on your Chromebook, you can ensure that your content is presented with clarity and precision, enhancing the overall viewing experience for you and your audience.
Troubleshooting Common Issues
While connecting your Chromebook to a projector is usually a smooth process, you may encounter some common issues along the way. Here are a few troubleshooting tips to help you overcome these challenges:
- No display on the projector: If the projector doesn’t show any display after connecting your Chromebook, double-check the cable connections. Ensure that the cable is securely plugged in on both ends and try reconnecting them. If the issue persists, try using a different cable or port on the projector.
- Wrong display mode: If the projector is displaying the content in the wrong mode (mirroring instead of extended display, for example), access the “Display” settings on your Chromebook and switch to the desired display mode. Make sure to select the appropriate option for your needs.
- Resolution mismatch: If the projected image appears distorted or doesn’t fit the screen, adjust the screen resolution settings on your Chromebook. Experiment with different resolution options until you find the one that properly fits the projected screen.
- No audio on the projector: If you’re not hearing any sound through the projector speakers, check the audio output settings on your Chromebook. Make sure the audio is set to play through the projector’s audio output. You may also need to adjust the volume settings on both the Chromebook and the projector.
- Image quality issues: If the projected image appears fuzzy, pixelated, or has poor color quality, try adjusting the brightness, contrast, and color settings on both your Chromebook and the projector. You can also make sure that both devices are running the latest software updates for optimal compatibility.
- Compatibility issues: In some cases, certain projectors may not be fully compatible with Chromebooks. Check the projector’s user manual or contact the manufacturer to ensure compatibility with your specific Chromebook model. Alternatively, try connecting your Chromebook to a different projector to see if the issue persists.
If you’re still experiencing difficulties or encountering other issues, refer to the user manual for your Chromebook and projector for more specific troubleshooting steps. You can also visit the manufacturer’s website or reach out to their customer support for further assistance.
By following these troubleshooting tips, you can overcome common issues and ensure a successful connection between your Chromebook and the projector, allowing you to seamlessly present your content or enjoy multimedia on the big screen.
Conclusion
Connecting your Chromebook to a projector opens up a world of possibilities for presentations, entertainment, and sharing content with others. By following the steps outlined in this article, you can easily connect your Chromebook to a projector and adjust the display settings to ensure optimal visuals.
Remember to check the ports, power off the devices before connecting, and use the appropriate cable to establish the connection. Once connected, you may need to switch display modes, adjust screen resolution, and make other fine-tuning adjustments to ensure the content is displayed correctly on the projector.
In the event of common issues, such as no display, resolution mismatch, or audio problems, troubleshooting steps like double-checking cable connections, adjusting settings, and ensuring compatibility can help resolve the problems.
By mastering the process of connecting your Chromebook to a projector and efficiently adjusting the display settings, you can confidently deliver presentations, enjoy multimedia content on a larger screen, and make the most out of your Chromebook’s capabilities.
As always, refer to the user manuals and manufacturer guidelines for your specific Chromebook and projector models for more detailed instructions and troubleshooting advice.
Now, go ahead and connect your Chromebook to a projector, unleash your creativity, and captivate your audience on the big screen!