Introduction
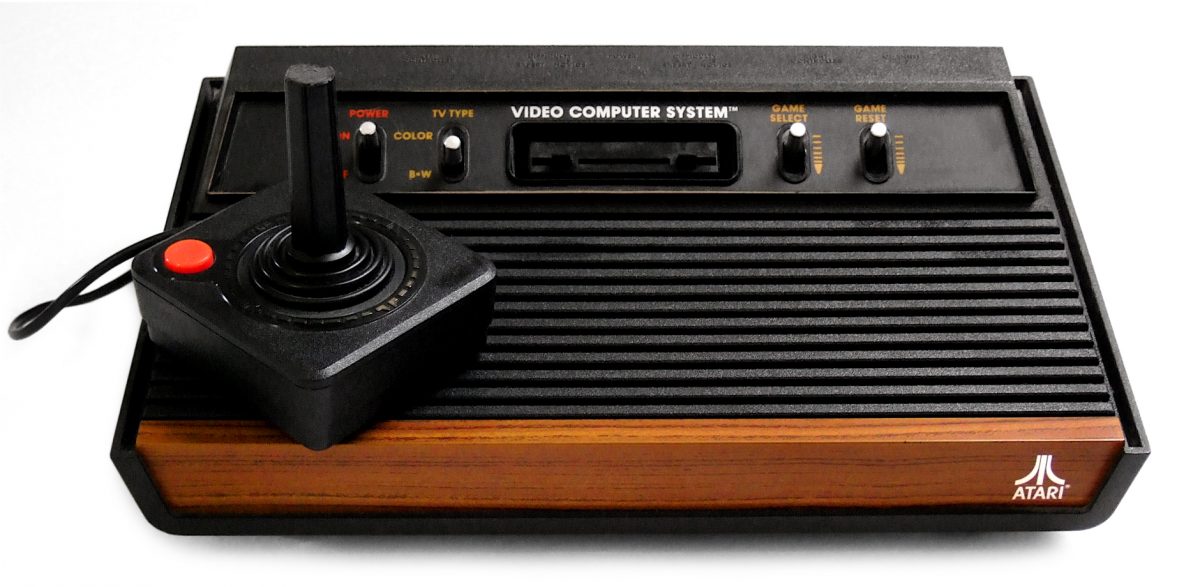
Are you a fan of retro gaming? Do you have an old Atari 2600 console lying around, but you’re unsure how to connect it to your modern TV? Look no further! In this guide, we will walk you through the steps to hook up your Atari 2600 to HDMI, allowing you to relive the classic gaming experience in high definition.
The Atari 2600, first released in 1977, revolutionized the gaming industry by bringing arcade-style games into the living room. Over the years, technology has advanced, and TVs have evolved from bulky CRTs to slim and sleek LED or LCD displays. While modern TVs no longer have the traditional input ports required for the Atari 2600’s RF or composite connections, there is a solution that allows you to enjoy your favorite retro games with improved image quality.
To connect your Atari 2600 to HDMI, you will need a few essential pieces of equipment: the Atari 2600 console, an HDMI adapter, an HDMI cable, and a modern TV with HDMI input. Don’t worry if you don’t have all the necessary equipment yet; we’ll guide you through the process of gathering what you need.
Once you have the required equipment, we will take you step-by-step through the process, making it easy for even the most technologically-challenged individual to successfully connect their Atari 2600 to HDMI. By the end of this guide, you’ll be able to enjoy your retro gaming collection on the big screen, with sharp graphics and vibrant colors.
So, dust off your Atari 2600 and get ready to embark on a nostalgic gaming journey. Let’s dive into the detailed steps of connecting your Atari 2600 to HDMI!
Gather necessary equipment
Before we can begin the process of connecting your Atari 2600 to HDMI, you will need to gather a few essential pieces of equipment. Don’t worry if you don’t have everything on hand just yet – we’ll guide you through the process of acquiring what you need.
Here’s a checklist of the equipment you’ll need:
- Atari 2600 console: Ensure that you have the console itself. This is the heart of your gaming setup.
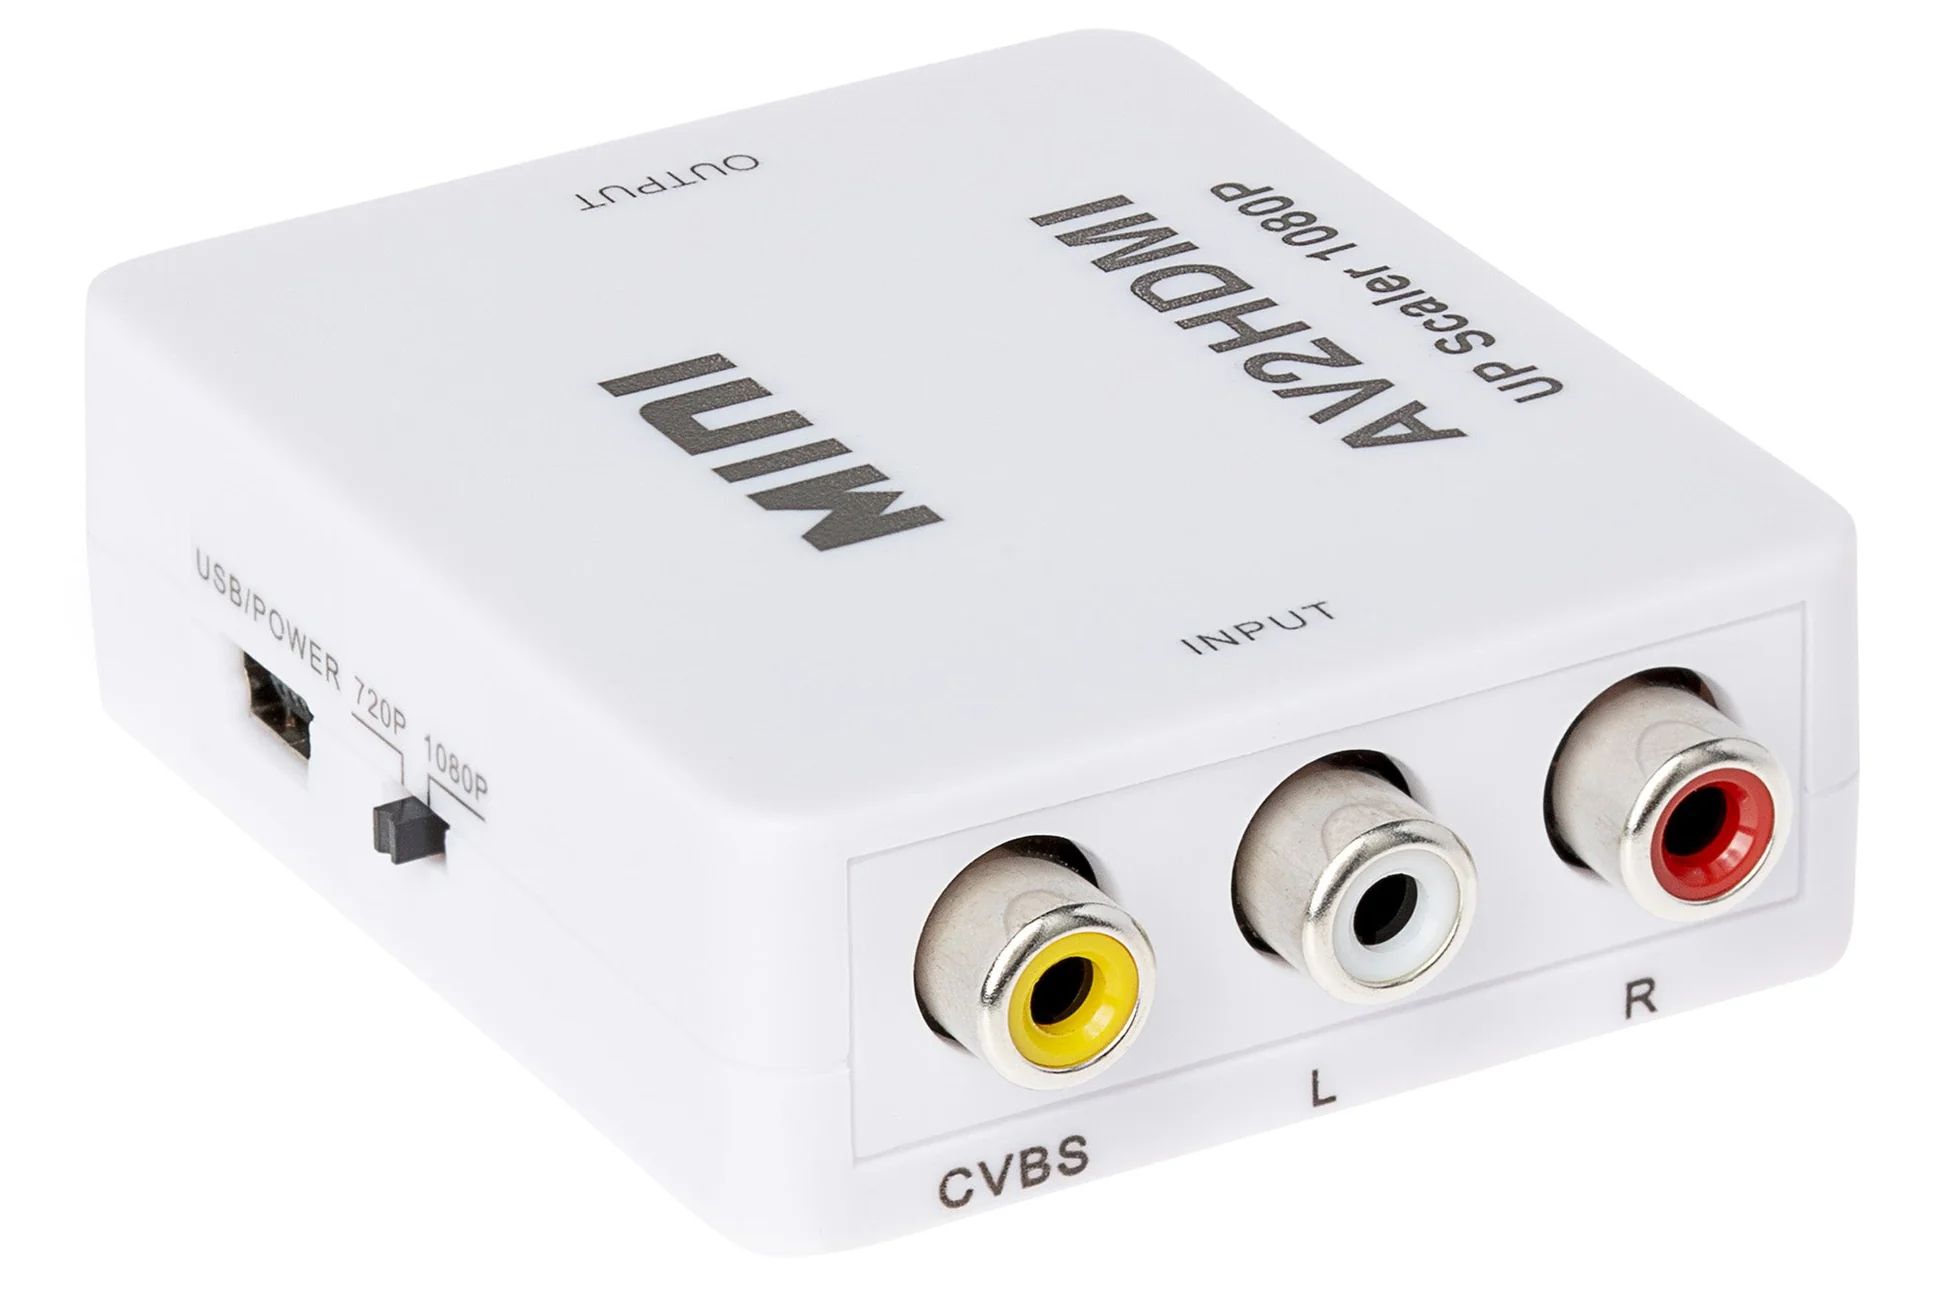
- HDMI adapter: Since modern TVs do not typically have the old RF or composite input ports, you’ll need an HDMI adapter to convert the Atari 2600’s output to HDMI. There are various adapters available on the market, so make sure to choose one that is compatible with the Atari 2600.
- HDMI cable: This cable will be used to connect the HDMI adapter to your TV. Ensure that you have a high-quality HDMI cable that is long enough to reach from your Atari 2600 to your TV.
- Modern TV with HDMI input: To enjoy your retro gaming experience in high definition, you’ll need a TV with an HDMI input. Most modern TVs have multiple HDMI ports, so you can easily connect your Atari 2600 without interfering with other devices.
If you already have all the required equipment, great! You can move on to the next step. If not, take the time to acquire the missing items before proceeding. You can find these items online or at electronics stores that specialize in retro gaming or have a wide range of AV equipment.
It’s important to ensure that you have the correct HDMI adapter for your Atari 2600, as compatibility can vary depending on the specific console model. If you’re unsure, consult the Atari 2600’s documentation or reach out to retro gaming communities for recommendations.
Once you have gathered all the necessary equipment, you’re ready to move on to the next step: connecting your Atari 2600 to your TV using the HDMI adapter. Let’s dive into the detailed instructions so you can start enjoying your retro gaming collection on the big screen!
Step 1: Connect the Atari 2600 to the TV
Now that you have gathered all the necessary equipment, it’s time to start connecting your Atari 2600 to your TV. Follow these steps to ensure a successful connection:
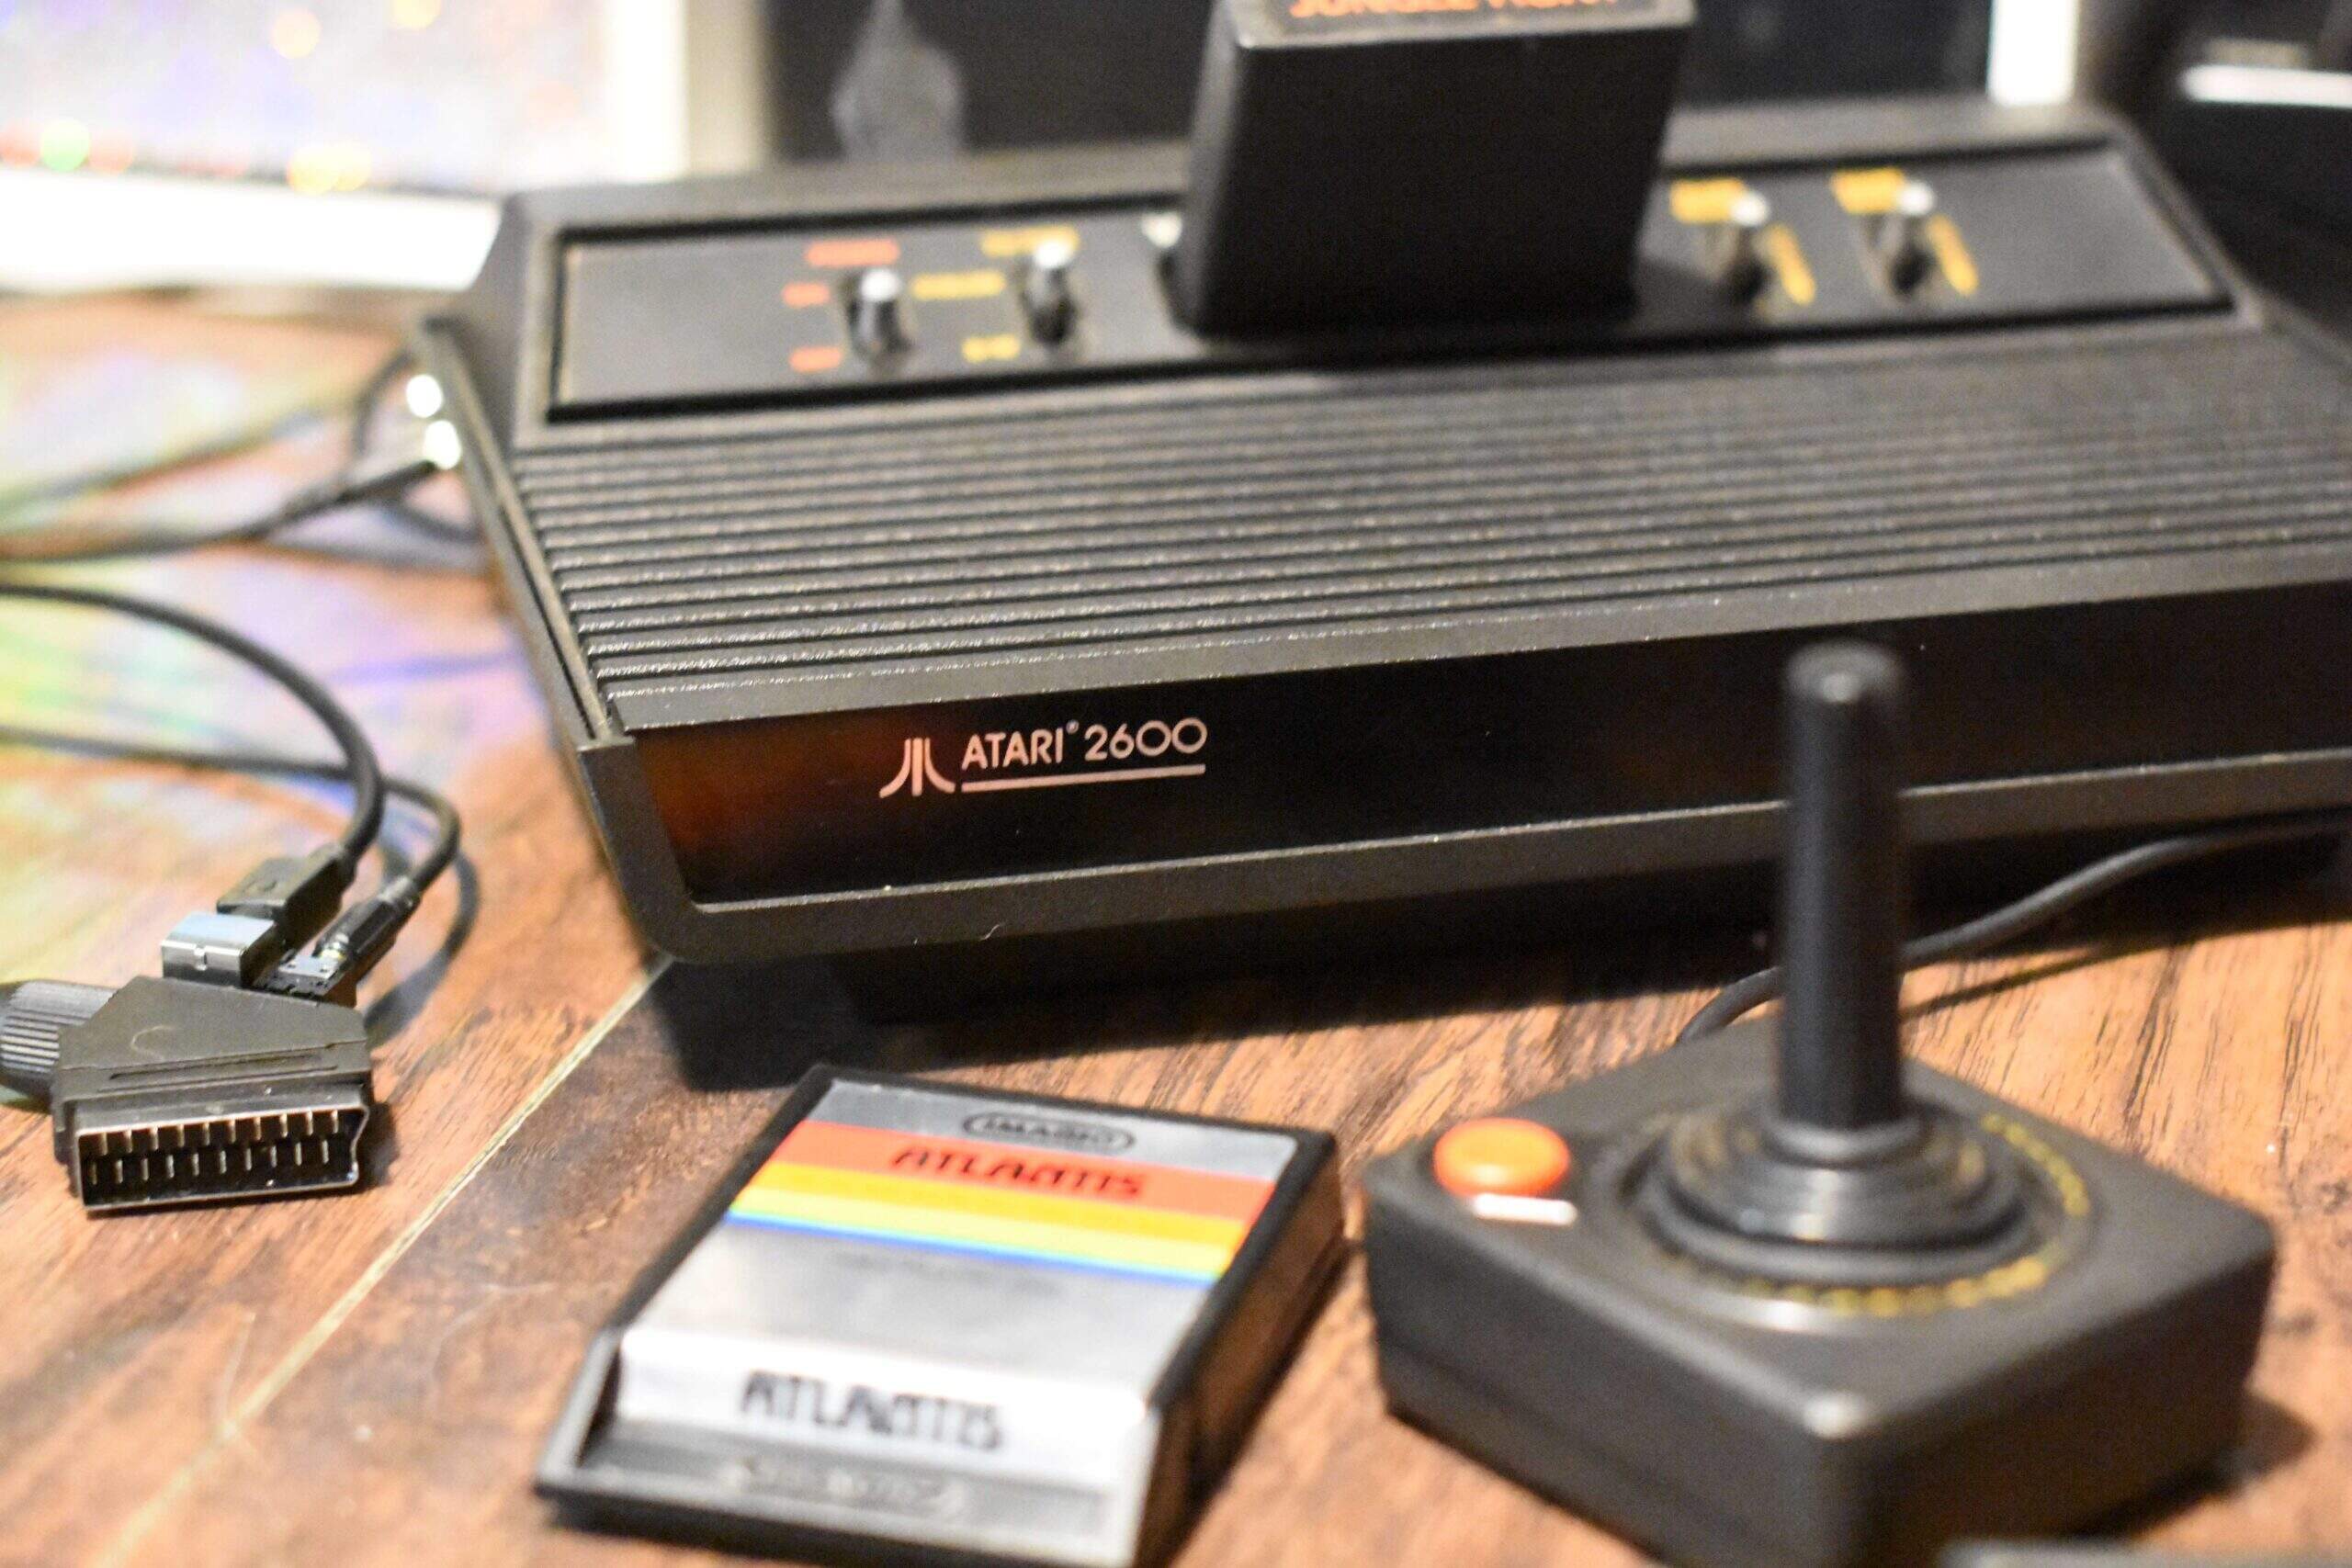
- Locate the RF switch box: The Atari 2600 console comes with an RF switch box. Find this switch box, as it will be used to connect the console to your TV.
- Identify the RF ports: The RF switch box will have two ports: an “ANTENNA” port and a “TV” port. Take note of these ports as they will be used in the next steps.
- Unplug the TV antenna cable (if applicable): If your TV is currently using an antenna cable, unplug it from the “ANTENNA IN” port on the back of the TV. We will be using this port for the Atari 2600 connection.
- Connect the Atari 2600 to the TV: Take the cable that is connected to the “TV” port on the RF switch box and plug it into the “ANTENNA IN” port on your TV. This will establish the physical connection between the Atari 2600 and your TV.
- Tighten the connections: Ensure that all connections are secure by gently tightening the coaxial cable connectors on both the RF switch box and the TV.
Once you have completed these steps, you have successfully connected your Atari 2600 to your TV. However, keep in mind that this RF connection will not provide the best video quality. To achieve higher quality gaming, we will proceed to the next steps to connect your Atari 2600 to HDMI.
Now that your Atari 2600 is physically connected to your TV, it’s time to move on to the next step: choosing the appropriate HDMI adapter. This adapter will allow you to connect your Atari 2600 to HDMI, resulting in a significant improvement in video quality. Let’s continue the process to enhance your retro gaming experience!
Step 2: Choose the appropriate HDMI adapter
Now that your Atari 2600 is connected to your TV through the RF switch box, it’s time to upgrade the video quality by connecting it to HDMI. To do this, you will need to choose the right HDMI adapter for your Atari 2600. Here’s how to make the appropriate selection:
1. Research available HDMI adapters: Start by researching the various HDMI adapters available for retro gaming consoles, specifically the Atari 2600. Look for adapters that are compatible with the Atari 2600 and offer good user reviews and ratings.
2. Check for compatibility: Ensure that the HDMI adapter you choose is compatible with your specific model of the Atari 2600 console. Different console variations may have slightly different connection requirements, so it’s crucial to find an adapter that will work seamlessly with your console.
3. Consider additional features: Some HDMI adapters may offer additional features, such as upscaling capabilities or audio enhancements. Depending on your preferences and budget, you may opt for an adapter with these added features to enhance your gaming experience.
4. Read user reviews: Before making your final decision, take the time to read user reviews and testimonials. This will give you valuable insights into the performance and reliability of different HDMI adapters for the Atari 2600. Look for adapters with a high number of positive reviews and satisfied customers.
5. Choose a reputable seller: Once you have narrowed down your options, choose a reputable seller or retailer to purchase the HDMI adapter from. Check for warranty information, customer support, and return policies to ensure a smooth buying experience.
By taking these steps, you will be able to choose the right HDMI adapter for your Atari 2600. This adapter will serve as the bridge between your console and the HDMI input on your TV, enabling you to enjoy retro gaming in high definition.
With the right HDMI adapter in hand, you’re ready to move on to the next step: connecting the HDMI adapter to your Atari 2600. Let’s continue our journey to enhance your gaming experience!
Step 3: Connect the HDMI adapter to the Atari 2600
Now that you have chosen the appropriate HDMI adapter for your Atari 2600, it’s time to connect it to the console. The HDMI adapter will serve as the intermediary between the Atari 2600’s video output and the HDMI input of your TV. Follow these steps to successfully connect the HDMI adapter to your Atari 2600:
- Locate the Video/Audio output port: On the back of the Atari 2600 console, you will find a port labeled “Video/Audio Output.” This is where you will connect the HDMI adapter.
- Take the HDMI cable and plug it into the HDMI port on the adapter. Ensure that it is securely connected.
- Connect the other end of the HDMI cable to the HDMI input port on the Atari 2600 console.
- Tighten the connections: Gently tighten the HDMI cable connections on both ends to ensure a secure fit.
Once you have completed these steps, the HDMI adapter will be successfully connected to your Atari 2600 console. This critical connection will allow the console to transmit the video signal to your modern TV through HDMI.
With the HDMI adapter properly connected to your Atari 2600, it’s time to move on to the next step: connecting the HDMI cable from the adapter to your TV. This will complete the chain and enable the transmission of high-quality video and audio signals. Let’s continue with the process to bring your retro gaming experience to the next level!
Step 4: Connect the HDMI cable to the adapter
Now that you have successfully connected the HDMI adapter to your Atari 2600 console, it’s time to connect the HDMI cable from the adapter to your TV. This connection will allow the transmission of high-quality video and audio signals, enhancing your retro gaming experience. Follow these steps to complete the connection:
- Locate the HDMI input port on your TV: Look for the HDMI input ports on the back or side of your TV. These ports are typically labeled “HDMI” and numbered (e.g., HDMI 1, HDMI 2, etc.).
- Take the other end of the HDMI cable connected to the HDMI adapter and plug it into the HDMI input port on your TV. Ensure that it is securely connected.
- Note the HDMI input port number: Take note of the HDMI input port number where you plugged in the cable. This information will be useful when selecting the input source on your TV.
- Power on your Atari 2600 console: Ensure that your Atari 2600 console is powered on and running properly. Verify that the HDMI adapter is receiving power as well.
Once you have completed these steps, your Atari 2600 will be connected to your TV via HDMI. This connection will allow you to enjoy your retro games on the big screen with improved video quality and clarity.
Now that the HDMI cable is properly connected to your adapter and TV, it’s time to move on to the next step: adjusting the TV settings. This will ensure that your TV recognizes the Atari 2600’s signal and displays it correctly. Let’s continue with the process to optimize your gaming setup!
Step 5: Connect the HDMI cable to the TV
Now that you have connected the HDMI adapter to your Atari 2600 and plugged the HDMI cable into the adapter, it’s time to connect the other end of the HDMI cable to your TV. This final connection will allow your TV to receive the video and audio signals from the Atari 2600, bringing your retro gaming experience to life. Follow these steps to complete the connection:
- Locate the HDMI input port on your TV: Look for the HDMI input ports on the back or side of your TV. These ports are typically labeled “HDMI” and numbered (e.g., HDMI 1, HDMI 2, etc.).
- Take the other end of the HDMI cable and plug it into the HDMI input port on your TV. Ensure that it is securely connected.
- Take note of the HDMI input port number: Remember the HDMI input port number where you plugged in the cable. You will need this information to select the correct input source on your TV later.
Once you have completed these steps, your Atari 2600 will be fully connected to your TV using HDMI. At this point, your TV should be receiving the video and audio signals from the console, allowing you to enjoy your retro games with improved picture quality and sound.
Before moving on, double-check all the connections to ensure they are secure. Loose connections can lead to a loss of signal or reduced video quality. Tighten the HDMI cable connections as needed.
Now that the HDMI cable is securely connected to your TV, it’s time to move on to the next step: adjusting the TV settings. This will ensure that your TV recognizes the Atari 2600’s signal and displays it properly. Let’s continue with the process to optimize your gaming setup!
Step 6: Adjust the TV settings
Now that you have successfully connected your Atari 2600 to your TV using the HDMI cable, it’s important to adjust the TV settings to ensure optimal gaming performance and image quality. By making a few adjustments, you can enhance your retro gaming experience. Follow these steps to adjust the TV settings:
- Power on your TV: Ensure that your TV is powered on and displaying the input source selection screen.
- Select the correct HDMI input: Using your TV’s remote control, navigate to the input source selection menu and choose the HDMI input port that you connected your Atari 2600 to. Refer to the HDMI port number that you noted earlier.
- Check display settings: Next, access your TV’s display settings menu. Look for options such as “Picture Mode,” “Display Mode,” or “Picture Settings.”
- Optimize display settings: Adjust the display settings to your liking and based on your preferences. This may include settings such as brightness, contrast, sharpness, color saturation, and aspect ratio. Experiment with these settings to find the best visual balance for your gaming experience.
- Audio settings: Don’t forget to check the audio settings as well. Ensure that the volume is set at a level comfortable for you and that any audio enhancement features, such as virtual surround sound, are adjusted to your liking.
- Save the settings: Once you have adjusted the display and audio settings to your satisfaction, save the changes. The process for doing this may vary depending on your TV model. Look for an option such as “Save” or “Apply” to store the settings.
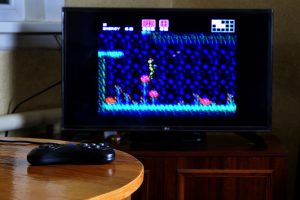
Now that you have adjusted the TV settings, you are ready to immerse yourself in the world of retro gaming with your Atari 2600 on your modern TV. Take a moment to appreciate the enhanced graphics and improved audio quality as you navigate through the iconic games of the past.
Should you want to further fine-tune your gaming experience, feel free to experiment with the TV settings to achieve the desired picture and sound. Each TV model may offer different options, so don’t hesitate to explore and find the configurations that suit your preferences.
Congratulations on successfully connecting and adjusting your TV settings! Now it’s time to grab your Atari 2600 controller and relive the golden age of gaming with your favorite retro titles.
Conclusion
Congratulations! You have successfully connected your Atari 2600 to your modern TV using an HDMI adapter. By following the step-by-step instructions in this guide, you have transformed your retro gaming experience into one with enhanced video quality and improved audio performance.
We started by gathering the necessary equipment, including the Atari 2600 console, an HDMI adapter, an HDMI cable, and a TV with HDMI input. We then walked you through the process of connecting the Atari 2600 to the TV using the RF switch box, choosing the appropriate HDMI adapter, and connecting the HDMI cable to both the adapter and the TV. Finally, we adjusted the TV settings to optimize the display and audio performance for an immersive retro gaming experience.
Now, it’s time to relish the nostalgia as you dive into the world of classic Atari 2600 games. Experience the thrill of guiding pixelated spaceships, smashing bricks with a paddle, or navigating through mazes filled with ghosts. With the improved video and audio quality, your gaming sessions will be even more enjoyable.
Remember to explore and experiment with the display settings on your TV to find the perfect visual balance. Each TV model may have different options, so feel free to adjust the brightness, contrast, color, and sharpness to your preference.
We hope this guide has been helpful in enabling you to connect your Atari 2600 to HDMI and enhance your retro gaming setup. Rediscovering the classics can be an exciting and nostalgic journey, and with the right connections, you can enjoy them like never before.
Now, grab your favorite Atari 2600 game, power on your console and TV, and immerse yourself in the wonderful world of retro gaming!