Introduction
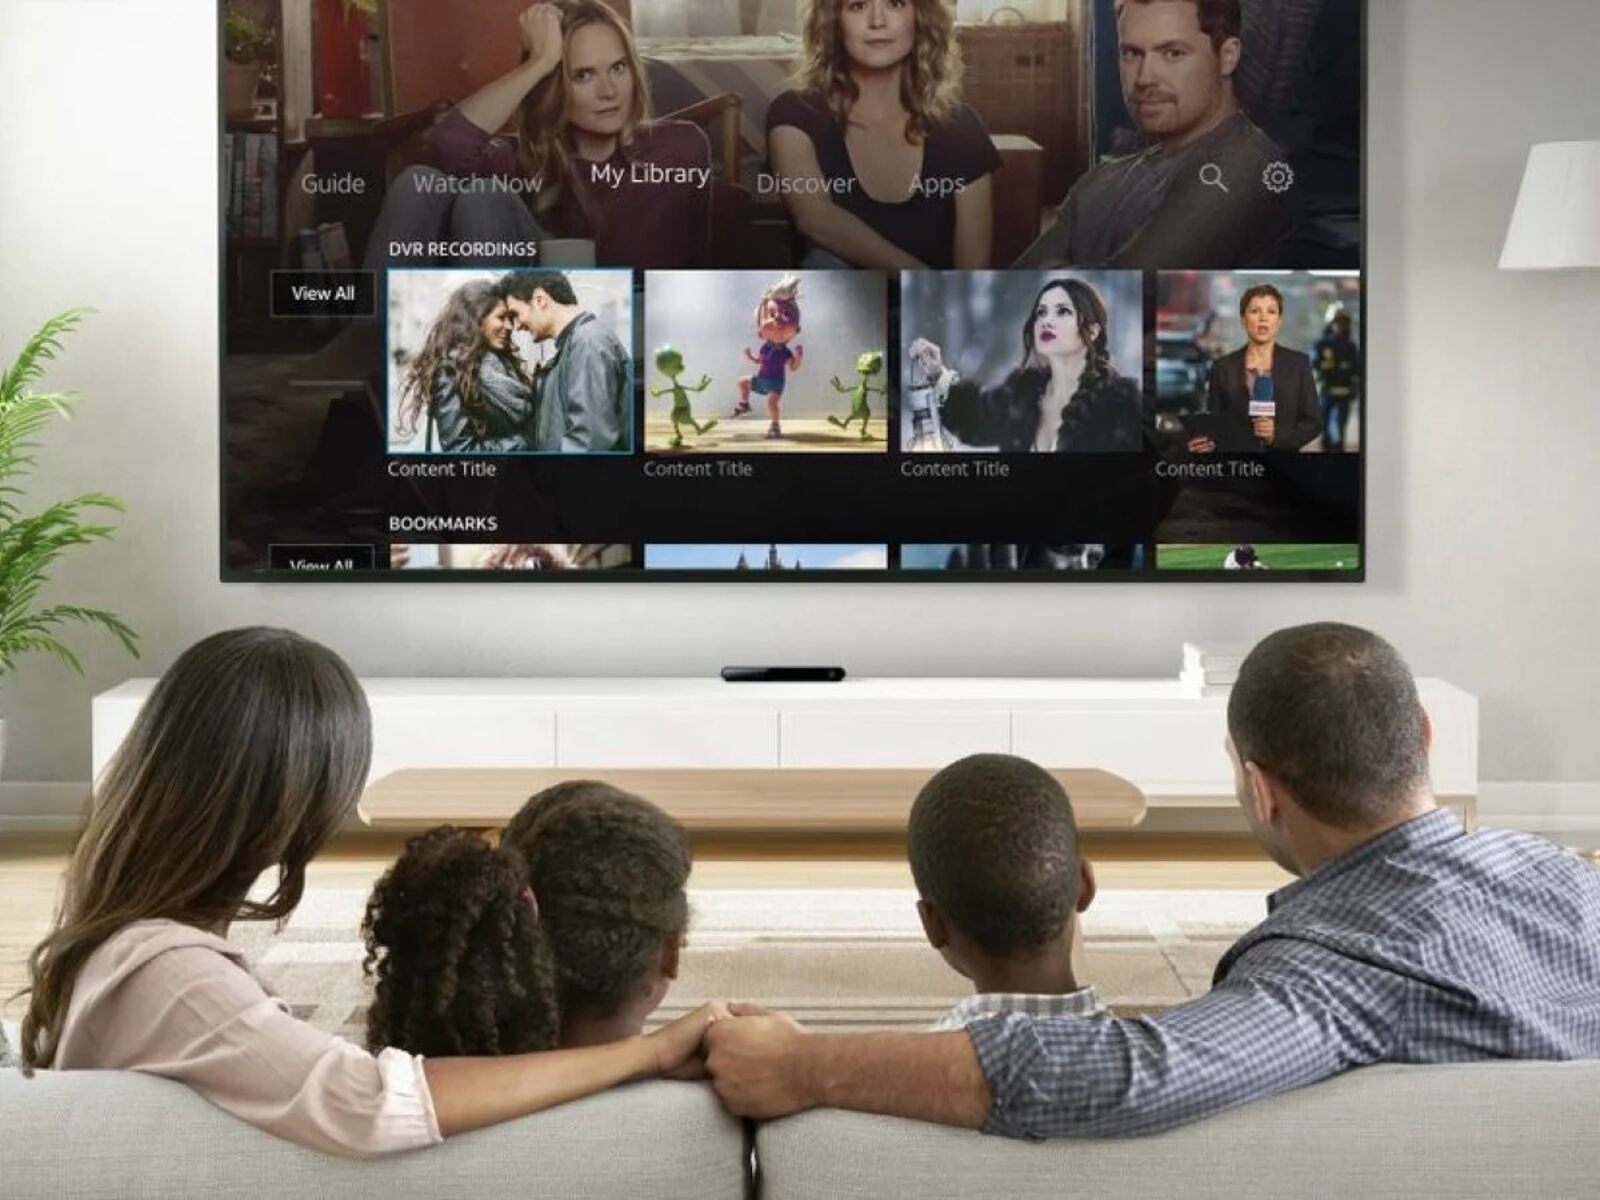
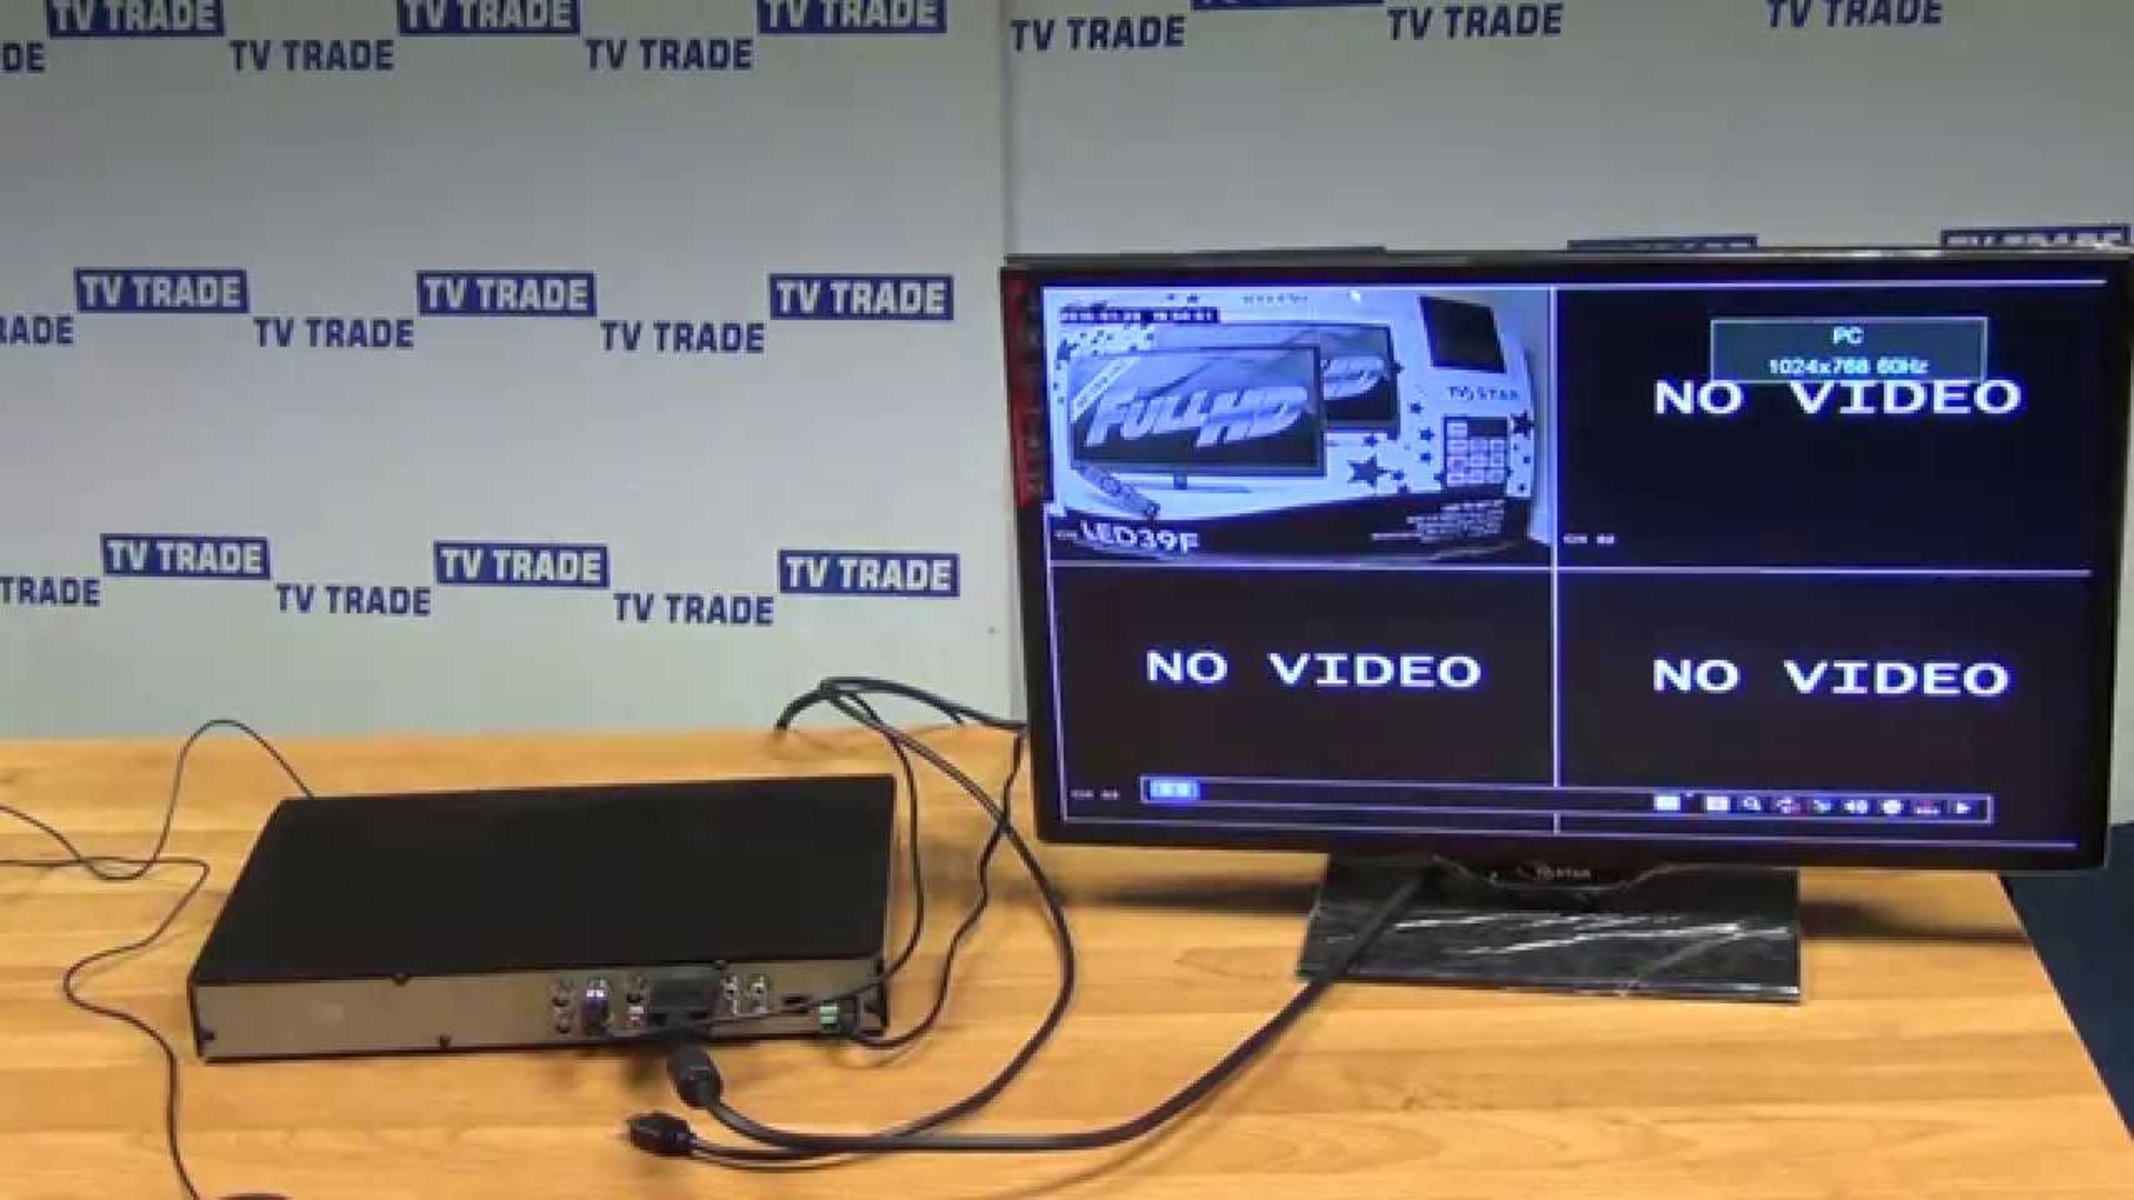
Connecting a DVR to a TV is essential for viewing surveillance footage or enjoying your favorite recorded shows. While HDMI is a common and convenient method for connecting devices, not all DVRs or TVs have HDMI ports. In such cases, you might be wondering how to connect your DVR to the TV without HDMI.
The good news is that there are alternative methods available to connect your DVR to your TV, ensuring that you don’t miss out on the action. Whether you have an older DVR model or a TV without HDMI input, this guide will walk you through the steps to establish a connection and start enjoying your content.
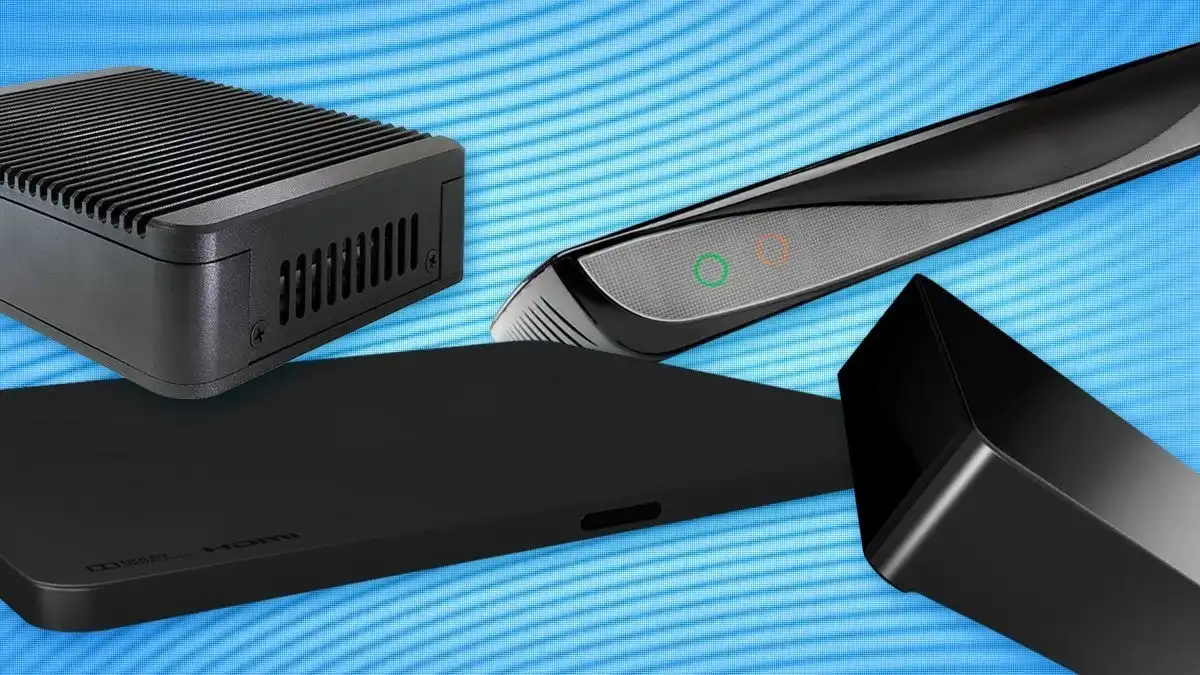
Before we dive into the specifics, it’s important to familiarize yourself with the available ports on both your DVR and TV. This will help determine the appropriate connection method to use. DVRs typically have a variety of output ports, including AV, component, and VGA, while TVs commonly have input ports like AV, component, VGA, and even RCA.
In the following sections, we will explore different methods to connect your DVR to your TV without HDMI, outlining step-by-step instructions to ensure a successful connection. So let’s get started and unlock the world of entertainment and surveillance right on your TV screen!
Check the available ports on your DVR and TV
The first step in connecting your DVR to your TV without HDMI is to examine the available ports on both your DVR and TV. This will help you determine which connection method to use.
Start by inspecting your DVR. Most DVRs come equipped with a variety of output ports, including:
- AV (Audio/Video) ports: These ports are usually color-coded with red, white, and yellow connectors.
- Component ports: These ports consist of three separate video connectors, typically colored red, green, and blue, along with separate audio connectors.
- VGA (Video Graphics Array) port: This port is a 15-pin connector commonly found on computer monitors and older TVs.
Now, turn your attention to your TV. Look for input ports that correspond to the ones on your DVR. The ports on your TV may include:
- AV ports: These are the same as the AV ports on the DVR, and they are also color-coded.
- Component ports: Look for three video input connectors colored red, green, and blue, along with separate audio connectors.
- VGA port: If your TV has a VGA port, it will have a 15-pin connector labeled “VGA”.
- RCA ports: These are another common type of input port, typically labeled as “Video In” and “Audio In”.
By identifying the available ports on both your DVR and TV, you will have a clearer understanding of which connection method is most suitable for your devices. Once you’ve determined the ports, proceed to the next section for instructions on how to connect your DVR to your TV using an appropriate cable.
Use an AV cable to connect your DVR to the TV
If your DVR and TV both have AV ports, you can easily connect them using an AV cable. AV cables are color-coded cables that transmit both audio and video signals. They are typically included with the purchase of a DVR or can be purchased separately at electronics stores.
To connect your DVR to the TV using an AV cable, follow these steps:
- Locate the AV ports on both your DVR and TV. The AV ports on the DVR are usually color-coded with red, white, and yellow connectors.
- Take one end of the AV cable and plug the red, white, and yellow connectors into the corresponding colored ports on the back of the DVR.
- Next, connect the other end of the AV cable to the AV ports on your TV. Again, match the red, white, and yellow connectors to the corresponding colored ports.
- Once the cable is securely connected, power on both the DVR and the TV.
- Using your TV remote, navigate to the input/source menu and select the AV input channel that matches the one you connected the AV cable to.
- You should now see the video output from your DVR on your TV screen. If not, double-check the connections and make sure the input channel is correctly selected.
It’s important to note that AV cables transmit standard definition (SD) signals, so the video quality may not be as high as HDMI. However, it is still a reliable method for connecting your DVR to your TV, especially if HDMI is not available.
With your DVR successfully connected to your TV using an AV cable, you can now enjoy watching your surveillance footage or recorded shows on the big screen. If you prefer a higher-quality video output, continue reading to learn about alternative connection methods.
Connect the audio cables
When connecting your DVR to the TV using AV or component cables, you will also need to connect the audio cables to ensure you get both video and sound. This step is crucial for a complete viewing experience.
To connect the audio cables, follow these steps:
- Identify the audio input ports on your TV. These ports are usually located near the video input ports and may be color-coded as well.
- Take the audio cables that came with your DVR or purchase compatible ones separately.
- Connect the audio cables to the corresponding colored audio input ports on the TV, matching the red and white connectors to their respective ports.
- On the other end of the audio cables, connect them to the audio output ports on your DVR. Again, match the red and white connectors to the corresponding colored ports.
- Ensure that all connections are properly secured to avoid any audio issues.
By connecting the audio cables, you will be able to hear the sound through your TV’s speakers while watching the video from your DVR. The audio should synchronize with the video, providing a seamless and immersive experience.
If you encounter any audio problems, such as distorted sound or no sound at all, double-check the connections and make sure they are firmly plugged in. You may also want to adjust the audio settings on your DVR or TV to ensure proper output.
Now that you have successfully connected the audio cables, you are ready to move on to the next section and learn how to select the correct input source on your TV.
Select the correct input source on your TV
After connecting your DVR to your TV using the appropriate cables, you need to select the correct input source on your TV to display the video signal from the DVR. This step may vary depending on the make and model of your TV, but the general process remains the same.
To select the correct input source on your TV, follow these steps:
- Turn on your TV and DVR.
- Grab your TV remote and look for a button labeled “Input” or “Source”. This button is usually located at the top or side of the remote.
- Press the “Input” or “Source” button to access the input/source menu.
- Navigate through the menu using the arrow keys or numeric keypad on your remote.
- Look for the input/source option that corresponds to the ports you connected your DVR to. It may be labeled as “AV”, “Component”, “VGA”, or “RCA”.
- Select the correct input/source option by pressing the “Enter” or “OK” button on your remote.
Once you have chosen the correct input source, your TV should switch to the corresponding input channel, and you will be able to view the video signal from your DVR on the screen.
If you don’t immediately see the video output from your DVR, wait a few seconds to allow the TV to detect the signal. Sometimes, it may take a moment for the TV to establish the connection.
Keep in mind that the exact method of selecting the input source may vary depending on your TV brand and model. In case you are having trouble finding the input/source menu or selecting the correct input, refer to your TV’s user manual for specific instructions.
Once you have successfully selected the correct input source, you can enjoy watching your DVR content on your TV. In the next section, we will discuss how to adjust the display settings on your DVR to optimize the viewing experience.
Adjust the display settings on your DVR
After successfully connecting your DVR to your TV and selecting the correct input source, you may need to adjust the display settings on your DVR to optimize the viewing experience. These settings allow you to customize the video output according to your preferences and the capabilities of your TV.
To adjust the display settings on your DVR, follow these steps:
- Using your DVR remote, access the settings menu. The exact method may vary depending on your DVR model.
- Navigate to the display or video settings within the menu. This may be labeled as “Display”, “Video”, or “Picture”.
- Here, you can make adjustments such as brightness, contrast, color balance, and aspect ratio. The available options will depend on your DVR’s capabilities.
- Experiment with different settings to achieve the desired picture quality. You may need to refer to your TV’s user manual for recommended settings or conduct some trial and error to find the optimal configuration.
- Make sure to save your changes before exiting the settings menu.
By adjusting the display settings, you can enhance the clarity, color accuracy, and overall visual experience of the content viewed through your DVR on your TV. It can also help ensure that the aspect ratio is correctly set to prevent distortions or black bars on the screen.
Remember, the specific display settings available and the extent to which you can customize them will vary depending on the capabilities of your DVR. Some DVRs might offer basic adjustments, while others may provide more advanced settings for fine-tuning the picture quality.
Keep in mind that it is important to strike a balance between enhancing the display quality and maintaining a natural and realistic viewing experience. Excessive adjustments can lead to an unnatural or exaggerated picture, so be mindful while making changes.
Once you have adjusted the display settings to your satisfaction, you are ready to enjoy watching your DVR content in the best possible quality on your TV. In the next section, we will discuss how to test the connection and troubleshoot any issues that may arise.
Test the connection and troubleshoot any issues
After connecting your DVR to your TV, it is essential to test the connection and ensure everything is working as expected. In some cases, you might encounter issues such as no video or audio output, distorted picture, or incompatible resolution. However, with a few troubleshooting steps, you can often resolve these problems.
To test the connection and troubleshoot any issues, follow these steps:
- Check that all cables are securely plugged in on both the DVR and the TV. Loose connections can cause intermittent or no signal issues.
- Verify that the power is turned on for both the DVR and the TV, and that they are properly connected to a power source.
- Make sure the input source on the TV matches the one you connected the DVR to. Double-check that you have selected the correct input/source by using the TV remote.
- Check the display settings on your DVR, ensuring that the resolution is compatible with your TV. Some DVRs have specific recommended resolutions for optimal performance.
- If you are still not getting any video output, try connecting the DVR to a different input/source on the TV to rule out potential port or cable issues.
- If you are experiencing audio issues, ensure that the audio cables are correctly connected to both the DVR and the TV. Adjust the audio settings on the DVR and the TV, if necessary.
- If you encounter persistent issues, consult the user manual for both your DVR and TV, as they may provide specific troubleshooting steps for your particular model.
- If all else fails, consider contacting the manufacturer’s customer support for further assistance.
By following these troubleshooting steps, you can identify and resolve common issues that may arise when connecting your DVR to your TV. Patience and a systematic approach are key in troubleshooting, so take your time and check each step thoroughly.
Remember that every DVR and TV setup is unique, and the solutions to specific issues may vary. Therefore, it’s important to refer to the user manuals and support resources for your specific devices.
Once you have successfully tested the connection and resolved any issues, you can enjoy the convenience and entertainment of accessing your DVR content on your TV screen.
Conclusion
Connecting a DVR to a TV without HDMI is still possible using alternative methods such as AV cables, component cables, VGA cables, or RCA cables. By checking the available ports on your DVR and TV, using the appropriate cables, and selecting the correct input source, you can establish a connection and enjoy your DVR content on the television screen.
Connecting through AV cables provides a reliable method for both video and audio transmission, while adjusting the display settings on your DVR ensures an optimized viewing experience. By troubleshooting any issues that may arise during the connection process, you can overcome common obstacles and enjoy seamless access to your DVR content.
Keep in mind that the specific steps and methods might vary depending on the make and model of your DVR and TV. It’s always advisable to consult the user manuals or seek assistance from the manufacturer if you encounter any difficulties.
Connecting your DVR to your TV without HDMI allows you to make the most of your surveillance footage or recorded shows, even if you don’t have access to an HDMI port. By utilizing the available ports and following the outlined steps, you can ensure a reliable and enjoyable viewing experience without compromising on quality.
Now that you have learned how to connect your DVR to your TV without HDMI, you can begin enjoying the convenience and entertainment of accessing your content on a larger screen. Whether it’s monitoring your security cameras or catching up on your favorite TV shows, connecting your DVR to your TV opens up a whole new world of possibilities.