Introduction
Welcome to the world of modern television, where smart TVs have become the new standard. These advanced devices not only offer a wide range of entertainment options but also allow you to connect various external devices for an enhanced viewing experience. One such device is a Digital Video Recorder (DVR), which enables you to record and store your favorite shows and movies.
Connecting a DVR to a smart TV can unlock a whole new level of convenience and entertainment. By doing so, you can watch your recorded content on a larger screen with better audio quality. Whether you want to catch up on missed episodes, rewatch a thrilling sports match, or enjoy a movie marathon, connecting your DVR to your smart TV is a simple process that can greatly enhance your TV-watching experience.
In this article, we will guide you through the step-by-step process of connecting your DVR to your smart TV. We will provide you with all the necessary information and instructions you need to ensure a seamless and successful connection. So, let’s get started and transform your living room into a personalized entertainment hub!
Step 1: Gather the necessary equipment
Before you can connect your DVR to your smart TV, you will need to collect a few essential pieces of equipment. Here’s what you’ll need:
- DVR: Make sure you have a compatible DVR that supports connectivity with a smart TV. Check the specifications of your DVR to ensure it has HDMI or other compatible ports.
- Smart TV: You’ll, of course, need a smart TV with HDMI ports. Most modern smart TVs come equipped with multiple HDMI ports to connect various external devices.
- HDMI Cable: Get an HDMI cable of suitable length to establish a connection between the DVR and the smart TV. The length of the cable will depend on the distance between the two devices.
- Power Cables: Ensure that you have the necessary power cables for both the DVR and the smart TV. These cables are usually included in the packaging of the respective devices.
- Remote Control: Keep the remote control for both the DVR and the smart TV handy. You’ll need them to navigate through the menus and make any necessary adjustments.
- Internet Connection: If you want to access online features and services on your DVR, such as streaming content or software updates, make sure you have an active internet connection available.
Once you have gathered all the required equipment, you’re ready to proceed to the next step of connecting your DVR to your smart TV. Having everything at hand will ensure a smooth and uninterrupted setup process.
Step 2: Connect the DVR to the TV
Now that you have all the necessary equipment, it’s time to connect your DVR to your smart TV. Follow these steps:
- Locate the HDMI ports: Look at the back of your smart TV and find the HDMI ports. They are usually labeled as HDMI 1, HDMI 2, and so on. Take note of the HDMI port number you will be using to connect the DVR.
- Connect one end of the HDMI cable: Take one end of the HDMI cable and insert it into the HDMI port on the back of your DVR. Make sure the cable is securely connected.
- Connect the other end of the HDMI cable: Take the other end of the HDMI cable and plug it into the HDMI port on your smart TV that corresponds to the HDMI port number you noted earlier.
- Power on the DVR and the TV: Turn on both the DVR and the smart TV using their respective power buttons or remote controls. Wait for them to fully power up.
- Select the HDMI input: On your smart TV, use the remote control to navigate to the “Input” or “Source” menu. Select the HDMI input that you connected the DVR to. This will display the DVR’s signal on the TV screen.
That’s it! You have successfully connected your DVR to your smart TV using an HDMI cable. Ensure that both devices are powered on and the TV is set to the correct HDMI input. This will allow you to access and enjoy the content recorded on your DVR directly on your smart TV.
Note: If your DVR and smart TV do not have HDMI ports, you can explore alternative connection options such as component cables or composite cables. However, HDMI is the most common and preferred method due to its high-quality digital signal and ease of use.
Step 3: Configure the settings
After successfully connecting your DVR to your smart TV, it’s time to configure the settings to ensure optimal performance and functionality. Follow these steps to set up your DVR:
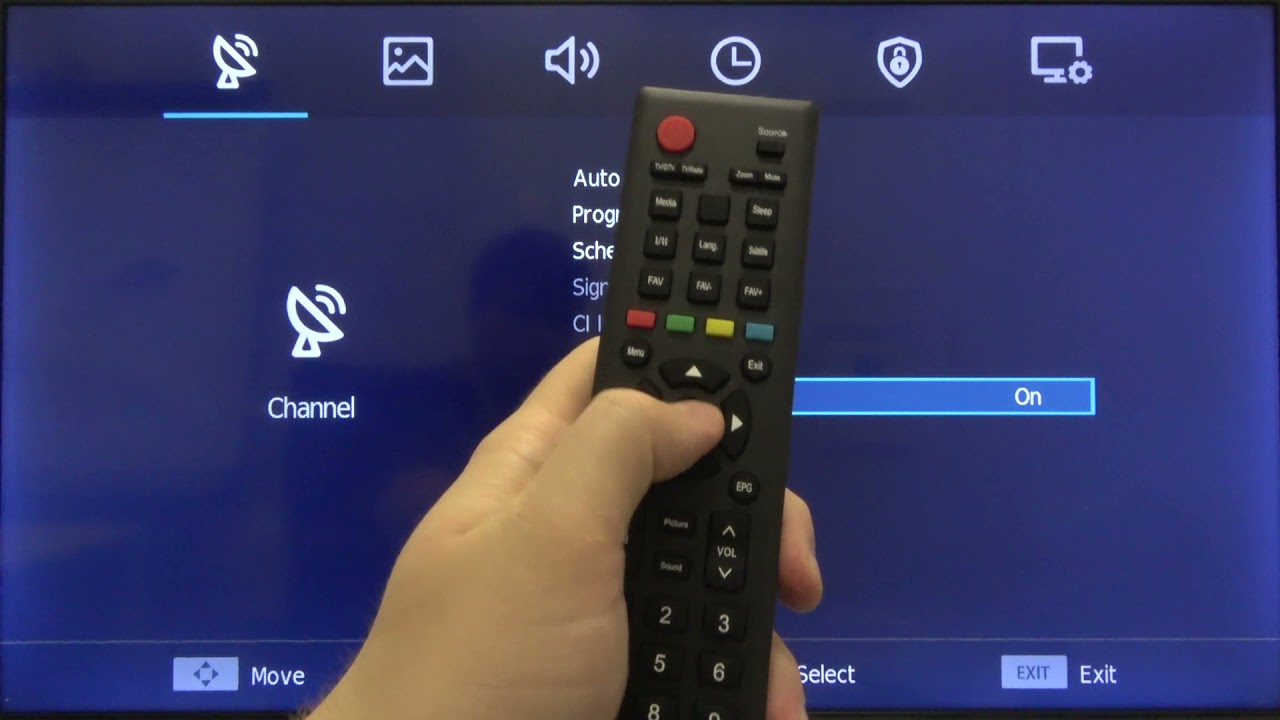
- Access the DVR menu: Use the DVR’s remote control to access the menu or settings on your DVR. The menu button is usually labeled as “Menu” or represented by an icon on the remote control.
- Language and Display Settings: Navigate through the menu to find the language and display settings. Select your desired language and adjust the display settings, such as aspect ratio or screen resolution, according to your preferences.
- Date and Time Settings: Set the correct date and time on your DVR to ensure accurate recordings and synchronization with any program guides or schedules.
- Channel Scan: If your DVR offers over-the-air (OTA) or antenna-based channels, perform a channel scan to detect and store all available channels in your area.
- Network and Internet Connection: If you want to connect your DVR to the internet, navigate to the network settings menu and follow the on-screen instructions to connect to your Wi-Fi network or Ethernet connection. This will enable features such as streaming, remote access, and software updates.
- Additional Settings: Depending on your DVR model and manufacturer, there may be additional settings to configure, such as parental controls, recording preferences, or audio settings. Explore the menu and adjust these settings as desired.
Once you have configured the necessary settings on your DVR, these adjustments will enhance your user experience and optimize the functionality of your DVR when connected to your smart TV.
Note: The steps and options in the DVR settings menu may vary between different models and brands. Refer to the user manual or online resources specific to your DVR for detailed instructions if you encounter any difficulties.
Step 4: Test the connection
Now that you have connected and configured your DVR to your smart TV, it’s essential to test the connection to ensure everything is working properly. Here are a few steps to help you test the connection:
- Power on both devices: Make sure both your DVR and smart TV are powered on and in working condition.
- Select the DVR input: On your smart TV, use the remote control to navigate to the input or source menu. Select the HDMI input port that you connected your DVR to.
- Check for a signal: Once you have selected the correct input, look for any signal from your DVR. If the connection is successful, you should see the DVR’s user interface or home screen displayed on your smart TV.
- Test playback: Navigate through the DVR’s menu and select a recorded program or content to play. Ensure that the playback is smooth and the audio and video are in sync.
- Monitor the picture quality: While playing the content, pay attention to the picture quality on your smart TV. Ensure that the colors are accurate, the image is sharp, and there are no distortions or artifacts.
- Test remote control functionality: Use the DVR and smart TV remote controls to navigate through the menus and perform basic functions such as pausing, rewinding, or fast-forwarding a recording. Check if both remote controls are working correctly.
- Adjust settings if necessary: If you encounter any issues with the connection, playback, or picture quality, revisit the settings on both your DVR and smart TV. Make any necessary adjustments and retest the connection.
By performing these tests, you can ensure that the connection between your DVR and smart TV is functioning correctly and that you can access and enjoy your recorded content seamlessly.
Remember, every DVR and smart TV setup may have unique settings and configurations. If you encounter any difficulties during the testing process, consult the user manuals or online support resources for your specific devices.
Conclusion
Connecting your DVR to your smart TV opens up a world of entertainment possibilities. By following the steps outlined in this guide, you can easily connect your DVR to your smart TV using an HDMI cable and configure the necessary settings for optimal performance. This allows you to enjoy your recorded content on a larger screen with superior audio and video quality.
Remember to gather all the necessary equipment before starting the connection process, including a compatible DVR, a smart TV with HDMI ports, an HDMI cable, power cables, and remote controls. Take your time to ensure that all connections are secure and that both devices are powered on.
Once the physical connection is established, navigate through the DVR settings menu to configure language, display, date and time, channel scan, network, and other additional settings as required. These adjustments personalize your DVR experience and enhance its functionality.
After completing the setup, it’s essential to test the connection by selecting the correct input on your smart TV and checking for a signal from the DVR. Test playback, monitor picture quality, and check the functionality of the remote controls. If any issues arise, revisit the settings and make necessary adjustments.
By following these steps and ensuring a successful connection and configuration, you are now ready to enjoy all the advantages of having your DVR connected to your smart TV. From watching your favorite shows to reliving exciting moments of live sports, the convenience and enhanced viewing experience provided by this connection will transform your TV-watching experience.
So, gather your equipment, follow the steps, and embark on a journey of unlimited entertainment with your connected DVR and smart TV!