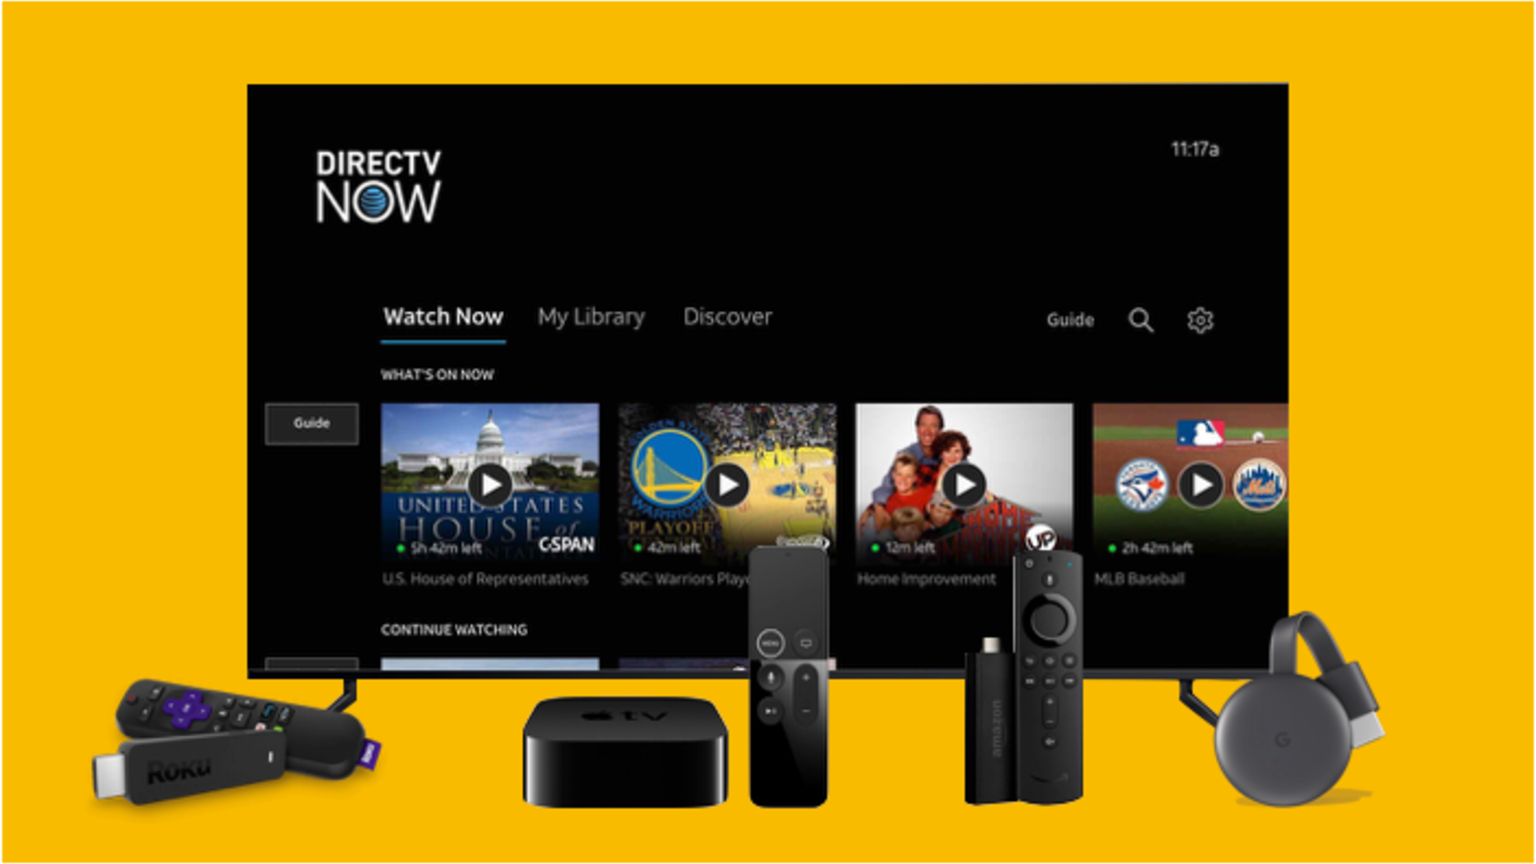
Introduction
Welcome to this step-by-step guide on how to download recordings from your DIRECTV DVR. DIRECTV is a popular satellite television service that allows you to record your favorite TV shows and movies on your DVR for later viewing. However, there may be times when you want to transfer these recordings to your computer for various reasons, such as creating backups or watching them offline.
In this guide, we will walk you through the process of connecting your DIRECTV DVR to your computer and downloading the recordings using a recording software. Whether you are a tech-savvy individual or a novice, this guide will provide you with clear instructions and tips to download your precious recordings hassle-free.
We understand that having the ability to access and save your favorite TV shows and movies from your DVR is important to you. Therefore, we have prepared this guide to help you make the most out of your DIRECTV DVR. So, let’s get started and learn how to download recordings from your DIRECTV DVR!
Step 1: Connect your DIRECTV DVR to your computer
The first step in downloading your recordings from your DIRECTV DVR is to establish a connection between your DVR and your computer. Follow the instructions below to complete this step:
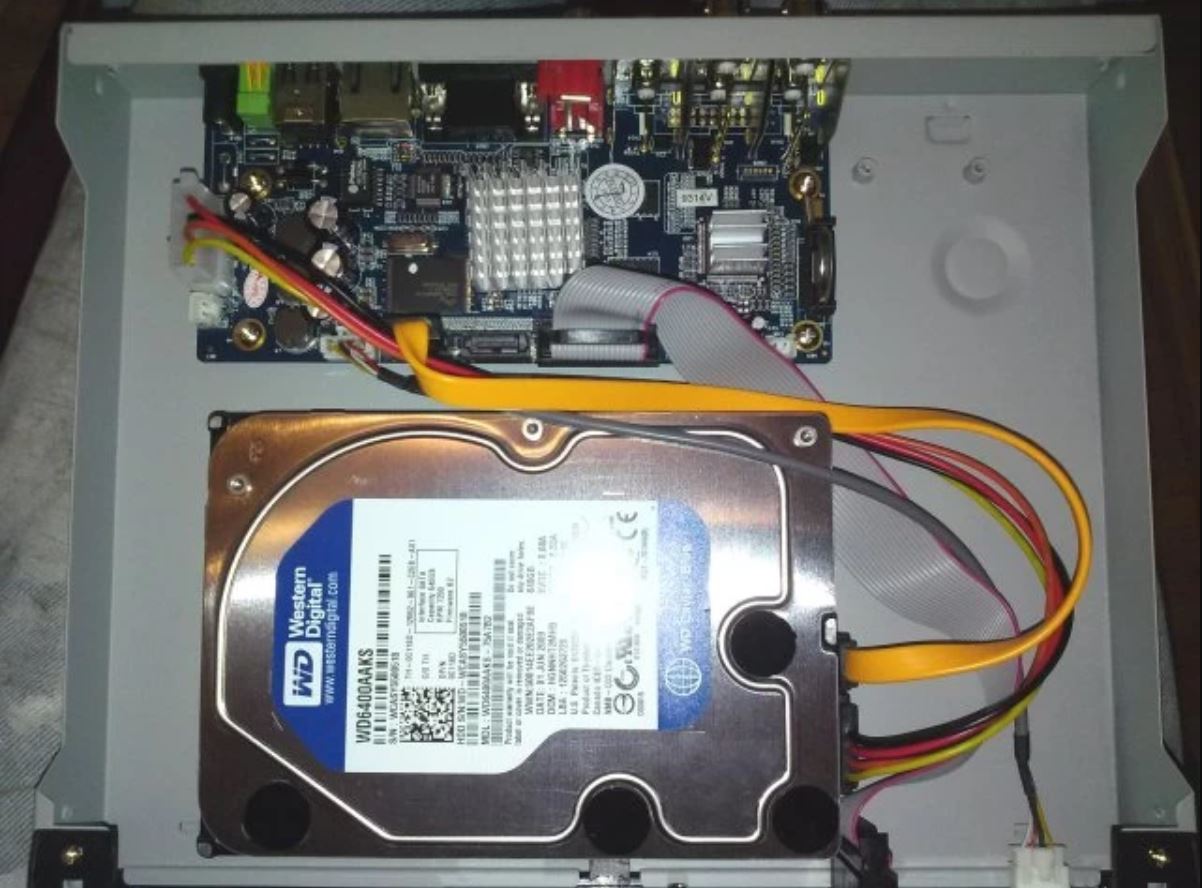
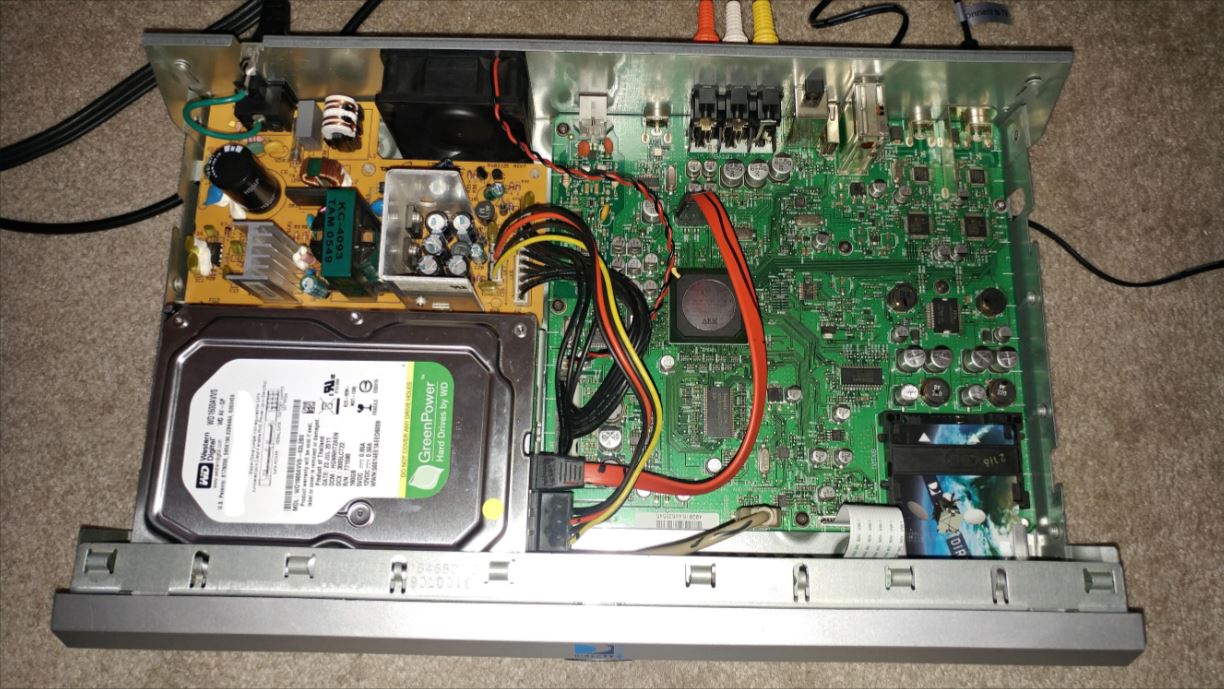
- Locate the HDMI or AV output on your DIRECTV DVR. It is usually located at the back of the DVR.
- Using an HDMI or AV cable, connect one end of the cable to the HDMI or AV output on your DVR.
- Connect the other end of the cable to the HDMI or AV input on your computer. If your computer does not have an HDMI or AV input, you may need to use an HDMI or AV to USB adapter.
- Ensure that both your DVR and computer are powered on.
- On your computer, open the recording software that you have downloaded for this purpose.
- Follow the on-screen instructions of the recording software to detect and establish a connection with your DVR.
- Once the connection is established, you will be able to access the recordings on your DVR through the recording software on your computer.
By following these steps, you can successfully connect your DIRECTV DVR to your computer and prepare it for the downloading process.
Step 2: Download a recording software
Before you can start downloading your recordings from your DIRECTV DVR, you will need to have a recording software installed on your computer. This software will serve as the interface between your DVR and computer, allowing you to transfer the recordings seamlessly. Follow the steps below to download a suitable recording software:
- Research and choose a reliable recording software that is compatible with your operating system. There are various options available online, so make sure to read reviews and select a reputable software.
- Visit the official website of the chosen recording software.
- Look for the software’s “Download” or “Get Started” button, and click on it.
- Follow the instructions provided on the website to download and install the software on your computer.
- Once the installation is complete, launch the recording software.
- Depending on the software, you may need to configure the settings and authorize the software to access your DIRECTV DVR.
- Ensure that your DVR is connected to your computer as described in Step 1.
By downloading and installing a suitable recording software, you will have the necessary tool to facilitate the download process from your DIRECTV DVR to your computer.
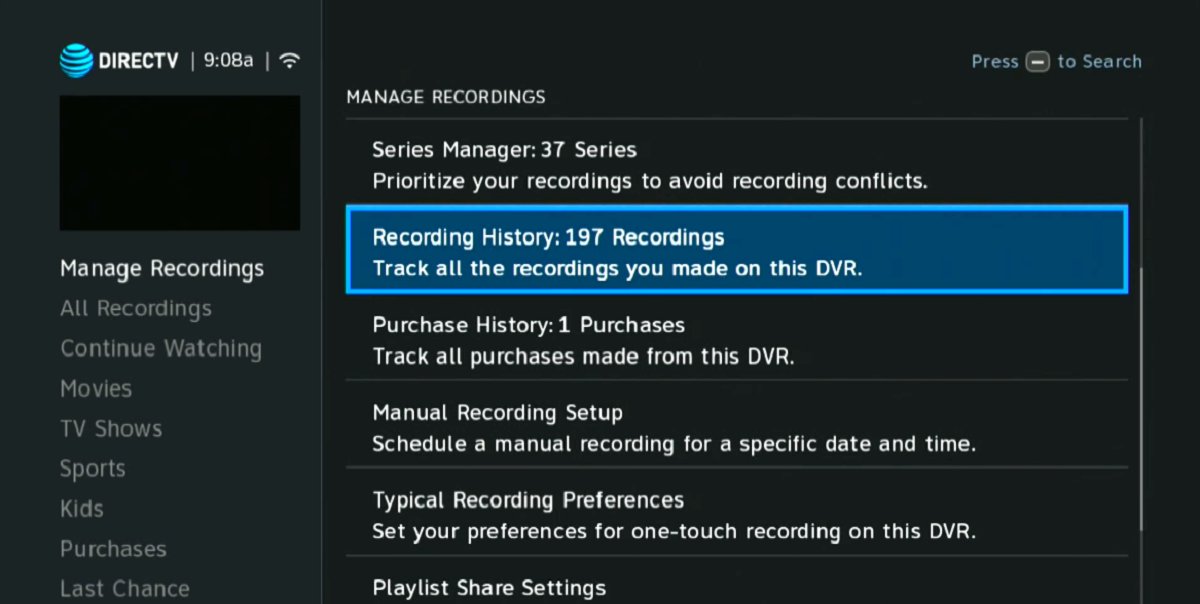
Step 3: Access your DIRECTV DVR’s recording menu
Once you have established the connection between your DIRECTV DVR and computer, you can now proceed to access the recording menu on your DVR. The recording menu is where you can view and select the recordings that you want to download. Follow the steps below to access the recording menu:
- On your computer, open the recording software that you have installed.
- Navigate to the menu or options section within the software.
- Look for the option to connect to your DIRECTV DVR.
- Click on the connect button, and the software will attempt to establish a connection with your DVR.
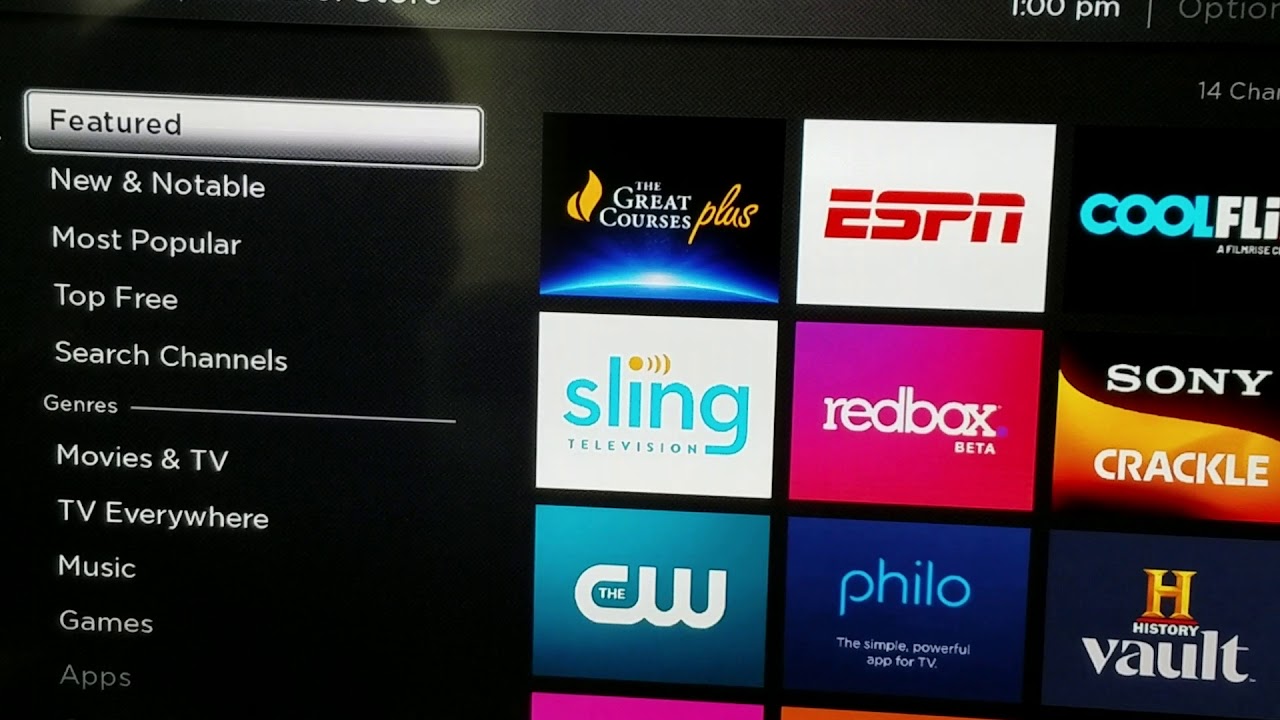
- Once the connection is successful, you should be able to see the list of available recordings from your DVR within the recording software.
- Use the on-screen interface provided by the software to browse through your recordings.
- You may have options to sort or filter the recordings based on categories, dates, or titles.
- Take your time to locate and select the recordings that you wish to download. You can usually do this by checking a box beside each recording.
- Double-check your selections to ensure you have chosen the correct recordings.
By accessing the recording menu through the recording software, you can easily navigate through your DIRECTV DVR’s recordings and select the ones you want to download.
Step 4: Select the recordings you want to download
Now that you have accessed the recording menu on your DIRECTV DVR through the recording software on your computer, it’s time to choose the specific recordings that you want to download. Follow the steps below to select the recordings:
- Review the list of available recordings within the recording software. Take note of the titles, dates, and durations of each recording.
- Based on your preferences, select the recordings that you wish to download by checking the corresponding boxes next to each recording in the software interface.
- You may have the option to select individual recordings or choose to download all the recordings available on your DVR.
- Consider the available storage space on your computer when selecting the recordings. Ensure that you have enough space to accommodate the downloaded files.
- If desired, you can also prioritize the recordings based on their importance or the order in which you want to download them.
- Take your time to make your selections and double-check them before proceeding.
By carefully selecting the recordings you want to download, you can ensure that you have chosen the content that you are interested in preserving or watching on your computer.
Step 5: Transfer the recordings to your computer
After selecting the recordings you want to download, it’s time to transfer them from your DIRECTV DVR to your computer. Follow the steps below to complete the transfer process:
- In the recording software’s interface, look for the “Download” or “Transfer” button. Click on it to initiate the transfer process.
- The software will begin transferring the selected recordings from your DVR to your computer. The speed of the transfer process will depend on the size of the recordings and the speed of your internet connection or the direct connection between your DVR and computer.
- During the transfer, it is important to ensure that your DVR and computer remain powered on and connected. Any interruptions in the connection may interrupt or halt the transfer process.
- Depending on the software, you may be able to monitor the progress of the transfer in real-time. This can help you estimate the remaining time needed to complete the download.
- Once the transfer is complete, the downloaded recordings will be stored on your computer’s designated folder or location specified within the recording software.
- Verify the success of the transfer by checking the downloaded files on your computer. You should be able to play them using compatible media players.
By following these steps, you can successfully transfer the selected recordings from your DIRECTV DVR to your computer, making them easily accessible for future viewing.
Step 6: Review and organize downloaded recordings
After successfully transferring the recordings from your DIRECTV DVR to your computer, it’s important to take some time to review and organize them. This will allow for easy access and a more organized collection. Follow the steps below to review and organize your downloaded recordings:
- Open the folder or location on your computer where the downloaded recordings are stored.
- Check each downloaded recording to ensure that it has been transferred correctly and is playable without any issues.
- If you notice any playback issues or corrupted files, you may need to repeat the download process for those specific recordings.
- Consider renaming the recordings to more descriptive titles or add tags to make it easier to identify them in the future. This can be especially helpful if you have downloaded multiple recordings.
- Organize your recordings into folders or categories based on your preference. For example, you can create folders for TV shows, movies, documentaries, etc., and move the corresponding recordings into the appropriate folders.
- You can also consider creating subfolders within each category to further organize the recordings by genres, release year, or any other criteria that makes sense to you.
- Add any additional metadata, such as episode numbers, descriptions, or cast information, to each recording if your recording software allows it. This can enhance the organization and make it easier to search for specific recordings.
- Backup your downloaded recordings to an external storage device or cloud storage to ensure their safety and prevent loss in case of computer failures or accidents.
By reviewing and organizing your downloaded recordings, you can ensure easy access and a well-structured collection of your favorite TV shows, movies, and other recorded content from your DIRECTV DVR.
Conclusion
Congratulations! You have successfully learned how to download recordings from your DIRECTV DVR to your computer. By following the step-by-step guide provided in this article, you can now enjoy your favorite TV shows and movies offline, create backups of your recordings, or organize them for convenient access. Here’s a quick recap of the steps:
- Connect your DIRECTV DVR to your computer using an HDMI or AV cable.
- Download and install a recording software compatible with your operating system.
- Access your DIRECTV DVR’s recording menu through the software and select the recordings you want to download.
- Transfer the selected recordings from your DVR to your computer using the recording software.
- Review and organize the downloaded recordings by renaming, categorizing, and adding metadata.
Remember to always double-check your connections and ensure that your DVR and computer are powered on during the download and transfer process. Additionally, consider backing up your downloaded recordings to avoid any potential loss of data.
Now that you have mastered the art of downloading recordings from your DIRECTV DVR, you can enjoy the flexibility of accessing your favorite content wherever and whenever you want. So grab some popcorn, sit back, and indulge in your personalized collection of recorded entertainment!