Introduction
Welcome to this guide on how to connect your Google Chromecast to a projector. Chromecast is a small device that allows you to stream multimedia content from your mobile devices or computer to a larger screen. By connecting it to your projector, you can enjoy your favorite movies, TV shows, and videos on a much bigger display.
Connecting your Chromecast to a projector is a straightforward process that requires a few simple steps. In this guide, we will walk you through the process of setting up your Chromecast and configuring your projector to ensure a smooth and seamless streaming experience.
Whether you want to stream content from your favorite streaming services, share presentations, or play games on a bigger screen, connecting your Chromecast to a projector opens up a world of possibilities.
Before we dive into the step-by-step process, make sure you have a Chromecast device, a projector with an HDMI input, and a stable Wi-Fi network. With these essentials in place, you’re ready to make the connection and start enjoying content on the big screen.
Connecting the Chromecast to the Projector
Now that you have all the necessary equipment, let’s proceed with connecting your Chromecast to the projector. Follow these steps to ensure a successful connection:
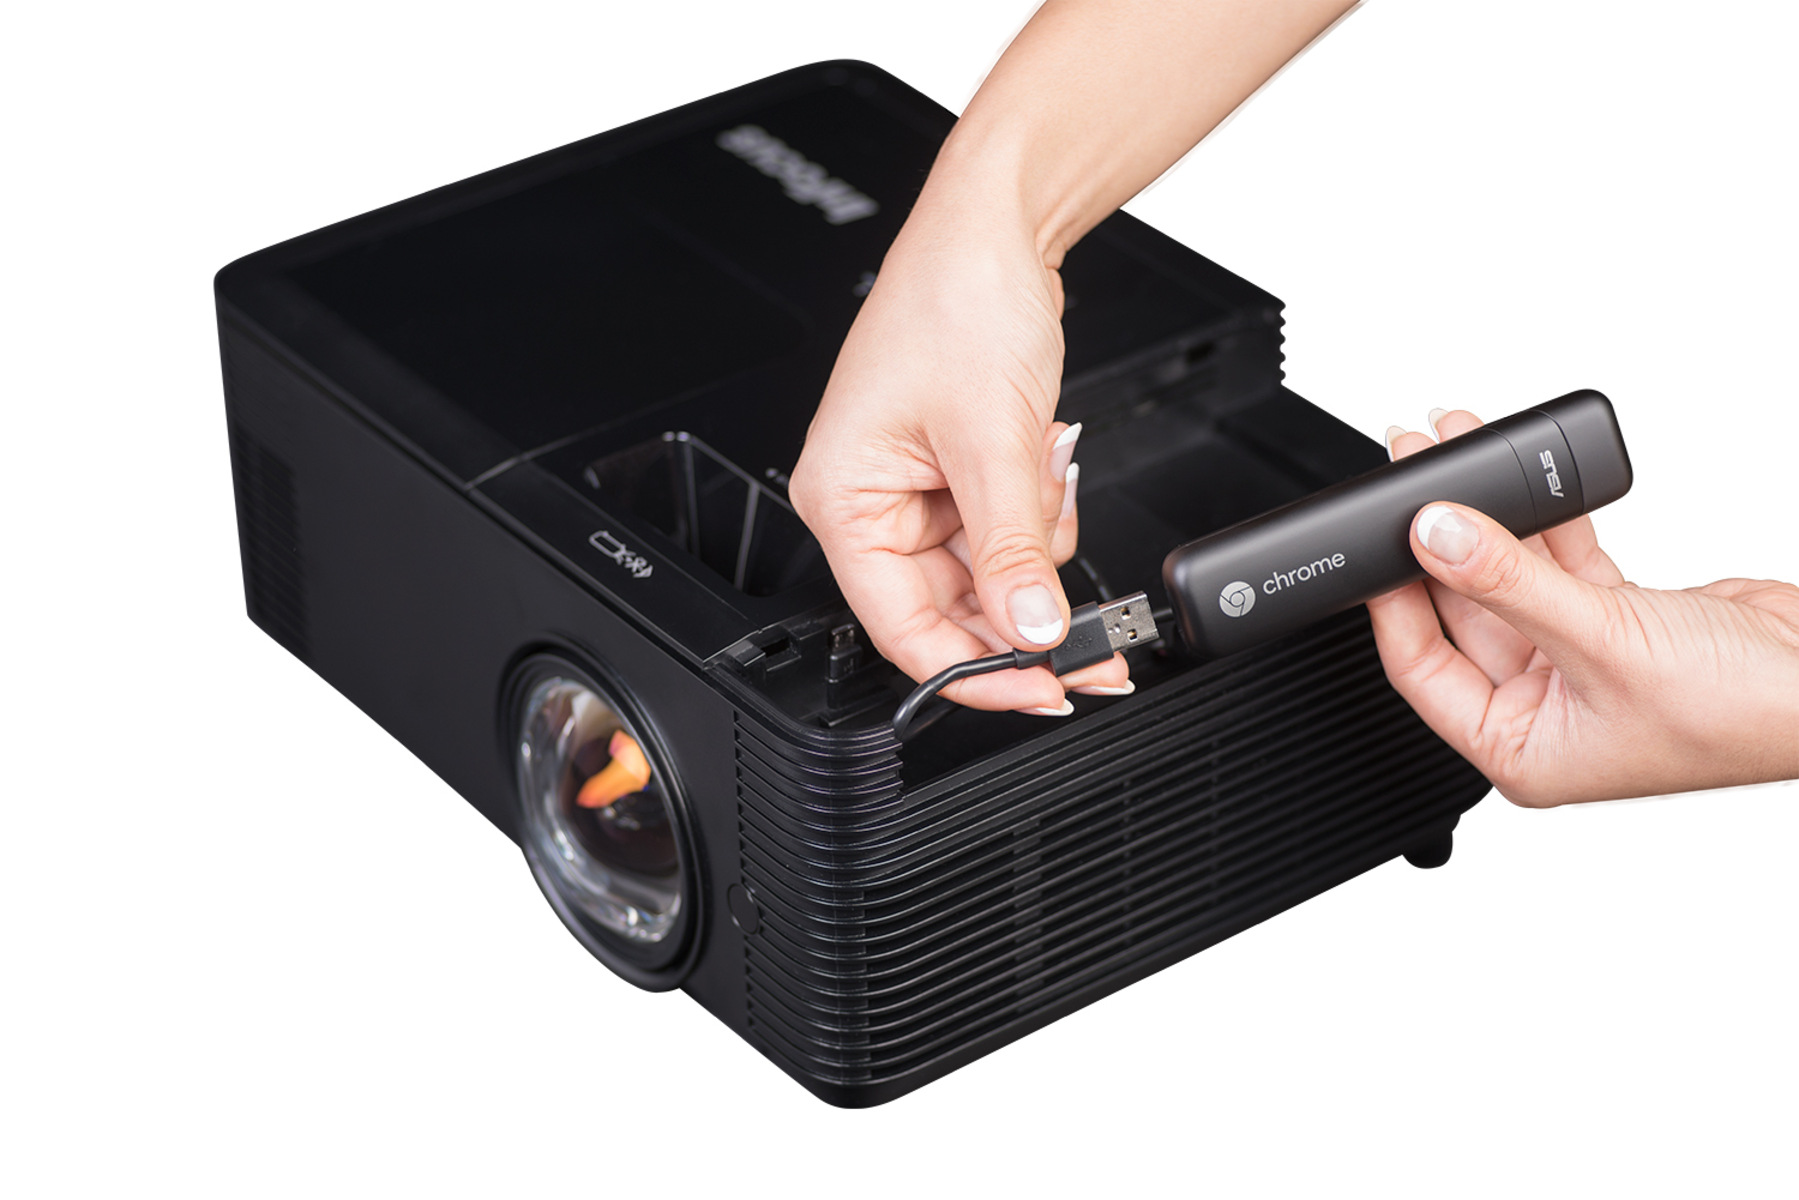
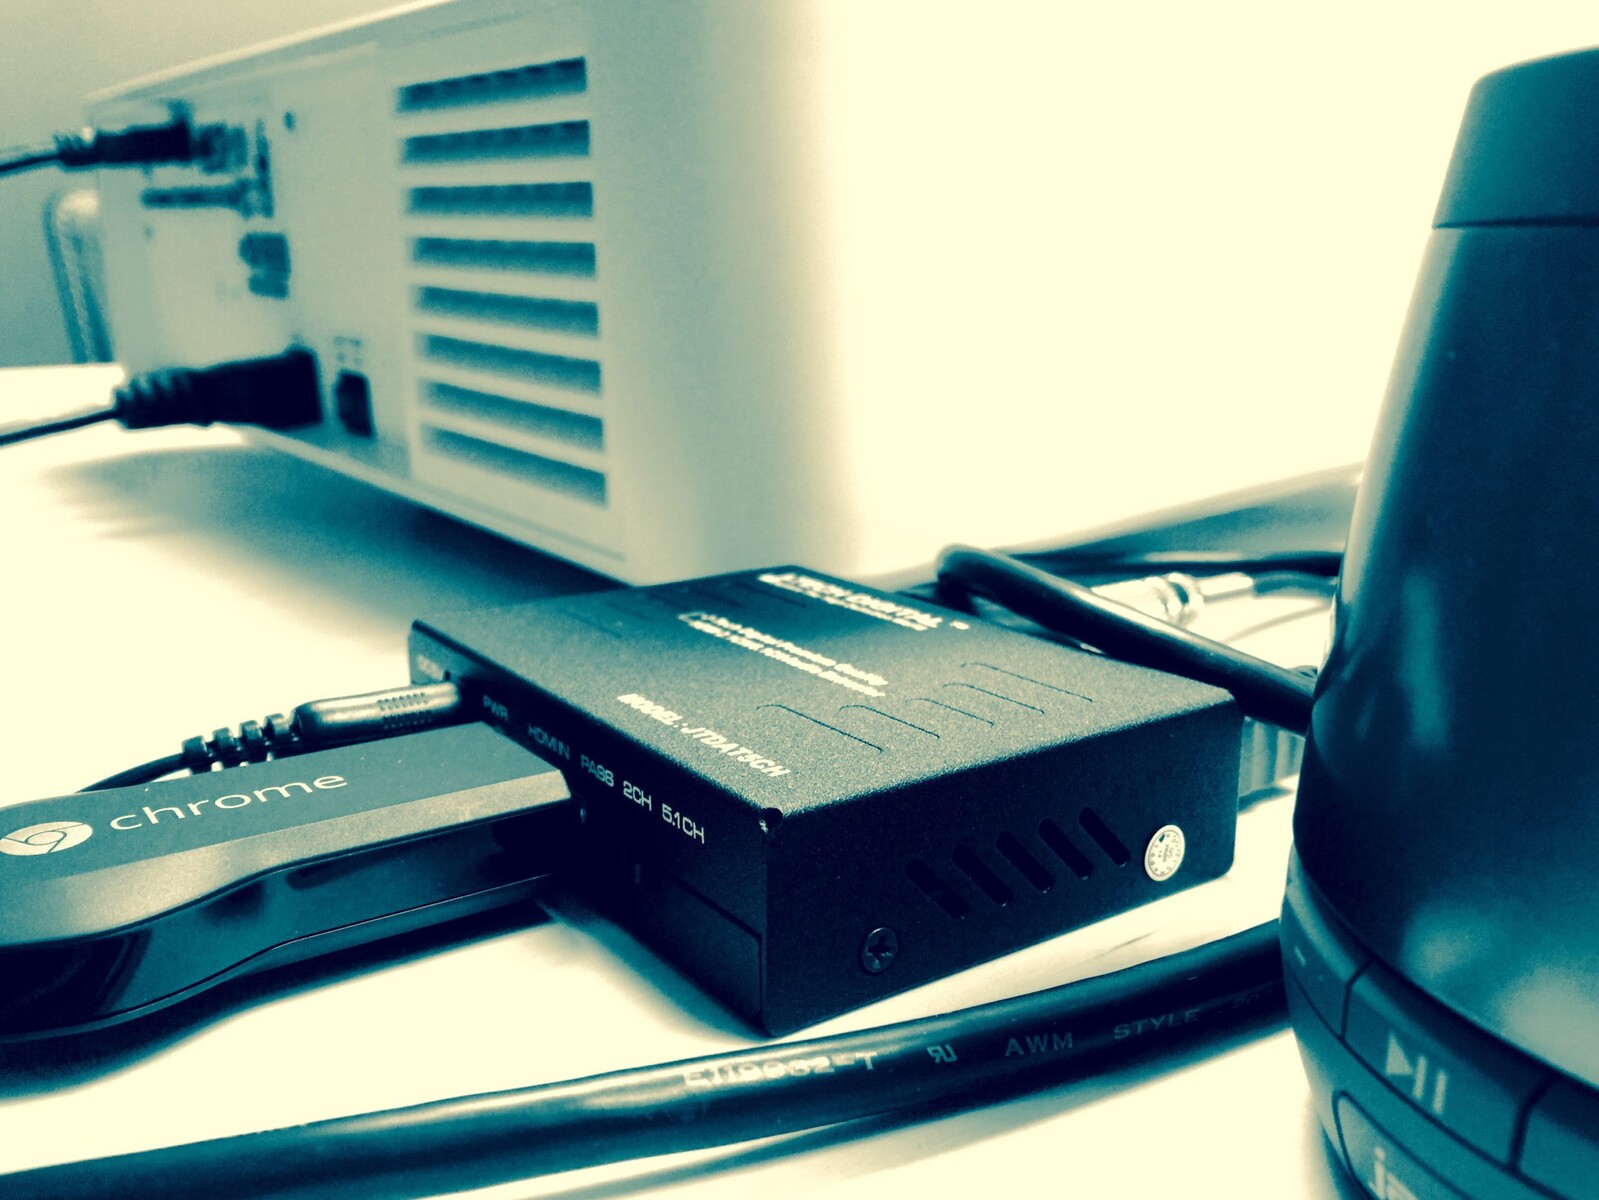
- Begin by locating the HDMI input on your projector. It’s usually located at the back or on the side of the device. Connect one end of the HDMI cable to the HDMI port on your Chromecast, and the other end to the HDMI input on the projector.
- Once the HDMI cable is securely connected, plug in the USB power cable to the Chromecast. You can either connect it to a USB port on the projector, if available, or use a power adapter and plug it into a nearby power outlet.
- Turn on your projector and select the HDMI input where the Chromecast is connected. The projector will detect the Chromecast and display the Chromecast setup screen.
If you have successfully completed these steps, congratulations! You have now connected your Chromecast to the projector. The next section will guide you through the process of setting up the Chromecast.
Setting up the Chromecast
Now that you have connected your Chromecast to the projector, it’s time to set it up. Follow these steps to get your Chromecast up and running:
- On your device (smartphone, tablet, or computer), open the Google Home app and sign in with your Google account. If you don’t have the app, you can download it from the App Store (for iOS) or Google Play Store (for Android).
- Once you’re signed in, tap on the “+” icon in the top left corner of the app to add a new device.
- From the list of available devices, select “Set up device” and choose “New devices” to set up your Chromecast.
- The app will search for nearby Chromecast devices. Once your Chromecast is detected, tap on it to proceed with the setup process.
- Follow the on-screen instructions to connect your Chromecast to your Wi-Fi network. Make sure your device is connected to the same Wi-Fi network that you want to use with your Chromecast.
- Once the Chromecast is connected to your Wi-Fi network, you may be prompted to rename your Chromecast and choose your preferences, such as enabling Guest mode or enabling notifications.
After completing these steps, your Chromecast will be set up and ready to use. In the next section, we will guide you through configuring the projector for Chromecast.
Configuring the Projector for Chromecast
Now that your Chromecast is set up, it’s time to configure your projector to ensure the best possible viewing experience. Here are some tips to help you optimize the projector settings for Chromecast:
- Check the display settings on your projector. You may need to adjust the aspect ratio to match the resolution of your content. Most projectors have a built-in menu that allows you to modify these settings.
- Make sure the projector is properly aligned and focused. Adjust the zoom and focus controls, if necessary, to ensure a clear and sharp image.
- Configure the projector’s color settings. You can adjust the brightness, contrast, saturation, and color temperature settings to achieve the desired picture quality. Experiment with these settings to find the best balance for your viewing environment.
- Consider enabling any special features or image enhancement technologies your projector may have. These features can help improve the image quality and provide a more immersive viewing experience.
- Ensure that the projector is positioned correctly and the screen or wall surface is clean and free from obstructions. This will help minimize any interference or distractions while watching content.
By configuring your projector settings for Chromecast, you can enhance the visual quality and enjoy a more immersive viewing experience. In the next section, we will guide you on how to connect your devices to the Chromecast.
Connecting Devices to the Chromecast
Now that your Chromecast and projector are all set up, it’s time to connect your devices and start streaming content. Here’s how you can connect your devices to the Chromecast:
- Ensure that your device (smartphone, tablet, or computer) is connected to the same Wi-Fi network as your Chromecast.
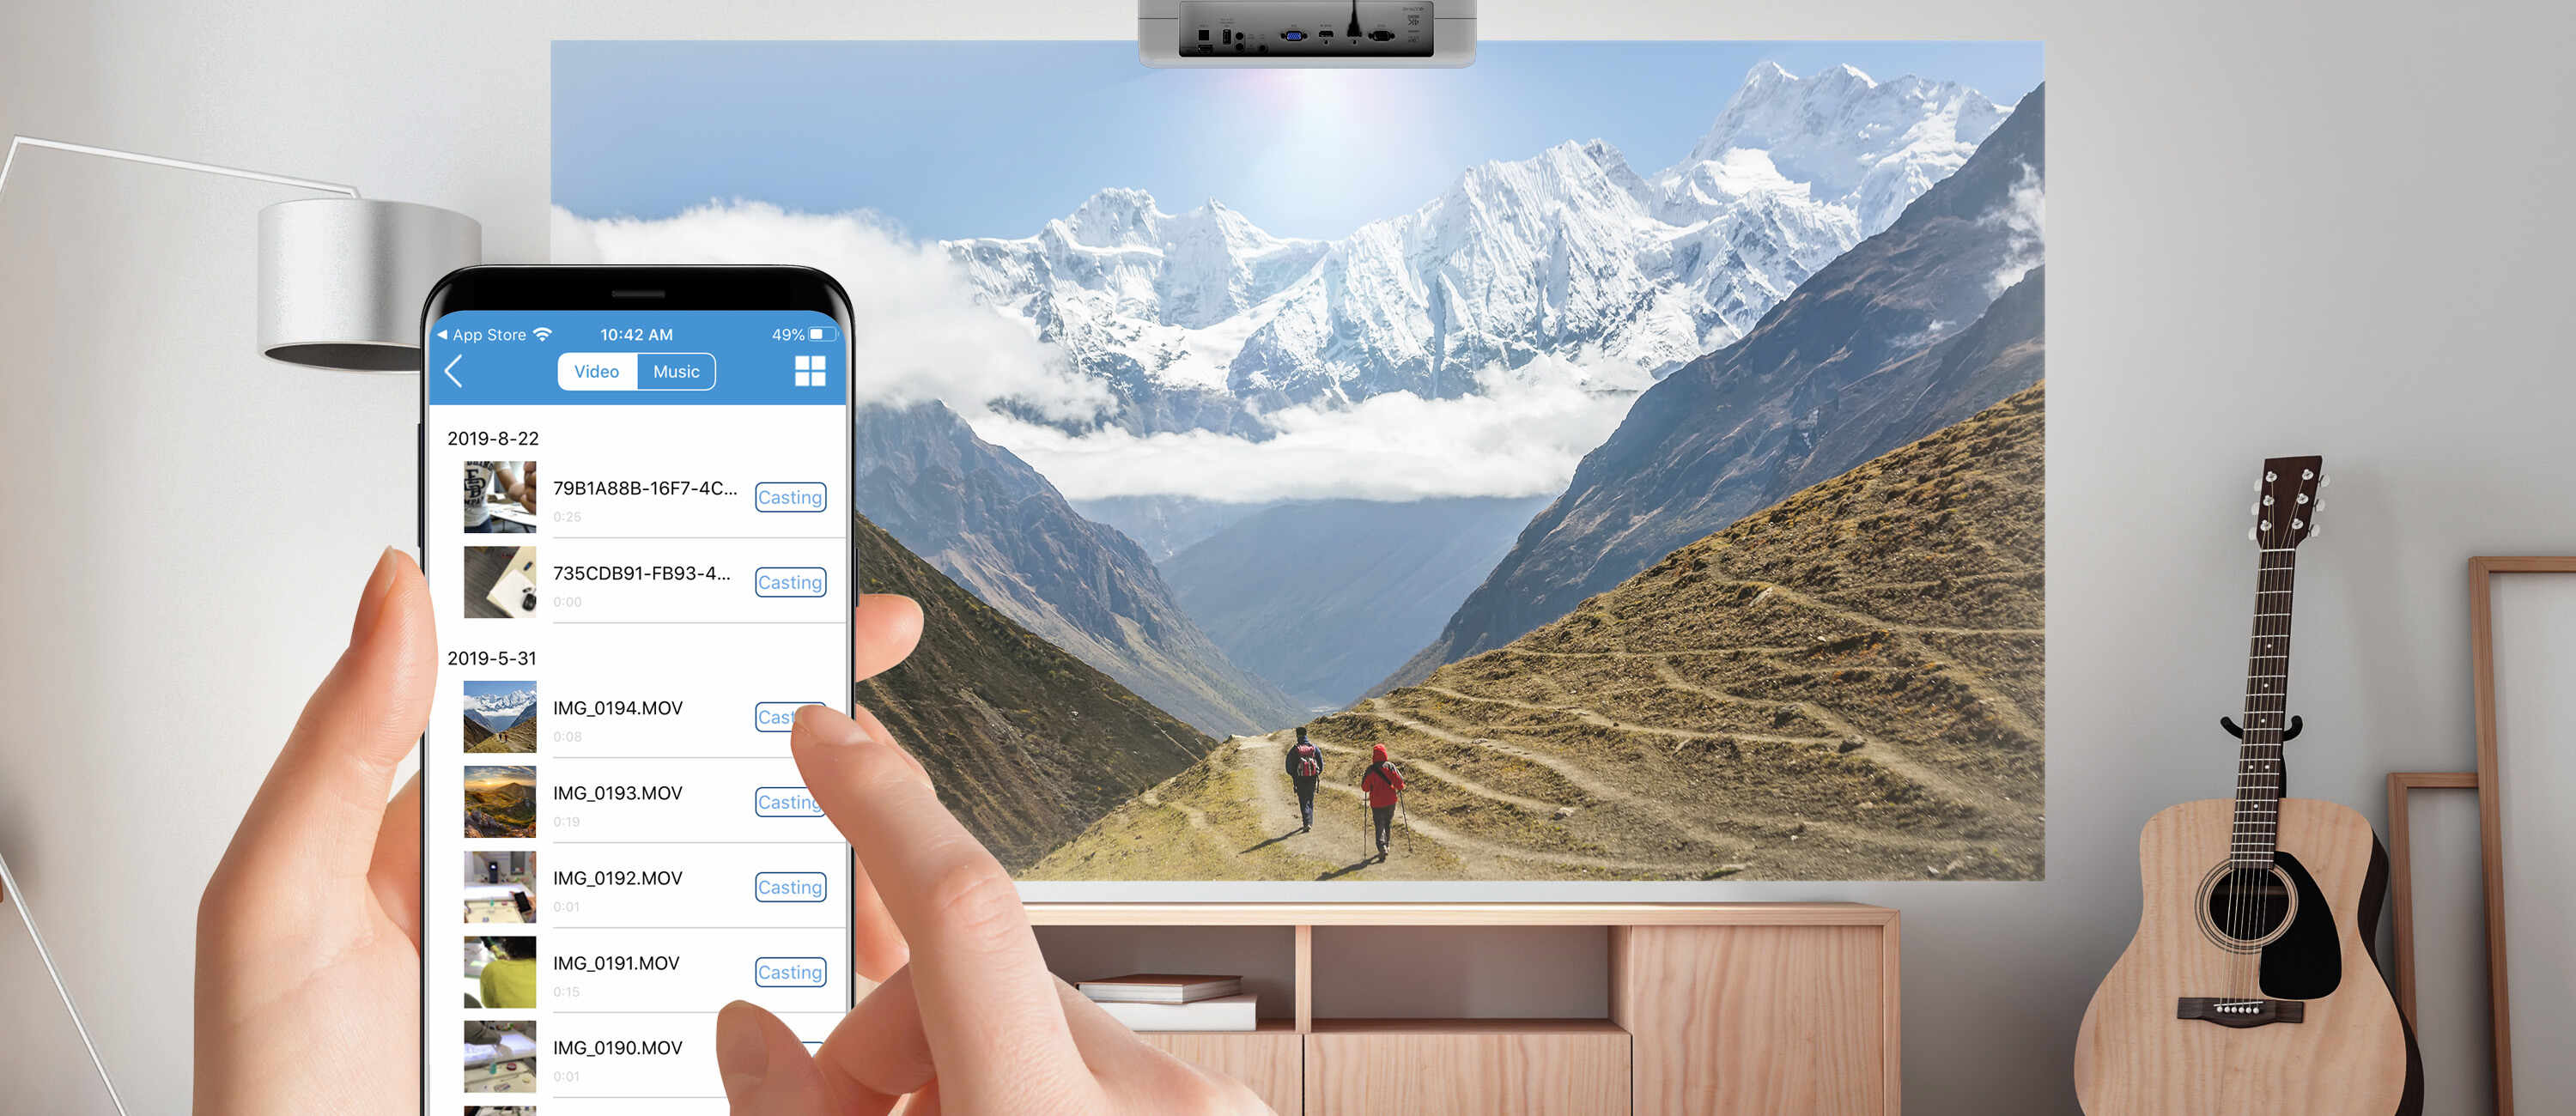
- Open the app or website of the streaming service or media player you want to use (such as YouTube, Netflix, or Spotify) on your device.
- Look for the cast icon, typically located in the playback controls or settings menu of the app or website. The cast icon usually resembles a small rectangular screen with a Wi-Fi signal in the bottom left or right corner.
- Tap on the cast icon and select your Chromecast device from the list of available devices. Your device will establish a connection with the Chromecast.
- Once connected, you can select the content you want to stream on your device and it will be displayed on the projector through the Chromecast.
- Use the playback controls on your device to pause, play, or adjust the volume of the content being streamed through the Chromecast.
- You can also use multiple devices connected to the same Wi-Fi network to control and cast content to the Chromecast. Simply repeat the above steps on each device you wish to use.
By following these steps, you can easily connect your devices to the Chromecast and enjoy streaming content on the big screen. However, if you encounter any issues or face problems during the process, refer to the troubleshooting tips in the next section.
Troubleshooting Tips
While setting up and connecting your Chromecast to a projector is typically a smooth process, you may encounter some challenges along the way. Here are some troubleshooting tips to help you resolve common issues:
- Make sure that your Chromecast and projector are powered on and properly connected. Double-check all the cables and connections to ensure everything is secure.
- If you’re unable to see the Chromecast setup screen on the projector, try changing the HDMI input on the projector or switch to a different HDMI cable.
- If you’re unable to find the Chromecast device in the Google Home app, ensure that your device is connected to the same Wi-Fi network as your Chromecast.
- If you’re experiencing buffering or slow streaming, check the strength and stability of your Wi-Fi network. Consider moving your Wi-Fi router closer to the Chromecast and projector or using a Wi-Fi range extender to improve the signal.
- If you encounter audio or video syncing issues, try restarting the Chromecast by unplugging it from the power source, waiting a few seconds, and plugging it back in.
- If you’re experiencing audio or video quality issues, adjust the settings on your projector for brightness, contrast, and color. You can also try changing the resolution settings on your device to see if it improves the quality.
- If your device is not casting or connecting to the Chromecast, try restarting the device, closing and reopening the casting app, or clearing the cache and data of the casting app.
- If all else fails, you can perform a factory reset on your Chromecast. To do this, press and hold the reset button on the back of the Chromecast for about 25 seconds until the LED light on the Chromecast begins blinking. Follow the instructions on the screen to complete the reset process.
By following these troubleshooting tips, you can troubleshoot and resolve common issues that may arise when connecting your Chromecast to a projector. If you’re still encountering difficulties, consult the manufacturer’s support documentation or reach out to their customer support for further assistance.
Conclusion
Connecting your Google Chromecast to a projector allows you to enjoy your favorite content on a larger screen, making for a more immersive and enjoyable viewing experience. By following the steps outlined in this guide, you can easily connect your Chromecast to a projector and start streaming videos, movies, TV shows, and more.
We began by discussing the importance of having the necessary equipment, including a Chromecast device, a projector with an HDMI input, and a stable Wi-Fi network. We then went through the process of connecting the Chromecast to the projector, ensuring a secure and stable connection.
Next, we guided you through the setup process of the Chromecast using the Google Home app, allowing you to customize preferences and connect your Chromecast to your Wi-Fi network.
We also provided tips on configuring your projector settings to optimize the viewing experience for Chromecast, including adjusting display settings, optimizing color settings, and ensuring proper alignment and focus.
Furthermore, we explained how to connect your devices, such as smartphones, tablets, or computers, to the Chromecast and start streaming content. This opens up a world of possibilities, from streaming movies and TV shows to sharing presentations and playing games on the big screen.
Lastly, we provided troubleshooting tips to help you resolve common issues that may arise during the setup or usage of the Chromecast and projector.
By following the steps and tips outlined in this guide, you can now successfully connect your Google Chromecast to a projector and enjoy a larger-than-life entertainment experience. So grab your popcorn, sit back, and immerse yourself in an amazing visual journey with your Chromecast and projector setup!