Introduction
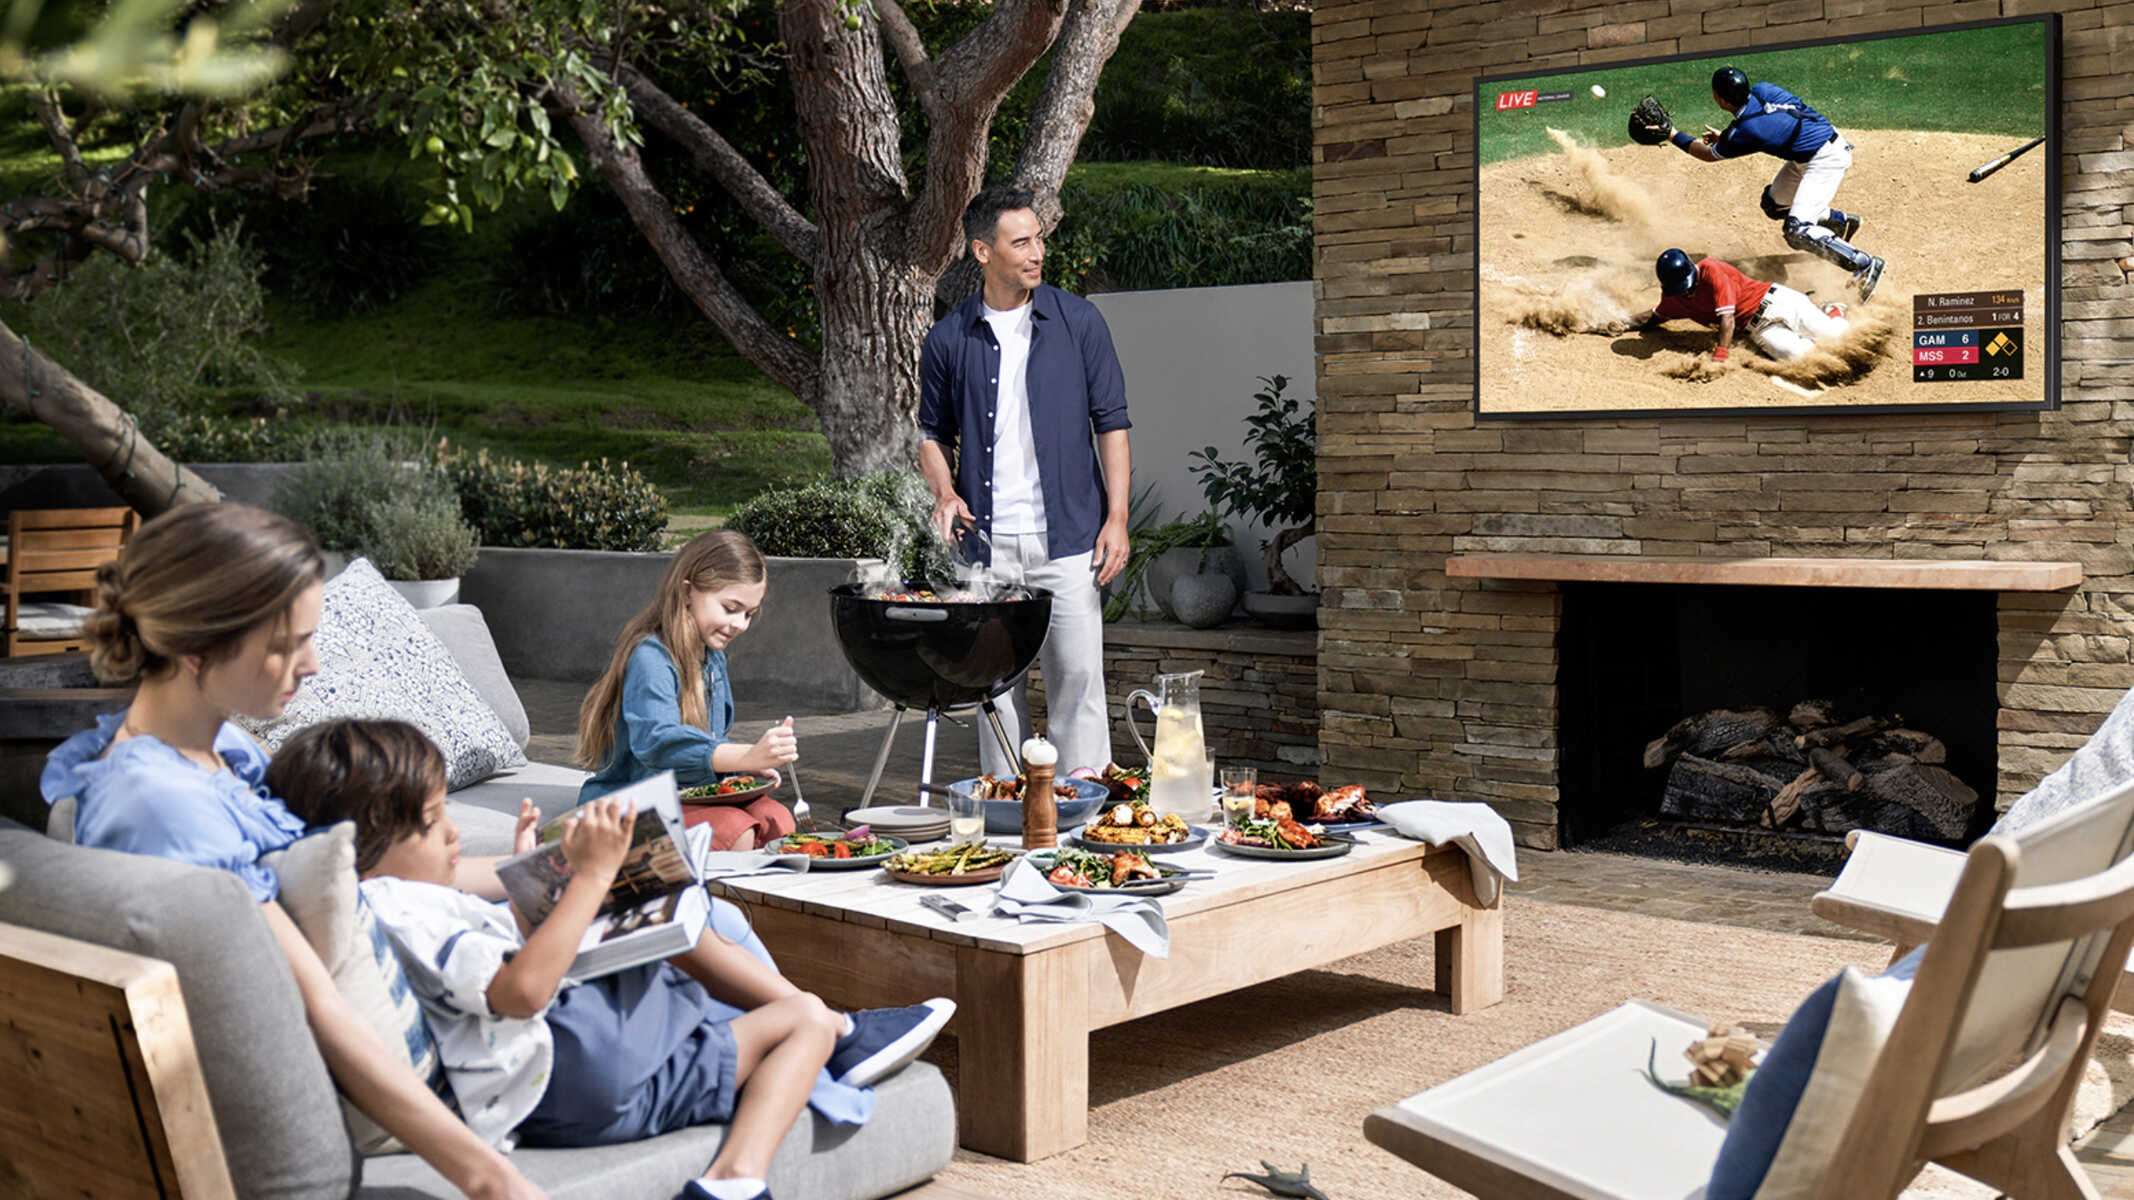
Have you ever wanted to project your laptop screen onto a wall, but don’t have access to a projector? Don’t worry, there are several alternative options that can help you achieve this without a projector. Whether you’re giving a presentation, watching a movie, or playing a game, projecting your laptop screen onto a wall can provide a larger and more immersive viewing experience.
In this article, we will explore various methods that allow you to project your laptop screen onto a wall without the need for a traditional projector. These options range from using cables and adapters to wireless display adapters and streaming devices. Depending on the available resources and your specific needs, you can choose the most suitable method to project your laptop screen onto a wall.
However, before we dive into the different options, it’s important to note that the quality of the projected image may vary depending on the method you choose and the capabilities of your laptop and wall display. It’s always recommended to test the method beforehand to ensure it meets your requirements.
Now, let’s explore the various methods you can utilize to project your laptop screen onto a wall without the need for a projector.
Option 1: Using HDMI Cable
One of the simplest and most common methods to project your laptop screen onto a wall is by using an HDMI cable. Almost all modern laptops come equipped with an HDMI port, allowing you to easily connect your laptop to a wall display or TV that has an HDMI input.
To start, ensure that your laptop and wall display are both turned off. Next, connect one end of the HDMI cable to the HDMI port on your laptop and the other end to the HDMI input on your wall display. Once the cable is securely connected, turn on both devices.
Now, depending on your laptop’s settings, the laptop screen may automatically be mirrored on the wall display. If not, you can manually configure the display settings. On a Windows laptop, you can usually do this by right-clicking on the desktop and selecting “Display settings” or “Graphics options.” From there, you can choose the option to duplicate or extend the display to the wall display.
On a Macbook, you can go to the Apple menu, select “System Preferences,” and then choose “Displays.” From there, you can select the arrangement tab and check the box that says “Mirror Displays” to project your laptop screen onto the wall display.
Once the display settings are configured, you should see your laptop screen mirrored or extended on the wall display. You can now use your laptop as usual, and anything displayed on the laptop screen will also be shown on the wall display.
It’s important to note that the quality of the projected image may be affected by the resolution settings of your laptop and wall display. Adjusting the resolution settings on both devices can help optimize the image quality for a better viewing experience.
Using an HDMI cable to project your laptop screen onto a wall is a simple and reliable method that requires minimal setup. However, it does require a physical connection between the laptop and wall display, limiting the flexibility of movement. If you prefer a wire-free solution, you may want to consider the next option: using a wireless display adapter.
Option 2: Using a Wireless Display Adapter
If you’re looking for a more convenient and flexible way to project your laptop screen onto a wall without the hassle of cables, a wireless display adapter is a great solution. A wireless display adapter allows you to wirelessly transmit your laptop screen to a compatible wall display or TV.
To use a wireless display adapter, you will need a compatible adapter device, such as the Microsoft Wireless Display Adapter or the Google Chromecast. These devices typically connect to the HDMI port of your wall display and establish a wireless connection with your laptop.
The first step is to plug the wireless display adapter into the HDMI port of your wall display. Ensure that both the adapter and the display are powered on. Next, on your laptop, open the display settings and look for the option to connect to a wireless display. Depending on your operating system, this option may be located in different places. On Windows, you can usually find it in the “Connect” or “Project” menu in the taskbar. On Macbooks, go to the Apple menu, select “System Preferences,” and choose “Displays.” Look for the option to connect to a wireless display or AirPlay device.
Select the wireless display adapter from the available devices and establish a connection. Once connected, your laptop screen will be wirelessly mirrored or extended onto the wall display. You can now use your laptop as usual, and whatever is displayed on the laptop screen will also be shown on the wall display.
This wireless method offers greater flexibility and mobility compared to using an HDMI cable. You are not limited by the length of a cable and can move around more freely while presenting or enjoying multimedia content. However, keep in mind that the quality of the projected image may be influenced by the strength of your wireless connection and the capabilities of the wireless display adapter.
Wireless display adapters are available in various price ranges and brands, so be sure to choose one that is compatible with your laptop and wall display. Setting up the wireless display adapter may require some initial configuration, but once it’s set up, you can easily connect your laptop to the wall display wirelessly whenever needed.
If you don’t have a wireless display adapter or prefer a different wireless solution, continue reading to explore another option: using Chromecast or Apple TV.
Option 3: Using Chromecast or Apple TV
If you own a Chromecast or Apple TV device, you have another convenient option for projecting your laptop screen onto a wall. Both Chromecast and Apple TV allow you to stream content from your laptop wirelessly to a compatible TV or wall display.
If you have a Chromecast, the first step is to ensure that your Chromecast device is plugged into the HDMI port of your wall display and connected to the same Wi-Fi network as your laptop. On your laptop, open the Google Chrome browser and click on the three-dot menu in the top right corner. From the menu, select “Cast” and choose the Chromecast device that you want to connect to. Your laptop screen will be wirelessly mirrored on the wall display via the Chromecast.
For Apple TV users, make sure that your Apple TV is connected to the HDMI port of your wall display and connected to the same Wi-Fi network as your laptop. On your laptop, click on the AirPlay icon in the menu bar (for Mac) or Control Center (for iOS). Select the name of your Apple TV from the list of available devices to start mirroring your laptop screen on the wall display.
Using Chromecast or Apple TV provides a seamless and easy way to project your laptop screen without the clutter of cables. You can stream videos, present slideshows, or play games on a larger screen, all without the need for a physical connection between your laptop and the wall display.
It’s important to note that for certain content or applications, compatibility with Chromecast or Apple TV may vary. Some apps or websites may not support wireless streaming, so it’s recommended to check the compatibility and requirements beforehand.
If you don’t have a Chromecast or Apple TV, or if you’re looking for an alternative wireless solution, continue reading to explore another option: using Miracast.
Option 4: Using Miracast
If your laptop and wall display support Miracast, you can utilize this wireless technology to project your laptop screen onto the wall without the need for additional adapters or streaming devices. Miracast allows for direct wireless display mirroring between devices that support it.
To use Miracast, ensure that both your laptop and wall display support this technology. On your laptop, open the Settings menu and navigate to the Display section. Look for the option to connect to a wireless display or screen mirroring. Activate this option and select your wall display from the list of available devices. Your laptop screen will now be wirelessly mirrored on the wall display via Miracast.
It’s important to note that the availability and functionality of Miracast may vary depending on the operating system and device compatibility. While many Windows laptops support Miracast, some models may require additional software updates or driver installations.
Using Miracast provides a convenient and wire-free solution for projecting your laptop screen onto a wall. You can enjoy the flexibility of mobility while presenting or viewing multimedia content without the restrictions of physical connections.
If your laptop and wall display don’t support Miracast, or if you’re looking for another option to project your laptop screen, continue reading to explore using a USB to HDMI adapter.
Option 5: Using a USB to HDMI Adapter
If your laptop doesn’t have an HDMI port or other wireless capabilities, you can still project your laptop screen onto a wall by using a USB to HDMI adapter. This option allows you to connect your laptop to a wall display via a USB port, transforming it into an HDMI output.
To use a USB to HDMI adapter, first, ensure that your laptop and wall display are powered off. Next, connect the USB end of the adapter to an available USB port on your laptop. Then, connect the HDMI end of the adapter to the HDMI input on your wall display.
Once the adapter is securely connected, power on both your laptop and wall display. Your laptop may recognize the adapter automatically and configure the display settings accordingly. However, if the display doesn’t appear on the wall screen, you may need to manually adjust the display settings.
On Windows laptops, right-click on the desktop and select “Display settings” or “Graphics options.” From there, you can choose the option to duplicate or extend the display to the wall display. On Macbooks, go to the Apple menu, select “System Preferences,” and choose “Displays.” In the arrangement tab, you can check the box that says “Mirror Displays” to project your laptop screen onto the wall display.
Once the display settings are configured, your laptop screen will be displayed on the wall display through the USB to HDMI adapter. You can now use your laptop as usual, and whatever is shown on the laptop screen will also be projected on the wall display.
Using a USB to HDMI adapter is a practical solution when your laptop lacks an HDMI port or other wireless connectivity options. However, keep in mind that the quality and performance of the adapter may vary depending on the adapter brand, laptop specifications, and the capabilities of the wall display.
If you prefer a different wired connection method or want to explore another option to project your laptop screen, continue reading to learn about using a VGA cable and an HDMI to VGA adapter.
Option 6: Using a VGA Cable and an HDMI to VGA Adapter
If your laptop and wall display are not equipped with HDMI ports, you can still project your laptop screen onto a wall by using a VGA cable and an HDMI to VGA adapter. This method allows you to connect your laptop to a wall display that only supports VGA input.
To begin, make sure your laptop and wall display are turned off. Connect one end of the VGA cable to the VGA output port on your laptop and the other end to the VGA input port on the wall display.
Next, plug the HDMI end of the HDMI to VGA adapter into the HDMI port on your laptop. Connect the VGA end of the adapter to the VGA cable already connected to the wall display.
Once all the connections are secure, power on both your laptop and wall display. Your laptop may automatically detect the connection and adjust the display settings accordingly, but if it doesn’t, you can manually configure the settings.
On Windows laptops, right-click on the desktop and select “Display settings” or “Graphics options.” From there, you can choose the option to duplicate or extend the display to the wall display. On Macbooks, go to the Apple menu, select “System Preferences,” and choose “Displays.” In the arrangement tab, you can check the box that says “Mirror Displays” to project your laptop screen onto the wall display.
Once the display settings are configured, your laptop screen will be projected onto the wall display via the VGA connection. You can now use your laptop as usual, and anything displayed on the laptop screen will be shown on the wall display.
Keep in mind that using a VGA cable and an HDMI to VGA adapter may result in a slightly lower image quality compared to HDMI or other digital connections. VGA is an analog standard, and some signal degradation may occur during the conversion process.
This method is ideal when you don’t have HDMI ports available on your laptop or wall display. However, it’s worth noting that not all laptops and wall displays support VGA output and input, respectively. Make sure to check the specifications of your devices to ensure compatibility.
Now that you know how to use a VGA cable and an HDMI to VGA adapter to project your laptop screen onto a wall, let’s wrap up and summarize the various options discussed.
Conclusion
Projecting your laptop screen onto a wall without a traditional projector is now easier than ever with various options available. In this article, we explored six different methods that allow you to achieve this without the need for a projector.
We started with using an HDMI cable, which is a straightforward and common method to connect your laptop to a wall display. Then, we discussed using a wireless display adapter such as Chromecast or Apple TV, providing a more flexible and cable-free solution.
Miracast came next, offering direct wireless display mirroring between compatible devices. This is a convenient option if both your laptop and wall display support Miracast.
If wireless is not an option, we explored using a USB to HDMI adapter, which allows you to connect your laptop to the wall display using a USB port. This method provides ease of use and flexibility while maintaining a wired connection.
Lastly, we discussed using a VGA cable and an HDMI to VGA adapter, an alternative for laptops and displays without HDMI ports. This method enables you to project your laptop screen onto a VGA-compatible wall display.
Each method has its advantages and limitations, so it’s important to consider factors such as availability, compatibility, and desired image quality when choosing the method that best suits your needs.
By utilizing these options, you can easily enhance your presentations, enjoy movies on a larger screen, or play games with a more immersive experience by projecting your laptop screen onto a wall without the need for a projector.
Remember to test and adjust the display settings accordingly to optimize the image quality and ensure a seamless projection experience. Whether you prefer a wired or wireless solution, there’s a method available to help you achieve your desired result.
Now that you have a range of options at your disposal, go ahead and choose the method that works best for you to start enjoying the benefits of projecting your laptop screen onto a wall!