Introduction
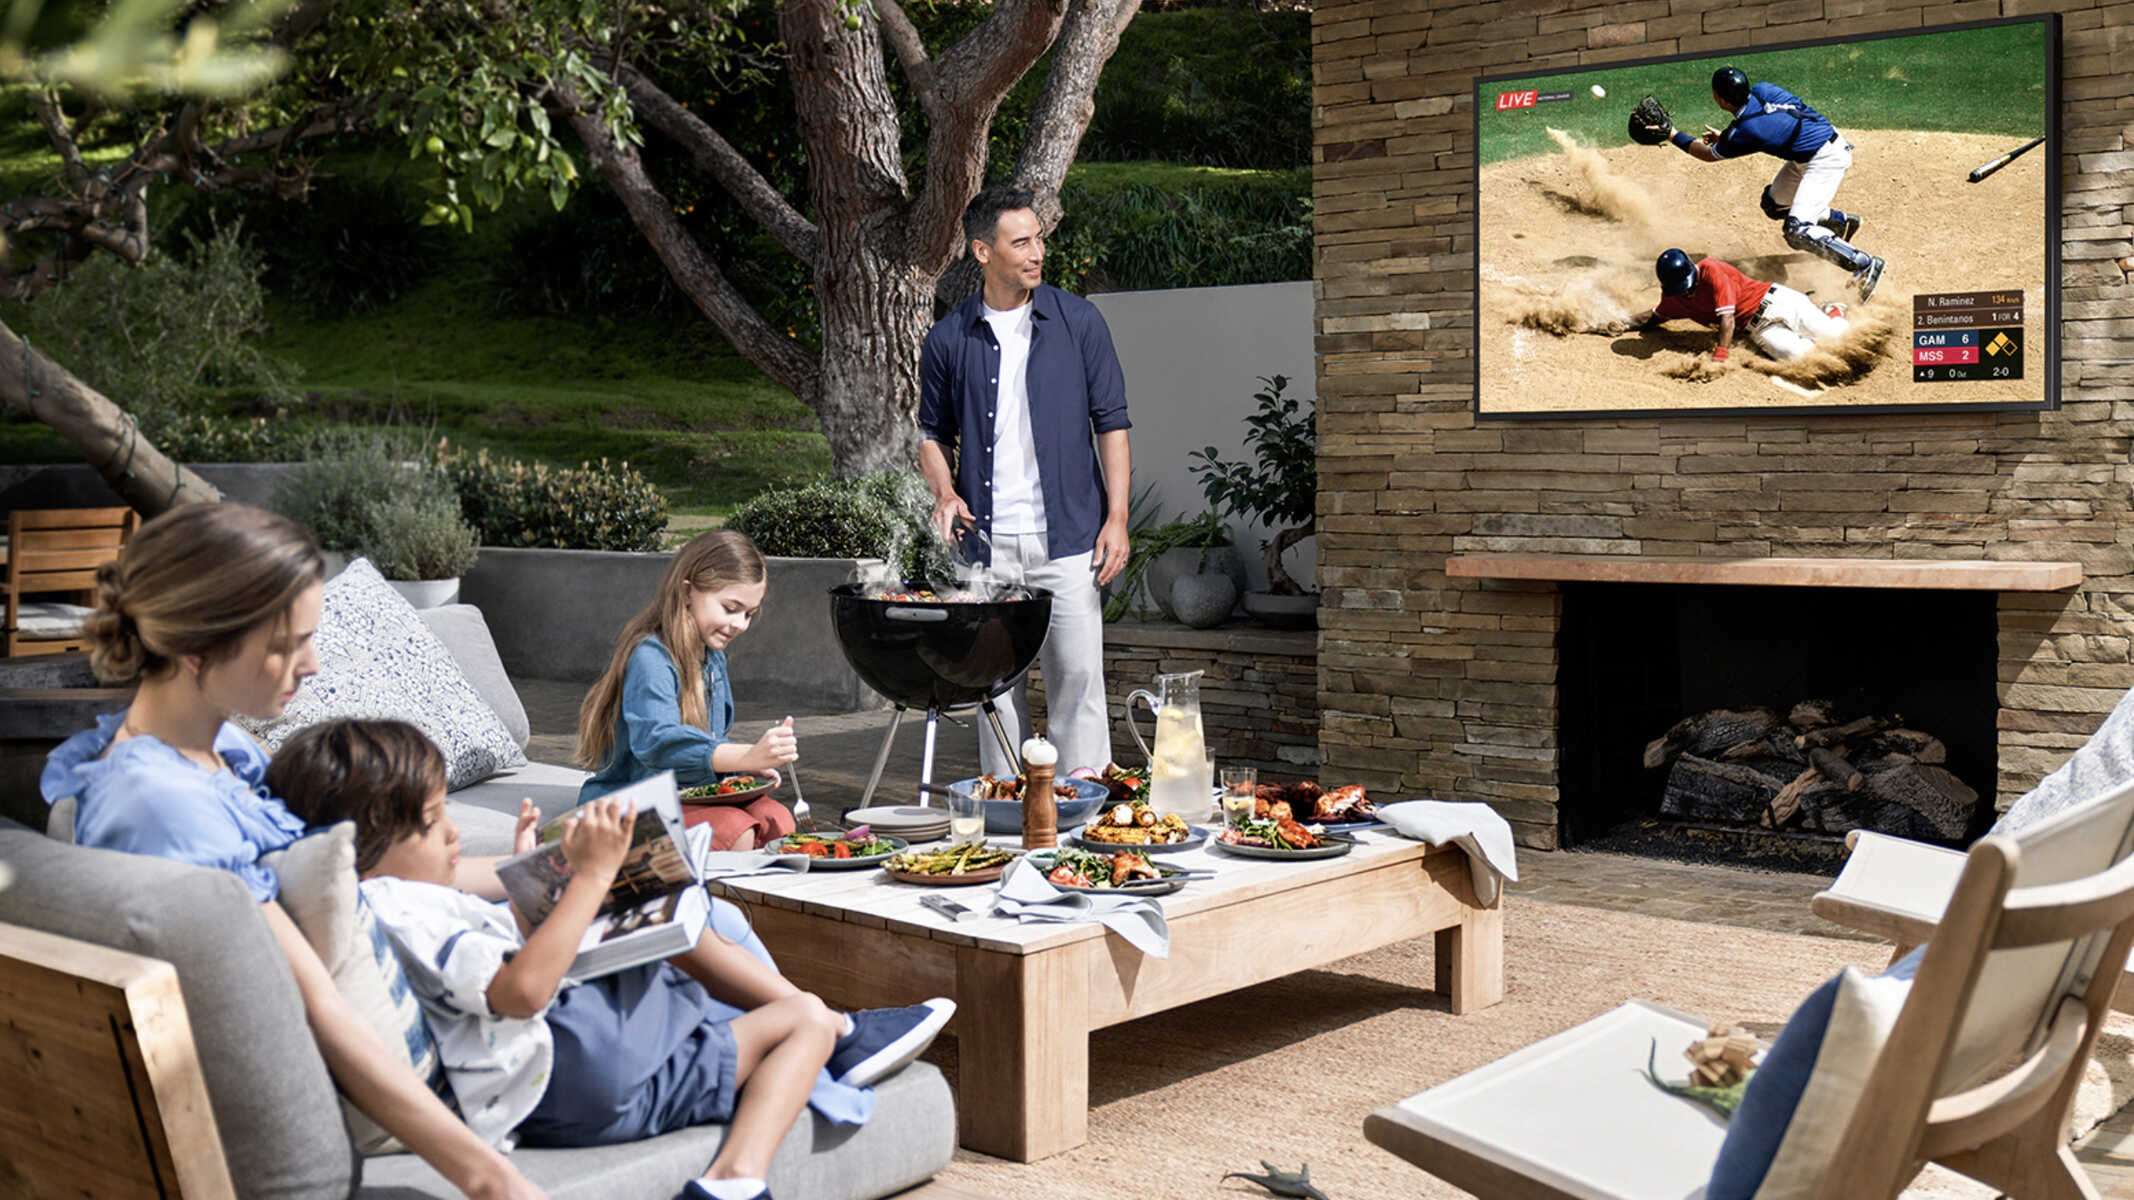
Are you looking to have a unique movie-watching experience under the stars? If you don’t have a projector, you might think your options are limited. However, with a little creativity and some ingenuity, you can project a movie outside without a projector! Transform your backyard or any outdoor space into your private open-air cinema.
The process might seem complicated at first, but fear not! In this guide, we will walk you through the steps to project a movie outside without a projector. You’ll be able to enjoy your favorite films or host a memorable movie night with friends and family, all while basking in the great outdoors.
All you need are a few easily accessible materials and some DIY spirit. Whether you’re planning a backyard movie night, a camping trip, or a neighborhood gathering, this guide will help you create a cinematic experience without the need for a traditional projector.
So, let’s get started on creating your outdoor movie magic!
Materials Needed
Before you embark on your outdoor movie projection adventure, it’s important to gather all the necessary materials. Here’s a list of items you’ll need to project a movie outside without a projector:
- Streaming device: This can be a laptop, tablet, smartphone, or any device that can play movies.
- Portable speakers: To ensure excellent sound quality, invest in portable speakers that can connect to your media device.
- Media source: Choose the movie or TV show you want to project. You can use streaming services, DVDs, or a USB drive loaded with your media files.
- Blank wall or outdoor surface: Find a suitable area for projection. A blank wall, the side of a building, or a clean outdoor surface will work well.
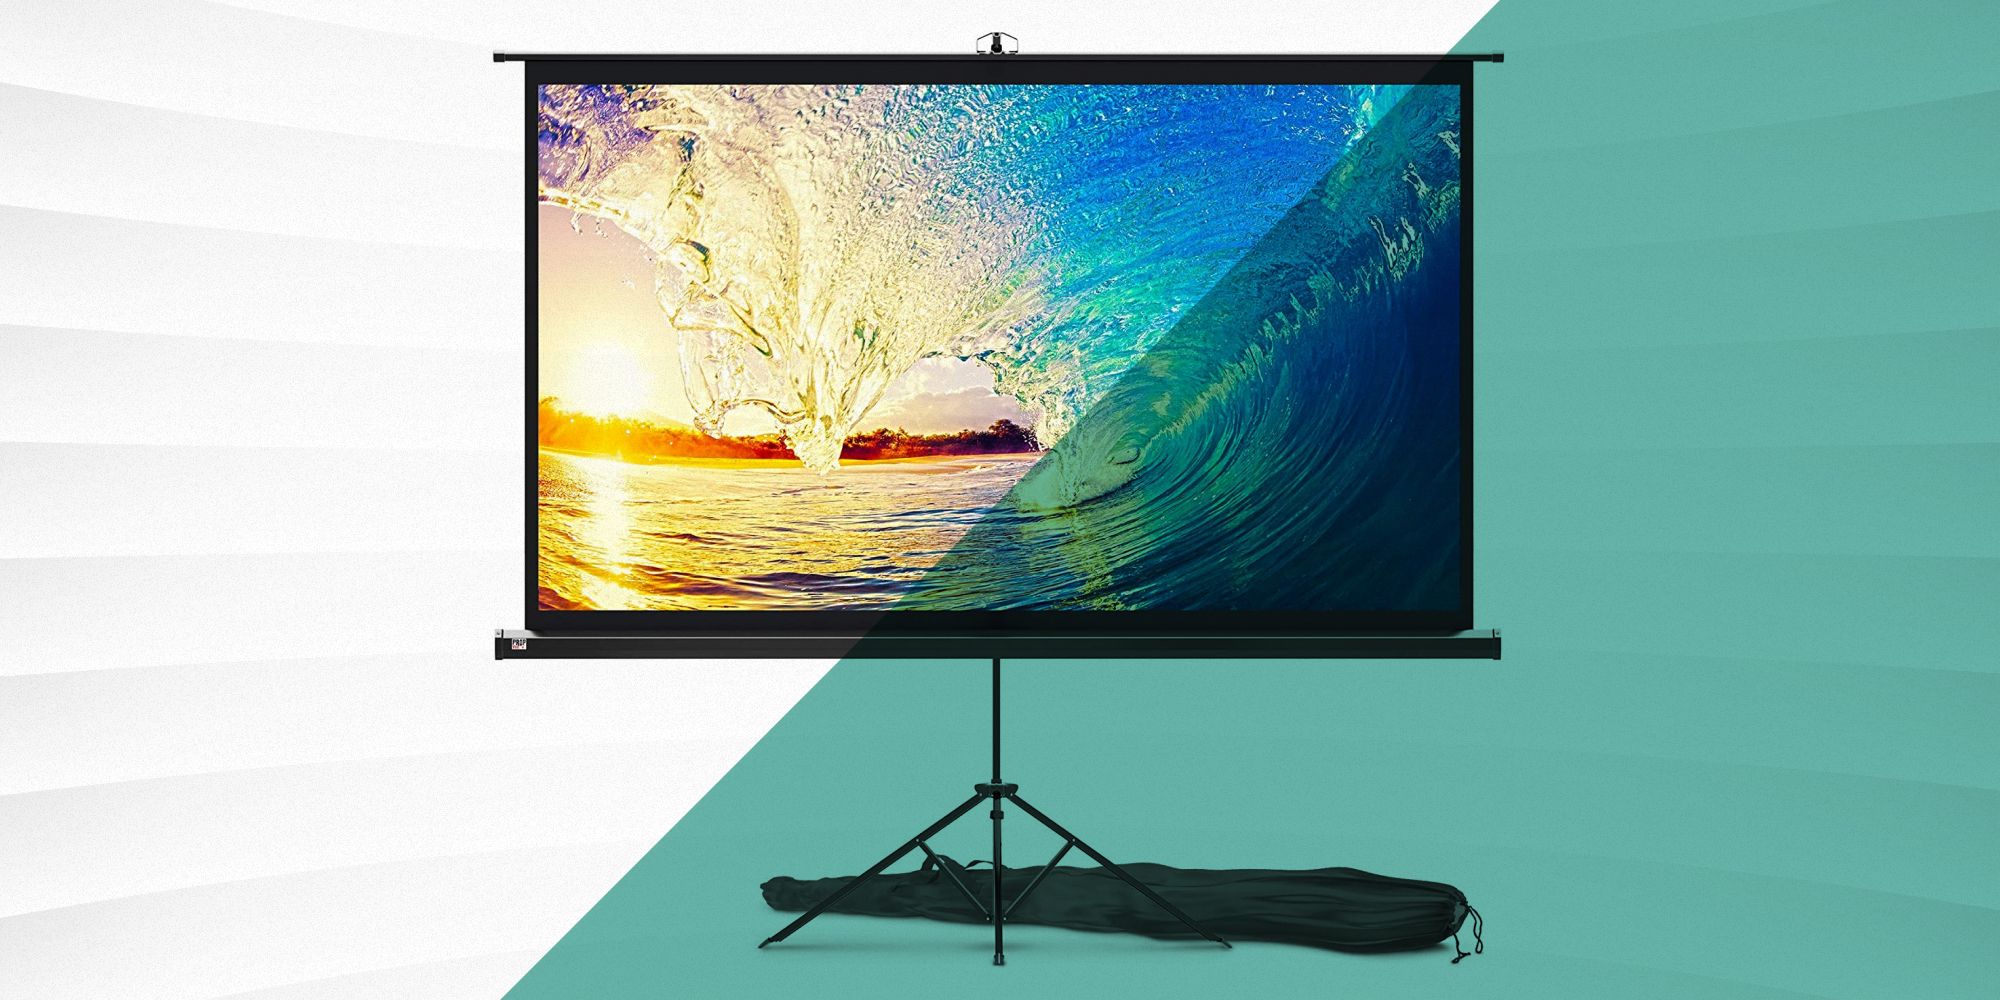
- White sheet or projection screen: If you don’t have access to a white wall, you can create a makeshift projection surface using a white sheet or purchase a portable projection screen.
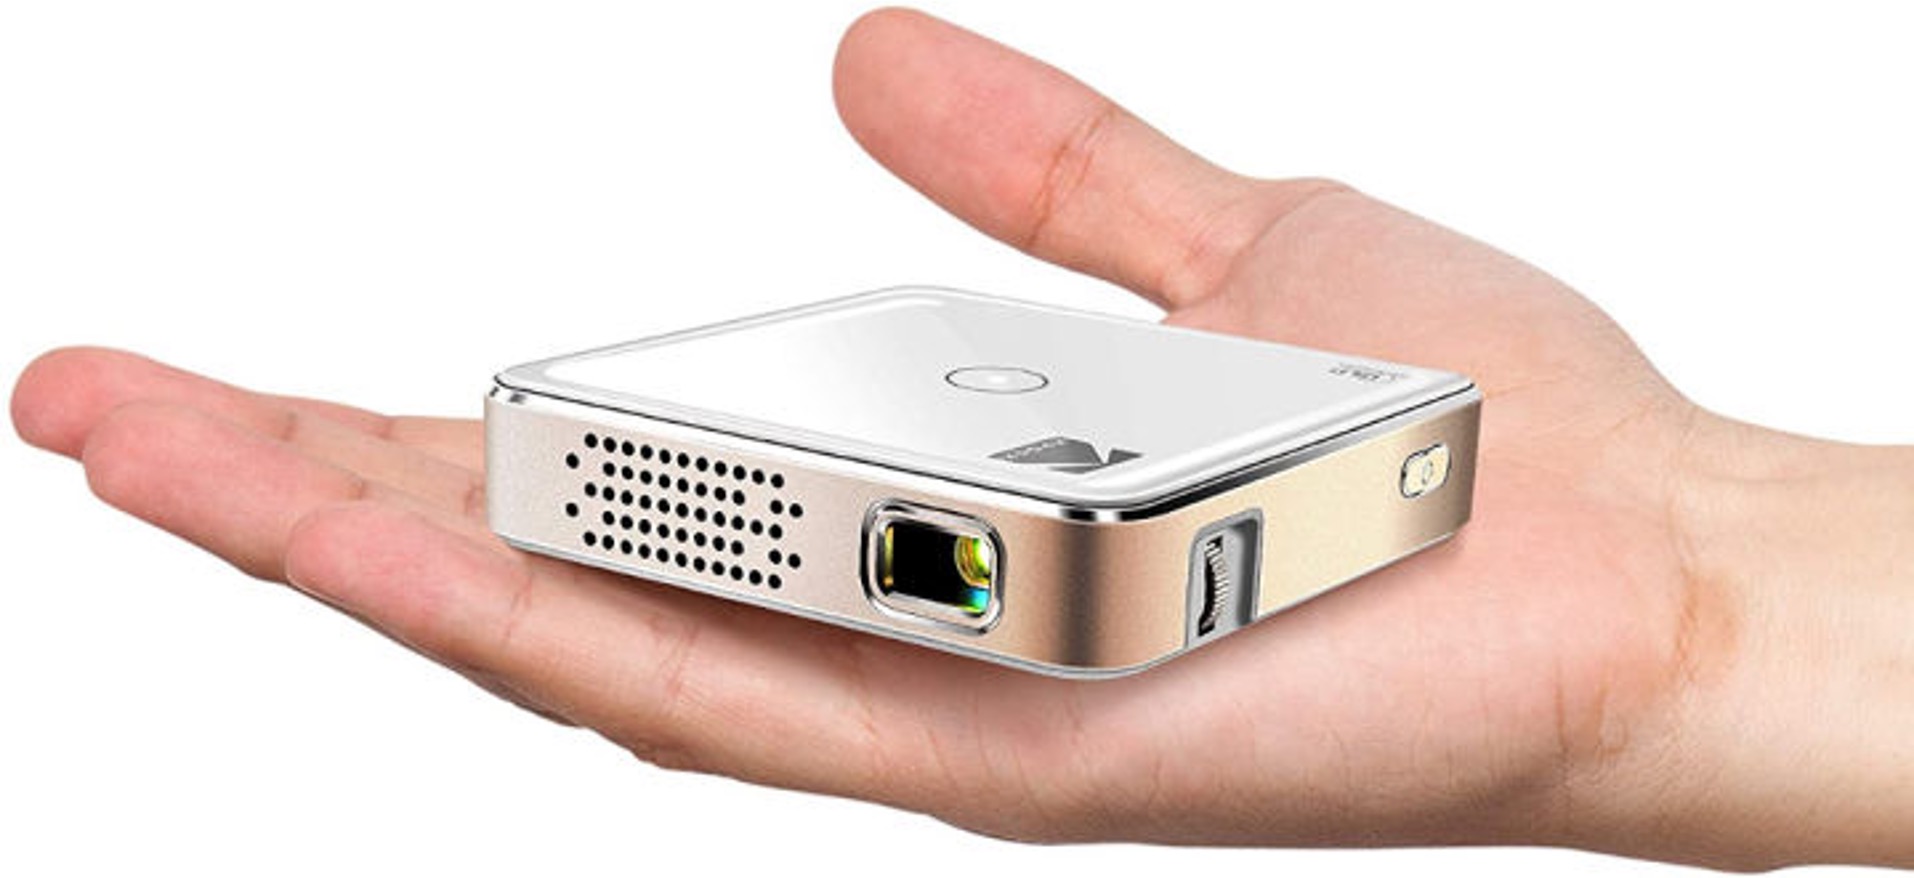
- Projector alternative: To project your movie onto the surface, you’ll need an alternative to the traditional projector. Options include digital light processing (DLP) or Liquid Crystal Display (LCD) devices, or even a smartphone projector.
- Extension cords: Depending on the distance between your media device and power source, extension cords will be handy for connecting and powering your equipment.
- Comfortable seating: Provide ample seating for your audience, such as lawn chairs, bean bags, or cozy blankets.
- Bug spray and lighting: Don’t let pesky mosquitoes ruin your movie night. Arm yourself with bug spray, and consider adding some outdoor lighting for ambiance and safety.
Once you have gathered these materials, you’ll be ready to set up your outdoor movie projection and create an unforgettable cinematic experience for yourself and your guests.
Step 1: Find a Suitable Location
The first step in projecting a movie outside without a projector is to find a suitable location. Consider the following factors when choosing the perfect spot:
- Space: Ensure that you have enough space for your audience to comfortably sit or lie down while watching the movie. A clear, open area is ideal.
- Surface: Look for a flat and smooth surface to project the movie onto. This can be a blank wall, the side of a building, or a white sheet.
- Ambient Light: Consider the ambient light conditions in the area. Opt for a location that is relatively darker to enhance the visibility of the projected movie.
- Noise: Take into account the noise level of the chosen location. Avoid areas near busy roads or loud neighbors that may disrupt the movie-watching experience.
- Accessibility: Ensure that the location is easily accessible for both you and your guests. Consider nearby power sources for connecting your equipment.
If you’re projecting the movie in your backyard, make sure to clear the area of any obstacles such as furniture or plants. Additionally, check for any potential distractions such as bright lights or noisy objects that may interfere with the viewing experience.
If you’re planning a camping or outdoor adventure, look for a suitable spot that provides a good backdrop, such as a beautiful landscape or a scenic view. Keep in mind any camping regulations and the availability of power sources if needed.
Remember, the location you choose will set the stage for your outdoor movie experience. Take your time to find the perfect spot that combines comfort, optimal viewing conditions, and a touch of natural ambiance to create a memorable movie night.
Step 2: Gather the Necessary Equipment
Once you have found a suitable location for your outdoor movie projection, it’s time to gather the necessary equipment. Here’s what you’ll need to ensure a successful movie-watching experience:
- Media Device: Choose a device with a screen large enough for everyone to enjoy. This can be a laptop, tablet, smartphone, or even a portable DVD player.
- Media Source: Select the movie or TV show you want to project. This can be a streaming service, a DVD, or a USB drive with your preferred media files. Ensure that your media source is compatible with your chosen device.
- Portable Speakers: Good audio quality is crucial for an immersive experience. Invest in portable speakers that can connect to your media device. Look for speakers with sufficient volume and clarity for outdoor use.
- Wi-Fi or Hotspot: If you’re streaming the movie, make sure you have a stable internet connection. If you’re in an area without Wi-Fi, consider using a mobile hotspot to ensure uninterrupted streaming.
- Extension Cords: Depending on the distance between your media device and power source, you may need extension cords to connect and power your equipment. Ensure that the cords are long enough and rated for outdoor use.
- Power Strip: To manage multiple devices, consider using a power strip with surge protection. This will allow you to connect all your equipment to a single power source and protect them from electrical surges.
- Projection Surface: If you don’t have a white wall available, create a makeshift projection surface using a white sheet or invest in a portable projection screen. Ensure that the surface is flat and wrinkle-free to achieve a clear and vibrant projected image.
- Projector Alternative: Since we are projecting without a traditional projector, you will need an alternative device. Options include digital light processing (DLP) or Liquid Crystal Display (LCD) devices, or even a smartphone projector. These devices will allow you to project the movie onto your chosen surface.
- Comfortable Seating: Provide comfortable seating options for your audience. This can include lawn chairs, bean bags, picnic blankets, or even inflatable mattresses.
- Bug Spray and Lighting: Don’t let pesky insects ruin the experience. Apply a mosquito repellent or provide bug spray for your guests. Additionally, consider adding outdoor lighting for ambiance and safety.
Having the right equipment will ensure that your outdoor movie night goes smoothly. Double-check that all your devices are charged, your cords are in good condition, and your speakers are functioning properly before you begin setting up. With everything gathered and ready, you’re now prepared to move on to the next step of creating your DIY outdoor cinema.
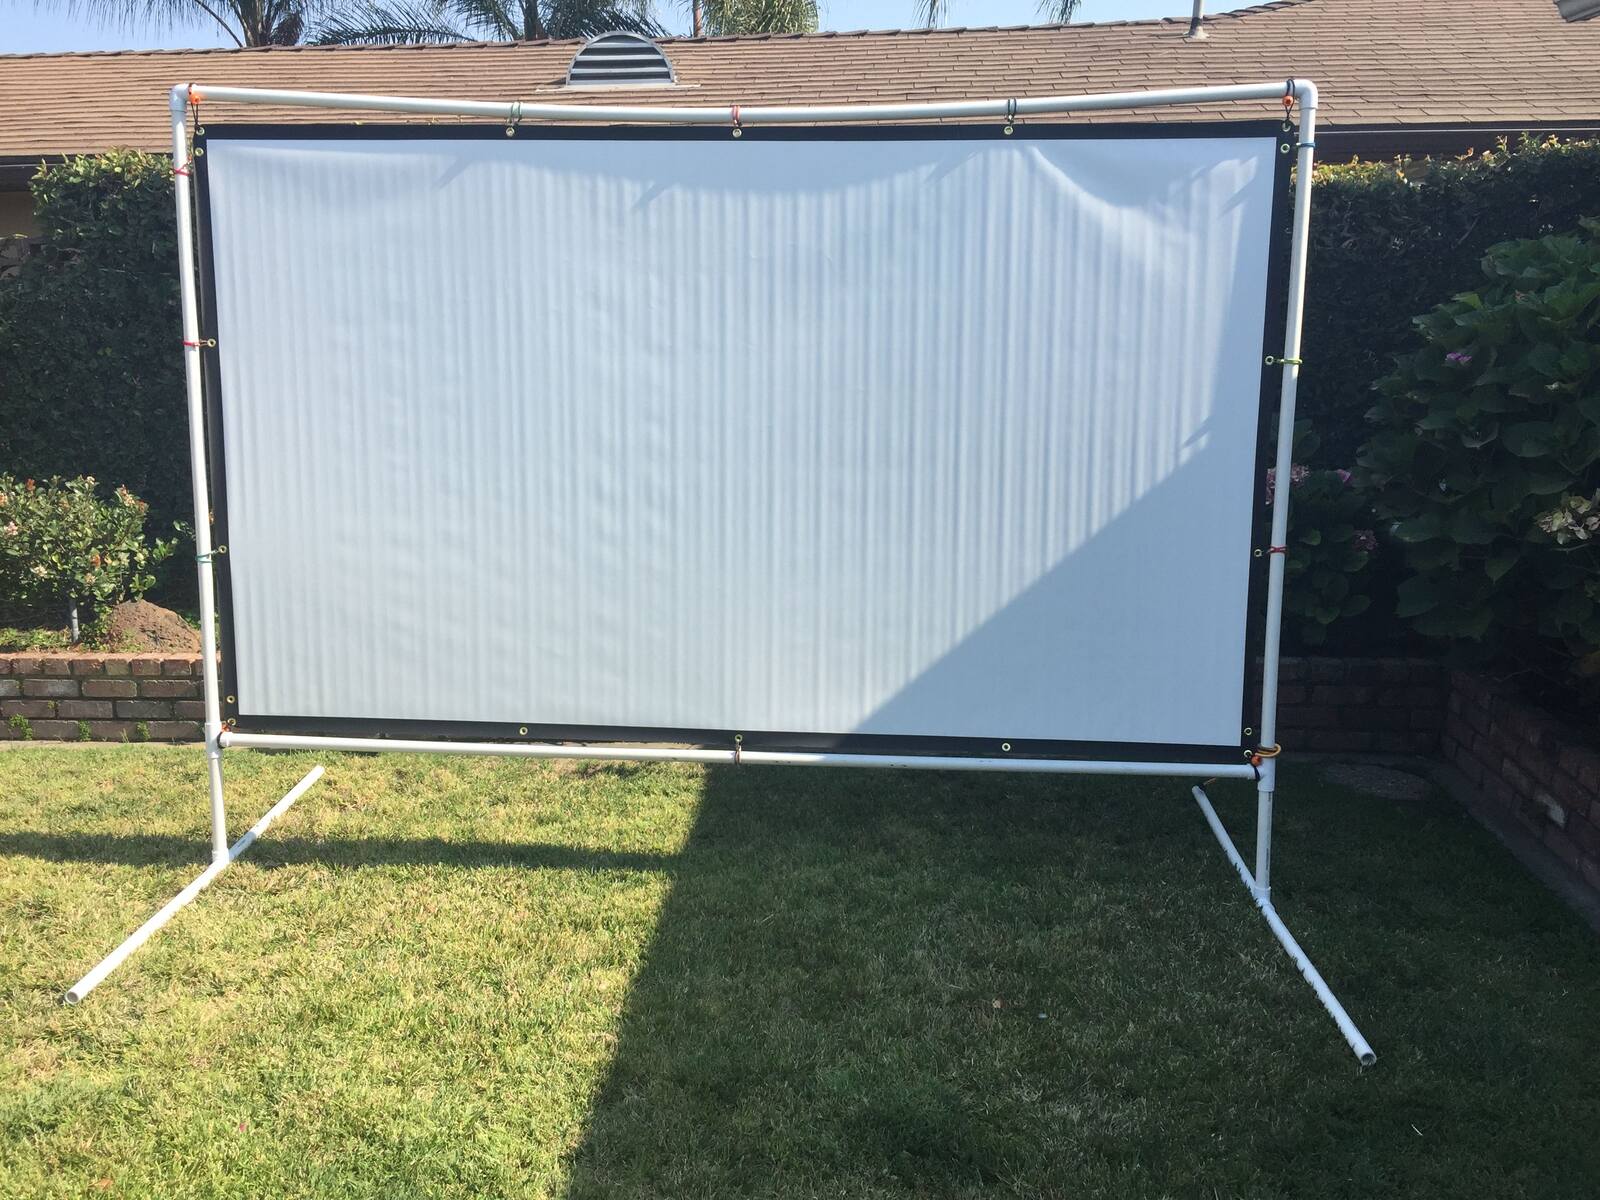
Step 3: Make a DIY Projection Screen
Creating a DIY projection screen is a cost-effective and practical solution for projecting a movie outside without a traditional projector. Follow these steps to make your own projection screen:
- Choose a Suitable Surface: Look for a large, smooth, and white surface to use as your DIY projection screen. This can be a white wall, a blank side of a building, or a plain white bedsheet. Ensure that the surface is clean and free of any wrinkles for optimal projection quality.
- Stretch and Secure the Material: Attach the chosen material tightly to a support structure or frame. You can use hooks, clips, or ropes to secure the top and sides of the material. Make sure there are no visible creases or folds that may interfere with the projection.
- Position the Screen: Set up your DIY projection screen in the desired location, making sure it is stretched tightly and positioned at an optimal height for comfortable viewing. Consider using a stand or hanging the screen using hooks or ropes.
- Adjust the Screen Size: Depending on the distance between the projector alternative and the DIY screen, adjust the size of the projected image. Move the screen closer or further away to attain the desired size and aspect ratio.
- Test the Projection: Connect your media device to the projector alternative and project a test image onto the DIY screen. Fine-tune the focus and positioning to ensure a sharp and clear projection.
- Optimize Viewing Conditions: Adjust the ambient lighting conditions to enhance the projected image. Dim or turn off exterior lights that may cause glare or wash out the image. Aim for a dark, immersive viewing experience.
Keep in mind that the quality of your projection screen will affect the overall viewing experience. It’s important to create a smooth and taut surface to achieve a crisp, vibrant image. While a DIY projection screen can be a great option, you may also consider investing in a portable projection screen for a more professional setup.
Now that you have your DIY projection screen ready, it’s time to move on to the next step and set up the sound system to complement your outdoor movie projection.
Step 4: Set Up the Sound System
A crucial aspect of any outdoor movie projection is having a good sound system to enhance the overall viewing experience. Follow these steps to set up your sound system:
- Choose the Right Speakers: Select portable speakers that are suitable for outdoor use. Look for speakers with good audio quality and sufficient volume to ensure that everyone can hear the dialogue and enjoy the movie soundtrack.
- Connect the Speakers: Connect the speakers to your media device using the appropriate cables or wireless pairing. Make sure the connection is secure and the cables are in good condition.
- Position the Speakers: Place the speakers on either side of the projection screen, facing the audience. This helps create a surround sound effect and ensures that the audio is evenly distributed. Alternatively, you can position the speakers closer to the seating area.
- Test the Sound: Play a test video or movie clip to ensure that the sound is clear and balanced. Adjust the volume and speaker positioning as needed to achieve the desired audio experience.
- Audio Source: If your media device does not have built-in speakers, consider connecting it to an external audio source, such as a Bluetooth-enabled soundbar or a receiver with surround sound capabilities.
- Volume Control: Ensure that you have easy access to volume control during the movie. Consider using a remote control or downloading a mobile app that allows you to adjust the volume wirelessly.
Having a well-functioning sound system will greatly enhance the cinematic experience and immerse your audience in the movie. Test the sound system beforehand to troubleshoot any issues and ensure that everyone can enjoy clear and balanced audio during the screening.
Now that you have your DIY projection screen set up and the sound system ready to go, it’s time to move on to the next step and connect your media device to start the movie.
Step 5: Connect Your Media Device
Now that you have set up your DIY projection screen and sound system, it’s time to connect your media device and get ready to enjoy your outdoor movie. Follow these steps to connect your media device:
- Select the Right Cable: Depending on your media device and the projector alternative you are using, choose the appropriate cable for connection. Common connection options include HDMI, VGA, or audio-video (AV) cables.
- Connect the Cable: Connect one end of the cable to the appropriate port on your media device and the other end to the corresponding input on the projector alternative.
- Check the Connection: Ensure that the cable connections are secure on both ends. Make sure the cable is properly inserted and that there are no loose or damaged components.
- Power On Your Media Device: Turn on your media device and wait for it to start up. Ensure that the volume is adjusted appropriately and that the media is ready to play.
- Select the Input Source: On the projector alternative, select the input source that corresponds to the port you connected your media device to (e.g., HDMI, VGA, etc.).
- Play the Movie: Start playing your movie or media content on your media device. Double-check that the video is being properly projected onto your DIY screen.
- Test Audio: Check if the audio is playing through the speakers as intended. Adjust the volume to a comfortable level and ensure that everyone can hear the sound clearly.
Take the time to familiarize yourself with the controls and settings of your media device to make any necessary adjustments to optimize the visual and audio quality. Troubleshoot any issues that may arise, such as a lack of video signal or audio playback, and adjust settings as needed.
With your media device successfully connected and the movie playing, it’s now time to move on to the next step and ensure the lighting conditions are just right for a fantastic outdoor movie experience.
Step 6: Adjust the Lighting Conditions
Creating the perfect lighting conditions can greatly enhance your outdoor movie experience. Follow these steps to adjust the lighting conditions for optimal viewing:
- Turn Off Exterior Lights: Dim or turn off any exterior lights that may cause glare on the projection screen. This includes porch lights, streetlights, or any other bright sources that may interfere with the clarity of the image.
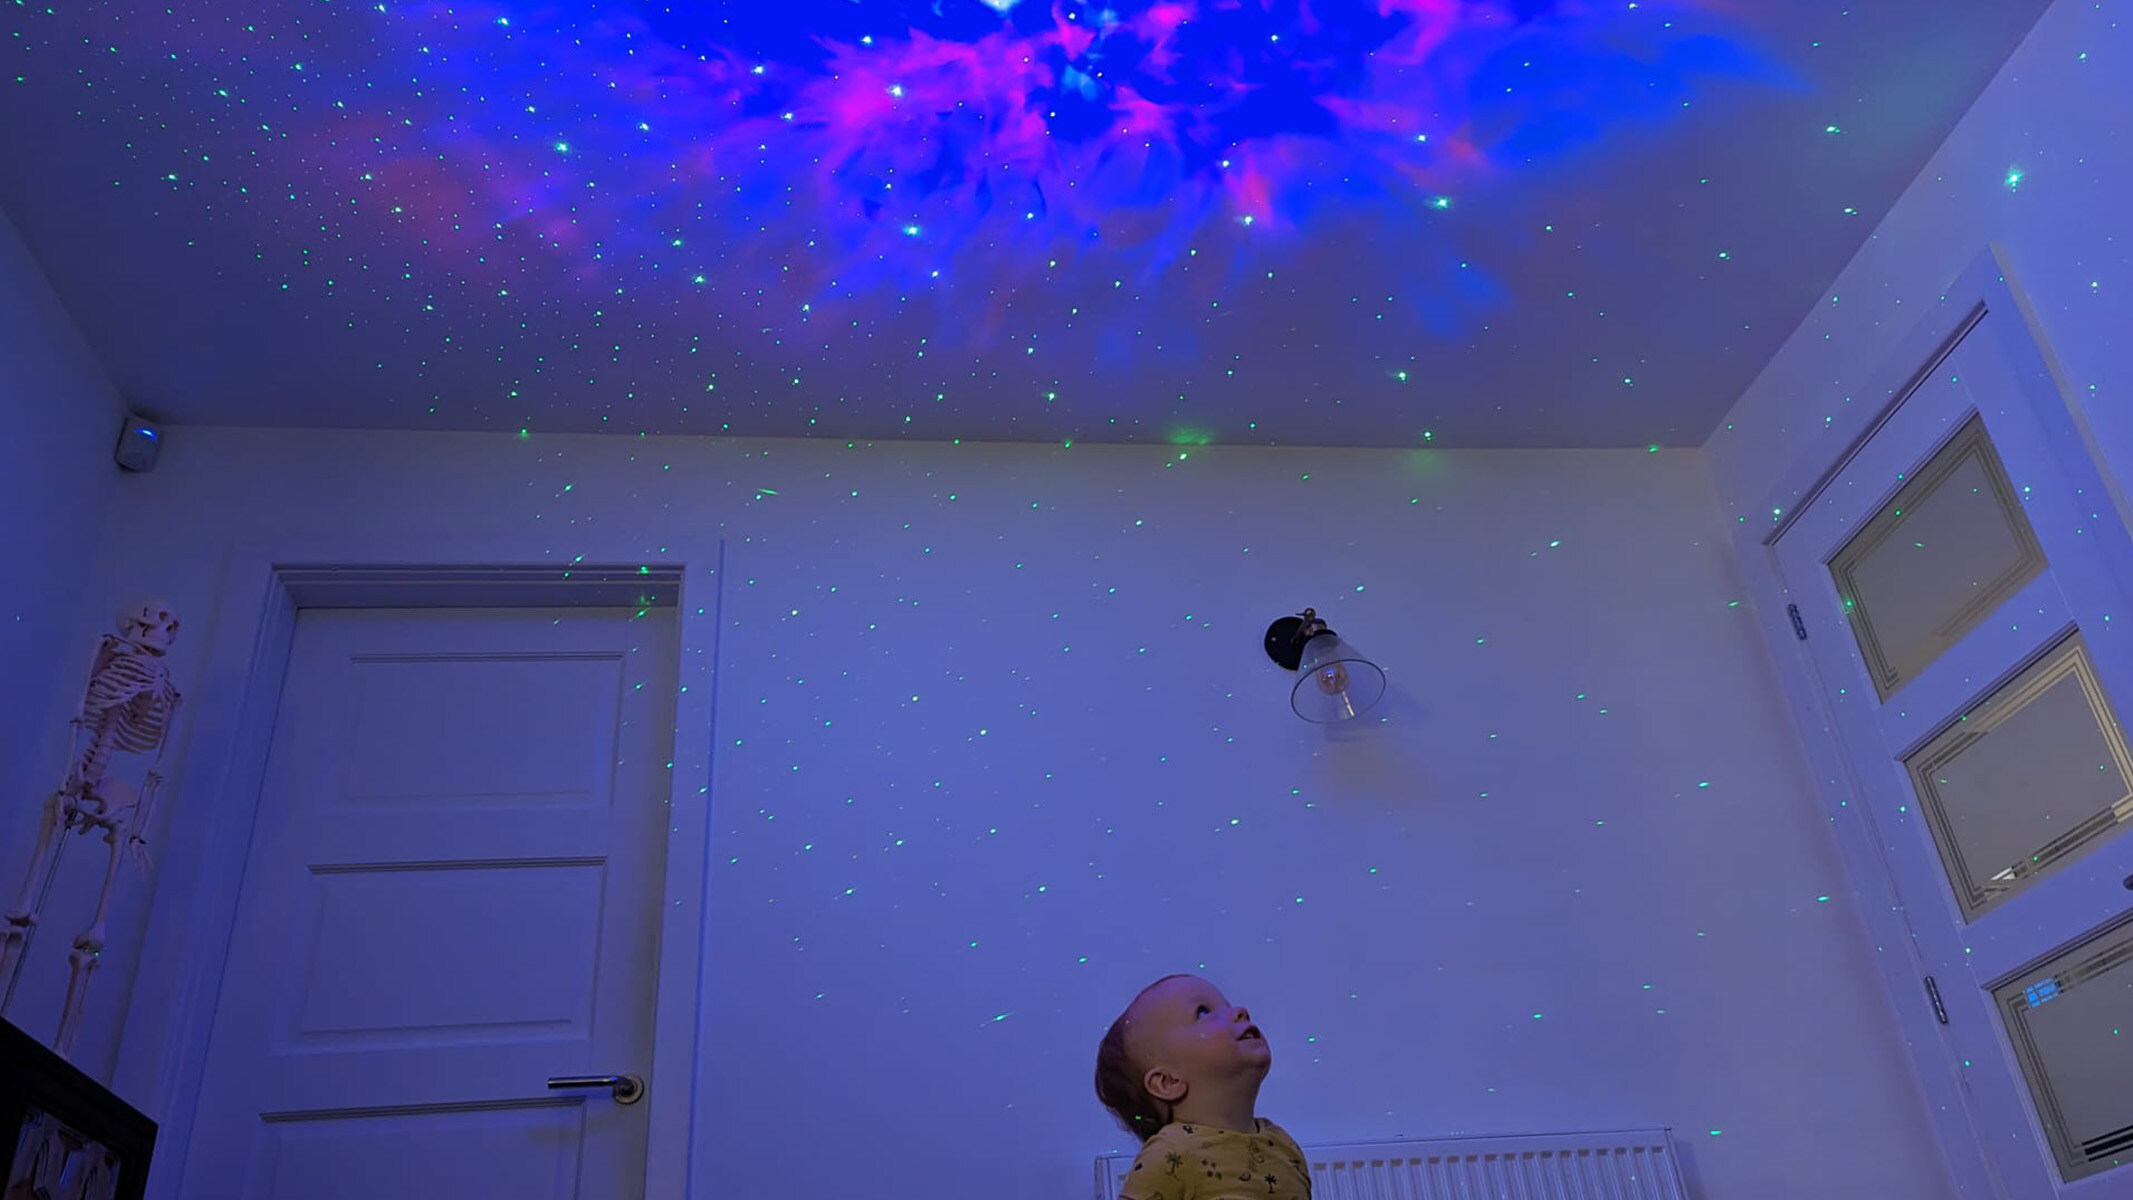
- Consider Ambient Lighting: While it’s important to have a relatively dark environment, complete darkness may not always be achievable or desirable. If needed, consider adding some ambient lighting to create a cozy atmosphere. This can be in the form of string lights, decorative lanterns, or even a small campfire (if permitted and safe).
- Lighting around Seating Area: Pay attention to the lighting around the seating area. Ensure that there is enough light for guests to move around safely, especially during breaks or intermission. Consider using pathway lighting or temporary lighting fixtures.
- Mosquitoes and Bugs: Protect yourself and your guests from pesky insects by using bug repellents, citronella candles, or mosquito lamps. This will help create a more comfortable environment for everyone to enjoy the movie without being bothered by unwelcome intruders.
- Test the Projection: Before the movie starts, play a test video to ensure that the lighting conditions are conducive to good visibility. Make any necessary adjustments to the screen position, brightness, or contrast settings to optimize the image.
Remember, finding the right balance of lighting is crucial for an enjoyable outdoor movie experience. Aim for a setting that creates a cozy and relaxed atmosphere while ensuring the projected image remains clear and vivid.
With the lighting conditions adjusted, it’s time to move on to the final step and start the movie. Sit back, relax, and enjoy the magic of an outdoor movie night under the stars.
Step 7: Start the Movie and Enjoy!
It’s time to sit back, relax, and enjoy your outdoor movie experience. Follow these steps to start the movie and make the most of your outdoor cinema setup:
- Double-Check Everything: Before starting the movie, double-check that all your equipment is in working order. Ensure that the media device is connected, the sound system is functioning correctly, and the lighting conditions are set to your liking.
- Choose the Movie: Select the movie or media content you want to watch. Consider catering to the preferences of your audience or hosting a themed movie night for added fun and excitement.
- Start the Movie: Play the movie on your media device and make sure it is being projected onto your DIY screen. Adjust the volume to a comfortable level, ensuring that everyone can enjoy the movie soundtrack and dialogue.
- Make it Cozy: Settle into your comfortable seating and provide blankets or pillows for extra coziness. Encourage your guests to create a cozy and enjoyable movie-watching environment by providing pillows, blankets, or even a popcorn station!
- Enjoy the Experience: Sit back, relax, and immerse yourself in the movie. Take a moment to appreciate the unique experience of watching a film under the night sky, surrounded by the comfort of your own outdoor cinema setup.
- Intermission and Snacks: If you’re planning a longer movie or have an intermission, provide snacks, drinks, and restroom breaks for your guests. Make it a complete cinema experience with popcorn, candy, or any of your favorite movie treats.
- Engage with Your Audience: Take breaks between the movie or during intermission to engage with your audience. Discuss favorite scenes, share trivia, or play games related to the movie to make the experience even more enjoyable and interactive.
Remember, the goal is to create a memorable and enjoyable outdoor movie experience for yourself and your guests. Relax, have fun, and create lasting memories under the stars while enjoying the magic of cinema in a unique and captivating setting.
With Step 7 completed, you have successfully projected a movie outside without a projector and created your own outdoor movie theater. Now, it’s time to sit back, enjoy the movie, and bask in the joy of cinema under the open sky.+
Conclusion
Hosting an outdoor movie night without a projector is a creative and exciting way to enjoy your favorite films under the stars. By following the steps outlined in this guide, you can create a DIY outdoor cinema that will provide a unique and memorable movie-watching experience for you and your guests.
By finding a suitable location, gathering the necessary equipment, creating a DIY projection screen, setting up a sound system, connecting your media device, adjusting the lighting conditions, and finally starting the movie, you can transform any outdoor space into a cinema-like atmosphere.
Remember to consider the comfort of your audience by providing cozy seating options and snacks. Engage with your guests and make the experience interactive by discussing favorite scenes or playing movie-related games during intermission.
Keep in mind that safety is important too. Ensure that all equipment is set up and operated with caution, and be mindful of any potential hazards in the outdoor environment.
Whether you’re hosting a backyard movie night, going on a camping trip, or gathering with friends and family in a park, the possibilities for outdoor movie projection are endless. So, grab your favorite films, set up your DIY outdoor cinema, and get ready to create cherished memories while enjoying the magic of movies under the open sky.
Now, go out and embrace the joy of outdoor movie projection without a projector. Happy screening!