Introduction
The evolution of technology has revolutionized the way we connect and interact with various devices. One remarkable innovation is the USB to HDMI adapter, which provides a seamless connection between your computer and an external display through a USB port. Whether you are a student, professional, or simply someone who enjoys multimedia content, understanding how to use a USB to HDMI adapter can greatly enhance your computing experience. In this article, we will explore the functionalities and benefits of a USB to HDMI adapter, as well as guide you through the process of connecting and configuring your adapter for optimal performance.
A USB to HDMI adapter acts as an intermediary between your computer or laptop and an external display, allowing you to transmit audio and video signals effectively. This means you can connect your computer to a larger monitor, projector, or even your TV, expanding your screen real estate and providing a clearer and more immersive visual experience. Whether you need to give a professional presentation, enjoy a movie night with friends, or work on a complex task that requires a larger display, a USB to HDMI adapter can be a valuable tool in your tech arsenal.
The benefits of using a USB to HDMI adapter are numerous. Firstly, it offers the convenience of a single cable connection, eliminating the need for multiple adapters or cumbersome setups. Secondly, it provides a high-definition output, ensuring crisp and vibrant visuals for your multimedia content. Whether you are watching videos, editing photos, or gaming, the USB to HDMI adapter delivers excellent image quality. Additionally, it supports audio transmission, allowing you to enjoy immersive sound along with your visuals. Furthermore, the versatility of a USB to HDMI adapter means it can be used with various devices, including laptops, desktops, and even some tablets or smartphones, making it a versatile companion for all your display needs.
In the following sections, we will delve deeper into the features and functions of a USB to HDMI adapter, discuss how to choose the right adapter for your specific requirements, guide you through the connection process, and troubleshoot common issues that may arise. By the end of this article, you will have a comprehensive understanding of how to utilize a USB to HDMI adapter to optimize your display capabilities and unlock a whole new level of productivity and entertainment.
What is a USB to HDMI Adapter?
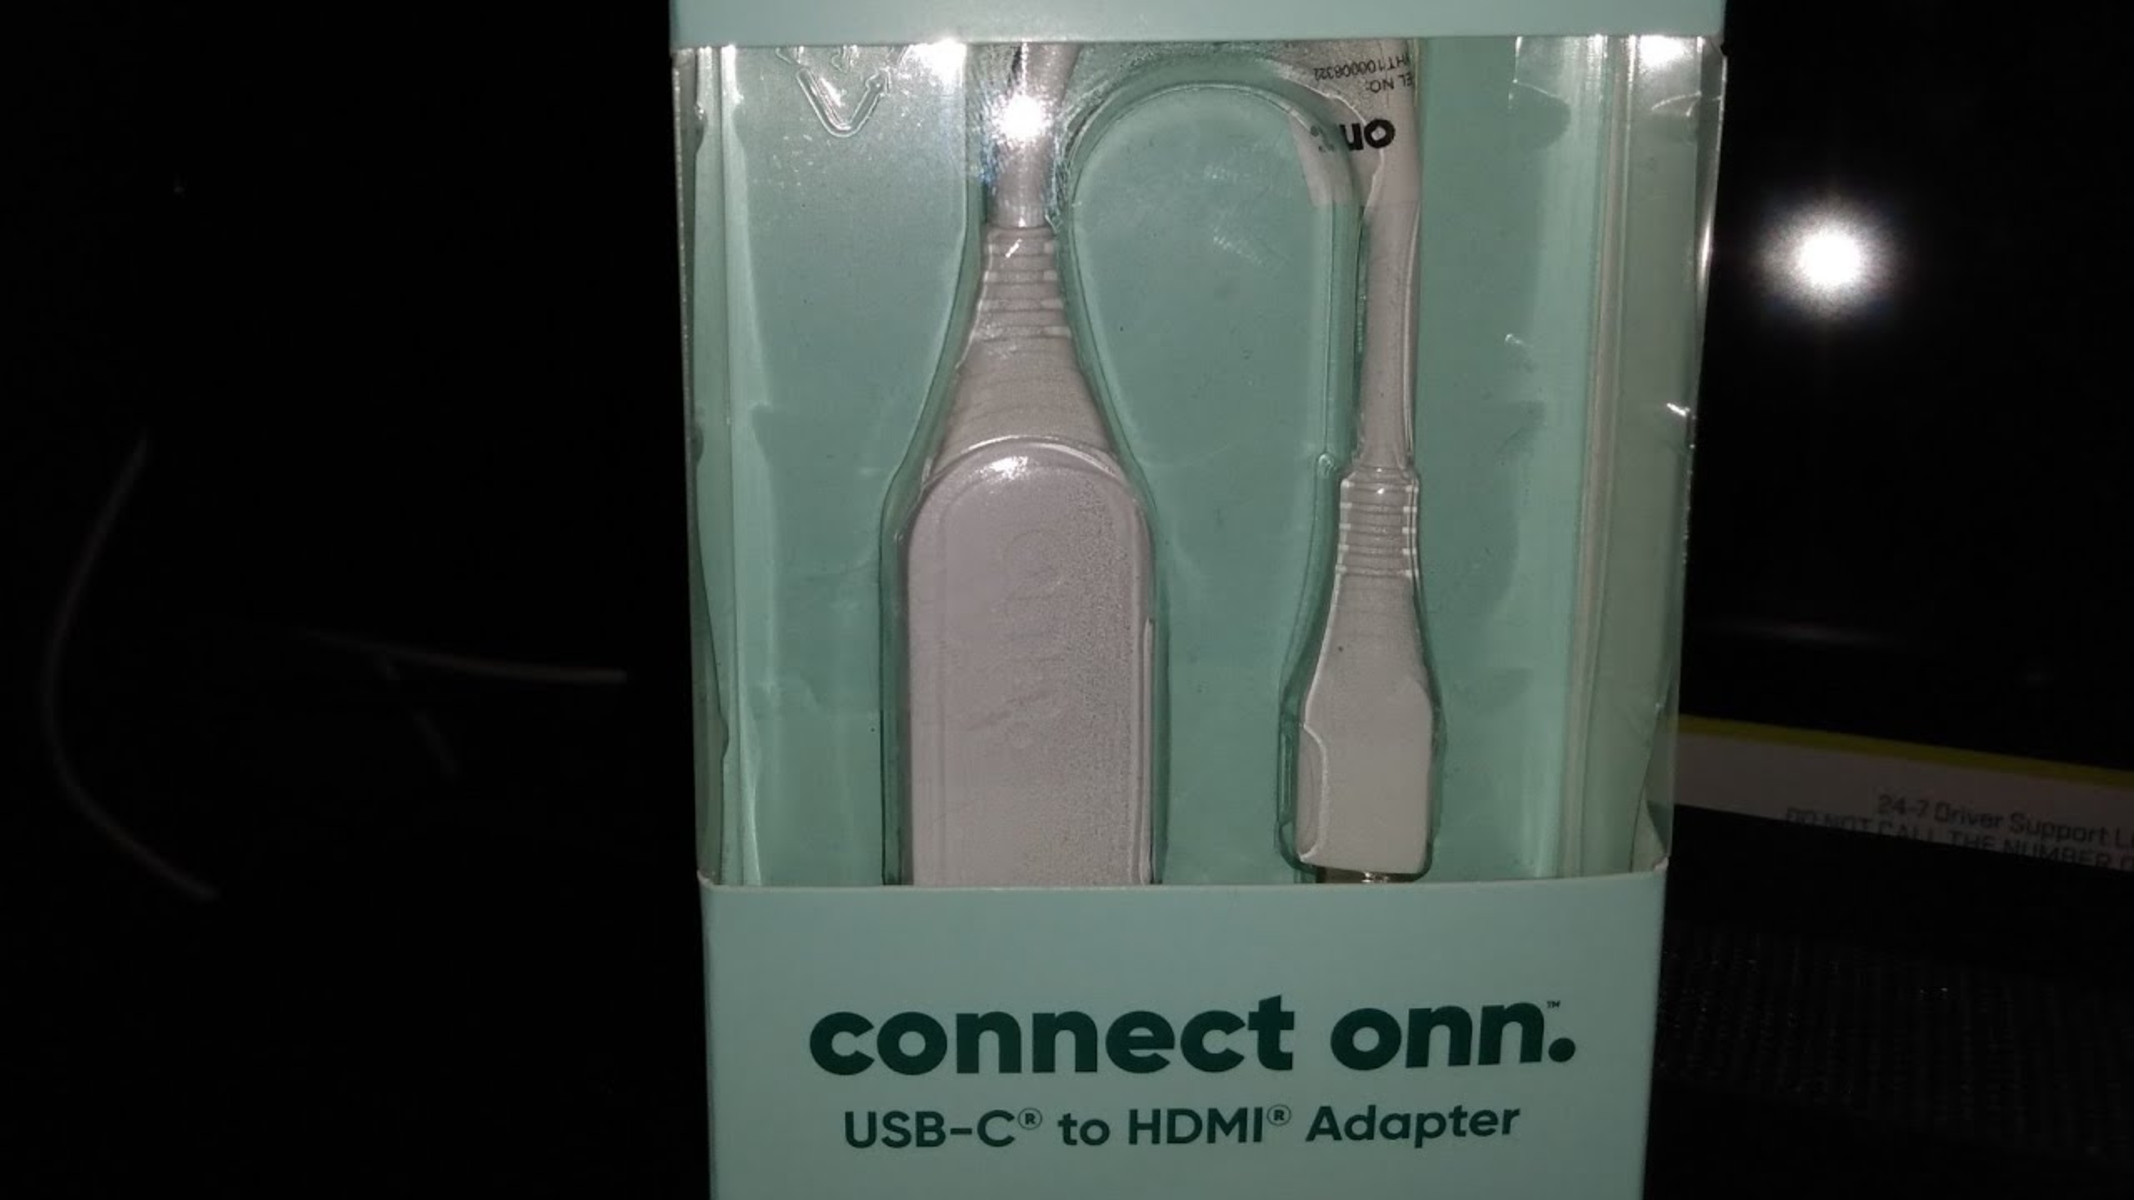
A USB to HDMI adapter is a device that allows you to connect your computer or laptop to an external display, such as a monitor or TV, using a USB port. It acts as a bridge between your computer and the display, enabling the transmission of audio and video signals. The adapter converts the USB output from your computer into an HDMI signal that can be recognized by the external display, ensuring a seamless and high-quality viewing experience.
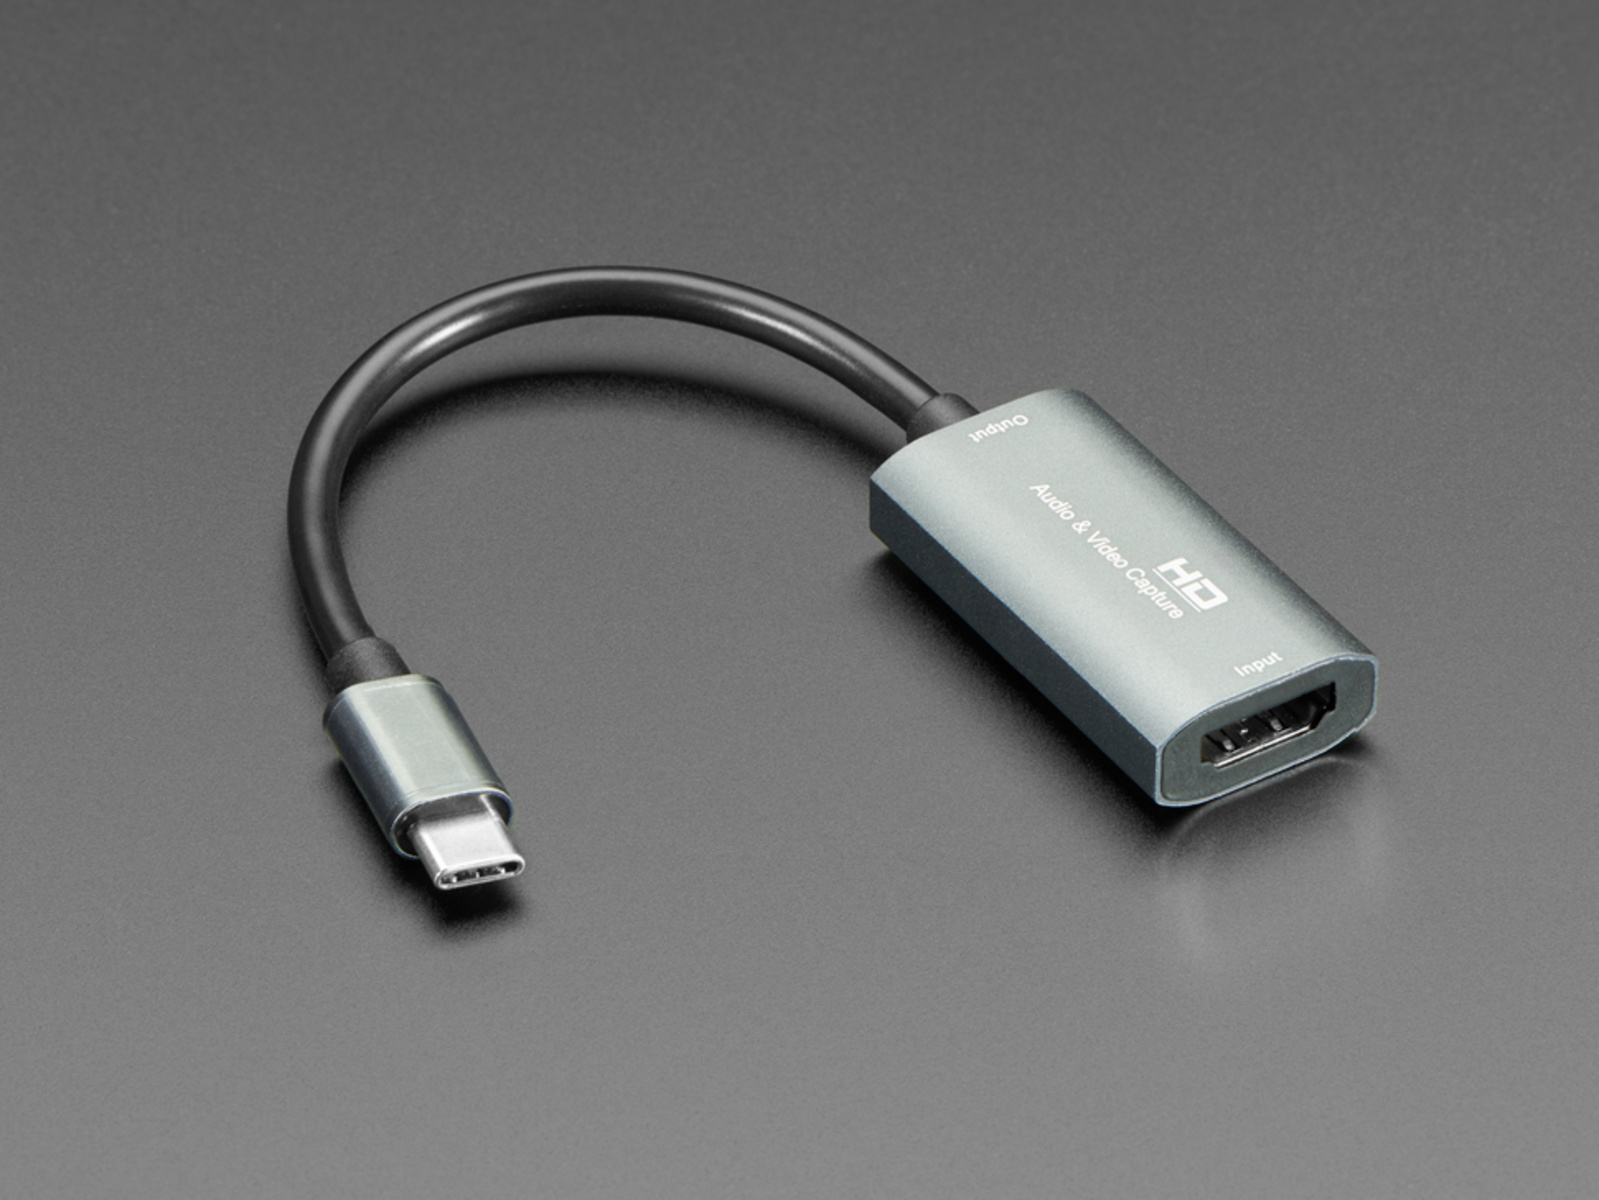
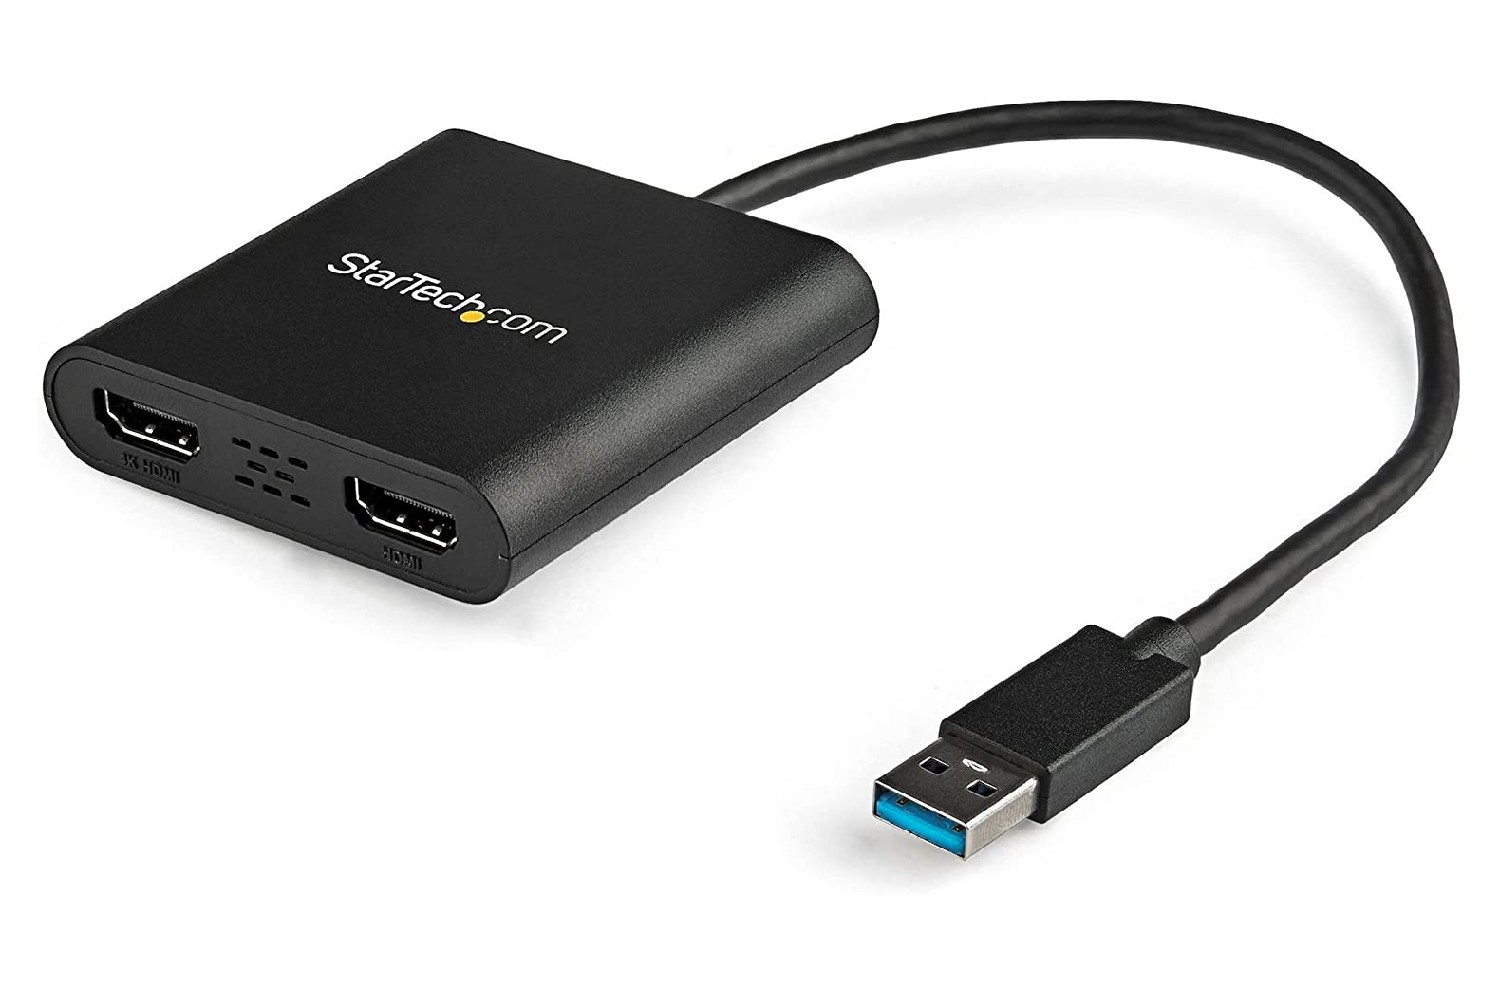
The USB to HDMI adapter is a compact and portable device that typically consists of a USB connector on one end and an HDMI port on the other. It may also feature additional ports, such as VGA or DVI, to accommodate different types of displays. The adapter may connect directly to the USB port of your computer or laptop, or it may require an additional USB cable for a flexible connection. Some adapters also come with built-in audio capabilities, allowing you to transmit both video and audio signals through a single device.
The primary purpose of a USB to HDMI adapter is to extend or mirror your computer’s display onto an external screen. This can be useful in various scenarios, such as giving presentations, watching movies or videos, gaming on a larger screen, or even multitasking with multiple displays. By connecting your computer to a larger monitor or TV, you can enjoy enhanced visuals, increased screen real estate, and improved productivity.
USB to HDMI adapters are compatible with both Windows and Mac operating systems, making them versatile and widely accessible. Additionally, they support high-definition video resolutions, ensuring crisp and detailed visuals. However, it’s important to note that the quality of the output may also depend on the capabilities of your computer’s graphics card and the resolution compatibility of the external display.
In summary, a USB to HDMI adapter is a handy device that enables you to connect your computer or laptop to an external display through a USB port. It provides a convenient and efficient way to extend or mirror your computer’s display onto a larger screen, enhancing your viewing experience and increasing productivity. By utilizing a USB to HDMI adapter, you can unlock the full potential of your computer’s visual capabilities and enjoy immersive multimedia content on external displays.
Benefits of Using a USB to HDMI Adapter
Using a USB to HDMI adapter can provide numerous benefits that enhance your computing experience and expand your display capabilities. Whether you are a student, professional, or multimedia enthusiast, here are some key advantages of utilizing a USB to HDMI adapter:
1. Increased Screen Real Estate: One of the major benefits of using a USB to HDMI adapter is the ability to connect your computer or laptop to a larger external display. This allows you to extend your screen real estate and have more space to work on multiple applications, view documents side by side, or engage in productivity-enhancing tasks such as video editing or coding. With more screen space, you can improve your multitasking abilities and be more efficient in your work.
2. Crisp and Vibrant Visuals: The USB to HDMI adapter supports high-definition video output, ensuring that your visuals are displayed with exceptional clarity and detail. Whether you are streaming videos, playing games, or editing photos and videos, the adapter delivers excellent image quality, enhancing your viewing experience and making everything appear more realistic and engaging.
3. Seamless Audio and Video Transmission: With a USB to HDMI adapter, you can enjoy both audio and video transmission in a single device. This means you can watch movies, stream videos, or play games with immersive sound directly from your external display’s speakers. No more hassle of separate audio cables or speakers – the adapter simplifies the setup and enhances your multimedia experience.
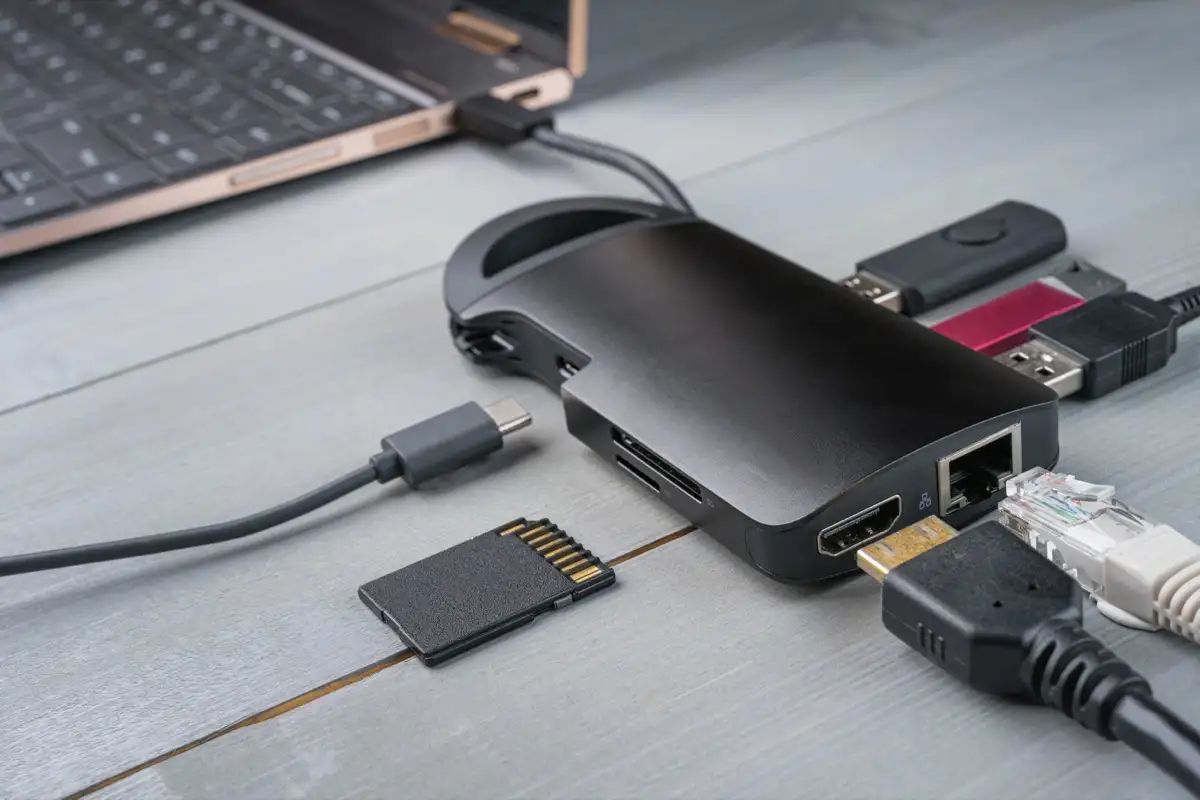
4. Versatile Compatibility: USB to HDMI adapters are compatible with various devices, including laptops, desktop computers, and even some tablets or smartphones. This versatility allows you to connect different devices to external displays, enabling you to expand your screen size regardless of the device you are using. Whether you need to give a professional presentation, collaborate on a project, or enjoy multimedia content, a USB to HDMI adapter can accommodate your needs.
5. Convenient and Portable: USB to HDMI adapters are typically compact and lightweight, making them highly portable. You can easily carry them in your laptop bag or backpack, allowing you to connect to external displays wherever you go. Additionally, the ease of use and plug-and-play functionality make the adapter a convenient solution for quickly setting up your display without the need for complicated configurations or additional software installations.
In summary, the benefits of using a USB to HDMI adapter include increased screen real estate, enhanced visual quality, seamless audio and video transmission, versatile compatibility, and convenient portability. By utilizing a USB to HDMI adapter, you can optimize your display capabilities, improve productivity, and enjoy a more immersive multimedia experience on external displays. Whether for work, entertainment, or collaboration, a USB to HDMI adapter is a valuable tool that opens up a whole new world of possibilities for your computing needs.
Finding the Right USB to HDMI Adapter
When it comes to finding the right USB to HDMI adapter, there are a few key factors to consider to ensure compatibility and optimal performance. Here are some tips to help you make an informed decision:
1. Compatibility: Check the compatibility of the USB to HDMI adapter with your computer or laptop. Ensure that it supports the operating system you are using, whether it is Windows, Mac, or Linux. Additionally, confirm that it is compatible with the USB version on your device, such as USB 2.0 or USB 3.0. Some adapters may also have specific compatibility requirements based on the graphics card or resolution capabilities of your computer, so it’s essential to check the specifications to avoid any compatibility issues.
2. Display Resolution: Consider the display resolution you require. USB to HDMI adapters support different resolutions, so ensure that the adapter you choose can handle the resolution you desire. If you plan to use a high-definition monitor or TV, opt for an adapter that supports full HD (1080p) or even 4K resolution for the best visual experience.
3. Audio Support: If audio transmission is important to you, make sure the USB to HDMI adapter you select supports audio output. Some adapters may require additional configurations or separate audio settings, so check the specifications to ensure compatibility with your audio requirements.
4. Portability and Design: Consider the portability and design of the adapter. Look for a compact and lightweight option that is easy to carry and won’t take up much space in your bag. Additionally, if you prefer a certain design or connector type, such as a straight or angled connector, choose an adapter that suits your preferences.
5. Reviews and Recommendations: Read customer reviews and seek recommendations from trusted sources. Hearing about other users’ experiences and satisfaction with a specific USB to HDMI adapter can provide valuable insights and help you make an informed decision. Look for reputable brands or adapters that have positive feedback regarding their performance and reliability.
6. Price and Warranty: Consider your budget when choosing a USB to HDMI adapter. While it’s important to find a high-quality adapter, it doesn’t mean you have to overspend. Compare prices from different brands and ensure that the adapter offers good value for money in terms of its features and performance. Additionally, check if the adapter comes with a warranty or guarantee, as this can provide peace of mind in case of any manufacturing defects or issues.
By taking these factors into account, you can find the right USB to HDMI adapter that meets your specific requirements and ensures seamless compatibility with your computer or laptop. A well-chosen adapter will enable you to unlock the full potential of your display capabilities and provide an enhanced multimedia experience on external screens.
Connecting Your USB to HDMI Adapter
Connecting your USB to HDMI adapter is a straightforward process that requires a few simple steps. Here’s a guideline to help you get started:
Step 1: Verify compatibility: Ensure that your computer or laptop is compatible with the USB to HDMI adapter. Check the adapter’s specifications and your device’s compatibility requirements, such as operating system compatibility and USB version support.
Step 2: Install any necessary drivers or software: Depending on the adapter you’re using, you may need to install specific drivers or software. Check the manufacturer’s instructions and download any required drivers or software from their official website. Install them on your computer following the provided instructions.
Step 3: Power off your computer and external display: Before connecting the adapter, power off both your computer or laptop and the external display you want to connect. This will prevent any potential compatibility or connection issues.
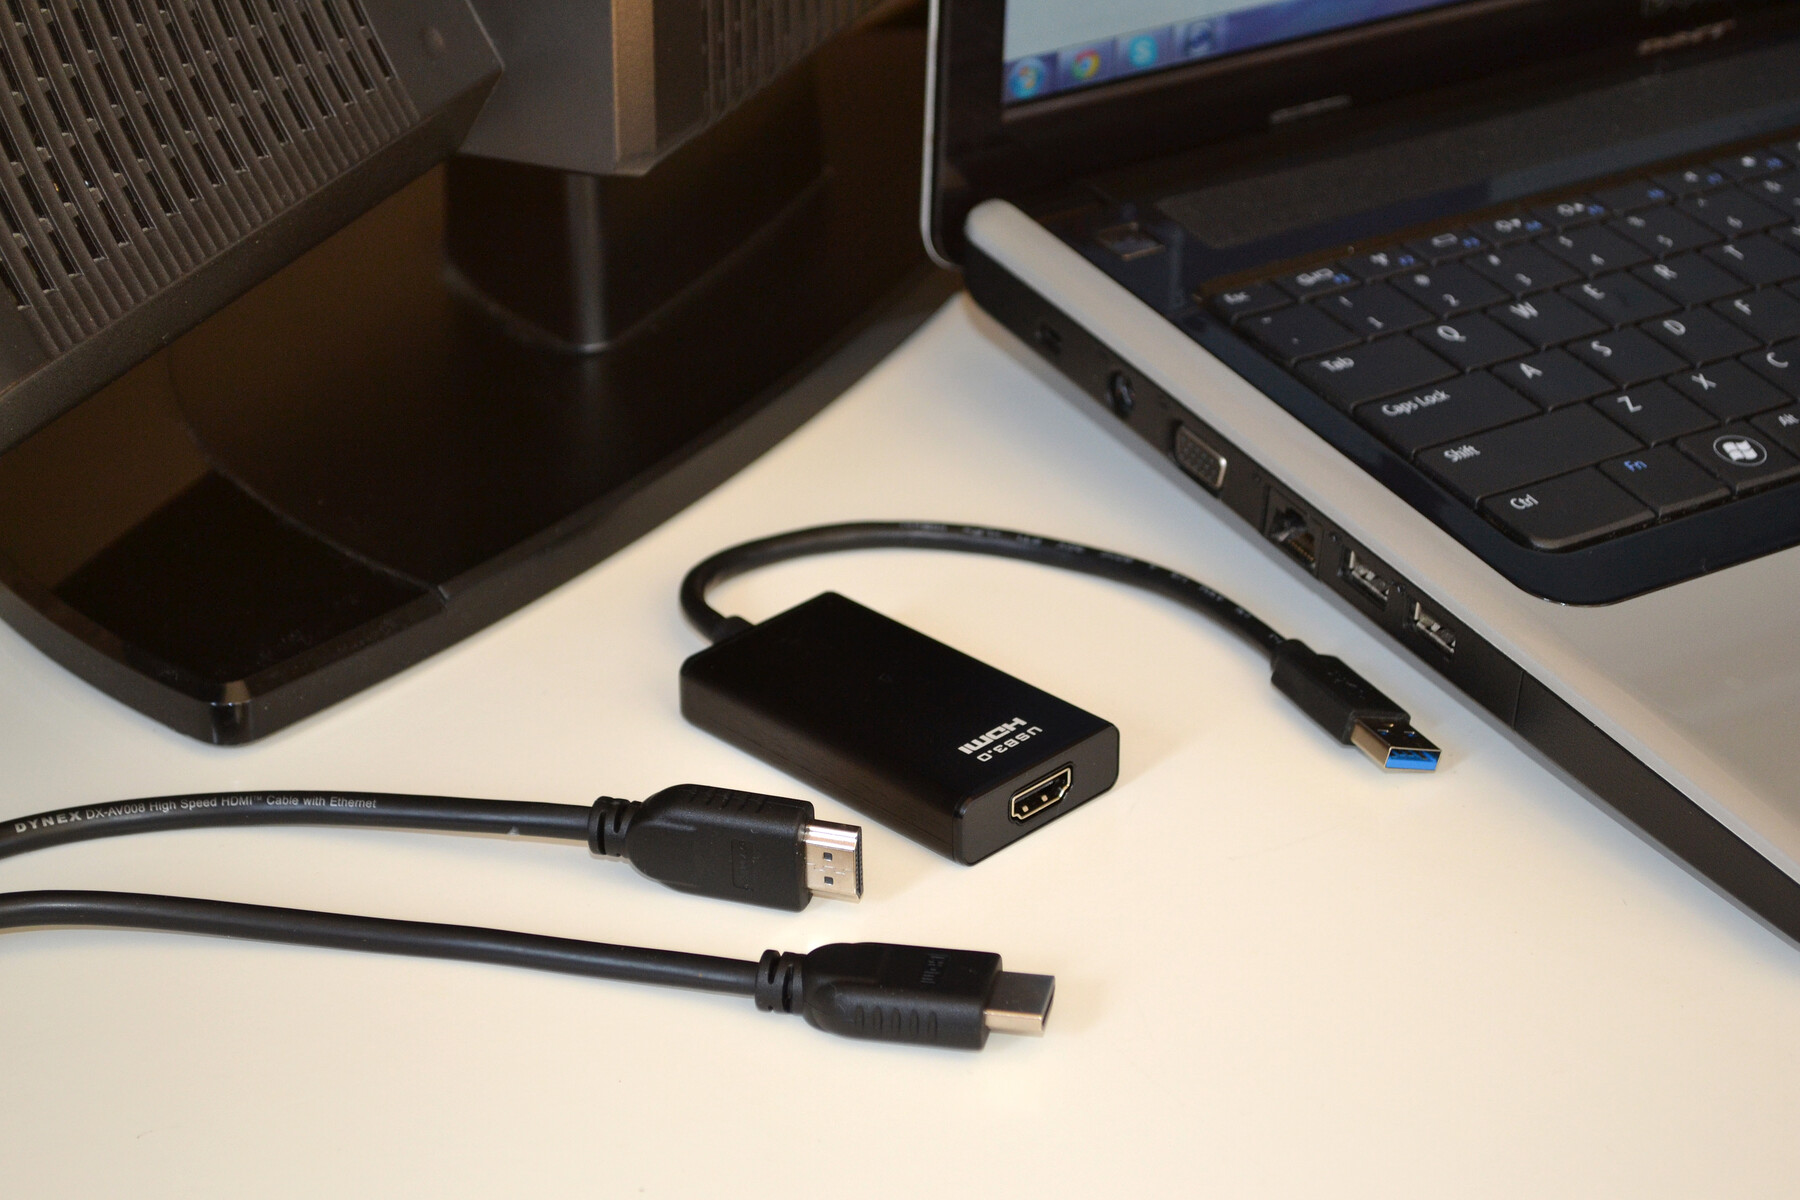
Step 4: Connect the adapter to your computer: Take the USB side of the adapter and plug it into an available USB port on your computer. Ensure a secure connection by pushing the USB connector fully into the port. If the adapter requires an additional USB cable for connection, plug one end into the adapter and the other end into a USB port on your computer.
Step 5: Connect the adapter to the external display: Take the HDMI side of the adapter and connect it to the HDMI port on your external display. Again, ensure a secure connection by fully inserting the HDMI connector into the port.
Step 6: Power on your computer and external display: Once the connections are secure, power on both your computer or laptop and the external display. Allow them to start up fully before proceeding further.
Step 7: Adjust display settings: Depending on your operating system, you may need to adjust the display settings to ensure the proper output on your external display. In Windows, right-click on the desktop, select “Display settings,” and choose the appropriate display configuration. On Mac, go to “System Preferences,” select “Displays,” and adjust the settings accordingly. Follow the on-screen instructions to configure the display arrangement, resolution, and other settings to your preference.
Step 8: Test the connection: Once you’ve adjusted the display settings, test the connection by opening a file or video on your computer. The content should be mirrored on your external display. Check for any issues such as missing visuals or audio and troubleshoot if necessary.
By following these steps, you can easily connect your USB to HDMI adapter to your computer or laptop and enjoy the extended display capabilities on your external screen. Remember to consult the adapter’s manual or the manufacturer’s website for any additional instructions specific to your device.
Adjusting Display Settings
After connecting your USB to HDMI adapter and external display, it’s important to adjust the display settings on your computer to ensure the best visual experience. The steps for adjusting display settings may vary slightly depending on your operating system. Here are some general guidelines to help you navigate through the process:
Windows:
- Right-click on the desktop and select “Display settings” from the context menu. Alternatively, you can access display settings through the Control Panel or the Windows settings app.
- In the display settings window, you will see a diagram showing your computer’s display configuration. Identify and select the external display that is connected via the USB to HDMI adapter.
- Adjust the display settings according to your preference. You can change the resolution, orientation, scaling, and other display-related options. It’s recommended to choose the recommended resolution for your external display to ensure optimal visual quality.
- If you want to extend your desktop across multiple displays, make sure the “Extend these displays” option is selected. This allows you to drag windows and applications between the screens.
- Click “Apply” to save the changes. Windows will apply the new settings and may ask you to confirm them. If the changes are successful, the external display should now show the adjusted visuals.
- You can further customize the display settings by exploring additional options such as color calibration, advanced display settings, or graphic card settings. These options may vary depending on your system configuration.
macOS:
- Click on the Apple menu and select “System Preferences.”
- In the System Preferences window, click on “Displays.”
- On the Displays tab, you will see the arrangement of your displays. Identify and select the external display connected via the USB to HDMI adapter.
- Adjust the display settings according to your preference. You can change the resolution, arrangement, brightness, and other display-related options. Set the resolution to the recommended value for your external display to ensure optimal visual quality.
- If you want to extend your desktop across multiple displays, make sure the “Mirror Displays” option is unchecked. This allows you to have an extended desktop across the screens.
- Close the System Preferences window. macOS will apply the new display settings and the external display should now show the adjusted visuals.
- Explore further options in the Display preferences, such as Night Shift, color profiles, or display arrangement. These options may vary depending on your system version.
During the adjustment process, it’s important to test the visuals and ensure that everything appears as desired. Pay attention to color accuracy, sharpness, and any issues such as flickering or distortion. If you encounter any problems, double-check the connection and consult the documentation provided by the adapter manufacturer or seek online support.
By adjusting the display settings to suit your preference and the capabilities of your external display, you can enjoy a seamless and immersive visual experience while using a USB to HDMI adapter. Take the time to explore the available options and fine-tune the settings to achieve the desired display configuration for your needs.
Troubleshooting Common Issues
While using a USB to HDMI adapter, you may encounter some common issues that can impact the performance and functionality of the adapter and the connected display. Here are some troubleshooting tips to help you resolve these issues:
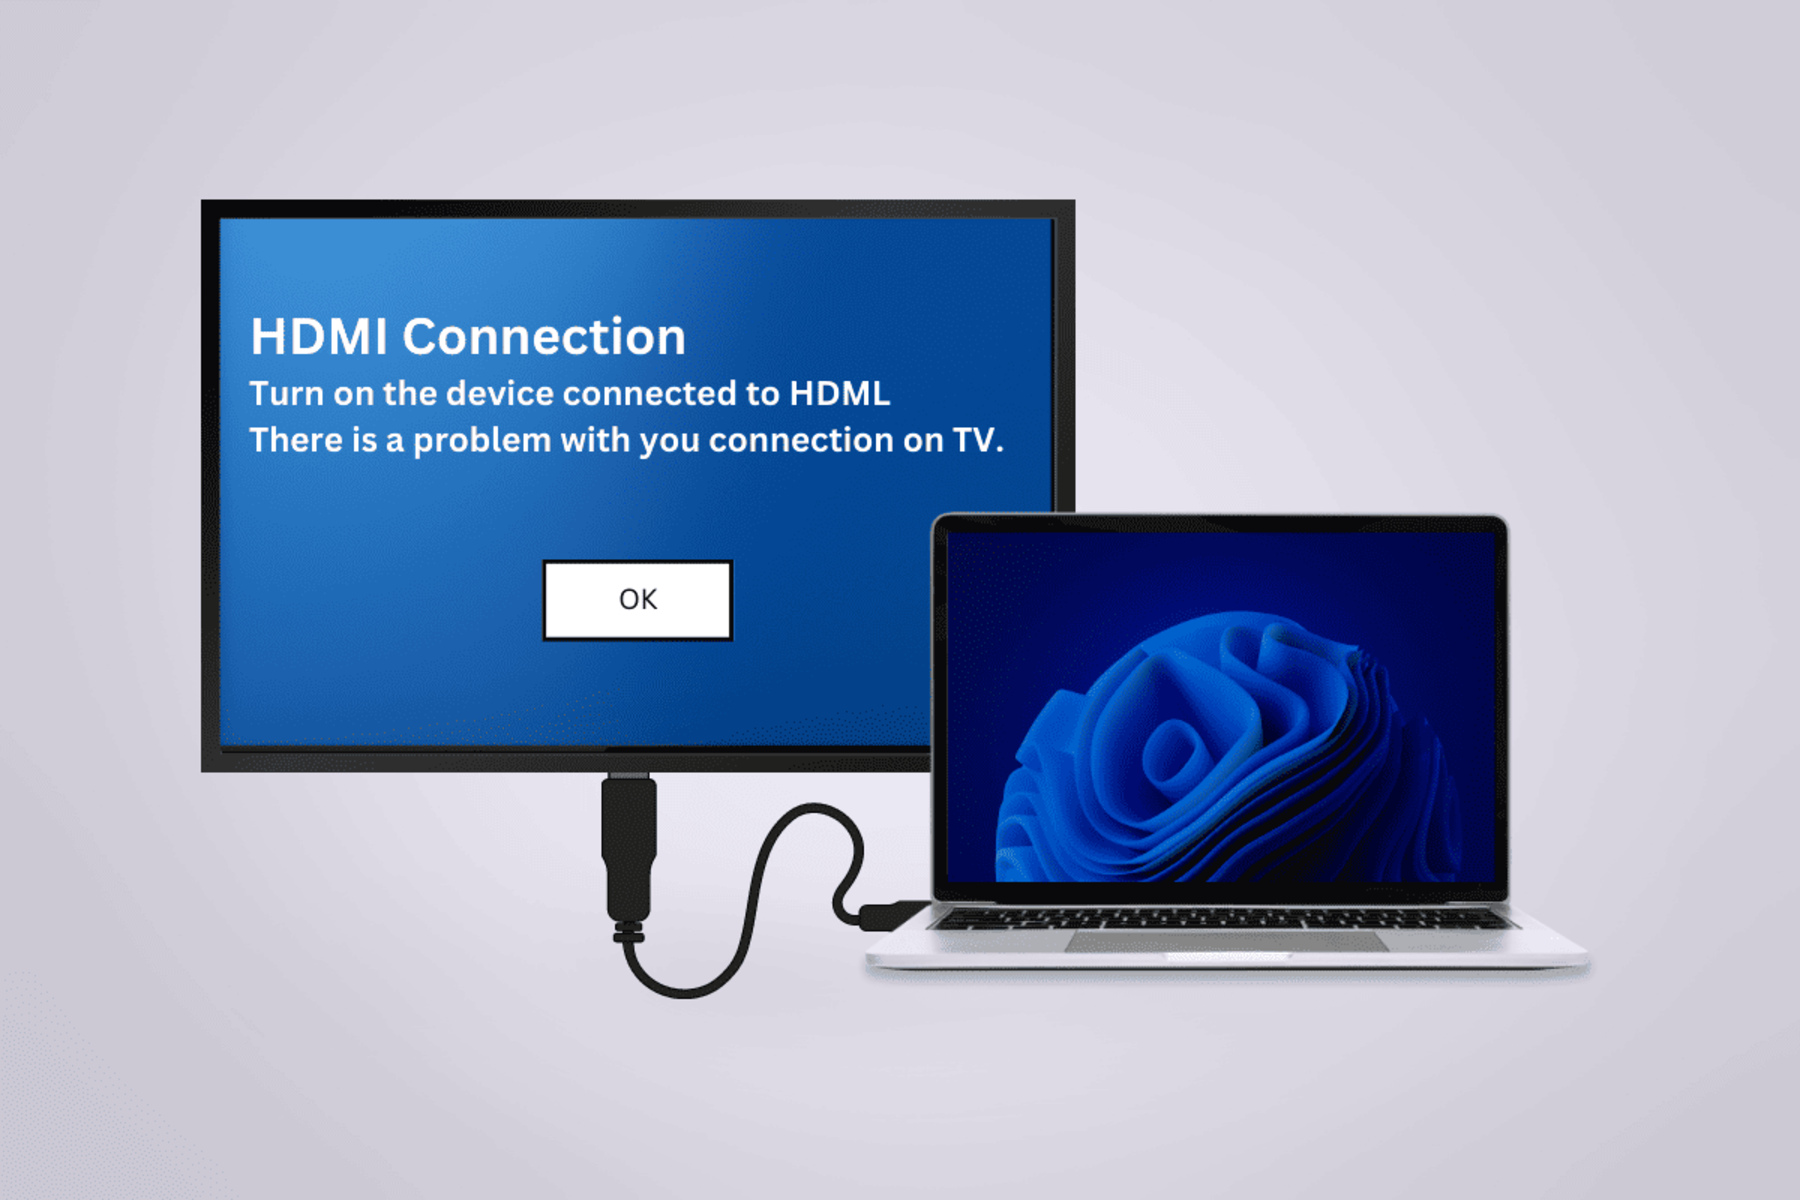
1. No Display on External Monitor: If you’re not getting any display on the external monitor, ensure that all connections are secure. Check that the USB to HDMI adapter is properly connected to your computer and the HDMI cable is connected to the external monitor. Try reconnecting the cables or using different USB and HDMI ports. Additionally, make sure your computer recognizes the external monitor in the display settings and that it is set as the primary or secondary display.
2. Flickering Display: If you experience a flickering display on the external monitor, it could be due to a loose connection or incompatible display settings. Double-check the connections, ensuring they are secure. Adjust the display settings to a compatible resolution and refresh rate for your external monitor. Also, try using a different HDMI cable or USB port to rule out any issues with the hardware.
3. No Audio Output: If you’re not getting audio output through the external display, check that the audio settings are correctly configured. On your computer, navigate to the sound settings and ensure that the audio is set to output through the USB to HDMI adapter or the external display. You may need to select the correct audio device or adjust the volume settings.
4. Display Quality Issues: Poor display quality can be caused by incompatible resolution settings or outdated graphics drivers. Verify that your computer’s graphics drivers are up to date and compatible with the USB to HDMI adapter. Adjust the display settings to match the optimal resolution and refresh rate supported by your external monitor. If necessary, update the display drivers for the monitor, if available.
5. Adapter Overheating: If the USB to HDMI adapter becomes excessively hot, it may indicate an issue with the adapter or improper usage. Ensure that the adapter is not plugged into a malfunctioning USB port or a port that cannot provide sufficient power. Avoid placing the adapter near heat sources or in enclosed spaces that restrict airflow. Consider using an adapter with built-in cooling features or consult the manufacturer if the overheating issue persists.
6. Incompatible Operating Systems: Some USB to HDMI adapters may have limited compatibility with certain operating systems. Before purchasing an adapter, ensure that it supports your specific operating system version. Check the manufacturer’s documentation or website for compatibility information and any necessary driver updates.
If you encounter persistent issues that cannot be resolved through troubleshooting, consult the manufacturer’s support resources or reach out to their customer support for assistance. They can provide more specific guidance based on the adapter model and any known issues. Additionally, seek assistance from online forums or communities where users may have encountered similar problems and found solutions.
By following these troubleshooting tips and seeking appropriate support, you can overcome common issues and ensure the smooth operation of your USB to HDMI adapter, maximizing your display capabilities and enjoying an uninterrupted visual experience.
Conclusion
Using a USB to HDMI adapter unlocks a world of possibilities, allowing you to connect your computer or laptop to an external display and enjoy enhanced visuals and extended screen real estate. Whether you’re giving a presentation, working on complex tasks, or simply enjoying multimedia content, a USB to HDMI adapter can greatly enhance your computing experience.
In this article, we explored what a USB to HDMI adapter is and discussed the benefits it offers. We learned how it provides increased screen real estate, delivers crisp visuals, supports audio transmission, and offers versatile compatibility. Additionally, we provided guidelines for finding the right USB to HDMI adapter, connecting it to your computer and external display, adjusting display settings, and troubleshooting common issues.
When selecting a USB to HDMI adapter, consider factors such as compatibility, display resolution, audio support, portability, and price. Ensure that the adapter works seamlessly with your operating system and computer specifications to avoid any compatibility issues.
Remember to properly connect the USB to HDMI adapter to your computer and external display, and adjust the display settings to suit your preferences and maximize visual quality. Troubleshoot any issues you may encounter, such as no display, flickering, audio problems, or display quality issues. Following these steps will help you troubleshoot and resolve common issues, ensuring a smooth and enjoyable user experience.
In conclusion, a USB to HDMI adapter is a valuable tool that expands your display capabilities and enhances your computing experience. By understanding how to use and optimize the functionality of a USB to HDMI adapter, you can harness the power of external displays and immerse yourself in high-quality visuals and audio. Whether for work, entertainment, or collaboration, a USB to HDMI adapter is a versatile accessory that empowers you to achieve more with your computer or laptop, improving productivity and enriching multimedia experiences.