#
Choosing the Right Mini Projector
Mini projectors are a great way to bring big-screen entertainment wherever you go. Whether you want to enjoy a movie night in the comfort of your own backyard or deliver a professional presentation on the go, choosing the right mini projector is crucial. With the wide variety of options available in the market, finding the perfect one can be overwhelming. However, by considering a few key factors, you can make a well-informed decision.
The first factor to consider is the brightness of the mini projector. Brightness is measured in lumens, and the higher the lumens, the brighter the image will appear. If you plan to use the projector in a dark room, a lower lumen output may suffice. However, if you anticipate using it in brighter environments or during the daytime, opt for a higher lumen output to ensure a clear and vibrant image.
Resolution is another important consideration. The resolution determines the level of detail and clarity in the projected image. The most common resolutions for mini projectors are 1080p and 720p. While 1080p offers sharper and more detailed images, 720p is still considered HD and can deliver satisfactory results. Consider the type of content you plan to project and choose a resolution that suits your needs.
Connectivity options are also worth considering. Most mini projectors come with HDMI and USB ports, allowing you to easily connect various devices, such as laptops, smartphones, and gaming consoles. Some projectors also have Wi-Fi connectivity, enabling wireless streaming from your favorite apps. Assess your connectivity needs and choose a projector that offers the necessary ports and features.
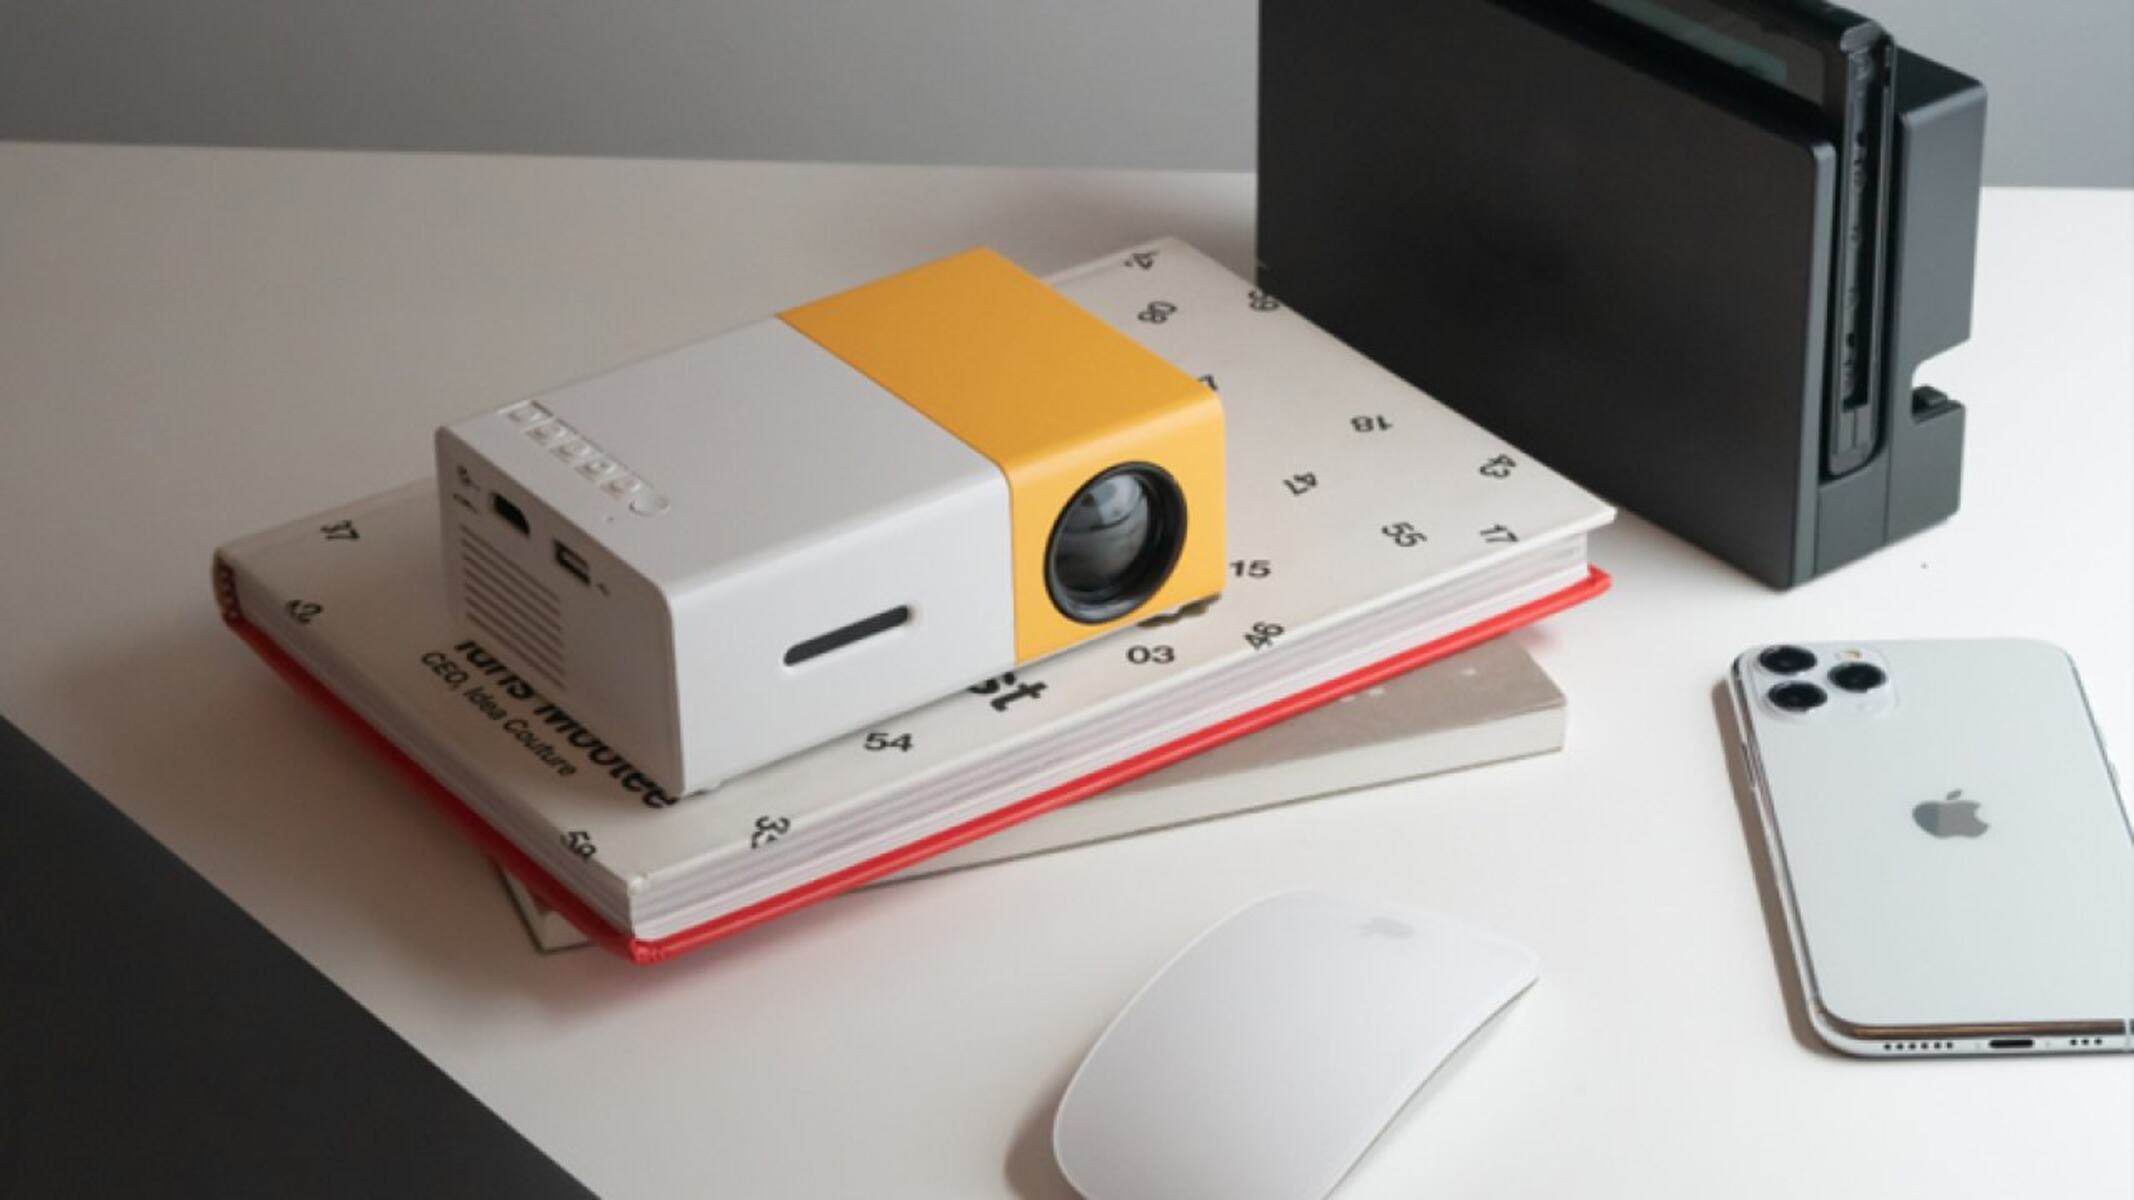
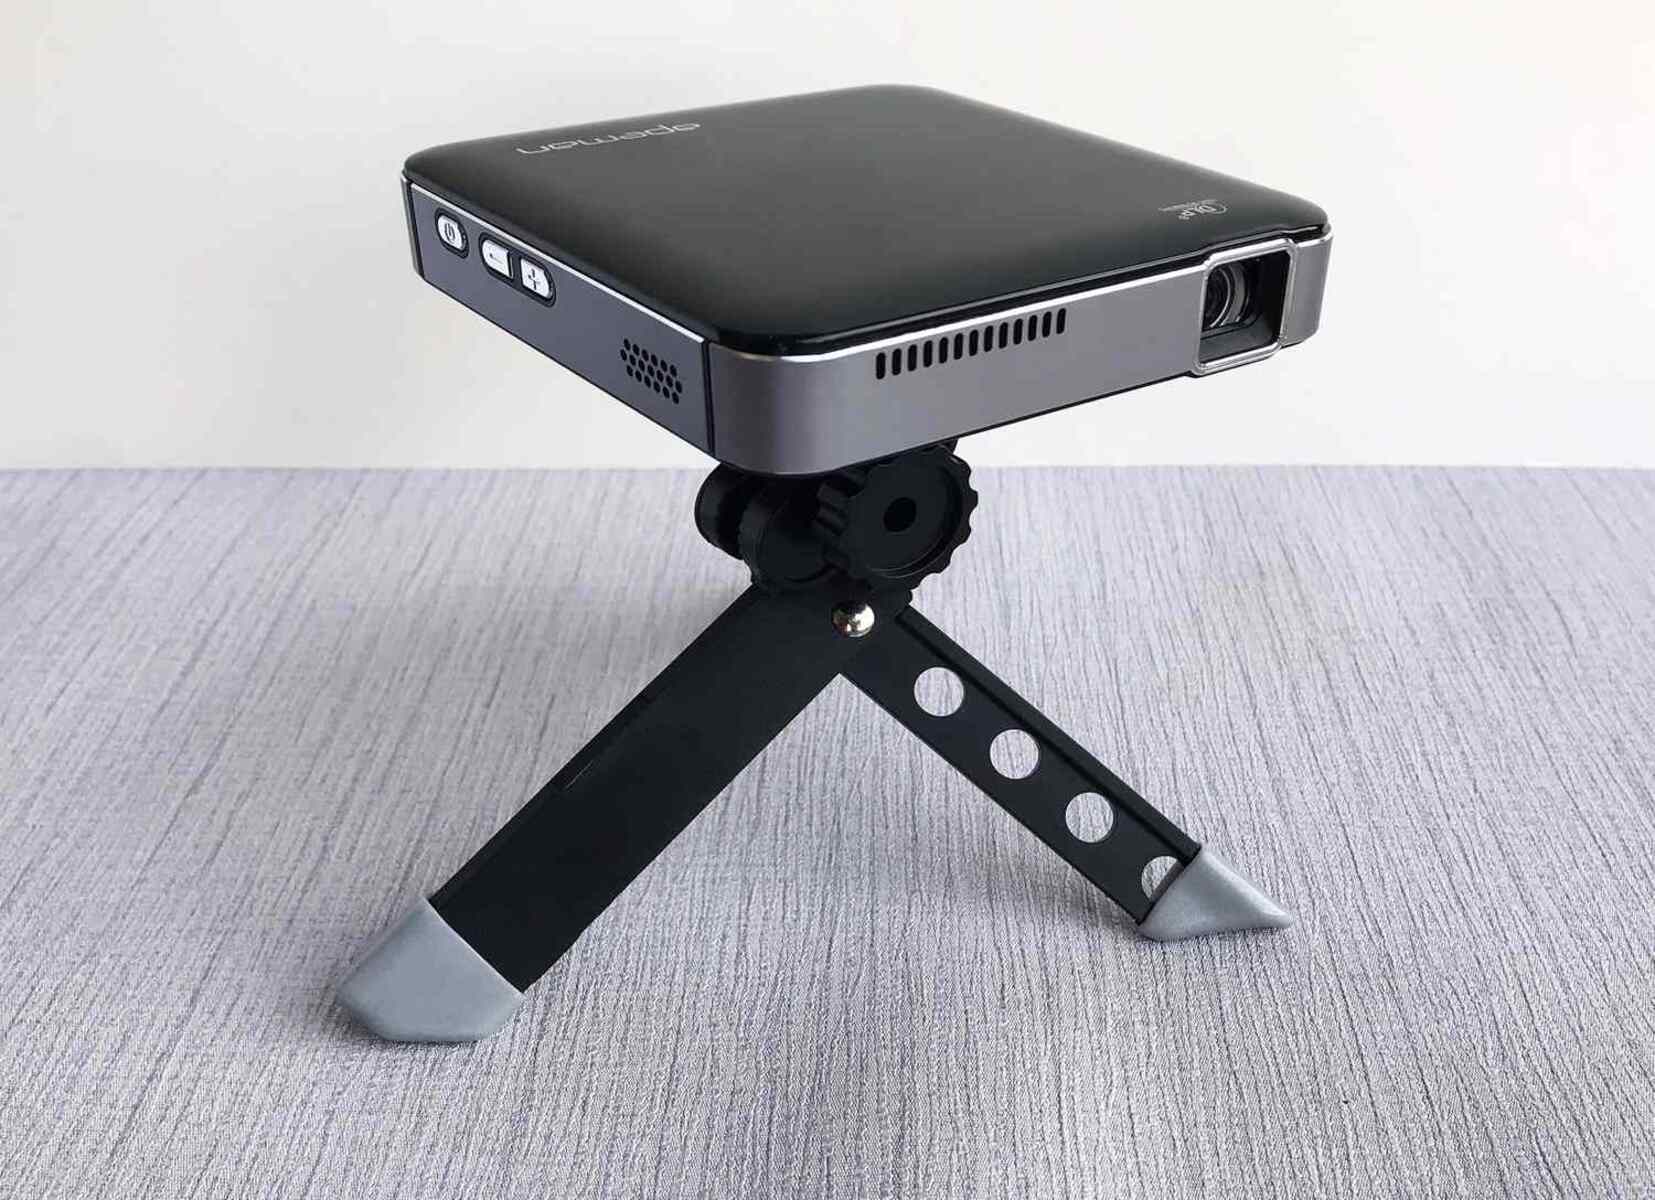
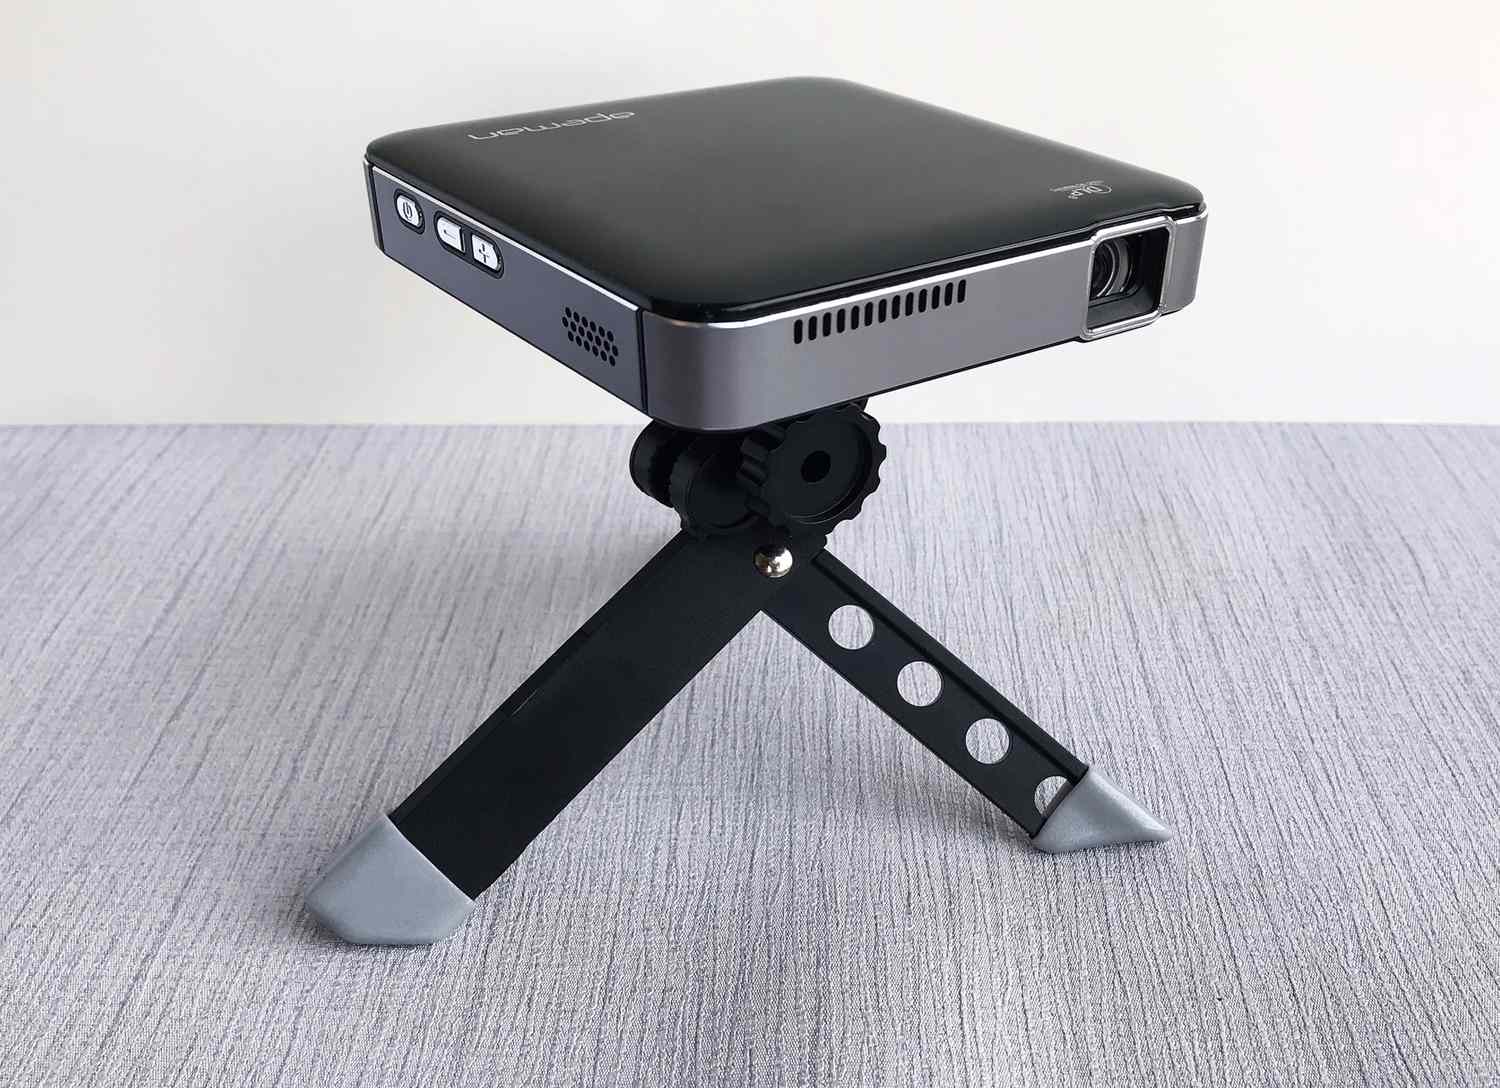
Portability is another factor to take into account. Mini projectors are designed to be compact and lightweight, making them ideal for travel and on-the-go use. Consider the size and weight of the projector, as well as the included carrying case or bag. This will ensure that you can easily transport and set up your mini projector wherever you go.
Lastly, be sure to read reviews and check the warranty before making a final decision. Reviews from other customers can provide valuable insights into the performance and reliability of a particular mini projector. Additionally, a solid warranty will give you peace of mind knowing that you’re protected in case of any defects or malfunctions.
By considering factors such as brightness, resolution, connectivity options, portability, and reading reviews, you can choose the right mini projector that fits your needs and enhances your viewing or presenting experience.
#
Setting Up Your Mini Projector
Setting up your mini projector properly is essential to ensure optimal performance and a satisfying viewing experience. While the specific steps may vary depending on the model you have, here is a general guide to help you get started.
1. Find a suitable location – Choose a location that provides a flat surface and enough distance from the screen or wall. Make sure there is adequate ventilation to prevent the projector from overheating.
2. Unpack the projector – Carefully remove the projector from its packaging and ensure all accessories are included.
3. Connect the power – Plug in the power cord and connect it to a power outlet. Ensure that the voltage matches the requirements of your projector.
4. Turn on the projector – Press the power button on the projector or the remote control to turn it on. Wait for the projector to initialize before proceeding.
5. Adjust the focus and zoom – Use the focus and zoom controls to achieve a clear and sharp image. Rotate the focus ring until the image becomes crisp, and adjust the zoom if necessary.
6. Select the input source – Use the input button on the projector or the remote control to select the desired input source. Common options include HDMI, USB, VGA, or Wi-Fi.
7. Connect the device – Depending on the input source selected, connect your device to the projector using the appropriate cable or wireless connection. Ensure a secure connection and make any necessary adjustments on your device’s settings.
8. Adjust the picture settings – Use the projector’s menu or settings to adjust the picture settings, such as brightness, contrast, color temperature, and aspect ratio. Experiment with these settings to achieve the desired image quality.
9. Position the projector – Adjust the position of the projector to align the image correctly on the screen or wall. Use the projector’s keystone correction feature if needed to correct any distortion caused by an off-center projection.
10. Test and fine-tune – Play a test video or image to ensure that the projection is aligned correctly and the colors appear vibrant. Make any necessary adjustments to the position, focus, or picture settings to achieve the best results.
11. Enjoy your viewing experience – Sit back, relax, and enjoy your favorite movies, shows, or presentations on the big screen that your mini projector provides.
Remember to consult your projector’s user manual for specific instructions and troubleshooting tips. By following these general steps, you can set up your mini projector quickly and start enjoying its benefits.
#
Connecting Your Mini Projector to a Power Source
Before you can start using your mini projector, it’s important to connect it to a power source. Here are the steps to ensure a proper power connection:
1. Check the power requirements – Begin by checking the power requirements of your mini projector. Look for the power input specifications on the device or in the user manual. Ensure that the voltage and frequency match the power supply in your location.
2. Gather the necessary cables and adapters – Make sure you have the appropriate cables and adapters to connect your mini projector to a power source. Most projectors come with a power cord, which typically has a standard AC plug on one end and a specific connector for the projector on the other end. If you’re travelling internationally, you may need an adapter to plug the power cord into foreign outlets.
3. Locate a power outlet – Find a nearby power outlet that is easily accessible and provides the necessary voltage for your mini projector. Make sure the outlet is in good condition and can handle the power load without any issues.
4. Connect the power cord – Insert the power cord’s connector into the designated power input on your mini projector. Ensure a secure and snug fit to prevent accidental disconnection. Then, connect the other end of the power cord to the power outlet.
5. Power on the projector – Once the power cord is securely connected, press the power button on the projector or the remote control to turn it on. Wait for the projector to initialize and power up completely.
6. Check the power indicator – Look for a power indicator light on the projector, which confirms that the unit is receiving power. The light may be located on the control panel or near the power input. If the power indicator does not light up, double-check the power connection and try a different outlet if necessary.
7. Adjust power settings – Some mini projectors may have different power settings or energy-saving options. Refer to the user manual for instructions on adjusting these settings, if desired.
8. Enjoy your projection experience – With your mini projector successfully connected to a power source, you’re now ready to enjoy your favorite movies, presentations, or other media on the big screen.
Always follow safety precautions when connecting your mini projector to a power source. Avoid using damaged or frayed power cords, do not overload power outlets, and ensure proper ventilation to prevent the projector from overheating. Consult the user manual or contact the manufacturer if you encounter any power-related issues or have specific questions about your mini projector’s power requirements.
#
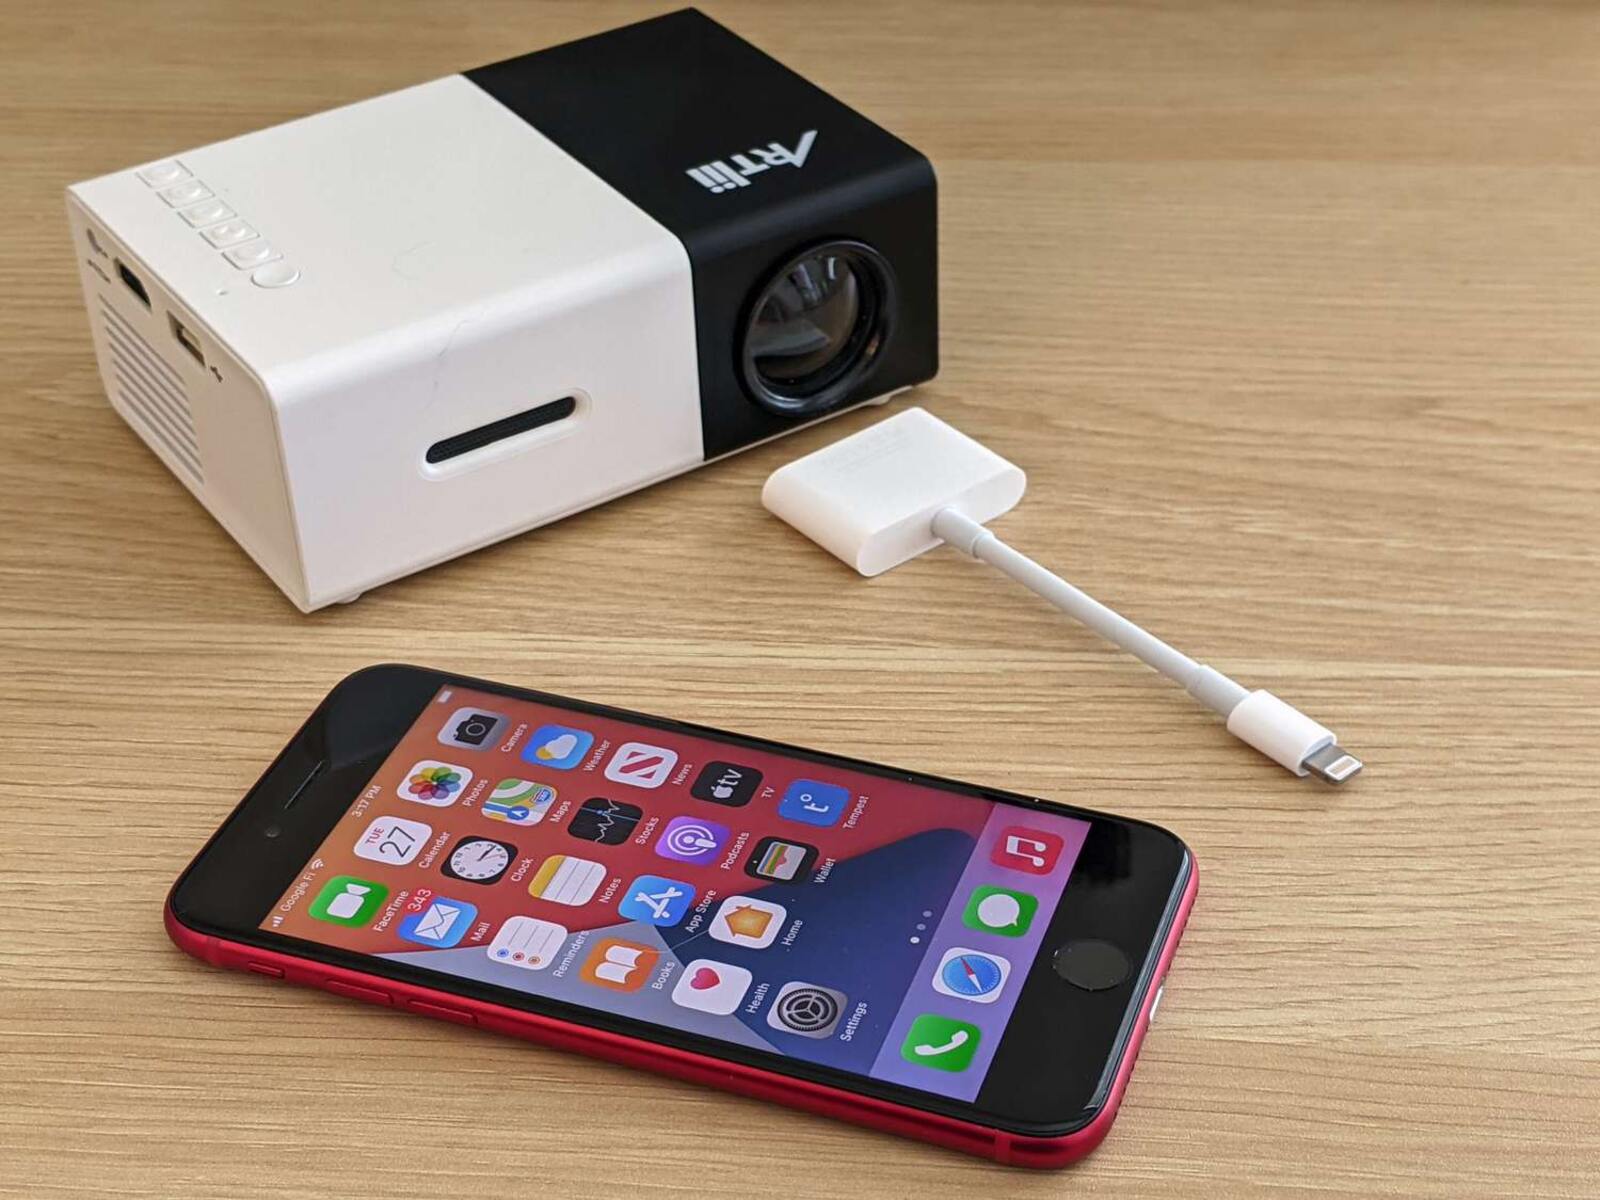
Connecting Your Mini Projector to a Device
Connecting your mini projector to a device allows you to display movies, videos, presentations, and more on the big screen. Here’s how to establish a connection between your mini projector and your device:
1. Determine the connection options – Identify the available connection options on both your mini projector and the device you want to connect. Common connection ports include HDMI, USB, VGA, and Wi-Fi. Ensure that both the mini projector and the device have compatible connection ports.
2. Choose the appropriate cable or wireless option – Depending on the connection options available, choose the appropriate cable or wireless method to establish the connection. For HDMI or VGA connections, a suitable cable will be required. For USB connections, an appropriate USB cable may be needed. To establish a wireless connection, ensure that both the mini projector and the device support Wi-Fi connectivity.
3. Connect the cable or enable the wireless connection – For cable connections, insert one end of the cable into the corresponding port on the mini projector and the other end into the respective port on the device. Make sure the connections are secure. If you’re using a wireless connection, enable the Wi-Fi functionality on both devices and follow the instructions provided in the user manual to establish the connection.
4. Select the input source – On the mini projector, use the input button on the control panel or the remote control to select the input source that corresponds to the connection you made. For example, if you connected your device via HDMI, select the HDMI input source.
5. Adjust the device settings – Depending on the device you’re connecting, you may need to adjust its display settings to ensure compatibility with the mini projector. For instance, you may need to change the display resolution or aspect ratio. Refer to the device’s user manual for instructions on adjusting these settings.
6. Power on the device – Turn on the device you want to connect, such as a laptop or smartphone, and wait for it to boot up completely. The mini projector should detect the device and display the content accordingly.
7. Adjust the projector settings – Use the projector’s menu or settings to adjust the picture settings, such as brightness, contrast, and color temperature, to suit your preferences. Experiment with these settings to achieve the best image quality.
8. Test the connection – Play a video or display an image on the connected device to test the connection and ensure that the content is correctly projected onto the big screen. Make any necessary adjustments to the device or projector settings to achieve the desired results.
By following these steps, you can successfully connect your mini projector to a device and enjoy a larger-than-life viewing experience.
#
Adjusting the Projector Settings
Adjusting the projector settings is essential to ensure optimal image quality and customize the viewing experience according to your preferences. Here are some key projector settings that you can adjust:
1. Brightness and Contrast – The brightness and contrast settings determine the overall brightness and clarity of the projected image. Adjust the brightness to achieve a well-lit image without compromising the details, and adjust the contrast to enhance the differentiation between light and dark areas in the image.
2. Color Temperature – Color temperature refers to the warmth or coolness of the projected image. You can adjust the color temperature to make the image appear warmer or cooler, depending on your preference or the content being displayed.
3. Aspect Ratio – The aspect ratio determines the ratio of the width to the height of the projected image. Adjust the aspect ratio to match the content being displayed. For example, if you’re watching a widescreen movie, select the 16:9 aspect ratio to avoid black bars on the top and bottom of the screen.
4. Keystone Correction – Keystone correction helps to correct the distortion caused by an off-center projection. If the projector is not positioned perfectly perpendicular to the screen or wall, the image can appear trapezoidal. Adjust the keystone correction setting to straighten the image vertically and horizontally.
5. Image Sharpness – Use the focus control or sharpness setting to adjust the sharpness of the projected image. This will ensure that the image is crisp and well-defined.
6. Color Calibration – Some projectors offer color calibration settings that allow you to fine-tune the color accuracy and saturation. Adjusting these settings can help achieve more natural and vibrant colors.
7. Noise Reduction – Many projectors have noise reduction settings that can minimize the visual noise or artifacts in the image, especially in low-quality video sources. Experiment with these settings to find the right balance between reducing noise and preserving image details.
8. Image Mode/Presets – Projectors often have different image modes or presets, such as cinema mode, presentation mode, or gaming mode. These presets optimize the image settings for specific scenarios or content types. Select the appropriate mode based on your viewing needs or the content being displayed.
9. Zoom and Screen Size – Adjust the zoom setting to enlarge or reduce the size of the projected image to fit your screen or desired viewing size. Some projectors also have screen size settings that help you calculate the optimal distance between the projector and the screen for different screen sizes.
10. Save and Restore Settings – If your projector has the option to save user settings, take advantage of this feature. It allows you to save your preferred settings and quickly restore them for future use.
Always refer to your projector’s user manual for specific instructions on adjusting these settings, as the menu options and terminology may vary. Additionally, take the time to experiment and fine-tune the settings to achieve the best possible projected image for your viewing pleasure.
#
Positioning and Focusing the Image
Positioning and focusing the image correctly is crucial to ensure a clear, sharp, and well-centered projection. Follow these steps to achieve the optimal image placement:
1. Select an appropriate viewing surface – Choose a flat and smooth surface, such as a wall, projector screen, or a white sheet, to project the image onto. Make sure the surface is clean and free from any wrinkles or imperfections that might distort the projected image.
2. Position the projector – Place the projector on a level surface at the desired distance from the screen or wall. For larger images, the projector will need to be farther away, while for smaller images, it can be closer. Refer to the projector’s user manual for the optimal projection distance for your desired screen size.
3. Adjust the height and angle – If needed, use a tripod or adjust the projector’s tilt or height to ensure that the projection is aligned with the viewing surface. This will help avoid any skewed or distorted images.
4. Power on the projector – Turn on the projector and wait for it to warm up and display the startup screen or logo. This will allow you to see the projection and make adjustments more easily.
5. Focus the image – Use the focus ring on the projector lens to adjust the sharpness and clarity of the projected image. Rotate the focus ring until the image appears crisp and well-defined. If your projector has an autofocus feature, follow the instructions in the user manual to enable and calibrate it.
6. Check the image size – Adjust the projector’s zoom or distance from the screen to achieve the desired image size. Use the projector’s screen size or image size settings, if available, to calculate the appropriate distance based on your desired screen size.
7. Keystone correction – If the projector is not centered or perpendicular to the screen, use the keystone correction feature to adjust the shape and alignment of the image. This will help eliminate any trapezoidal distortion caused by the projection angle.
8. Test the image quality – Play a test video or display a high-resolution image to check the color accuracy, brightness, and overall quality of the projected image. Make any necessary adjustments to the projector’s settings or the positioning to optimize the image quality.
9. Fine-tune the image – Adjust the focus, position, and angle of the projector as needed to achieve the best possible image quality. Take your time to make small adjustments until you are satisfied with the result.
Remember to refer to your projector’s user manual for specific instructions and recommendations regarding positioning, focusing, and adjusting the image. This will ensure that you make the most out of your mini projector and enjoy a fantastic projection experience.
#
Using the Mini Projector in Different Environments
One of the great advantages of a mini projector is its versatility, allowing you to use it in various environments and settings. Here are some tips on how you can make the most of your mini projector in different scenarios:
1. Indoor Home Entertainment – Transform your living room into a home theater by setting up your mini projector and projecting movies, TV shows, or streaming content onto a blank wall or a projector screen. Create a cozy ambiance with dim or ambient lighting to enhance the viewing experience.
2. Outdoor Movie Nights – Take advantage of the portable nature of your mini projector by organizing outdoor movie nights. Set up a white sheet, an inflatable screen, or even project onto the side of a building. Ensure you have a powerful enough projector to handle ambient light and consider using outdoor speakers for better audio quality.
3. Presentations and Business Meetings – Impress your clients or deliver engaging presentations by using your mini projector in a professional setting. Connect it to your laptop or smartphone and project slides, charts, or multimedia content onto a screen or wall. Consider using a portable projection screen for a more professional setup.
4. Educational and Classroom Setting – Enhance the learning experience in classrooms or educational settings with a mini projector. Project educational videos, multimedia content, or interactive lessons onto a large screen or wall to engage students and make the material more visually appealing.
5. Outdoor Adventures and Camping – Bring entertainment to your outdoor adventures by using your mini projector to watch movies or TV shows under the stars. Set up a portable projection screen or use the side of your camper or tent as a makeshift screen. Ensure you have a reliable power source such as a portable generator or battery pack.
6. Gaming and Sports Events – Connect your gaming console or streaming device to your mini projector and immerse yourself in a larger-than-life gaming experience. Project sports events onto a screen or wall and invite friends over for a game night or sports viewing party.
7. Parties and Events – Take your parties and events to the next level by adding a mini projector to the mix. Use it to display photo slideshows, music videos, or create an interactive visual experience with customized visuals. Adjust the projector settings to match the mood and atmosphere of the event.
8. Travel and On-the-Go – Enjoy your mini projector while traveling by using it to watch movies or shows in your hotel room, or create a mobile outdoor theater during camping trips. Compact and lightweight, mini projectors are perfect for on-the-go entertainment.
Remember to consider the lighting conditions and ambient noise of the environment you are using the mini projector in. Dim or control the lighting to improve image quality, and use external speakers or headphones in noisy environments to ensure clear audio.
With its versatility and portability, your mini projector can be an excellent companion for various activities and settings, bringing entertainment and visual experiences to new heights.
#
Troubleshooting Common Issues
While mini projectors are generally reliable and easy to use, you may encounter some common issues that can affect the performance or functionality. Here are some troubleshooting tips to help you resolve common problems:
1. No Power or No Projection
– Check if the power cable is securely connected to the projector and power outlet.
– Ensure that the power outlet is functioning correctly by plugging in another device.
– Verify that the projector’s power indicator light is on, indicating that it is receiving power.
– If the projector has a standby mode, make sure it is not activated.
– Check if the lamp or LED bulb needs to be replaced, as it may be burnt out.
2. No Audio
– Ensure that the audio cables are properly connected to both the projector and the audio source.
– Adjust the volume settings on both the projector and the connected audio device.
– Check if the audio source is playing correctly by connecting a different device or using headphones.
– Verify that the projector’s built-in speaker is not muted or turned off.
3. Distorted or Blurry Image
– Adjust the focus ring on the projector to sharpen the image.
– Verify that the projector is positioned correctly and perpendicular to the screen or wall.
– Use the projector’s keystone correction feature to adjust the image’s shape and alignment.
– Check if the projection surface is clean and free of any obstructions or wrinkles.
– Ensure that the resolution settings on the projector and the connected device match.
4. Poor Image Quality or Color Reproduction
– Adjust the brightness, contrast, and color settings on the projector to improve image quality.
– Ensure that the projector lens is clean and free from dust or smudges.
– Evaluate the lighting conditions in the room and dim or control the ambient light for better image reproduction.
– Check if the content being projected has proper resolution and quality.
– If using a wall as the projection surface, ensure that the wall color does not interfere with accurate color reproduction.
5. Remote Control Malfunctions
– Replace the batteries in the remote control if it is not responding.
– Check for any obstacles between the remote control and the projector that may be blocking the signal.
– Ensure that the remote control is within the effective range of the projector and not too far away.
– Clean the remote control’s infrared sensor to remove any dust or debris that might be obstructing the signal.
6. Overheating
– Ensure that the projector is placed in a well-ventilated area with sufficient airflow.
– Check if the projector’s air filters are clean and unclogged, and clean them if necessary.
– Avoid operating the projector in environments with excessive heat or direct sunlight.
– Do not block the projector’s exhaust vents or place objects that may obstruct airflow around the projector.
If you encounter any other issues or the troubleshooting tips do not resolve the problem, consult the user manual or contact the manufacturer’s customer support for further assistance. They will be able to provide specific guidance tailored to your mini projector model.
#
Maintaining and Cleaning Your Mini Projector
Maintaining and cleaning your mini projector regularly is essential to ensure optimal performance and prolong its lifespan. Here are some tips on how to keep your mini projector in great condition:
1. Read the User Manual
– Familiarize yourself with the specific maintenance instructions provided in the user manual for your mini projector model. It may contain important information and guidelines specific to your device.
2. Keep the Projector Cool
– Prevent overheating by ensuring proper ventilation around the projector. Avoid placing it in confined spaces or near heat sources. Ensure that the air vents are not blocked, and regularly clean the projector’s filters to remove dust and debris that may impede airflow.
3. Handle with Care
– When moving or transporting the mini projector, handle it with care to avoid any bumps or impacts that may damage internal components or the projection lens. Use the protective case or bag that came with the projector, if applicable.
4. Clean the Lens
– Maintain the clarity and quality of the projected image by cleaning the lens regularly. Use a soft, lint-free cloth or a lens cleaning kit specifically designed for optical surfaces. Gently wipe the lens in a circular motion to remove any smudges, fingerprints, or dust particles. Avoid using harsh chemicals or abrasive materials that can scratch the lens.
5. Check and Clean the Projection Surface
– Clean the projected surface, such as a screen or wall, regularly to remove dust, dirt, and any other debris that may affect the image quality. Use a soft, dry cloth or a screen cleaning solution, if necessary, to gently wipe the surface.
6. Inspect and Clean the Exterior
– Regularly inspect the exterior of the mini projector for any dust, dirt, or smudges. Use a soft cloth slightly dampened with water or a mild, non-abrasive cleaning solution to wipe the exterior surfaces. Be gentle and avoid getting moisture into any openings.
7. Regularly Update Firmware and Software
– Check for firmware or software updates for your mini projector from the manufacturer’s website. Regularly updating the firmware and software can improve performance and add new features to your device.
8. Avoid Excessive Usage
– Give your mini projector periodic breaks to prevent overuse and minimize the risk of overheating. Follow the manufacturer’s guidelines for recommended usage time and cooldown periods.
9. Store Properly
– When not in use, store your mini projector in a cool, dry place, free from excessive dust and moisture. Use the original packaging or a protective case to provide additional protection against dust and potential damage.
10. Service and Maintenance
– If you encounter any technical issues or performance problems, refer to the user manual for troubleshooting tips or contact the manufacturer’s customer support for assistance and, if needed, professional servicing.
By following these maintenance practices and keeping your mini projector clean and well-maintained, you can ensure a prolonged lifespan and optimal performance for years of enjoyable use.
#
Tips and Tricks for Getting the Most out of Your Mini Projector
To maximize your enjoyment and make the most out of your mini projector, here are some helpful tips and tricks:
1. Optimize Lighting Conditions
– For the best image quality, use your mini projector in a dimly lit or dark room. Avoid using it in brightly lit environments as it can affect the visibility and contrast of the projected image.
2. Use a Projector Screen
– Invest in a portable projector screen or create a DIY screen using a white sheet or a blank wall painted with a reflective material. Projecting onto a proper screen can enhance the image’s brightness, clarity, and overall viewing experience.
3. Experiment with Placement
– Move the projector around and experiment with different placement options to find the optimal distance and angle for the best image size and focus. Take advantage of keystone correction settings to adjust for any skewing caused by an off-center projection.
4. Consider External Speakers
– Although mini projectors often have built-in speakers, the audio quality may be limited. Consider connecting external speakers or a sound system for a more immersive and enjoyable audio experience.
5. Utilize Keystone Correction
– Take advantage of the keystone correction feature to adjust the shape and alignment of the image if the mini projector cannot be positioned perfectly perpendicular to the screen or wall. This helps to ensure a more accurate and visually pleasing projection.
6. Connect to a Streaming Device
– Connect a streaming device, such as a Chromecast, Roku, or Amazon Fire Stick, to your mini projector to access a wide range of streaming apps and services. This expands your content options and allows you to stream movies, TV shows, and other multimedia directly from the internet.
7. Keep the Projector Updated
– Check for firmware or software updates regularly from the manufacturer’s website or through the projector’s menu system. Keeping the projector’s software up to date ensures the latest features, bug fixes, and performance enhancements.
8. Create a Home Theater Experience
– Enhance your movie nights by creating a home theater experience. Dim the lights, add comfortable seating or pillows, and create a dedicated space for your projector setup. Consider adding popcorn, snacks, and even a projector screen for a complete cinematic experience.
9. Adjust Image Settings for Different Content
– Experiment with the projector’s image settings to find the best options for different content types. Adjust brightness, contrast, color temperature, and other settings to optimize the image quality based on the media you are watching or the environment you are in.
10. Share and Collaborate
– Use your mini projector as a collaborative tool by connecting it to your laptop or mobile device during business meetings, group projects, or classroom sessions. Share presentations, documents, or spreadsheets on a larger screen, allowing everyone to view and contribute more effectively.
By following these tips and tricks, you can make the most out of your mini projector and enhance your viewing or presenting experience, whether it’s for entertainment, education, or professional purposes.