Introduction
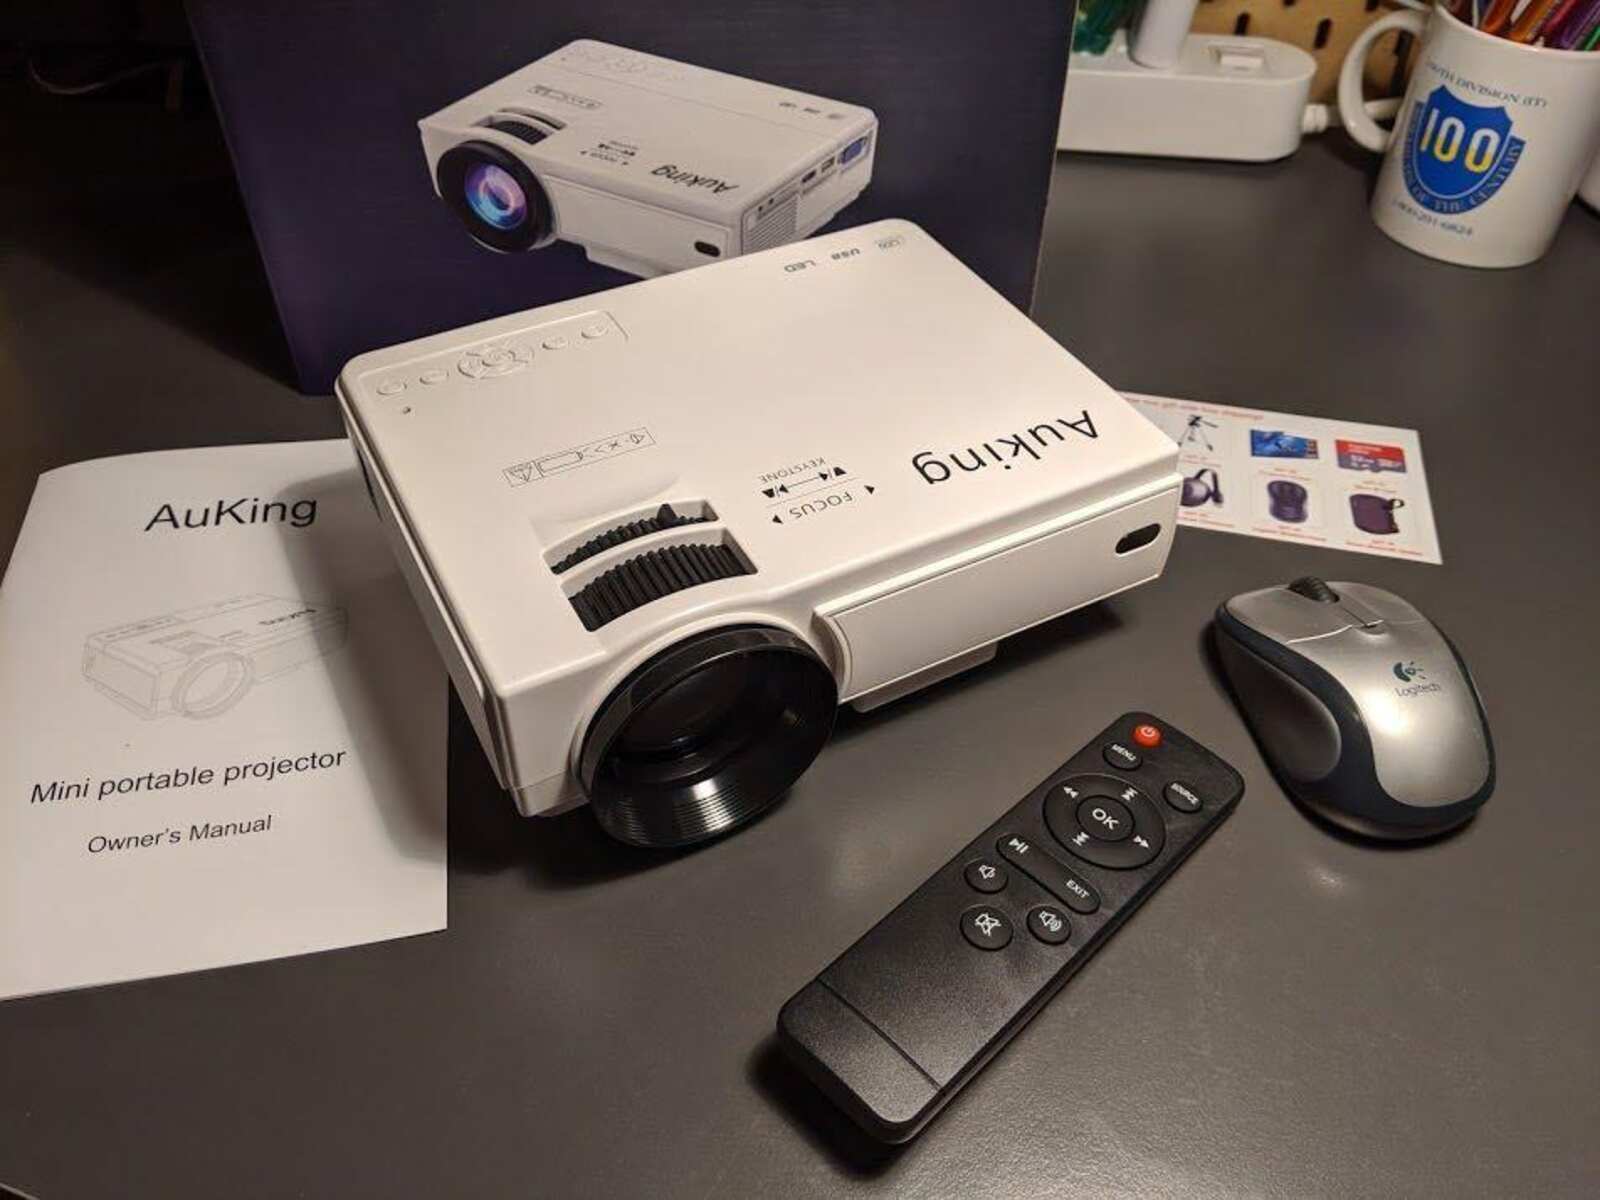
Welcome to the world of portable entertainment with the Auking Mini Projector! This compact and versatile device allows you to enjoy your favorite movies, shows, and games on a big screen experience right in the comfort of your own home. Whether you want to host a movie night with friends and family or take your gaming to the next level, the Auking Mini Projector is the perfect companion.
With its user-friendly interface and easy setup, you’ll be able to transform any room into a personal theater in no time. This article will guide you through the steps of setting up the Auking Mini Projector, connecting different devices, adjusting image and sound settings, and using the remote control to navigate through the various features. We’ll also provide troubleshooting tips for common issues that you may encounter.
Before we delve into the details, it’s important to mention that the Auking Mini Projector is renowned for its high-quality visual and audio performance. It supports 1080p Full HD resolution, providing crisp and vibrant images, while the built-in stereo speakers deliver immersive sound. Whether you’re watching a movie or playing a game, you can expect an exceptional audiovisual experience.
So, whether you’re a movie enthusiast, a gaming aficionado, or simply looking for a versatile entertainment solution, the Auking Mini Projector has got you covered. Get ready to take your viewing experience to the next level with this portable powerhouse!
Setting up the Auking Mini Projector
Setting up the Auking Mini Projector is a breeze and requires just a few simple steps. Here’s a step-by-step guide to get you started:
- Find a suitable location: Choose a location where you want to set up the projector. It’s best to have a flat surface or a projector screen for optimal viewing.
- Connect the power cord: Plug in the power cord of the Auking Mini Projector to a power outlet. Ensure that the power source is stable and reliable.
- Power on the projector: Press the power button located on the top or side of the projector to turn it on. Wait for the projector to boot up, which usually takes a few seconds.
- Adjust the focus: Use the focus wheel or dial on the projector to adjust the focus of the image. Rotate it until you achieve a clear and sharp picture.
- Position the projector: Place the projector at an appropriate distance from the screen or wall, depending on the size of the image you want to project. Refer to the user manual for recommended distances.
- Use the tripod (optional): If you have a tripod stand, you can attach the projector to it for added stability and adjustability. This is especially useful if you plan to move the projector around or need to position it at different angles.
Once you have successfully set up the Auking Mini Projector, you’re ready to dive into the world of immersive entertainment. The compact size of this projector makes it easy to carry and set up in different locations, giving you the flexibility to enjoy your favorite content wherever you go.
Now that the projector is up and running, it’s time to connect your devices and explore the wide range of features and capabilities it offers. In the next section, we’ll walk you through the process of connecting various devices to the Auking Mini Projector.
Connecting devices to the projector
One of the great features of the Auking Mini Projector is its ability to connect to a variety of devices, allowing you to enjoy your favorite content from multiple sources. Here’s how to connect your devices to the projector:
- HDMI connection: Connect one end of an HDMI cable to the HDMI port on your device (such as a laptop, DVD player, or gaming console) and the other end to the HDMI input port on the Auking Mini Projector. Once connected, select the HDMI input source on the projector to display the content from your device.
- USB connection: If your device supports USB connectivity, you can connect it to the USB port on the Auking Mini Projector using a USB cable. This allows you to play media files directly from a USB flash drive or external hard drive.
- AV connection: The Auking Mini Projector also provides AV connectivity for older devices or those without HDMI ports. Use the AV cable (included in the projector package) to connect the AV output of your device to the AV input on the projector. Switch the input source to AV on the projector to view the content.
- Micro SD card: If you have media files stored on a micro SD card, you can insert it into the designated slot on the Auking Mini Projector. The projector will automatically detect the card and allow you to browse and play the files.
- Wireless connection: The Auking Mini Projector supports wireless connectivity via Wi-Fi or Bluetooth. You can connect your smartphone, tablet, or laptop wirelessly to the projector by accessing the wireless settings on both devices and following the on-screen instructions.
Once your device is connected to the Auking Mini Projector, you can enjoy an immersive and larger-than-life viewing experience. Whether you’re streaming movies, playing games, or giving a presentation, the projector offers seamless connectivity options to suit your needs.
Now that you know how to connect your devices, let’s move on to the next section, where we’ll explore how to adjust the image and sound settings for optimal viewing and audio experience.
Adjusting image and sound settings
To ensure the best possible viewing experience with the Auking Mini Projector, it’s important to adjust the image and sound settings according to your preferences. Here are some tips on how to optimize the visual and audio settings:
- Aspect ratio: The Auking Mini Projector offers different aspect ratios, such as 16:9 or 4:3, to accommodate different content. Adjust the aspect ratio in the projector’s settings to match the aspect ratio of the content you are watching for the correct display proportions.
- Keystone correction: If the projector is not perfectly aligned with the screen or wall, you may notice a distorted image. Use the keystone correction feature, accessible through the projector’s settings, to adjust and align the image properly.
- Brightness and contrast: Adjust the brightness and contrast settings to enhance the image quality. These settings can be found in the projector’s menu and allow you to customize the brightness level and the contrast ratio of the projected image.
- Color temperature: Fine-tune the color temperature settings to achieve the desired color accuracy and warmth. The projector provides various preset options, such as Warm, Cool, or Auto, to suit different preferences.
- Sound mode and equalizer: The Auking Mini Projector features different sound modes, such as Standard, Music, Movie, or Sports, to optimize the audio experience for different types of content. Additionally, you can use the built-in equalizer to adjust the audio frequencies according to your liking.
- External speakers: While the Auking Mini Projector has built-in stereo speakers, you may prefer a more immersive audio experience. In that case, you can connect external speakers or headphones to the audio output port of the projector for enhanced sound quality.
Experiment with these settings to find the perfect combination that suits your preferences and enhances your viewing experience. It’s worth noting that the optimal settings may vary depending on the lighting conditions and the type of content you are watching.
Now that you have adjusted the image and sound settings, let’s move on to the next section, where we’ll explain how to use the remote control to navigate through the various features of the Auking Mini Projector.
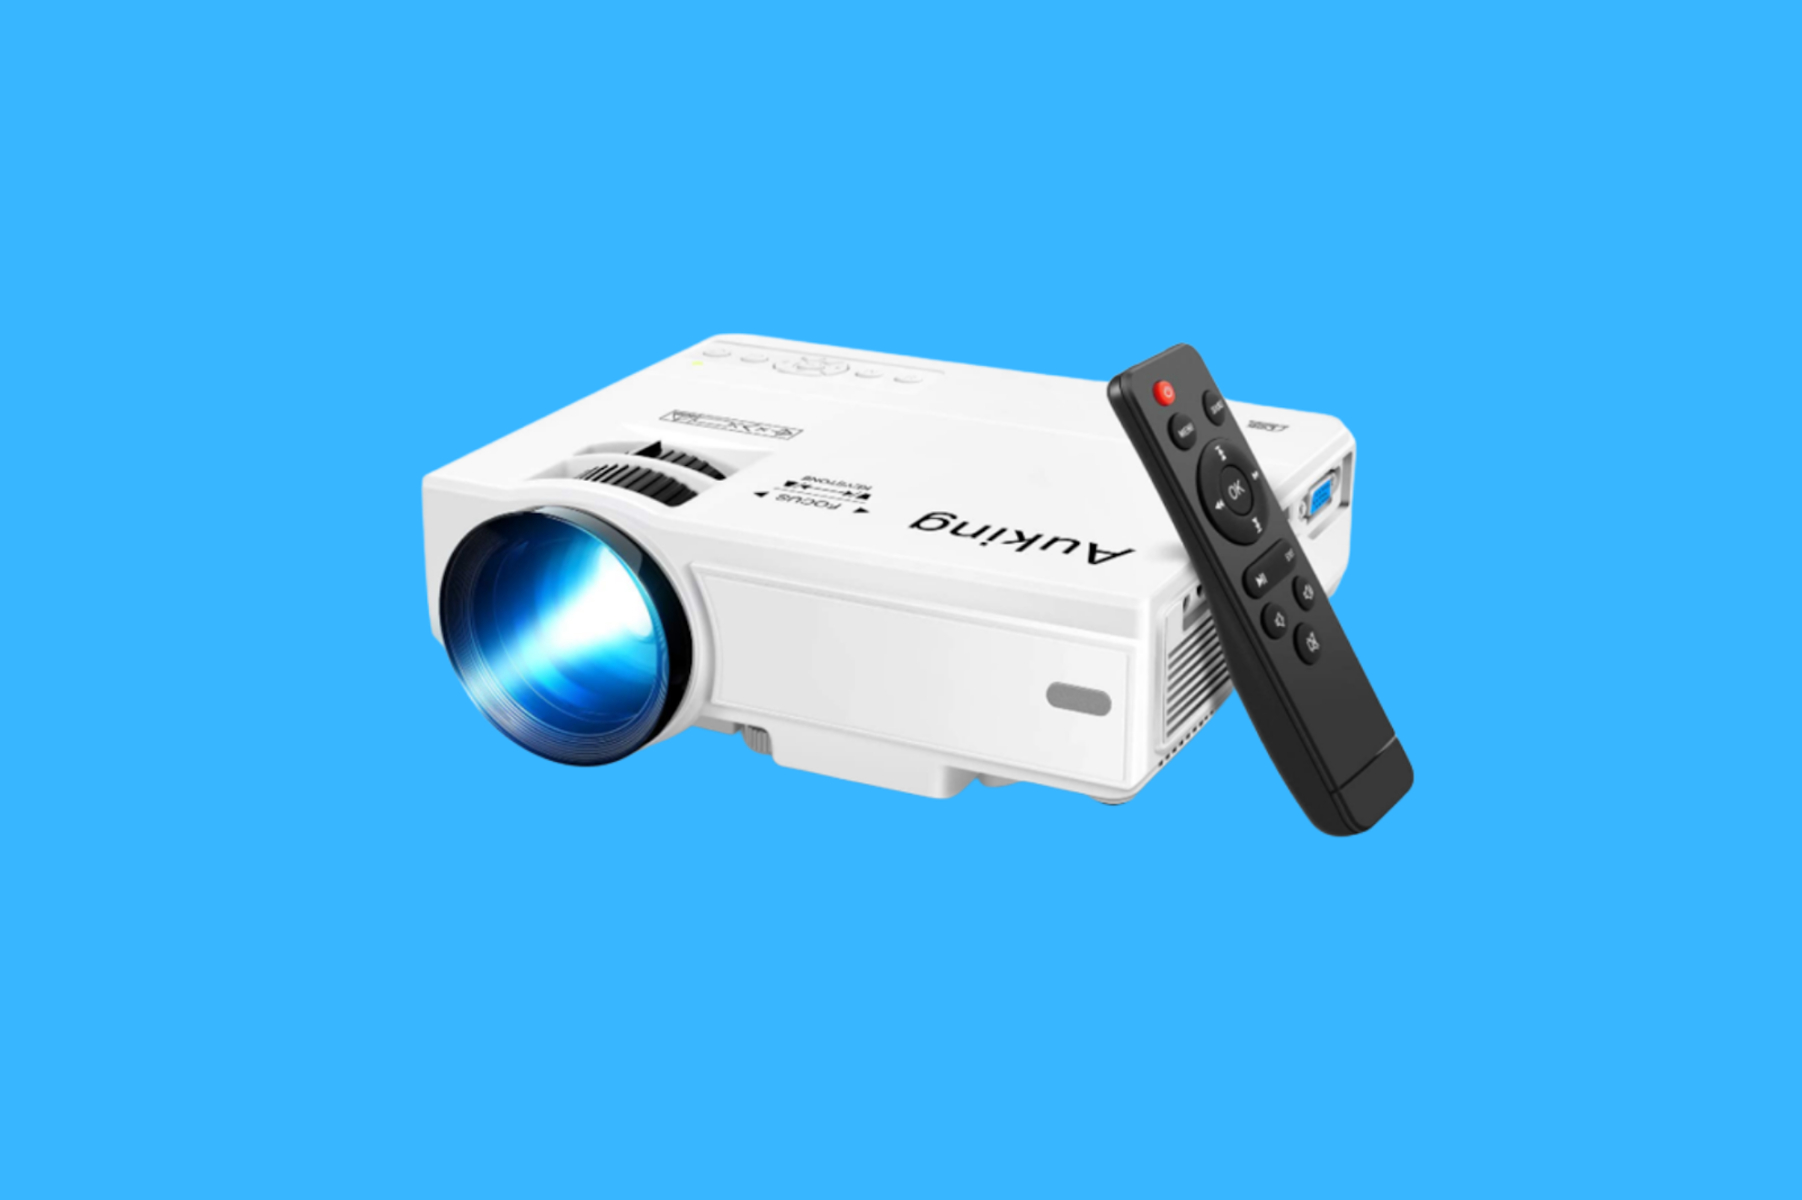
Using the remote control
The remote control of the Auking Mini Projector is your gateway to conveniently navigate through its various features and settings. Here’s a guide on how to use the remote control effectively:
- Power on/off: Press the power button to turn on the projector. To turn it off, press and hold the power button until the projector powers down.
- Navigation: Use the arrow keys on the remote control to navigate through menus and options. The up and down arrows allow you to scroll through the options, while the left and right arrows help you navigate within a selected menu.
- Selecting options: Press the enter or OK button to select an option or confirm a setting change.
- Volume control: Adjust the volume by using the volume up and volume down buttons on the remote control.
- Input sources: Use the source or input button to switch between different input sources, such as HDMI, USB, AV, or micro SD card.
- Menu and settings: Press the menu or settings button to access the projector’s main menu and explore various settings and customization options.
- Playback controls: If you’re playing media files, the remote control may include playback control buttons like play, pause, stop, fast forward, and rewind.
- Shortcut buttons: The remote control may have dedicated shortcut buttons for commonly used features, such as brightness, keystone correction, aspect ratio, or sound modes.
Make sure to point the remote control towards the infrared receiver on the front or top of the projector for optimal signal reception. If the remote control is unresponsive, check the batteries and replace them if necessary.
The remote control provides a convenient and user-friendly way to navigate through the Auking Mini Projector’s features without having to physically interact with the projector. With just a few clicks, you can effortlessly adjust settings, change inputs, and control playback.
Now that you’re familiar with using the remote control, let’s proceed to the next section, where we’ll explore how to play media and access settings on the Auking Mini Projector.
Playing media and accessing settings
The Auking Mini Projector offers a variety of ways to play your favorite media and access the projector’s settings. Here’s a breakdown of how to do it:
Playing media:
- USB playback: Connect a USB flash drive or an external hard drive with media files to the USB port of the projector. Use the remote control to navigate to the USB input source and browse through the files. Select the file you want to play, and the projector will start playing the media.
- Micro SD card playback: Insert a micro SD card containing media files into the micro SD card slot on the projector. Access the micro SD card input source on the projector using the remote control and select the desired file to begin playback.
- HDMI or AV playback: Connect your device, such as a laptop, gaming console, or DVD player, to the projector using an HDMI or AV cable. Select the corresponding input source on the projector and play the media on your connected device. The projector will project the content onto the screen or wall.
- Wireless streaming: If your device supports wireless connectivity, you can mirror or cast your screen to the projector wirelessly. Connect your device and the projector to the same Wi-Fi network, access the wireless settings on your device, and follow the on-screen instructions to establish the connection. Once connected, you can stream videos, play games, or display presentations wirelessly on the projector.
Accessing settings:
- Menu navigation: Use the remote control to access the projector’s main menu by pressing the menu or settings button. From there, you can navigate through different settings and options using the arrow keys and select buttons.
- Image and display settings: Within the settings menu, you can adjust various visual parameters like brightness, contrast, color temperature, keystone correction, and aspect ratio. Experiment with these settings to achieve the desired image quality.
- Sound settings: Customize the audio experience by accessing the sound settings. You can adjust the volume, select sound modes, and fine-tune the equalizer settings to enhance the audio output.
- Advanced settings: The projector may offer advanced settings like network settings (for Wi-Fi connectivity), language preferences, power saving options, and firmware updates. Explore these settings to personalize your projector experience.
By playing media and accessing settings on the Auking Mini Projector, you can customize your viewing experience and enjoy your preferred content with ease. Now that you’re familiar with these features, let’s move on to the next section where we’ll provide some troubleshooting tips for common issues you may encounter.
Troubleshooting common issues
While the Auking Mini Projector is designed to provide a seamless entertainment experience, you may encounter a few common issues along the way. Here are some troubleshooting tips to help you resolve them:
- No power: If the Auking Mini Projector is not powering on, ensure that the power cord is securely connected to a power outlet. Check that the outlet is working by plugging in another device. If the issue persists, try using a different power cord or contact customer support for assistance.
- No display or dim image: If the projected image is not appearing or is dim, double-check that the lens cap is removed and the focus is properly adjusted. Additionally, make sure that the room is dark enough for the projector to display a clear image. Adjust the brightness and contrast settings in the projector’s menu if needed.
- No sound or distorted audio: If there is no sound or the audio output is distorted, make sure that the volume is not muted and the cables or wireless connections are properly connected. Try adjusting the volume levels on both the projector and the connected device. If using external speakers, ensure they are properly connected to the projector’s audio output.
- Keystone distortion: If you notice a trapezoidal or distorted image, use the keystone correction feature in the projector’s settings to align and correct the image shape. Adjust the keystone correction until the image appears rectangular and properly proportioned.
- Device connection issues: If you’re having trouble connecting your device to the projector, ensure that the cables are securely plugged in and the correct input source is selected on the projector. If using wireless connectivity, check that both the projector and the device are connected to the same Wi-Fi network and follow the wireless connection instructions carefully.
If you’re still experiencing issues or the troubleshooting tips mentioned above don’t resolve the problem, consult the user manual for more specific guidance or contact the customer support of Auking for further assistance.
By following these troubleshooting tips, you can overcome common issues and get back to enjoying your favorite content with the Auking Mini Projector. Now that we’ve covered the troubleshooting aspect, let’s wrap up this guide.
Conclusion
The Auking Mini Projector offers a convenient and immersive way to enjoy your favorite movies, shows, games, and presentations on a big screen without the hassle of traditional setups. With its compact size and user-friendly interface, it’s a versatile and portable entertainment solution for any occasion.
In this guide, we walked you through the process of setting up the Auking Mini Projector, connecting various devices, adjusting image and sound settings, using the remote control, playing media, accessing settings, and troubleshooting common issues. By following these steps, you can maximize the performance and enjoyment of your projector.
Remember to choose a suitable location, connect your devices via HDMI, USB, AV, or wireless streaming, and adjust the image and sound settings to your liking. Take advantage of the remote control for easy navigation and playback control. Explore the wide range of media options and customize the settings according to your preferences.
If you encounter any issues, refer to the troubleshooting section for solutions or contact Auking’s customer support for further assistance. They will be able to guide you through any challenges you may face along the way.
Get ready to transform any space into a personal theater and elevate your entertainment experience with the Auking Mini Projector. Whether you’re hosting movie nights, gaming sessions, or professional presentations, this portable powerhouse is sure to impress both you and your audience.
So, gather your loved ones, prepare your favorite content, and let the Auking Mini Projector create memorable moments of immersive viewing for everyone to enjoy. Lights off, curtains up, and let the show begin!