Introduction
Welcome to the ultimate guide on how to connect PowerPoint to a projector! Whether you’re giving a presentation at work, school, or a conference, having the ability to project your PowerPoint slides onto a larger screen can greatly enhance your audience’s visual experience. In this guide, we will walk you through the step-by-step process of connecting your computer to a projector and adjusting display settings to ensure a seamless presentation. We’ll also explore how to utilize the powerful Presenter View feature in PowerPoint, as well as troubleshoot common issues that may arise during the setup process.
Whether you’re a tech-savvy professional or a beginner, don’t worry – we’ve got you covered. By following the instructions in this guide, you’ll be able to connect your PowerPoint presentation to a projector with confidence and deliver a captivating presentation that leaves a lasting impression.
So, let’s dive right in and explore how to connect PowerPoint to a projector!
What You Need
Before you embark on setting up your PowerPoint presentation with a projector, it’s essential to ensure that you have all the necessary equipment. Here’s a list of what you’ll need:
- A Projector: You’ll need a projector that is compatible with your computer and has the necessary ports for connectivity. If you don’t own a projector, you can often rent one from local electronics stores or borrow one from your workplace or educational institution.
- A Computer: Make sure you have a laptop or desktop computer that has a video output port. Most modern computers have HDMI, VGA, or DisplayPort outputs, but it’s crucial to check the available ports on your computer and ensure compatibility with the projector.
- A Video Cable: To connect your computer to the projector, you’ll need a video cable that matches the output port on your computer and the input port on the projector. HDMI and VGA cables are the most common options, so make sure you have the appropriate cable for your setup.
- Power Cables: Ensure that you have the necessary power cables for both the projector and your computer. It’s essential to have a stable power source for the proper functioning of the equipment.
- Remote Control: Some projectors come with remote controls for convenient operation during presentations. Check if your projector includes a remote control and make sure it’s available and working properly.
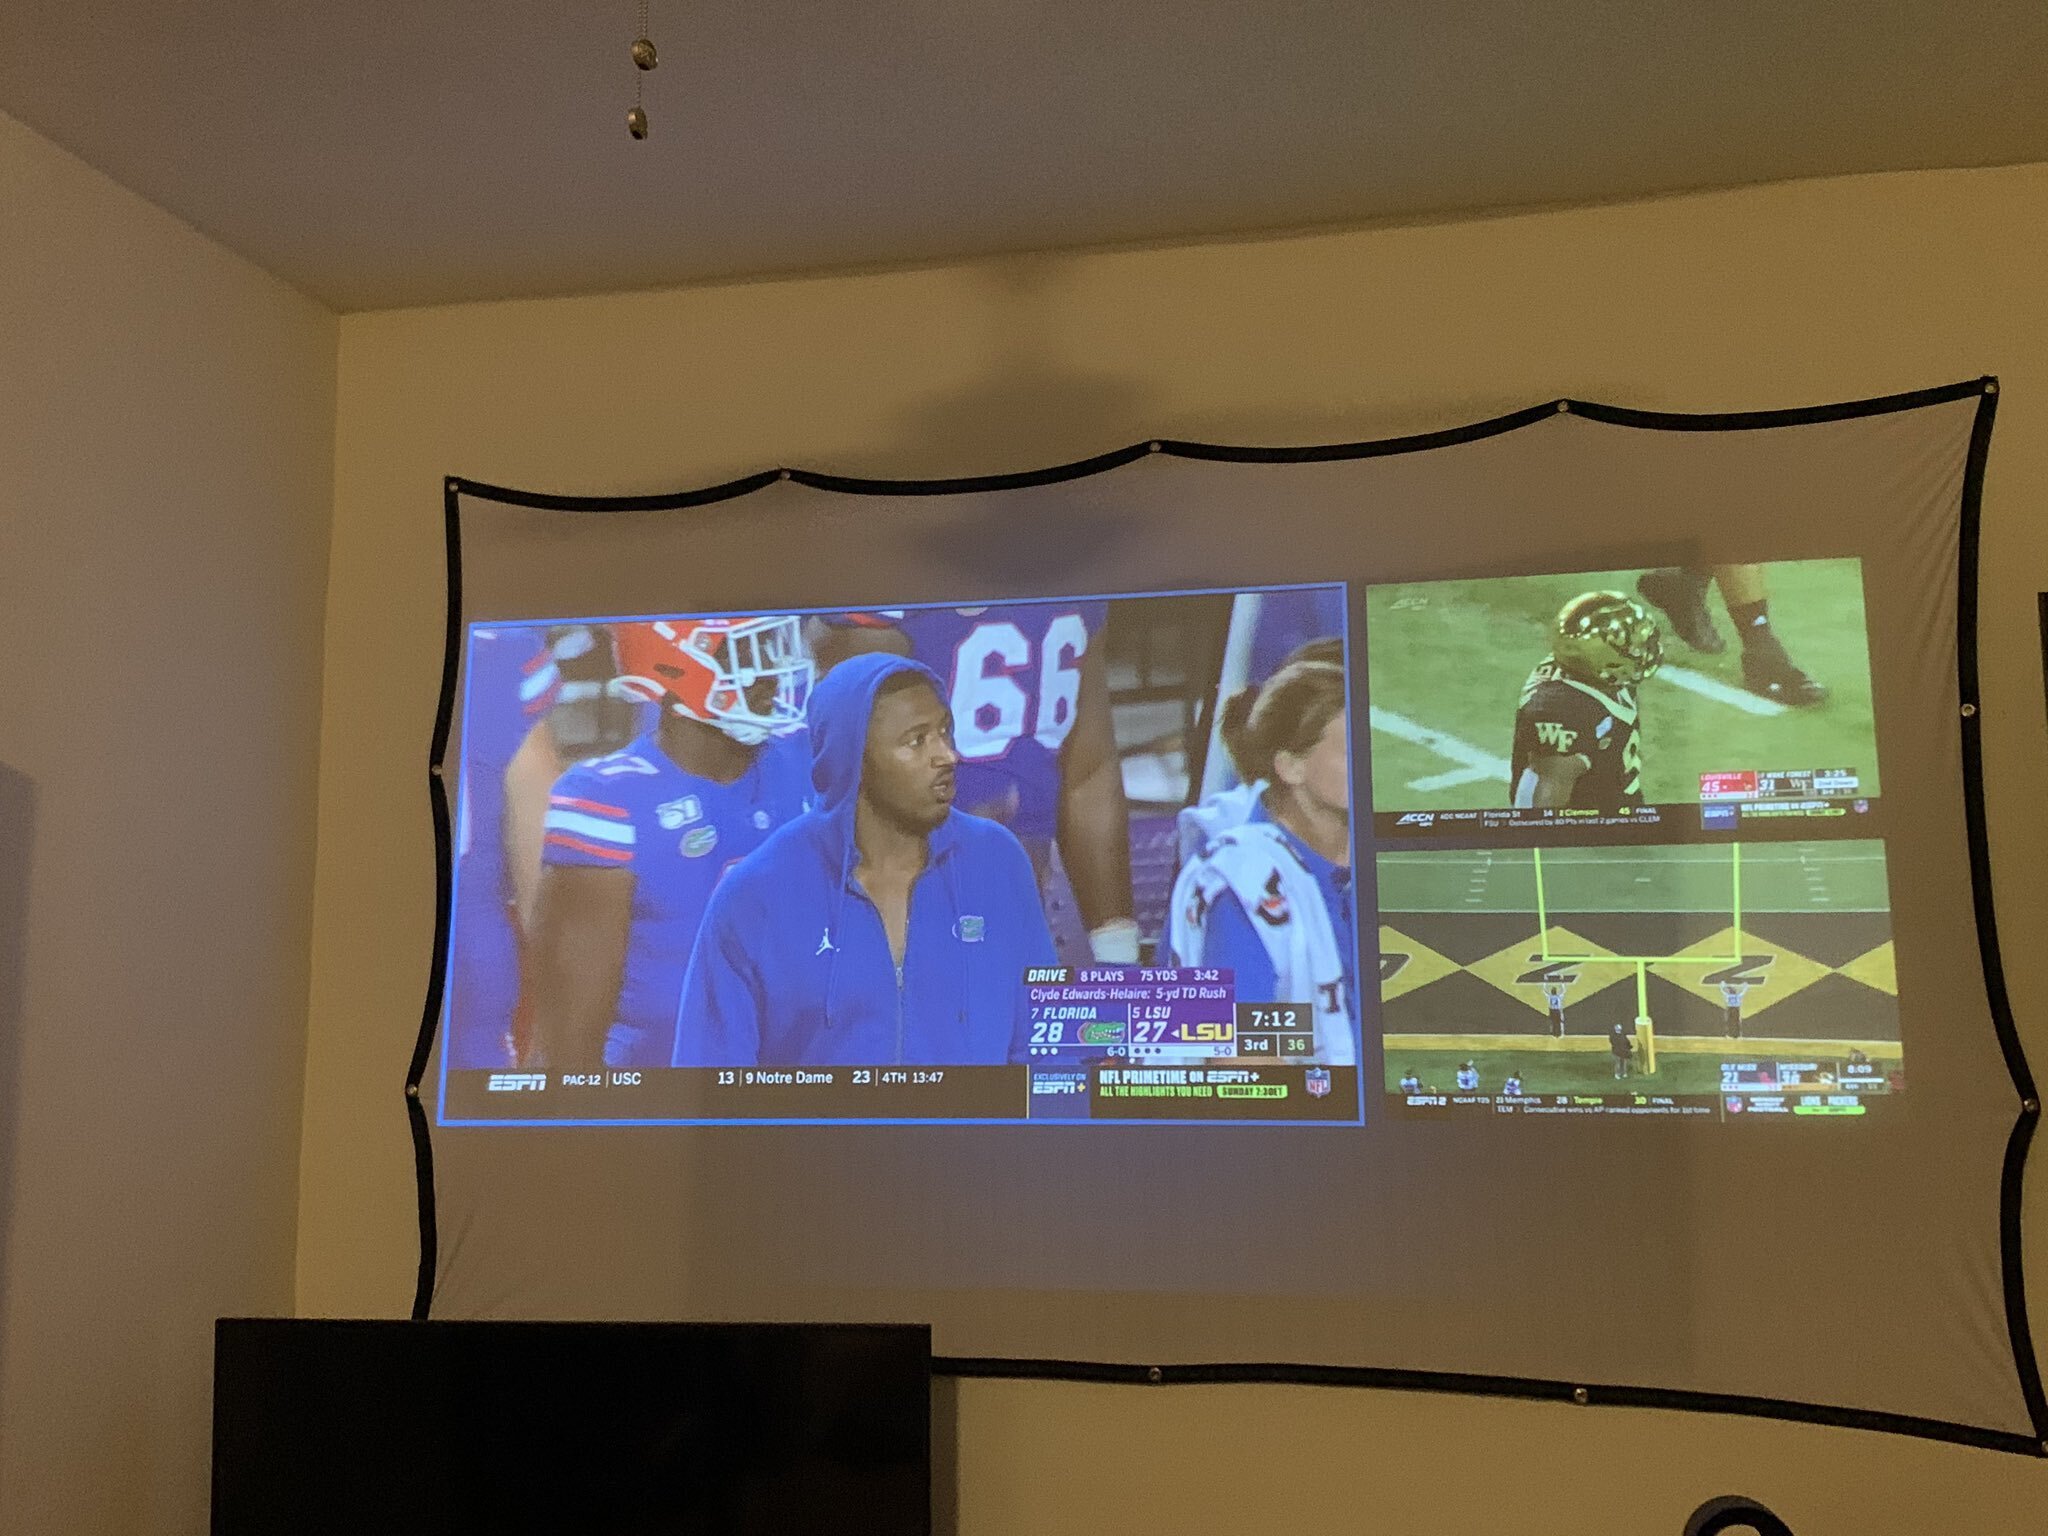
- Projector Screen: While not absolutely necessary, having a projector screen can greatly enhance the visibility of your presentation. If you don’t have a dedicated projector screen, you can easily project onto a blank wall or a white sheet for temporary use.
Once you have gathered all the necessary equipment, you’re ready to connect your PowerPoint to a projector and create an immersive presentation experience. Let’s move on to the next section to learn how to connect the projector to your computer.
Connecting the Projector to Your Computer
Now that you have gathered all the required equipment, it’s time to connect the projector to your computer. Follow these step-by-step instructions for a smooth setup:
- Power off your computer: Before making any connections, ensure that your computer is turned off to avoid any potential damage to the ports or devices.
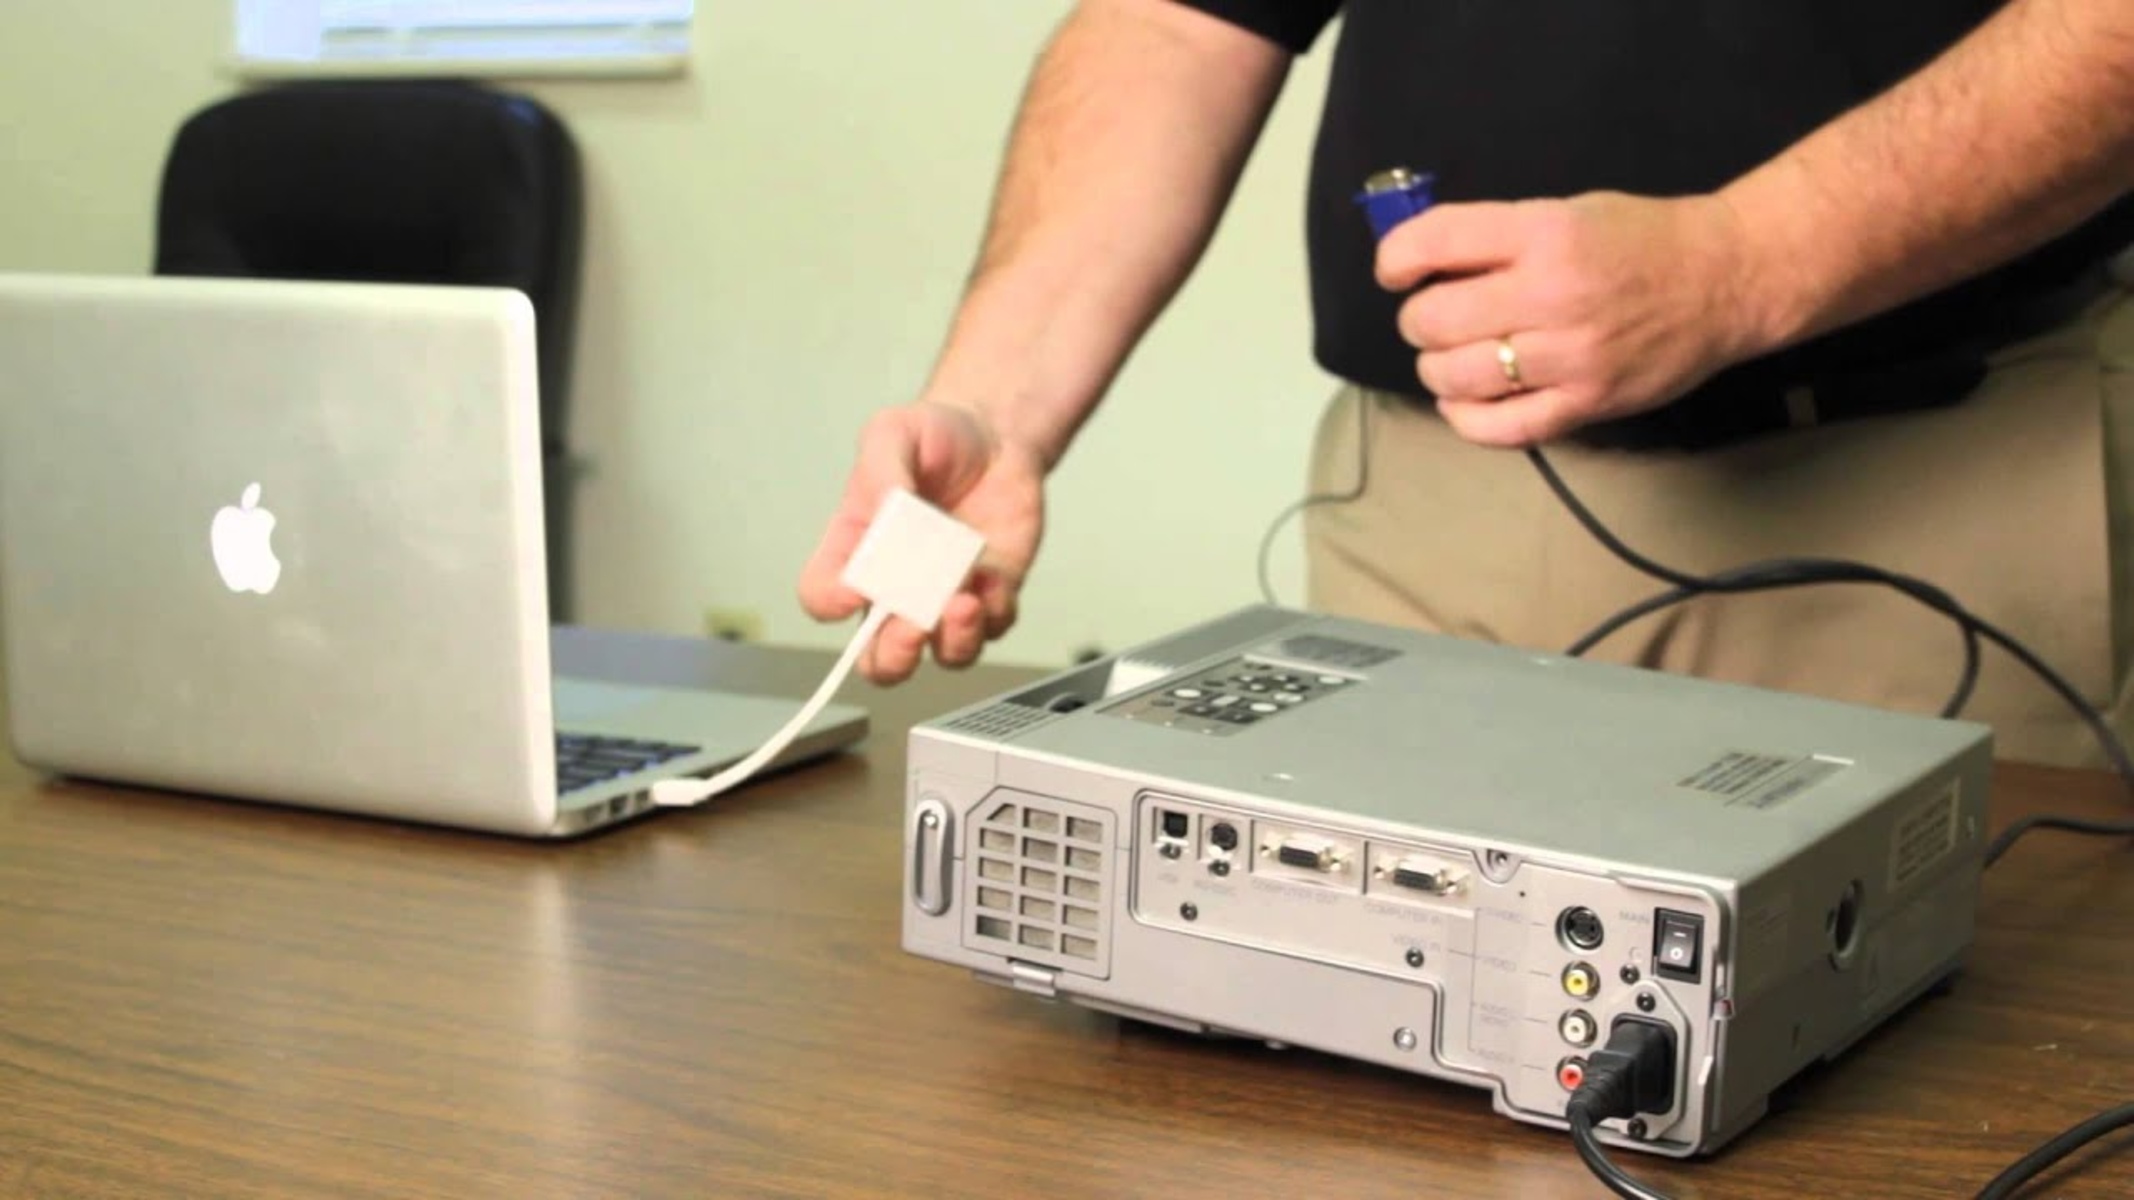
- Locate the video output port on your computer: Look for the HDMI, VGA, or DisplayPort output port on your computer. It is usually located on the side or back of the laptop, or on the back of the desktop tower. Note the type of port you have since you will need this information to choose the appropriate cable.
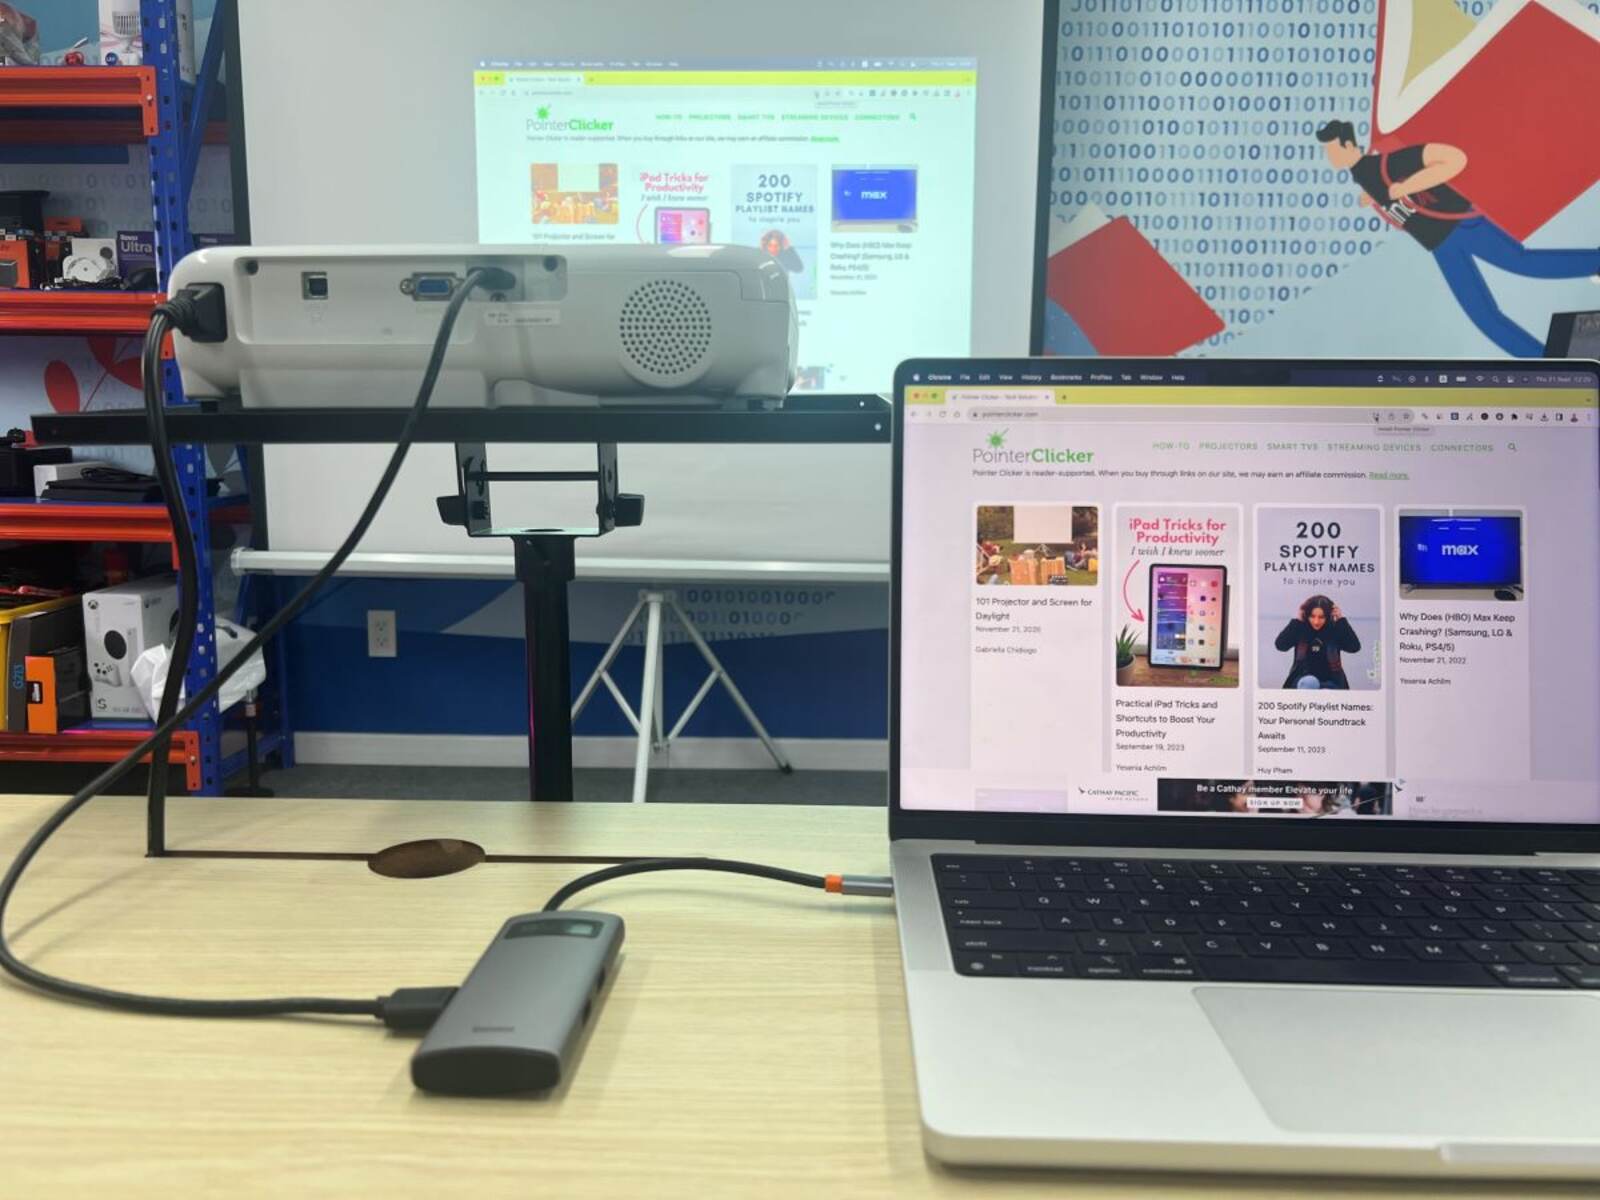
- Connect the video cable to the computer: Take one end of the video cable and insert it into your computer’s video output port. Make sure it is securely connected.
- Connect the other end of the video cable to the projector: Take the other end of the video cable and plug it into the corresponding input port on the projector. Again, ensure that the connection is secure.
- Power on the projector: Plug in the projector and turn it on using the power button or remote control. Wait for the projector to warm up and display the startup screen or logo.
- Power on your computer: Once the projector has started up, power on your computer. It will detect the connected projector and adjust the display settings automatically in most cases.
That’s it! You have successfully connected your projector to your computer. The projector should now display the content from your computer screen. If you don’t see anything on the projector, check that the correct input source is selected on the projector, and ensure that both the computer and projector are powered on.
Now, let’s move on to the next section to adjust the display settings and optimize your PowerPoint presentation for the projector.
Adjusting Display Settings
Once you have successfully connected your projector to your computer, it’s important to adjust the display settings to ensure that your PowerPoint presentation looks its best on the projected screen. Follow these steps to optimize the display settings:
- Open Control Panel or System Preferences: Depending on your operating system, navigate to the Control Panel on a Windows computer or System Preferences on a Mac.
- Select “Display” or “Displays”: In the Control Panel or System Preferences, look for the “Display” or “Displays” option and click on it.
- Select the projector display: On the Display settings screen, you should see two displays listed: your computer’s display and the connected projector. Select the projector display by clicking on it.
- Choose the display mode: Next, choose how you want your PowerPoint presentation to be displayed on the projector. You can choose between “Duplicate” (mirroring your computer display onto the projector) or “Extend” (extending your computer display to the projector).
- Adjust the resolution: Set the resolution for the projector display based on the recommended or native resolution of your projector. Higher resolutions can provide crisper and clearer visuals, but make sure the chosen resolution is supported by both your computer and the projector.
- Make additional display settings adjustments: Depending on your preferences and specific requirements, you can also adjust other display settings like brightness, color temperature, and screen orientation to optimize the projected image.
Once you have made the necessary display settings adjustments, click “Apply” or “OK” to save the changes. Your PowerPoint presentation should now be displayed properly on the projector. Take a moment to preview your slides and ensure that everything appears as desired.
Now, let’s explore how to make the most of PowerPoint’s Presenter View feature, which can greatly enhance your presentation delivery.
Using Presenter View
PowerPoint’s Presenter View is a powerful tool that allows you to see your speaker notes, upcoming slides, and control various presentation features while your slides are being projected on the screen. Here’s how to make the most of Presenter View:
- Start your slideshow: Open your PowerPoint presentation and start the slideshow by clicking on the “Slide Show” tab and selecting “From Beginning” or pressing the F5 key.
- Activate Presenter View: Once the slideshow starts, right-click anywhere on the slideshow screen and select “Presenter View” from the context menu. Alternatively, you can navigate to the “Slide Show” tab and click on the “Presenter View” option.
- Presenter View layout: Presenter View will now open on your computer screen, while the projected screen will show the slideshow. On your computer screen, you will see your current slide, speaker notes, a timer, and other helpful tools.
- Speaker notes: Use the speaker notes section to view detailed notes about each slide. This helps you stay on track and deliver your presentation smoothly while referring to your key points.
- Next slide preview: The next slide preview allows you to see what slide is coming up next, enabling you to prepare for transitions or refer to specific content without interrupting the flow of your presentation.
- Slide navigation: Presenter View offers intuitive controls for navigating between slides. You can use the arrow keys, your mouse wheel, or the navigation toolbar to move back and forth through your slides.
- Annotation tools: Presenter View includes annotation tools that allow you to draw or highlight certain areas on your slides. This feature can be particularly useful when emphasizing specific points or illustrating concepts during your presentation.
- Other features: Explore additional features in Presenter View, such as pointer options, pen tools, and the ability to zoom in on specific slide content for closer examination.
Utilizing Presenter View can enhance your presentation delivery by providing you with valuable tools to manage and engage with your audience effectively. Take some time to familiarize yourself with the features and make the most of this powerful tool.
Now, let’s move on to the next section to troubleshoot common issues that you may encounter during the PowerPoint and projector setup process.
Troubleshooting Common Issues
While connecting PowerPoint to a projector is generally a straightforward process, it’s not uncommon to encounter some common issues along the way. Here are a few troubleshooting steps to fix common problems:
- No signal on the projector: If the projector doesn’t display anything, double-check the connections between the computer and the projector. Ensure both devices are powered on and that the correct input source is selected on the projector. Try unplugging and reconnecting the video cable.
- Duplicate screen not working: If you chose the “Duplicate” display mode but the projector isn’t mirroring your computer screen, go to the display settings and confirm that you have selected the projector display as the primary monitor.
- Incorrect screen resolution: If the projected image appears distorted or doesn’t fit the screen properly, adjust the resolution settings on the computer. Experiment with different resolutions until you find one that matches the native resolution of the projector.
- No sound from the projector: If you’re not hearing any audio from the projector, ensure that the audio cable is properly connected from the computer to the projector. Additionally, check the audio settings on your computer to make sure the correct audio output is selected.
- Image quality issues: If the projected image appears blurry, dim, or has other quality issues, try adjusting the projector’s focus, brightness, and contrast settings. Additionally, ensure that the projector lens is clean and free from dust or smudges.
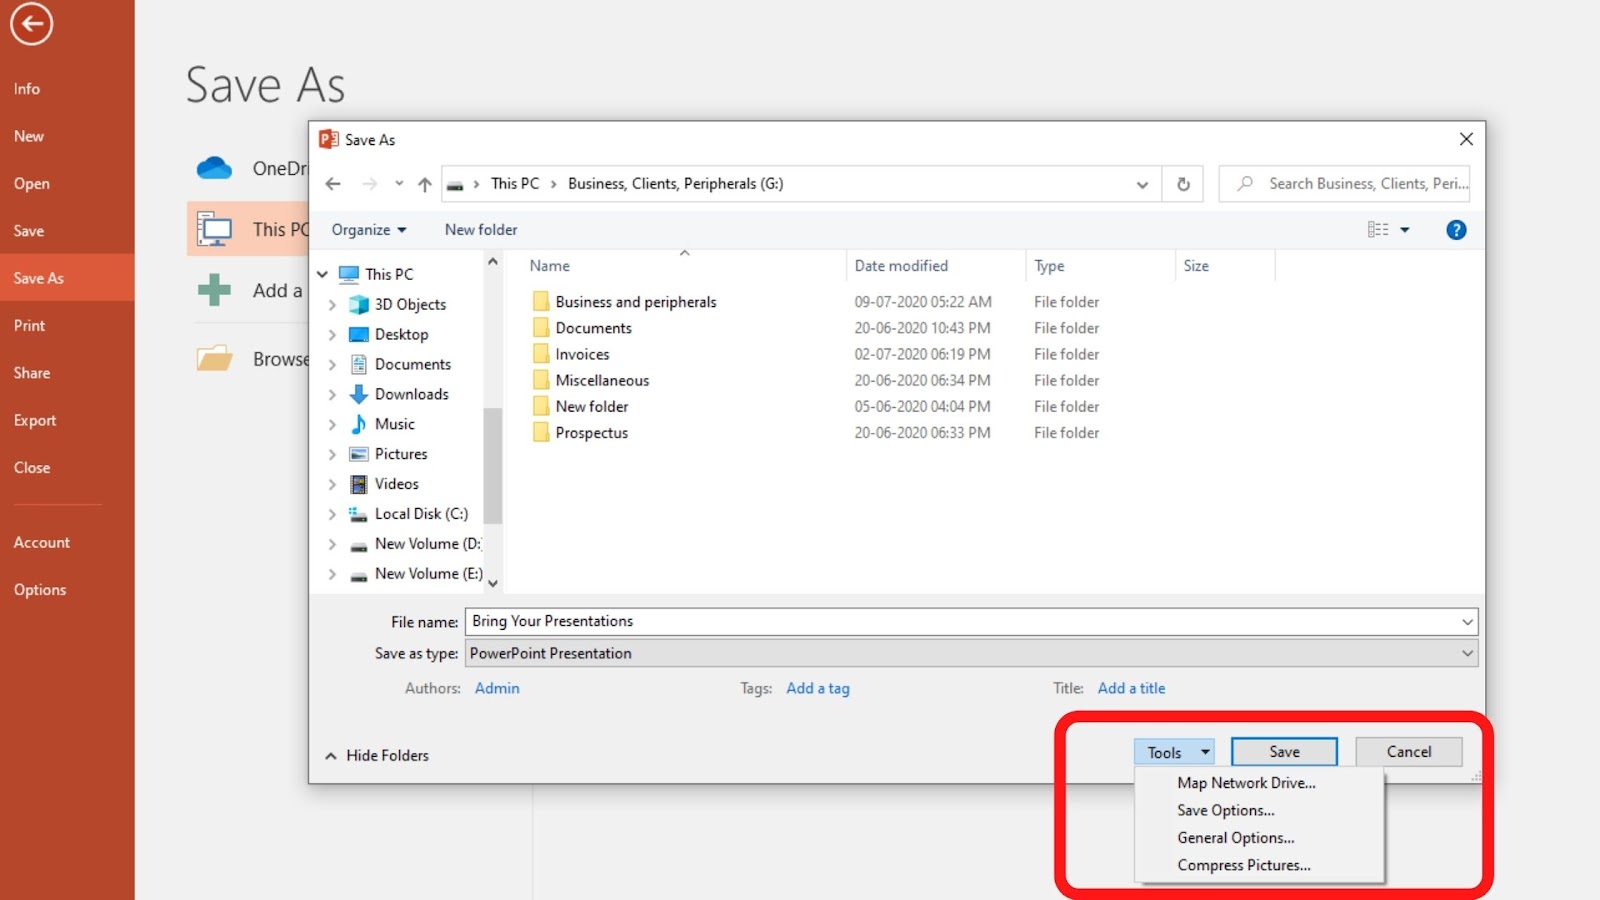
- PowerPoint not displaying full screen: If your PowerPoint presentation isn’t filling up the entire projector screen, go to the “Slide Show” tab in PowerPoint and select “Set Up Slide Show.” Check if the selected option is “Presented by a speaker (full screen).” If not, change it to this option.
- Remote control not working: If you’re using a remote control to navigate through your presentation, ensure that the batteries are properly inserted and functional. If the remote control still doesn’t work, check the projector’s manual for instructions on pairing the remote control with the projector.
If you encounter any other issues that are not addressed here, consult the user manuals for both your computer and the projector, or reach out to technical support for assistance.
Now that you’re equipped with troubleshooting tips, you can confidently resolve any potential issues that may arise during your PowerPoint and projector setup process. Let’s wrap up this guide with a quick summary.
Conclusion
Congratulations! You’ve reached the end of our guide on how to connect PowerPoint to a projector. By following the steps outlined in this guide, you now have the knowledge and tools to seamlessly connect your computer to a projector and deliver impressive presentations.
We started by outlining the essential equipment you’ll need, including a projector, computer, video cable, power cables, remote control, and a projector screen. Gathering all the necessary items ensures a smooth setup process.
Next, we discussed the step-by-step process of connecting the projector to your computer, ensuring that the video cable is securely plugged into both devices and that they’re powered on. We also emphasized the importance of selecting the correct input source on the projector and computer.
After connecting the projector, we explored the crucial task of adjusting the display settings. By accessing the Control Panel (on Windows) or System Preferences (on Mac), you can customize the resolution, display mode, and other settings for optimum projection quality.
Moreover, we delved into the features of PowerPoint’s Presenter View, which enables you to view speaker notes, preview upcoming slides, and control various presentation aspects while the projected screen displays your slideshow. This powerful tool empowers you to deliver engaging and well-coordinated presentations.
We also discussed common troubleshooting issues that may arise during the setup process, such as no signal on the projector, incorrect screen resolution, or audio problems. By following the troubleshooting steps outlined, you can resolve these issues efficiently and ensure a glitch-free presentation experience.
Remember, practice makes perfect! Take the time to rehearse your presentation while connected to the projector to familiarize yourself with the setup and ensure seamless transitions between slides and other presentation elements.
Now that you’re equipped with the knowledge and skills of connecting PowerPoint to a projector and delivering exceptional presentations, go forth and captivate your audience with stunning visuals and engaging content. Good luck!