Introduction
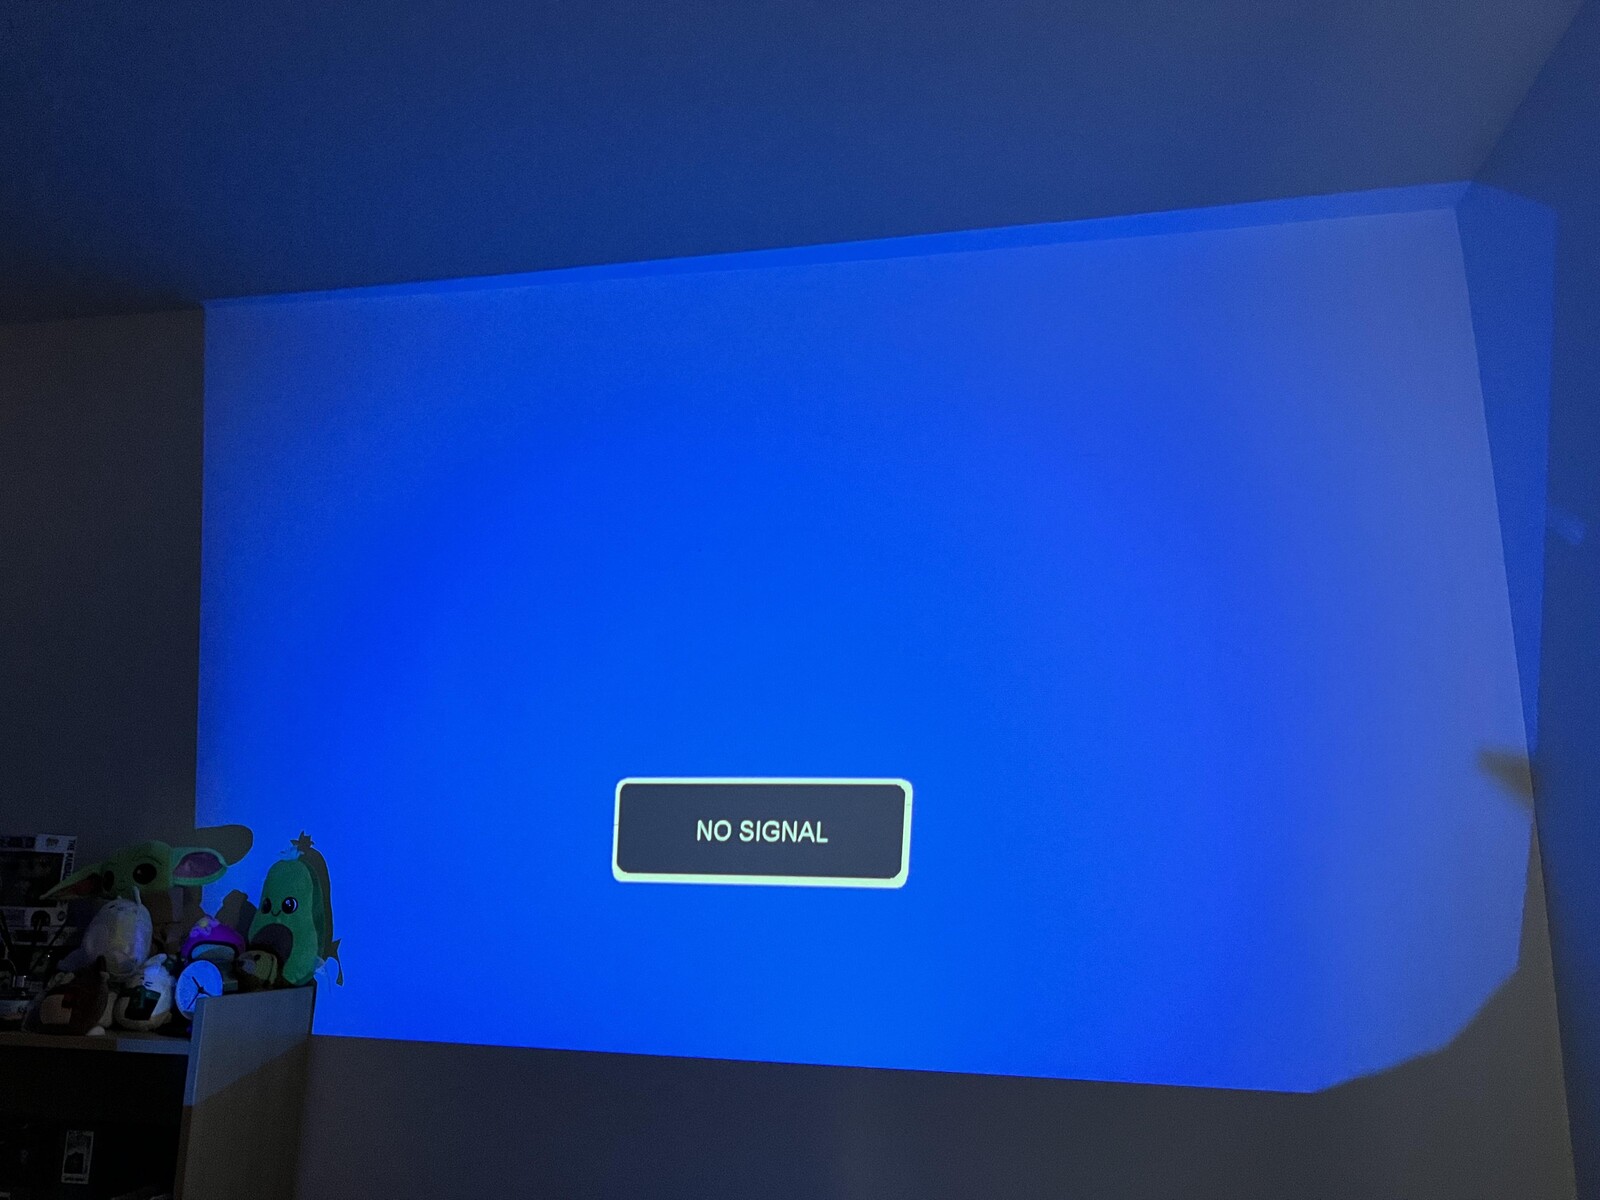
Have you ever experienced the frustration of seeing the message “No Signal” displayed on your projector? It can be incredibly frustrating, especially when you’re in the middle of an important presentation or trying to enjoy a movie night with friends. But don’t worry, you’re not alone in facing this issue. Many projector owners have encountered this problem at some point.
Understanding why your projector is displaying the “No Signal” message is the first step in resolving the issue. This article will delve into the common causes behind this problem and provide practical solutions to get your projector up and running again.
It’s important to note that while this article focuses on projectors, the troubleshooting steps discussed here can also apply to other display devices such as TVs and monitors. So whether you’re using a projector for business presentations, home entertainment, or educational purposes, read on to find out why your projector may be showing the “No Signal” message and how to fix it.
Now, let’s dive into the possible reasons for this frustrating issue and explore the solutions that will help you get your projector working smoothly again.
Common Issues with Projectors
Projectors are complex devices that rely on various components to function properly. Understanding the common issues that can arise with projectors will help you diagnose and troubleshoot the problem more effectively.
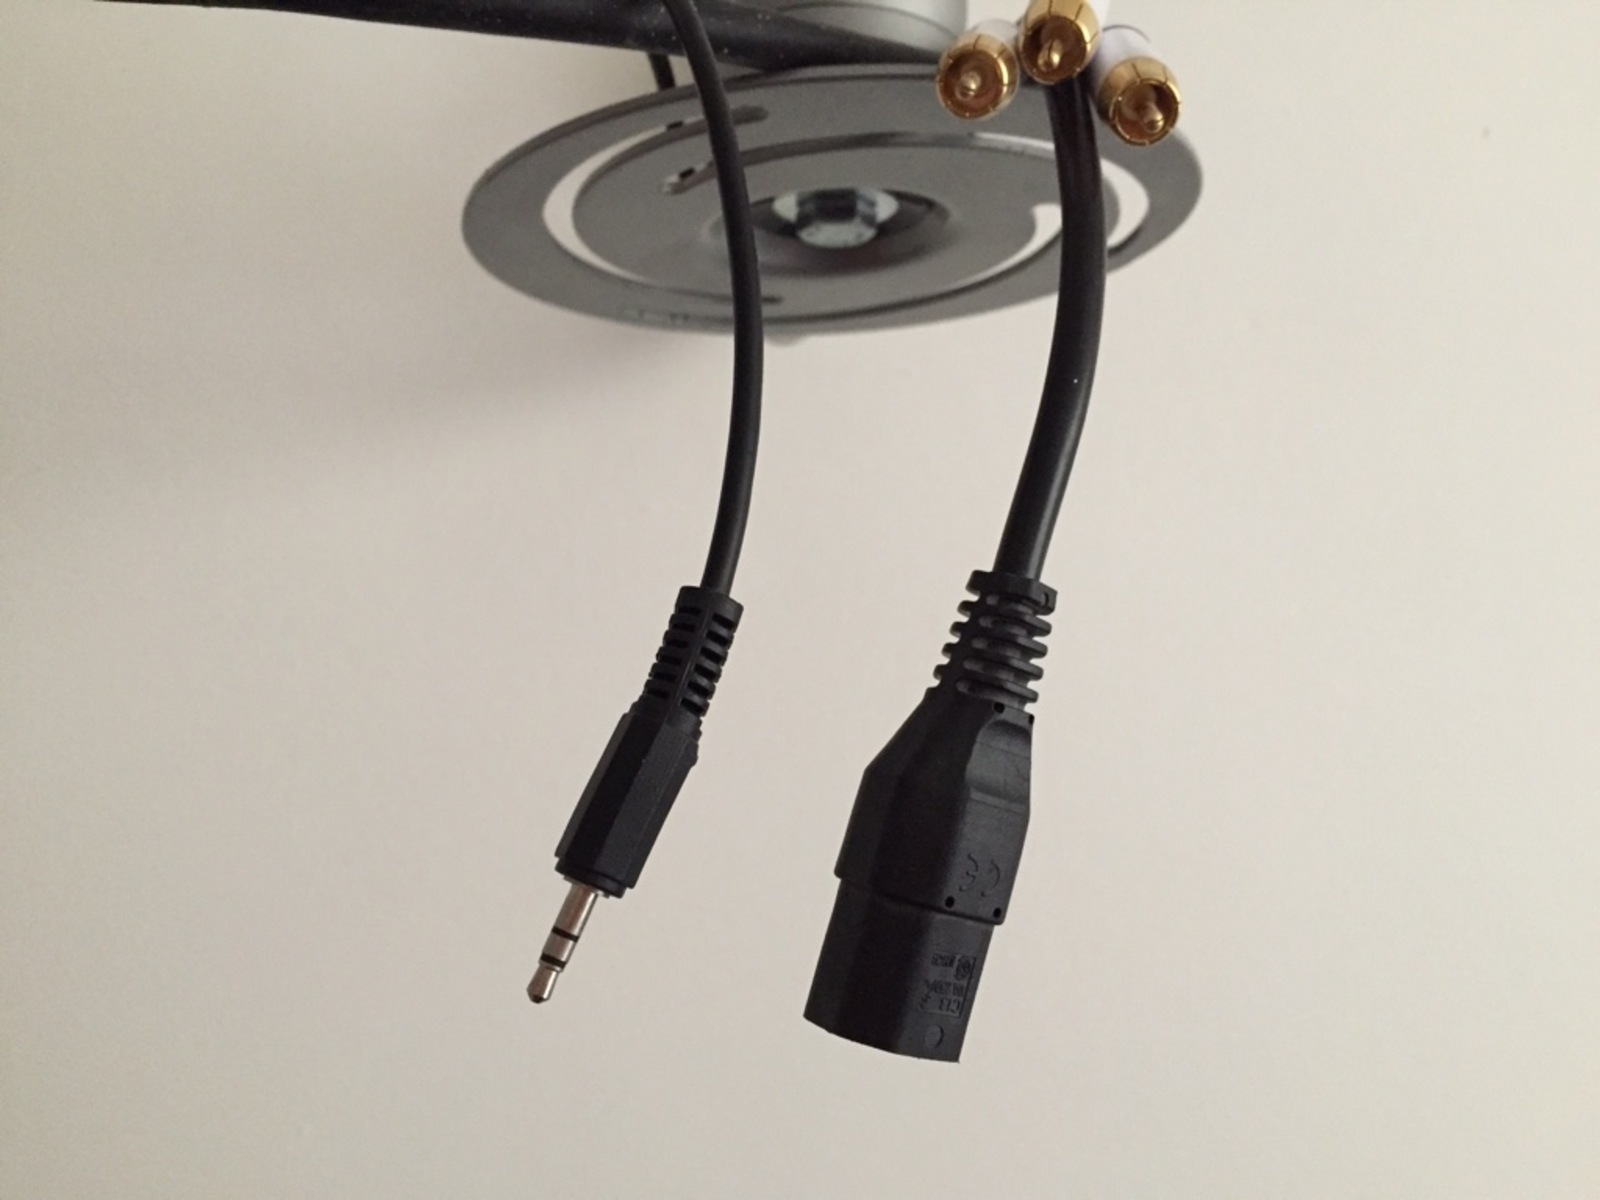
One of the most common issues with projectors is a loose connection. This can occur when the cables connecting the projector to the input source or power outlet are not securely plugged in. Check all the connections and make sure they are snugly attached. Additionally, inspect the cables for any signs of damage or fraying, as this can also cause connectivity issues.
Another common issue is incorrect input selection. Projectors usually have multiple input options, such as HDMI, VGA, or DVI. If the projector is set to the wrong input source, it will not receive any signal and display the “No Signal” message. Make sure to select the correct input source using the projector’s menu or remote control.
Damaged cables or connectors can also result in a “No Signal” message. If a cable or connector is faulty or damaged, it may not be able to transmit the signal properly. Inspect the cables and connectors for any signs of physical damage, such as bent pins or exposed wires. If any damage is found, replace the affected components.
Issues with display settings can also cause a projector to show a “No Signal” message. Check the display settings on both the projector and the input device to ensure they are compatible. Verify that the resolution and refresh rate settings are properly configured. Mismatched settings can prevent the signal from being recognized by the projector.
Power issues are another common culprit behind the “No Signal” problem. Make sure that the projector is receiving power by checking the power cable and ensuring it is securely connected to the outlet. Additionally, check the projector’s power indicator to confirm that it is turned on and receiving power. If the projector has a standby mode, try turning it off and then on again to reset the power.
A faulty graphics card or driver in the input device can also cause the projector to display a “No Signal” message. Update the graphics card drivers to the latest version and ensure they are compatible with the projector. If the issue persists, try connecting the projector to a different device to rule out any problems with the graphics card.
Overheating can also be a common issue with projectors, especially if they are used for extended periods. If the projector’s internal temperature rises too high, it may shut down or display a “No Signal” message. Make sure that the projector has proper ventilation and is not obstructed by any objects. Cleaning the projector’s air vents regularly can also help prevent overheating.
Now that we have discussed the common issues with projectors, it’s time to move on to the specific steps you can take to resolve the “No Signal” problem. Follow the troubleshooting solutions mentioned in the upcoming sections to get your projector back on track.
Loose Connection
A loose connection is one of the most common issues that can cause a projector to display a “No Signal” message. It occurs when the cables connecting the projector to the input source or power outlet are not securely plugged in.
To check for a loose connection, start by inspecting all the cables and connectors. Ensure that they are properly inserted into their respective ports and are securely attached. Give them a gentle tug to make sure they are firmly connected.
If you find any damaged or frayed cables, replace them with new ones. Damaged cables can disrupt the signal transmission and lead to connectivity issues. Additionally, check the connectors for any signs of physical damage, such as bent pins or corrosion. Clean or replace any compromised connectors.
In some cases, the “No Signal” issue may be due to a loose power connection. Make sure that the power cable is securely plugged into both the projector and the power outlet. It’s also worth checking if the power outlet is functioning properly by plugging in another device. If necessary, try using a different power outlet to see if that resolves the issue.
Another consideration is the use of extension cables or adapters. If you’re using any, make sure that they are compatible with the projector and are providing a reliable connection. Sometimes, using long extension cables can result in signal loss or degradation. It’s recommended to use cables that are of an appropriate length and have good signal integrity.
Once you have checked all the connections and ensured they are secure, power on the projector and check if the “No Signal” message has disappeared. If the issue persists, it may be due to another underlying cause, and you can move on to the next section to explore further troubleshooting steps.
Incorrect Input Selection
Another common issue that can result in a projector displaying a “No Signal” message is incorrect input selection. Projectors typically offer multiple input options, such as HDMI, VGA, or DVI. If the projector is set to the wrong input source, it will not receive any signal and show the “No Signal” message.
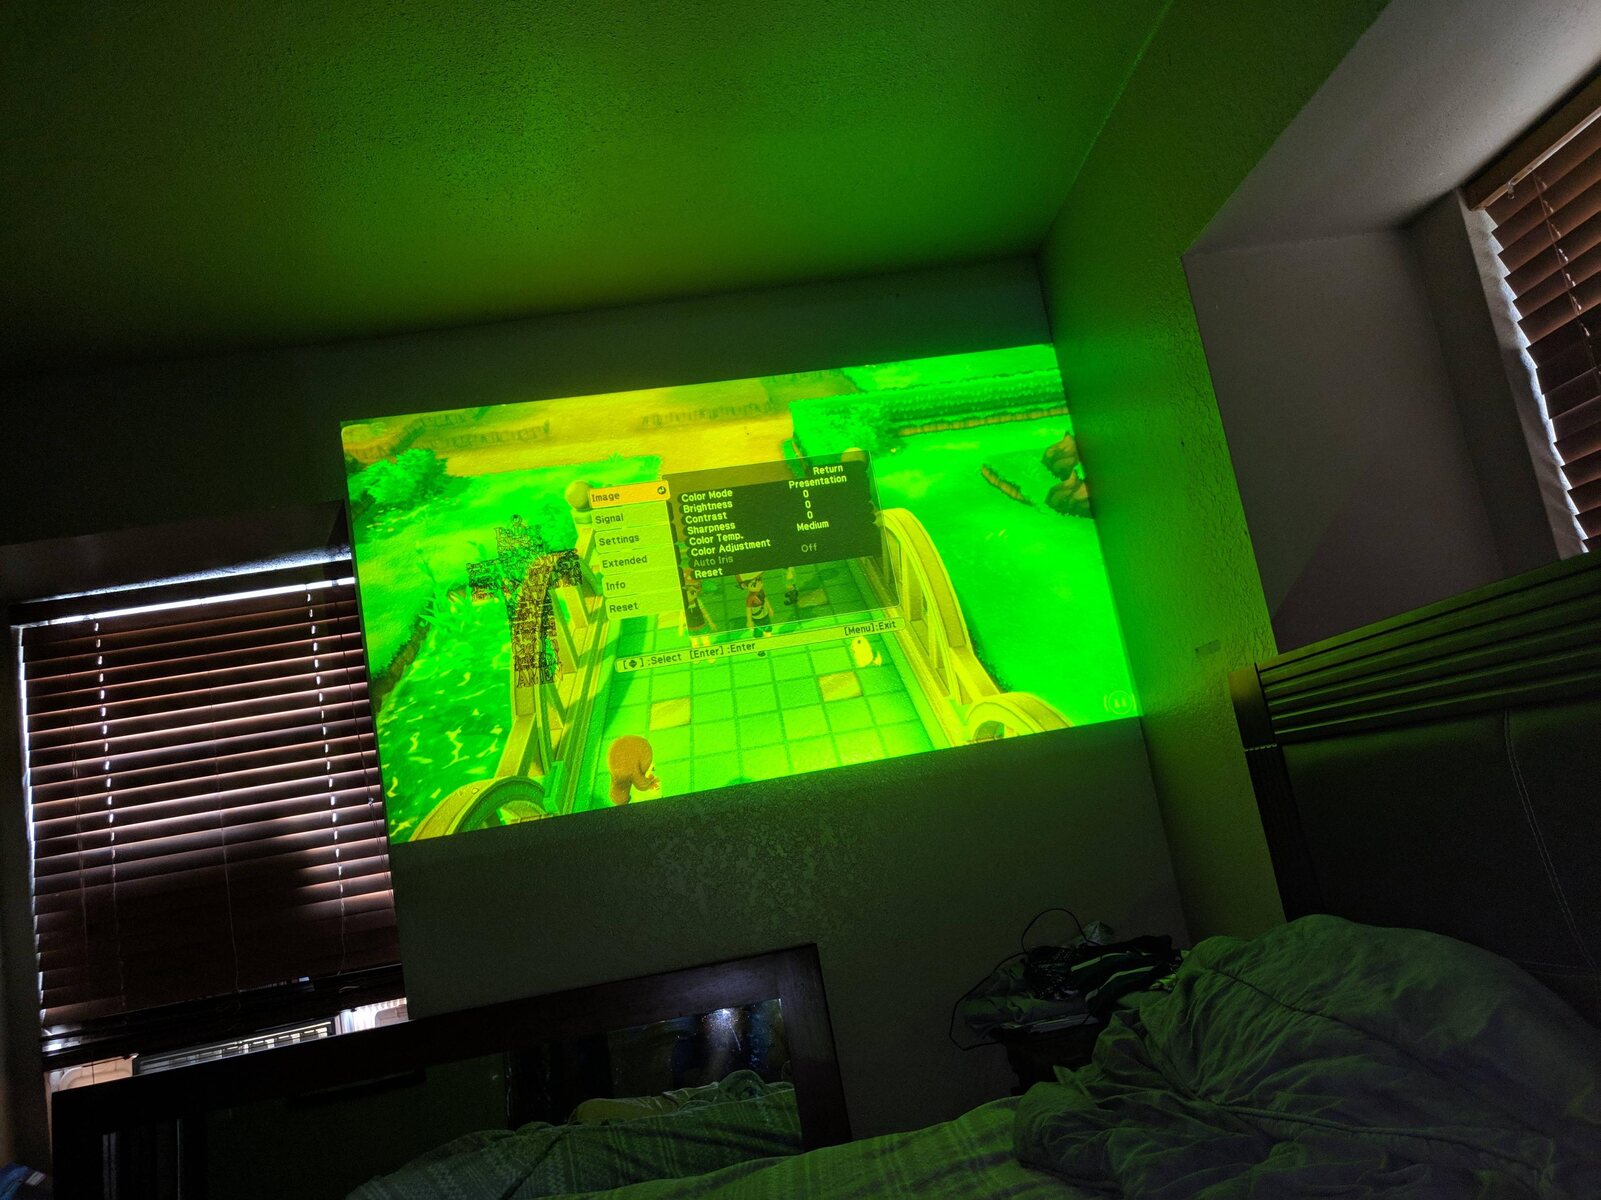
To tackle this issue, first, use the projector’s remote control or menu buttons to access the input/source settings. Look for options like “Input,” “Source,” or “Input Select.” Next, select the correct input source that matches the cable connected to the projector.
If you’re not sure which input source to select, try cycling through each option until the correct one is found. While doing this, make sure that the input device, such as a laptop or DVD player, is turned on and connected to the projector.
If you’re using a laptop, check the function keys (usually marked with icons like a square or a monitor) to toggle between different display modes. Pressing the appropriate function key along with the “Fn” key will switch the display output to the projector. This allows the projector to receive the signal from the laptop and display the content.
It’s important to note that some projectors have unique input names. For example, instead of “HDMI,” they may use terms like “PC” or “Video.” Consult the projector’s user manual or manufacturer’s website to identify the correct input source terminology for your specific model.
If you’ve tried selecting the correct input source and the “No Signal” message still persists, double-check the cables connecting the input device to the projector. Ensure that they are securely plugged in on both ends and are not damaged. A faulty cable can prevent the signal from reaching the projector, even if the correct input source is selected.
By verifying the input selection and ensuring that the correct input source is chosen, you can eliminate the possibility of an incorrect input being the cause of the “No Signal” issue. If the problem persists, move on to the next section to explore other potential solutions.
Damaged Cables or Connectors
One of the common causes of a projector displaying a “No Signal” message is damaged cables or connectors. When the cables or connectors connected to the projector are faulty, they can hinder the proper transmission of signals, resulting in a loss of connection.
To address this issue, visually inspect all the cables and connectors for any signs of damage. Check for frayed or bent cables, as well as any visible wear and tear. If you notice any damage to the cables, it is recommended to replace them with new ones.
Similarly, examine the connectors on both the projector and the input device. Look for bent pins, corrosion, or other physical damage. If any issues are detected, clean or replace the damaged connectors.
When replacing cables or connectors, ensure that you choose high-quality replacements that are compatible with your projector and input device. Poor-quality cables or connectors can lead to weak or intermittent signals, causing the “No Signal” message to appear.
It’s worth noting that using excessive extension cables or adapters can also contribute to signal loss or degradation. If you’re employing extension cords or adapters, ensure that they are of good quality and are compatible with your setup. Whenever possible, try to minimize the use of extensions to reduce the risk of connectivity issues.
In addition to physical damage, cable connections can also become loose over time. Even if cables appear undamaged, they may not be securely attached to their respective ports. To address this, firmly reseat the cables on both ends, ensuring they are properly plugged in.
When connecting the cables, make sure to match the appropriate ports on the projector and input device. The ports are usually labeled with symbols or descriptions, such as HDMI, VGA, or DVI. Double-check that you are using the correct ports to establish a proper connection.
If you have multiple input options on your projector, try connecting the input device to a different port, using a different cable if necessary. This can help determine if the issue is specific to a particular port or cable.
By inspecting and replacing any damaged cables or connectors, you can potentially resolve the “No Signal” issue. However, if the problem persists, proceed to the next section to explore further troubleshooting steps.
Display Settings
Incorrect display settings can contribute to a projector showing a “No Signal” message. Different input devices and projectors may have specific requirements for resolution, refresh rate, or aspect ratio. Mismatched display settings can prevent the projector from recognizing and displaying the input signal.
To address this issue, ensure that the display settings on both the projector and the input device are correctly configured. Start by accessing the display settings on your input device, such as a computer or DVD player, and make sure they match the requirements of the projector.
Check the resolution setting and set it to the native resolution of the projector if possible. Using a lower resolution than the projector’s native resolution can result in a distorted or absent signal. If you’re unsure about the native resolution, consult the projector’s user manual or manufacturer’s website for this information.
Similarly, verify that the refresh rate setting on the input device is compatible with the projector. In some cases, a mismatched refresh rate can cause compatibility issues and lead to a “No Signal” message. Adjusting the refresh rate to the recommended level can help establish a stable connection.
If your projector has multiple display options, such as aspect ratio settings like 16:9 or 4:3, ensure that the chosen setting matches the content being displayed. For example, if you’re playing a widescreen movie, selecting the appropriate aspect ratio will prevent the projection from appearing stretched or distorted.
It’s also recommended to check any additional display settings on the projector. Some projectors offer image enhancement features or color calibration settings that can impact the signal transmission. Resetting these settings to their default values or adjusting them as needed may help resolve the “No Signal” issue.
If you’ve verified and adjusted the display settings on both the input device and the projector, try reconnecting the cables and restarting both devices. Sometimes, a simple refresh of the connection can resolve any display setting conflicts.
If the “No Signal” message still persists after confirming and adjusting the display settings, it’s time to move on to the next section to explore other potential causes and solutions.
Power Issues
Power issues can be a common cause of projectors displaying a “No Signal” message. When the projector is not receiving adequate power or is experiencing issues with its power supply, it can result in a loss of connectivity.
Firstly, check the power cable connected to the projector. Ensure that it is securely plugged into both the projector and the power outlet. Sometimes, the cable can become loose over time, leading to an interrupted power supply. In such cases, replug the power cable to establish a proper connection.
Inspect the power outlet as well to ensure that it is functioning properly. Try plugging another electronic device into the same outlet to verify if it is working. If the outlet is not providing power, try using a different outlet or resetting the circuit breaker.
Some projectors have a power indicator light, which can provide useful information about the power status. Check if the power indicator is lit up or blinking. If it is not illuminated at all, it may indicate a power issue. In this case, ensure that the power outlet is functioning, and try powering on the projector using a different cable or power adapter if available.
Another consideration is the use of a standby mode or power-saving feature on the projector. If the projector has been in standby mode for an extended period, it may not wake up properly or establish a connection. Try turning off the projector completely, unplugging it from the power source, waiting for a few seconds, and then plugging it back in and powering it on again.
In some cases, a projector may have an automatic power-saving feature that turns off the device after a certain period of inactivity. If this feature is enabled, it can cause the projector to display a “No Signal” message when it wakes up. Refer to the projector’s user manual to disable or adjust the power-saving settings as needed.
If your projector is equipped with a remote control, make sure that the batteries are functional and inserted correctly. Weak or dead batteries can prevent the remote control from sending signals to the projector, thereby causing power issues. Replace the batteries if necessary.
By ensuring that the power cable is securely connected, the power outlet is functioning correctly, and any power-saving features are appropriately adjusted, you can effectively address power-related issues that may cause the “No Signal” message on your projector.
Faulty Graphics Card or Driver
A faulty graphics card or driver in the input device can contribute to a projector displaying a “No Signal” message. The graphics card is responsible for rendering and transmitting the display signal to the projector, while the driver acts as the intermediary software between the graphics card and the operating system.
If you suspect that the graphics card or driver is causing the issue, start by updating the graphics card driver to the latest version. Outdated or corrupt drivers can lead to compatibility issues, resulting in a loss of signal transmission. Visit the manufacturer’s website for your graphics card and download the appropriate driver for your operating system. Follow the installation instructions provided to update the driver.
After updating the driver, restart the input device and reconnect it to the projector. Sometimes, a driver update requires a system reboot to apply the changes effectively. Once the computer has restarted, check if the “No Signal” message still persists on the projector. If it does, proceed to the next steps.
If possible, connect the input device to a different projector or display to verify if the graphics card is functioning correctly. If the alternative display works fine, it indicates that the issue might be specific to the projector. However, if the issue persists on another display as well, it suggests a problem with the graphics card or driver.
To further troubleshoot the graphics card or driver, try reinstalling the driver. Uninstall the current driver from the device manager and then reinstall the latest driver version. This process can vary depending on the operating system, so refer to your system’s documentation or the manufacturer’s website for detailed instructions.
If reinstalling the driver doesn’t resolve the issue, it’s possible that the graphics card itself is faulty. In such cases, you may need to seek professional assistance or consider replacing the graphics card if it’s within your technical capabilities.
Remember to verify that the graphics card and projector are compatible in terms of resolution and supported signal types. Confirming compatibility can help ensure that the graphics card is capable of generating a signal that the projector can display.
By updating the graphics card driver, reinstalling the driver, and checking for compatibility issues, you can address potential problems with the graphics card or driver that may be causing the “No Signal” message on your projector.
Overheating
Overheating is a common issue that can cause a projector to display a “No Signal” message, especially if the projector has been running for an extended period. When a projector overheats, it can shut down or stop receiving and displaying the input signal.
To address overheating, start by ensuring proper ventilation for the projector. Check that the air vents on the projector are not blocked or obstructed by any objects. Allow sufficient space around the projector for proper airflow. If necessary, use a small desk fan or a projector cooling pad to improve airflow and reduce the risk of overheating.
Clean the projector’s air vents and filters regularly to prevent dust buildup. Dust accumulation can restrict airflow, leading to higher temperatures inside the projector. Use a can of compressed air or a soft brush to gently remove any dust from the vents and filters. Be cautious not to damage any delicate components while cleaning.
Another potential cause of overheating is operating the projector in an environment with high ambient temperature. If the room temperature exceeds the recommended operating range for the projector, it can contribute to overheating. In such cases, try to lower the room temperature or consider using additional cooling mechanisms, such as air conditioning or fans.
Some projectors have built-in temperature sensors and safety features that automatically shut down the device when it reaches a critical temperature. If your projector has a built-in safety mechanism, wait for it to cool down before attempting to power it back on.
If you’re using the projector at high altitudes or in a location with limited airflow, consider adjusting the projector’s fan speed settings if available. Increasing the fan speed can help improve cooling and prevent overheating.
Limiting the operating time of the projector can also help prevent overheating. If you’re using the projector continuously for extended periods, consider taking short breaks to allow it to cool down. Additionally, avoid placing the projector near heat sources such as direct sunlight or other heat-emitting devices.
If you’ve taken all the necessary measures to address overheating, including ensuring proper ventilation, cleaning, and operating within the recommended temperature range, but the “No Signal” message still persists, it may be necessary to seek professional assistance to diagnose and repair any internal temperature regulation issues within the projector.
By providing adequate ventilation, cleaning regularly, and avoiding high ambient temperatures, you can minimize the risk of overheating and prevent the projector from displaying a “No Signal” message.
Conclusion
Encountering a “No Signal” message on your projector can be frustrating, but it’s a common issue with various potential causes. By understanding the common issues that projectors face and learning how to troubleshoot them, you can quickly resolve the problem and get your projector back up and running.
We’ve covered several common causes for the “No Signal” message, including loose connections, incorrect input selection, damaged cables or connectors, display settings, power issues, faulty graphics cards or drivers, and overheating. By following the troubleshooting steps outlined in each section, you can identify and address the specific cause of the issue.
Always start by checking for loose connections and ensuring that all cables and connectors are securely inserted. Then, verify that the correct input source is selected and that the display settings match the projector’s requirements. If necessary, inspect and replace any damaged cables or connectors.
Power issues can also contribute to the “No Signal” message, so make sure that the power cable is properly connected and that the projector is receiving adequate power. Check for power-saving features or standby modes that may need adjustment.
If the issue persists, consider updating the graphics card driver or troubleshooting the graphics card itself. Finally, don’t overlook the importance of proper ventilation and cooling to prevent overheating, as this can also cause the “No Signal” message to appear.
Remember, if you have tried all the troubleshooting steps and are still unable to resolve the issue, it may be necessary to seek professional assistance or consult the projector’s manufacturer for further guidance.
By following the steps outlined in this article and being proactive in maintaining your projector, you can minimize the occurrence of the “No Signal” message and ensure a smooth and uninterrupted viewing or presentation experience.