Why Is My Projector Projecting Yellow
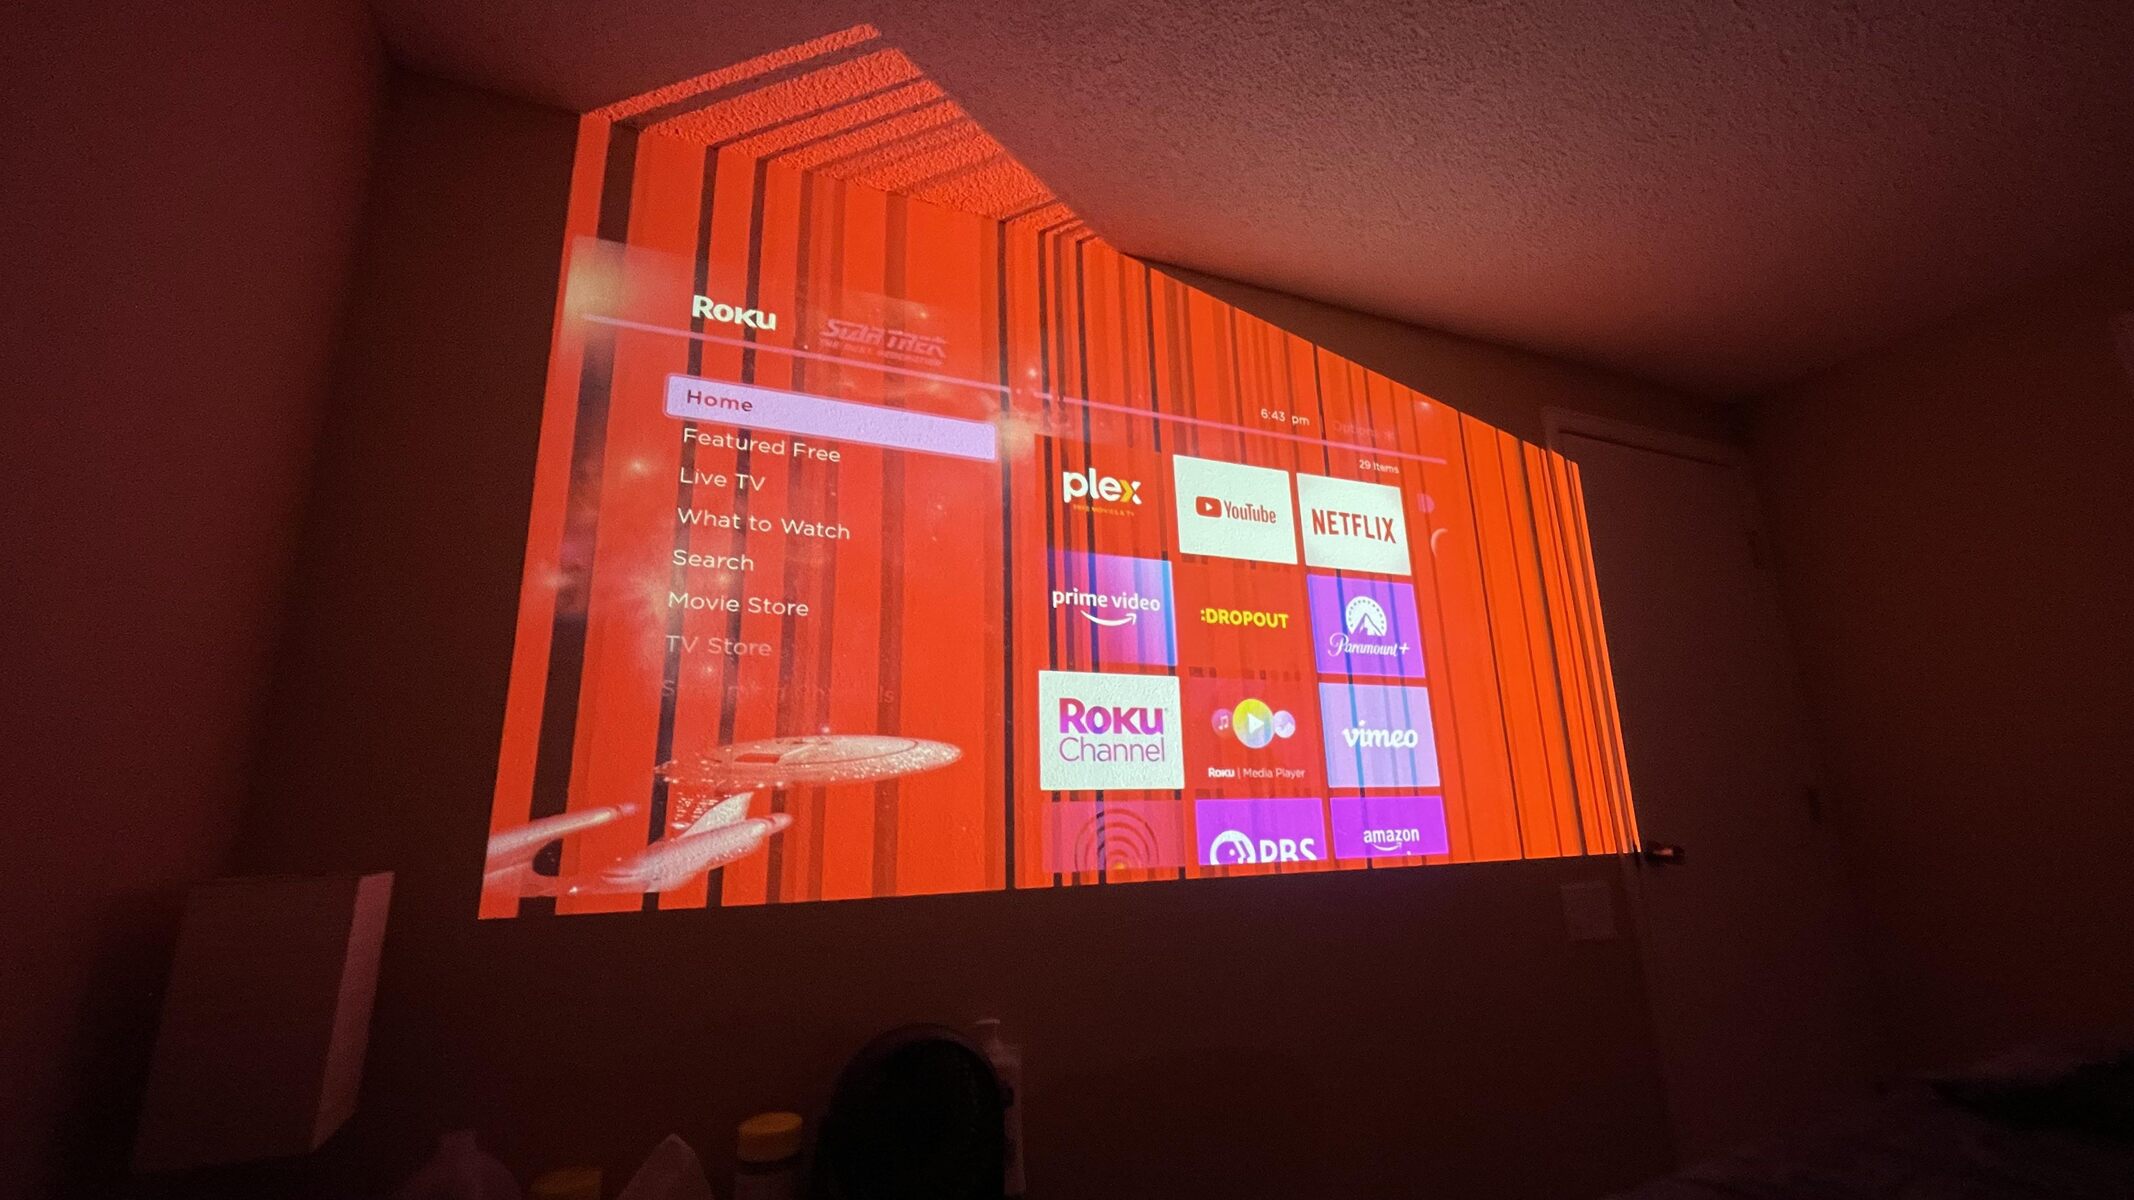
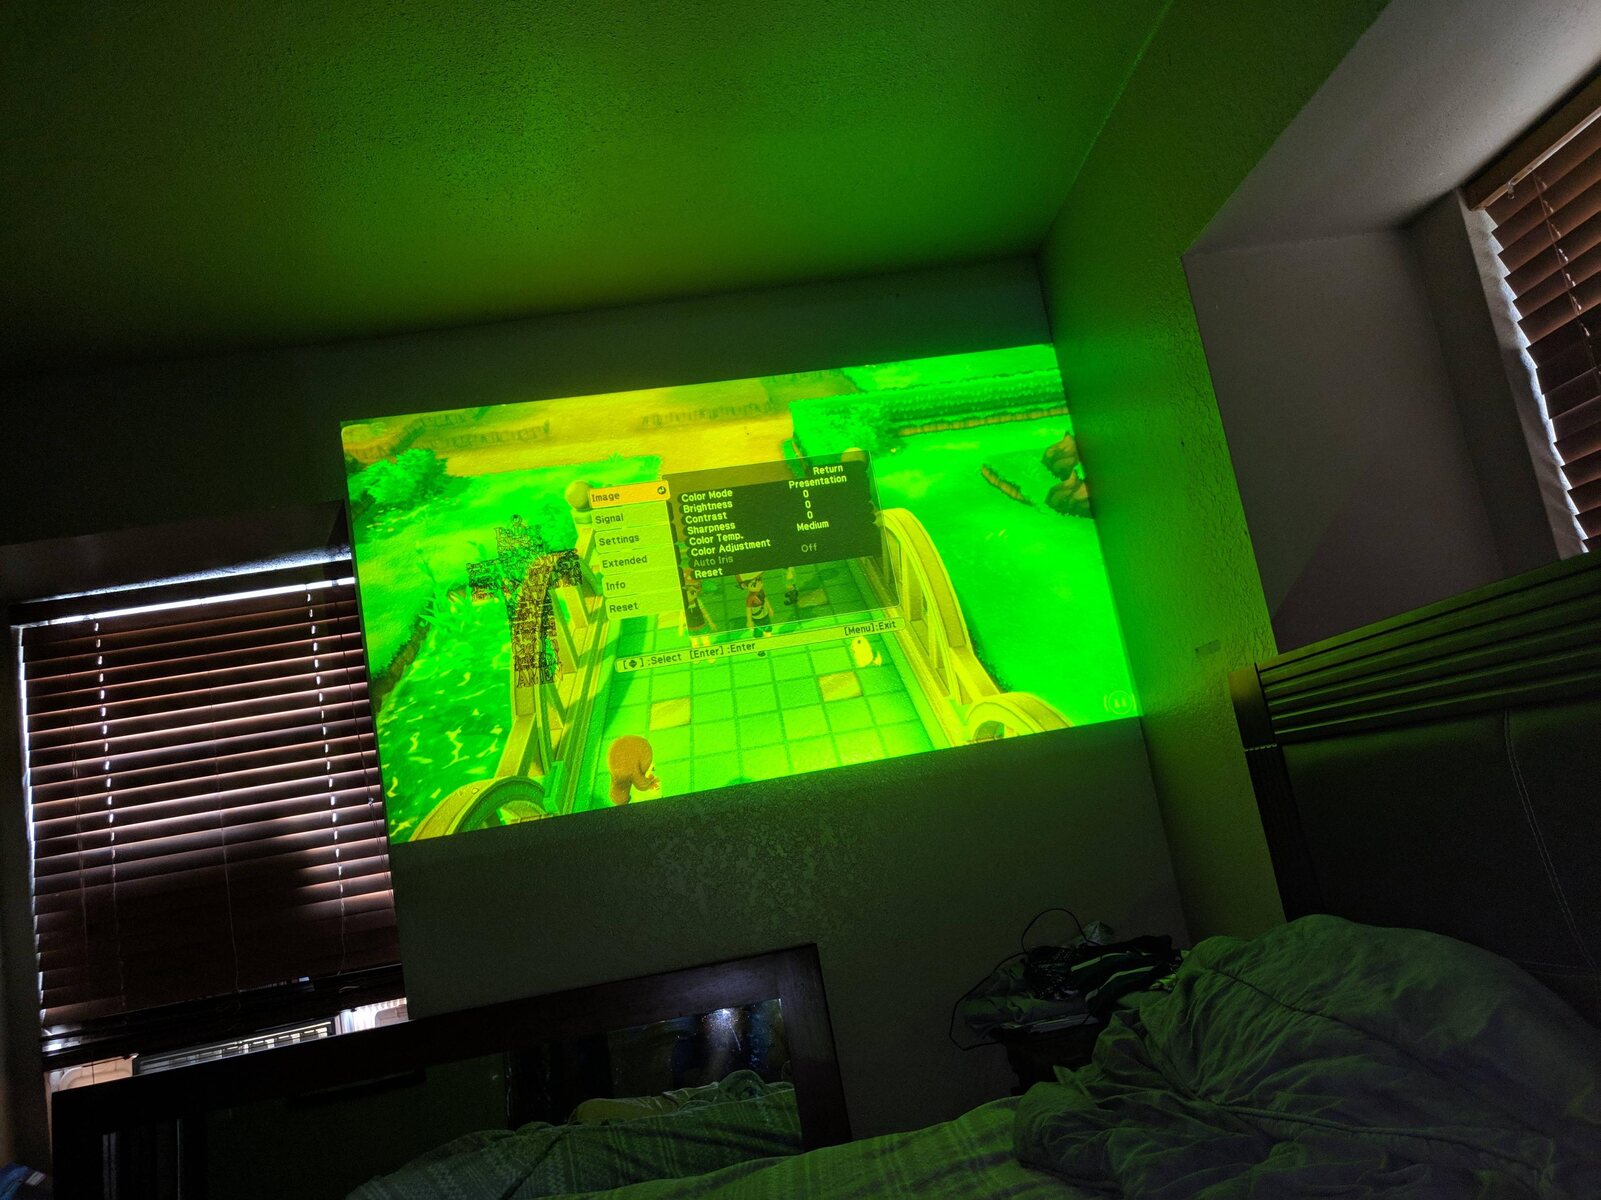
If your projector is projecting yellow, the most common causes are loose cables or incorrect color settings, and both are quick fixes you can handle in minutes. Start by reseating every cable and checking your projector's color menu before assuming a hardware failure.
Why Your Projector Is Projecting Yellow: First Checks
Before diving into complex diagnostics, perform these immediate cable and input checks that resolve most yellow tint issues. A loose or damaged cable is the single most frequent culprit behind a yellow projection, because a weak signal can cause one or more color channels (red, green, or blue) to drop out, leaving yellow dominant.
- Power off both the projector and your source device (laptop, streaming stick, or Blu-ray player).
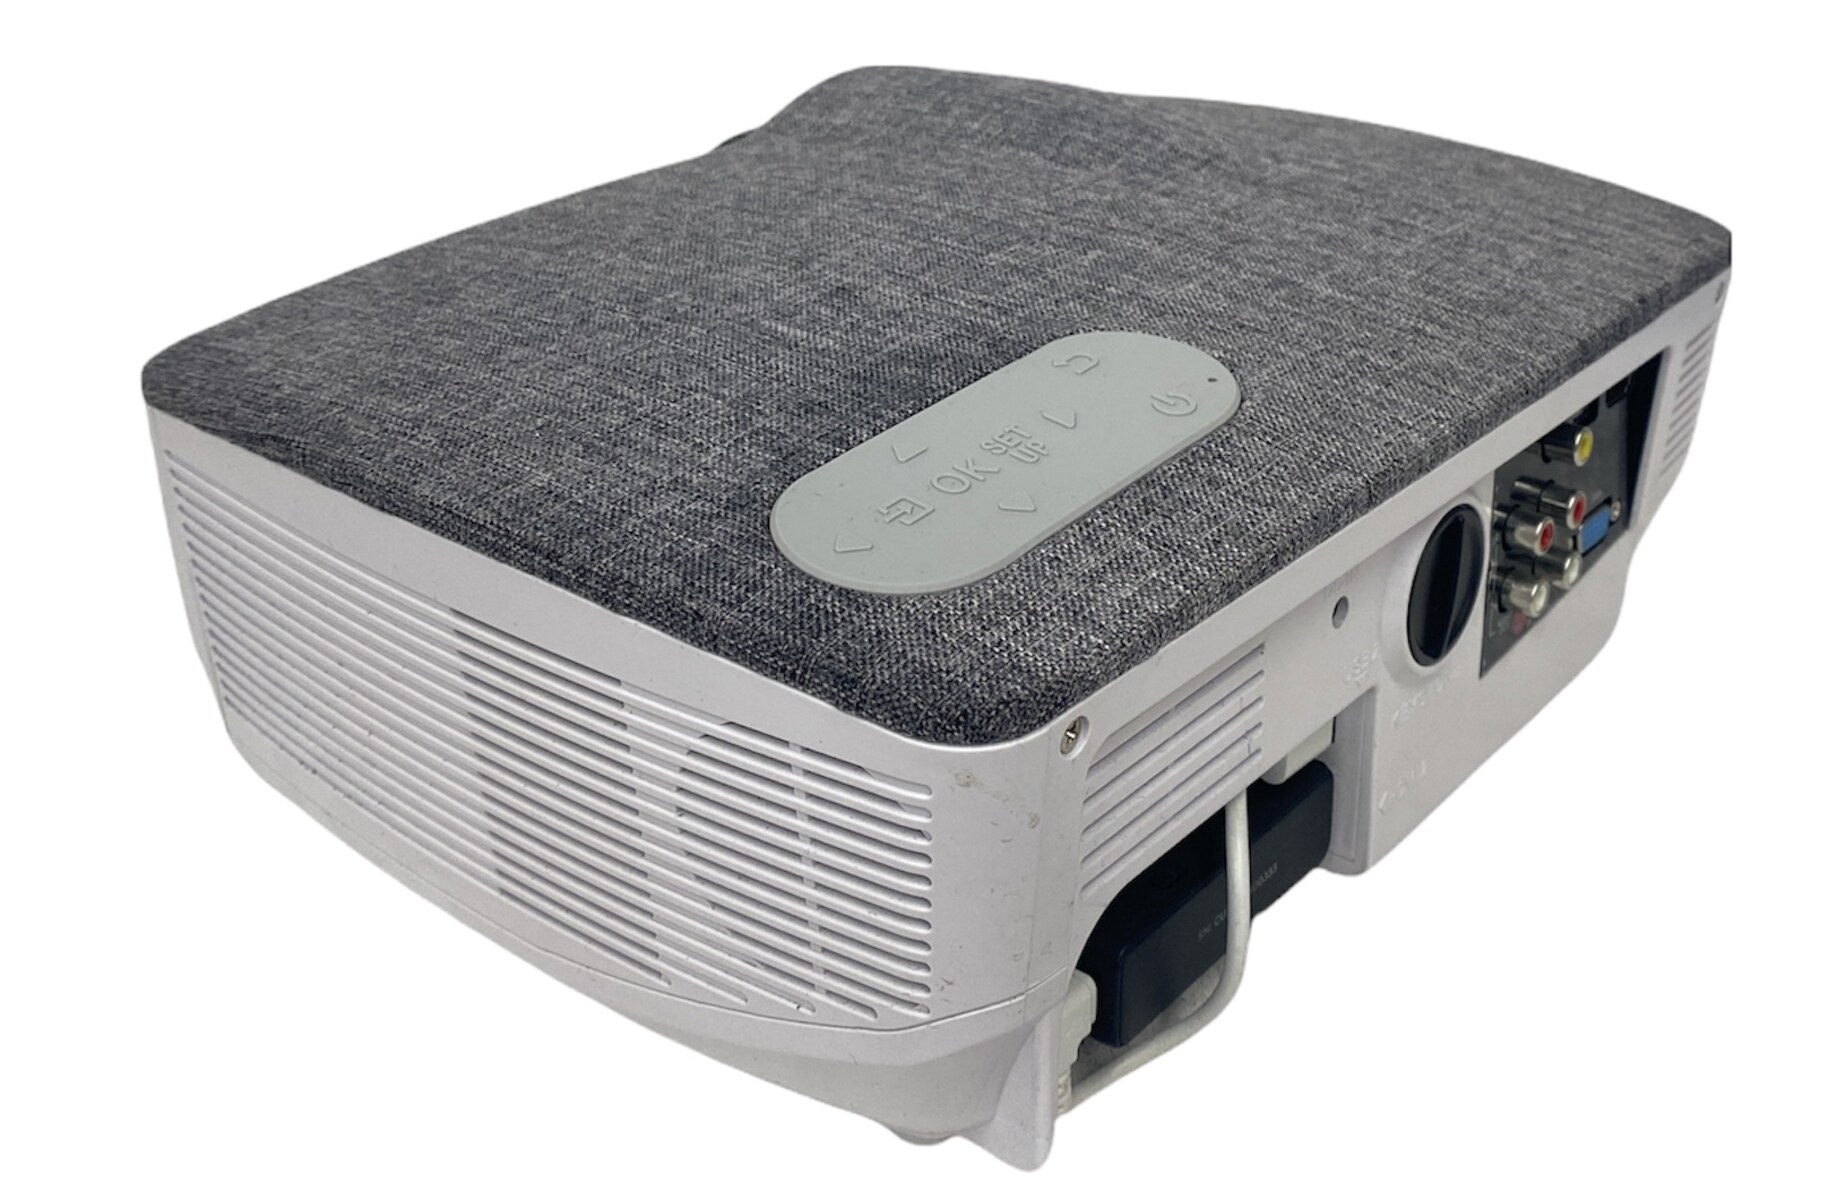
- Firmly disconnect and reseat the HDMI or VGA cable at both ends, projector and source. You should feel a solid click for HDMI or tightened screws for VGA.
- Inspect the cable for bent pins, frayed shielding, or kinks. If you see any damage, replace the cable.
- Try a different input port on the projector (e.g., switch from HDMI 1 to HDMI 2), and if possible, test with a completely different cable.
- Connect a different source device (another laptop, phone via adapter, or game console) to the same projector. If the yellow disappears, the issue is with your original source, not the projector.
If these steps don't fix the yellow tint, move on to the projector's internal settings, the next most likely cause.
Check and Reset Your Projector's Color Settings
Incorrect color settings, such as color temperature, picture mode, or RGB adjustments, can cause an overall yellow cast, and resetting them to factory defaults is the fastest way to rule them out. Projectors ship with generic presets that may not match your room or source, and a misadjusted white balance or gamma can easily skew the image toward yellow.
- Press the Menu button on your projector remote or control panel.
- Navigate to the Picture, Image, or Display settings section.
- Look for a Reset, Factory Defaults, or Restore Default option and select it. This clears any manual color temperature, saturation, and gamma tweaks.
- If you prefer manual adjustment, set color temperature to Normal or 6500K (the standard), and ensure RGB gain/bias values are all at their midpoint (usually 50 or 0, depending on the model).
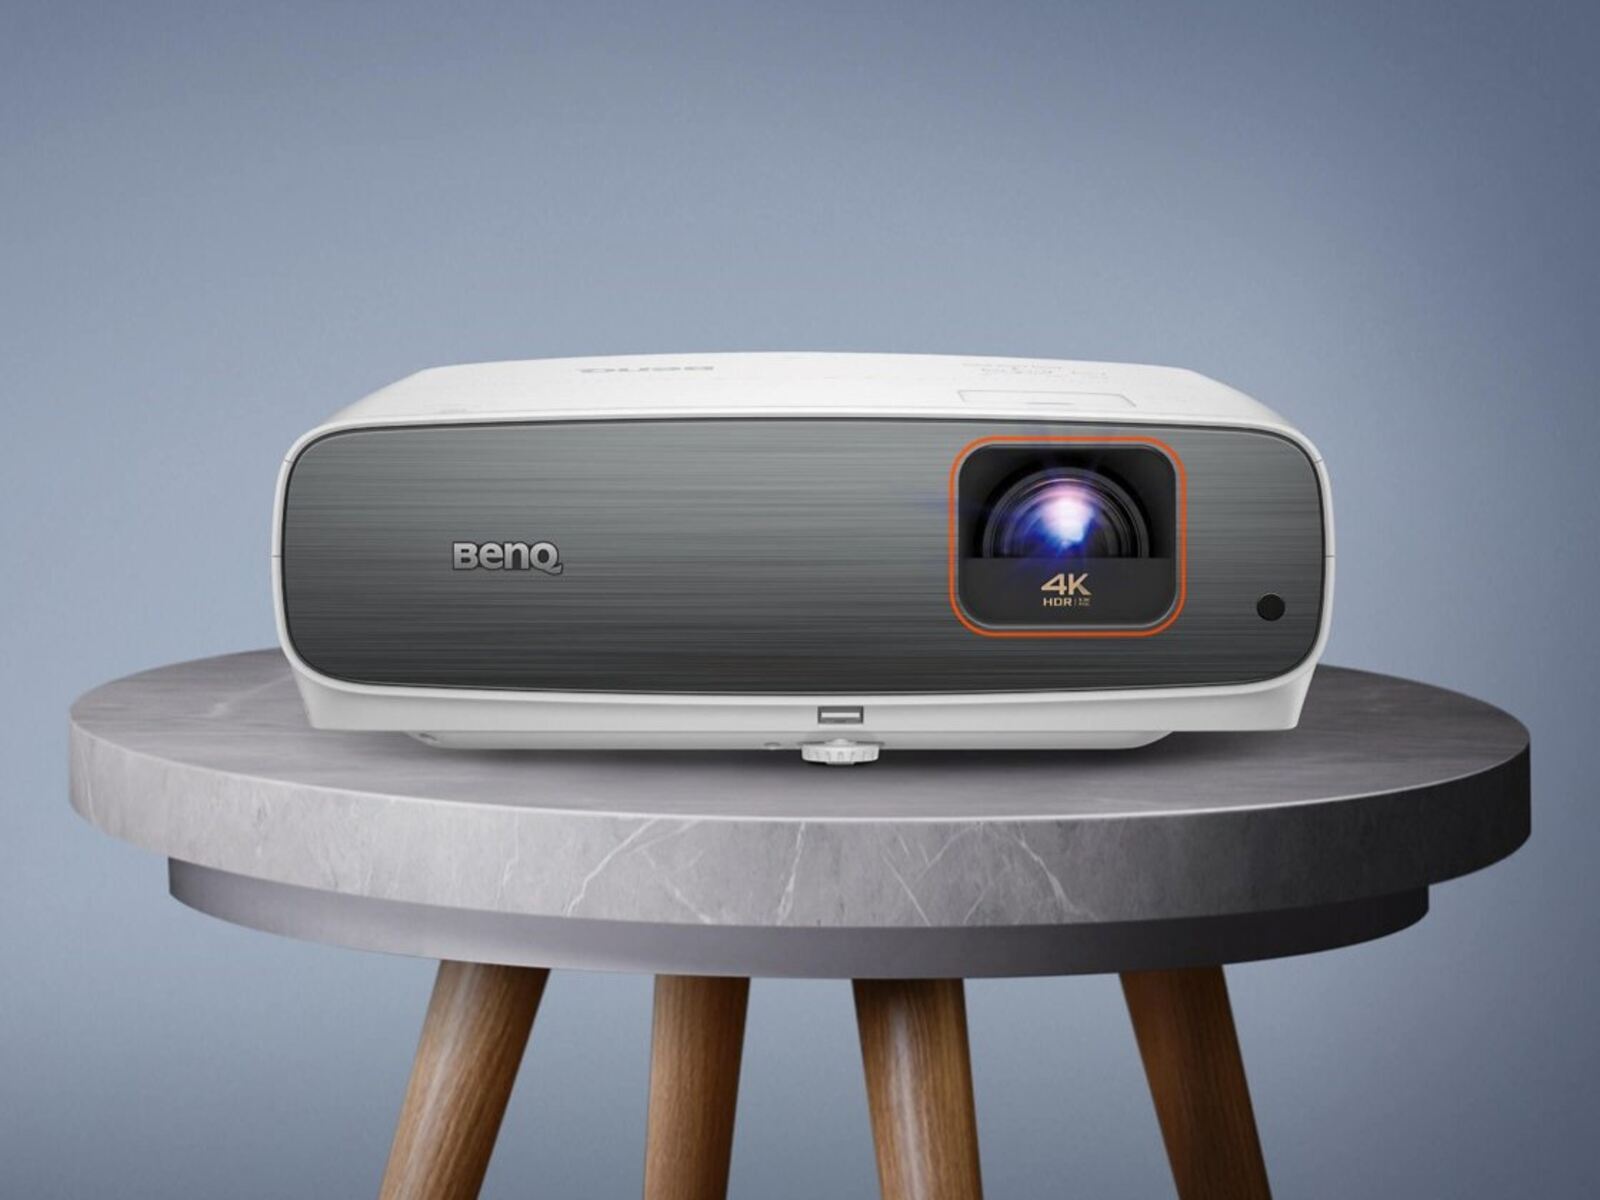
- For BenQ projectors specifically, if the yellow appears dull or orange-brownish, try turning off the Brilliant Color setting in the menu, this proprietary feature can over-saturate yellows and cause a cast.
If resetting color settings doesn't eliminate the yellow, the next step is to inspect the physical light path, starting with the lens.
Inspect the Lens and Check Lamp Hours
Dust or debris on the lens can scatter light and cause discoloration, so a quick visual inspection and cleaning may resolve the yellow tint without any further intervention. Even a thin film of dust can shift color balance, especially on high-lumen projectors where the light path is intense.
- Turn off the projector and unplug it from power.
- Using a soft, lint-free microfiber cloth (or a lens cleaning pen designed for optics), gently wipe the lens in a circular motion from center to edge.
- For stubborn smudges, lightly dampen the cloth with distilled water or lens cleaner, never spray directly onto the lens.
- Check the projector's air intake and exhaust vents for dust buildup. If they're clogged, use compressed air to blow them out, as overheating can accelerate internal component degradation.
- Access the projector's settings menu and look for Lamp Hours or Light Source Hours.
If cleaning the lens and verifying lamp hours don't help, the yellow tint likely originates inside the projector's optical engine, a more serious hardware issue.
Hardware Faults That Cause a Yellow Image
When cables, settings, and lens cleaning fail, the yellow tint is almost certainly due to internal hardware degradation, which requires professional repair. Two main failure modes exist depending on your projector technology:
LCD Projectors: Polarizer Degradation
In LCD projectors, sustained heat can degrade the polarizing filters, leading to fixed yellow, brown, or pink discoloration that often starts as a small patch and expands over time.
DLP Projectors: Color Wheel or Photo Sensor Faults
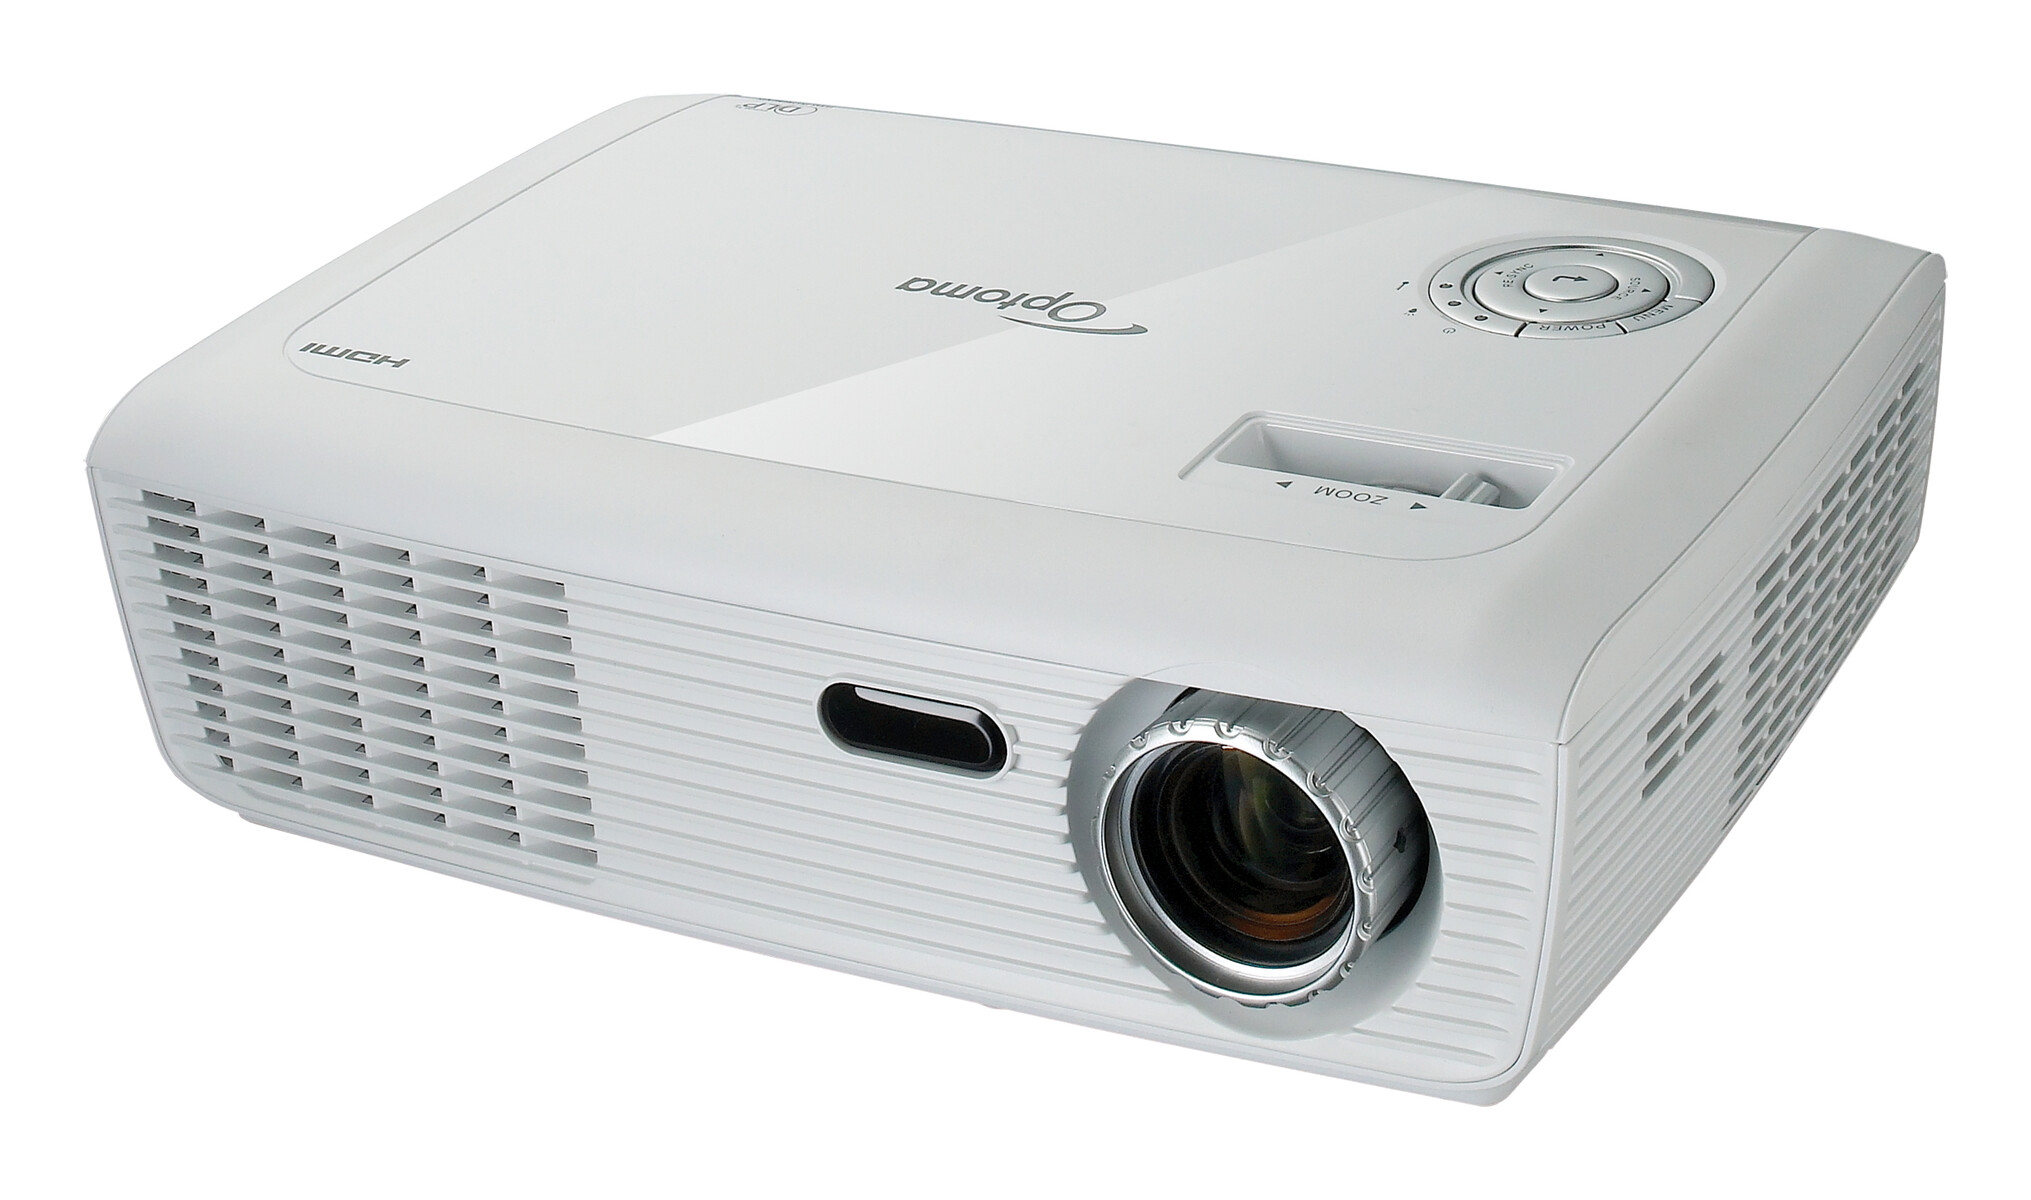
For DLP projectors, a malfunctioning or damaged color wheel, or dust on its photo sensor, can cause inaccurate color reproduction, including yellow tints. The color wheel spins at high speed to sequentially display red, green, and blue; if a segment is chipped, cracked, or the sensor that syncs its rotation is dirty, the projector cannot correctly time color output, resulting in a yellow or rainbow-tinged image.
Both of these issues are not user-serviceable. Opening the projector's optical engine exposes sensitive components and high-voltage circuits, and attempting DIY repairs will void your warranty and risk permanent damage.
When to Seek Professional Projector Repair
Clear guidance: burnt polarizers, damaged color wheels, and defective DMD chips are not user-serviceable, so if your projector is projecting yellow after all the above steps, it's time to contact a qualified technician. Attempting to fix these internal parts yourself can cause further damage, and replacement parts are often proprietary and require alignment tools.
Before sending your unit in, check your warranty status, most projectors include 1-3 years of coverage for manufacturing defects. If you're out of warranty, get a repair quote first; for older or budget projectors, the repair cost may exceed the replacement value, and buying a new unit could be more economical.
Also consider environmental factors: projector calibration is essential as factory settings are only a starting point, and room color can affect perceived tint. If your walls are warm cream, yellow, or orange, light reflecting off them can make the image look yellow even when the projector is perfectly fine. Test in a dark room with neutral gray or white walls before paying for repairs.
In summary, work through the free fixes first, cables, settings, lens cleaning, and lamp hours, and only escalate to professional repair when you've confirmed the issue is internal. With this systematic approach, you'll resolve the yellow tint in the vast majority of cases without spending a dime.
\nRelated reading: Why Is My Projector Showing Red and 3D Hologram Projector How It Works.