Introduction
Welcome to this guide on how to pair a remote to a projector. Having a working remote control is essential for operating a projector efficiently and conveniently. Whether you’re setting up a home theater system or giving a presentation in a professional setting, a properly paired remote will make your experience smoother and more enjoyable.
This guide will provide you with step-by-step instructions to ensure your remote and projector are successfully paired. We’ll also cover troubleshooting tips to help you overcome any potential issues along the way.
Before we dive into the steps, it’s important to note that the process of pairing a remote to a projector may vary slightly depending on the specific model and brand of the equipment. However, the general principles and techniques outlined in this guide should apply to most projectors and their respective remotes.
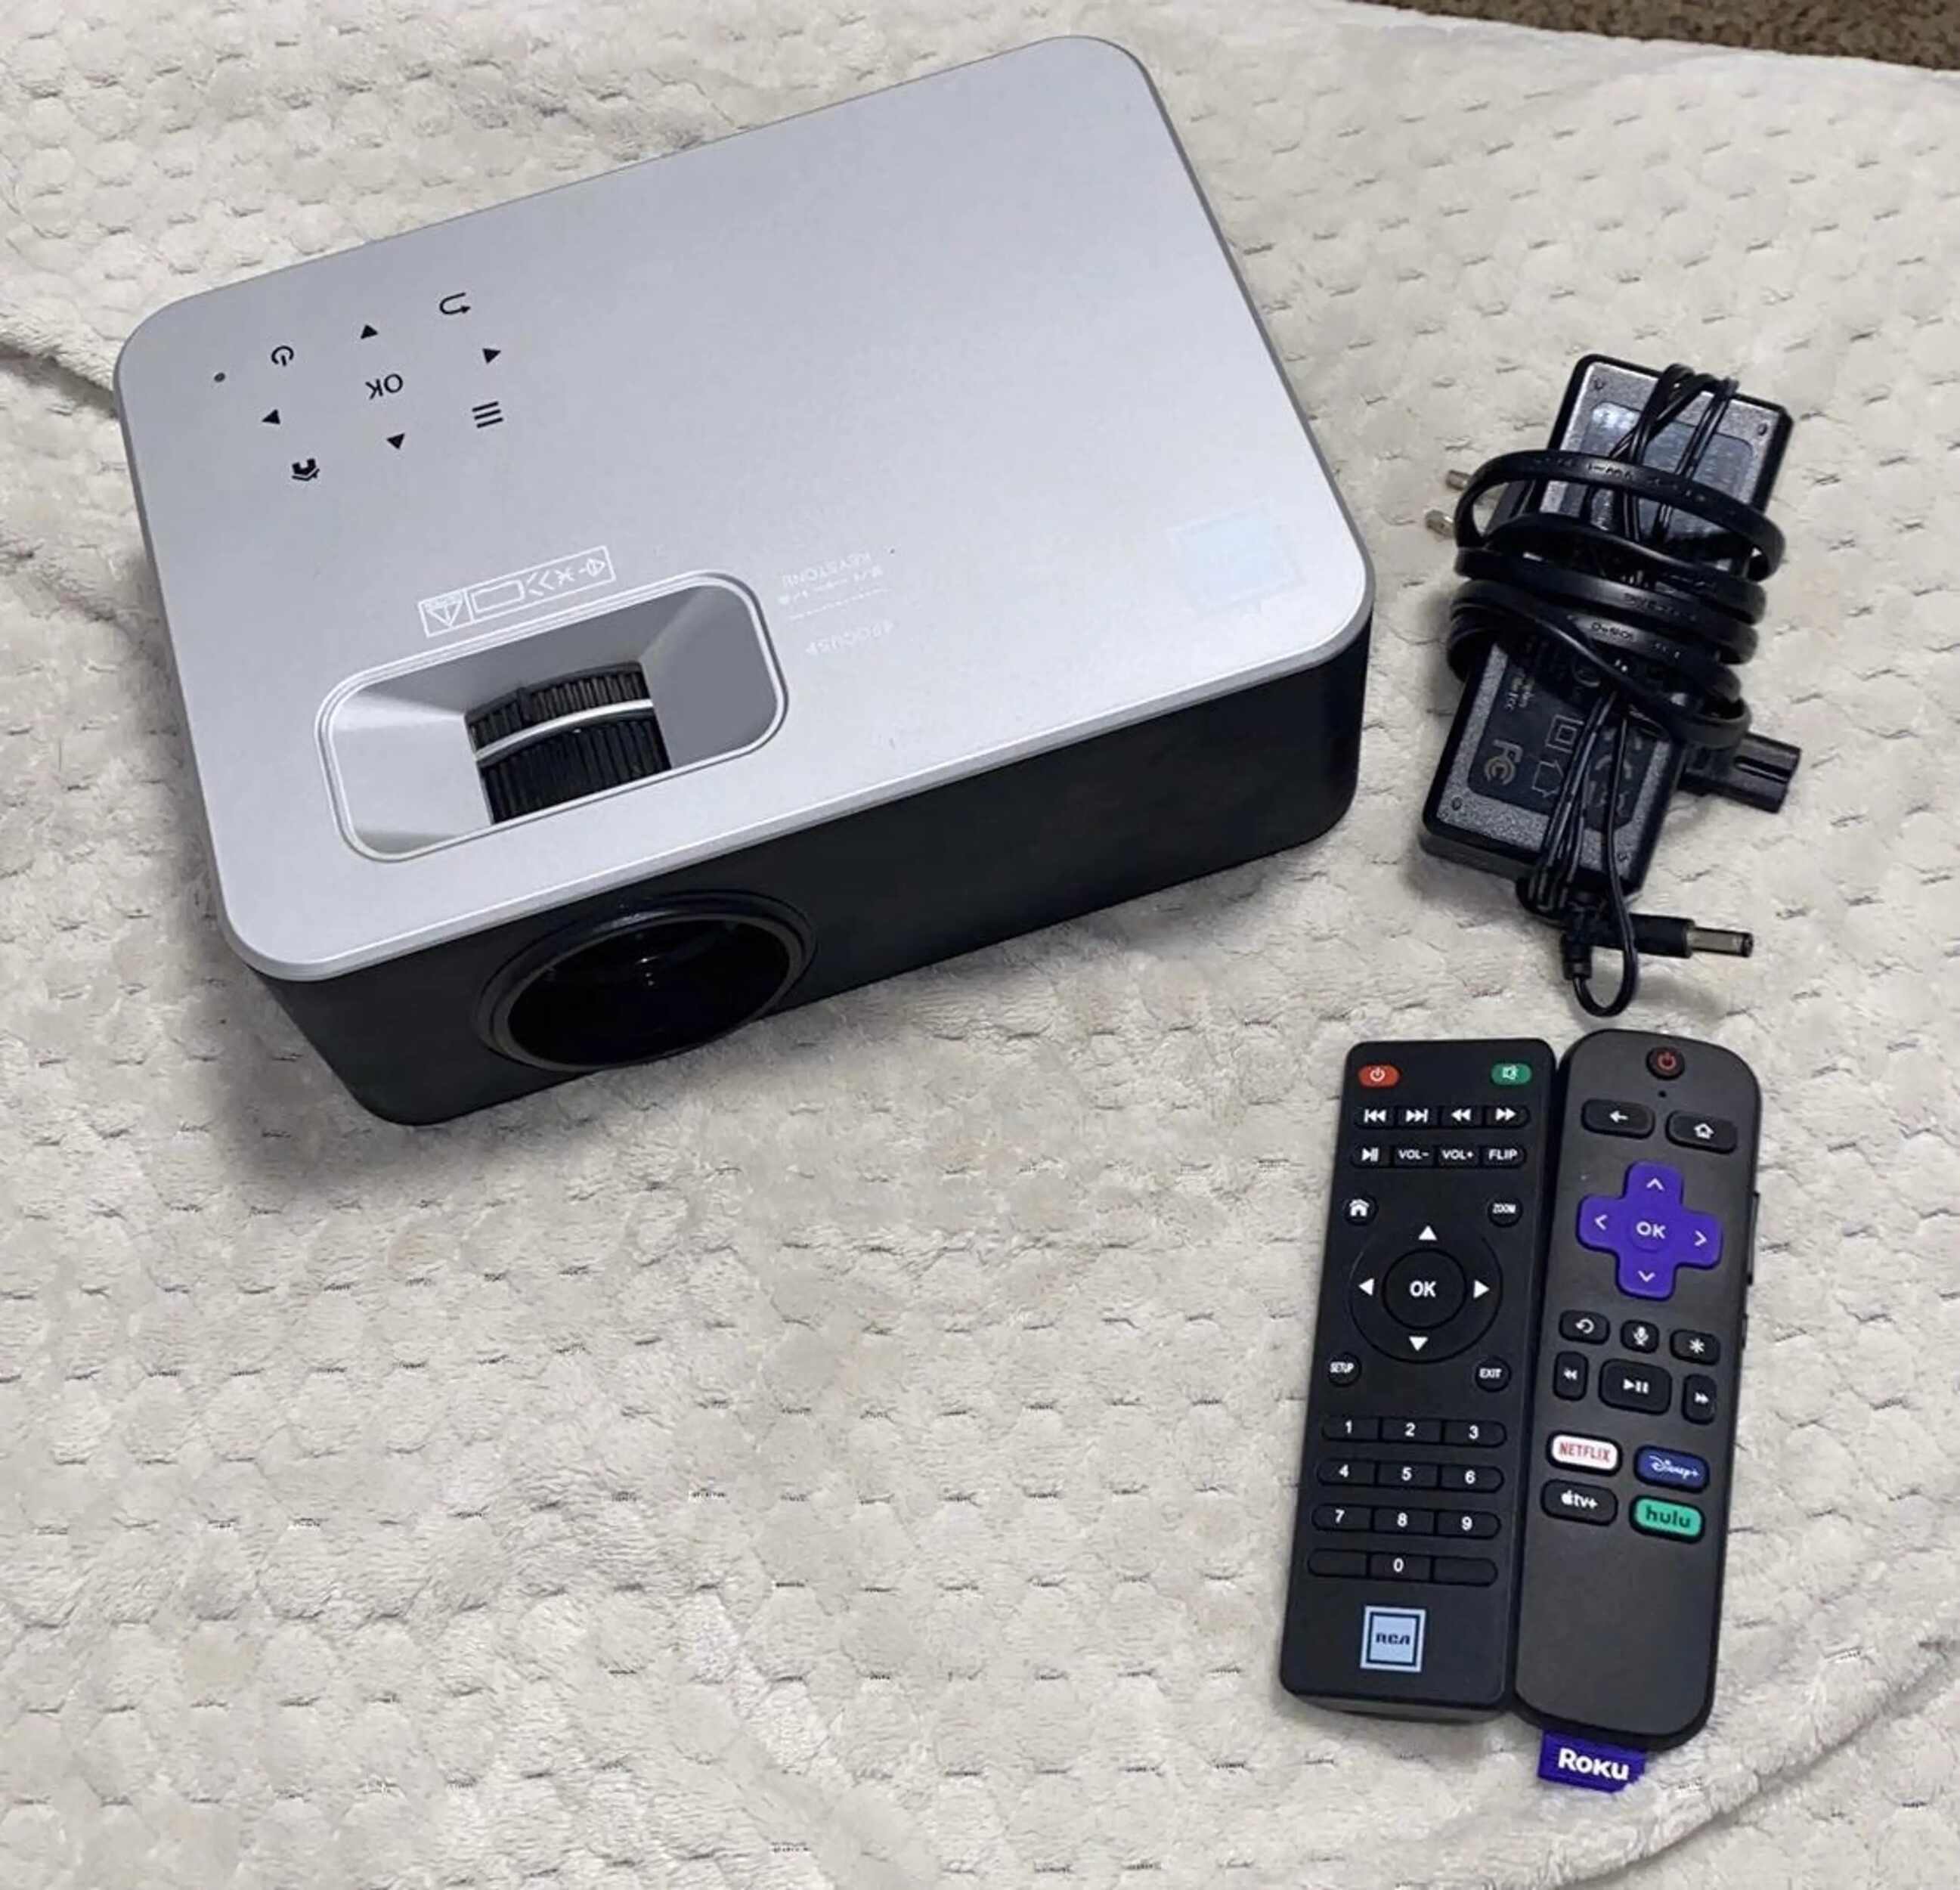
If you’ve recently purchased a new projector or acquired a new remote, it’s crucial to check the compatibility between the two devices. Not all remotes are universally compatible with all projectors, so verifying their compatibility is a vital first step. Consult the user manuals or online resources for both your projector and remote to ensure they can be paired together.
Now, let’s get started with the step-by-step process of pairing your remote to your projector. By following these instructions, you’ll be able to control your projector effortlessly, allowing you to focus on enjoying your favorite movies, delivering a professional presentation, or engaging in any other projector-related activity.
Step 1: Check compatibility between remote and projector
Before you begin the pairing process, it’s important to ensure that your remote and projector are compatible with each other. Not all remotes are designed to work with all projectors, so it’s crucial to verify their compatibility beforehand. Here’s how you can do it:
- Consult the user manuals: Start by referring to the user manual of your projector and remote control. Look for specific instructions or compatibility information provided by the manufacturer. You can usually find the manuals in print form that came with your devices, or you can search for them online on the manufacturer’s website.
- Manufacturer’s website: Visit the website of the projector and remote control manufacturers to find compatibility information. Most manufacturers provide a support section or FAQ page where you can find details about compatible remote models for your projector or vice versa. Look for any documentation or support material specifically related to the remote and projector combination you’re using.
- Online forums and communities: Engage with online forums, communities, or social media groups dedicated to projectors and remote controls. These platforms often have knowledgeable members who can provide insights and answer compatibility-related questions. You can seek recommendations from fellow users who may have already successfully paired a remote with the same model of projector you own.
- Contact customer support: If you’re still unsure about the compatibility of your remote and projector, reach out to the customer support of the manufacturers. They should be able to assist you in determining compatibility and providing any necessary advice or alternative solutions.
By performing these checks and verifications, you can ensure that your remote and projector are compatible, giving you a solid foundation to move forward with the pairing process. Remember, compatibility is key to a seamless remote control experience, so invest the necessary time to confirm it before proceeding to the next steps.
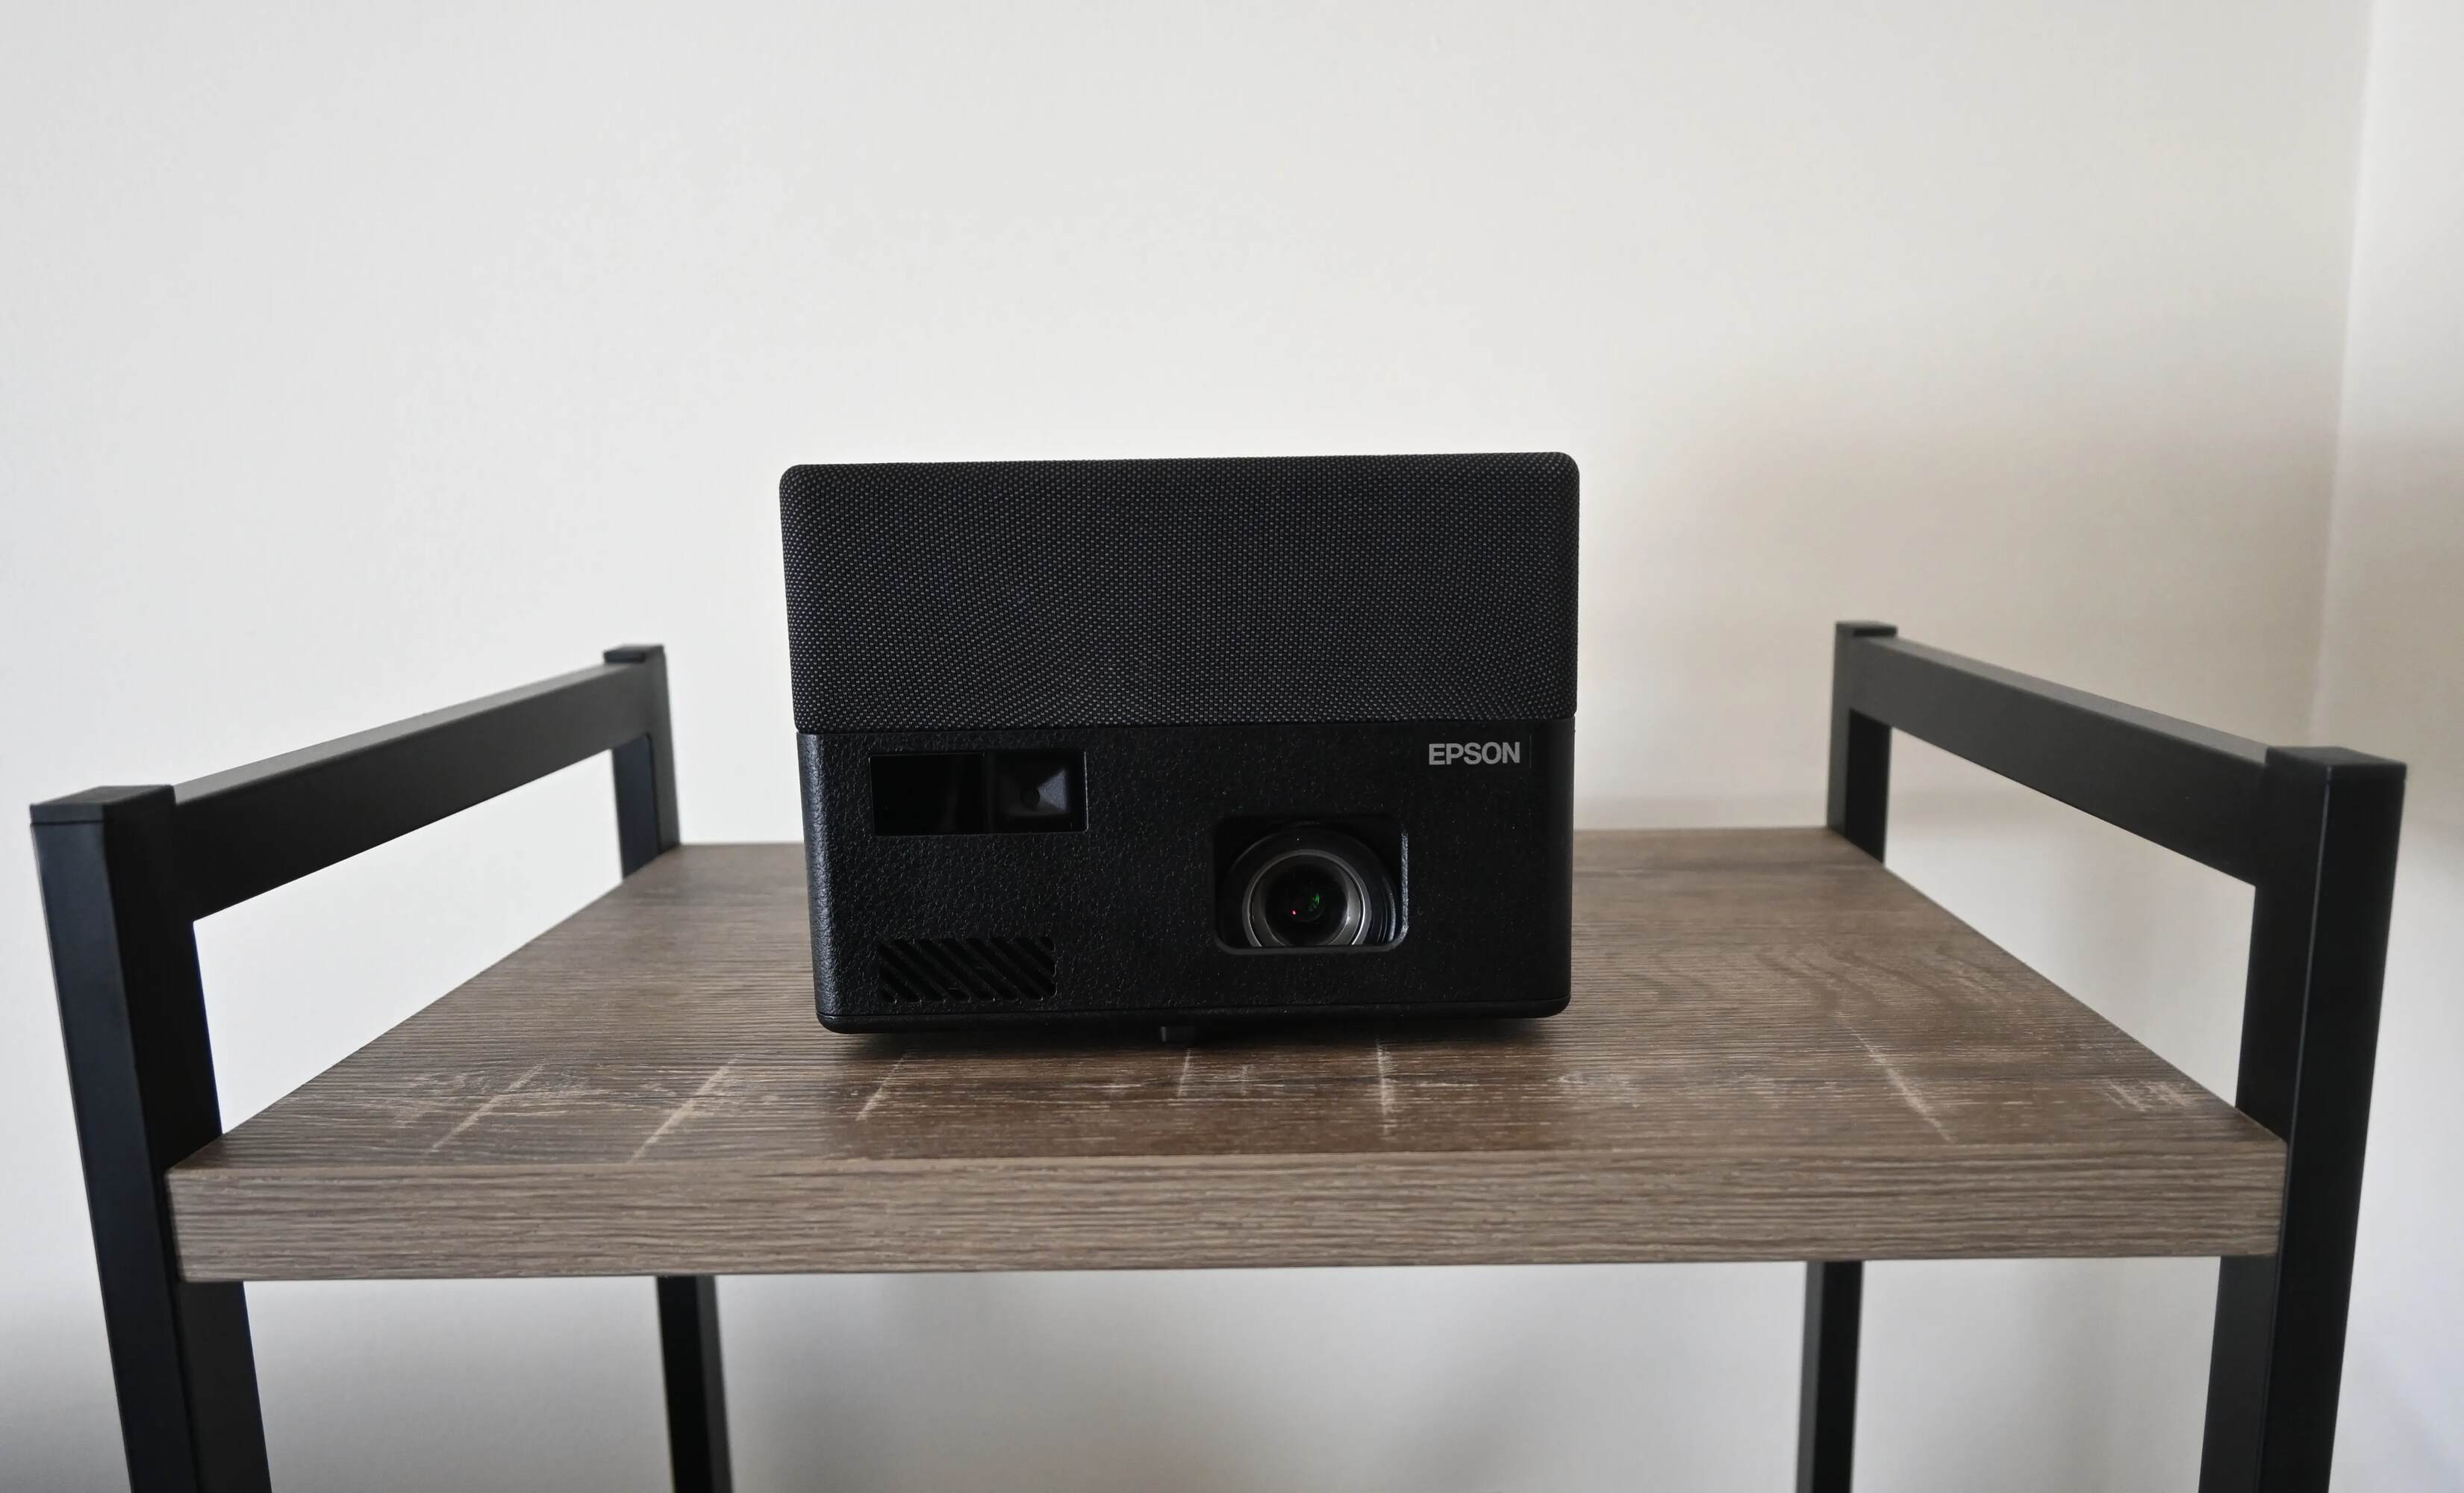
Step 2: Switch on the projector
Before we can proceed with pairing the remote to the projector, it’s essential to ensure that the projector itself is switched on and in a ready state. Follow these simple steps to switch on your projector:
- Locate the power button: Look for the power button on the projector. It is usually located on the control panel of the device or the top or side of the projector casing.
- Plug in the projector: If the projector is not already plugged into a power source, connect it to an electrical outlet using the provided power cable. Ensure that the power cable is securely connected at both ends.
- Press the power button: Once the projector is plugged in, press the power button to switch it on. Some projectors may have a power toggle switch instead of a button. In that case, toggle the switch to the “On” position.
- Wait for the projector to start up: Give the projector a few moments to start up. It may take a few seconds for the projector’s lamp to warm up and for the device to initialize.
- Check the projector’s display: Look at the projector’s display or projection surface to ensure that it is showing the appropriate startup screen or a blank image, indicating that the projector is powered on and ready for use.
By following these steps, you can switch on your projector and have it ready for the pairing process. It’s important to ensure that the projector is fully powered on before proceeding to the next steps, as the pairing process requires the projector to be in an active state. Once you have confirmed that the projector is switched on, we can move on to the next step of removing any obstacles that may interfere with the pairing process.
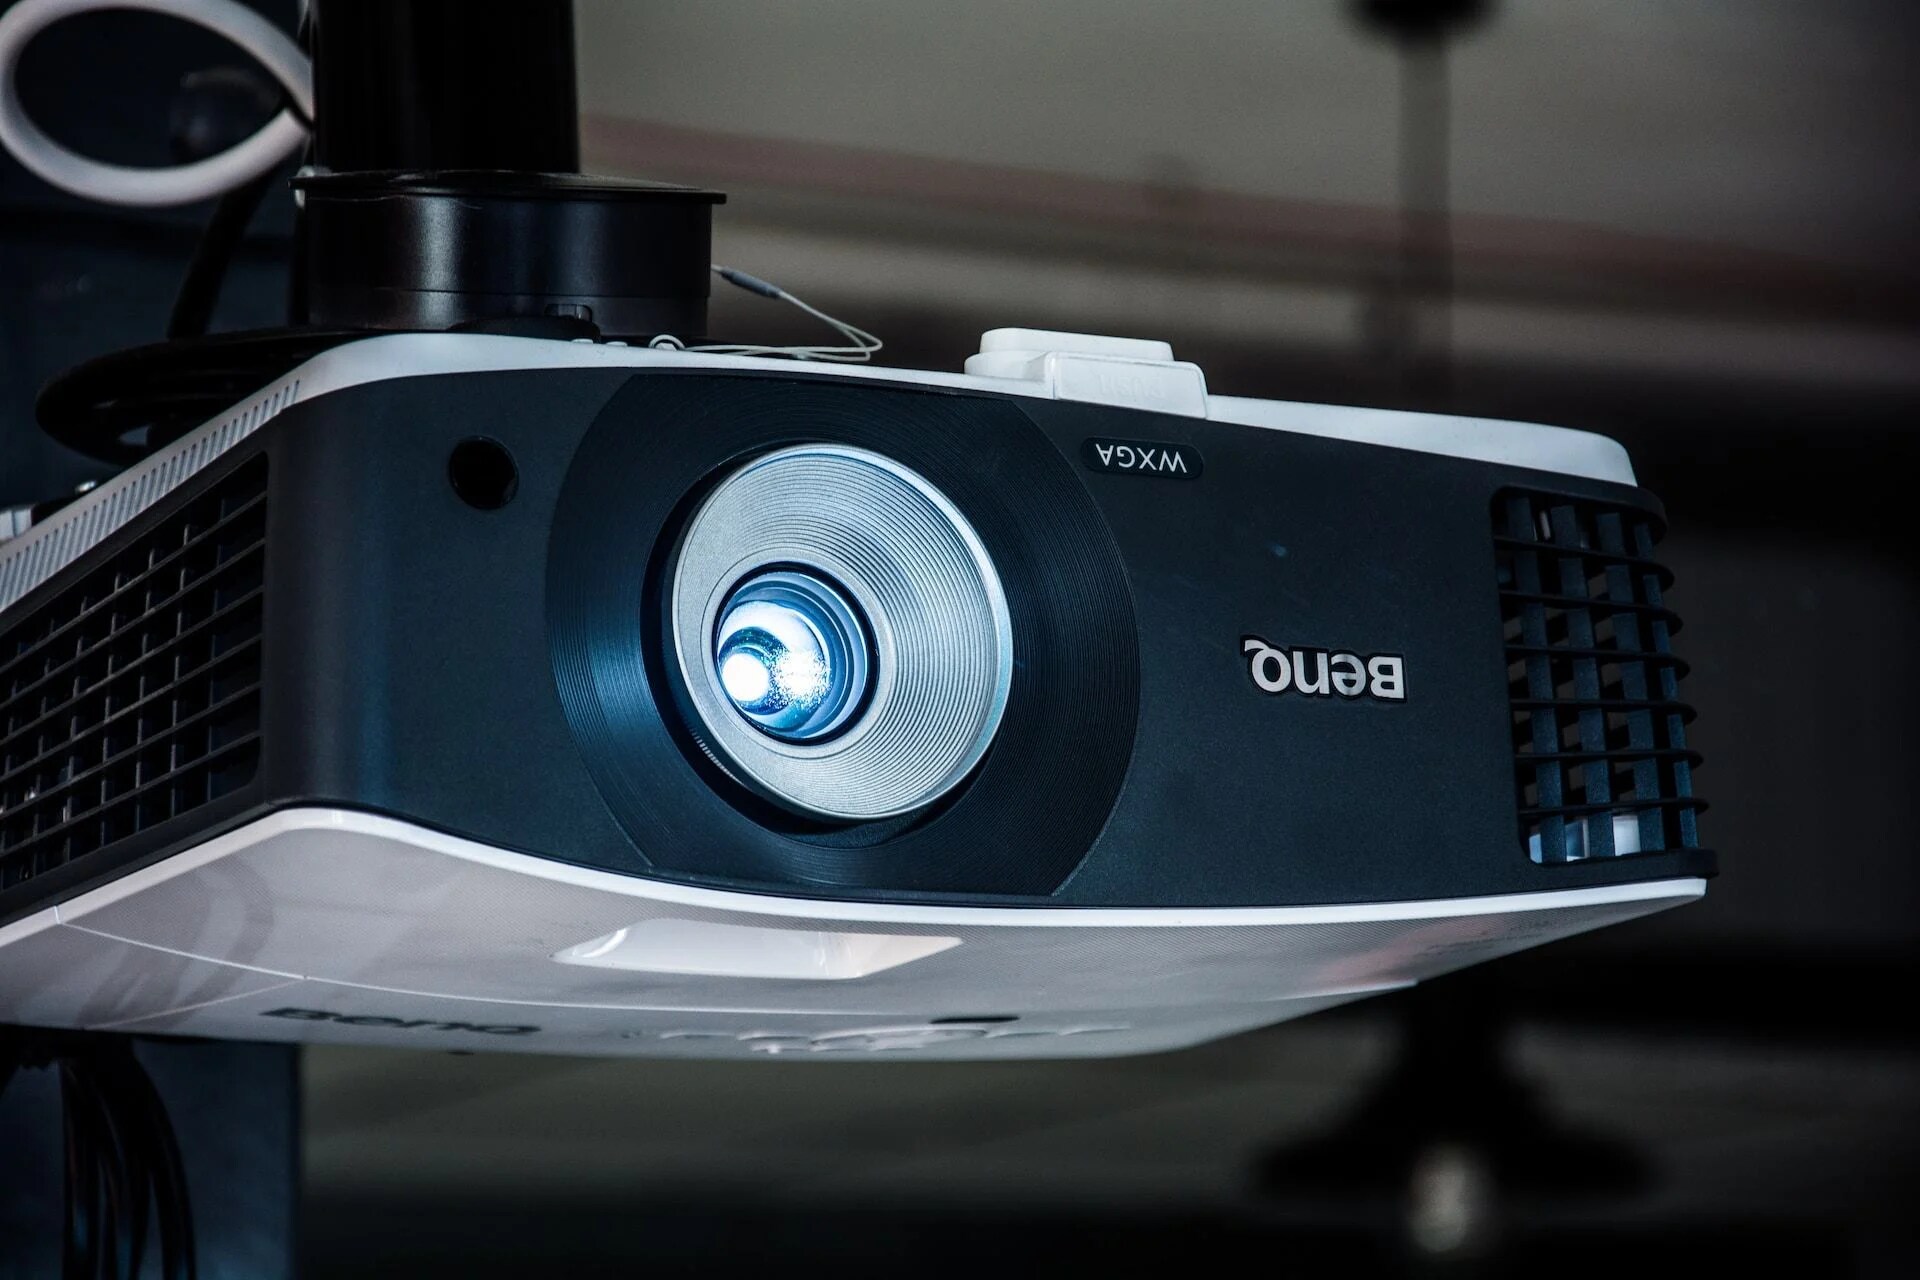
Step 3: Remove any obstacles
To ensure a successful pairing process, it’s essential to remove any obstacles that may hinder the communication between the remote and the projector. Here are a few steps to follow to eliminate any potential obstacles:
- Clear the line of sight: Check for any physical obstructions between the remote and the projector. Make sure there are no objects such as furniture, plants, or other devices blocking the direct line of sight between the remote and the projector’s infrared (IR) receiver. Clearing the line of sight will ensure a strong and uninterrupted signal during the pairing process.
- Remove protective film or covers: If your remote control or projector has a protective film or cover, remove it. These films or covers are designed to protect the devices during shipping or storage and can interfere with the signal transmission. Removing them will allow the remote’s IR signal to reach the projector receiver unhindered.
- Check for interference: Other electronic devices in close proximity to the projector and remote control can cause interference. Ensure that devices such as wireless routers, cordless phones, or microwaves are not located too close to the projector and remote. These devices can emit signals in the same frequency range as the remote, which can disrupt the pairing process.
- Test from different angles: Try pointing the remote at the projector from different angles and distances to determine the best signal reception. Sometimes, a slight adjustment in the positioning of the remote can result in better signal transmission, especially if there are reflections or other sources of interference in the room.
Taking these steps to remove any obstacles will maximize the effectiveness of the remote control signal and improve the chances of a successful pairing with the projector. Once you have ensured a clear line of sight and eliminated potential interference, you can proceed with the next step of inserting batteries into the remote control.
Step 4: Insert batteries into the remote
Before we can continue with the pairing process, it’s important to ensure that the remote control has fresh batteries installed. Here’s how you can insert the batteries into your remote control:
- Locate the battery compartment: Look for the battery compartment on the back or underside of the remote control. It is usually secured with a latch or screw.
- Open the battery compartment: Depending on the design of your remote control, open the compartment by sliding the latch or removing the screw using a small screwdriver. Some remote controls have a battery door that can be pried open with your fingers.
- Insert the batteries: Take the appropriate number of batteries required for your remote control. Check the polarity markings (+ and -) inside the battery compartment and ensure you insert the batteries correctly, matching the markings.
- Close the battery compartment: Once the batteries are inserted, close the battery compartment securely. Make sure the latch is securely fastened or the screw is tightened.
It’s important to use fresh batteries with sufficient charge in order to ensure optimal performance of the remote control. Using old or weak batteries may result in poor signal transmission and can hinder the pairing process. If you’re unsure about the battery life, it’s a good practice to replace the batteries with new ones to avoid any potential issues.
With fresh batteries installed in the remote control, you’re now ready to move on to the next step of locating the remote pairing button on the projector.
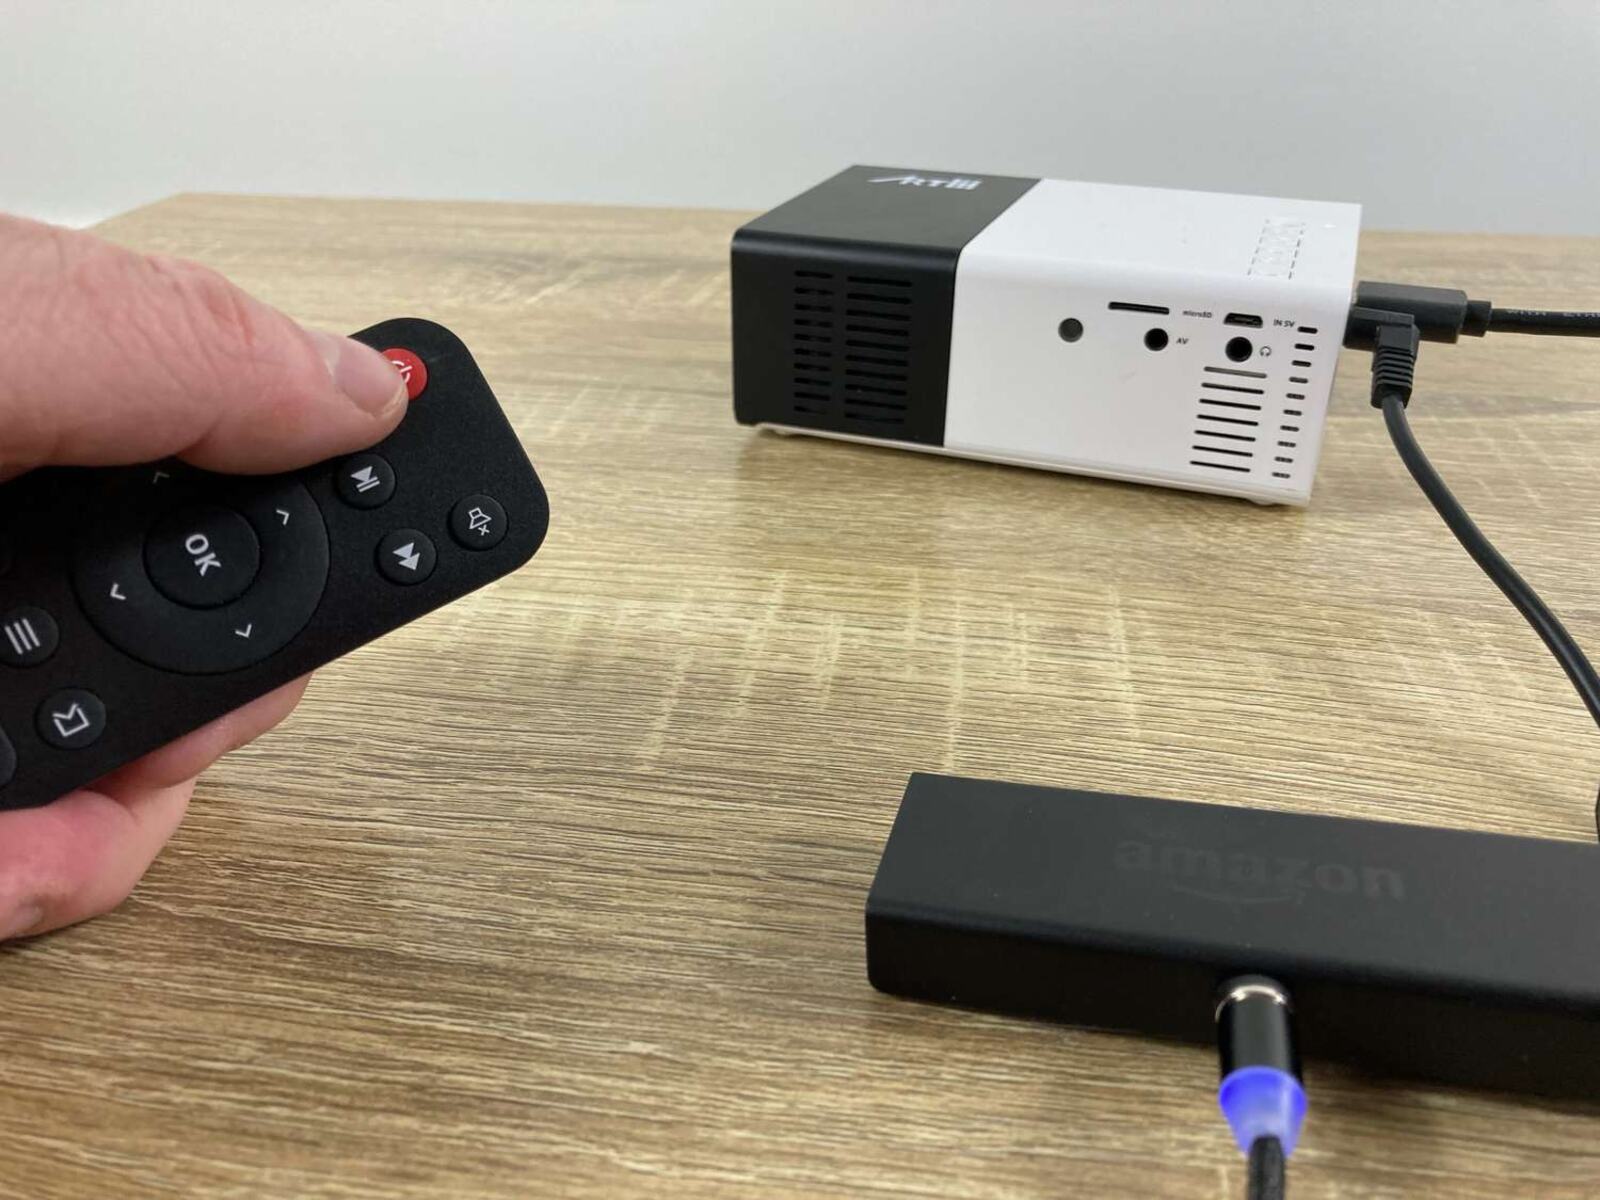
Step 5: Locate the remote pairing button on the projector
In order to pair your remote control with the projector, you need to locate the remote pairing button on the projector itself. The exact location of the pairing button may vary depending on the projector model, so refer to the user manual if you’re having trouble finding it. Here are some general guidelines to help you locate the remote pairing button:
- Inspect the control panel: Check the control panel of the projector for any buttons or switches labeled specifically for remote pairing. These buttons are usually marked with symbols or text indicating their purpose.
- Look for a dedicated pairing button: Some projectors have a dedicated pairing button that is used solely for the purpose of pairing the remote control. This button is often located separately from other control buttons to make it easily identifiable.
- Check the user manual: If you’re unable to locate the pairing button on the projector, consult the user manual. The manual will provide detailed instructions and illustrations on where to find the pairing button specific to your projector model.
- Online resources: If you don’t have the physical user manual, you can search online for the projector model’s user manual. Most manufacturers provide digital copies of their manuals on their websites, which you can easily access and refer to.
Once you have located the remote pairing button on the projector, you’re ready to move on to the next step of pressing and holding the pairing button. Remember that the location of the pairing button may vary, so take your time to ensure you find the correct button for your projector model.
Step 6: Press and hold the pairing button
Now that you have located the remote pairing button on the projector, it’s time to initiate the pairing process by pressing and holding the button. Follow these steps to proceed:
- Position yourself near the projector: Stand or sit in a position where you have a clear view of both the projector and the remote control.
- Ensure the projector is powered on: Before pressing the pairing button, make sure the projector is switched on and in an active state.
- Press and hold the pairing button on the projector: Locate the remote pairing button on the projector, which you identified in the previous step. Press and hold the button down for a few seconds.
- Observe the indicator lights or display: While holding the pairing button, keep an eye on the indicator lights or display on the projector. The lights may blink or change color, or a message may appear on the display to indicate that the projector is ready for pairing.
- Continue holding the button: Keep the pairing button on the projector pressed until you move on to the next step. It’s important to maintain the button press in order to establish a solid connection between the remote control and the projector.
By following these steps, you are putting the projector into pairing mode, allowing it to accept the remote control’s signal and establish a connection. Once you have successfully held down the pairing button and observed the appropriate indicator lights or messages on the projector, it’s time to move on to the next step of pressing and holding the pairing button on the remote control.
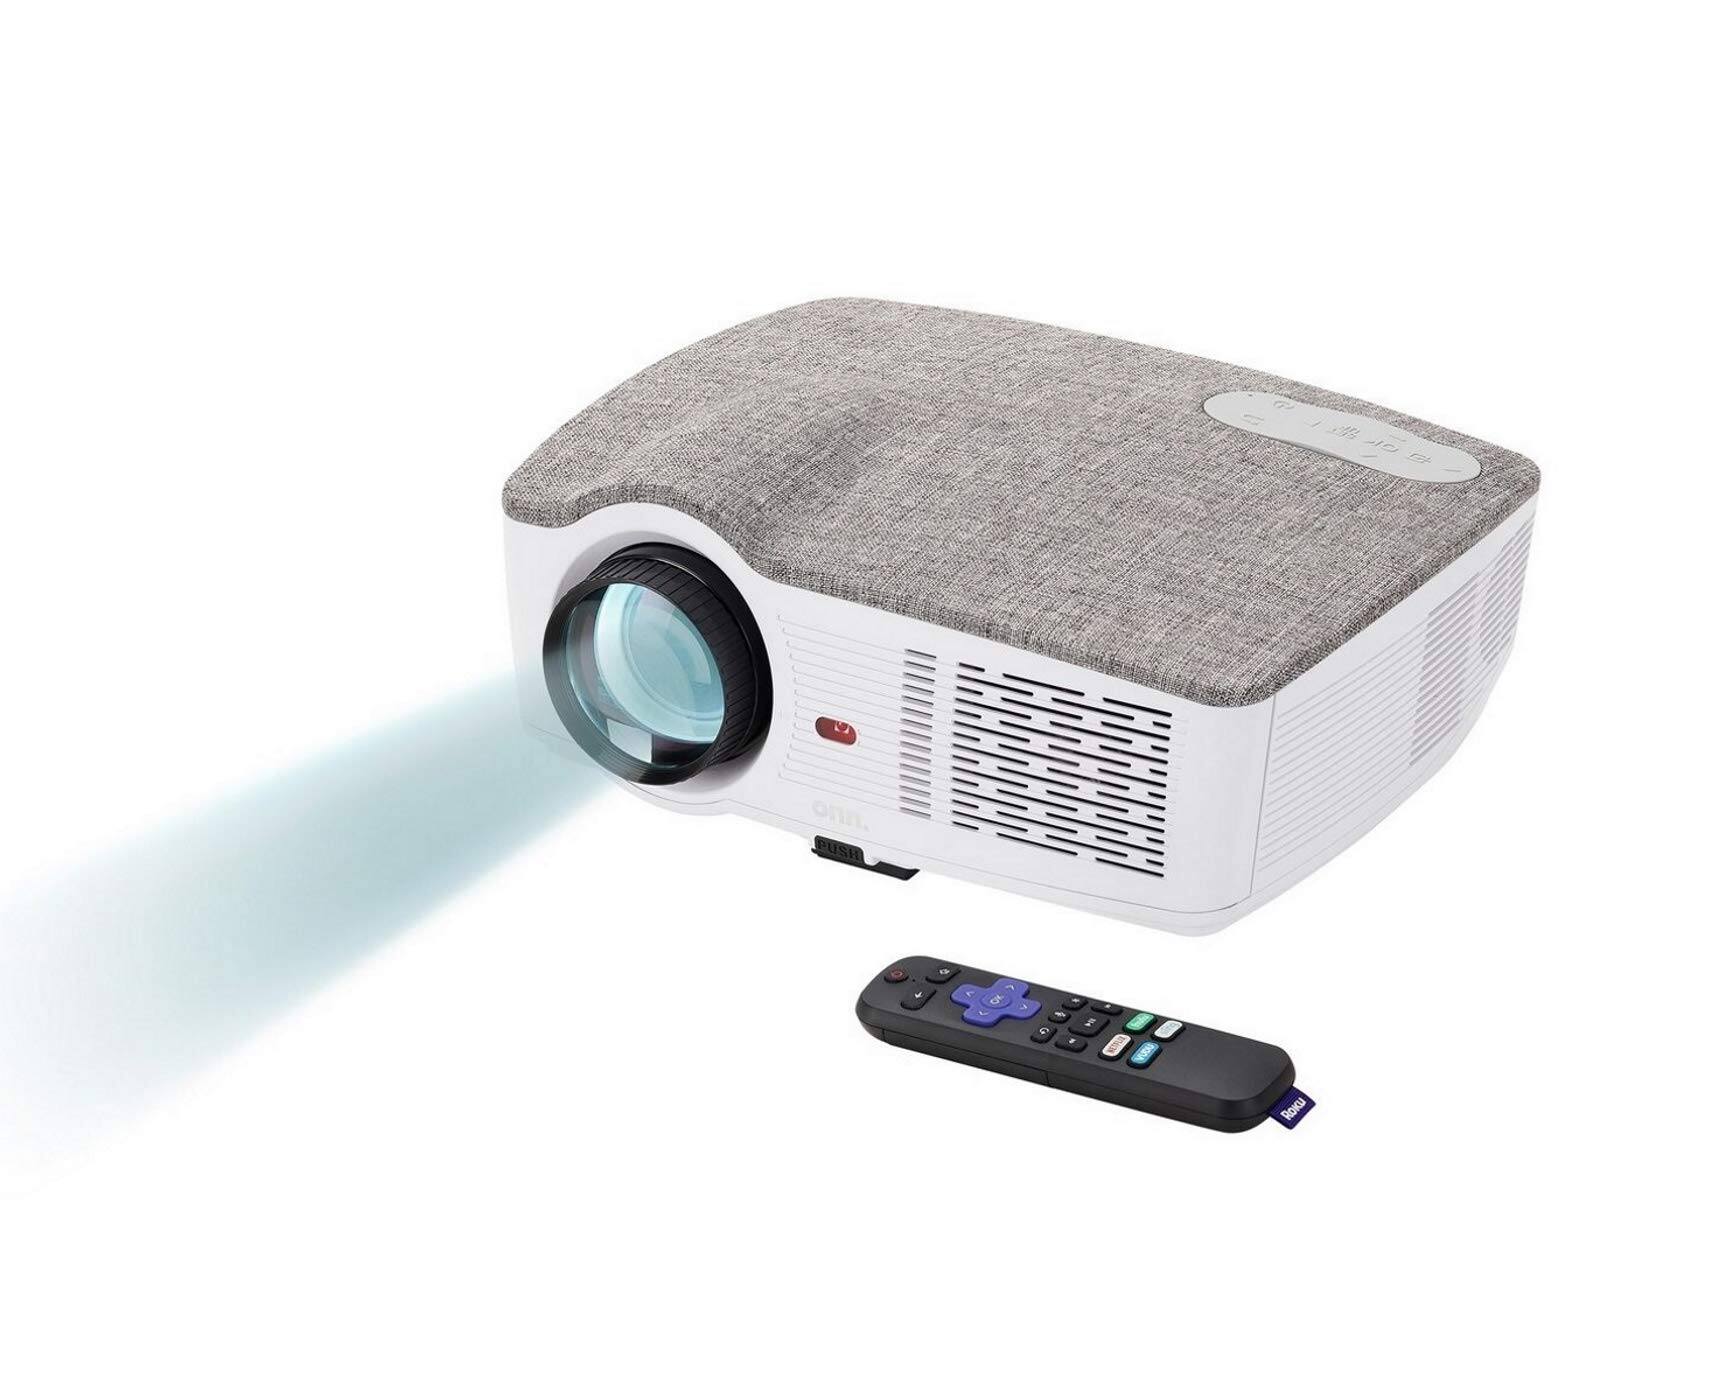
Step 7: On the remote, press and hold the pairing button
With the projector in pairing mode, it’s now time to pair your remote control by pressing and holding the pairing button on the remote. Follow these steps to proceed:
- Keep the projector in view: Ensure that you can still see the indicator lights or display on the projector while holding the remote control.
- Find the remote pairing button: Locate the pairing button on the remote control. It is usually labeled with a symbol or text indicating its purpose.
- Press and hold the pairing button: With the projector in pairing mode, press and hold the pairing button on the remote control. Hold it down for a few seconds.
- Observe the indicator lights or display on the projector: As you hold down the pairing button on the remote, pay attention to the indicator lights or display on the projector. You may see them blink, change color, or a message may appear to indicate that the pairing process is in progress.
- Continue holding the button: Keep the pairing button on the remote control pressed until the next step. This ensures that the remote control is transmitting the pairing signal consistently.
By pressing and holding the pairing button on the remote control, you are sending a pairing signal to the projector. The projector will receive this signal and establish a connection with the remote control. It’s important to hold the button down until you move on to the next step, as releasing it too soon may result in an incomplete pairing process.
Now that you’ve successfully held down the pairing button on both the projector and the remote control, we can move on to the next step of waiting for the confirmation lights or a message on the projector to indicate a successful pairing.
Step 8: Wait for confirmation lights or a message on the projector
After pressing and holding the pairing buttons on both the projector and the remote control, you’ll need to wait for confirmation lights or a message on the projector to indicate a successful pairing. This step requires a bit of patience, as the time it takes for the pairing process to complete may vary. Here’s what you should do:
- Maintain the button presses: Keep holding down the pairing button on both the projector and the remote control.
- Observe the projector: Direct your attention to the projector and look for any changes in the indicator lights or display.
- Confirmation lights: Some projectors have specific lights that flash or change color to signify successful pairing. These lights may blink rapidly, turn solid, or transition to a different color. Refer to the projector’s user manual for information on the specific indicator lights.
- On-screen message: Alternatively, the projector’s display may show a message confirming the successful pairing. Look for messages such as “Remote Control Paired” or something similar.
- Stay patient: Be patient while waiting for the confirmation lights or message. The pairing process may take a few seconds or up to a minute.
It’s important to note that the specific indications of successful pairing may vary depending on the projector model. Refer to the user manual or manufacturer’s documentation for precise details on what to expect during the pairing process. Once you see the confirmation lights or message, it indicates that the projector and the remote control have made a successful connection.
Now that the pairing process is complete, you can proceed to the next step of testing the remote control to ensure it is paired correctly with the projector.
Step 9: Test the remote to ensure it is paired correctly
Once you have completed the pairing process, it’s important to test the remote control to ensure that it is paired correctly with the projector. By performing this test, you can verify that the remote control can effectively communicate with the projector and perform desired functions. Follow these steps to test the remote control:
- Ensure that the projector is on: Make sure the projector is still powered on and in an active state.
- Point the remote at the projector: Aim the remote control toward the projector from a reasonable distance. Maintain a clear line of sight between the remote control and the projector’s infrared (IR) receiver.
- Press a button on the remote control: Select a function button on the remote, such as power, volume, or menu, and press it.
- Observe the projector’s response: Pay attention to the projector’s response when you press a button on the remote control. The projector should execute the desired action, such as adjusting the volume, changing the input source, or navigating through menu options.
- Try different functions: Test various buttons and functions on the remote control to ensure that all commands are transmitted successfully to the projector. Verify that the desired actions are performed without any delays or issues.
If the projector responds appropriately to the commands from the remote control, it indicates that the pairing was successful, and the remote control is now fully operational. However, if you encounter any issues or the projector does not respond as expected, you may need to repeat the pairing process or troubleshoot potential problems.
By testing the remote control, you can ensure that it is functioning correctly and that you can comfortably control the projector’s features from a distance. This step is crucial to ensure a seamless and hassle-free experience with your projector.
Step 10: Troubleshooting tips
If you encounter any issues during the pairing process or while testing the remote control, don’t worry. Here are some troubleshooting tips to help you resolve common problems and ensure a successful pairing between your remote control and projector:
- Check the batteries: Ensure that the batteries in the remote control have enough charge. Replace them with fresh batteries if needed.
- Verify the line of sight: Make sure there are no obstacles blocking the line of sight between the remote control and the projector. Clear any objects that may interfere with the infrared signal.
- Reposition the remote and projector: Adjust the position of the remote control and projector to find the most optimal line of sight. Experiment with different angles and distances to improve signal reception.
- Double-check compatibility: Confirm that the remote control is compatible with the projector model. Refer to the user manuals or online resources to verify compatibility.
- Restart the pairing process: If the initial pairing attempt fails, try starting the process from the beginning. Reset the pairing by powering off both the projector and the remote control, then follow the steps again.
- Update firmware/software: Check for any available firmware or software updates for your projector and remote control. Installing the latest updates can improve compatibility and performance.
- Inspect the remote’s IR emitter: Ensure that the IR emitter on the remote control is clean and unobstructed. Wipe away any dirt or dust that may be affecting the signal transmission.
- Factory reset: As a last resort, you can perform a factory reset on the projector and/or the remote control. Consult the user manuals for instructions on how to perform a reset.
If you continue to experience difficulties with pairing or remote control functionality, it may be necessary to contact customer support for further assistance. They can provide specialized guidance based on your specific projector model and remote control.
By following these troubleshooting tips, you can overcome common issues and ensure a successful pairing between your remote control and projector. Remember, patience and persistence are key to troubleshooting, and with some troubleshooting, you’ll have your remote control working smoothly in no time.
Conclusion
Pairing your remote control to your projector is an essential step in maximizing your projector experience. By following the step-by-step instructions outlined in this guide, you should now have a clear understanding of how to pair a remote control to a projector successfully. Remember to check the compatibility between your remote and projector, switch on the projector, remove any obstacles, insert fresh batteries into the remote, locate the remote pairing button on the projector, and press and hold the pairing buttons on both the projector and remote control.
Waiting for confirmation lights or a message on the projector will indicate a successful pairing. Once paired, test the remote control to ensure it operates the projector as desired. If you encounter any issues, refer to the troubleshooting tips provided to help resolve common problems.
By following these steps, you can enjoy seamless control over your projector, whether you’re watching movies, giving presentations, or engaging in any other projection-related activities. Remember to consult your projector and remote control’s user manuals for specific instructions tailored to your devices, as the pairing process may vary.
Now that you have successfully paired your remote control to your projector, sit back, relax, and enjoy the convenience and flexibility that a well-functioning remote control brings to your projector experience!