Introduction
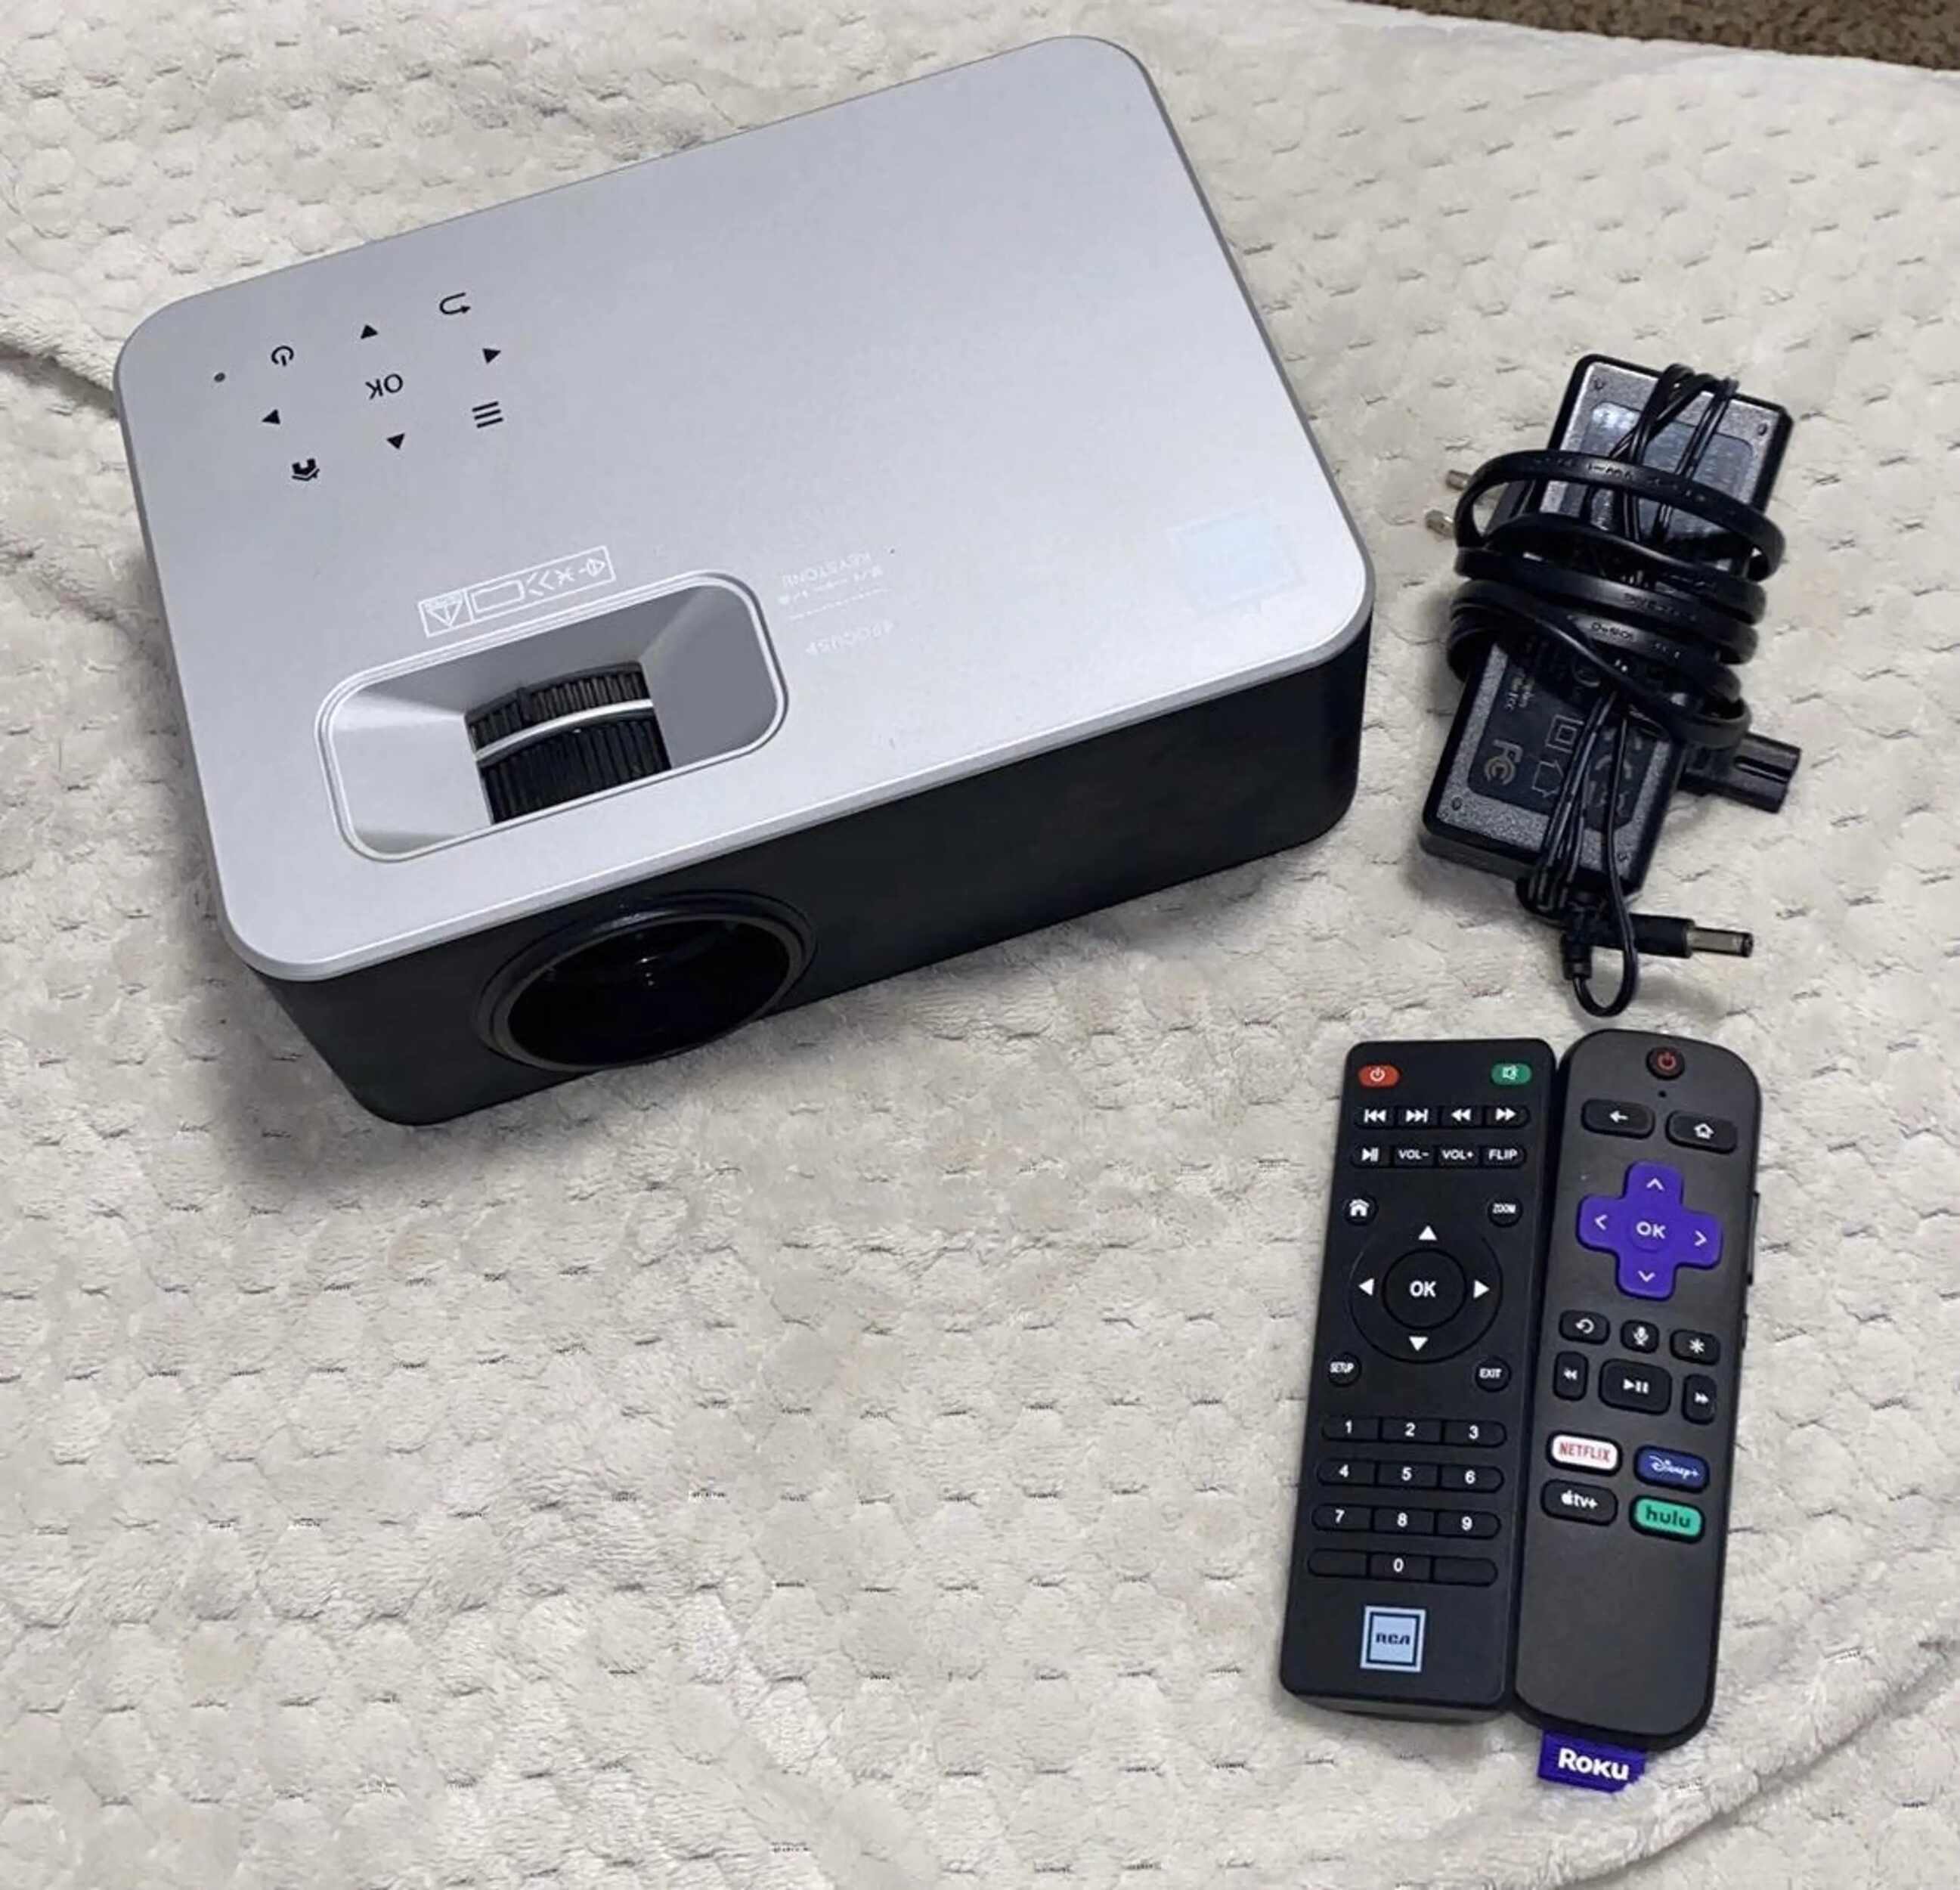
Connecting a Roku remote to an RCA projector is a simple and convenient way to control your entertainment system. Whether you want to stream movies, watch your favorite TV shows, or play games, having a functional remote is essential for a seamless experience.
In this guide, we will walk you through the steps to connect your Roku remote to an RCA projector. By following these instructions, you will be able to enjoy all the features and functionalities offered by your Roku device using the convenience of a remote control.
Before we begin, it is important to ensure that your Roku remote is compatible with the RCA projector. Different Roku models may have varying remote control capabilities, so it’s crucial to check whether your specific remote can be paired with the RCA projector. Once you have confirmed compatibility, you can proceed with the setup process outlined in the following steps.
So, if you are ready to take control of your RCA projector with your Roku remote, let’s get started with the setup process!
Step 1: Check compatibility between Roku remote and RCA projector
Before starting the setup process, it is important to ensure that your Roku remote is compatible with the RCA projector. Different models of Roku remotes may have varying compatibility, so it is crucial to check before proceeding.
To check the compatibility, first, identify the model of your Roku remote. Typically, the model number can be found on the back of the remote or inside the battery compartment. Alternatively, you can check the user manual or the Roku website for your specific model.
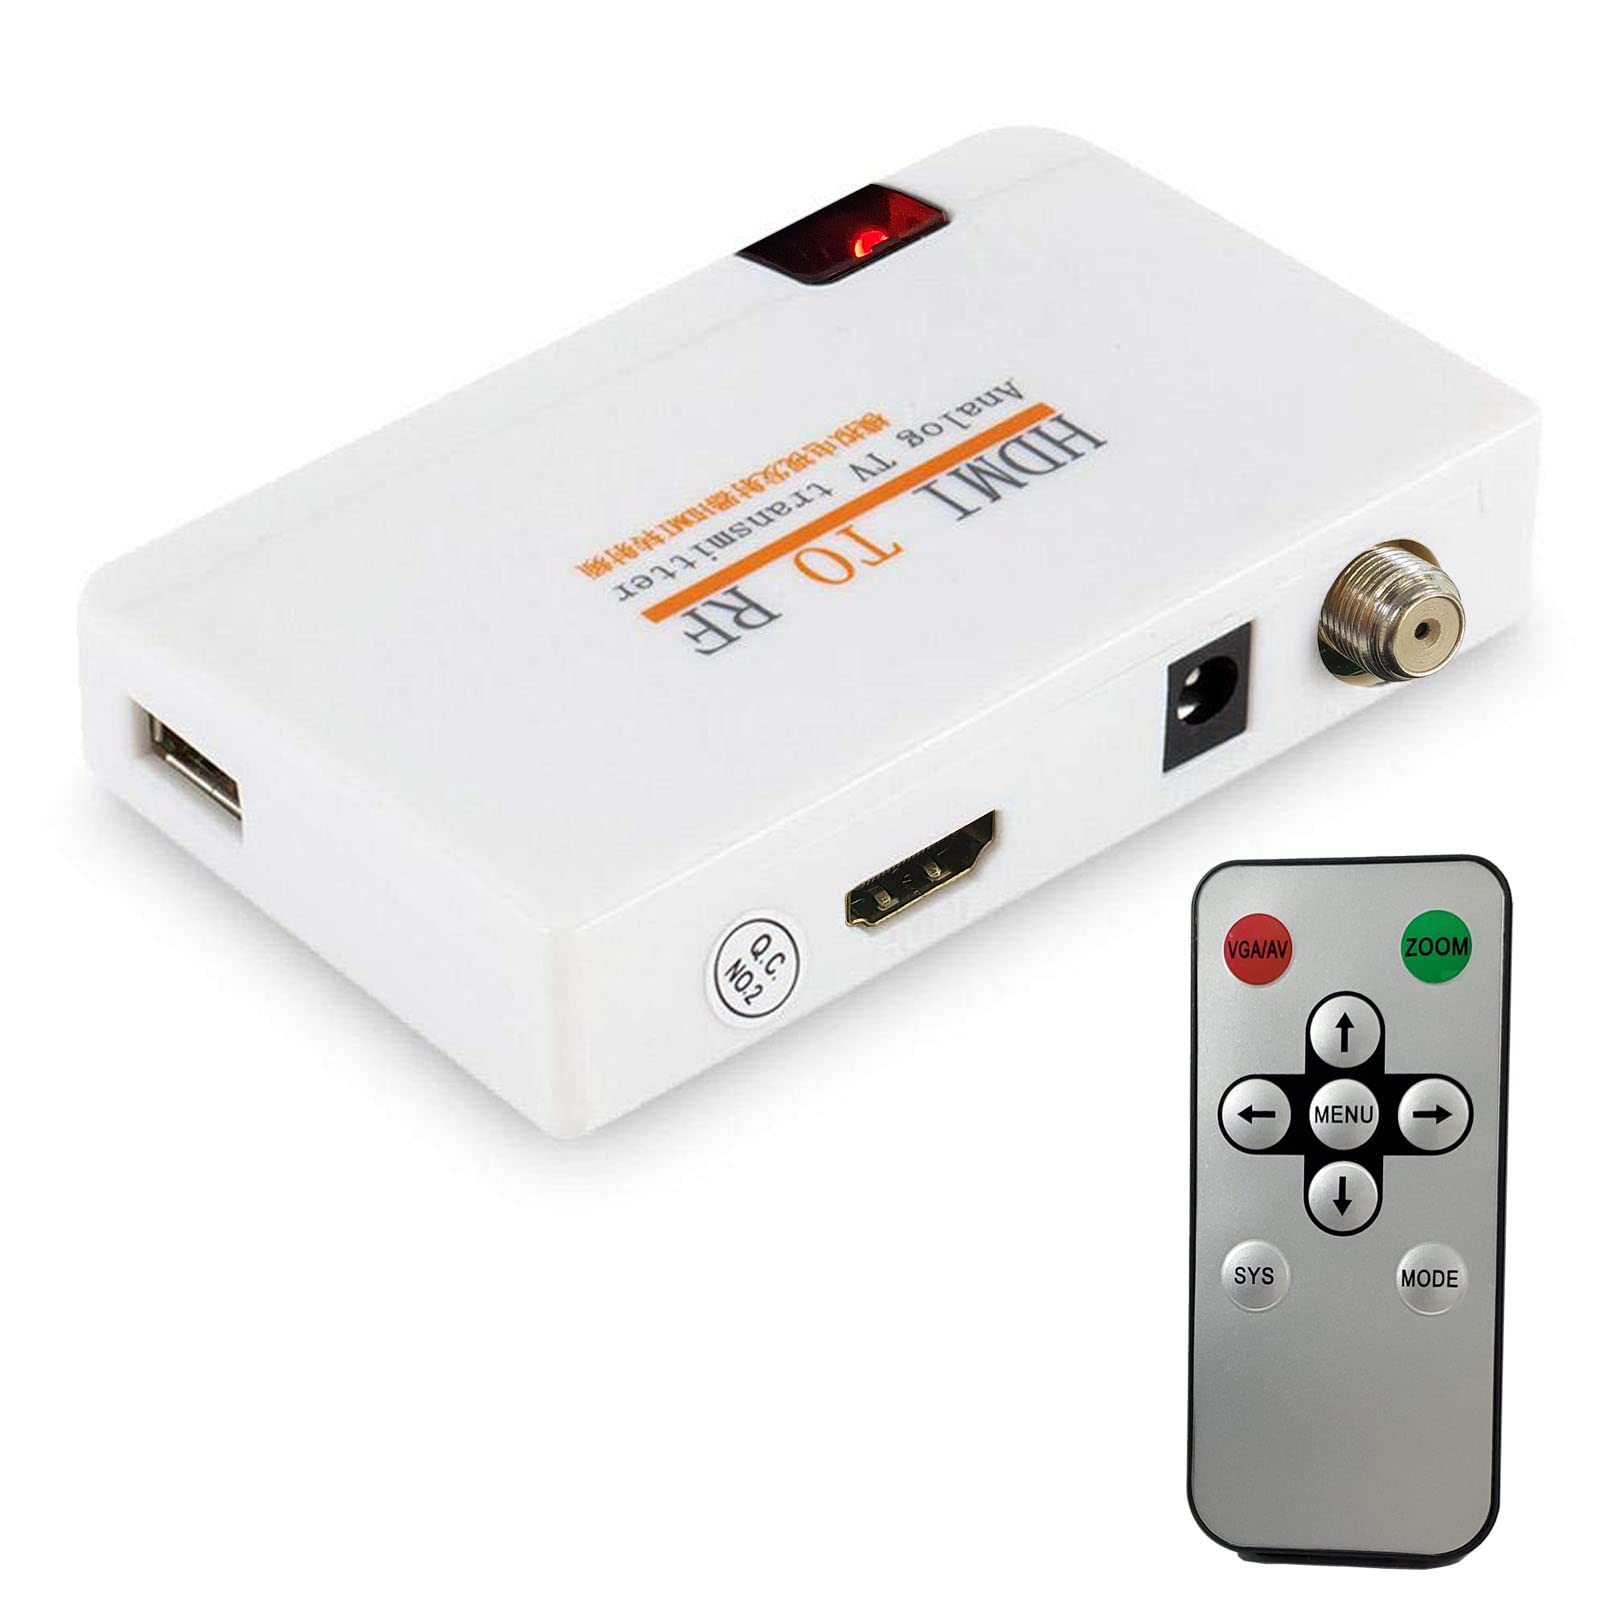
Once you have identified the model of your Roku remote, you can then verify if it is compatible with the RCA projector. Some Roku models, such as the Roku Streaming Stick, may require additional accessories, like an HDMI adapter, to connect with the RCA projector.
If your Roku remote is compatible and does not require any additional accessories, you can proceed with the setup process. However, if your Roku remote is not compatible with the RCA projector, you may need to consider alternative options, such as using a universal remote or connecting via a different method.
Ensuring compatibility between your Roku remote and RCA projector will save you time and frustration during the setup process. By double-checking compatibility, you can proceed confidently with the assurance that your devices will work seamlessly together.
Step 2: Prepare the Roku remote
Before you can connect your Roku remote to the RCA projector, it is important to ensure that the remote is prepared for the setup process. Here are the steps to prepare your Roku remote:
- Insert fresh batteries: Open the battery compartment on the back of the Roku remote and insert fresh batteries. Ensure that the positive and negative ends are aligned correctly.
- Power on the Roku remote: Press the power button on the Roku remote to turn it on. You should see a blinking light indicating that the remote is ready for setup.
- Check the range: Ensure that you are within the range of the RCA projector. The Roku remote uses infrared (IR) technology to communicate with the projector, so make sure there are no obstacles blocking the line of sight between the remote and the projector.
By following these steps, you will ensure that your Roku remote is ready to be paired with the RCA projector. It is important to have fresh batteries and to be within range for a successful setup.
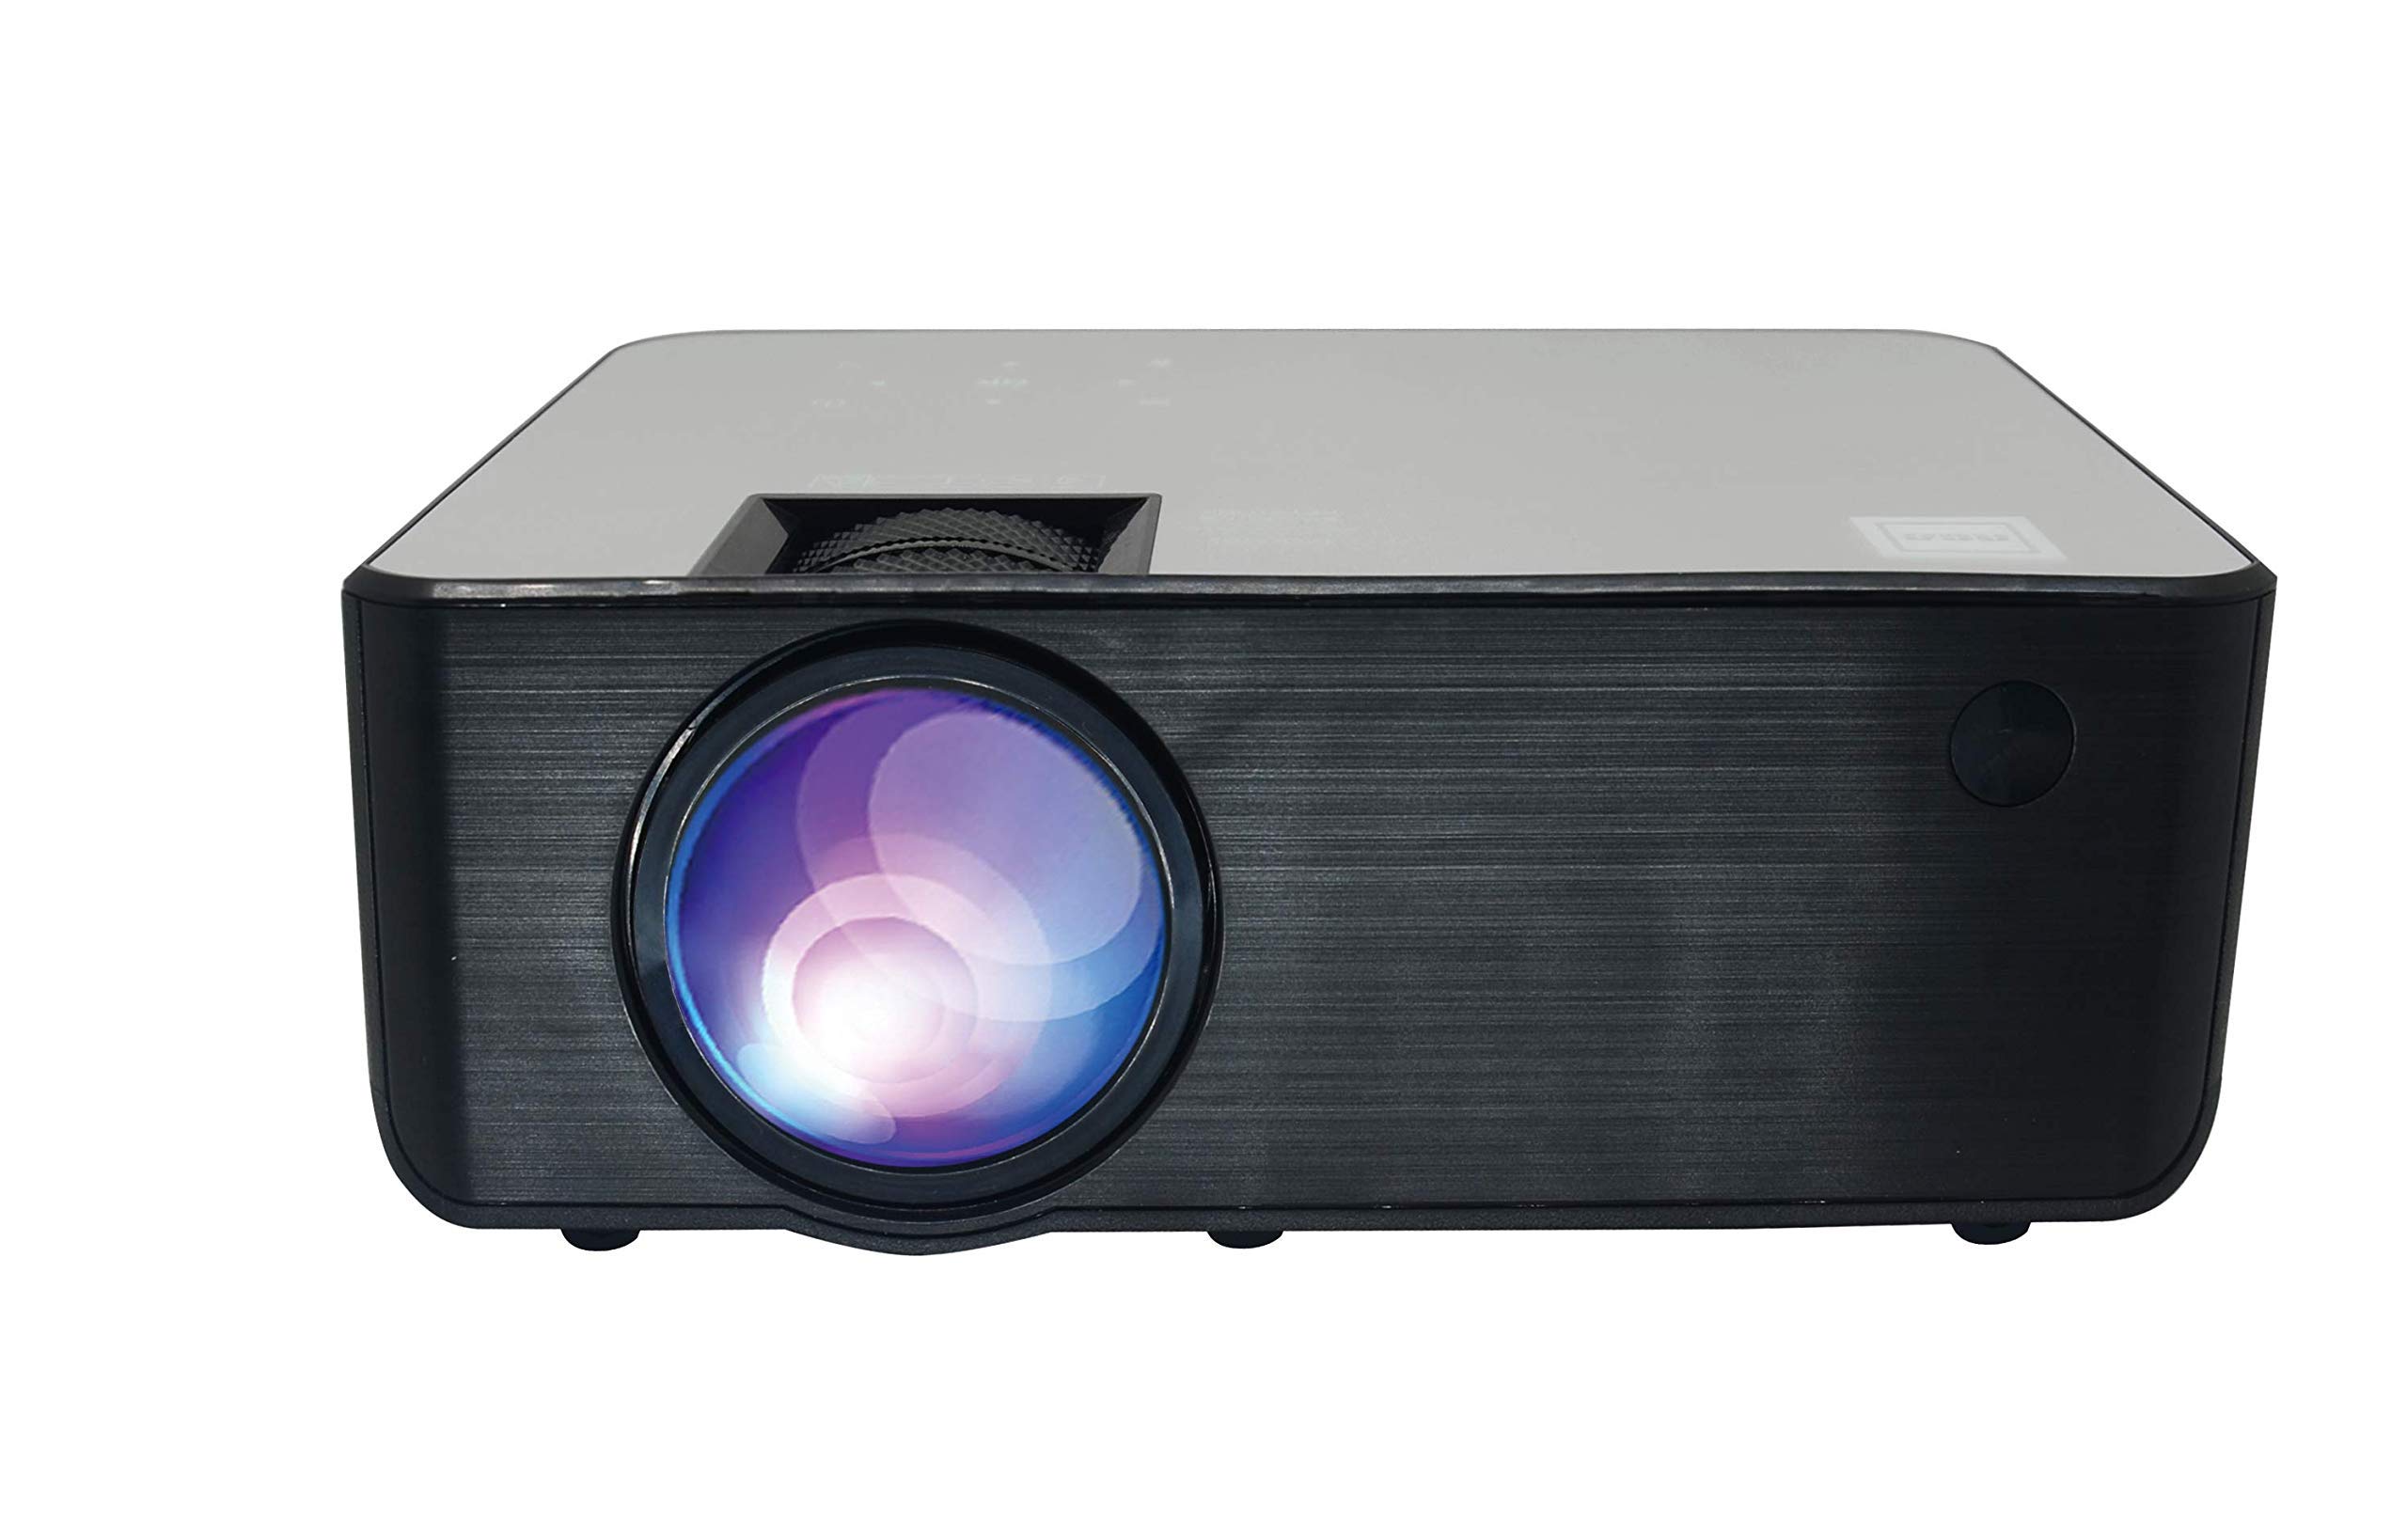
Step 3: Power on the RCA projector
To connect the Roku remote to the RCA projector, you need to ensure that the projector is powered on and ready to be paired. Follow these steps to power on the RCA projector:
- Locate the power button: The power button can usually be found on the top, side, or front panel of the RCA projector. It may also be labeled with a power icon.
- Press the power button: Press and hold the power button for a few seconds until the projector powers on. You may see a startup screen or indicator light to show that the projector is booting up.
- Wait for the projector to initialize: Give the RCA projector a few moments to initialize and warm up. This process may vary depending on the model of the projector.
- Ensure the projector is in the correct input mode: Use the projector’s remote control or the buttons on the projector itself to navigate to the input/source menu. Select the appropriate input source that corresponds to the port you will be using to connect the Roku device.
By following these steps, you will have successfully powered on the RCA projector and ensured that it is ready to be connected to your Roku remote. Make sure you wait for the projector to initialize properly before proceeding to the next step.
Step 4: Pair the Roku remote with the RCA projector
Now that you have prepared the Roku remote and powered on the RCA projector, it’s time to pair the remote with the projector. Follow these steps to successfully pair the Roku remote with the RCA projector:
- Press the home button: On the Roku remote, press the home button to access the main menu on your Roku device. This will ensure that the remote is ready for pairing.
- Navigate to the settings menu: Use the arrow keys on the Roku remote to navigate to the settings menu. The settings menu usually looks like a gear or wrench icon.
- Select the remote control menu: Within the settings menu, select the remote control option. This will allow you to manage and pair your Roku remote with devices.
- Choose the option to pair a new remote: Within the remote control menu, select the option to pair a new remote. This will initiate the pairing process on your Roku device.
- Follow the on-screen instructions: Your Roku device will display on-screen instructions to guide you through the pairing process. Follow the instructions carefully, as they may vary depending on your specific Roku model.
- Point the remote towards the projector: While following the on-screen instructions, point the Roku remote towards the RCA projector and press the required buttons as instructed. This is to establish a connection between the remote and the projector.
- Wait for successful pairing: After following the on-screen instructions and completing the required steps, wait for your Roku device to confirm that the pairing was successful. This may be indicated by an on-screen message or a confirmation sound.
By following these steps, you will have successfully paired your Roku remote with the RCA projector. Ensure that you carefully follow the on-screen instructions and point the remote towards the projector during the pairing process. This will establish a secure connection between the devices.
Step 5: Test the connection
After successfully pairing your Roku remote with the RCA projector, it’s time to test the connection to ensure everything is working as expected. Follow these steps to test the connection between the Roku remote and the RCA projector:
- Navigate through the Roku menu: Use the arrow keys on the Roku remote to navigate through the menu on your RCA projector. Test different functions such as selecting apps, adjusting volume, and navigating through the settings.
- Check for responsiveness: Ensure that the commands given through the Roku remote are being executed promptly by the RCA projector. Check if the on-screen cursor moves smoothly and accurately based on your remote control inputs.
- Try different features: Explore various features of the RCA projector, such as playing media files, accessing streaming apps, and adjusting display settings. Test these features using the Roku remote to ensure that the connection is stable and functions as expected.
- Ensure audio and video output: Check if the audio and video output from the RCA projector are working correctly. Playback a video or stream content to see if the audio is clear, and the video is displayed properly on the screen.
- Test different remote functions: Test additional remote control functions, such as accessing the home button, playback controls, and volume control. Make sure these functions are working as intended.
By following these steps and testing the connection, you can ensure that the Roku remote is properly connected to the RCA projector. If you encounter any issues during the testing process, refer to the user manual of both devices or consult the manufacturer’s support resources for troubleshooting steps.
Conclusion
Connecting your Roku remote to an RCA projector brings a new level of convenience and control to your entertainment experience. By following the steps outlined in this guide, you can seamlessly pair your Roku remote with the RCA projector and enjoy all the features and functionalities available.
First, it is important to check the compatibility between your Roku remote and the RCA projector to ensure a smooth setup process. Prepare your Roku remote by inserting fresh batteries, powering it on, and checking the range to ensure optimal performance.
Next, power on the RCA projector and ensure that it is in the correct input mode. This will allow the projector to receive the signals from the Roku remote without any issues.
Then, pair the Roku remote with the RCA projector by navigating through the Roku menu and following the on-screen instructions. Make sure to point the remote towards the projector during the pairing process to establish a secure connection.
Once the pairing is successful, it’s time to test the connection. Navigate through the Roku menu, test different features, check for responsiveness, and ensure audio and video output are working correctly.
In conclusion, by following these steps, you can connect your Roku remote to an RCA projector and enjoy seamless control over your entertainment system. If you encounter any difficulties during the setup process, refer to the user manuals or contact the respective manufacturer’s support resources for further assistance. Now, sit back, relax, and enjoy a fantastic entertainment experience with your Roku remote and RCA projector!