Introduction
Welcome to the world of entertainment on the big screen! Connecting your Roku streaming device to a projector opens up a whole new world of possibilities for enjoying your favorite movies, TV shows, and streaming services. Whether you want to host a movie night with friends or watch your favorite sporting event with larger-than-life visuals, connecting Roku to a projector will provide an immersive experience like no other.
In this guide, we will walk you through the process of connecting your Roku streaming device to a projector, ensuring a seamless setup and optimum performance. We will cover everything from choosing the right projector to adjusting display settings to troubleshooting common issues. So, let’s get started on your journey to creating a cinematic experience in the comfort of your own home!
Before diving into the technical aspects, let’s briefly touch upon what Roku is all about. Roku is a compact and versatile streaming device that allows you to access a wide range of streaming services, such as Netflix, Hulu, Amazon Prime Video, and more. With Roku, you can stream your favorite content directly to your TV or, in this case, a projector. With its user-friendly interface and extensive content library, Roku has become a go-to choice for cord-cutters and entertainment enthusiasts.
Now that you have an idea of what Roku is and the possibilities it offers, let’s move on to the next section, where we will discuss how to choose the right projector for your setup.
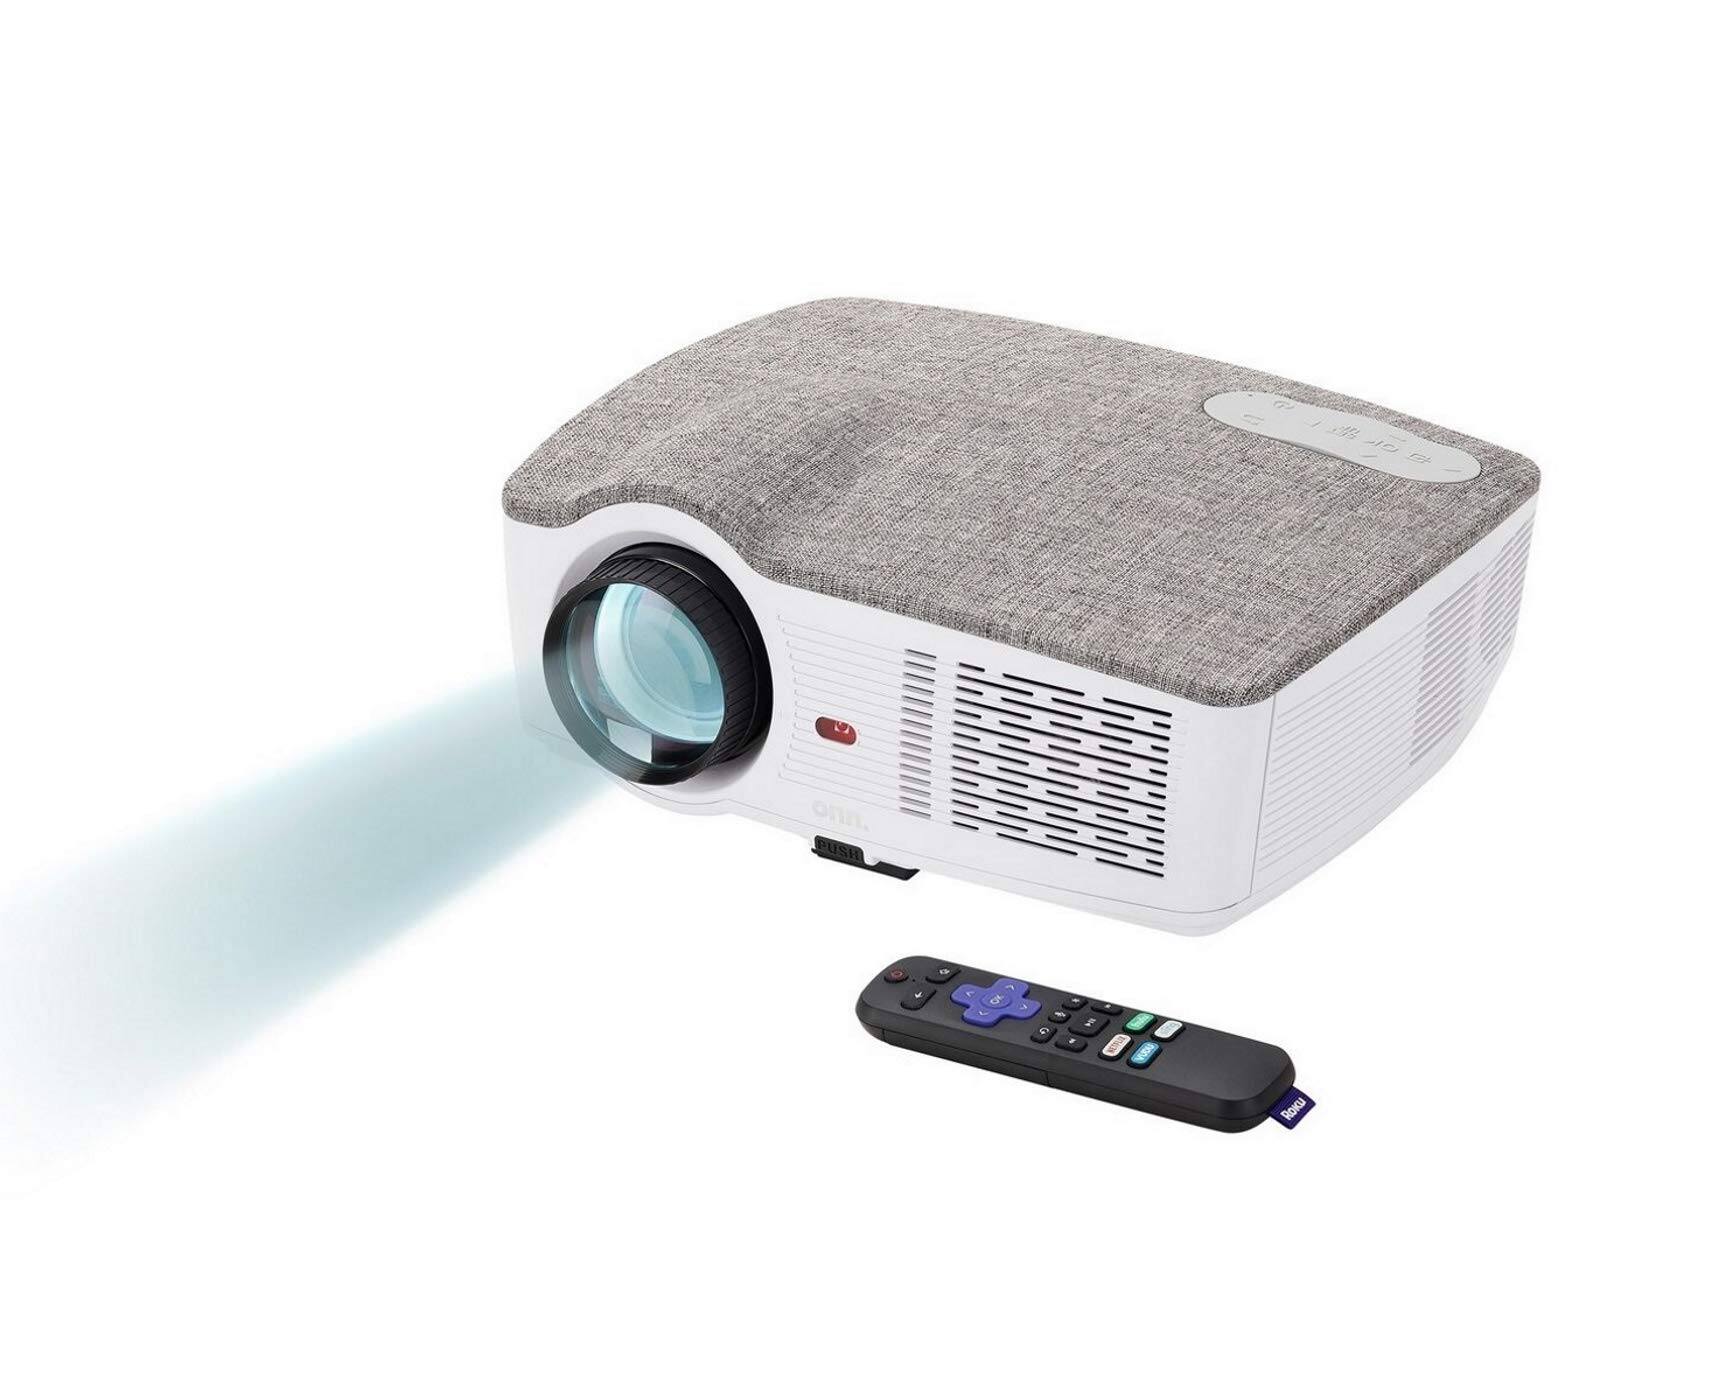
Choosing the Right Projector
Selecting the right projector is crucial to ensure a high-quality and immersive viewing experience. Here are some factors to consider when choosing a projector for your Roku setup:
- Resolution: The resolution of the projector determines the clarity and sharpness of the images displayed. Opt for a projector with at least Full HD (1920×1080) resolution to enjoy crisp details and vibrant colors.
- Brightness: The brightness of the projector is measured in lumens. For a home theater setup, a brightness level of 2000-3000 lumens is recommended to achieve a bright and vivid image, even in a slightly lit room.
- Throw Ratio: The throw ratio determines the distance between the projector and the screen or wall. Consider the size of your room and the desired screen size to select a projector with an appropriate throw ratio.
- Connectivity Options: Ensure that the projector has HDMI ports to connect the Roku streaming device. Additionally, look for other connectivity options such as USB, VGA, and audio inputs to connect other devices if needed.
- Contrast Ratio: The contrast ratio affects the difference between the darkest and brightest parts of the image. A higher contrast ratio will result in more realistic and vibrant visuals.
- Size and Portability: Consider the size and portability of the projector if you plan to move it around or use it in different spaces. A compact and lightweight projector can be handy for more flexibility.
Take your time to research and compare different projector models to find the one that best suits your needs and budget. Reading reviews and seeking recommendations from trusted sources can also help in making an informed decision.
Now that you have a better understanding of what to look for in a projector, let’s move on to the next section, where we will guide you through the process of setting up your Roku streaming device.
Setting up the Roku Streaming Device
Before connecting your Roku streaming device to the projector, you need to go through the initial setup process. Here’s a step-by-step guide to help you get started:
- Connect the Roku device to your TV: Plug one end of the HDMI cable into the HDMI port on the Roku device and the other end into an available HDMI port on your TV. If your projector has an HDMI input, you can directly connect the Roku device to it.
- Power up the Roku device: Connect the power adapter to the Roku device and plug it into a power outlet. Follow the on-screen instructions to turn on the device.
- Select the language: On your TV or projector screen, you will be prompted to select the language you prefer. Use the remote control that comes with the Roku device to make the selection.
- Connect to the internet: Choose your preferred method of connecting to the internet – either via Wi-Fi or through an Ethernet cable. Follow the on-screen instructions to enter the required information and connect to your home network.
- Set up your Roku account: If you don’t already have a Roku account, you will need to create one. Visit the Roku website using a computer or smartphone and follow the instructions to create an account. Once done, log in to your Roku account on the TV or projector screen.
- Update software and set display type: After logging in, your Roku device may check for any available software updates. Let it complete the update process if needed. Next, you will be asked to set the display type based on the capabilities of your projector. Choose the appropriate resolution and refresh rate for optimal performance.
- Link your Roku device: Follow the on-screen instructions to link your Roku device to your Roku account. This will enable you to access your preferred streaming channels and personalize your Roku experience.
Once you have completed the setup process, your Roku device is now ready to be connected to the projector. In the next section, we will guide you through the connection process step-by-step.
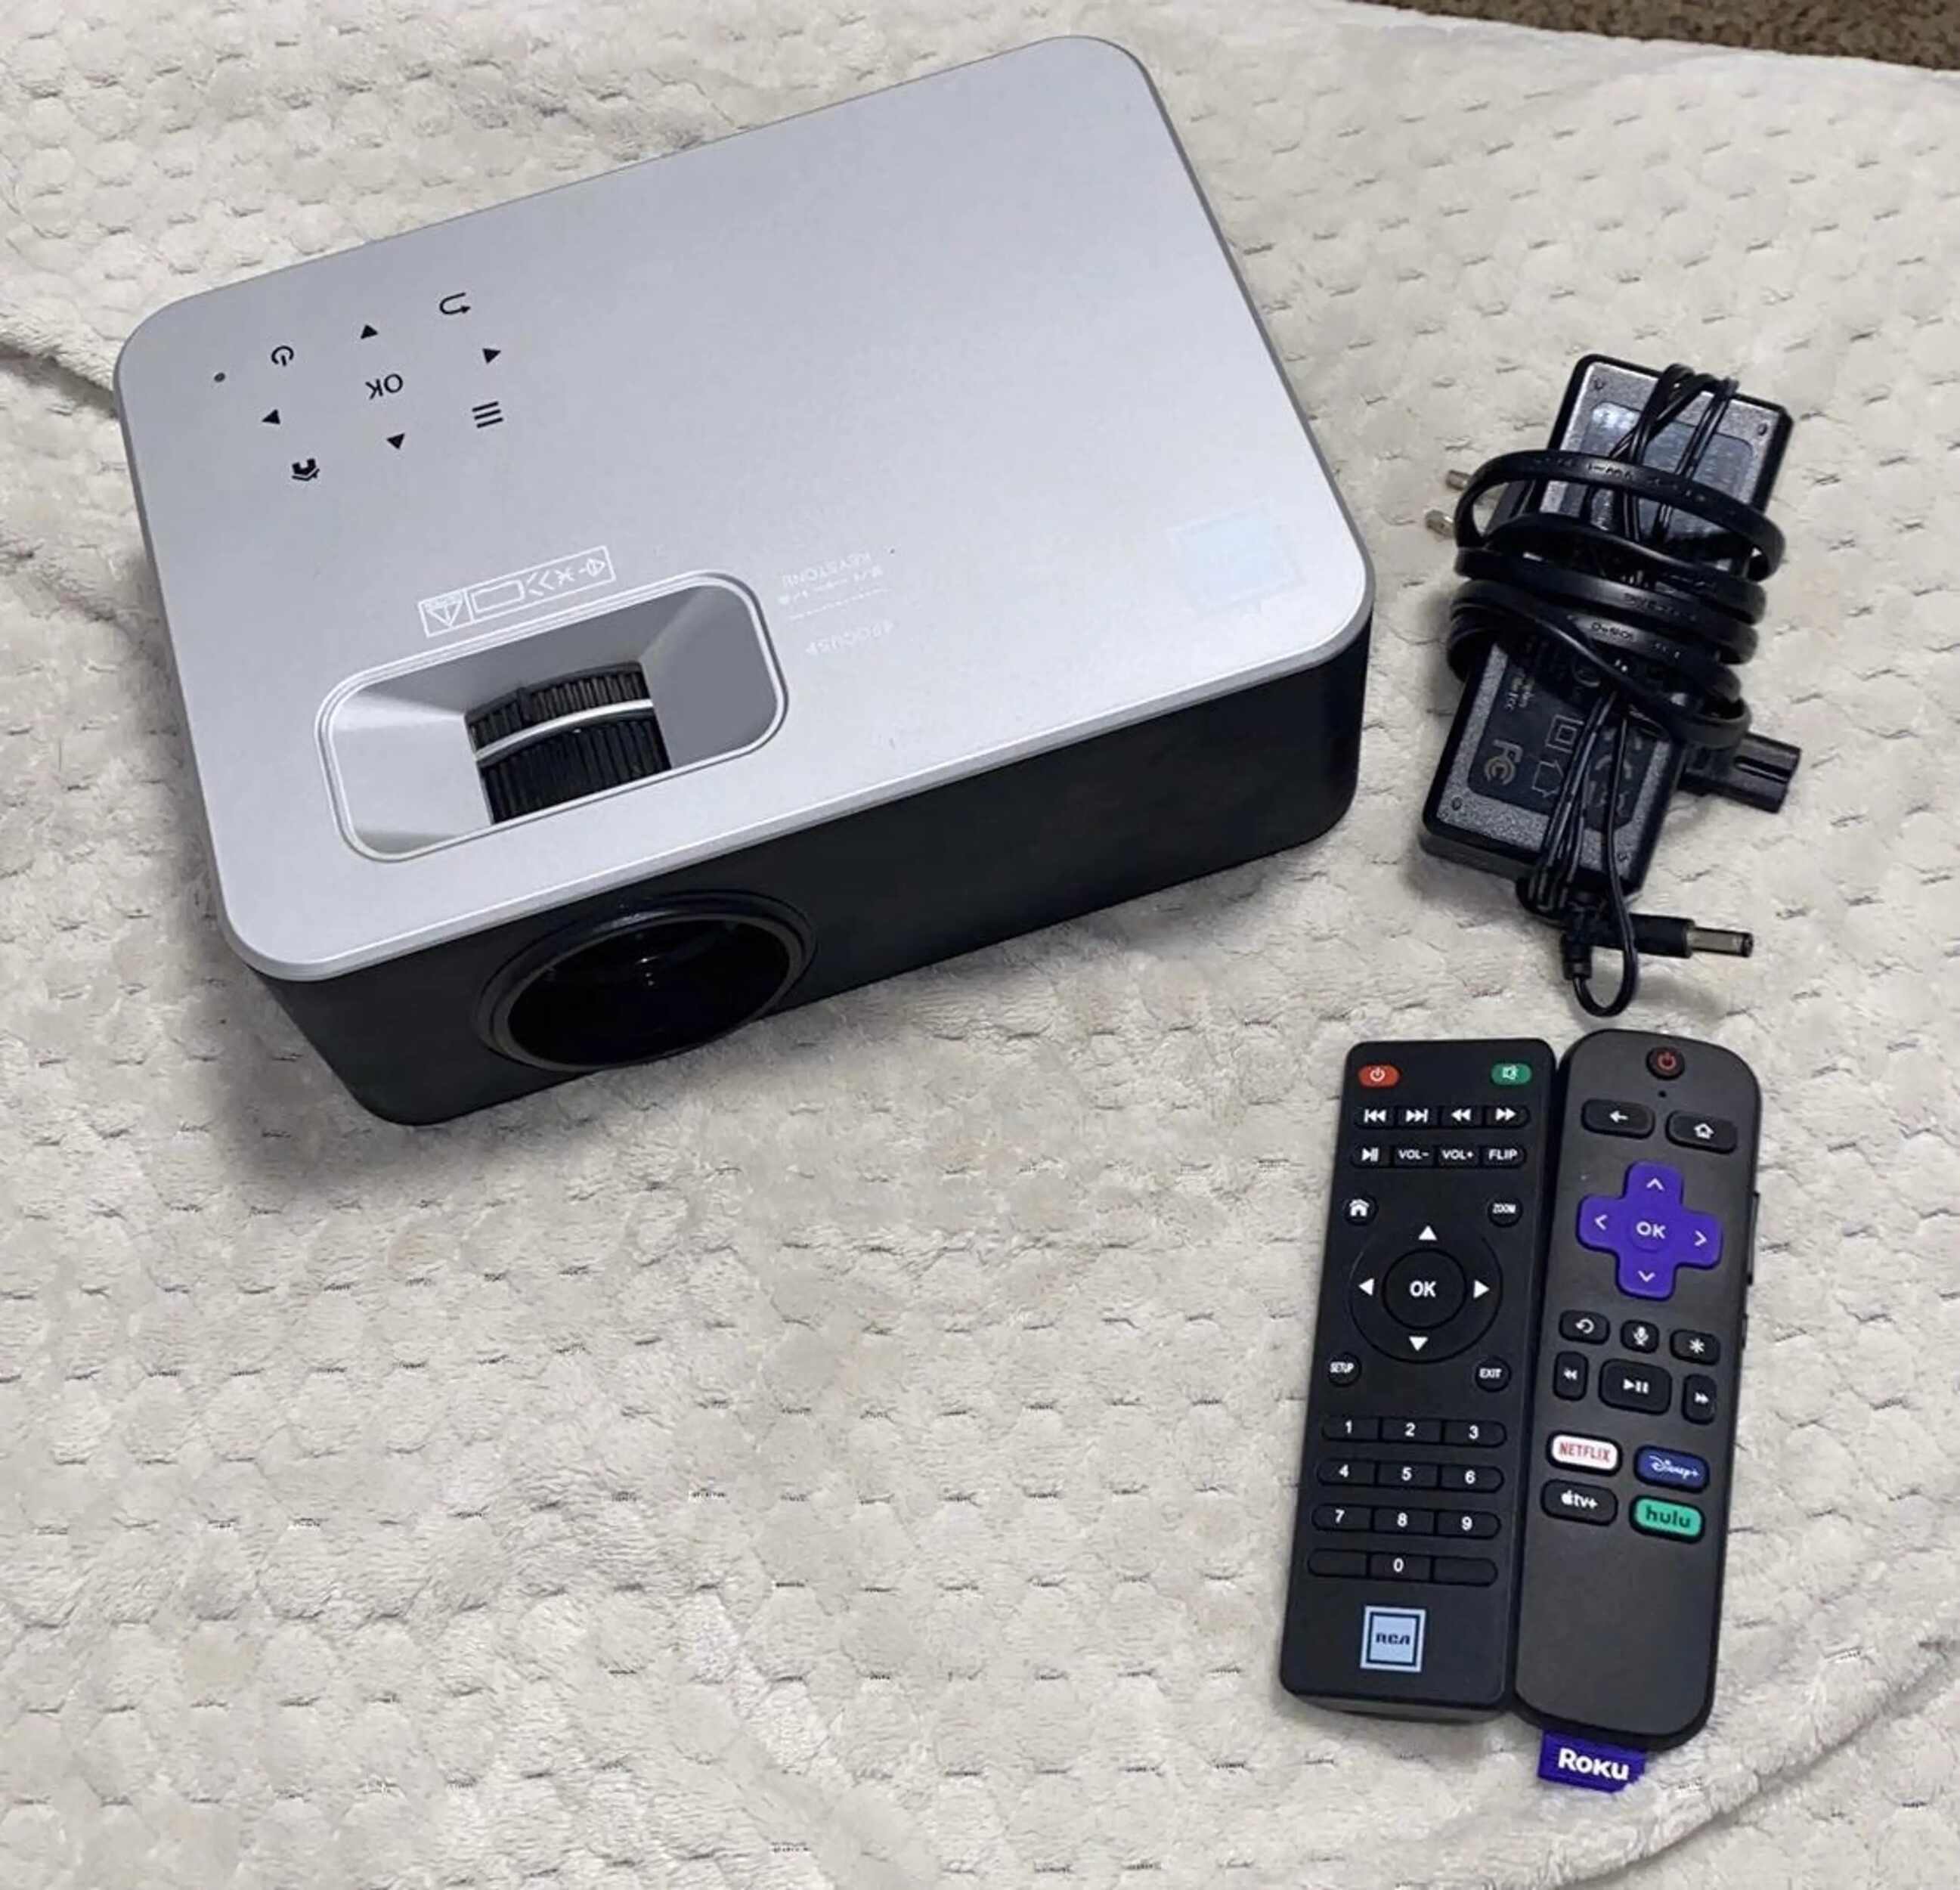
Connecting the Roku to the Projector
Now that you have completed the setup process of your Roku streaming device, it’s time to connect it to your projector. Follow these steps to establish a connection:
- Locate the HDMI port: On your projector, locate the HDMI input port. It is typically labeled as “HDMI” or “HDMI In.” Take note of the port number if there are multiple HDMI inputs.
- Connect the HDMI cable: Take the other end of the HDMI cable connected to the Roku device and plug it into the HDMI input port on the projector.
- Power on the projector: Turn on your projector and set it to the correct input source. Use the remote control or the on-screen menu to select the HDMI input that corresponds to the port you connected the Roku device to.
- Turn on the Roku device: Use the Roku remote or the power button on the device to turn it on. The Roku home screen should now be displayed on the projector screen.
Once the Roku device is connected and powered on, you are now ready to enjoy your favorite content on the big screen. Navigate through the Roku interface using the remote control and select the streaming service or channel you want to watch. The content will be displayed on the projector screen with stunning clarity and immersive visuals.
If you encounter any issues during the connection process, make sure that all cables are securely plugged in and double-check the projector’s input source settings. Additionally, ensure that your HDMI cable is in good condition and compatible with both the Roku device and the projector.
Next, we will explore how to adjust the display settings to optimize the visual quality on your projector screen.
Adjusting Display Settings
After connecting your Roku device to the projector, it’s important to fine-tune the display settings to ensure the best possible image quality. Here are some steps to help you adjust the display settings:
- Aspect Ratio: Depending on your projector and personal preference, you may need to adjust the aspect ratio to match the content you are viewing. Common aspect ratios include 4:3 (standard), 16:9 (widescreen), and 21:9 (ultra-wide).
- Screen Positioning: Use the projector’s remote control or on-screen menu to adjust the position, size, and orientation of the displayed image. This will help align the image perfectly on your projector screen or designated surface.
- Brightness and Contrast: Navigate to the display settings on your Roku device and adjust the brightness and contrast levels to achieve optimum visibility and picture quality. Make sure the image is neither too dark nor too washed out.
- Color Settings: Explore the color settings on your projector and Roku device to adjust the saturation, hue, and color temperature. Fine-tuning these settings can enhance the vibrancy and accuracy of colors on the projected image.
- Sharpness and Clarity: Some projectors have settings to adjust the sharpness and clarity of the displayed image. Experiment with these settings to find the optimal balance between sharpness and reducing artifacts.
- Audio Configuration: Ensure that the audio output from your Roku device is correctly routed to your desired audio destination, whether it’s through the projector’s built-in speakers or external speakers connected to the projector.
While adjusting the display settings, it’s recommended to play a variety of content to gauge the impact of each adjustment. This will help you find the ideal settings that cater to your preferences and provide an immersive viewing experience.
In case you are unsure about specific display settings or if your projector has advanced features, refer to the user manual or manufacturer’s guidelines for detailed instructions. Remember, finding the right display settings may require some experimentation and personal fine-tuning to suit your individual preferences.
Now that you have successfully adjusted the display settings, you are ready to sit back, relax, and enjoy the cinematic experience on your projector screen. In case you encounter any issues or need further assistance, the next section will cover troubleshooting common problems.
Troubleshooting Common Issues
While connecting and setting up your Roku device with a projector is generally a straightforward process, occasional issues may arise. Here are some common problems you might encounter and their possible solutions:
- No signal or blank screen: If you see no signal or a blank screen on your projector, double-check the HDMI connection between the Roku device and the projector. Ensure that both devices are powered on and the projector is set to the correct HDMI input source.
- Poor image quality: If the image quality on the projector screen is subpar, start by adjusting the display settings on the Roku device and the projector. Experiment with different settings for brightness, contrast, and color to find the optimal balance for your viewing environment.
- Audio issues: If you’re experiencing problems with audio, make sure that the audio cables are securely connected and the correct audio output source is selected on the Roku device. Check the volume settings on both the Roku device and the projector to ensure they are not muted or set too low.
- Wi-Fi connectivity problems: If you are using Wi-Fi to connect your Roku device to the internet, ensure that your projector is within range of your home network. Consider using a Wi-Fi range extender if the signal strength is weak. Alternatively, you can connect the Roku device to your router using an Ethernet cable for a more stable connection.
- Streaming issues: If you experience buffering or playback issues while streaming content, check your internet connection speed. You may need to upgrade your internet plan or move the projector closer to the router for a stronger signal. You can also try clearing the cache and restarting the Roku device.
If you encounter persistent issues that you cannot resolve on your own, consult the user manuals for your Roku device and projector. You can also visit the official Roku support website for troubleshooting guides and contact their customer support for further assistance.
Remember to stay patient and methodical when troubleshooting issues. Sometimes, a simple adjustment or configuration change can make a significant difference in resolving the problem.
With a clear understanding of troubleshooting common issues, you’re now equipped to troubleshoot and resolve any challenges that may occur during the setup and usage of your Roku device with a projector.
Conclusion
Connecting your Roku streaming device to a projector opens up a world of entertainment possibilities on the big screen. By following the steps outlined in this guide, you can create a captivating cinematic experience in the comfort of your own home.
We began by discussing the importance of choosing the right projector, considering factors such as resolution, brightness, connectivity options, and size. Having the right projector ensures that you can enjoy high-quality visuals and immersive viewing.
Next, we walked through the process of setting up your Roku streaming device, covering steps such as connecting it to your TV, powering it on, selecting the language, connecting to the internet, and setting up your Roku account. This initial setup is crucial for accessing and streaming your favorite content.
With the Roku device set up, we then moved on to the process of connecting it to the projector. This involved locating the HDMI port on the projector, connecting the HDMI cable, and turning on the projector to select the correct input source.
After establishing the connection, we discussed the importance of adjusting the display settings to optimize the image quality. Adjustments like aspect ratio, screen positioning, brightness, contrast, color settings, and sharpness can greatly enhance the visual experience.
In the event of any issues, we provided troubleshooting tips for problems such as no signal, poor image quality, audio issues, Wi-Fi connectivity, and streaming problems. These solutions will enable you to overcome common obstacles and ensure a seamless streaming experience.
By following these steps, you can successfully connect your Roku streaming device to a projector, transforming your living space into a private home theater. Whether you’re hosting a movie night, binge-watching your favorite TV shows, or streaming live sports events, the combination of Roku and a projector will provide you with an immersive and enjoyable entertainment experience.
Now that you have the knowledge and tools to set up and connect your Roku streaming device to a projector, it’s time to gather your favorite snacks, dim the lights, and enjoy a larger-than-life entertainment experience right in your own home.