Introduction
Welcome to our guide on how to connect a projector to a laptop using a USB cable. In today’s digital age, projectors have become increasingly popular for presentations, movie nights, and gaming sessions. They offer a large-screen experience that enhances visual impact and facilitates better sharing of information.
Connecting a projector to your laptop via USB is a convenient option, as it allows you to transmit both video and audio signals from your laptop to the projector. This eliminates the need for multiple cables and simplifies the setup process.
In this guide, we will walk you through each step of the process, ensuring a seamless connection between your laptop and projector. Whether you are a student, professional, or simply someone who enjoys using projectors for entertainment purposes, this guide has got you covered.
Before we dive into the steps, let’s quickly go over the equipment you will need for this setup:
Necessary Equipment
- A laptop with a USB port
- A projector with a USB port
- A USB cable (preferably USB Type-A to USB Type-B)
- Any necessary power cables for the laptop and projector
Now that we have our equipment ready, let’s move on to the step-by-step process of connecting your laptop to the projector using a USB cable.
Necessary Equipment
Before you start connecting your projector to your laptop using a USB cable, make sure you have the following equipment:
- A laptop with a USB port: This is where you will connect the USB cable to transmit the video and audio signals from the laptop to the projector.
- A projector with a USB port: Look for a projector model that has a USB port. This will allow you to establish a direct connection between the laptop and the projector without the need for additional adapters or cables.
- A USB cable: You will need a USB cable to connect the laptop and the projector. The type of USB cable required may vary depending on the ports available on your laptop and projector. The most common type is a USB Type-A to USB Type-B cable.
- Any necessary power cables: Ensure that both the laptop and the projector have appropriate power sources. This may involve connecting the laptop to a power outlet and plugging in the projector to an power source as well.
Having all these equipment ready will ensure a smooth and hassle-free connection process.
Step 1: Check the Ports
Before connecting your laptop to the projector using a USB cable, it’s important to check the available ports on both your laptop and the projector. This step will help you identify the correct ports and ensure compatibility for a successful connection.
Here’s what you need to do:
- Locate the USB port on your laptop: Most laptops have at least one USB port, typically located on the sides or back of the device. Take a look at your laptop and find the USB port that you will use to connect to the projector.
- Find the USB port on the projector: Look for the USB port on the projector itself. It is usually located on the back or side of the projector. Some projectors may have multiple USB ports, so make sure to identify the correct one.
- Check the USB cable compatibility: Ensure that the USB cable you have is compatible with the USB ports on both the laptop and the projector. The most common type of USB cable used for connecting projectors is a USB Type-A to USB Type-B cable. If your laptop or projector has a different USB port type, you may need an adapter or a different cable.
Please note that some newer laptops and projectors may have USB-C ports instead of traditional USB ports. In this case, you will need a USB-C to USB-A or USB-C to USB-B cable or an appropriate adapter to connect the laptop and the projector.
Once you have checked the ports and verified the compatibility of the USB cable, you are ready to proceed to the next step of connecting the USB cable to the projector.
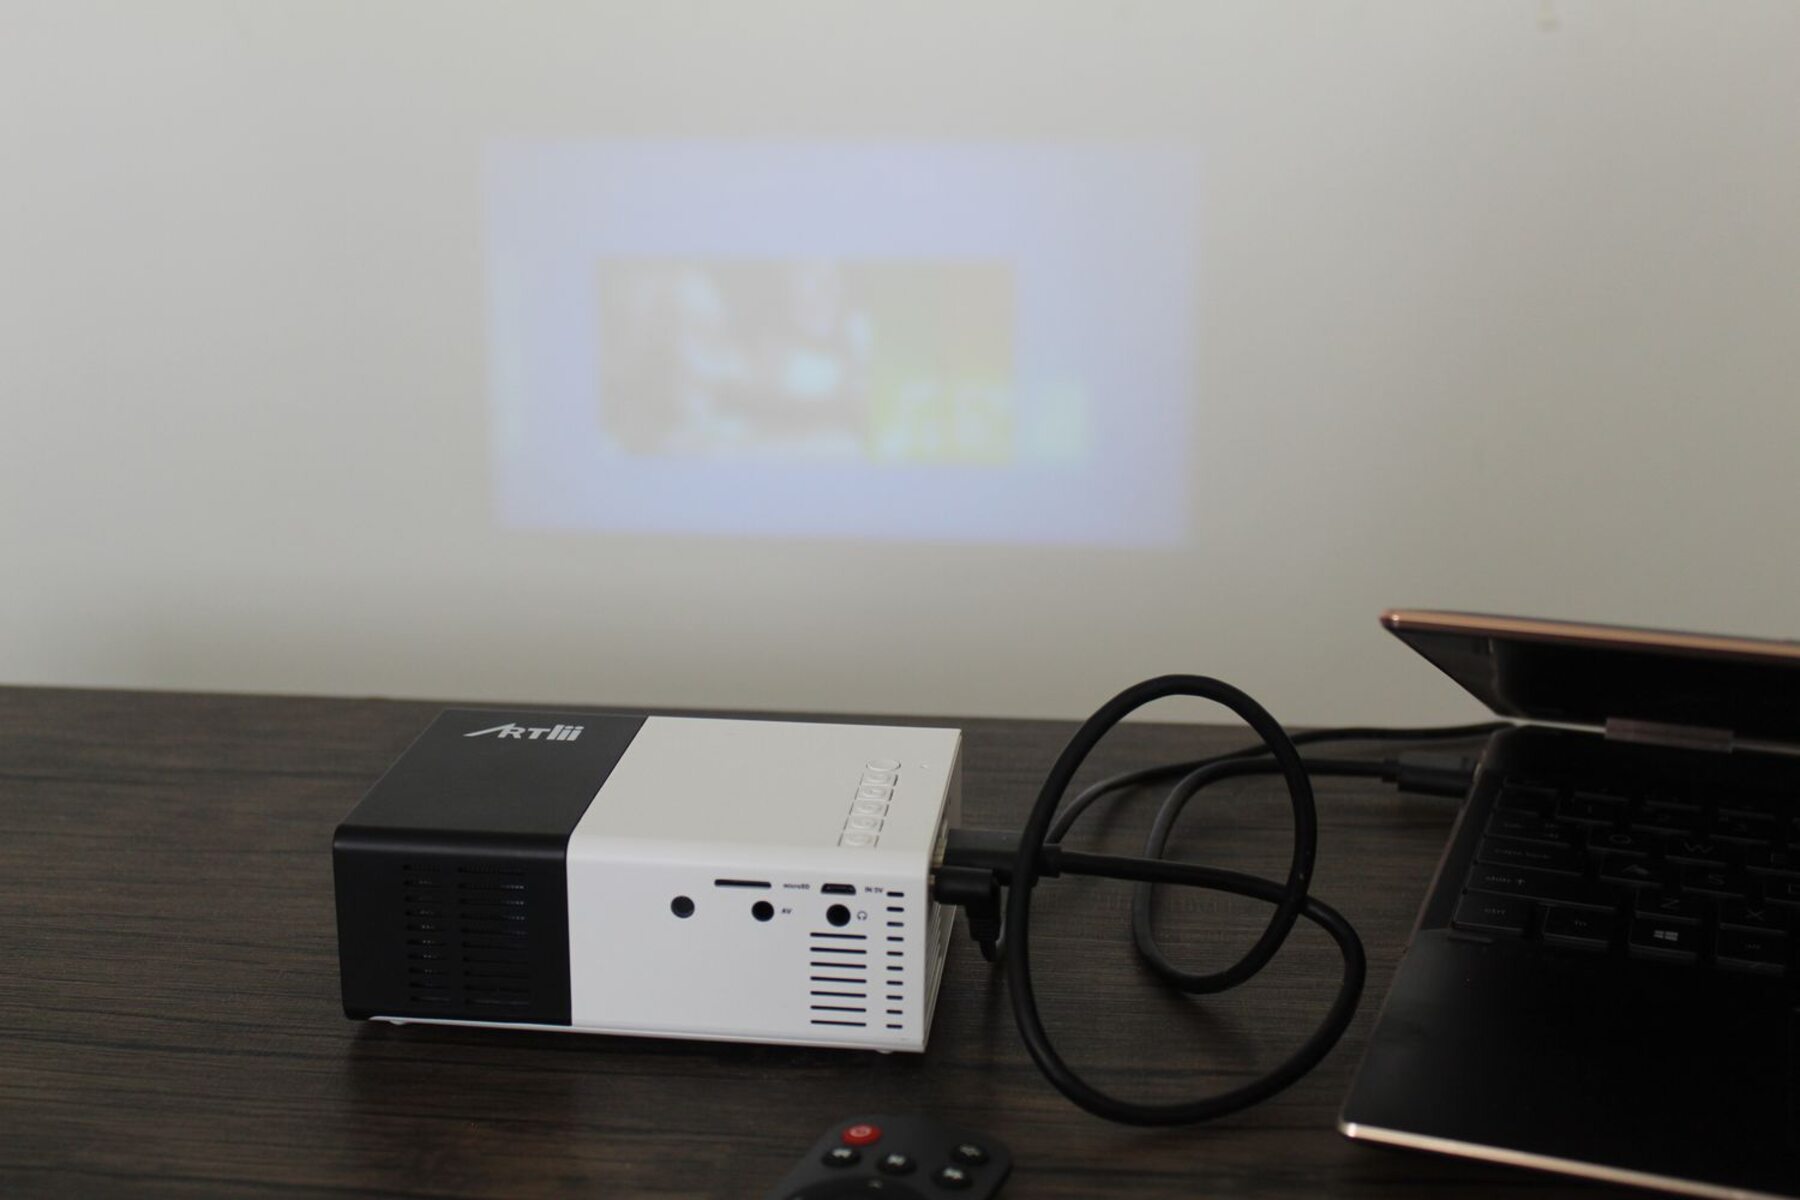
Step 2: Connect the USB Cable to the Projector
Now that you have identified the USB ports on both your laptop and the projector, it’s time to connect the USB cable. Follow these steps:
- Make sure the projector is turned off: Before connecting the USB cable, ensure that the projector is powered off to avoid any potential electrical issues.
- Locate the USB port on the projector: Find the USB port on the back or side of the projector. It is usually labeled as “USB” or “USB Type-B.”
- Insert one end of the USB cable into the projector’s USB port: Take one end of the USB cable and carefully insert it into the USB port of the projector. Ensure a secure connection by pushing the connector gently but firmly.
- Confirm the connection: Once the USB cable is connected to the projector, check if it is securely plugged in. Additionally, ensure that the cable is not twisted or bent, as this may affect the quality of the connection.
By properly connecting the USB cable to the projector, you have created a direct link for transferring video and audio signals from your laptop to the projector. The next step involves connecting the USB cable to your laptop, so let’s move on to the next step.
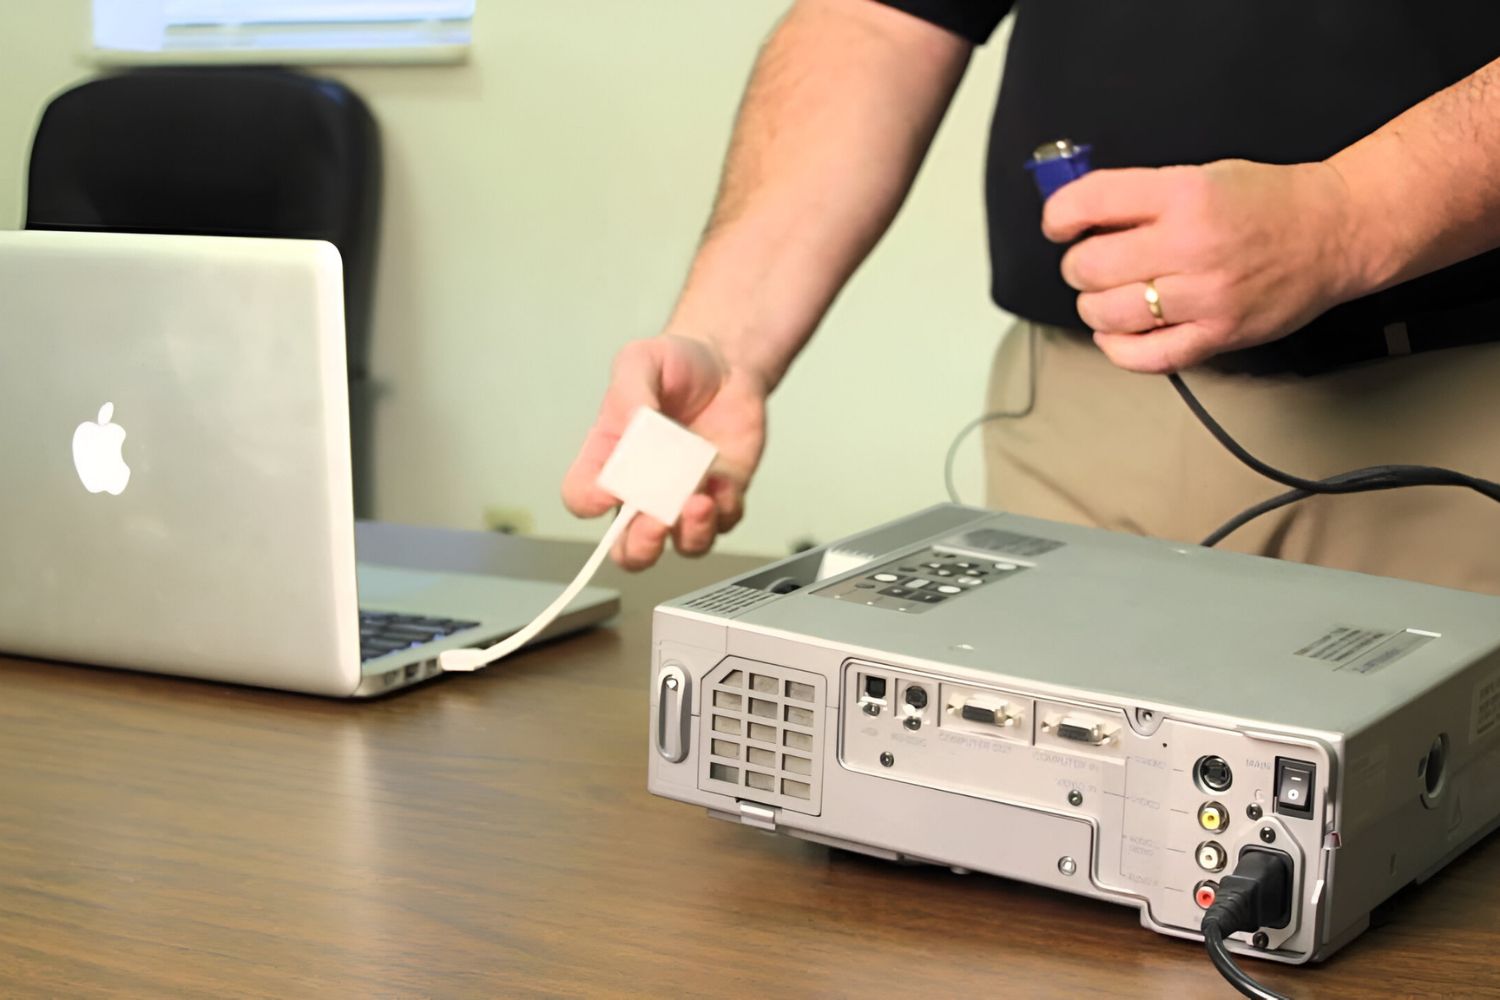
Step 3: Connect the USB Cable to the Laptop
With the USB cable connected to the projector, it’s time to establish the connection on the laptop’s end. Follow these steps to connect the USB cable to your laptop:
- Ensure that your laptop is turned off or in sleep mode: It’s a good practice to turn off or put your laptop in sleep mode before connecting the USB cable. This helps prevent any potential issues and ensures a smoother connection process.
- Locate the USB port on your laptop: Most laptops have one or more USB ports, usually located on the sides or back of the device. Identify the appropriate USB port that matches the USB cable you are using.
- Insert the other end of the USB cable into the laptop’s USB port: Take the remaining end of the USB cable and gently plug it into the USB port on your laptop. Make sure to align the connectors properly and insert it securely.
- Confirm the connection: Once the USB cable is connected to your laptop, double-check if it is properly plugged in. Ensure that the cable is not loose or wobbly. A secure connection is crucial for the transmission of video and audio signals.
By successfully connecting the USB cable to both the projector and your laptop, you have now established a direct connection between the two devices. We’re almost done! The next step involves adjusting the display settings to ensure a proper projection, so let’s move on.
Step 4: Adjust Display Settings
Now that you have connected the USB cable between your laptop and the projector, it’s time to adjust the display settings to allow for proper projection. Follow these steps:
- Turn on your laptop: Ensure that your laptop is powered on and running.
- Access the display settings: Depending on your operating system (Windows, macOS, etc.), the process of accessing the display settings may vary. Look for the display settings option in the control panel or system preferences on your laptop.
- Select the external display: In the display settings, navigate to the “Multiple Displays” or “Display” section. Look for an option to detect or choose the external display. Your projector should be listed as an available display.
- Choose the correct display mode: Select the desired display mode based on your needs. The most common options include “Duplicate,” where both your laptop screen and the projector display the same content, and “Extend,” where the projector acts as a secondary display.
- Adjust the resolution and other settings: Depending on your laptop and projector, you may need to adjust the resolution, orientation, or other display settings in the display settings menu. Ensure that the settings are optimized for the projector’s native resolution for the best picture quality.
- Apply the settings: Once you have made the necessary adjustments, click the “Apply” or “OK” button to save the display settings. Your laptop and projector should now be properly configured.
By adjusting the display settings on your laptop, you have ensured that the content will be accurately projected on the connected projector. Now it’s time to test the connection and enjoy the projection.
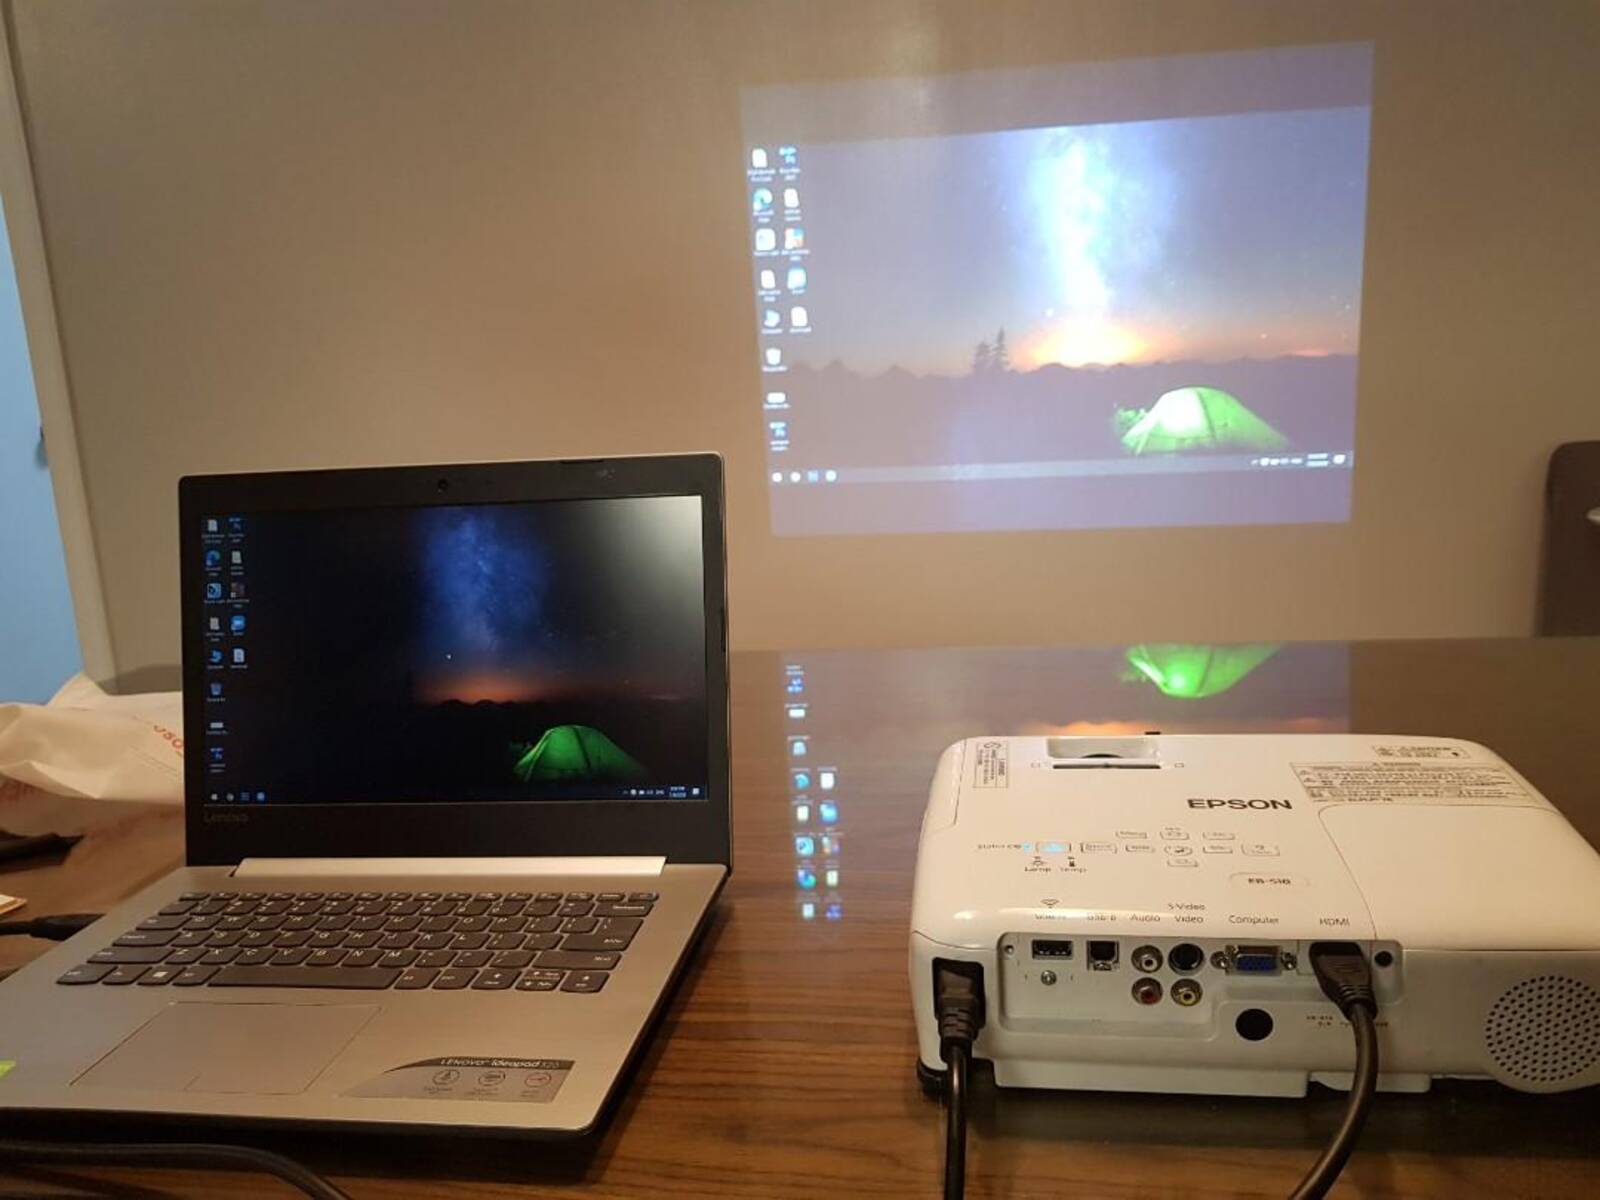
Step 5: Test the Connection
After adjusting the display settings, it’s important to test the connection between your laptop and the projector to ensure that everything is working properly. Follow these steps to test the connection:
- Turn on the projector: Ensure that the projector is powered on and ready to receive signals from your laptop.
- Switch the projector to the correct input/source: On the projector itself or through its remote control, select the appropriate input/source that corresponds to the USB connection.
- Check the laptop’s screen: On your laptop, check if the projected image is displayed correctly. You should see the same content that appears on your laptop screen now projected onto the larger screen of the projector.
- Play multimedia content: Test the connection further by playing a video or launching a presentation on your laptop. Make sure that the audio is also being transmitted to the projector if desired.
- Adjust settings if needed: If the projected image appears distorted or if there are any issues with the display, go back to the display settings on your laptop and make any necessary adjustments to resolve the problem.
By testing the connection, you can ensure that the laptop and projector are successfully communicating, and that the projected image and audio are functioning as expected. If everything is working well, you’re ready to enjoy your content on the big screen.
If you encounter any issues during the testing phase, don’t worry. Check the troubleshooting tips section for possible solutions to common problems that may arise when connecting a projector to a laptop using a USB cable.
Troubleshooting Tips
While connecting a projector to a laptop using a USB cable is generally a straightforward process, you may encounter some common issues along the way. Here are a few troubleshooting tips to help you resolve any connectivity problems:
- Check the USB cable: Ensure that the USB cable is securely connected to both the laptop and the projector. If the connection is loose, try disconnecting and reconnecting the cable.
- Verify the USB ports: Double-check that you are using the correct USB ports on both your laptop and the projector. Some devices may have multiple USB ports, so ensure that you are using the appropriate ones.
- Restart your devices: Sometimes, a simple restart can solve connectivity issues. Try turning off both your laptop and the projector, then power them back on and attempt the connection again.
- Update drivers and software: Make sure that your laptop’s drivers and the projector’s software are up to date. Check the manufacturer’s website for any available updates and install them if necessary.
- Try a different USB cable: If you have access to another USB cable, try using it to connect the laptop to the projector. Sometimes, the issue may be with a faulty or incompatible cable.
- Adjust display settings: If the projected image appears distorted or not aligned properly, go back to the display settings on your laptop and make adjustments to the resolution, orientation, or display mode.
- Restart your presentation software: If you are experiencing issues with specific presentation software, such as PowerPoint or Keynote, try restarting the software and reloading your presentation.
- Check audio settings: If the audio is not being transmitted to the projector, ensure that the correct audio output is selected in your laptop’s sound settings. Also, make sure the volume is turned up on both the laptop and the projector.
Remember, troubleshooting steps may vary depending on your specific laptop and projector models. Consult the user manuals or contact the manufacturer’s support team for further assistance if needed.
By following these troubleshooting tips, you can address common connectivity issues and ensure a seamless connection between your laptop and the projector using a USB cable.
Conclusion
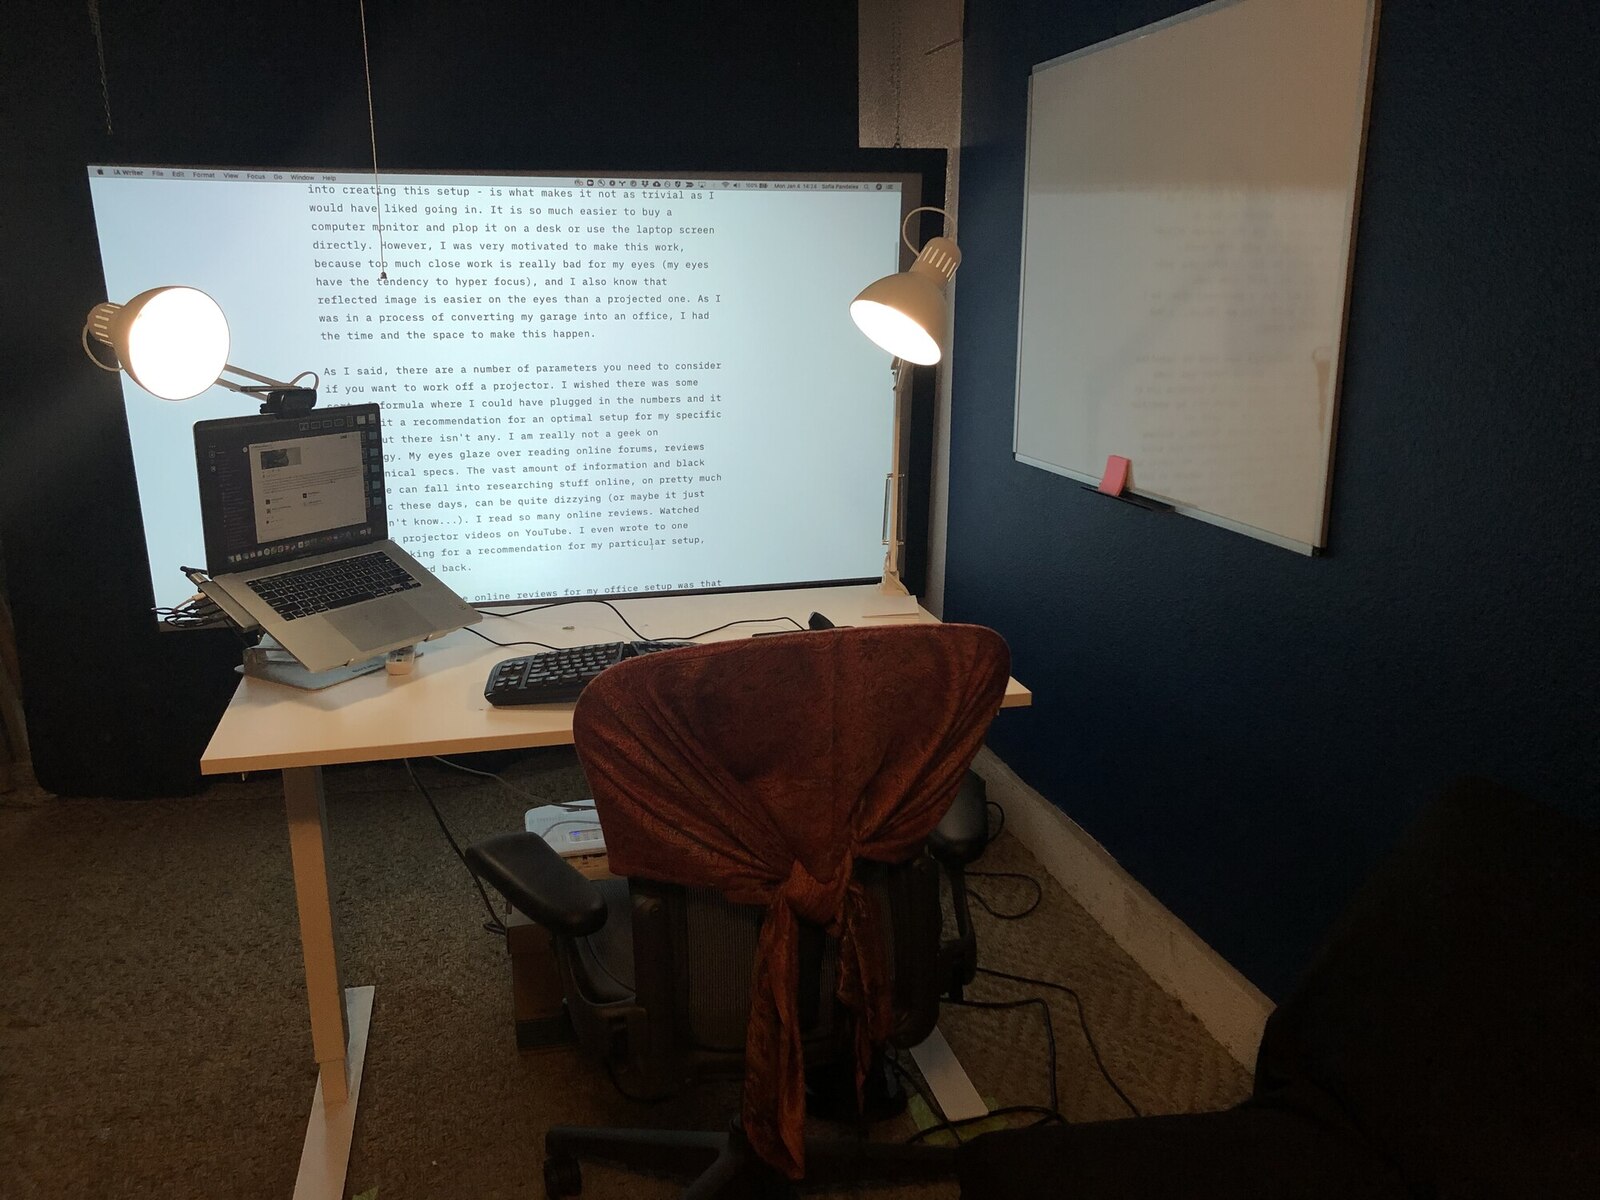
Congratulations! You have successfully learned how to connect a projector to a laptop using a USB cable. By following the steps outlined in this guide, you can easily transmit video and audio signals from your laptop to the projector, providing a larger and more immersive viewing experience.
Remember, it’s essential to check the ports on both your laptop and the projector, ensure a secure connection by connecting the USB cable properly, adjust the display settings for optimal projection, and test the connection to ensure everything is working as expected.
If you encounter any issues during the process, don’t fret. Refer to the troubleshooting tips provided to help resolve common connectivity problems. And always remember to keep your laptop’s drivers and projector’s software up to date for smooth operation.
Now that you have the knowledge and skills to connect a projector to your laptop using a USB cable, you can use this setup for various purposes such as presentations, movie nights, gaming sessions, and more. Enjoy the big-screen experience and make the most out of your projector and laptop combination!
Thank you for reading and we hope this guide has been helpful in your projector setup journey.