Introduction
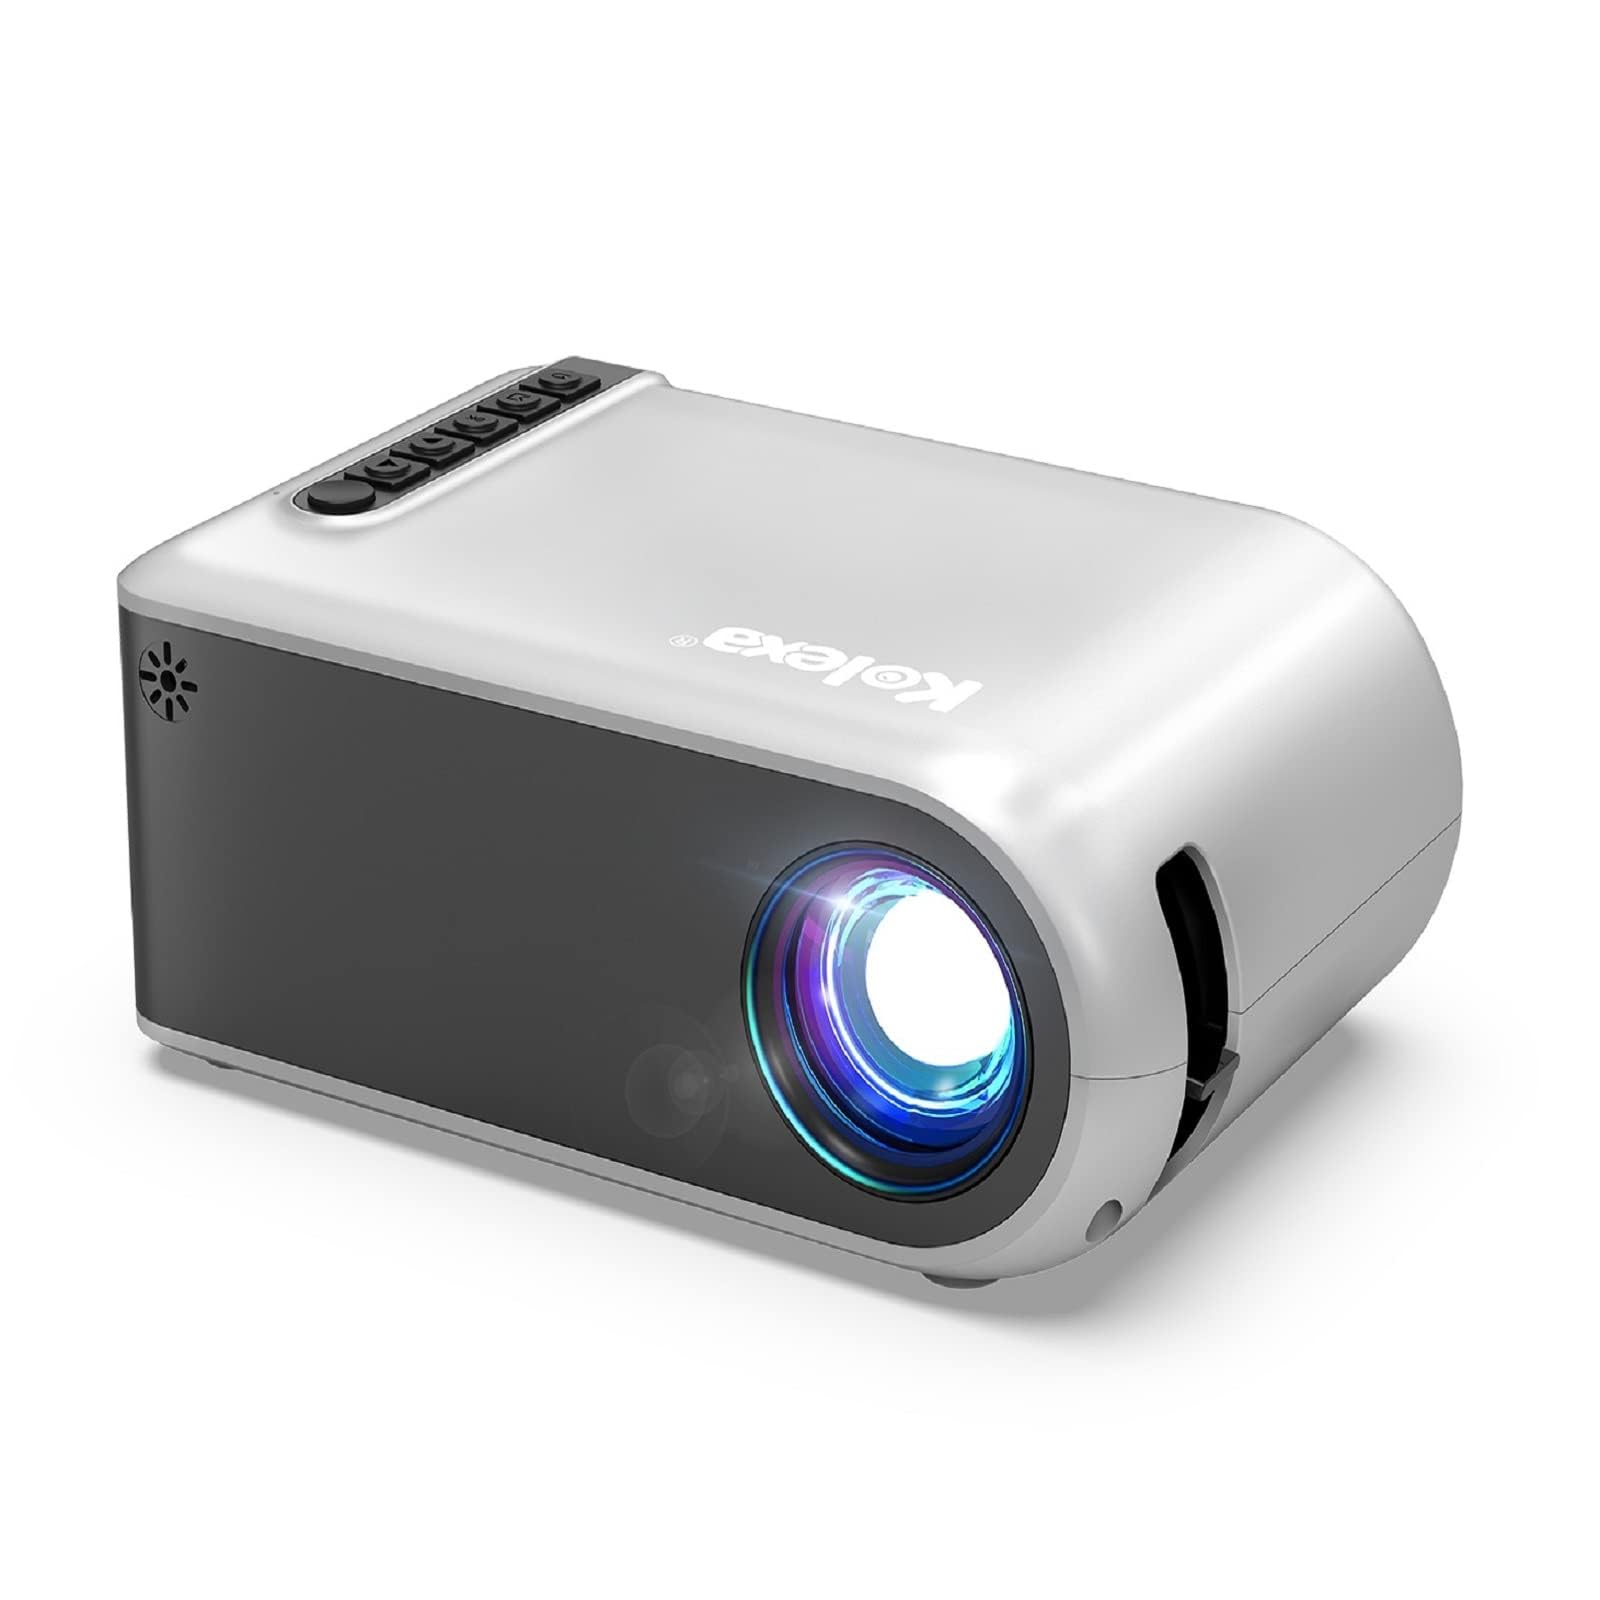
Are you eager to elevate your entertainment experience by connecting your Tenker Mini Home Theater Projector to your Apple laptop? This comprehensive guide is designed to assist you in seamlessly establishing this connection, enabling you to enjoy your favorite movies, TV shows, and presentations on a larger screen.
Whether you're a movie buff, a gaming enthusiast, or a professional seeking to deliver impactful presentations, the Tenker Mini Home Theater Projector offers a versatile and immersive viewing experience. By connecting it to your Apple laptop, you can unlock a world of entertainment and productivity, all within the comfort of your own space.
In the following sections, we will delve into the process of checking the compatibility between the Tenker Mini Home Theater Projector and your Apple laptop. We will then guide you through the step-by-step process of establishing the connection, adjusting display settings, and troubleshooting common issues that may arise.
By the end of this guide, you will be equipped with the knowledge and confidence to seamlessly connect your Tenker Mini Home Theater Projector to your Apple laptop, transforming your viewing and presentation experiences. Let's embark on this journey to unlock the full potential of your entertainment and productivity tools.
Checking the Compatibility
Before embarking on the process of connecting your Tenker Mini Home Theater Projector to your Apple laptop, it is essential to ensure that both devices are compatible. This compatibility check will help you avoid potential issues and streamline the connection process.
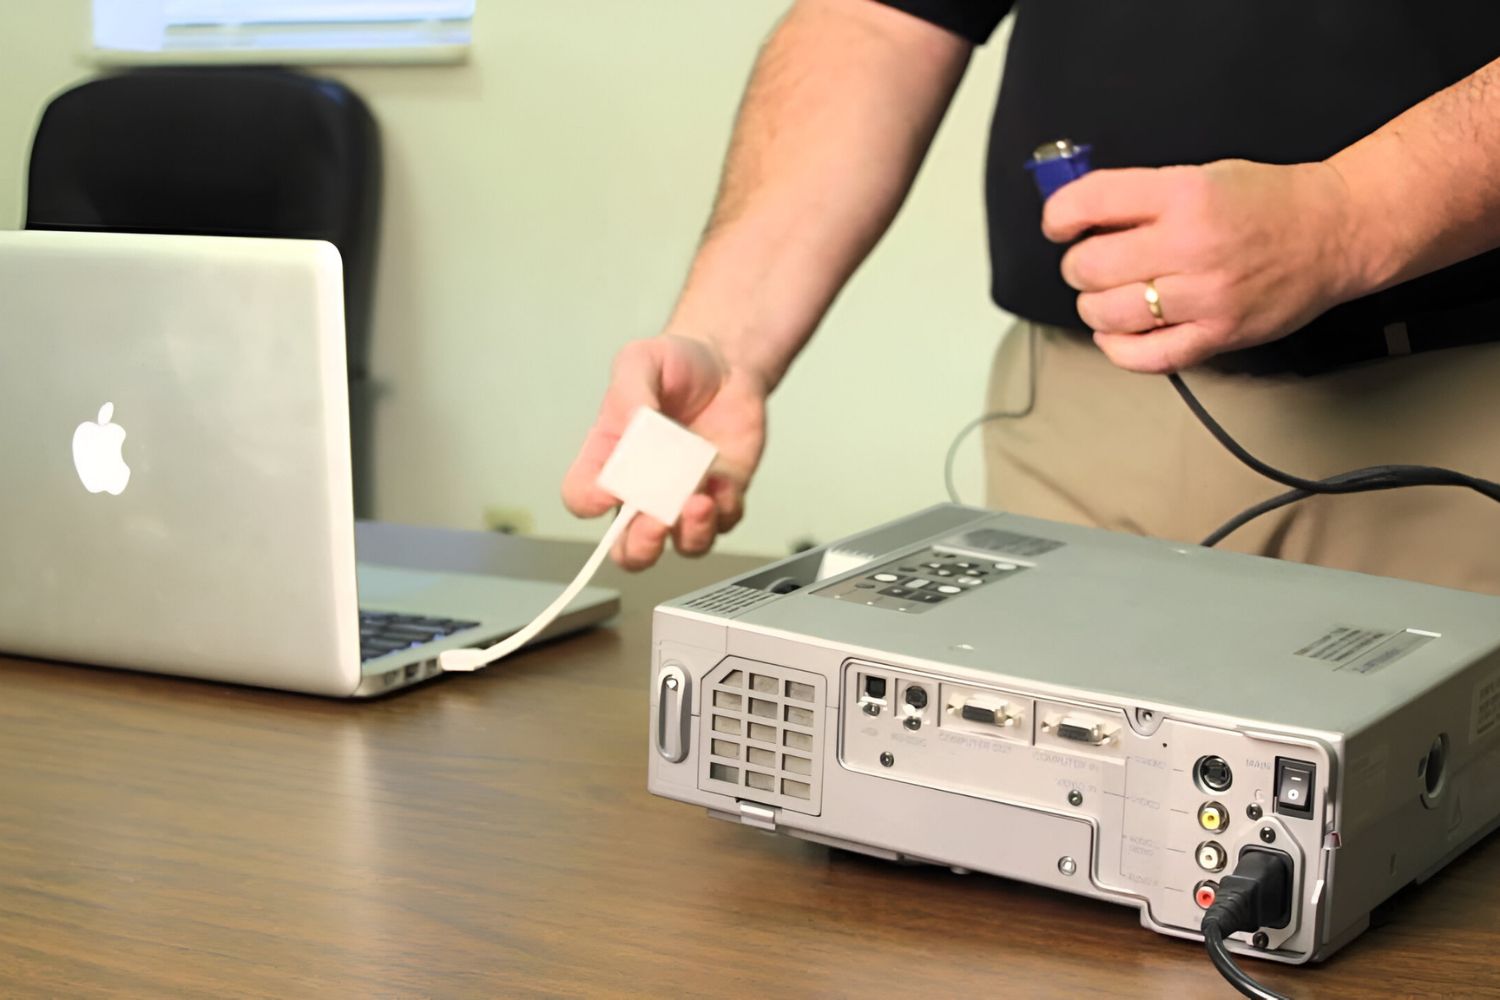
First and foremost, verify the compatibility of the ports on your Apple laptop with the input ports on the Tenker Mini Home Theater Projector. The projector typically features HDMI, USB, and AV ports, among others. Your Apple laptop may be equipped with USB-C, HDMI, or Thunderbolt ports. It is crucial to identify the specific ports available on both devices to determine the type of connection required.
Additionally, consider the operating system of your Apple laptop. The Tenker Mini Home Theater Projector is compatible with various operating systems, including Windows, macOS, and iOS. Ensure that your Apple laptop's operating system is supported to facilitate a seamless connection.
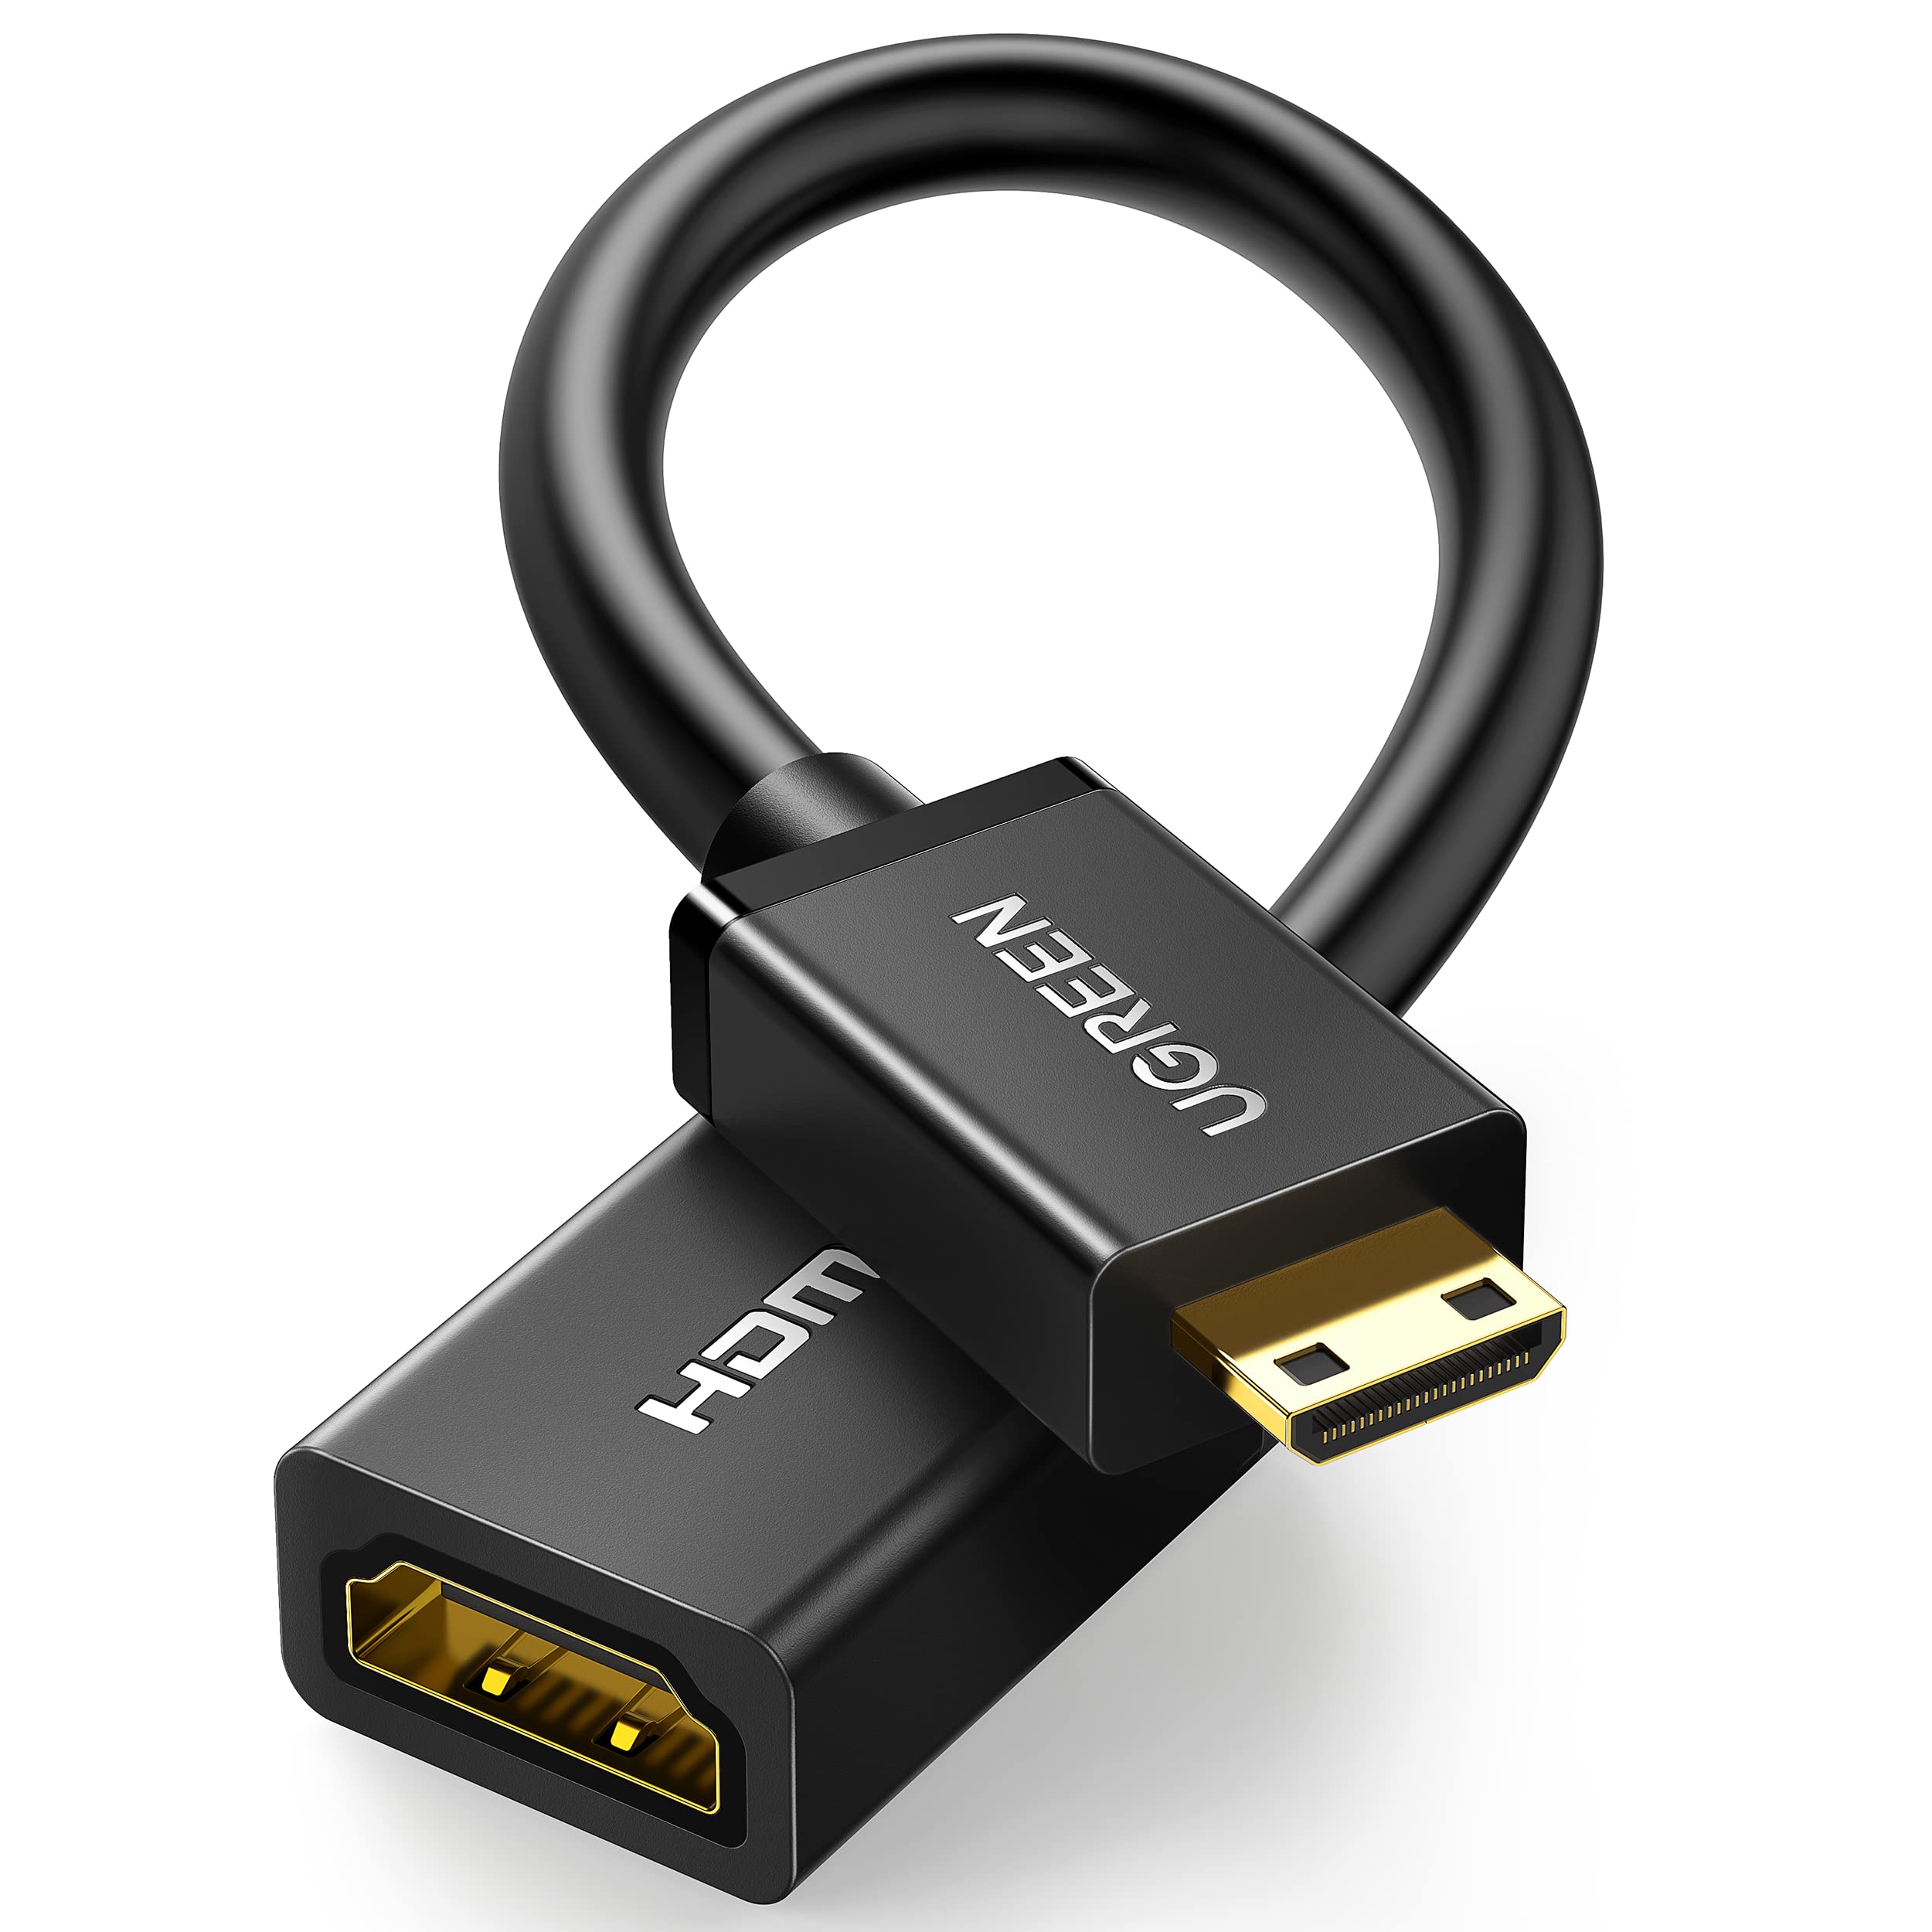
Furthermore, check for any required adapters or cables that may be necessary to bridge the connection between the devices. For instance, if your Apple laptop features a USB-C port and the projector requires an HDMI connection, you may need a USB-C to HDMI adapter to establish the link.
It is also advisable to review the user manuals of both the Tenker Mini Home Theater Projector and your Apple laptop. These resources often contain valuable information regarding compatibility, recommended connection methods, and troubleshooting tips.
By conducting a thorough compatibility check, you can preemptively address any potential obstacles and ensure a smooth and successful connection between your Tenker Mini Home Theater Projector and your Apple laptop. Once you have confirmed the compatibility of the devices, you can proceed with confidence to establish the connection and unlock a world of entertainment and productivity possibilities.
Connecting the Tenker Mini Home Theater Projector to the Apple Laptop
Once you have verified the compatibility of your Tenker Mini Home Theater Projector and your Apple laptop, you can proceed to establish the connection. Follow these step-by-step instructions to seamlessly link the two devices and begin enjoying an enhanced viewing and presentation experience.
- Identify the Connection Ports: Begin by identifying the available connection ports on both the Tenker Mini Home Theater Projector and your Apple laptop. As mentioned earlier, the projector typically features HDMI, USB, and AV ports, while your Apple laptop may have USB-C, HDMI, or Thunderbolt ports. Determine the specific ports you will be using for the connection.
- Select the Appropriate Cable or Adapter: Based on the ports available on both devices, select the appropriate cable or adapter to establish the connection. For instance, if your Apple laptop features a USB-C port and the projector requires an HDMI connection, use the corresponding adapter or cable to bridge the connection.
- Power On the Devices: Ensure that both the Tenker Mini Home Theater Projector and your Apple laptop are powered on. This will enable the devices to recognize and establish the connection once the physical link is established.
- Connect the Devices: With the selected cable or adapter in hand, connect one end to the appropriate port on the Tenker Mini Home Theater Projector and the other end to the corresponding port on your Apple laptop. Secure the connections to prevent any accidental disconnections during use.
- Switch Input Source: On the Tenker Mini Home Theater Projector, select the input source that corresponds to the port to which your Apple laptop is connected. This may involve navigating the projector’s menu or using a dedicated input source button on the device.
- Verify the Connection: Once the physical connection is established and the input source is selected, verify that the Tenker Mini Home Theater Projector detects the signal from your Apple laptop. You should see the laptop’s display projected onto the projector’s screen or surface.
By following these straightforward steps, you can effectively connect your Tenker Mini Home Theater Projector to your Apple laptop, unlocking a myriad of entertainment and presentation possibilities. With the connection established, you can immerse yourself in captivating movies, engage in gaming adventures, or deliver impactful presentations on a larger screen, all powered by the seamless link between your devices.
Adjusting Display Settings on the Apple Laptop
After successfully connecting your Tenker Mini Home Theater Projector to your Apple laptop, it is essential to optimize the display settings to ensure an optimal viewing experience. By adjusting the display settings on your laptop, you can customize the output to suit your preferences and maximize the visual impact of the projected content.
Follow these steps to adjust the display settings on your Apple laptop:
- Access System Preferences: Begin by accessing the System Preferences on your Apple laptop. This can typically be found in the Dock or by clicking on the Apple logo in the top-left corner of the screen and selecting “System Preferences.”
- Select Displays: Within the System Preferences window, locate and select the “Displays” option. This will allow you to configure the display settings for the connected Tenker Mini Home Theater Projector.
- Adjust Resolution: In the Displays settings, you can adjust the resolution to optimize the output for the projector. Select the resolution that best suits your viewing preferences and ensures compatibility with the projector’s capabilities. You may also have the option to mirror the display, extending the desktop, or use the projector as the primary display, depending on your intended use.
- Customize Refresh Rate: If applicable, customize the refresh rate to enhance the smoothness of motion and overall visual quality. Higher refresh rates can contribute to a more fluid viewing experience, especially when watching videos or engaging in gaming activities.
- Configure Color and Brightness: Fine-tune the color balance, brightness, and contrast settings to achieve the desired visual impact. This step allows you to tailor the display output to your specific preferences, ensuring that the projected content appears vibrant and accurately rendered.
- Set Audio Output: If the projector is equipped with audio capabilities, configure the audio output settings to ensure that sound is channeled through the projector’s speakers or connected audio devices. This step complements the visual adjustments and contributes to a fully immersive viewing experience.
By adjusting the display settings on your Apple laptop, you can harness the full potential of the connection to the Tenker Mini Home Theater Projector, optimizing the visual and audio output to suit your preferences and the nature of the content being displayed. These tailored adjustments will enhance your viewing, gaming, or presentation experiences, elevating the overall impact of the connected devices.
Troubleshooting Common Connection Issues
While connecting the Tenker Mini Home Theater Projector to your Apple laptop is a straightforward process, it’s not uncommon to encounter occasional connectivity challenges. By familiarizing yourself with common connection issues and their solutions, you can swiftly address any obstacles that may arise, ensuring a seamless and uninterrupted viewing or presentation experience.
Here are some common connection issues and troubleshooting steps:
- No Display on the Projector: If the projector does not display the content from your Apple laptop, double-check the physical connections. Ensure that the cable or adapter is securely plugged into both devices. Additionally, verify that the projector is set to the correct input source for the connected port.
- Poor Image Quality: If the projected image appears blurry or distorted, review the display settings on your Apple laptop. Adjust the resolution and refresh rate to optimize the output for the projector. Additionally, inspect the cable or adapter for any damage that may affect the signal quality.
- No Audio Output: In the event that audio is not playing through the projector’s speakers, confirm that the audio output settings on your Apple laptop are configured to route sound through the connected projector. Check the projector’s audio input settings as well to ensure that the audio signal is being recognized and processed.
- Intermittent Connection Loss: If the connection between the Tenker Mini Home Theater Projector and your Apple laptop is intermittently lost, examine the cable or adapter for any signs of wear or looseness. Consider using a different cable or adapter to rule out potential hardware issues. Additionally, verify that the projector and laptop are placed in close proximity to maintain a stable connection.
- Compatibility Errors: If you encounter compatibility errors or warnings when connecting the devices, refer to the user manuals of the Tenker Mini Home Theater Projector and your Apple laptop for specific guidance. It may be necessary to update the firmware or drivers for either device to ensure seamless compatibility.
By proactively addressing these common connection issues and applying the corresponding troubleshooting steps, you can overcome potential obstacles and enjoy a reliable and consistent connection between your Tenker Mini Home Theater Projector and your Apple laptop. These troubleshooting measures empower you to maintain an uninterrupted and immersive viewing or presentation experience, maximizing the potential of your connected devices.
Conclusion
Connecting your Tenker Mini Home Theater Projector to your Apple laptop opens up a world of possibilities, allowing you to enjoy captivating multimedia experiences and deliver impactful presentations on a larger canvas. By following the steps outlined in this guide, you have gained the knowledge and confidence to establish a seamless connection between these devices, unlocking their combined potential.
From the initial compatibility check to the troubleshooting of common connection issues, you have navigated the process with clarity and precision. By ensuring the compatibility of ports, selecting the appropriate cables or adapters, adjusting display settings, and addressing potential challenges, you have positioned yourself to fully leverage the capabilities of your connected devices.
As you embark on this journey of enhanced entertainment and productivity, remember that the connection between your Tenker Mini Home Theater Projector and your Apple laptop represents a gateway to immersive cinematic experiences, engaging gaming adventures, and compelling presentations. Whether you’re enjoying movie nights with friends, immersing yourself in gaming realms, or delivering professional presentations, the seamless link between your devices enhances every aspect of your visual content.
With the knowledge and troubleshooting skills acquired through this guide, you are well-equipped to overcome any connectivity hurdles that may arise, ensuring a consistent and reliable link between your Tenker Mini Home Theater Projector and your Apple laptop. Embrace the boundless potential of this connection and savor the amplified impact of your multimedia and presentation endeavors.
As you embark on your exploration of visually enriched experiences, remember that the connection between your Tenker Mini Home Theater Projector and your Apple laptop is not merely a physical link, but a conduit for elevating your enjoyment and productivity. Embrace the seamless fusion of technology and entertainment, and let your connected devices transport you to new dimensions of visual immersion and engagement.