Introduction
Welcome to our comprehensive guide on how to set up Skytrak with a projector. Skytrak is an innovative launch monitor that allows golfers to analyze their swing and track their progress. By connecting it to a projector, you can take your golf simulator experience to the next level, immersing yourself in a realistic virtual golf environment.
Setting up Skytrak with a projector may seem daunting at first, but with the right equipment and a little guidance, you can create an incredible golfing experience right in the comfort of your own home. Whether you’re a beginner looking to practice and improve your swing or a seasoned golfer who wants to keep their skills sharp during the off-season, this setup will provide a realistic and engaging golfing experience.
In this guide, we will walk you through the step-by-step process of setting up Skytrak with a projector. We will cover everything from gathering the necessary equipment to troubleshooting common issues that may arise during the setup.
Before we begin, it’s important to note that setting up Skytrak with a projector requires some technical knowledge and may involve minor adjustments to your setup. However, the end result is well worth the effort, as you’ll be able to enjoy realistic golf simulation from the comfort of your own home.
So, if you’re ready to take your golfing experience to the next level, let’s dive into the process of setting up Skytrak with a projector!
Gathering the Necessary Equipment
Before you can set up Skytrak with a projector, you will need to gather the necessary equipment. Here’s a list of items you’ll need:
- Skytrak Launch Monitor: The Skytrak launch monitor is the heart of your golf simulator setup. It provides accurate measurements of your shots and feeds the data to your computer or mobile device.
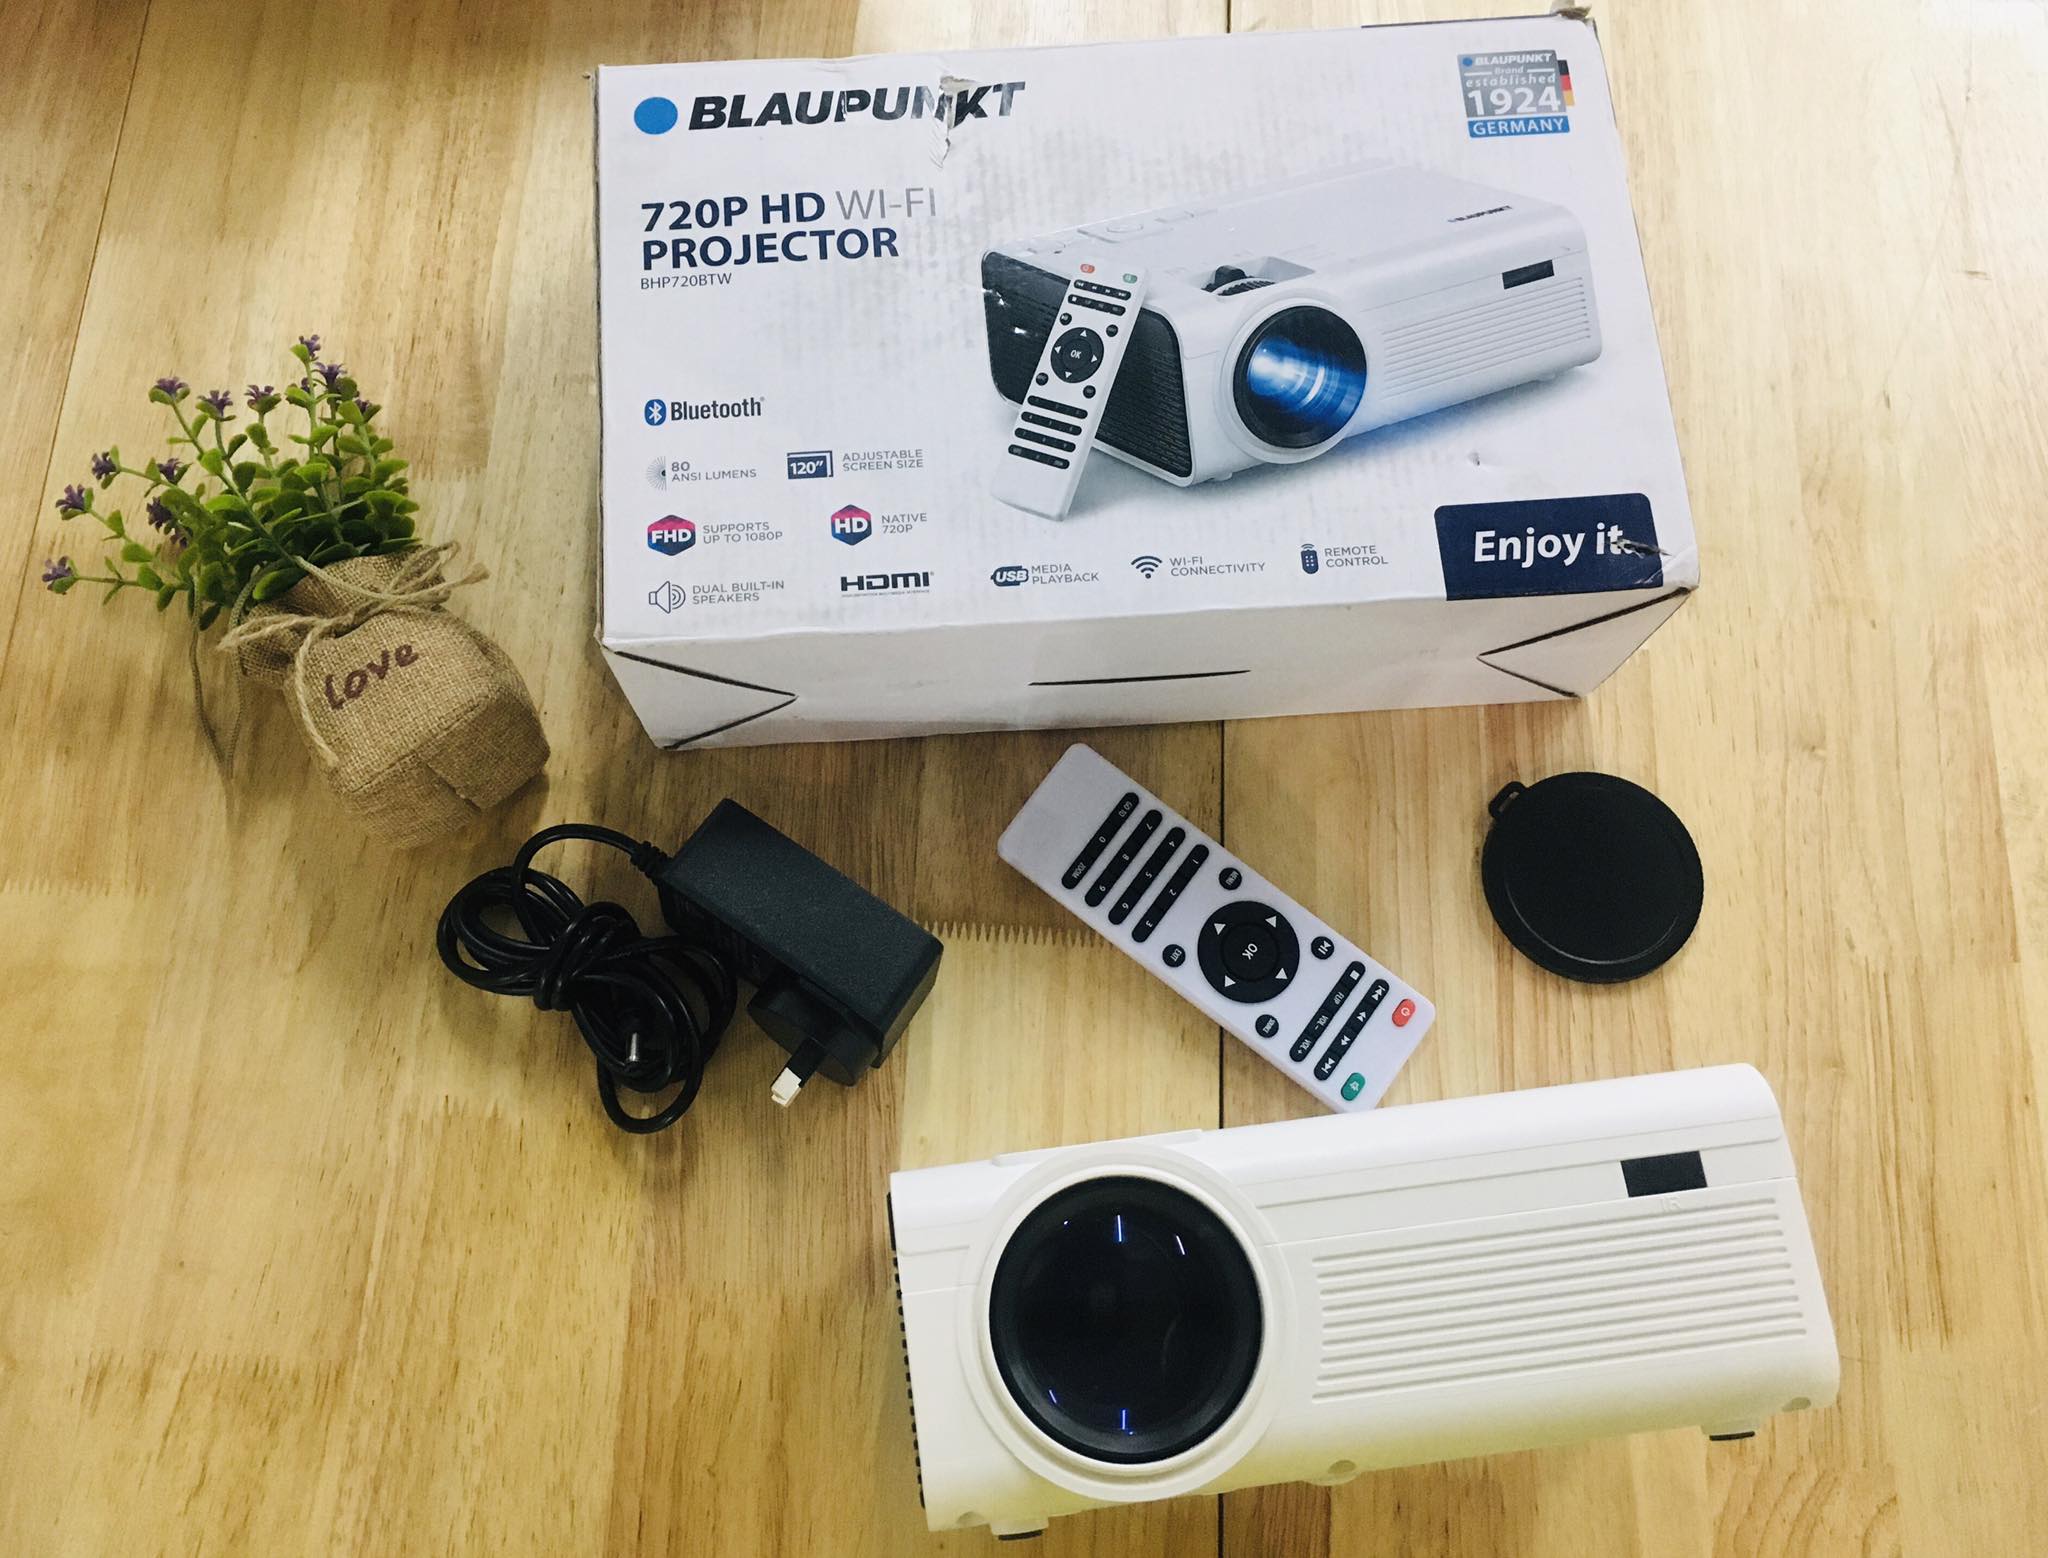
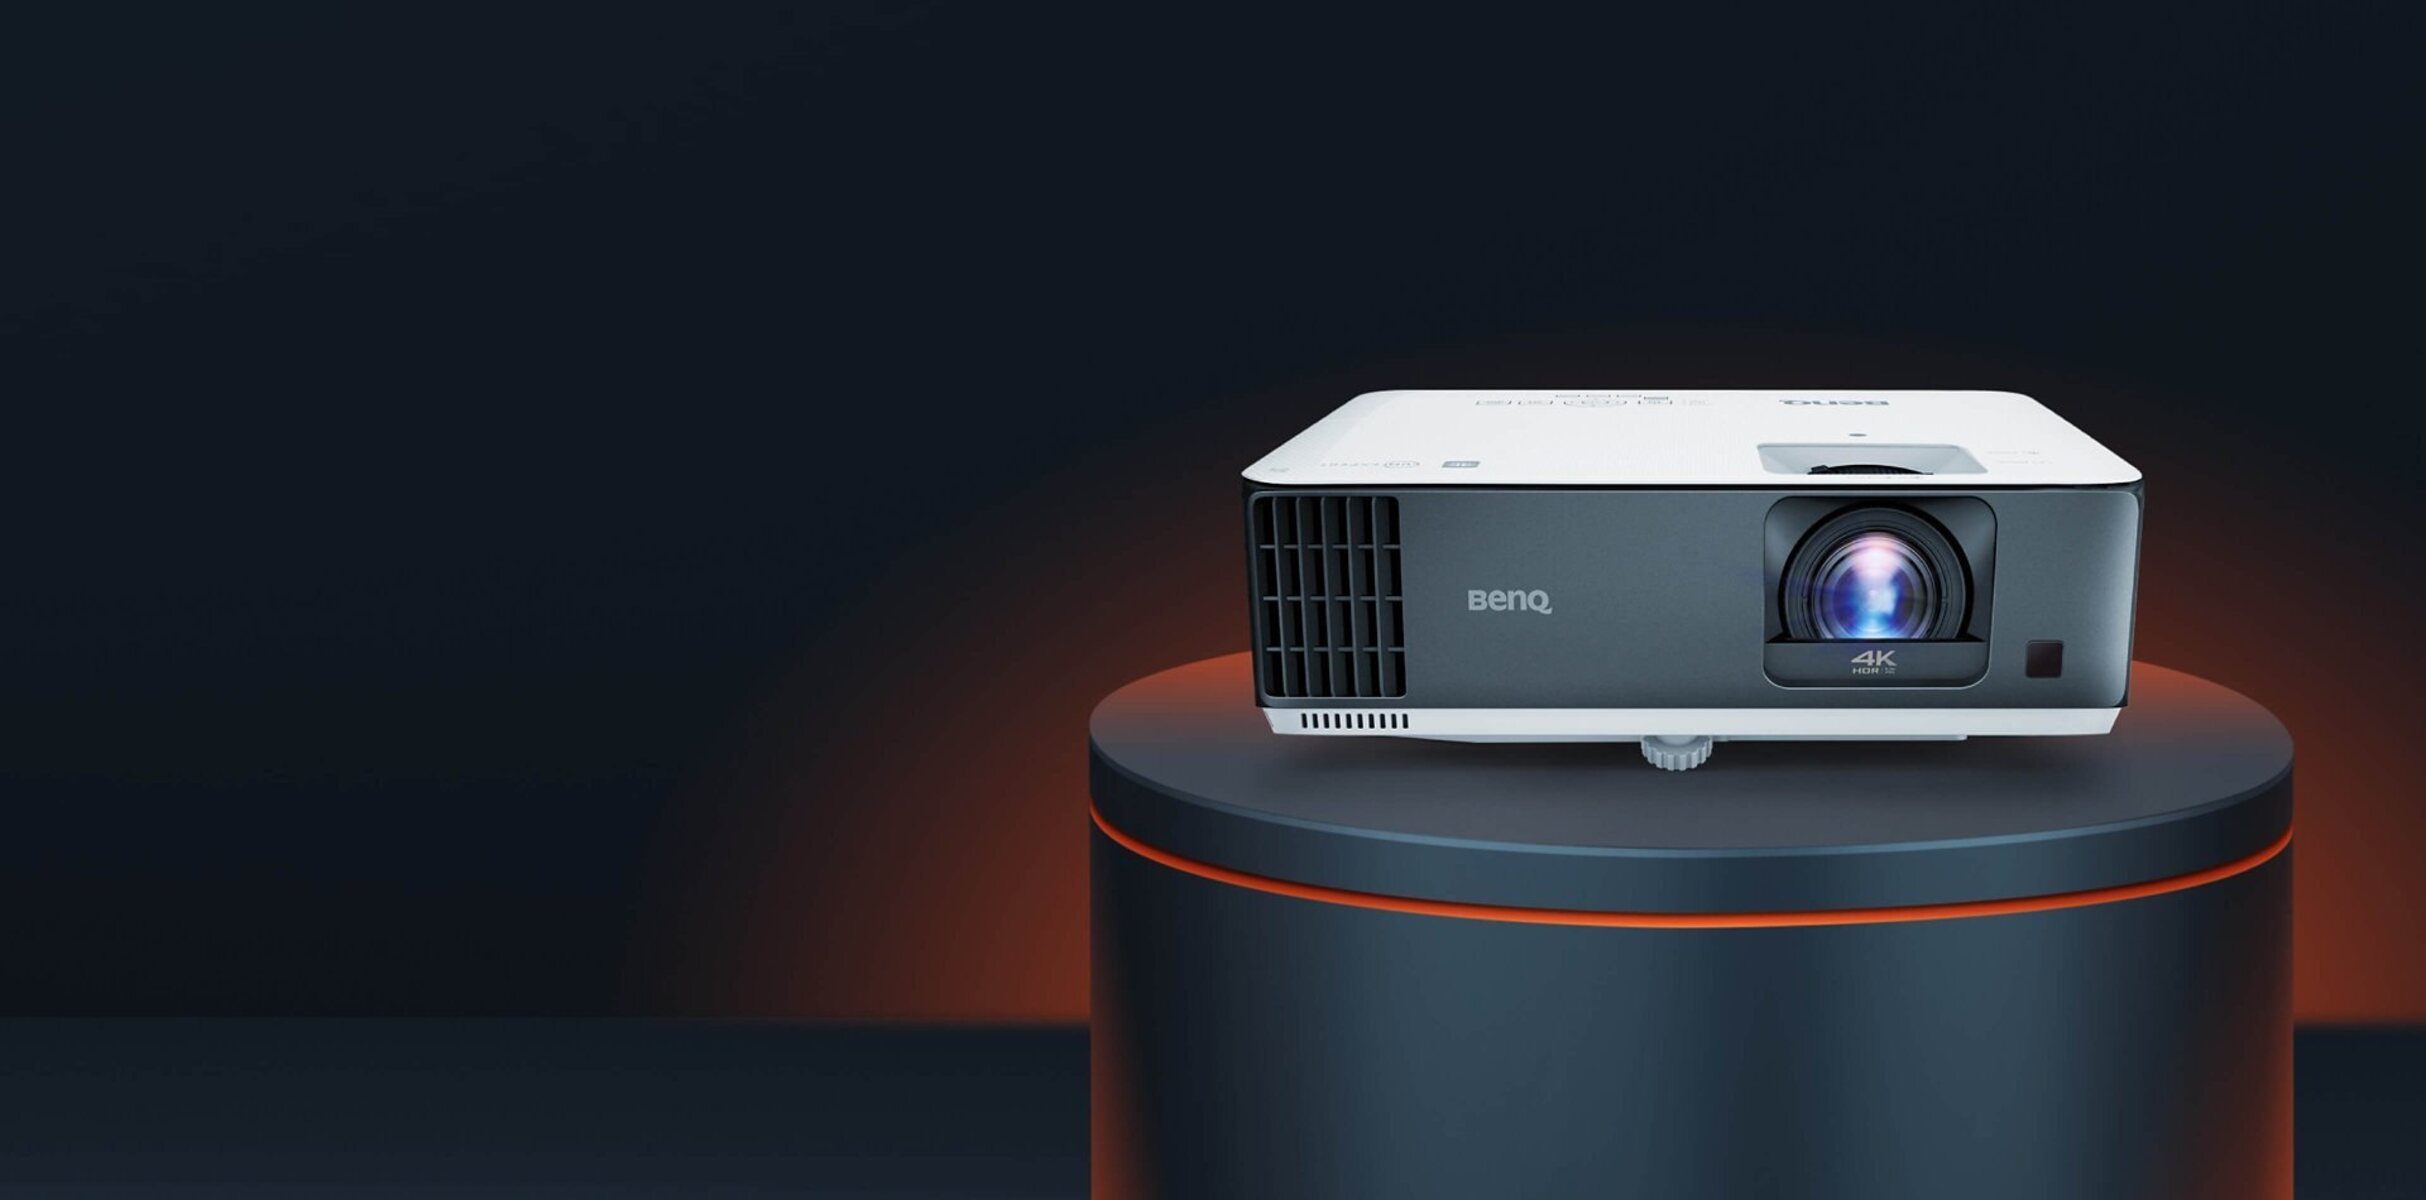
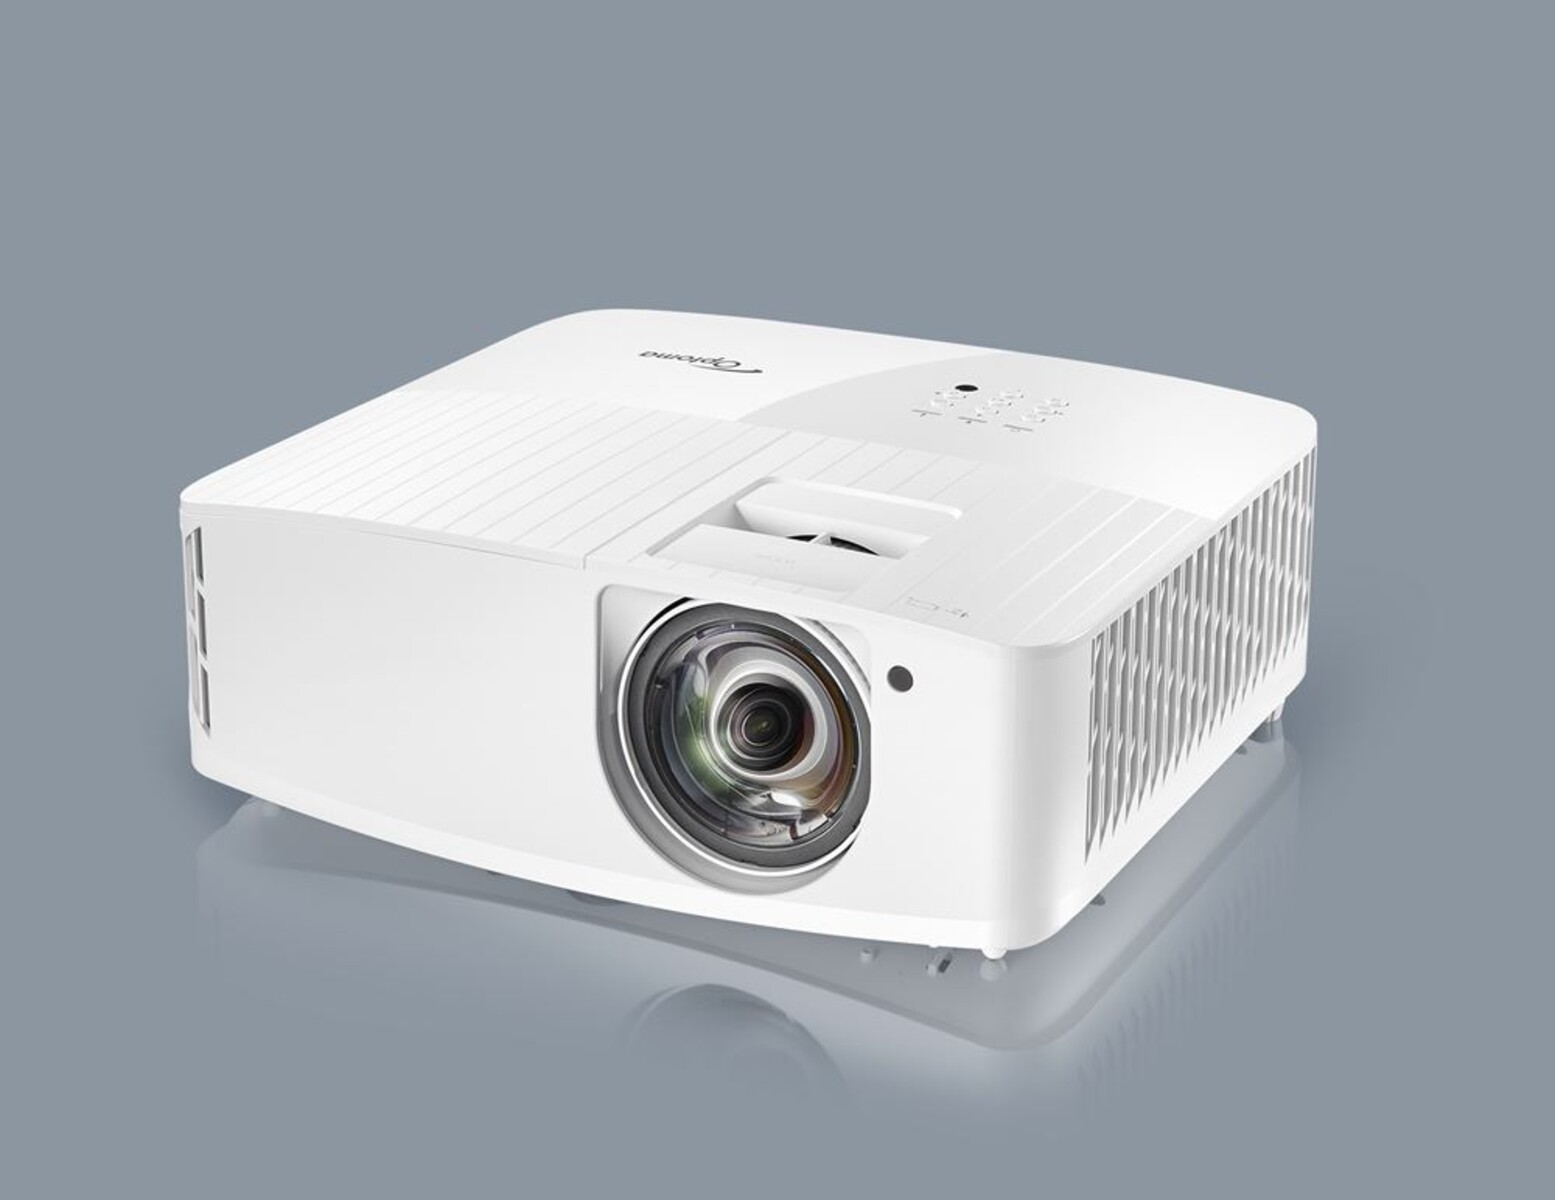
- Projector: A high-quality projector is essential for creating a realistic golfing experience. Look for a projector with a high resolution, brightness, and contrast ratio for optimal image quality.
- Projector Mount: A sturdy projector mount will ensure that your projector is securely positioned and properly aligned with your hitting area or screen.
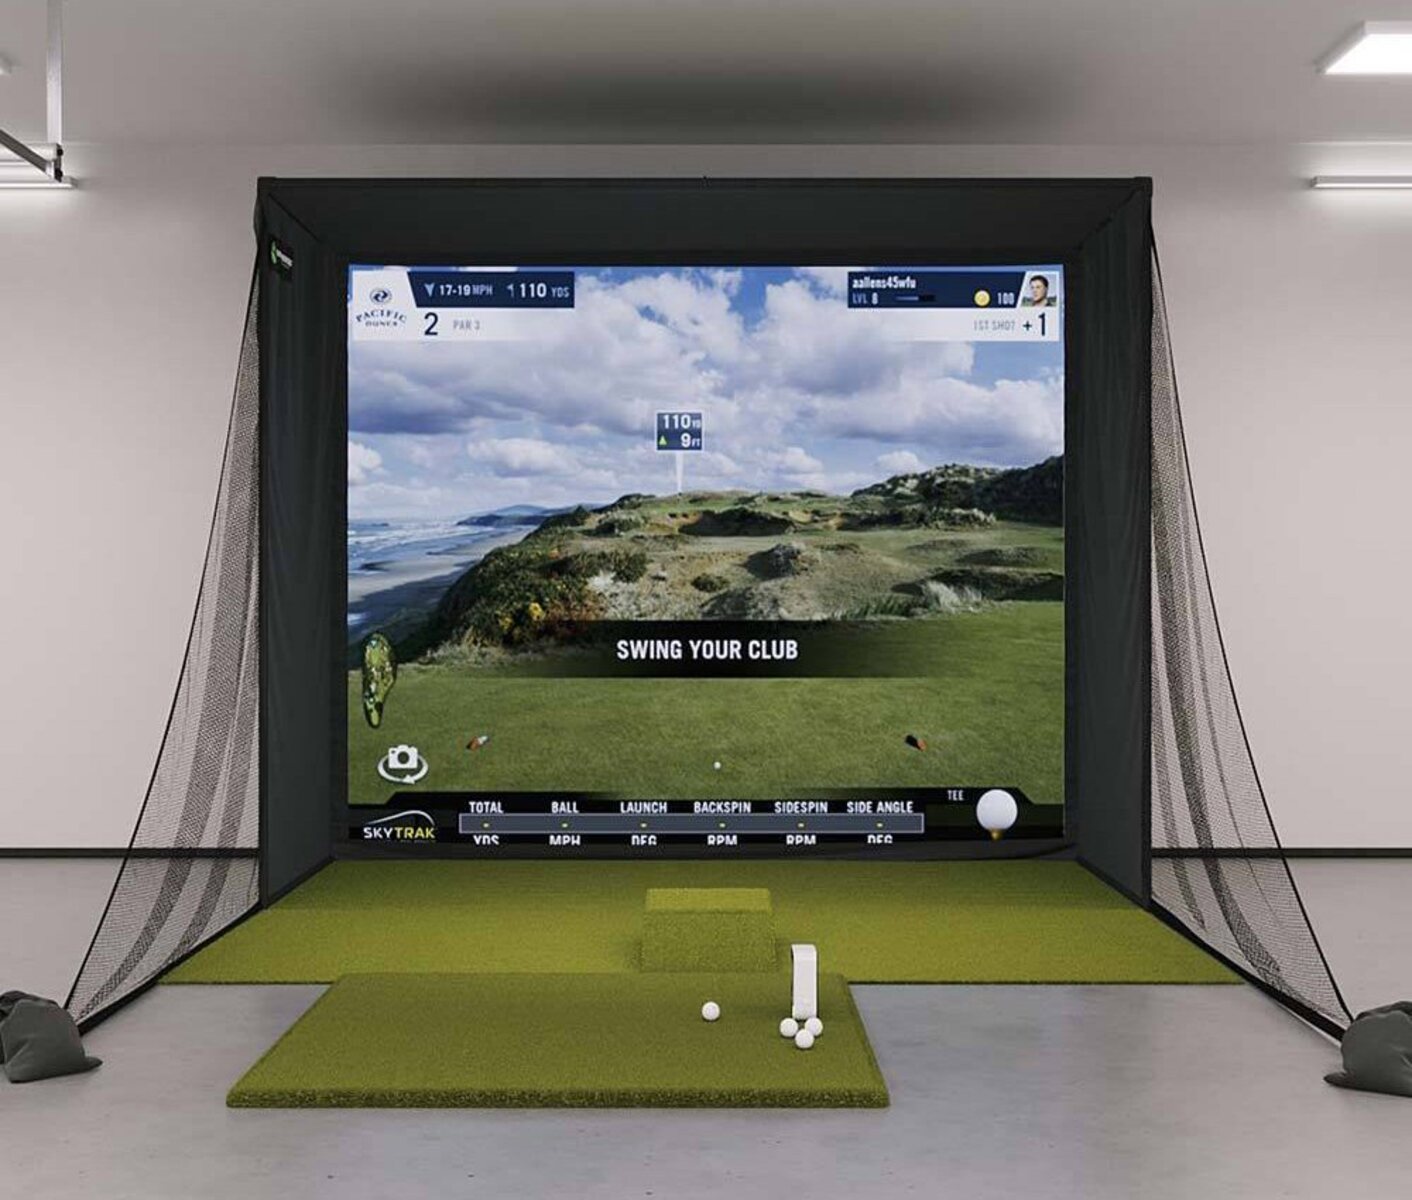
- Screen or Impact Screen: To display the projected image, you can either use a dedicated projection screen or an impact screen. An impact screen is designed to withstand the impact of golf balls, making it a great choice for practicing.
- Computer or Mobile Device: You will need a computer or mobile device to run the Skytrak software and display the data and virtual golf course on your projector.
- Golf Mat: A golf mat provides a realistic surface for hitting golf shots and protects your flooring from damage. Look for a durable and well-padded mat that mimics the feel of a real fairway.
- Netting or Enclosure: To ensure that your golf shots remain contained within your practice area, consider installing netting or an enclosure to catch the balls and prevent any potential damage or accidents.
- Optional Accessories: Depending on your setup and preferences, you may also consider additional accessories such as speakers for enhanced audio, a golf simulator software package for a more immersive experience, or a camera setup for recording and analyzing your swing.
Before purchasing any equipment, make sure to check the compatibility of the different components and ensure that they meet the requirements for optimal performance.
Now that you have a complete list of the necessary equipment, you’re one step closer to setting up your Skytrak with a projector. In the next section, we will guide you through the process of setting up the Skytrak launch monitor.
Setting Up the Skytrak Launch Monitor
Now that you have gathered all the necessary equipment, it’s time to set up the Skytrak launch monitor. Follow these steps to get started:
- Choose an Optimal Location: Find a suitable location for your Skytrak launch monitor. Make sure you have enough space to swing your golf club comfortably, and ensure that the area is well-lit for accurate shot tracking.
- Power On the Skytrak: Plug in the power adapter and turn on the Skytrak launch monitor. Allow it a few moments to boot up and calibrate.
- Connect to a Computer or Mobile Device: Use the provided USB cable to connect the Skytrak to your computer or mobile device running the Skytrak software. Follow the on-screen instructions to complete the connection process.
- Perform Firmware Update: If prompted, check for any available firmware updates for the Skytrak launch monitor and install them. Firmware updates often include performance improvements and bug fixes.
- Adjust the Height and Alignment: Use the included height adjustment rod to position the Skytrak at the appropriate height for your swing. Align the Skytrak with your hitting area or mat to ensure accurate shot tracking.
- Launch the Skytrak Software: Open the Skytrak software on your computer or mobile device. Follow the instructions to log in or create a new account if needed.
- Calibrate the Skytrak: Follow the on-screen instructions to calibrate the Skytrak launch monitor. This step is crucial for accurate shot tracking and data analysis.
- Confirm Connectivity: Ensure that the Skytrak launch monitor is properly connected to your computer or mobile device. Check for a stable connection and make sure the device is detecting the launch monitor.
Once you have completed these steps, you have successfully set up the Skytrak launch monitor. Next, we will move on to mounting the projector and connecting it to the Skytrak in the following section.
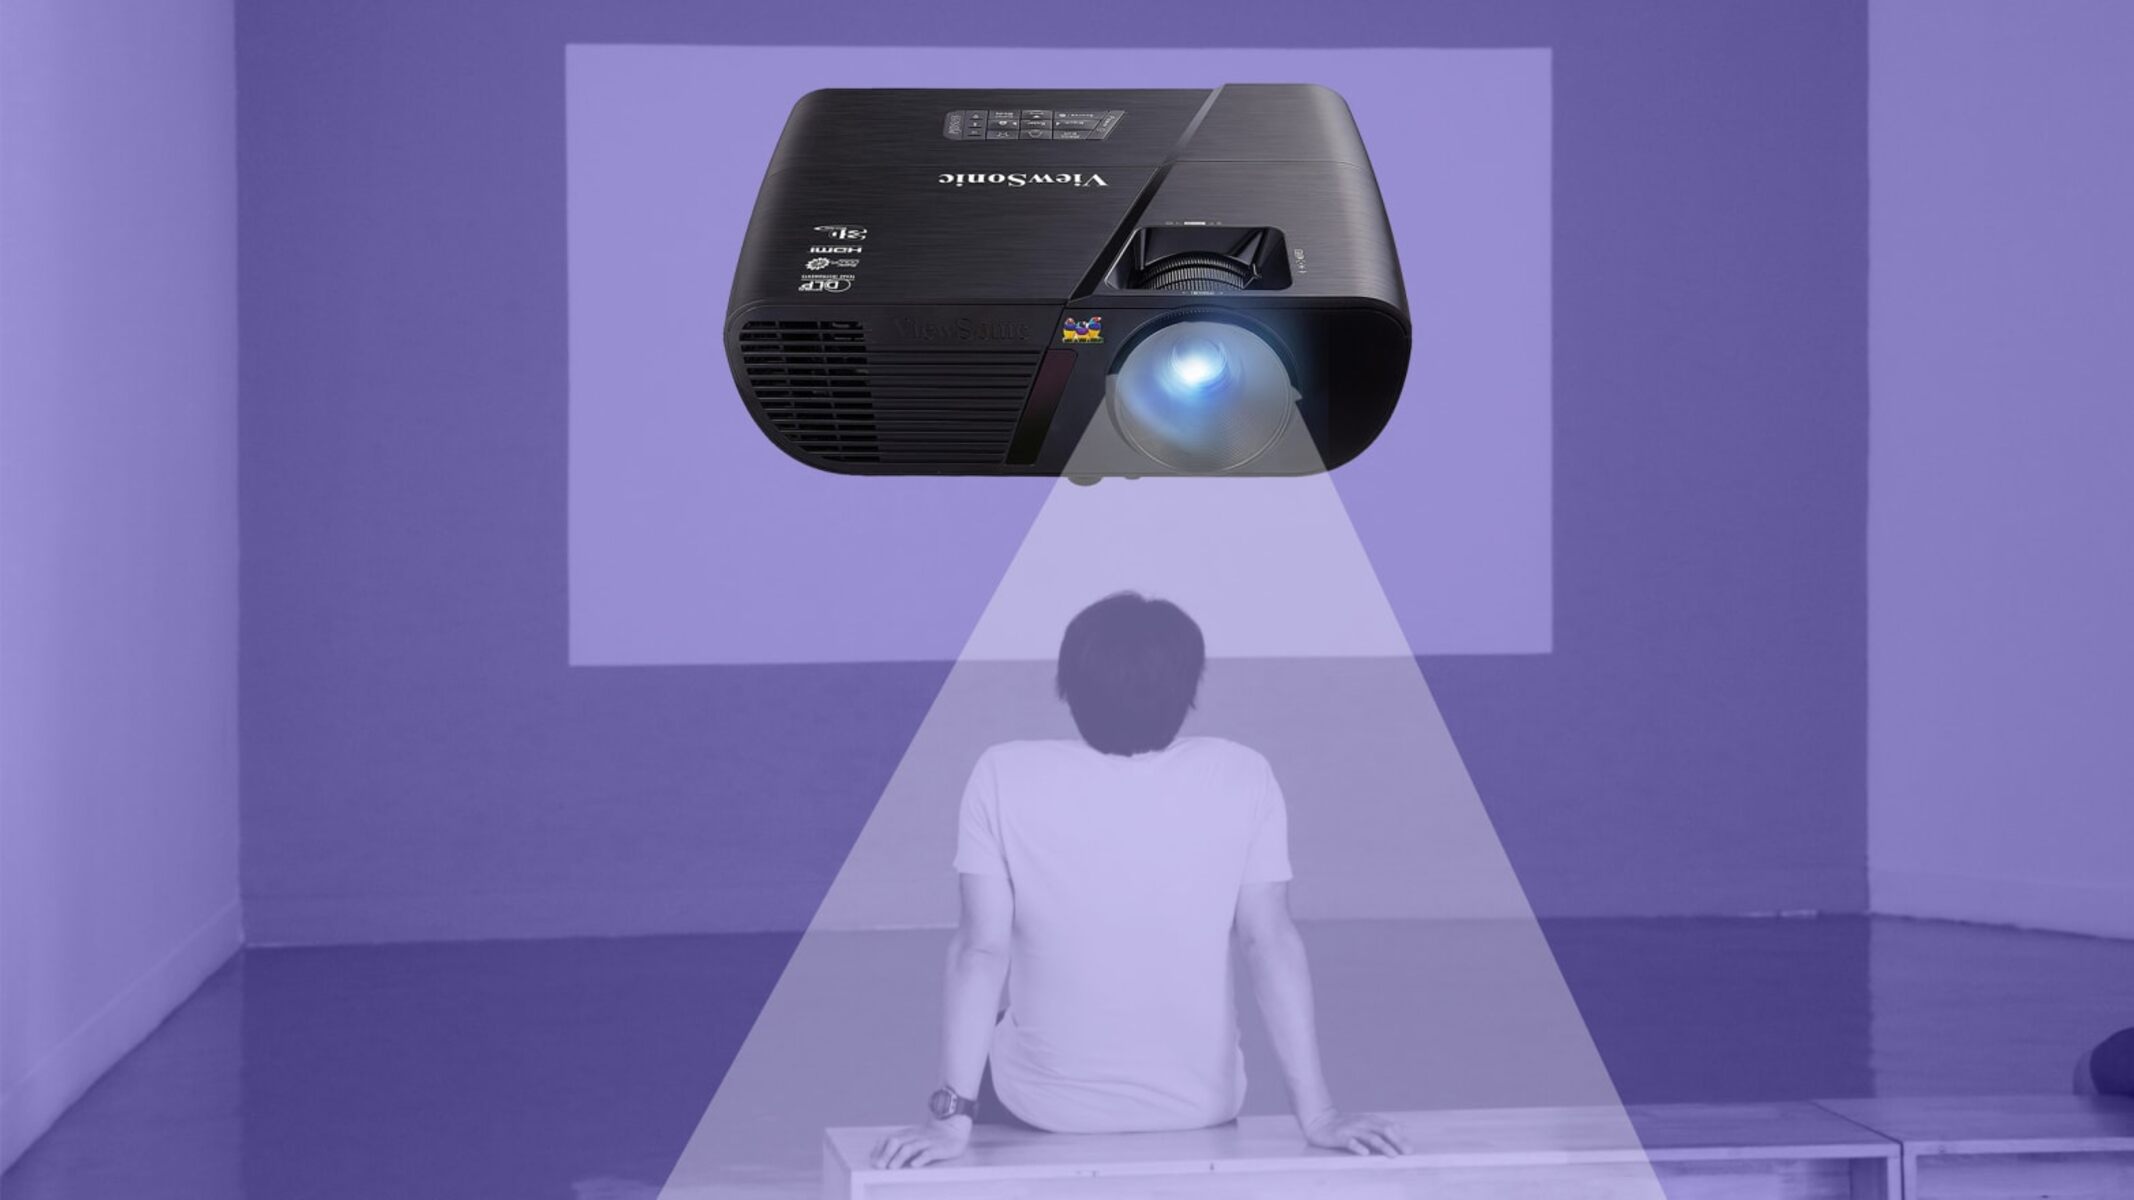
Mounting the Projector
Mounting the projector is a crucial step in setting up your Skytrak with a projector. Follow these steps to mount the projector securely and optimize the projection:
- Select a Suitable Location: Choose a location for the projector that allows for proper projection onto your screen or impact screen. Consider factors such as distance, angle, and any potential obstacles.
- Projector Mount: Attach the projector mount to a stable surface, such as a ceiling or wall. Ensure that the mount is securely fastened and can support the weight of your projector.
- Position the Projector: Place the projector on the mount, adjusting its position to achieve the desired projection angle and distance. Refer to the projector’s user manual for specific instructions on adjusting the projection settings.
- Level and Secure the Projector: Use a level to ensure that the projector is straight and aligned with your screen or impact screen. Tighten any screws or knobs to secure the projector in place.
- Connect the Power: Plug in the power cable of the projector. Ensure that the power source is stable and connected to a surge protector for added protection.
- Connect the Video Source: Depending on your projector and setup, connect the appropriate video cable (HDMI, VGA, etc.) from the projector to your computer or media device running the Skytrak software.
- Adjust Projection Settings: Access the projector’s settings menu to adjust image quality settings such as brightness, contrast, and aspect ratio. Fine-tune these settings to ensure optimal projection for a realistic golfing experience.
- Test the Projection: Turn on the projector and verify that the projected image appears clear, sharp, and properly aligned with your screen or impact screen. Make any necessary adjustments to the projector’s position or settings for optimal projection.
With the projector securely mounted and properly adjusted, you have successfully completed the next step of setting up Skytrak with a projector. In the next section, we will cover how to connect the projector to the Skytrak launch monitor.
Connecting the Projector to the Skytrak
With the projector mounted and properly positioned, it’s time to connect it to the Skytrak launch monitor. Follow these steps to establish the connection:
- Determine the Connection Type: Identify the appropriate connection options available on both the projector and the Skytrak launch monitor. Common connection types include HDMI, VGA, and DisplayPort. Choose the connection method that best suits your equipment and provides the highest-quality image.
- Connect the Video Cable: Insert one end of the video cable into the video output port on the Skytrak launch monitor. Then, connect the other end of the cable to the video input port on the projector.
- Secure the Cable Connections: Ensure that the video cable is securely connected to both the Skytrak launch monitor and the projector. Check for any loose connections that may result in a loss of signal or image quality.
- Power On the Projector: Turn on the projector and allow it to warm up. It may take a few moments for the projector to detect the input signal from the Skytrak launch monitor.
- Select the Correct Input Source: On the projector’s settings or remote control, select the appropriate input source that corresponds to the video input port used to connect the Skytrak launch monitor.
- Check the Signal: Verify that the projector is receiving a signal from the Skytrak launch monitor. You should see the projected image on your screen or impact screen.
- Adjust Image Display: If necessary, use the projector’s settings menu to adjust image display settings such as aspect ratio, resolution, and keystone correction. This will help optimize the projected image for your specific setup.
Once you have successfully connected the projector to the Skytrak launch monitor, you are now ready to proceed to the next step of adjusting the projector settings. In the following section, we will discuss how to fine-tune the projector settings for optimal performance.
Adjusting the Projector Settings
After connecting the projector to the Skytrak launch monitor, it’s important to fine-tune the projector settings to ensure optimal performance and image quality. Follow these steps to adjust the projector settings:
- Brightness and Contrast: Access the projector’s settings menu and adjust the brightness and contrast settings to achieve a well-balanced and vibrant image. Experiment with different levels to find the optimal settings for your environment.
- Aspect Ratio: Set the aspect ratio of the projector to match the native resolution of your Skytrak software or the virtual golf course you plan to use. This will ensure that the projected image is displayed correctly and proportionately.
- Keystone Correction: If necessary, use the keystone correction feature on the projector to correct any distortion caused by the projector being angled or positioned off-center. Adjust the vertical and horizontal keystone as needed to achieve a rectangular and undistorted image.
- Focus: Use the focus adjustment on the projector to sharpen the projected image. Fine-tune the focus until the details are clear and crisp.
- Color Calibration: Some projectors offer color calibration options to ensure accurate color reproduction. Use the built-in color calibration tools or refer to the manual to adjust color temperature, saturation, and other color settings to achieve accurate and vibrant colors.
- Test and Fine-Tune: Once you have adjusted the projector settings, test the projection by projecting a test image or launching the Skytrak software. Pay attention to any areas that may require further adjustment and fine-tune the settings accordingly.
It’s worth noting that the optimal projector settings may vary depending on factors such as ambient lighting, screen size, and personal preferences. Take the time to experiment and find the settings that work best for your specific setup.
With the projector settings properly adjusted, you are now ready to move on to the next steps of calibrating and aligning the Skytrak and projector, which we will cover in the following section.
Calibrating and Aligning the Skytrak and Projector
Calibrating and aligning the Skytrak and projector is essential to ensure accurate shot tracking and a seamless golf simulation experience. Follow these steps to calibrate and align the Skytrak and projector:
- Prepare the Hitting Area: Set up your golf mat and ensure that it is positioned correctly in relation to the projector and screen. Make sure there is enough space for you to swing comfortably without obstructing the projected image.
- Launch the Skytrak Software: Open the Skytrak software on your computer or mobile device. Select the appropriate golf course or practice session that you wish to use for calibration.
- Enter Calibration Mode: Access the calibration mode within the Skytrak software. Follow the on-screen instructions to initiate the calibration process.
- Calibration Shots: Follow the prompts in the Skytrak software to hit a series of calibration shots. Make sure to use your regular swing and strike the ball as you would during a normal round of golf.
- Data Verification: After hitting the calibration shots, verify that the data registered by the Skytrak matches your actual shot results. Ensure that the shot distance, launch angle, and other metrics align with what you would expect.
- Adjusting the Skytrak Position: If necessary, make minor adjustments to the position and alignment of the Skytrak launch monitor based on the calibration results. This will help improve the accuracy of shot tracking.
- Align the Projector: Adjust the projector’s position and alignment to ensure that the projected image is precisely centered on your screen or impact screen. Use the projector’s adjustment features to fine-tune the alignment as needed.
- Test Shots: Take a few test shots to verify that the projected image accurately represents the shot position and trajectory. Make any necessary adjustments to the projector or Skytrak position until the alignment is optimal.
Completing the calibration and alignment process will ensure that the Skytrak accurately measures your shots and that the projected image corresponds with your swing. This will provide you with a realistic and reliable golf simulation experience.
Now that the Skytrak and projector are calibrated and aligned, we can move on to the next section, where we will cover testing and fine-tuning the setup to optimize your golfing experience.
Testing and Fine-Tuning the Setup
Now that you have successfully set up and calibrated your Skytrak with the projector, it’s time to test and fine-tune the setup to ensure optimal performance and an immersive golfing experience. Follow these steps to test and fine-tune your setup:
- Practice Swinging: Start by taking a few practice swings to get a feel for the setup. Pay attention to how the projected image looks, the responsiveness of the Skytrak launch monitor, and the accuracy of shot tracking.
- Review Data Accuracy: Verify that the data displayed by the Skytrak matches your actual shot results. Check if the shot distance, launch angle, clubhead speed, and other metrics align with your expectations.
- Monitor Projection Quality: Evaluate the quality of the projected image. Check for any issues such as image distortion, blurriness, or color inconsistencies. Adjust the projector settings, focus, or keystone correction as needed.
- Assess Impact Screen Performance: If you are using an impact screen, examine its durability and performance. Ensure that it can withstand the impact of golf balls without tearing or stretching excessively. Make any adjustments or replacements if necessary.
- Experiment with Lighting: Depending on your setup location, you may need to adjust the lighting conditions to optimize projection and shot tracking accuracy. Dim or control ambient lighting to minimize interference with the projected image.
- Tweak Setup Layout: Assess the overall layout and functionality of your setup. Consider factors such as the positioning of the hitting area, the projector, and any additional equipment. Make adjustments to improve comfort and ease of use.
- Seek Feedback: Involve others, such as friends or family members, in testing the setup. Gather their feedback on the overall experience, image quality, and shot tracking accuracy. Their observations may help identify any areas that require further refinement.
- Make Necessary Improvements: Based on your testing and feedback, make any necessary improvements or adjustments to your setup. This may include fine-tuning projector settings, making minor positional changes, or investing in additional accessories to enhance the experience.
Continuous testing and fine-tuning of your Skytrak and projector setup will ensure that you get the most out of your golf simulator experience. Take the time to make any necessary adjustments to achieve optimal performance and enjoy a realistic and enjoyable virtual golf environment.
Now that you have tested and fine-tuned your setup, we will address common issues that may arise during the setup process and how to troubleshoot them in the next section.
Troubleshooting Common Issues
While setting up Skytrak with a projector can be a rewarding experience, it’s not uncommon to encounter some challenges along the way. Here are some common issues that you may come across during the setup process and some troubleshooting tips to resolve them:
- Poor Projection Quality: If the projected image appears blurry, dim, or distorted, check the projector settings and ensure that it’s correctly focused. Adjust the brightness and contrast settings to improve image quality. Additionally, verify that the projector lens is clean and free from dust or smudges.
- Interference or Erratic Shot Tracking: If you notice inconsistent shot tracking or interference, ensure that there are no obstructions between the Skytrak launch monitor and the hitting area. If using an impact screen, ensure it’s properly tensioned and doesn’t obstruct the path of the ball. Consider adjusting lighting conditions to eliminate potential interference.
- Lag or Delay: If you experience lag or delay between your swing and the displayed shot, check the connection between the Skytrak and your computer or mobile device. Ensure that you have a stable and reliable internet connection. Additionally, make sure that your computer or device meets the system requirements for running the Skytrak software smoothly.
- Connection Issues: If you’re having trouble establishing a connection between the projector and the Skytrak launch monitor, double-check the cable connections. Ensure that the cables are securely plugged into the correct ports on both devices. If using an HDMI cable, ensure it’s HDMI 2.0 compliant for optimal performance.
- Inaccurate Data: If the data displayed by the Skytrak launch monitor doesn’t align with your actual shot results, recalibrate the Skytrak following the calibration process outlined in section 6. Pay attention to your setup, ensuring proper alignment and positioning of the launch monitor and hitting area. Check for any physical obstructions that might hinder accurate shot tracking.
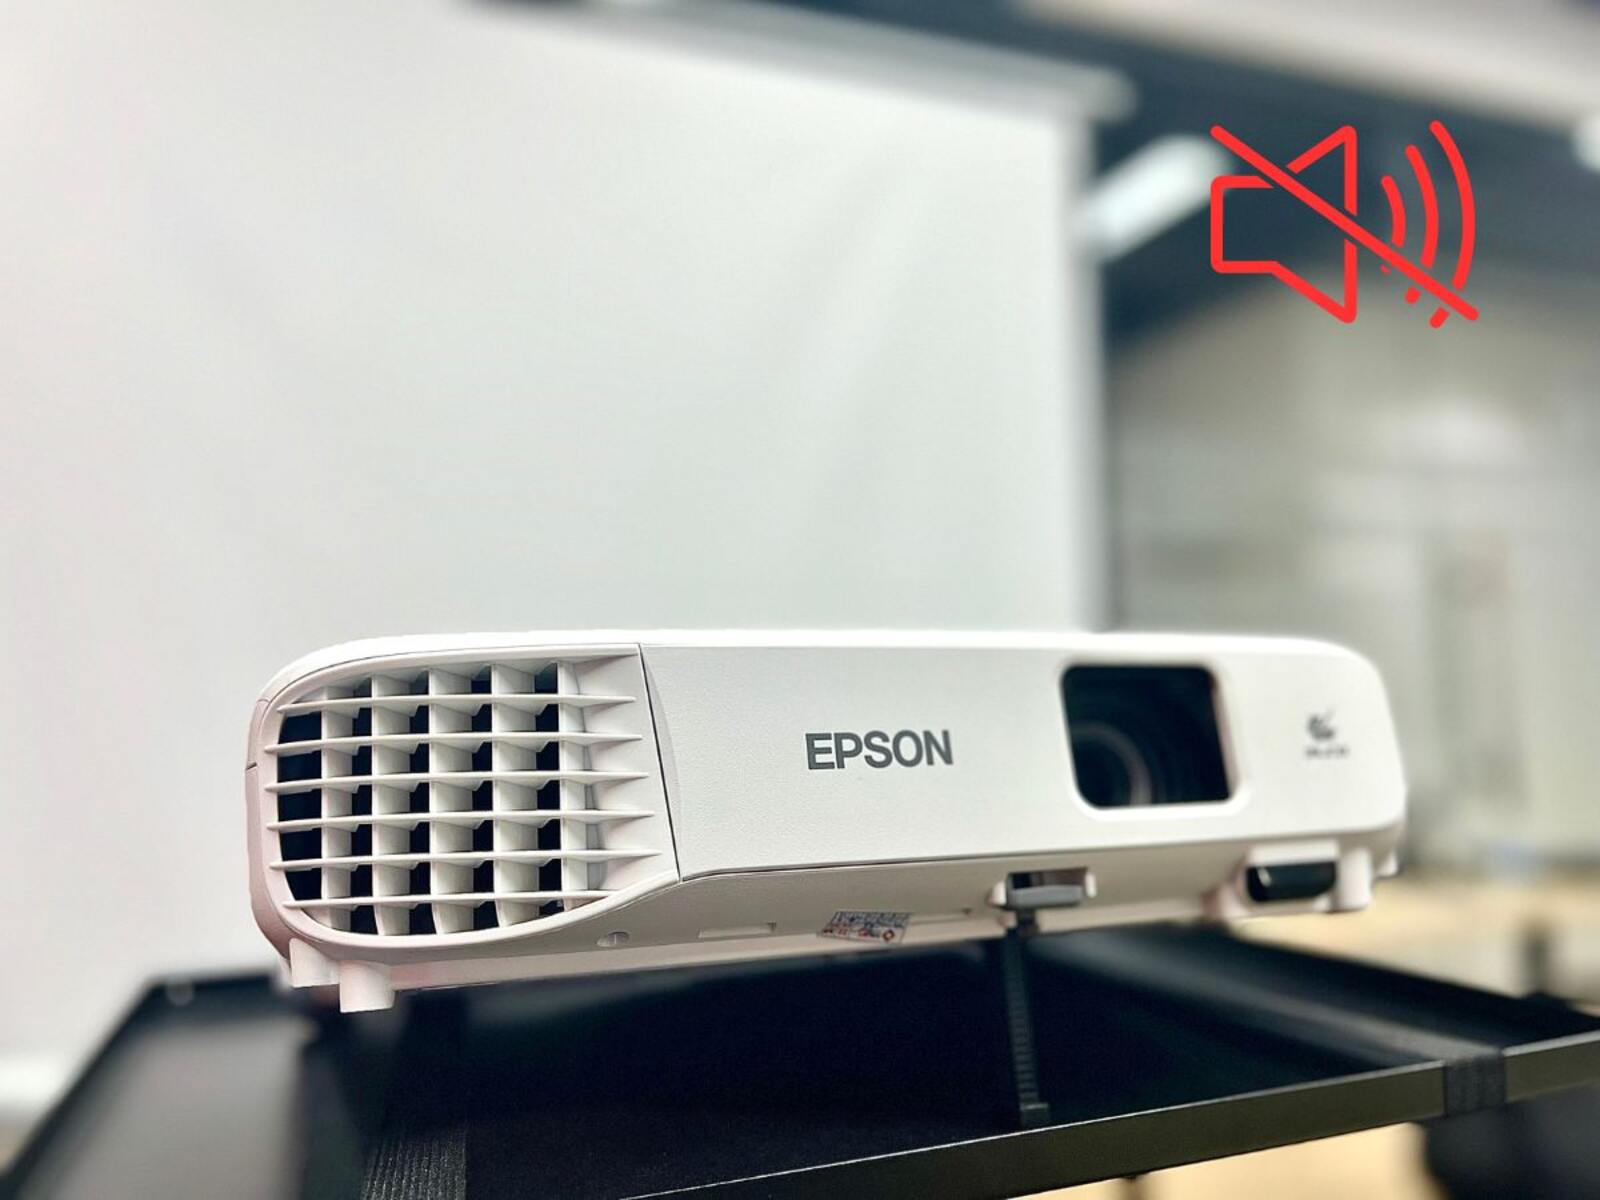
- Audio Issues: If you’re experiencing audio issues, make sure that the audio cables are properly connected between your computer or media device and the speakers. Check the audio settings on your computer or device to ensure the correct output source is selected. Adjust volume and balance settings as needed.
If you encounter any other issues during the setup process, refer to the user manuals and troubleshooting guides provided with your equipment. Additionally, seeking help from customer support or online forums specific to your Skytrak, projector, or software can provide valuable insight and solutions to unique problems.
Remember, the setup process may require patience and trial-and-error to achieve the desired results. Take the time to troubleshoot and address any issues that arise to create the best possible golf simulator experience.
By following the troubleshooting tips outlined above, you should be able to resolve common issues and optimize your setup. With your Skytrak and projector fully operational, you can now enjoy a realistic and immersive golfing experience in the comfort of your own home!
Conclusion
Congratulations on successfully setting up Skytrak with a projector! You’ve taken a significant step towards creating a realistic and immersive golf simulator experience right in your own home. By following the steps outlined in this guide, you have gathered the necessary equipment, set up the Skytrak launch monitor, mounted the projector, connected the projector to the Skytrak, adjusted the projector settings, calibrated and aligned the Skytrak and projector, tested and fine-tuned the setup, and troubleshooted common issues.
Now, all that’s left to do is practice your swing, improve your golf game, and enjoy the immersive golfing experience that your setup provides. Whether you’re a beginner looking to hone your skills or an avid golfer wanting to maintain your game during the off-season, your Skytrak and projector setup will allow you to enjoy hours of virtual golfing excitement.
Remember to continue exploring and experimenting with your setup to maximize its potential. Consider adding additional accessories, such as speakers for enhanced audio or a golf simulator software package for a more immersive experience.
Should you encounter any further difficulties or have any questions, don’t hesitate to consult the user manuals of your equipment or reach out to customer support. You can also engage with online communities and forums dedicated to golf simulators for additional guidance and insights.
Enjoy the journey of perfecting your swing, analyzing your shots, and fulfilling your golfing aspirations with your Skytrak and projector setup. Happy swinging!