Introduction
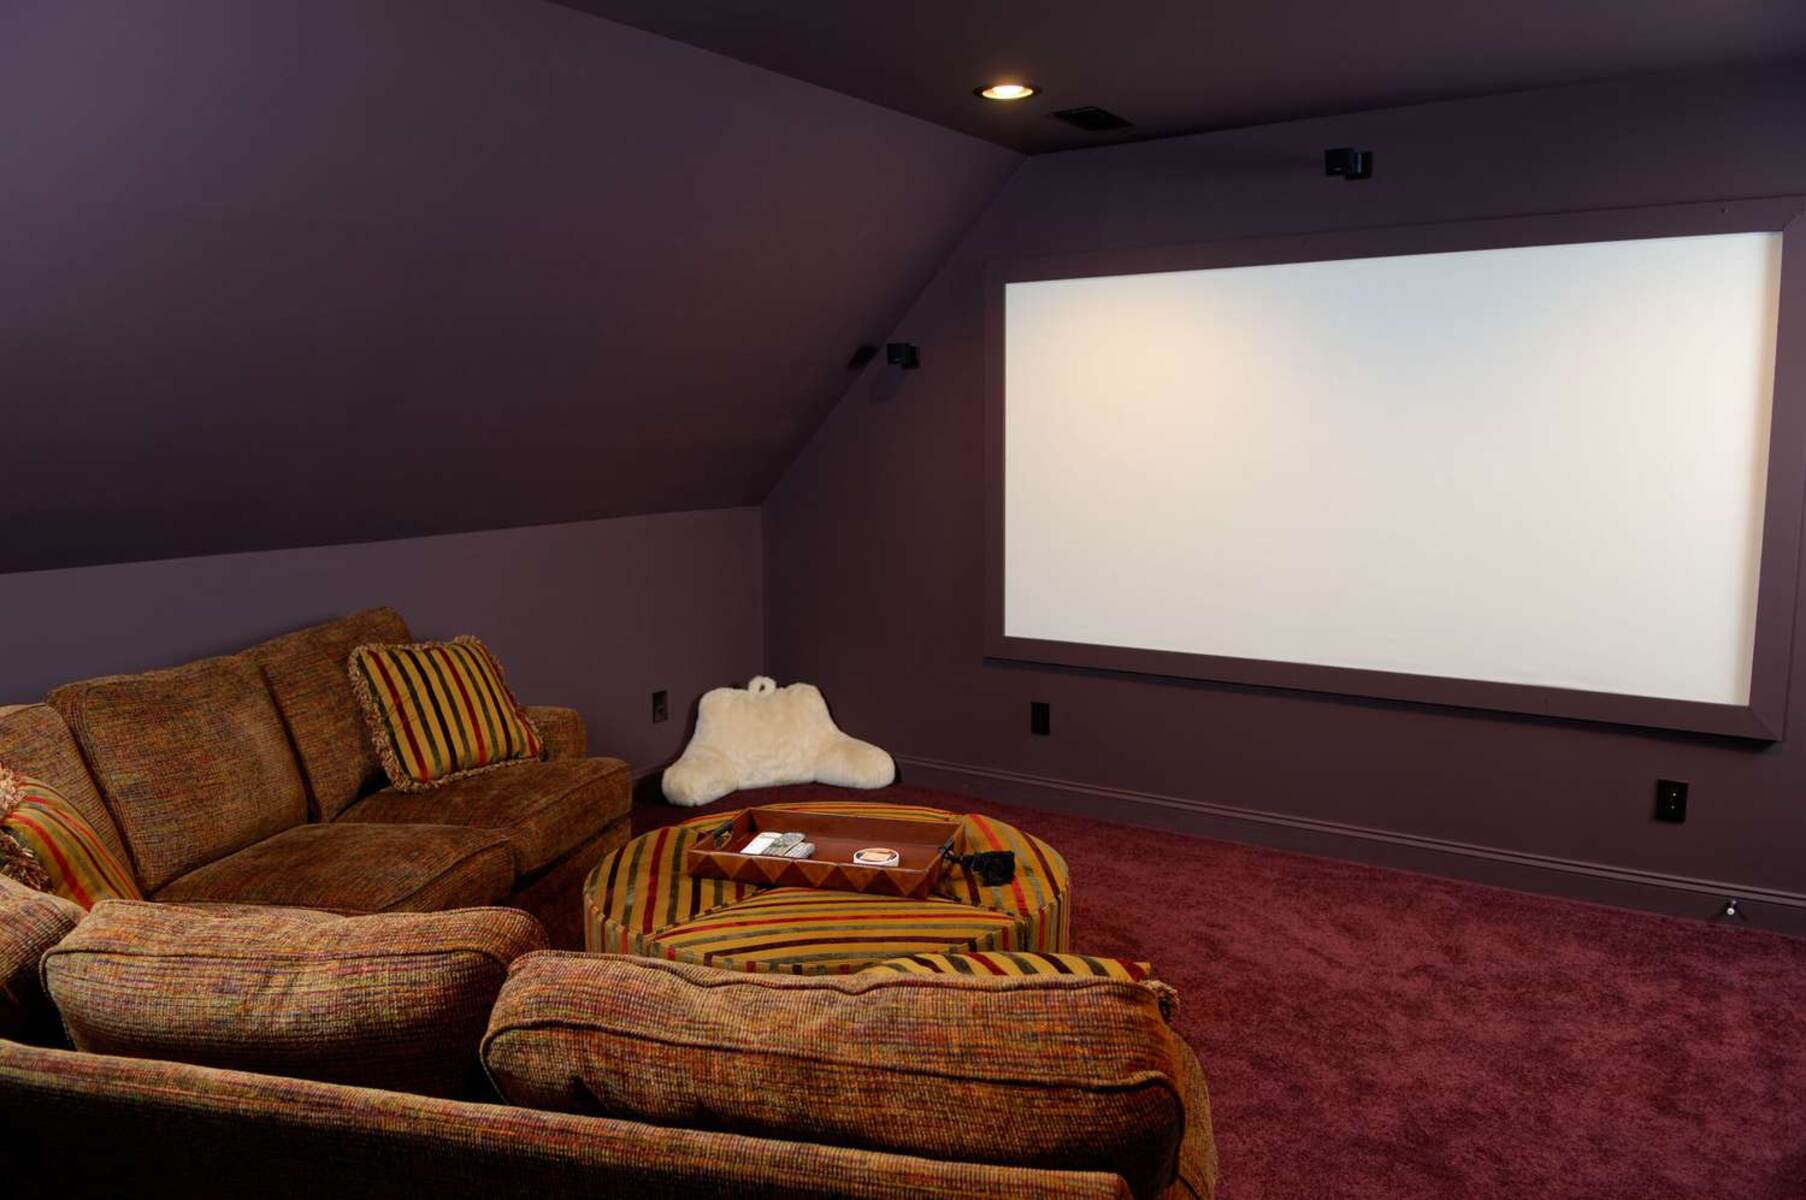
Welcome to the world of home entertainment! The RCA Home Theater Projector is a fantastic addition to any home, offering a larger-than-life viewing experience for movies, TV shows, sports, and gaming. Whether you're hosting a movie night with friends or enjoying a solo gaming session, this projector is designed to deliver stunning visuals and immersive sound, transforming your living room into a cinematic paradise.
In this guide, we'll walk you through everything you need to know to make the most of your RCA Home Theater Projector. From setting it up for the first time to optimizing the picture and sound quality, we've got you covered. We'll also provide troubleshooting tips to help you quickly address any common issues that may arise, ensuring that your viewing experience remains uninterrupted.
By the time you finish reading this guide, you'll feel confident in using your RCA Home Theater Projector to create unforgettable entertainment experiences for yourself, your family, and your friends. So, grab your popcorn, dim the lights, and let's dive into the world of home theater magic with your RCA projector!
Setting Up the RCA Home Theater Projector
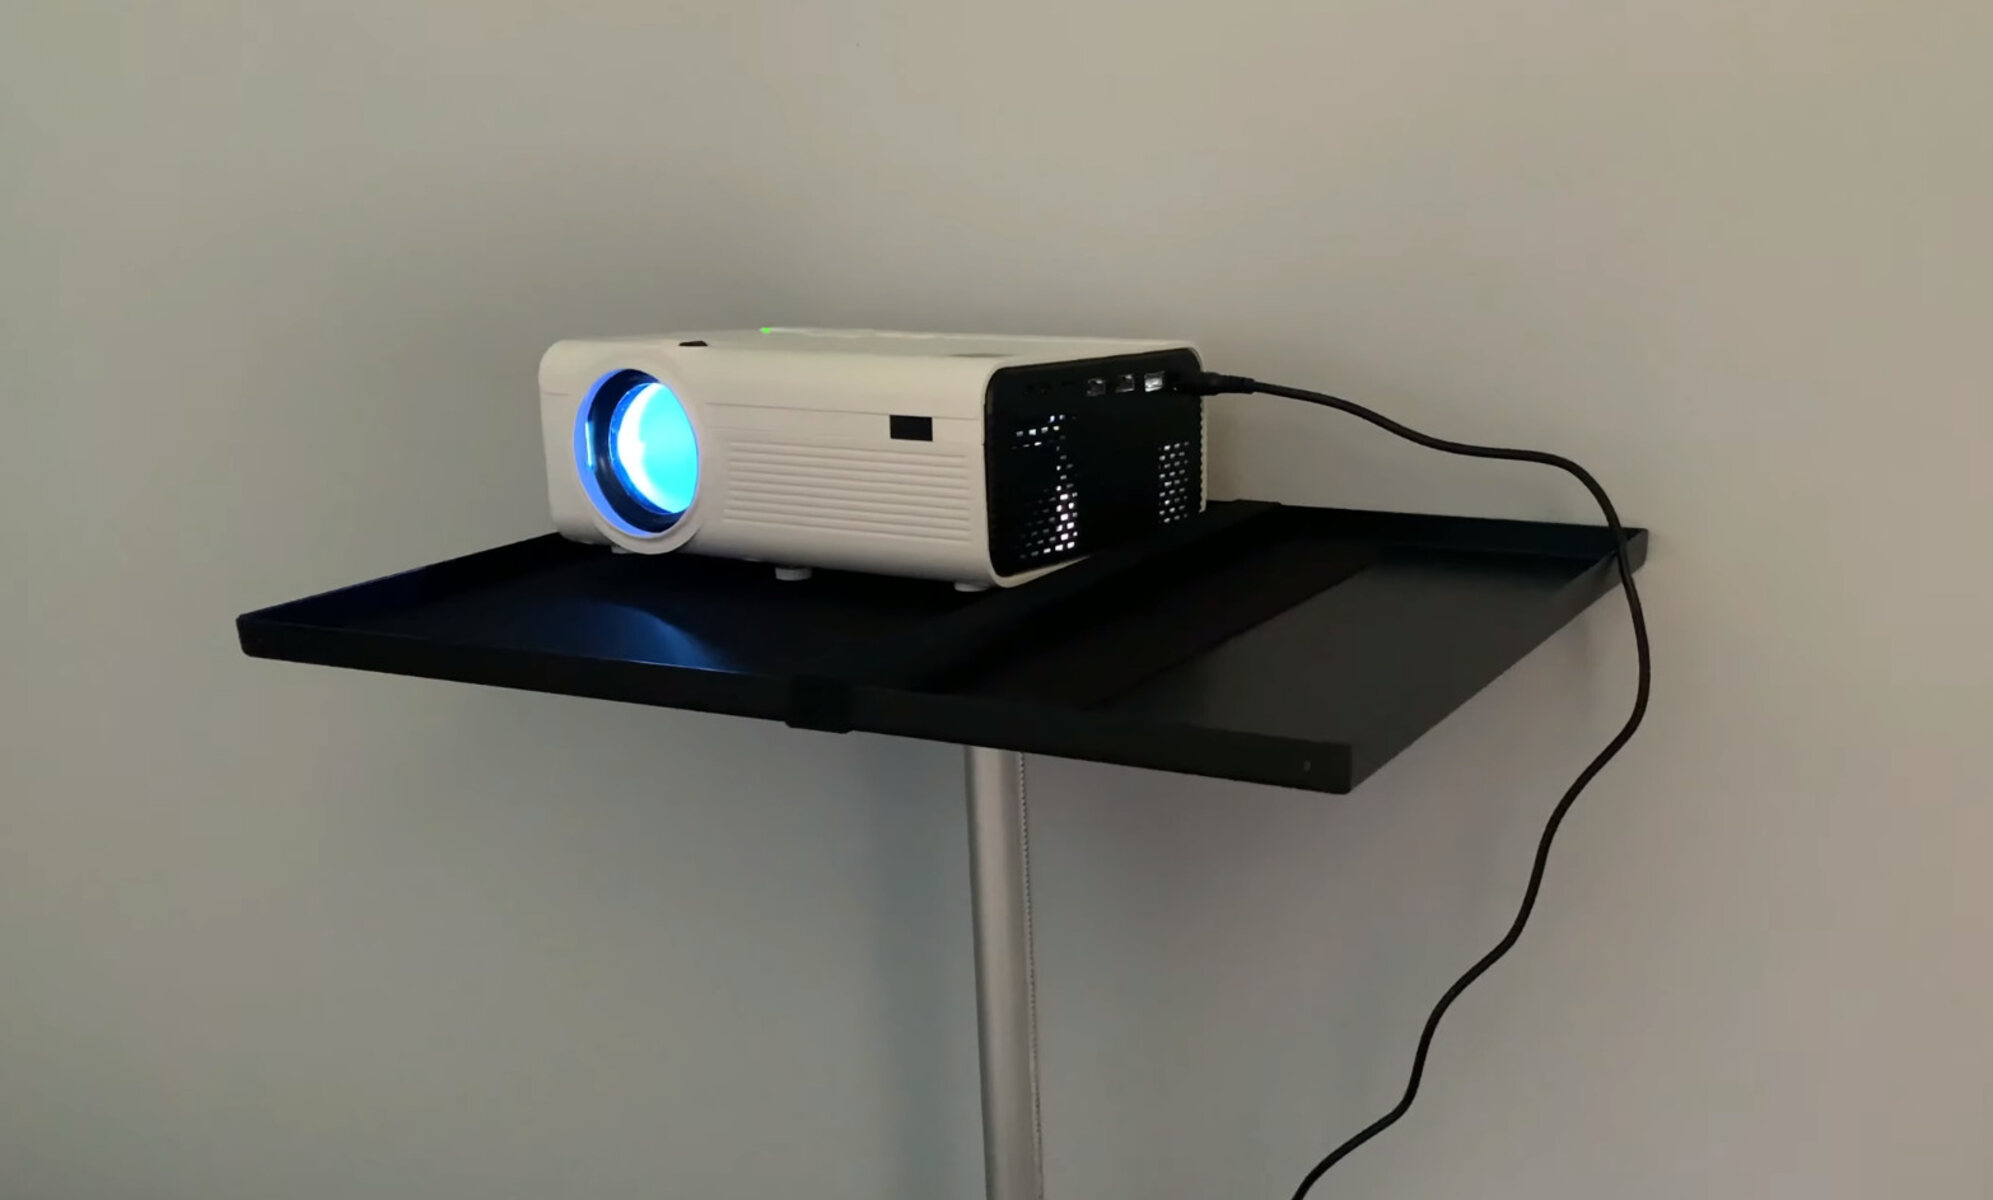
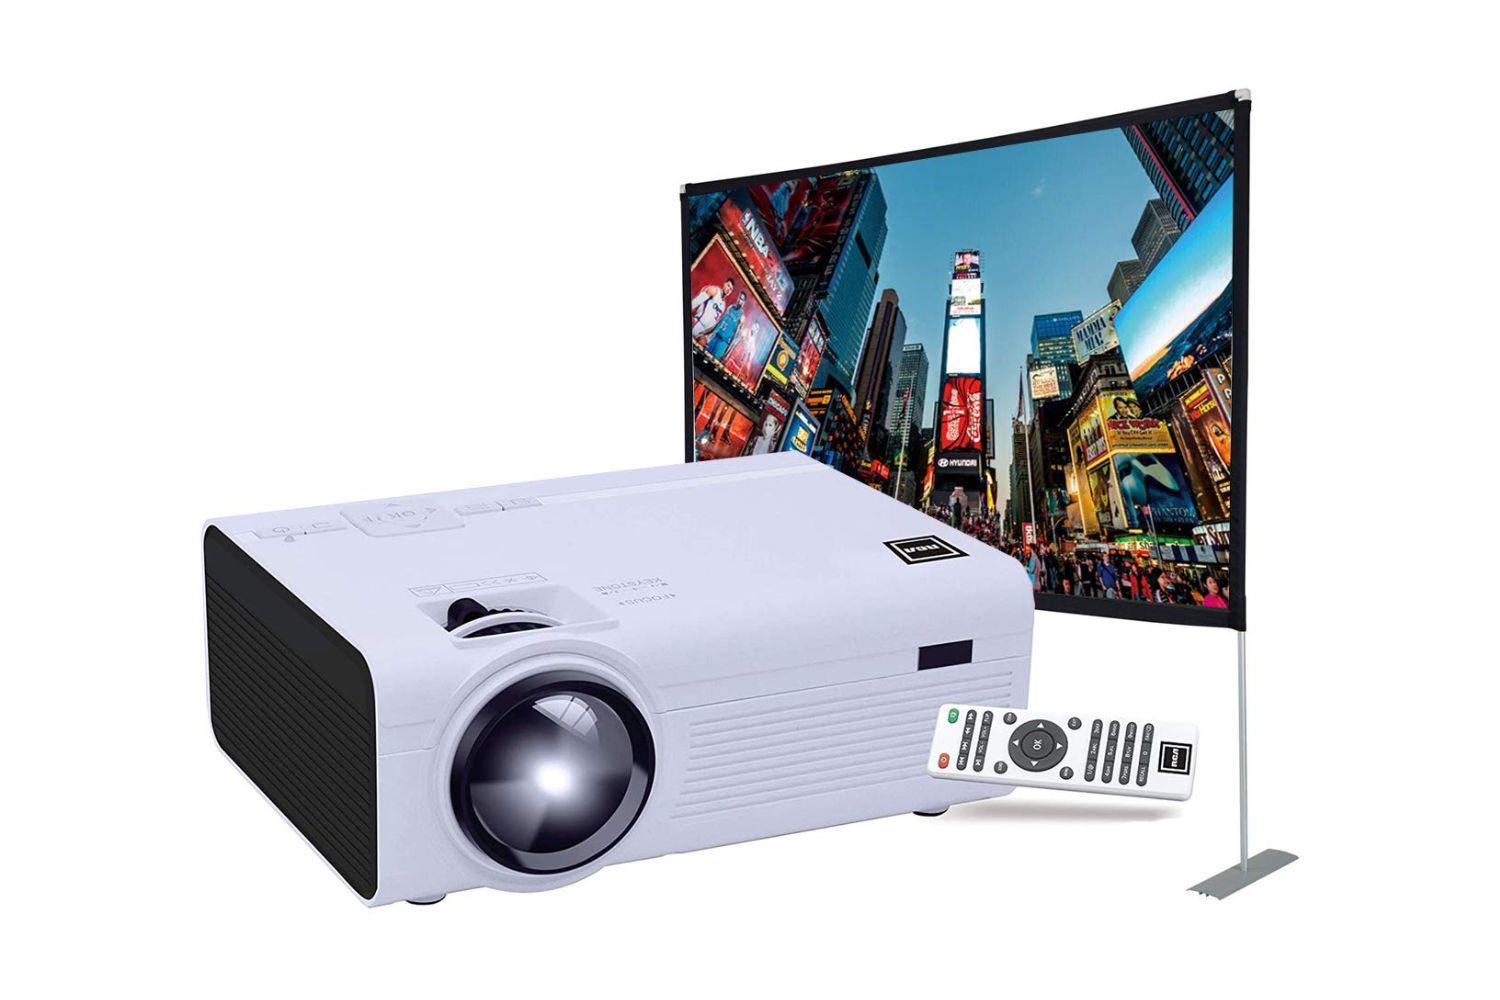
Setting up your RCA Home Theater Projector is a straightforward process that will have you enjoying your favorite content in no time. Here’s a step-by-step guide to get you started:
- Choose the Right Location: Select a suitable location for the projector, ensuring that there is enough space for the projected image and that the projector is within reach of a power outlet.
- Connect the Power Cord: Plug the power cord into the projector and then into a power outlet. Ensure that the outlet is easily accessible for future use and that the cord is not a tripping hazard.
- Adjust the Focus and Keystone: Use the focus and keystone adjustments on the projector to ensure a clear and properly aligned image on the screen or wall.
- Power On the Projector: Press the power button on the projector to turn it on. You’ll typically see a power indicator light to confirm that the projector is receiving power.
- Configure Basic Settings: Follow the on-screen prompts to set the language, date, time, and any other initial settings as required by your specific model of RCA projector.
Once you’ve completed these steps, your RCA Home Theater Projector will be ready to use, and you can start connecting your favorite devices to enjoy a wide range of content in a larger-than-life format.
Connecting Devices to the Projector
One of the most exciting features of the RCA Home Theater Projector is its versatility in connecting to various devices, allowing you to enjoy a wide range of content sources. Here’s how you can connect your favorite devices to the projector:
- HDMI Connection: The most common and straightforward way to connect devices such as Blu-ray players, gaming consoles, and streaming devices is through an HDMI cable. Simply plug one end of the cable into the HDMI port on the device and the other end into the HDMI input on the projector.
- USB Connection: Many RCA projectors support USB connectivity, allowing you to play media files directly from a USB flash drive. Insert the USB drive into the designated port on the projector, and you can easily access your stored movies, photos, and music.
- VGA or AV Connection: For older devices or those without HDMI ports, you can use a VGA or AV cable to connect to the projector. This is useful for older gaming consoles, DVD players, and other legacy devices.
- Wireless Connection: Some RCA projectors offer wireless connectivity options, enabling you to mirror your smartphone, tablet, or laptop screen directly onto the projector without the need for cables. Check your projector’s specifications to see if it supports wireless connectivity and follow the provided instructions for setup.
Once your devices are connected, you can seamlessly switch between them to enjoy a variety of content, from streaming your favorite shows to immersing yourself in the latest video game releases. The RCA Home Theater Projector’s diverse connectivity options ensure that you have the freedom to explore endless entertainment possibilities.
Adjusting the Projector Settings
Optimizing the projector settings is essential to ensure that you get the best possible picture and sound quality. Here are the key settings you can adjust on your RCA Home Theater Projector:
- Display Mode: Most projectors offer different display modes, such as Standard, Dynamic, Cinema, and Game. Experiment with these modes to find the one that best suits your content and viewing environment. For example, the Cinema mode may be ideal for watching movies, while the Game mode can enhance the visual experience when playing video games.
- Aspect Ratio: Adjust the aspect ratio to match the source content. Common aspect ratios include 16:9 for widescreen content and 4:3 for standard TV programming. Selecting the correct aspect ratio prevents image distortion and ensures that the content is displayed as intended.
- Color and Contrast: Fine-tune the color and contrast settings to achieve vibrant and well-balanced visuals. This adjustment can significantly enhance the overall picture quality, providing more lifelike images and deeper blacks.
- Keystone Correction: If the projector is not positioned directly in front of the screen or wall, you may need to use keystone correction to adjust the image and ensure that it appears rectangular and not distorted. Most projectors offer both vertical and horizontal keystone correction options.
- Sound Settings: Depending on your projector model, you may have access to various sound settings, including equalizers and audio presets. Experiment with these settings to achieve the best sound quality for your specific content.
By customizing these settings to your preferences and the specific requirements of your content, you can elevate your viewing experience and immerse yourself in stunning visuals and captivating audio. Take the time to explore and fine-tune these settings to unleash the full potential of your RCA Home Theater Projector.
Using the Remote Control
The remote control is a vital tool for navigating and controlling your RCA Home Theater Projector, providing convenience and flexibility in managing your viewing experience. Here’s a guide to using the remote control effectively:
- Power On/Off: The power button allows you to turn the projector on and off conveniently, eliminating the need to manually access the controls on the projector itself.
- Navigation Buttons: The directional buttons enable you to navigate through menus, adjust settings, and select your desired options with ease. These buttons are essential for accessing various features and functions of the projector.
- Source Selection: Use the source or input button to switch between different connected devices, such as HDMI inputs, USB media, and other available sources. This allows you to seamlessly transition between various content sources without any hassle.
- Volume Control: The volume buttons on the remote control offer convenient audio adjustments, allowing you to increase or decrease the sound output without needing to manually adjust the projector’s controls.
- Menu Access: The menu button provides quick access to the projector’s settings and configuration options, allowing you to customize the display, sound, and other essential parameters directly from the remote control.
- Shortcut Buttons: Some remote controls feature dedicated shortcut buttons for specific functions, such as accessing the built-in speakers, adjusting picture modes, or activating keystone correction. Familiarize yourself with these shortcuts to streamline your interactions with the projector.
By mastering the use of the remote control, you can effortlessly manage your viewing experience, fine-tune settings, and switch between content sources without leaving your seat. The remote control serves as a convenient and intuitive tool to enhance your interaction with the RCA Home Theater Projector, putting the power of control right in the palm of your hand.
Tips for Getting the Best Picture and Sound Quality
To elevate your viewing experience with the RCA Home Theater Projector, consider the following tips for optimizing picture and sound quality:
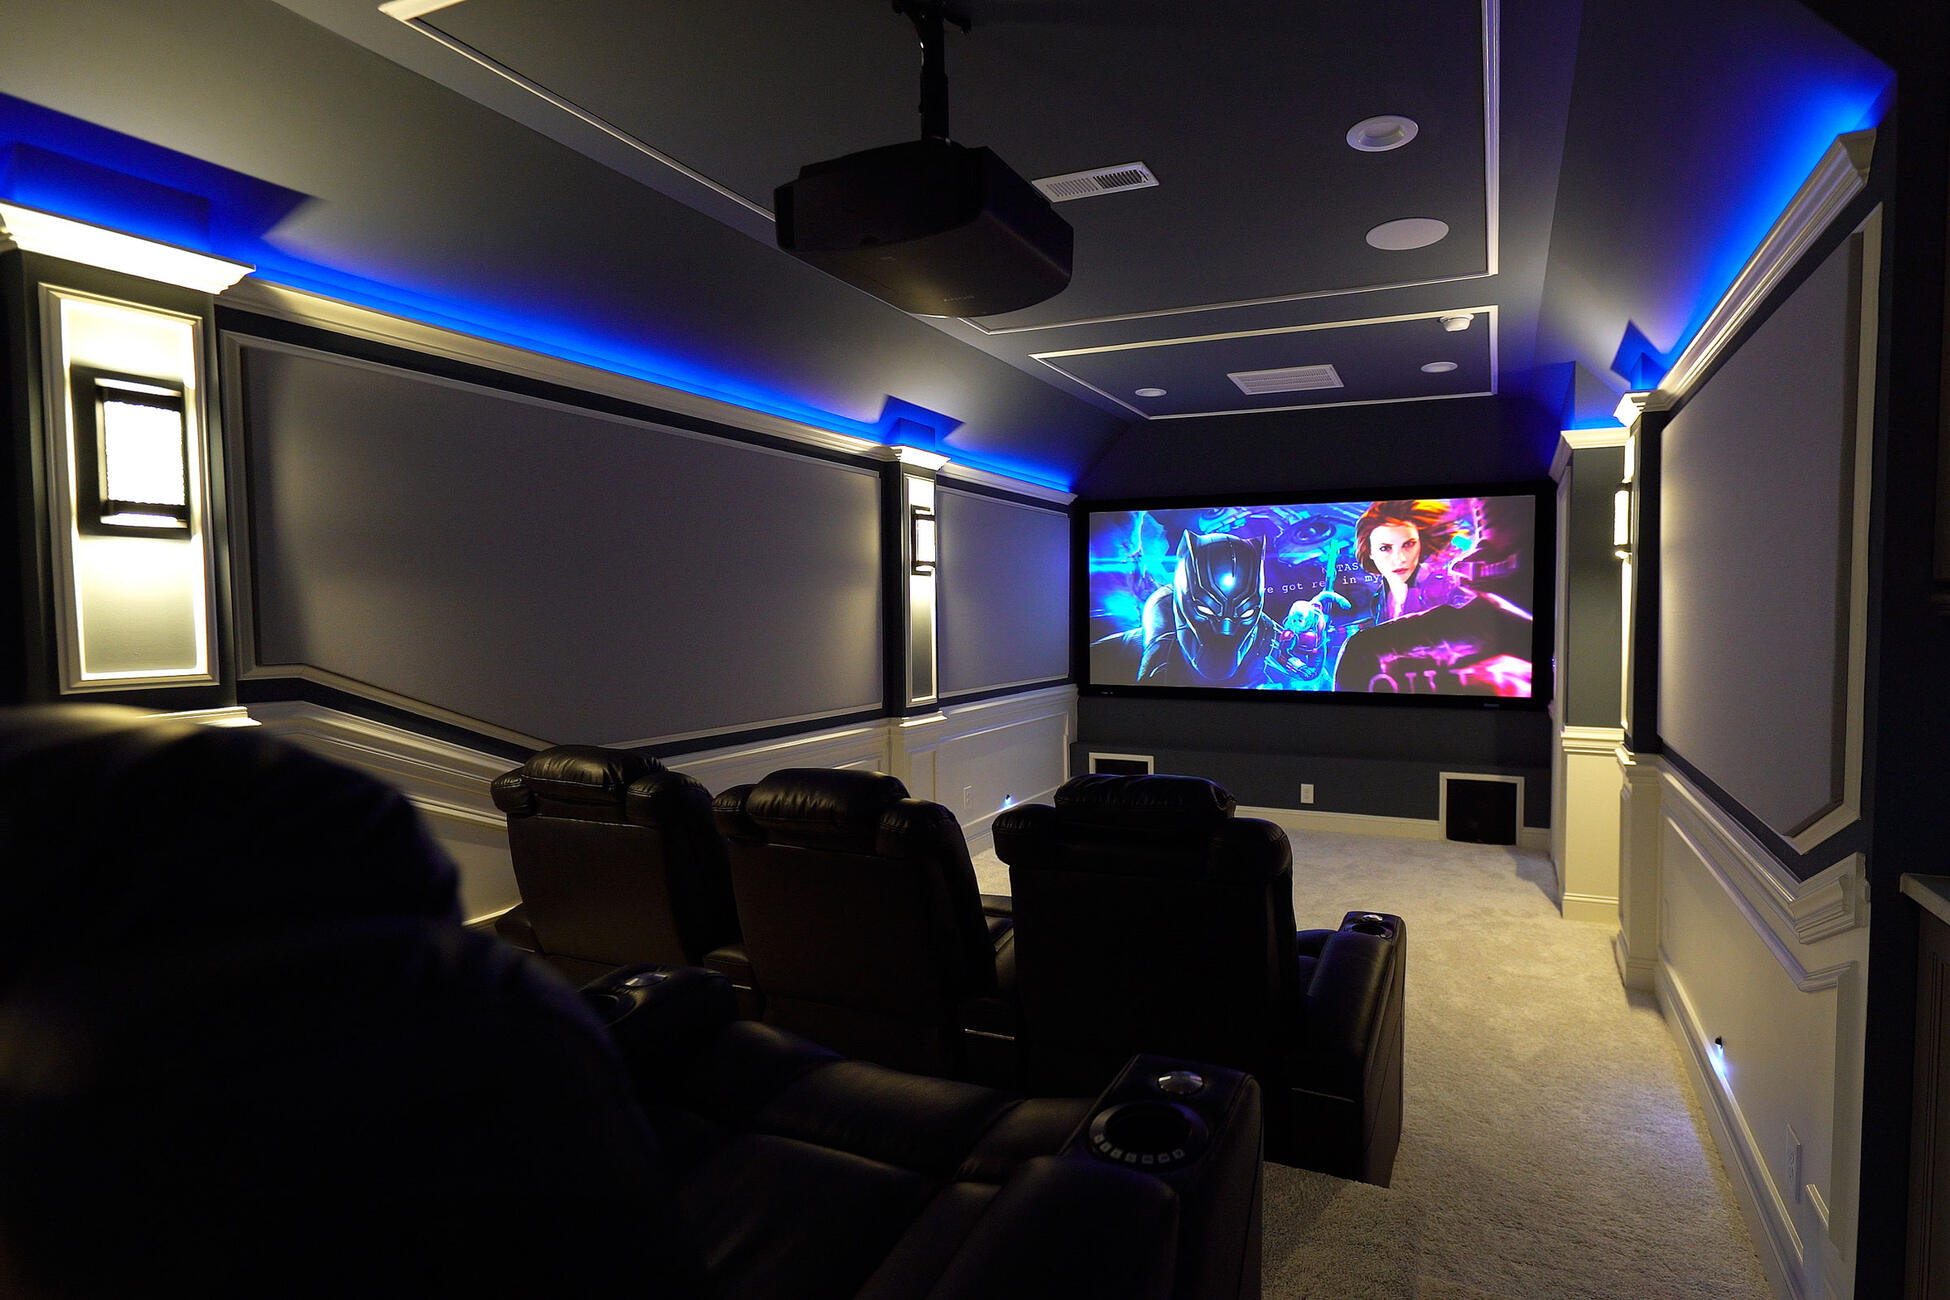
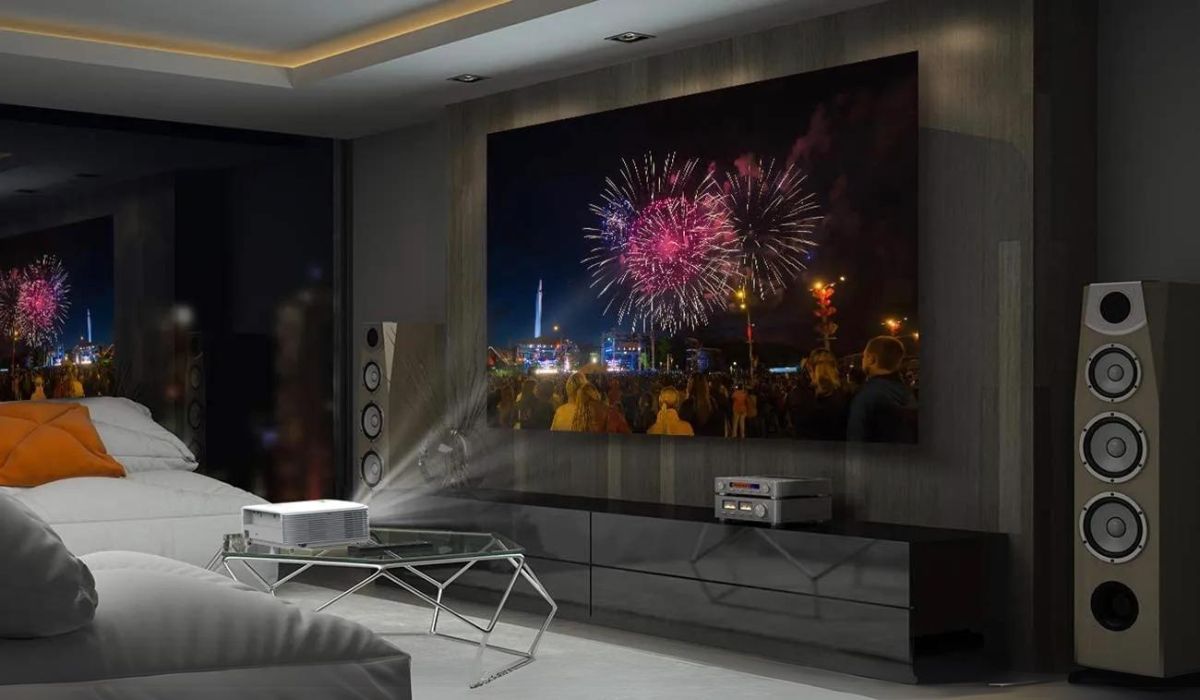
- Optimal Screen Placement: Position the projector at an appropriate distance from the screen or wall to achieve the desired image size and clarity. Refer to the projector’s user manual for recommended throw distances and screen sizes based on your viewing environment.
- Ambient Light Control: Minimize ambient light in the viewing area to enhance image contrast and color saturation. Drawing curtains or blinds can significantly improve the perceived image quality, especially during daytime use.
- Screen Selection: If using a projector screen, choose a high-quality, reflective surface designed for optimal light reflection and minimal distortion. A dedicated projector screen can significantly enhance image sharpness and brightness.
- Audio System Integration: Consider integrating the projector with a dedicated sound system or speakers for an immersive audio experience. External speakers or a home theater audio setup can complement the projector’s visuals, delivering rich and encompassing sound.
- Regular Maintenance: Keep the projector’s lens and ventilation ports clean to ensure optimal performance. Regularly dusting the lens and maintaining proper airflow around the projector can prevent image distortion and overheating issues.
- Optimize Source Content: When possible, stream or play high-definition content to fully leverage the projector’s capabilities. High-resolution video and audio content can showcase the projector’s potential for delivering stunning visuals and immersive sound.
- Customize Display Settings: Experiment with the projector’s display settings to find the ideal balance of brightness, contrast, and color accuracy for different types of content. Tailoring these settings to your preferences can significantly enhance the overall viewing experience.
By implementing these tips, you can unlock the full potential of your RCA Home Theater Projector, creating a captivating and immersive entertainment environment within your home. Whether you’re enjoying blockbuster movies, gaming with friends, or streaming your favorite shows, these tips will help you achieve exceptional picture and sound quality, elevating every viewing session to new heights.
Troubleshooting Common Issues
Encountering technical hiccups with your RCA Home Theater Projector can be frustrating, but with a few troubleshooting techniques, you can quickly address common issues and get back to enjoying seamless entertainment. Here are some tips for troubleshooting common projector problems:
- No Power: If the projector does not power on, ensure that the power cord is securely plugged into the outlet and the projector. Check for any tripped circuit breakers or blown fuses in the power supply and address them accordingly.
- Poor Image Quality: If the projected image appears blurry or distorted, adjust the focus and keystone settings to ensure a clear and properly aligned display. Additionally, verify that the input source resolution matches the projector’s native resolution for optimal image quality.
- No Sound Output: If you’re experiencing a lack of audio, confirm that the audio cables are connected securely and that the volume levels are adjusted appropriately. Check the projector’s audio settings and the connected devices to ensure that audio output is enabled and functioning correctly.
- Overheating: If the projector becomes excessively hot or shuts down unexpectedly, check for any obstructions around the ventilation ports and ensure that the projector has proper airflow. Clean the projector’s filters and vents regularly to prevent overheating issues.
- Intermittent Connectivity: If devices connected to the projector experience intermittent connectivity, inspect the cables for any damage or loose connections. Consider using high-quality cables and adapters to ensure stable and reliable connections.
- Software Updates: Check for firmware or software updates for your projector model. Installing the latest updates can resolve software-related issues, improve compatibility, and introduce new features or enhancements.
By applying these troubleshooting strategies, you can swiftly address common projector issues and ensure that your viewing experience remains uninterrupted. If you encounter persistent or complex issues, refer to the projector’s user manual for specific troubleshooting guidance or contact the manufacturer’s support team for further assistance.
Conclusion
Congratulations on mastering the art of using your RCA Home Theater Projector! By following the comprehensive guide provided, you’ve gained valuable insights into setting up, connecting devices, adjusting settings, utilizing the remote control, optimizing picture and sound quality, and troubleshooting common issues. With this knowledge, you’re well-equipped to create unforgettable entertainment experiences within the comfort of your home.
As you continue to explore the capabilities of your RCA projector, remember to experiment with various content sources, fine-tune settings to your preferences, and embrace the versatility and immersive potential of the projector. Whether you’re indulging in movie marathons, hosting gaming nights, or enjoying multimedia presentations, your RCA Home Theater Projector is your gateway to an expansive world of visual and auditory delight.
Embrace the magic of cinema right in your living space, and share the joy of larger-than-life entertainment with your family and friends. As technology continues to evolve, your RCA projector will remain a steadfast companion, enriching your leisure time and creating cherished moments for years to come.
So, dim the lights, grab your favorite snacks, and let the RCA Home Theater Projector transport you to a realm of captivating sights and sounds. The world of home entertainment has never been more accessible, thanks to the remarkable capabilities of your RCA projector. Enjoy the show!