Connecting the Projector to the Surround Sound System
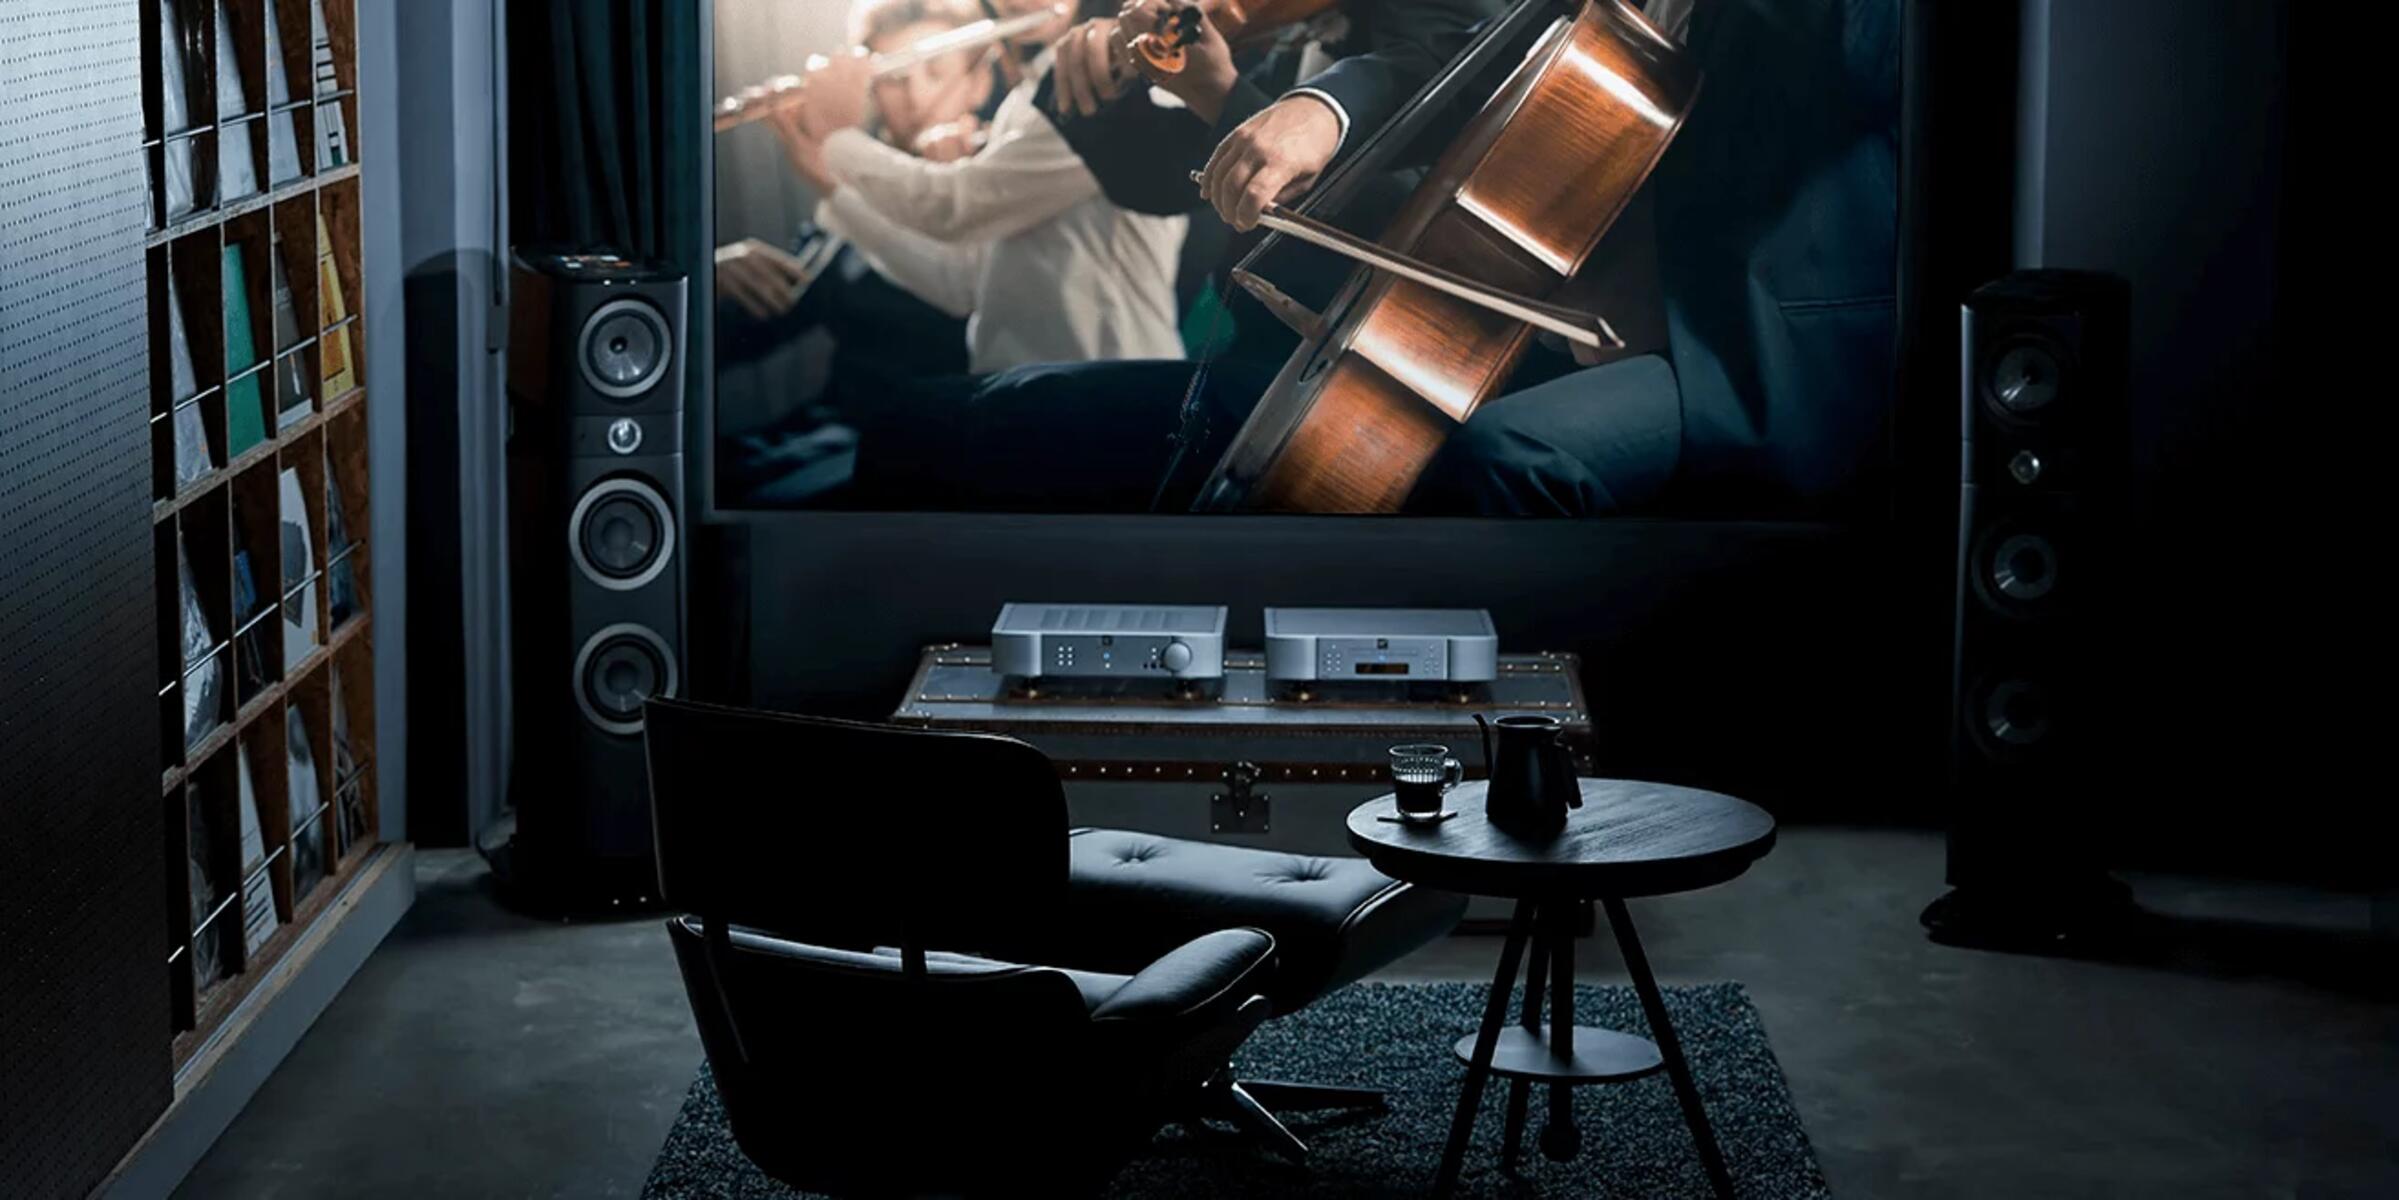
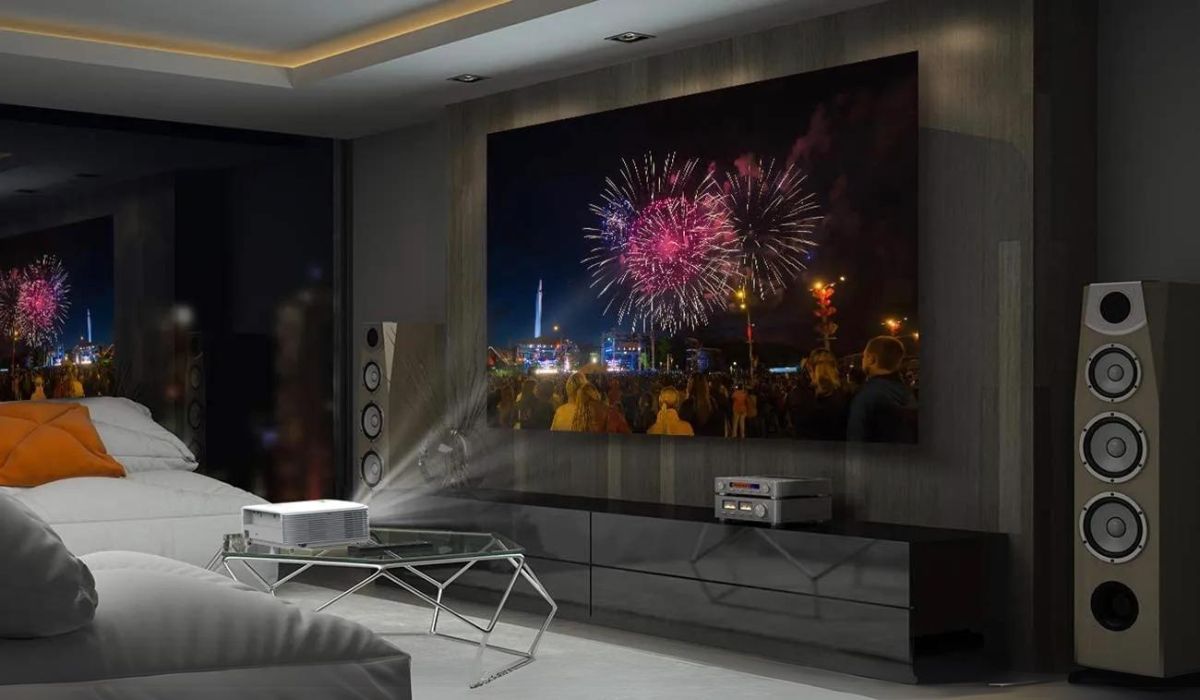
When setting up a home theater or a multimedia room, connecting your projector to a surround sound system is essential for an immersive audio experience. By syncing the audio and video output, you can enjoy movies, TV shows, and games with high-quality sound that fills the room. In this section, we will guide you through the steps of connecting your projector to the surround sound system.
Before you start, make sure you have the necessary cables and equipment. Typically, you’ll need an audio cable and an HDMI or VGA cable to connect the projector to your multimedia device, such as a DVD player, gaming console, or streaming device. Additionally, ensure that your surround sound system is compatible with your projector.
Step 1: Check the Audio Output Options on the Projector
Begin by examining the available audio output options on your projector. Most modern projectors have an audio output port, such as a 3.5mm headphone jack or an RCA audio output. If your projector doesn’t have an audio output, you can utilize the audio output options on your multimedia device instead.
Step 2: Choose the Right Audio Cable for the Connection
Once you’ve identified the audio output port on your projector, select the appropriate audio cable to connect it to your surround sound system. The type of cable you need depends on the available ports on both your projector and sound system. Common audio cables include 3.5mm to RCA, RCA to RCA, or optical audio cables.
Step 3: Connect the Audio Output of the Projector to the Surround Sound System
Take one end of your chosen audio cable and plug it into the audio output port on your projector. Then, connect the other end of the cable to the corresponding audio input port on your surround sound system. Ensure that the connections are secure and properly seated.
Step 4: Test the Surround Sound Setup
After the connections are made, turn on your projector and surround sound system. Play a video or audio source to test the surround sound setup. Adjust the volume levels on both the projector and the surround sound system to achieve the desired audio balance.
Troubleshooting Common Issues with Surround Sound Connection to Projector
If you encounter any issues, such as no sound or distorted audio, check the following:
- Ensure that the audio cables are securely connected to both the projector and the surround sound system.
- Check the audio settings on your projector and adjust them accordingly.
- Verify that the audio input on your surround sound system is correctly selected.
By following these steps and troubleshooting tips, you can successfully connect your projector to a surround sound system for an enhanced audiovisual experience. Sit back, relax, and enjoy the immersive sound while immersing yourself in your favorite movies or games.
Checking the Audio Output Options on the Projector
Before connecting your projector to a surround sound system, it’s important to check the available audio output options on the projector itself. This step ensures that you can properly route the audio signal from the projector to your surround sound system for optimal sound quality.
Step 1: Locate the Audio Output Ports
Start by locating the audio output ports on your projector. Depending on the make and model, projectors may have different audio output options. The most common audio output ports found on projectors include a 3.5mm headphone jack and RCA audio outputs.
Step 2: Identify the Type of Audio Output
Once you have located the audio output ports, identify the type of audio output that your projector provides. If your projector has a 3.5mm headphone jack, it generally offers analog stereo audio output. On the other hand, if your projector features RCA audio outputs, it may provide either stereo or surround sound audio output.
Step 3: Determine the Audio Output Format
Check the specifications or user manual of your projector to determine the audio output format. This information is essential as it helps you choose the right audio cable and ensure compatibility with your surround sound system.
Step 4: Consider Audio Passthrough Capability
Some projectors offer audio passthrough capability, which means that they can transfer the audio signal from the HDMI or VGA input to the audio output port. This feature is useful if you’re connecting your multimedia device to the projector rather than directly to the surround sound system.
Step 5: Test the Audio Output
Once you’ve identified the audio output options and format on your projector, it’s recommended to test the audio output. Connect a pair of headphones or external speakers to the audio output port and play a video or audio source through the projector. This ensures that the audio signal is being correctly outputted.
Troubleshooting
If you’re not getting any sound or experiencing issues with the audio output on the projector, try the following:
- Double-check the connections between the projector and the audio output device.
- Ensure that the volume on the projector is turned up and not muted.
By checking the audio output options on your projector and verifying that they are working correctly, you can proceed to the next step of connecting the projector to your surround sound system. This ensures a seamless and immersive audio experience to complement the stunning visuals from your projector.
Choosing the Right Audio Cable for the Connection
Once you have identified the audio output options on your projector, the next step is to choose the appropriate audio cable to connect the projector to your surround sound system. Selecting the right audio cable ensures that you can transmit the audio signal with optimal quality and compatibility.
Step 1: Determine the Audio Output and Input Ports
Before choosing the audio cable, identify the type of audio output on your projector and the corresponding input ports on your surround sound system. Common audio output ports on projectors include 3.5mm headphone jacks and RCA audio outputs, while audio input ports on sound systems may include RCA inputs, optical inputs, or HDMI inputs.
Step 2: Choose the Appropriate Audio Cable Type
Depending on the ports available on your projector and surround sound system, you may need one of the following audio cable types:
- 3.5mm to RCA: This cable is ideal when your projector has a 3.5mm audio output and your sound system has RCA inputs. It converts the analog audio signal from the projector to RCA format for connection to the sound system.
- RCA to RCA: If both your projector and sound system have RCA audio ports, a simple RCA to RCA cable can be used to establish the connection. Ensure that the cable has the appropriate number of channels to support your desired audio setup.
- Optical Audio Cable: If your projector and sound system support optical audio connections, an optical audio cable can be used for high-quality digital audio transmission. This cable transmits audio in a digital format, which can maintain signal fidelity over longer distances.
- HDMI ARC: Some projectors and sound systems support HDMI ARC (Audio Return Channel), allowing the audio signal to be transmitted through the HDMI cable itself. If your devices have HDMI ARC compatibility, using an HDMI cable would simplify the setup process.
Step 3: Consider Cable Length and Quality
When choosing the audio cable, consider the length required to connect your projector and surround sound system. Ensure that the cable is long enough to reach without putting strain on the connections. Additionally, select a cable of sufficient quality to minimize signal loss and interference.
Troubleshooting
If you experience audio issues or a poor connection, try the following troubleshooting steps:
- Double-check the cable connections to ensure they are securely plugged in.
- Inspect the cable for any physical damage that may cause audio problems.
- If using an HDMI cable, make sure both the projector and sound system supports HDMI audio transmission.
By choosing the right audio cable for the connection, you can ensure a seamless and reliable audio connection between your projector and surround sound system, resulting in immersive sound that enhances your home theater experience.
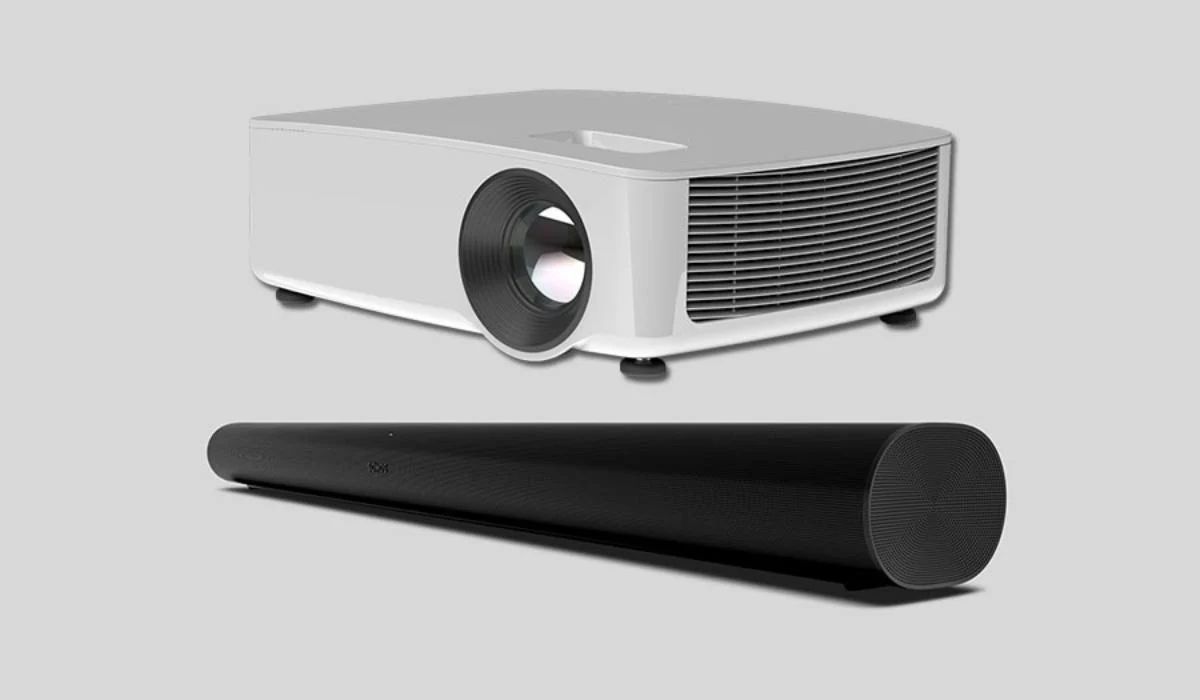
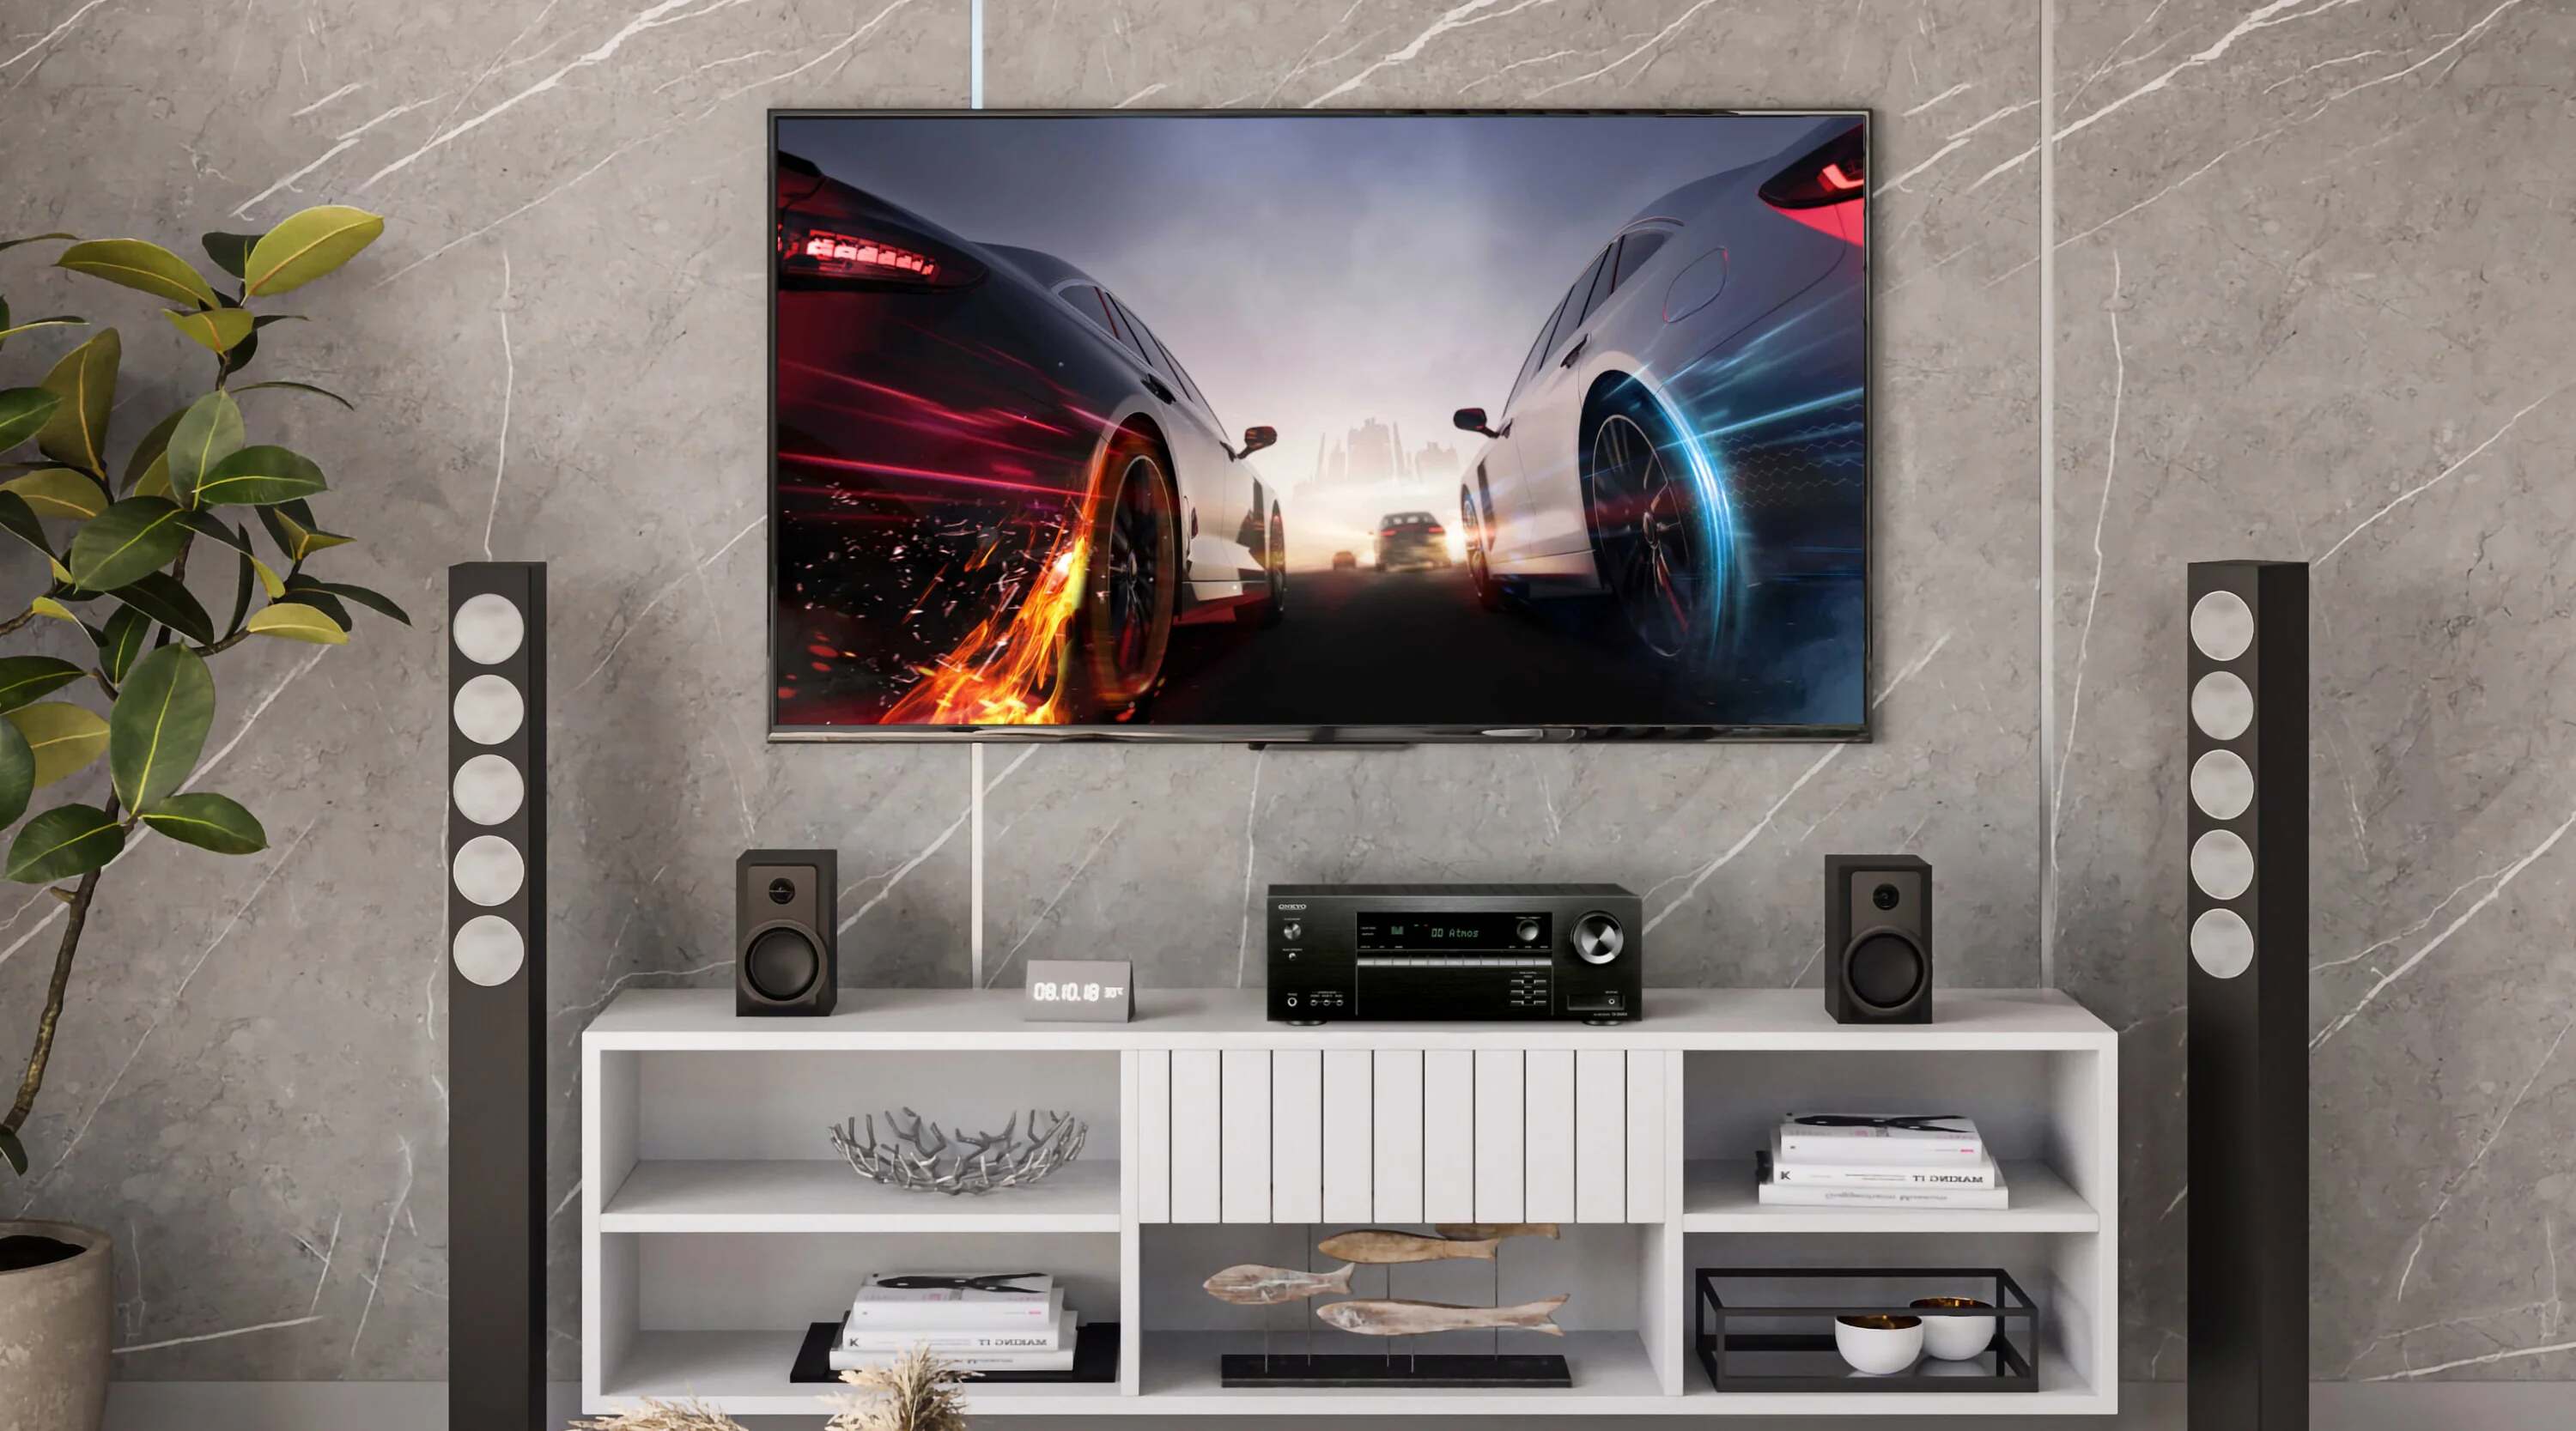
Connecting the Audio Output of the Projector to the Surround Sound System
Now that you have chosen the appropriate audio cable, it’s time to connect the audio output of your projector to the surround sound system. This step will ensure that the sound from your projector is directed to the speakers of your surround sound system, providing you with an immersive audio experience to complement the visuals on your screen.
Step 1: Connect the Audio Cable to the Projector
Take one end of the audio cable and plug it into the audio output port on your projector. Ensure that the connector is securely inserted into the port to maintain a reliable connection. If you are using a 3.5mm to RCA cable, plug the 3.5mm end into the audio output port. If you are using an RCA to RCA or optical cable, connect the appropriate connectors to the corresponding audio output port.
Step 2: Connect the Audio Cable to the Surround Sound System
Next, connect the other end of the audio cable to the audio input port on your surround sound system. This port is typically labeled as an auxiliary input, audio input, or simply as RCA or optical input. Again, ensure that the cable is securely connected to the input port to avoid any audio disturbances or interruptions.
Step 3: Configure the Audio Input on the Surround Sound System
Once the audio cable is connected, turn on your surround sound system and navigate to the audio input settings. Depending on your sound system, you may need to select the appropriate input source, such as AUX, RCA, or optical input, to ensure that the sound from the projector is properly routed to the speakers. Consult the user manual of your sound system for specific instructions on adjusting the audio input settings.
Troubleshooting
If you encounter difficulties with the audio connection or experience no sound, try the following troubleshooting steps:
- Double-check the cable connections to ensure they are securely plugged in on both ends.
- Ensure that the audio input on your surround sound system is selected properly.
- Verify that the volume levels on both the projector and the surround sound system are appropriately adjusted.
By successfully connecting the audio output of your projector to the surround sound system, you can enjoy a truly immersive audio experience that complements the stunning visuals on your screen. Sit back, relax, and let the sound surround you as you delve into your favorite movies, TV shows, or games.
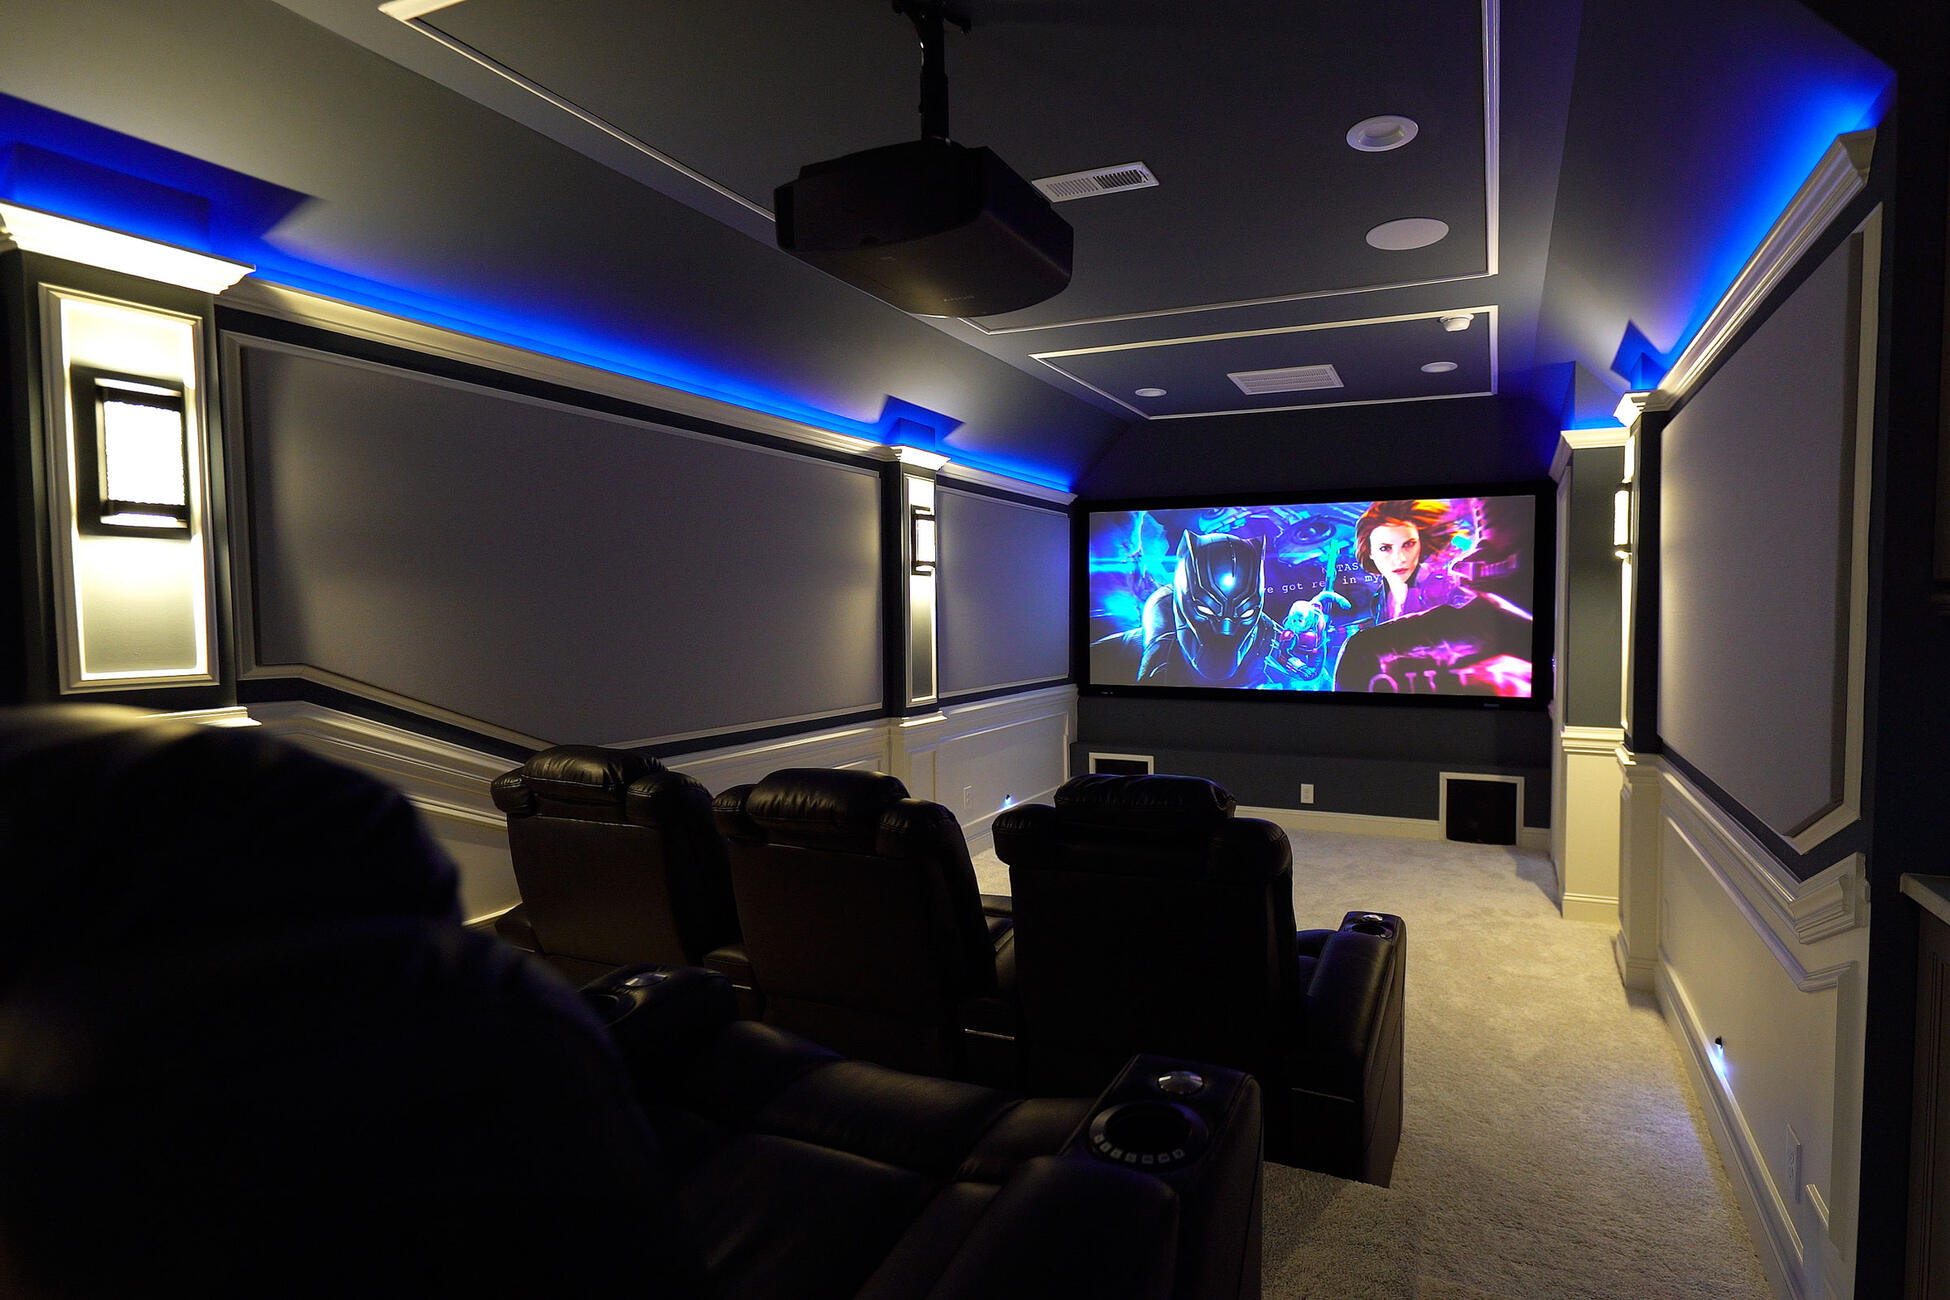
Testing the Surround Sound Setup
Once you have connected the audio output of your projector to the surround sound system, it’s crucial to test the setup to ensure that the audio is properly routed and that you’re experiencing the full potential of your surround sound system. Testing the surround sound setup involves checking the audio playback and adjusting the volume levels to achieve optimal sound balance.
Step 1: Play an Audio or Video Source
The first step is to play an audio or video source through your projector and surround sound system. This can be a movie, a TV show, or even a music track. Ensure that the source you choose has surround sound capabilities, as this will allow you to fully experience the spatial audio provided by your surround sound system.
Step 2: Adjust Volume Levels
As the audio plays, carefully adjust the volume levels on both the projector and the surround sound system. The goal is to achieve a balanced sound output that immerses you in the audio experience without overpowering or distorting the audio. Experiment with different volume settings until you find the perfect balance for your listening preferences.
Step 3: Verify Audio Channels
During the audio playback, pay attention to the different audio channels produced by your surround sound system. These channels typically include front left, front right, center, surround left, and surround right speakers. Ensure that the audio is correctly directed to the appropriate speakers, creating an enveloping sound experience to enhance the visuals on your screen.
Troubleshooting
If you encounter issues during the testing phase, try these troubleshooting steps:
- Double-check the audio connections to ensure they are secure and properly plugged in.
- Verify that the source you’re playing is configured for surround sound playback.
- Check the audio settings on both the projector and the surround sound system to ensure they are configured correctly.
- Inspect the cables for any damage that could affect the audio signal.
By testing your surround sound setup, you can ensure that the audio is seamlessly integrated with the visuals, creating an immersive home theater experience. Fine-tuning the volume levels and verifying the audio direction will allow you to fully enjoy the rich and dynamic sound that your surround sound system is capable of producing.
Troubleshooting Common Issues with Surround Sound Connection to Projector
While connecting a surround sound system to a projector can enhance your audio experience, it’s not uncommon to encounter some issues along the way. These issues can range from no sound or distorted audio to improper channel distribution. To help you troubleshoot and overcome these common problems, we’ve outlined some troubleshooting steps below.
No Sound
If you’re not getting any sound from your surround sound system, try the following:
- Ensure that the audio connections between the projector and the surround sound system are secure and properly plugged in.
- Check the audio settings on the projector to make sure the audio output is enabled and set to the correct output source.
- Verify that the audio input on your surround sound system is properly selected.
- Adjust the volume levels on both the projector and the surround sound system to a noticeable level.
Distorted Audio
If you’re experiencing distorted or unclear audio, try the following troubleshooting steps:
- Check the audio cables to ensure that they are not damaged or tangled, as this can interfere with the audio signal. Replace any faulty cables if necessary.
- Adjust the volume levels on both the projector and the surround sound system. If the audio is too loud, it can cause distortion. Lowering the volume levels can help resolve this issue.
- Review the audio settings on both the projector and the surround sound system. Ensure that any sound enhancements or equalizer settings are properly configured for optimal sound quality.
Improper Channel Distribution
If you notice that the audio channels are not properly distributed to the surround sound speakers, try the following steps:
- Check the audio settings on your multimedia source device (such as a DVD player or streaming device) to ensure that it is set to output surround sound audio. Configure the device’s audio settings to match your surround sound system’s capabilities.
- Review the audio settings on both the projector and the surround sound system. Verify that they are configured for the correct audio channel distribution. Some projectors and sound systems have settings that allow you to manually adjust the audio channel outputs.
- Inspect the audio cables to ensure they are correctly connected to the appropriate audio output and input ports. Make sure that any color-coded connections are aligned properly.
By following these troubleshooting steps, you can address common issues that may arise when connecting a surround sound system to a projector. If the issues persist, refer to the user manuals of your projector and surround sound system for further guidance or consider contacting technical support for assistance. With patience and careful troubleshooting, you can achieve a seamless and immersive audio experience to complement your projector’s visuals.