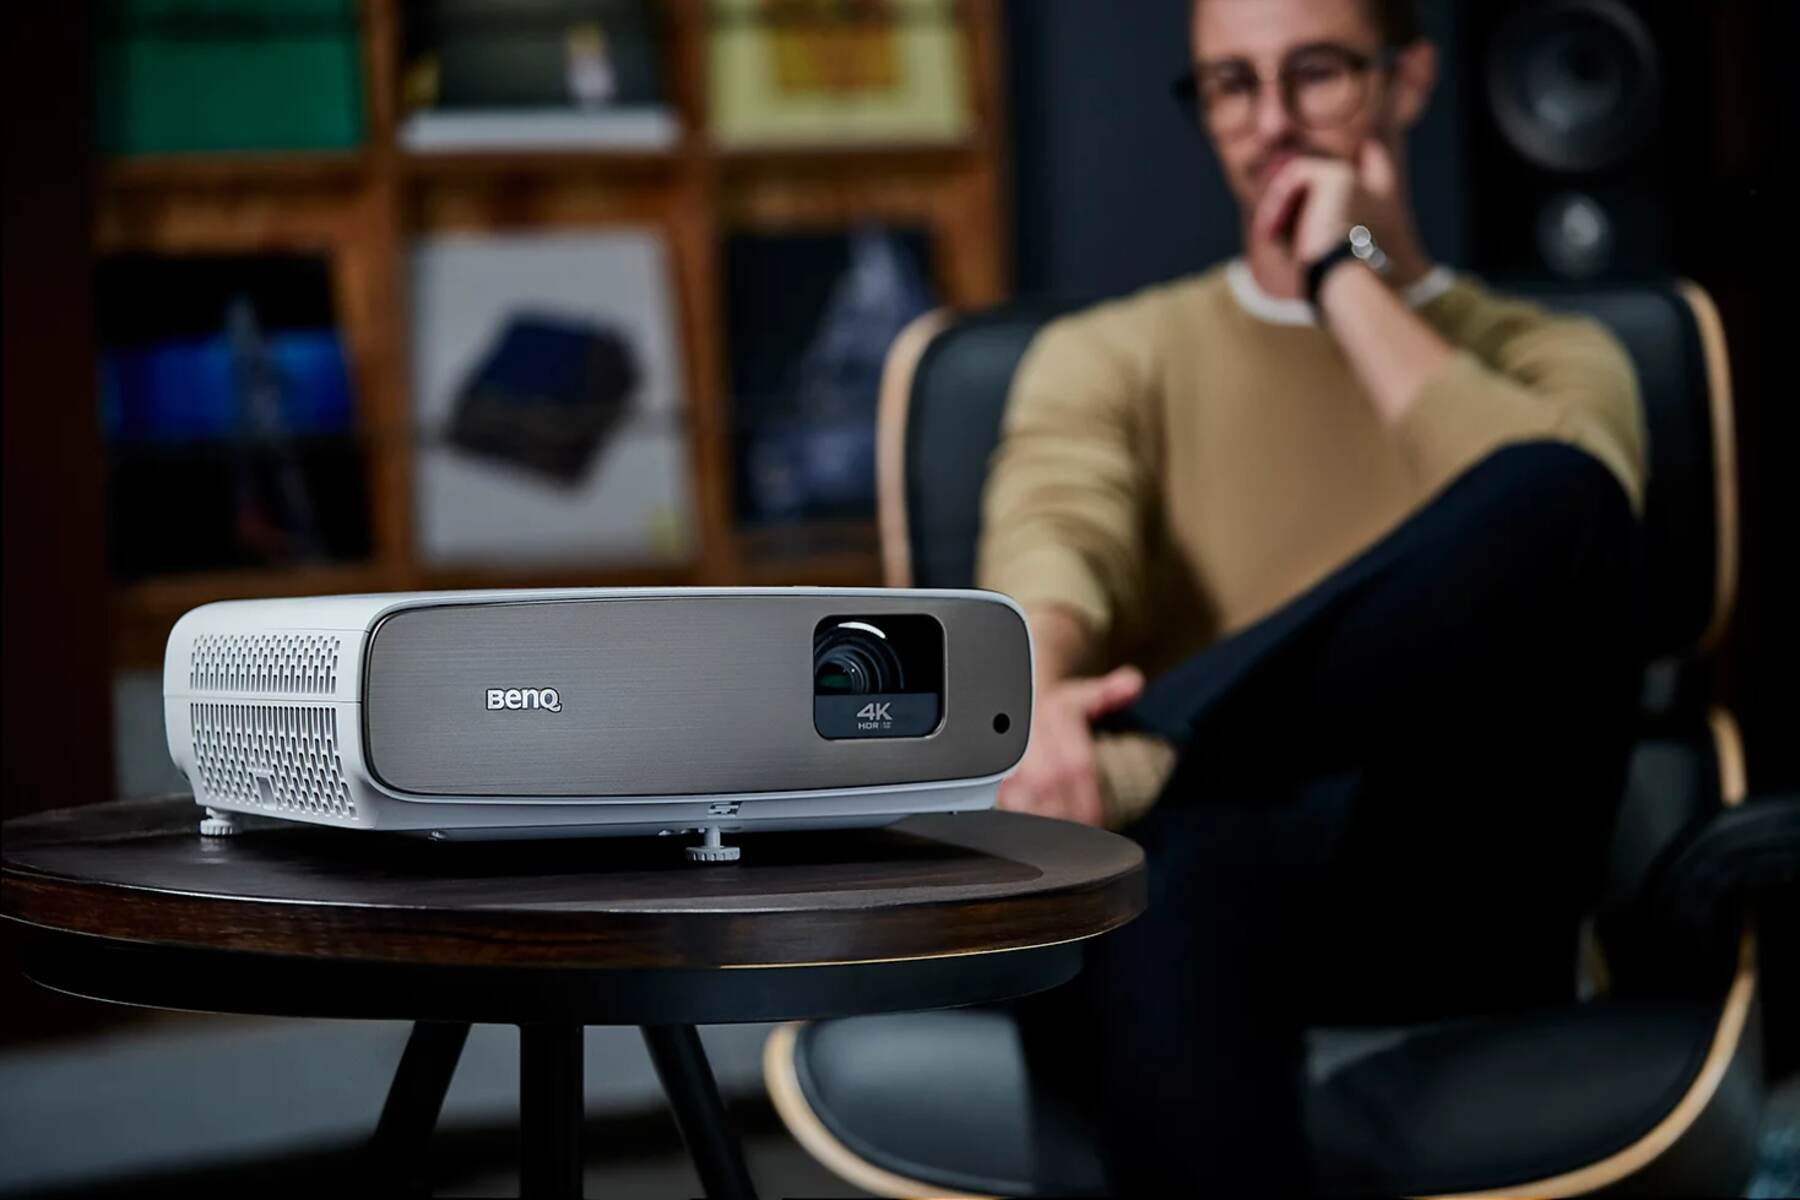
Introduction
Welcome to our guide on how to make your projector louder. Projectors are a popular choice for home theaters, presentations, and outdoor movie nights. However, sometimes you may find that the built-in speakers on your projector do not provide sufficient volume for your needs. This can be frustrating, especially when you’re trying to enjoy a movie or deliver a presentation to a large audience.
In this article, we will explore various methods to boost the sound of your projector and enhance your viewing or listening experience. We will walk you through steps such as checking the speaker settings, adjusting the volume and audio settings on the projector, using an external speaker system, utilizing an audio amplifier, connecting a Bluetooth speaker, and even cleaning the projector’s ventilation system.
Whether you’re a movie enthusiast, a business professional, or someone who simply wants to enjoy crisp and clear sound from your projector, this guide is for you. We will provide you with practical solutions to amplify the sound and help you make the most out of your projector.
So, if you’re ready to take your movie nights, presentations, or any other projector activities to the next level, let’s dive into the various methods to make your projector louder and ensure an immersive audio experience.
Understanding the Problem
Before we delve into the solutions, it’s important to have a clear understanding of why your projector’s sound might be insufficient. There can be several reasons behind this issue, and identifying the root cause can help in finding the most suitable solution.
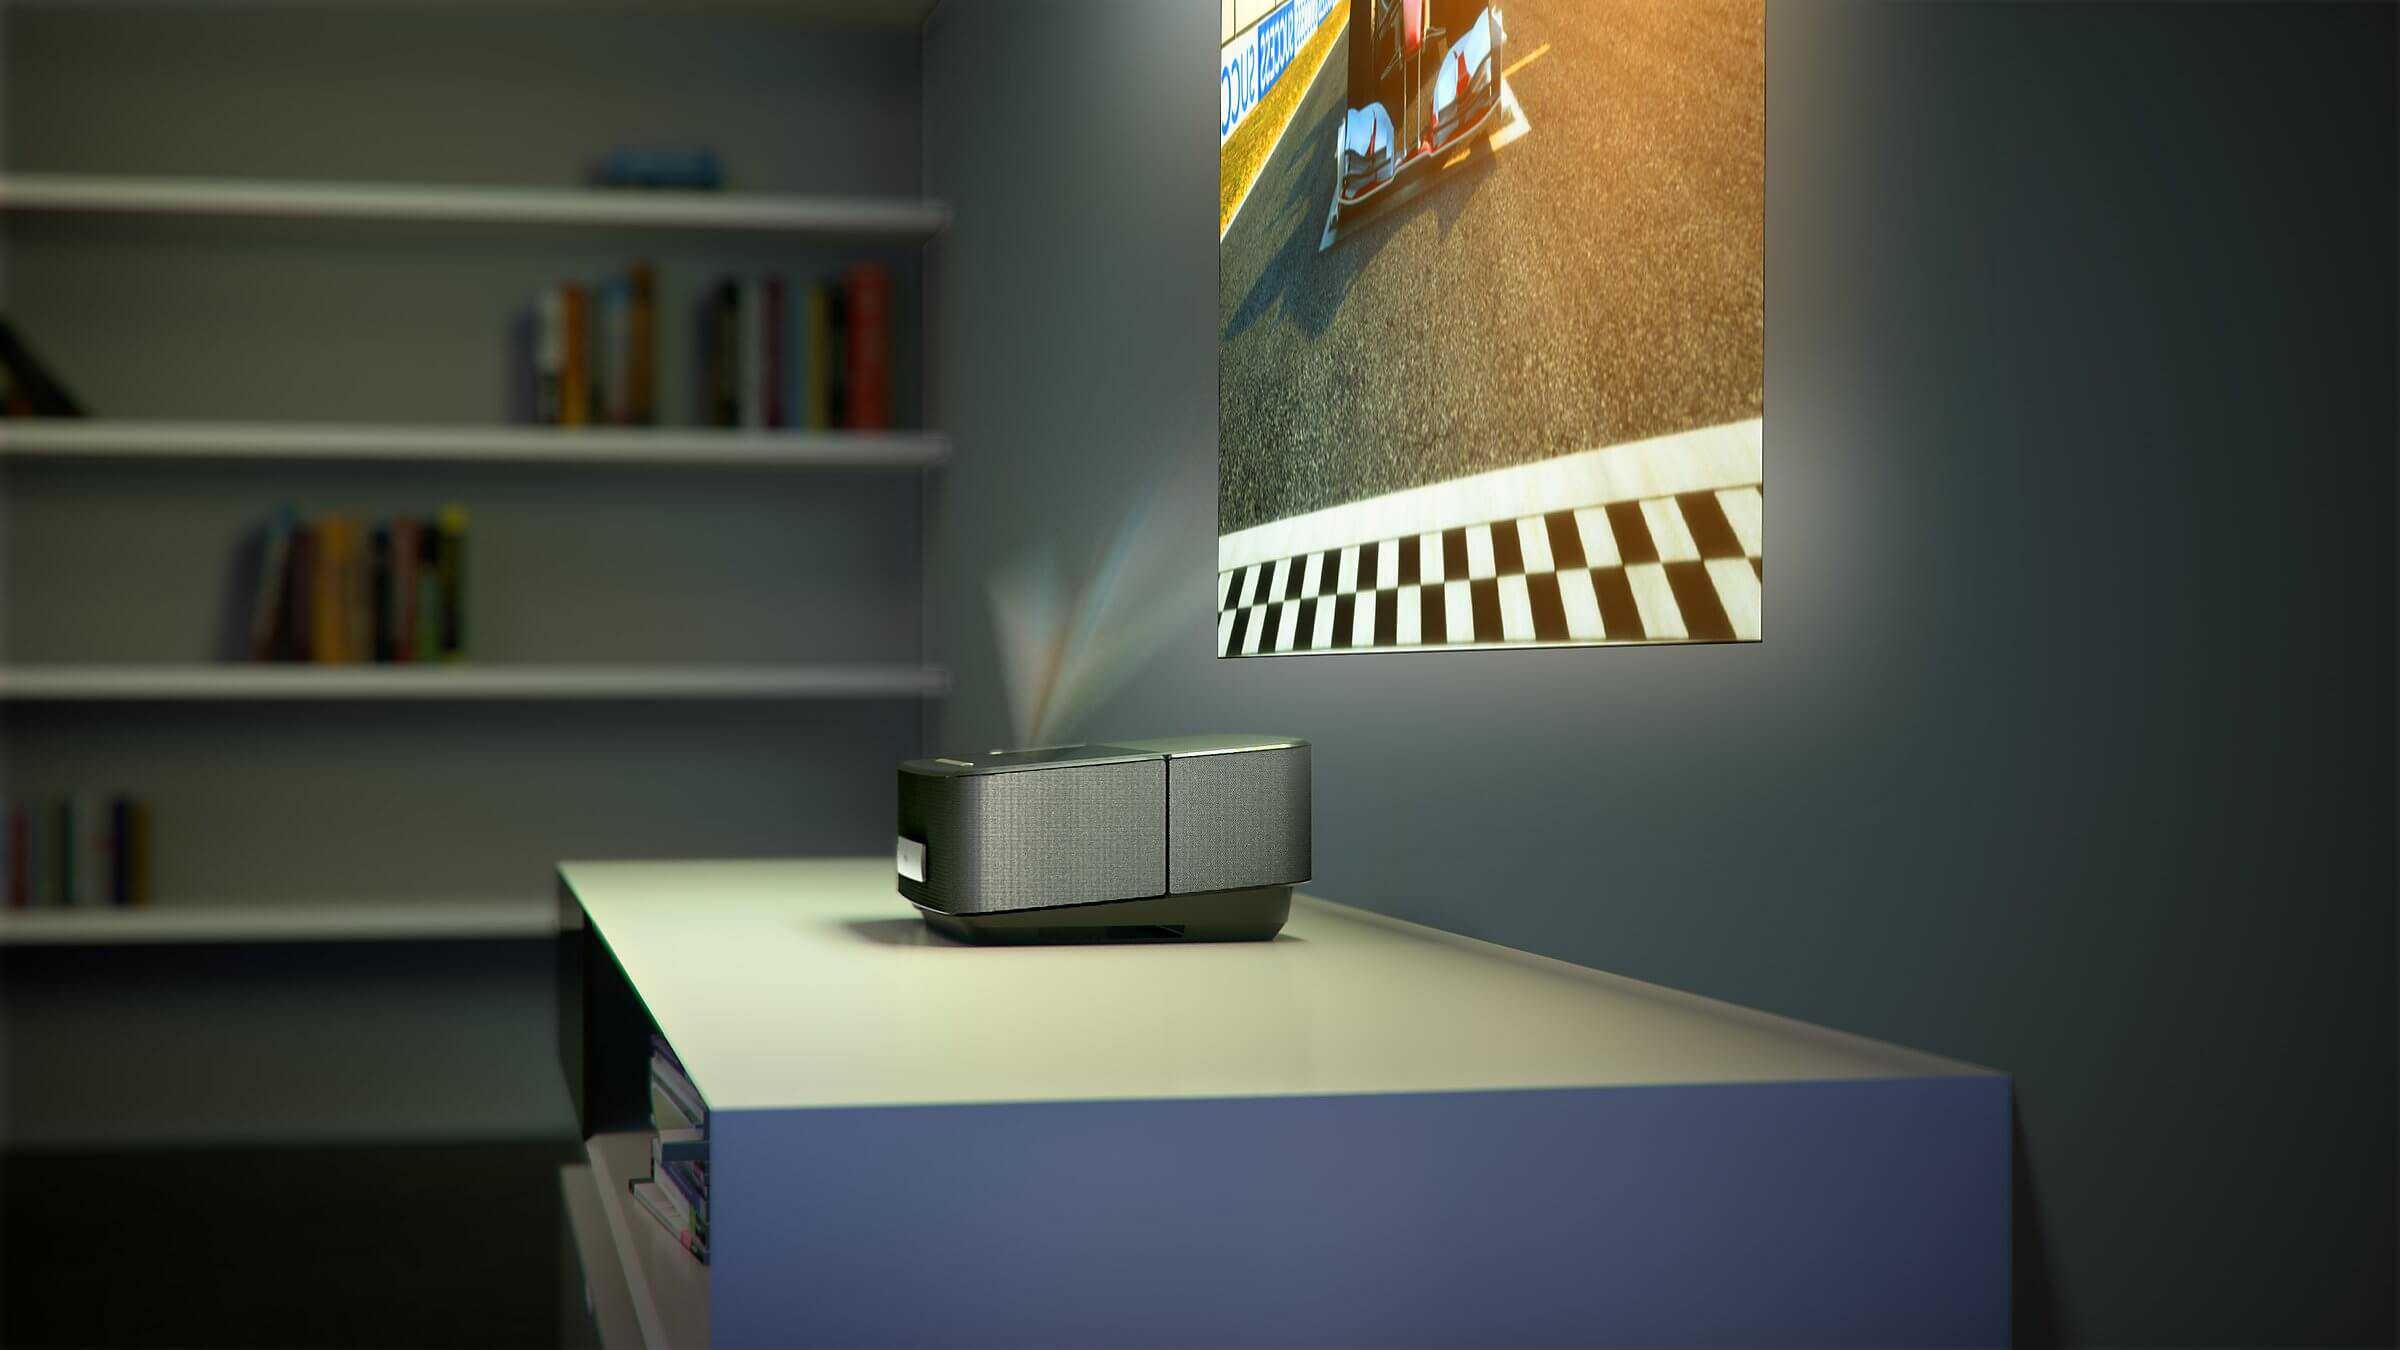
Firstly, it’s essential to acknowledge that projectors are primarily designed to offer high-quality visuals rather than top-notch audio performance. Manufacturers often prioritize image quality over sound, which results in built-in speakers that may not deliver impressive volume or clarity.
Another factor to consider is the environment in which you are using the projector. If you’re watching a movie or giving a presentation in a large room or outdoors, the ambient noise can overpower the projector’s built-in speakers, making them seem quieter than they actually are.
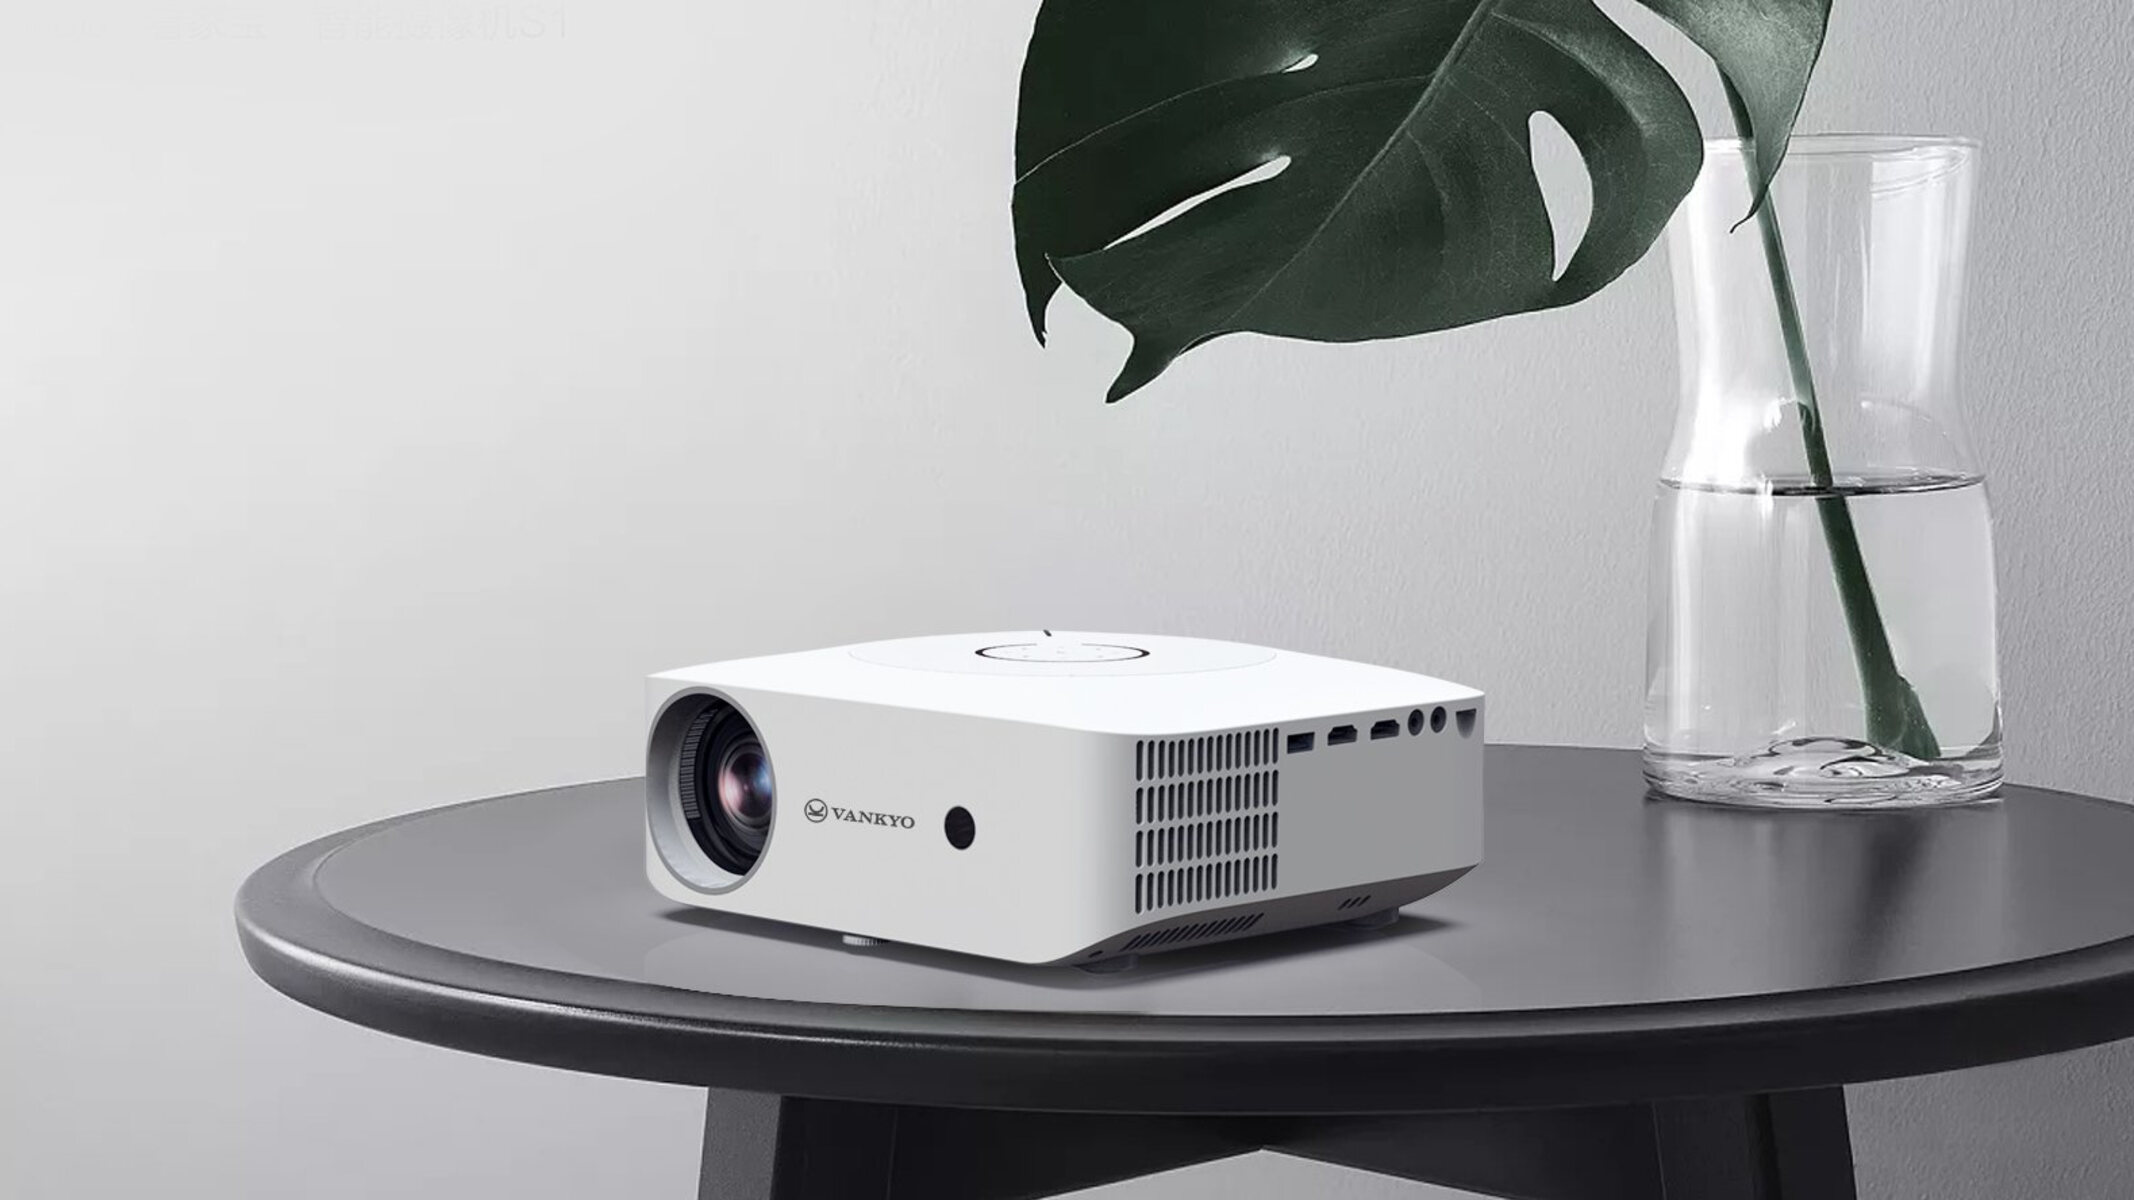
Additionally, it’s worth noting that each projector model has its own speaker specifications and capabilities. Some projectors come with more powerful speakers, while others may only have basic audio output. Therefore, it’s crucial to understand the limitations of your specific projector model to determine the most effective solution.
Lastly, the audio source itself can affect the perceived volume. If you’re using a low-quality or poorly encoded audio file, it may sound quieter or distorted when played through the projector’s speakers.
By taking the time to understand these underlying factors, you can better address the problem of low sound and choose the appropriate solution that suits your specific requirements. Don’t worry, we’ve got you covered with a range of solutions that will boost the sound of your projector and ensure an enjoyable audio experience.
Checking the Speaker Settings
Before exploring external solutions, it’s important to start by checking the speaker settings on your projector. Sometimes, the issue of low sound can be resolved simply by adjusting a few settings.
Firstly, access the projector’s menu or settings options. Navigate to the audio or sound settings section and ensure that the volume is set to an appropriate level. It’s possible that the volume may have been accidentally lowered or muted.
Next, check if there are any audio enhancement settings available. Some projectors offer features like equalizers or sound modes that can improve the overall audio quality. Experiment with different settings to find the one that suits your preferences.
Another important setting to check is the audio output format. Ensure that the audio output is set to match the audio source. For example, if you’re playing a stereo audio file, make sure the projector is set to stereo output mode. This will ensure you’re getting the best audio quality without any loss or distortion.
If you’re using an external device, such as a laptop or DVD player, to connect to the projector, check the audio output settings on that device as well. Ensure that it is set to output audio to the projector rather than its own built-in speakers.
Lastly, make sure that all the cables connecting the projector to external devices are securely plugged in. Loose or faulty connections can result in low sound output or no audio at all.
By thoroughly checking and adjusting the speaker settings on your projector, you can potentially resolve the low sound issue without the need for additional equipment or troubleshooting.
Adjusting the Volume and Audio Settings on the Projector
If you’ve checked the speaker settings and the sound is still not satisfactory, you can try adjusting the volume and audio settings directly on the projector. Here are a few steps to follow:
1. Volume Control: Most projectors have dedicated volume control buttons on the device itself or on the remote control. Locate the volume buttons and increase the volume to the desired level. Test the sound output while adjusting the volume to find the optimal setting that suits your needs.
2. Audio Presets: Many projectors offer preset audio modes, such as “Movie,” “Music,” or “Speech.” These modes are specifically designed to enhance the audio performance for different types of content. Explore these presets and choose the one that provides the best audio quality for your specific use case.
3. Audio Equalizer: Some projectors also have an equalizer feature that allows you to adjust the audio frequencies manually. Access the audio settings menu and experiment with the equalizer settings to fine-tune the sound according to your preferences. Increase or decrease specific frequency ranges to achieve a more balanced and immersive audio experience.
4. Dynamic Range Control: Certain projectors offer a dynamic range control option, which helps to normalize the volume levels of different audio content. This feature can prevent sudden loud or soft sounds. Enable this setting if available and see if it improves the overall sound quality.
5. Audio Output Selection: If your projector has multiple audio output options, such as HDMI or audio jack, ensure that the correct output is selected. Sometimes, the sound can be routed to a different output source, resulting in low or no audio. Verify the audio output source and make the necessary adjustments.
By utilizing these volume and audio settings on your projector, you can optimize the sound output and improve the overall audio experience. However, if these adjustments still do not provide satisfactory results, it may be time to explore external options to amplify the sound of your projector.
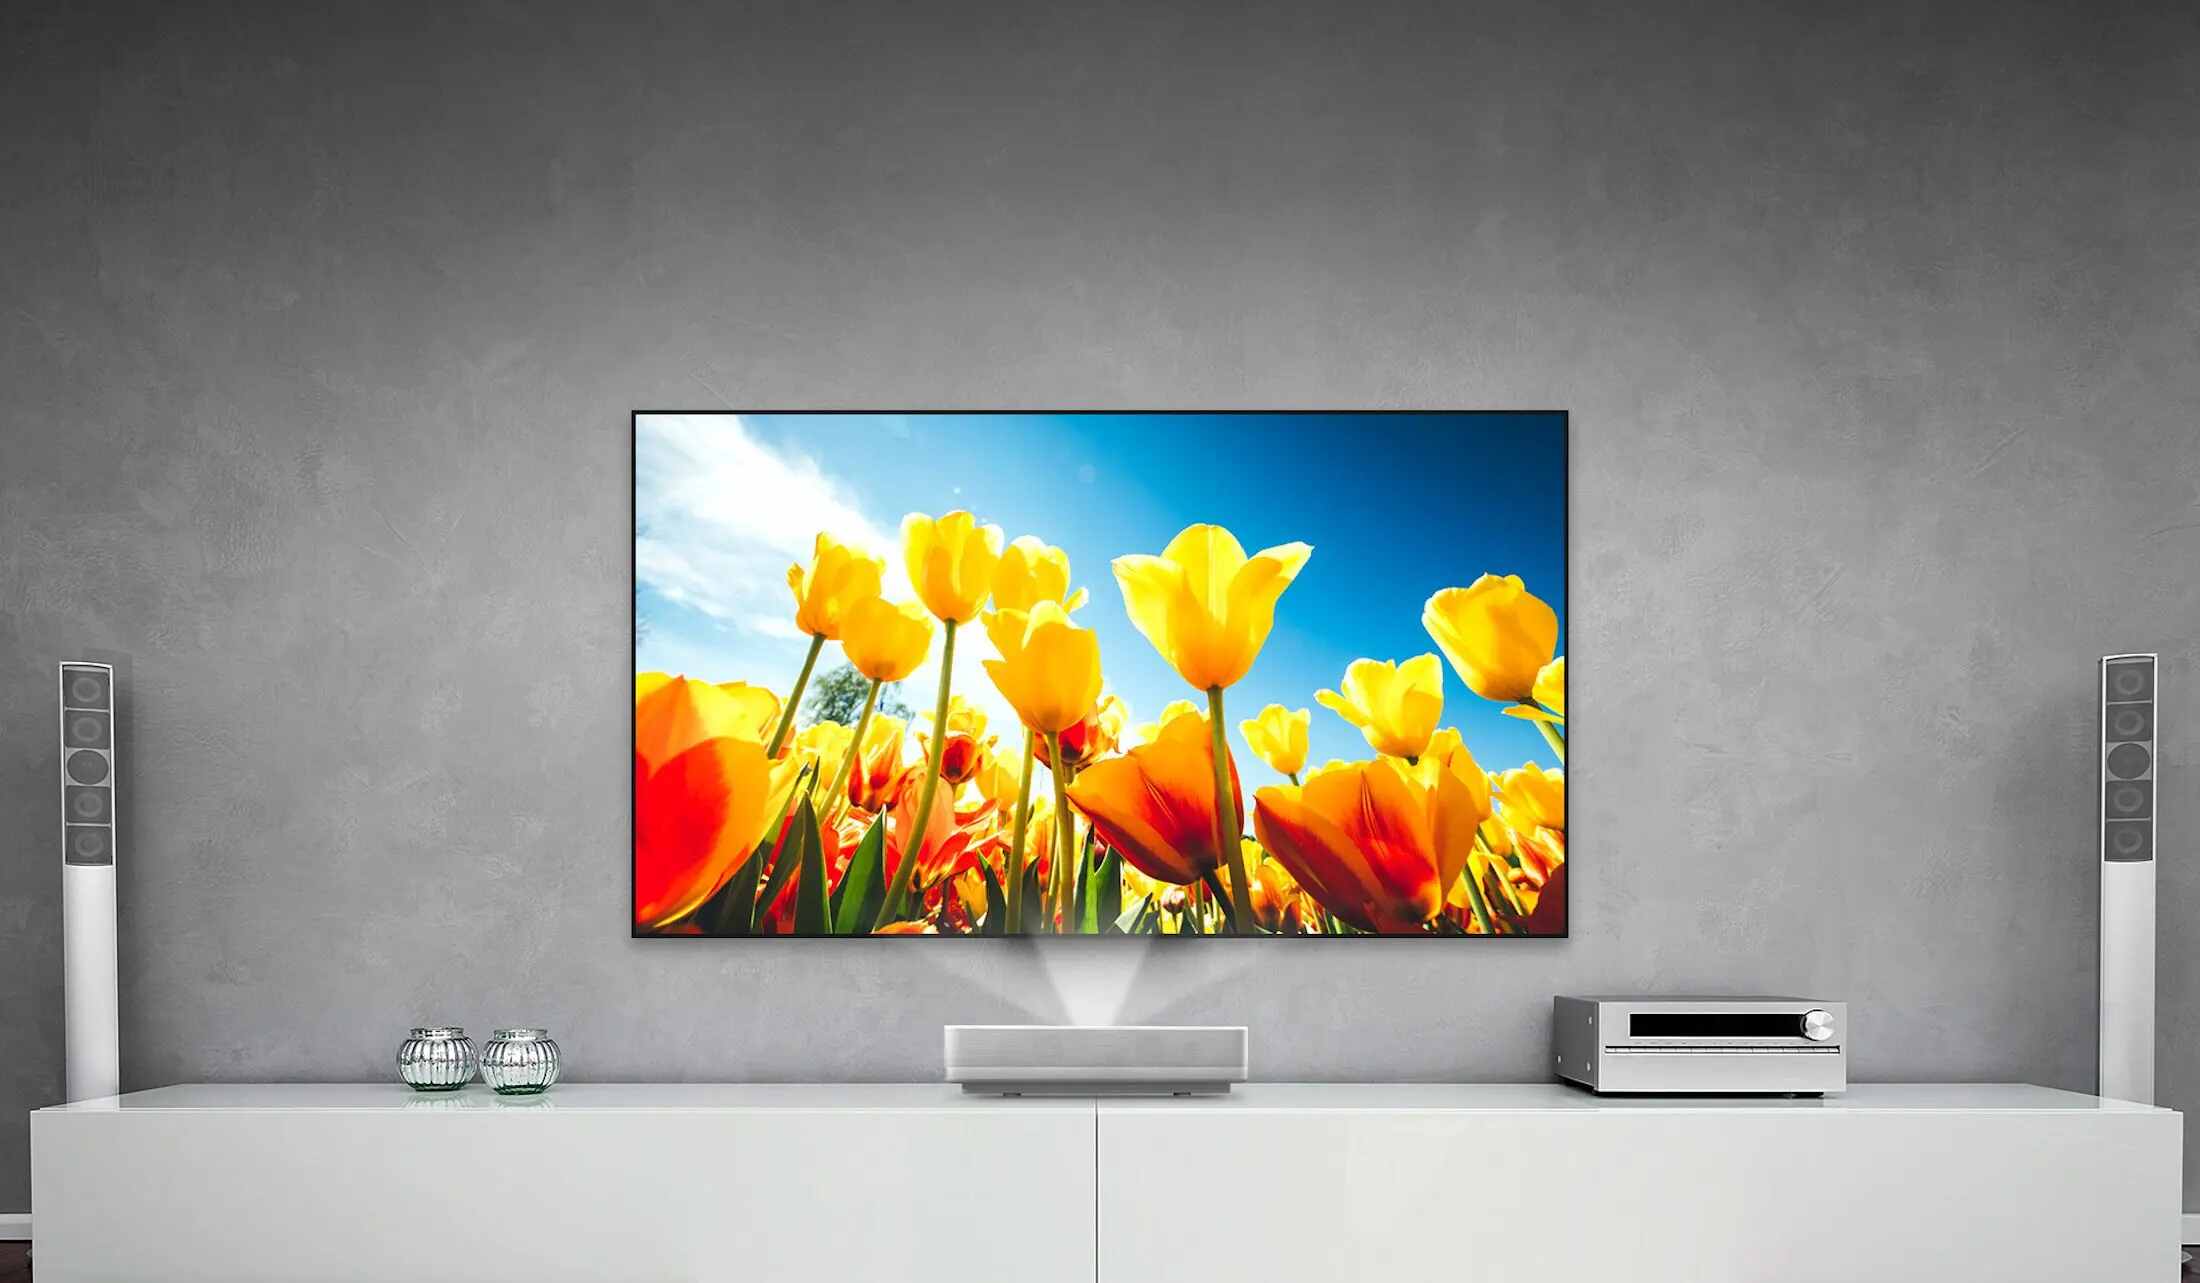
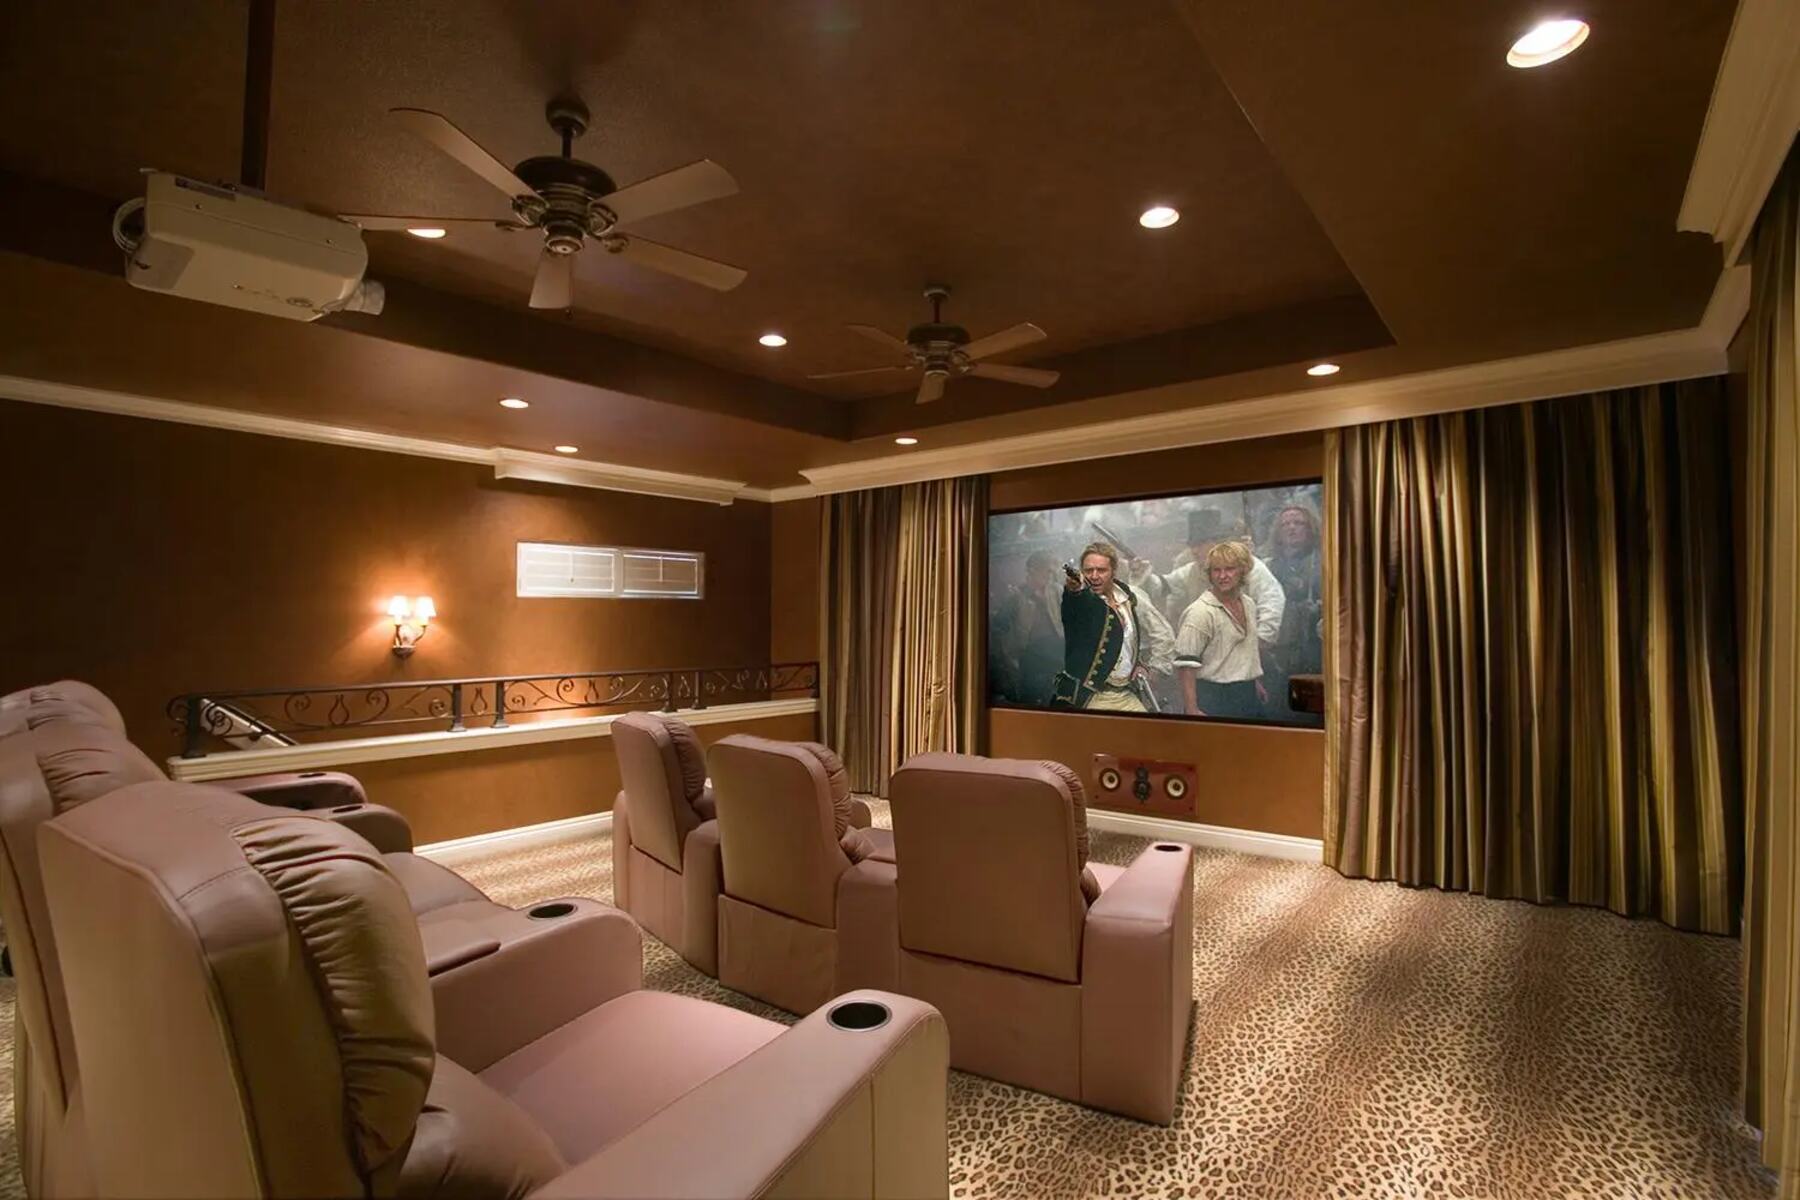
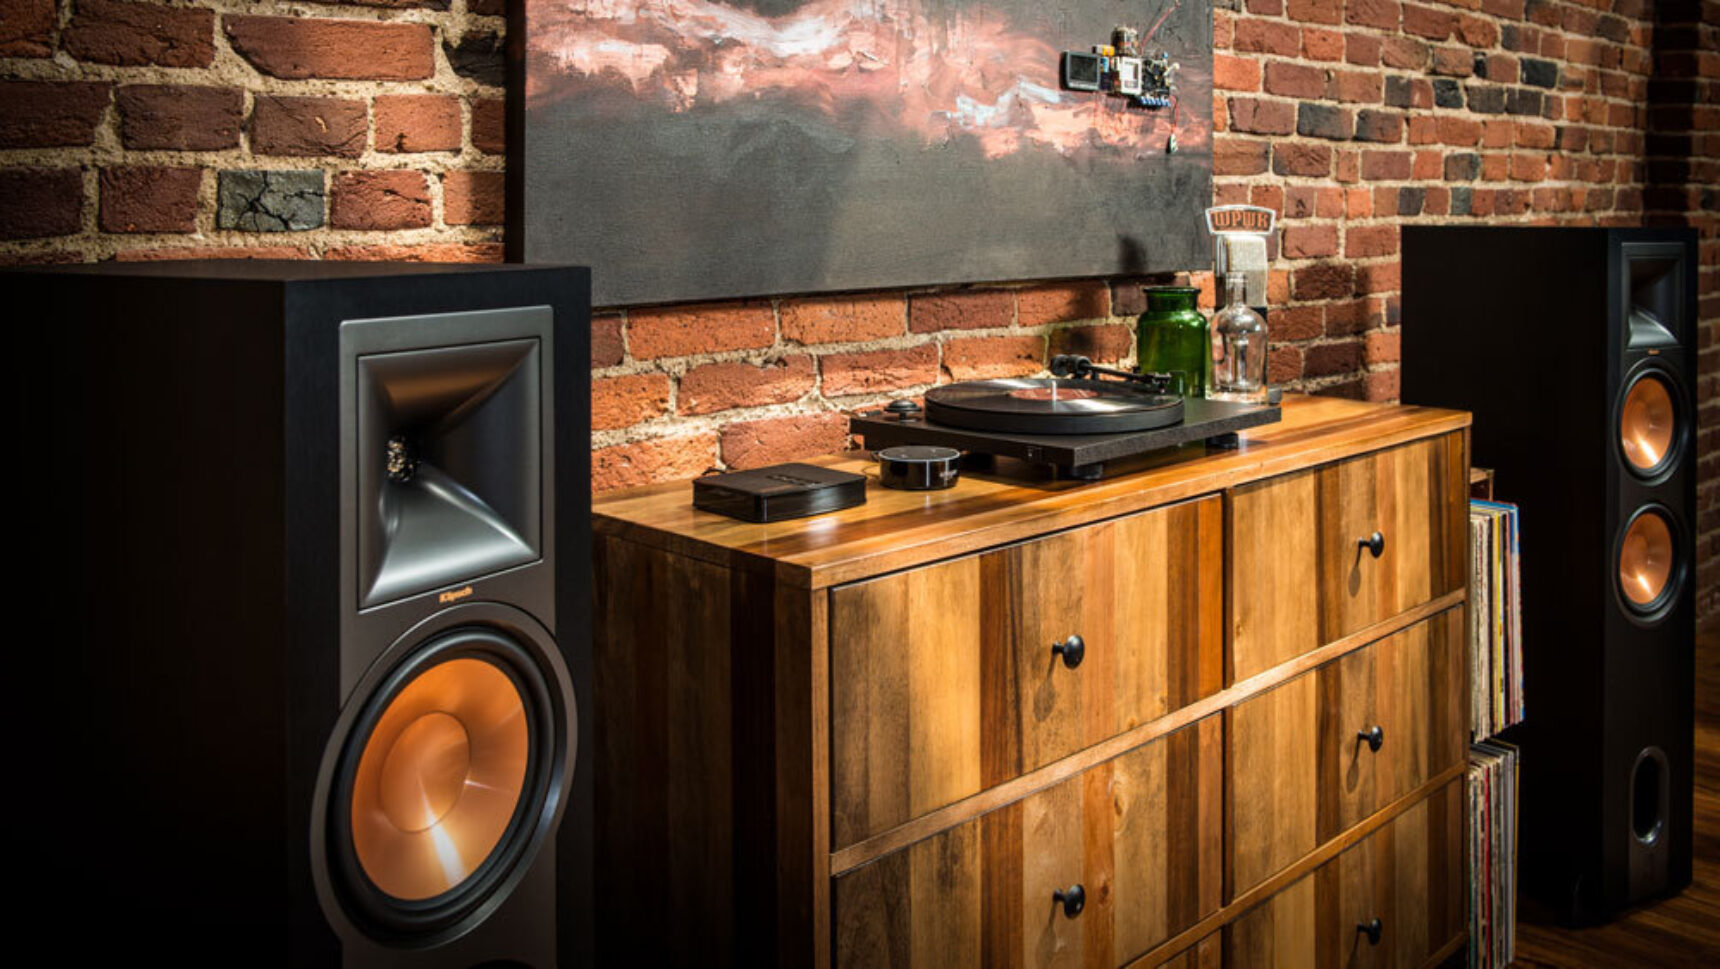
Using an External Speaker System
If the built-in speakers on your projector are not meeting your audio needs, the next step is to consider using an external speaker system. Connecting an external speaker system can significantly enhance the sound quality and volume of your projector. Here’s how you can do it:
1. Identify the Audio Output Port: Check if your projector has an audio output port, such as an audio jack or HDMI ARC (Audio Return Channel) port. This will be used to connect the external speakers. Refer to your projector’s manual to locate the specific port.
2. Choose the Right Speakers: Decide on the type of external speaker system you want to use. You have several options, such as soundbars, surround sound systems, or bookshelf speakers. Consider your budget, available space, and desired audio quality to make an informed choice.
3. Connect the Speakers: Once you have the external speakers, connect them to the audio output port on your projector. If you’re using an audio jack, use a suitable audio cable to connect it to the speaker’s input. If you’re using HDMI ARC, use an HDMI cable to connect the projector to the ARC-enabled speaker system.
4. Audio Output Settings: Access the projector’s settings menu and ensure that the audio output is configured for external speakers. Some projectors have an option to redirect audio output to the external speakers when they are connected. Enable this setting to ensure the sound is routed correctly.
5. Adjust Speaker Volume: Once connected, adjust the volume on both the projector and the external speaker system. Find the right balance to avoid distortion and achieve clear, loud sound.
By utilizing an external speaker system, you can dramatically improve the sound quality and enhance your overall viewing or listening experience with the projector. Whether you’re watching movies, playing games, or delivering presentations, the external speakers will provide richer and more immersive audio.
Using an Audio Amplifier
If you’re looking for a more powerful and versatile solution to boost the sound of your projector, using an audio amplifier is a great option. An audio amplifier can significantly increase the volume and improve the overall audio quality. Here’s how you can utilize an audio amplifier with your projector:
1. Select the Right Audio Amplifier: Choose an audio amplifier that suits your needs and budget. Consider factors such as power output, input options, and any additional features that may enhance your audio experience. Look for an amplifier that is compatible with your projector’s audio output.
2. Connect the Amplifier: Locate the audio output port on your projector and connect it to the audio input on the amplifier using the appropriate cables. If your projector has an audio jack, use an audio cable. If it only has HDMI ARC, use an HDMI cable to connect it to an audio extractor, which will convert the audio signal to analog and connect it to the amplifier.
3. Connect the Speakers: Connect your speakers to the audio output ports on the amplifier. Ensure that the speaker impedance matches the amplifier specifications to avoid any compatibility issues. You can use bookshelf speakers, floor-standing speakers, or even a complete surround sound system depending on your preferences and available space.
4. Adjust Settings: Once everything is connected, turn on the projector, amplifier, and speakers. Access the audio settings on the projector and ensure that the audio output is configured for the external amplifier. Adjust the volume and other audio settings on the amplifier to achieve the desired sound quality.
5. Fine-tune the Sound: With an audio amplifier, you have more control over the sound. Experiment with the amplifier’s settings to adjust the bass, treble, and balance according to your preferences. This will allow you to customize the audio output to suit different types of content.
Using an audio amplifier with your projector can provide a significant boost in sound quality and volume, making your viewing or listening experience more immersive and enjoyable. The added power and control offered by an amplifier will greatly enhance the audio performance, allowing you to take full advantage of your projector’s visual capabilities.
Using a Bluetooth Speaker
If you’re looking for a convenient and wireless solution to amplify the sound of your projector, using a Bluetooth speaker is a great option. Bluetooth speakers allow you to connect wirelessly to your projector, providing a hassle-free audio solution. Here’s how you can use a Bluetooth speaker with your projector:
1. Check Bluetooth Compatibility: Ensure that your projector has Bluetooth functionality. Not all projectors have built-in Bluetooth, so verify if your model supports Bluetooth connectivity. If not, you may need to use an external Bluetooth adapter to enable wireless audio connection.
2. Pair the Bluetooth Speaker: Turn on your Bluetooth speaker and put it in pairing mode. Consult the speaker’s manual for instructions on how to do this. On your projector, enable Bluetooth and search for available devices. Once the speaker appears on the list, select it to establish the connection. The projector may prompt you to enter a passcode, which can often be found in the speaker’s manual.
3. Adjust Audio Settings: Access the projector’s audio settings and ensure that the audio output is set to Bluetooth. This will ensure that the sound is routed to the connected Bluetooth speaker. Adjust the volume on both the projector and the speaker to achieve the desired sound level.
4. Placement of the Bluetooth Speaker: Depending on the size and design of your Bluetooth speaker, you can place it near the projector or anywhere else in the room to optimize the sound output. Experiment with different positions to find the best sound quality and coverage.
5. Enjoy Wireless Audio: Once the Bluetooth speaker is connected and properly configured, you can now enjoy a wireless audio experience with your projector. Whether you’re watching movies, playing games, or giving presentations, the Bluetooth speaker will provide clear and amplified sound without the need for any additional cables.
Using a Bluetooth speaker with your projector offers the convenience of wireless audio connectivity. It allows you to place the speaker anywhere within the Bluetooth range, providing flexibility and freedom of movement. Whether you’re using it for personal entertainment or professional purposes, a Bluetooth speaker can significantly enhance the audio experience of your projector.
Cleaning the Projector’s Ventilation System
Over time, the ventilation system of your projector can accumulate dust and debris, which can negatively impact its performance, including the sound quality. Cleaning the ventilation system can help improve airflow, prevent overheating, and potentially enhance the sound output. Here’s how you can clean the ventilation system of your projector:
1. Prepare for Cleaning: Before starting the cleaning process, make sure to turn off and unplug the projector from the power source. Allow it to cool down completely to avoid any risk of electric shock.
2. Locate the Air Intakes and Exhausts: Examine your projector to identify the air intake and exhaust points. These are usually located on the sides or back of the projector. Consult your projector manual if you’re not sure about the exact locations.
3. Remove Dust and Debris: Gently use a can of compressed air or a soft brush to remove dust and debris from the air intake and exhaust ports. Be careful not to damage any delicate components while cleaning. It’s advisable to perform this task in a well-ventilated area to prevent the settled dust from spreading further.
4. Clean the Filter: Many projectors have an air filter that prevents dust from entering the internal components. Check your projector manual to locate the filter. If it’s removable, take it out and clean it according to the manufacturer’s instructions. If the filter is not washable, replace it with a new one to maintain optimal airflow.
5. Vacuum the Surrounding Area: Use a vacuum cleaner with a brush attachment to gently remove any dust or debris from the area surrounding the projector. Pay special attention to the space near the ventilation ports to prevent the accumulation of dust particles.
6. Regular Maintenance: Cleaning the ventilation system should be a part of your regular maintenance routine. Make it a habit to clean the air filters and inspect the ventilation system periodically. This will ensure proper airflow, prevent overheating, and maintain the overall performance of your projector.
By cleaning the ventilation system, you can improve the airflow and prevent the accumulation of dust and debris that may hinder the sound output of your projector. Regular maintenance will not only help in enhancing the audio performance, but it will also prolong the lifespan of your projector.
Conclusion
Having a projector with low sound output can be frustrating, especially when you’re trying to immerse yourself in a movie or deliver a presentation to a large audience. Fortunately, there are various solutions to make your projector louder and enhance the audio experience.
In this guide, we explored several methods to amplify the sound of your projector. We started by checking the speaker settings and adjusting the volume and audio settings on the projector itself. These simple steps can often resolve the issue of low sound without the need for any additional equipment.
If the built-in speakers don’t provide sufficient volume, we discussed using external speaker systems, such as soundbars or surround sound systems, to boost the audio output. An audio amplifier can also be a powerful tool to significantly increase the volume and improve the sound quality of your projector.
For those seeking a wireless solution, using a Bluetooth speaker offers convenience and flexibility. It allows you to connect wirelessly to your projector, providing clear and amplified sound without the need for any cables.
Additionally, we emphasized the importance of maintaining the ventilation system of your projector. Dust and debris can hinder the airflow and affect the sound performance. Regularly cleaning the ventilation system and filters will help maintain optimal airflow and prevent overheating.
In conclusion, whether you choose to check the speaker settings, use an external speaker system, employ an audio amplifier, connect a Bluetooth speaker, or clean the ventilation system, there are various options available to make your projector louder and enhance the audio quality. Experiment with these methods and find the solution that suits your specific needs, allowing you to fully enjoy the immersive and captivating experience offered by your projector.