Introduction
Welcome to the world of immersive audio! A surround sound system can take your PC audio experience to the next level, bringing movies, games, and music to life with the power of multidirectional sound. Whether you’re a movie buff, a hardcore gamer, or simply a music enthusiast, connecting a surround sound system to your PC can enhance your entertainment experience like never before.
In this guide, we will walk you through the process of connecting a surround sound system to your PC. We’ll cover everything from determining the type of surround sound system you have, checking computer compatibility, connecting the speakers to your computer, configuring sound settings, and testing the setup to ensure it’s working perfectly.
Before we dive into the details, it’s important to note that there are various types of surround sound systems available, each with its own unique setup requirements. These include 5.1, 7.1, and even more advanced systems. The specific steps may vary slightly depending on the type of system you have. However, the general principles we’ll discuss can be applied to most surround sound setups.
Now, let’s begin our journey towards creating an immersive audio experience!
Step 1: Determine the Type of Surround Sound System
The first step in connecting a surround sound system to your PC is to determine the type of system you have. This will help you understand the specific inputs and outputs that your system supports, ensuring compatibility with your computer.
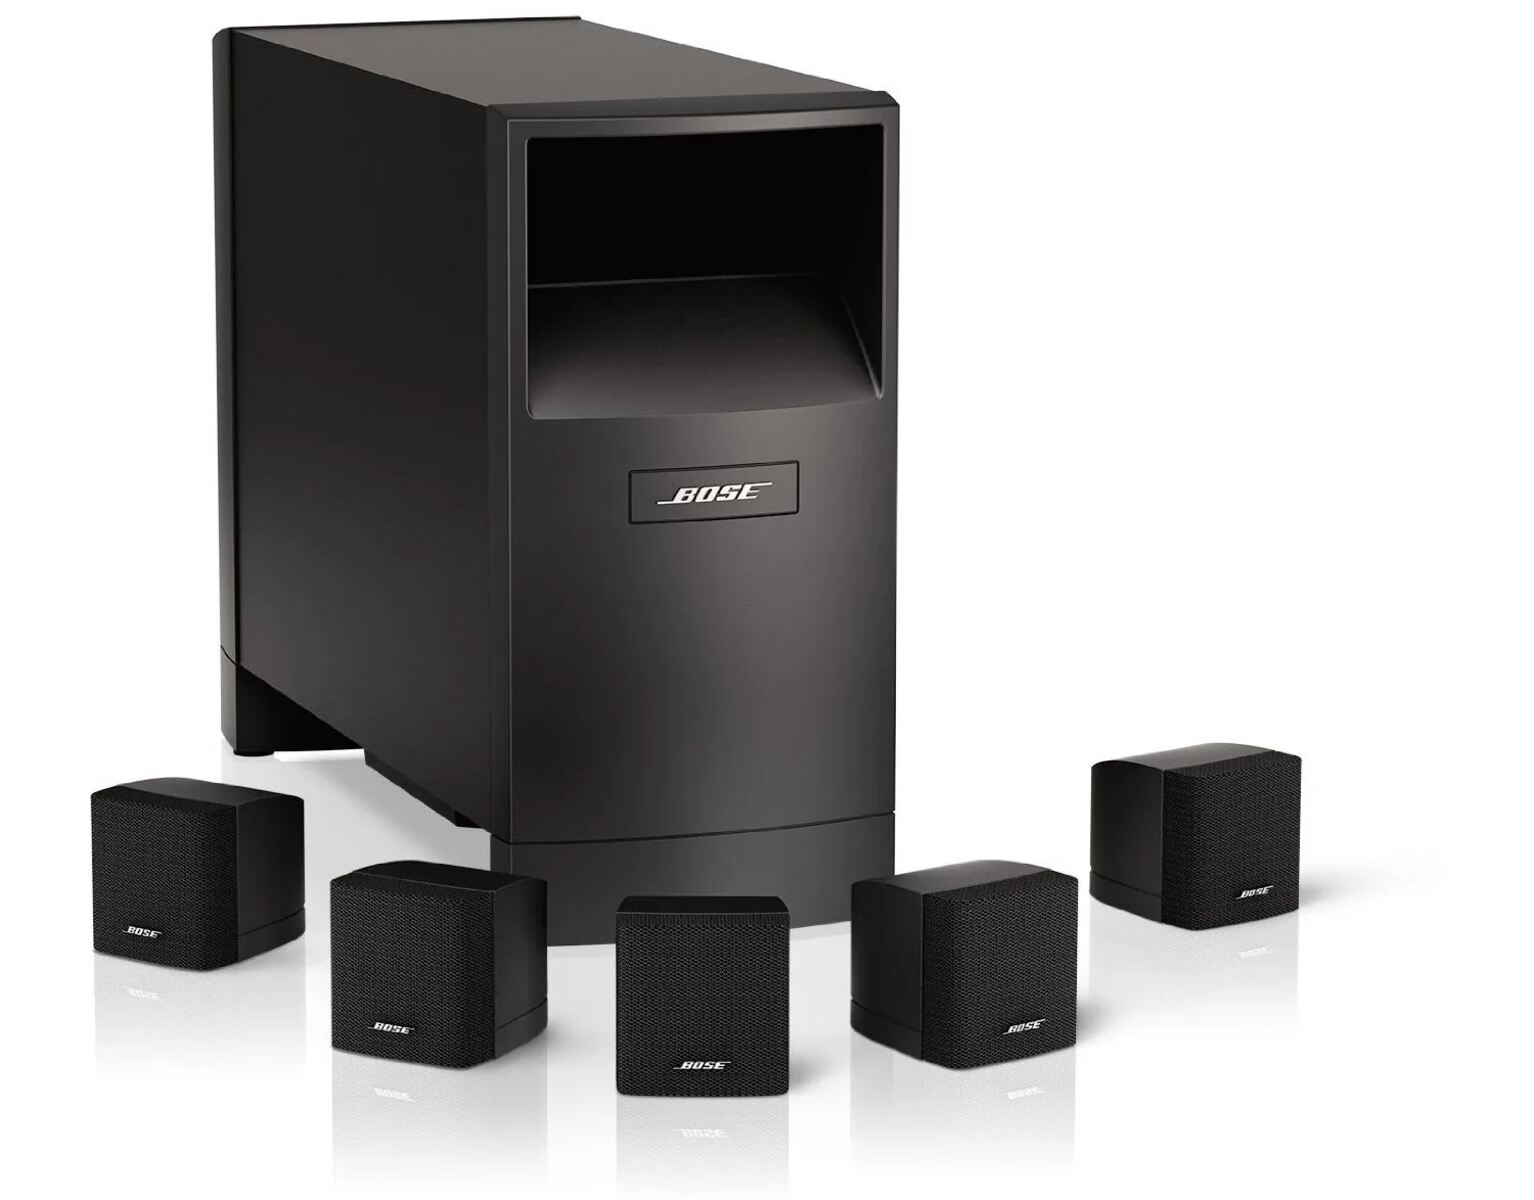
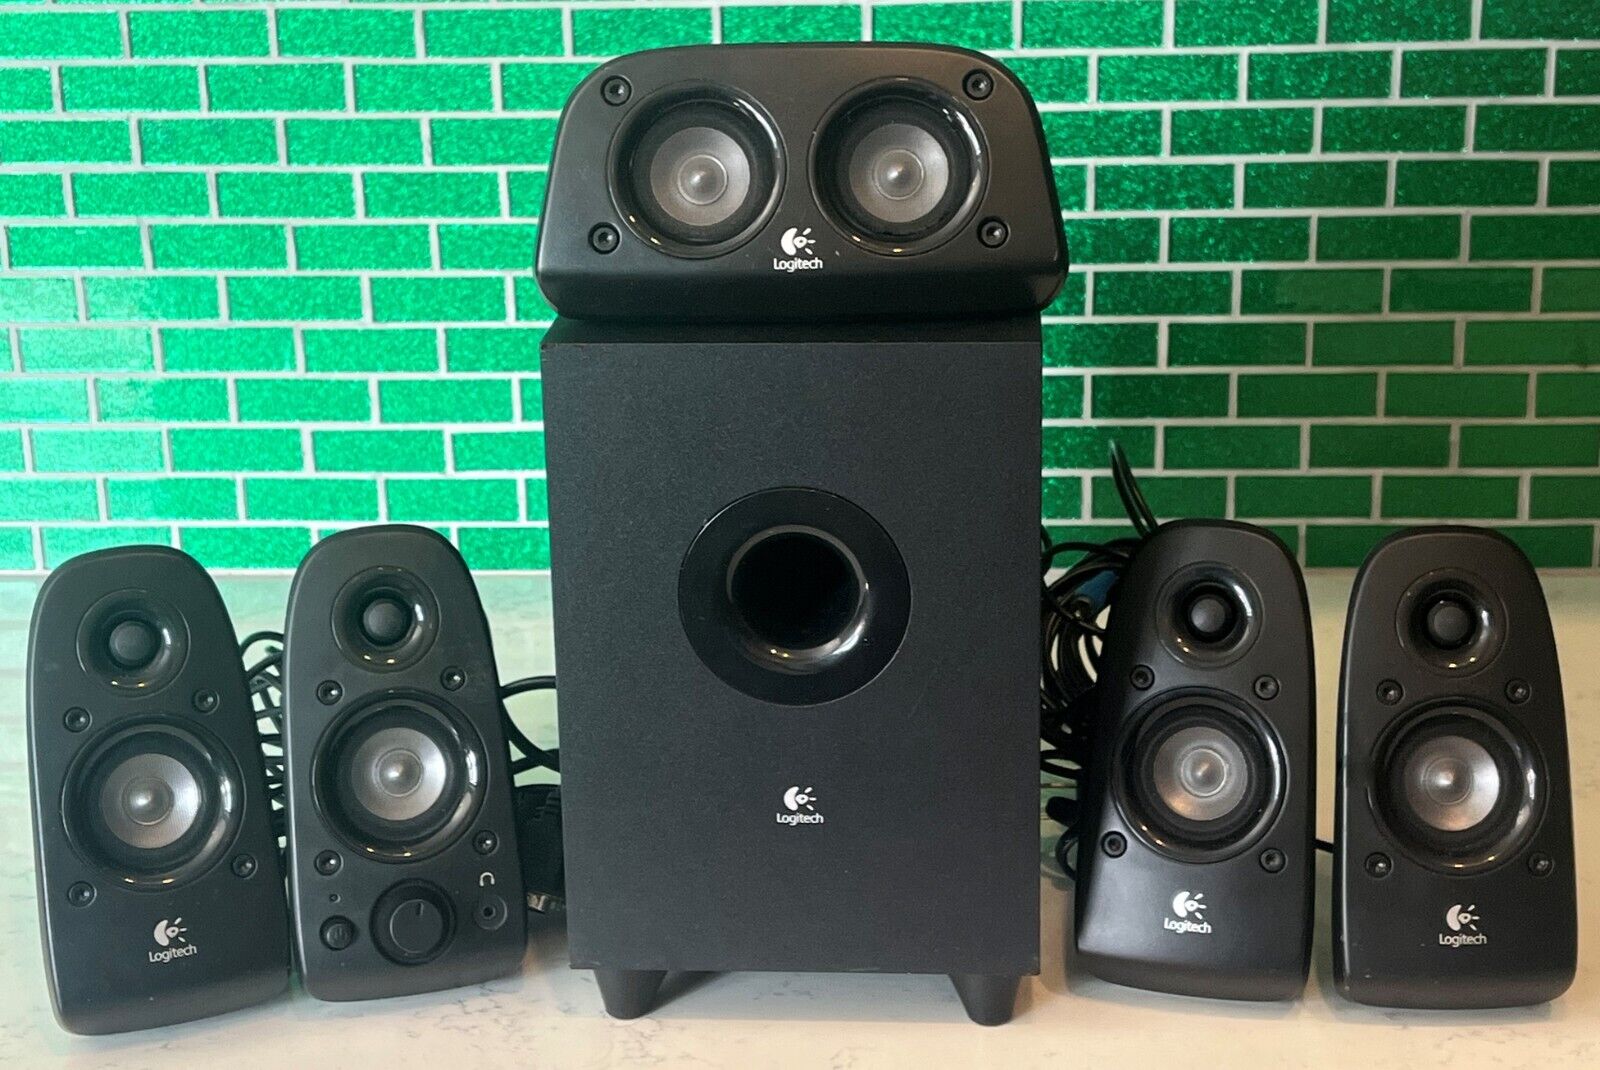
Most surround sound systems come with a central receiver or amplifier and multiple speakers. The most common configurations include 5.1 and 7.1 systems. A 5.1 system consists of five speakers (two front, two rear, and a center) along with a subwoofer. On the other hand, a 7.1 system adds two additional rear speakers for an even more immersive experience. Depending on the system, there may also be additional inputs and outputs for connecting other audio devices.
To determine the type of surround sound system you have, start by locating the central receiver or amplifier. This is usually the device that controls the audio output and connects to your speakers. Look for labels or markings that indicate the specific configuration, such as “5.1” or “7.1.” You can also refer to the user manual or do a quick online search using the model number of your system for more information.
Once you have identified the type of system you have, it’s important to understand the inputs and outputs available on the central receiver or amplifier. These can vary depending on the make and model but generally include HDMI, optical, and analog audio ports. HDMI is the preferred connection method as it provides both high-quality audio and video transmission. However, if your PC or surround sound system doesn’t have an HDMI port, you can use optical or analog connections.
By determining the type of surround sound system and understanding its inputs and outputs, you will be equipped with the knowledge you need to proceed with the connection process. In the next step, we’ll explore computer compatibility to ensure seamless integration between your PC and the surround sound system.
Step 2: Check Computer Compatibility
Before connecting your surround sound system to your PC, it’s crucial to ensure that your computer is compatible with the system. This includes verifying the available audio ports, checking the sound card capabilities, and confirming the software support.
Start by examining the audio ports on your computer. Most computers have multiple audio jacks, including a line-in, line-out, and microphone port. However, depending on the model, your PC may also have additional audio ports, such as an optical output or HDMI sound output.
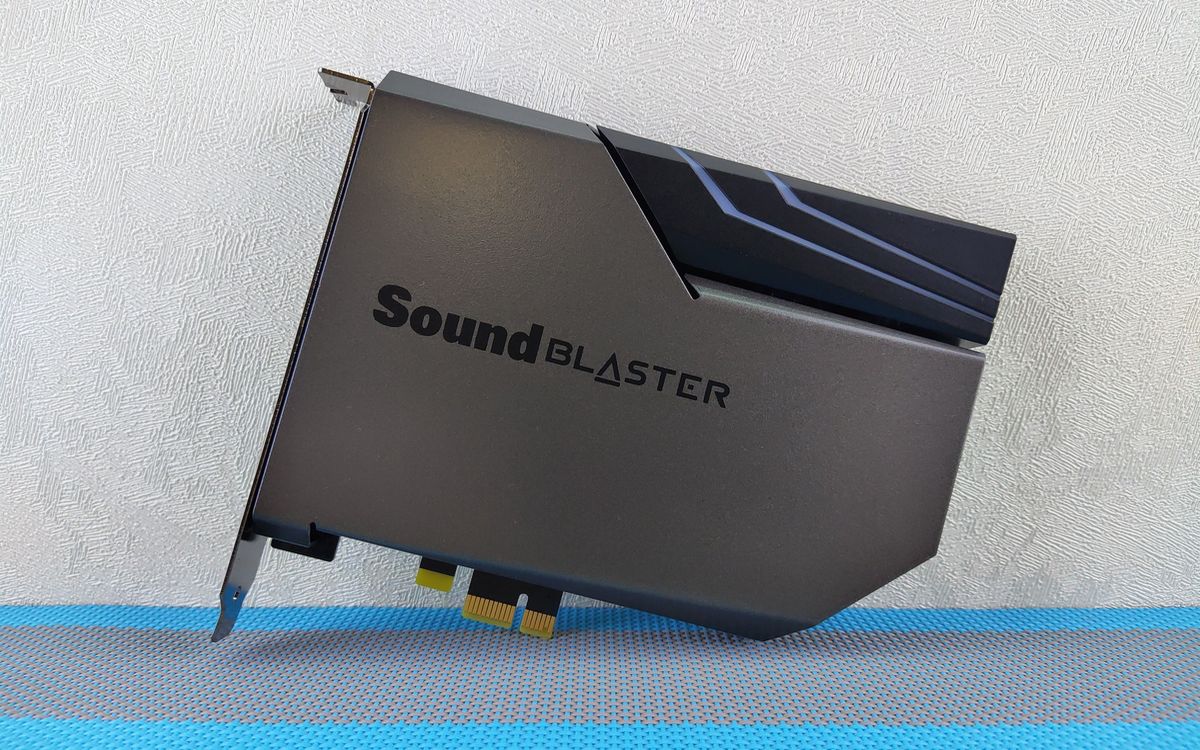
Next, check the capabilities of your computer’s sound card. The sound card is responsible for processing audio signals, so it plays a crucial role in the quality and compatibility of your surround sound setup. Check the specifications of your sound card to ensure that it supports the audio format and output options required by your surround sound system.
In addition to hardware compatibility, it’s important to ensure that your computer’s operating system and audio software support surround sound. On Windows systems, navigate to the Control Panel and open the Sound settings. Check if there are options for configuring a 5.1 or 7.1 sound system and adjust the settings accordingly.
If you’re using a different operating system, such as macOS or Linux, explore the audio settings to verify surround sound capabilities and make any necessary adjustments.
Furthermore, it’s worth mentioning that some surround sound systems come with their own software or drivers. These software programs enhance the functionality of the system and provide additional customization options. Check the documentation or manufacturer’s website for any specific software requirements or recommended settings for your surround sound setup.
By checking computer compatibility, you can ensure that your PC meets the necessary hardware and software requirements for a seamless connection and optimal performance of your surround sound system. In the next step, we’ll move on to physically connecting the speakers to your computer.
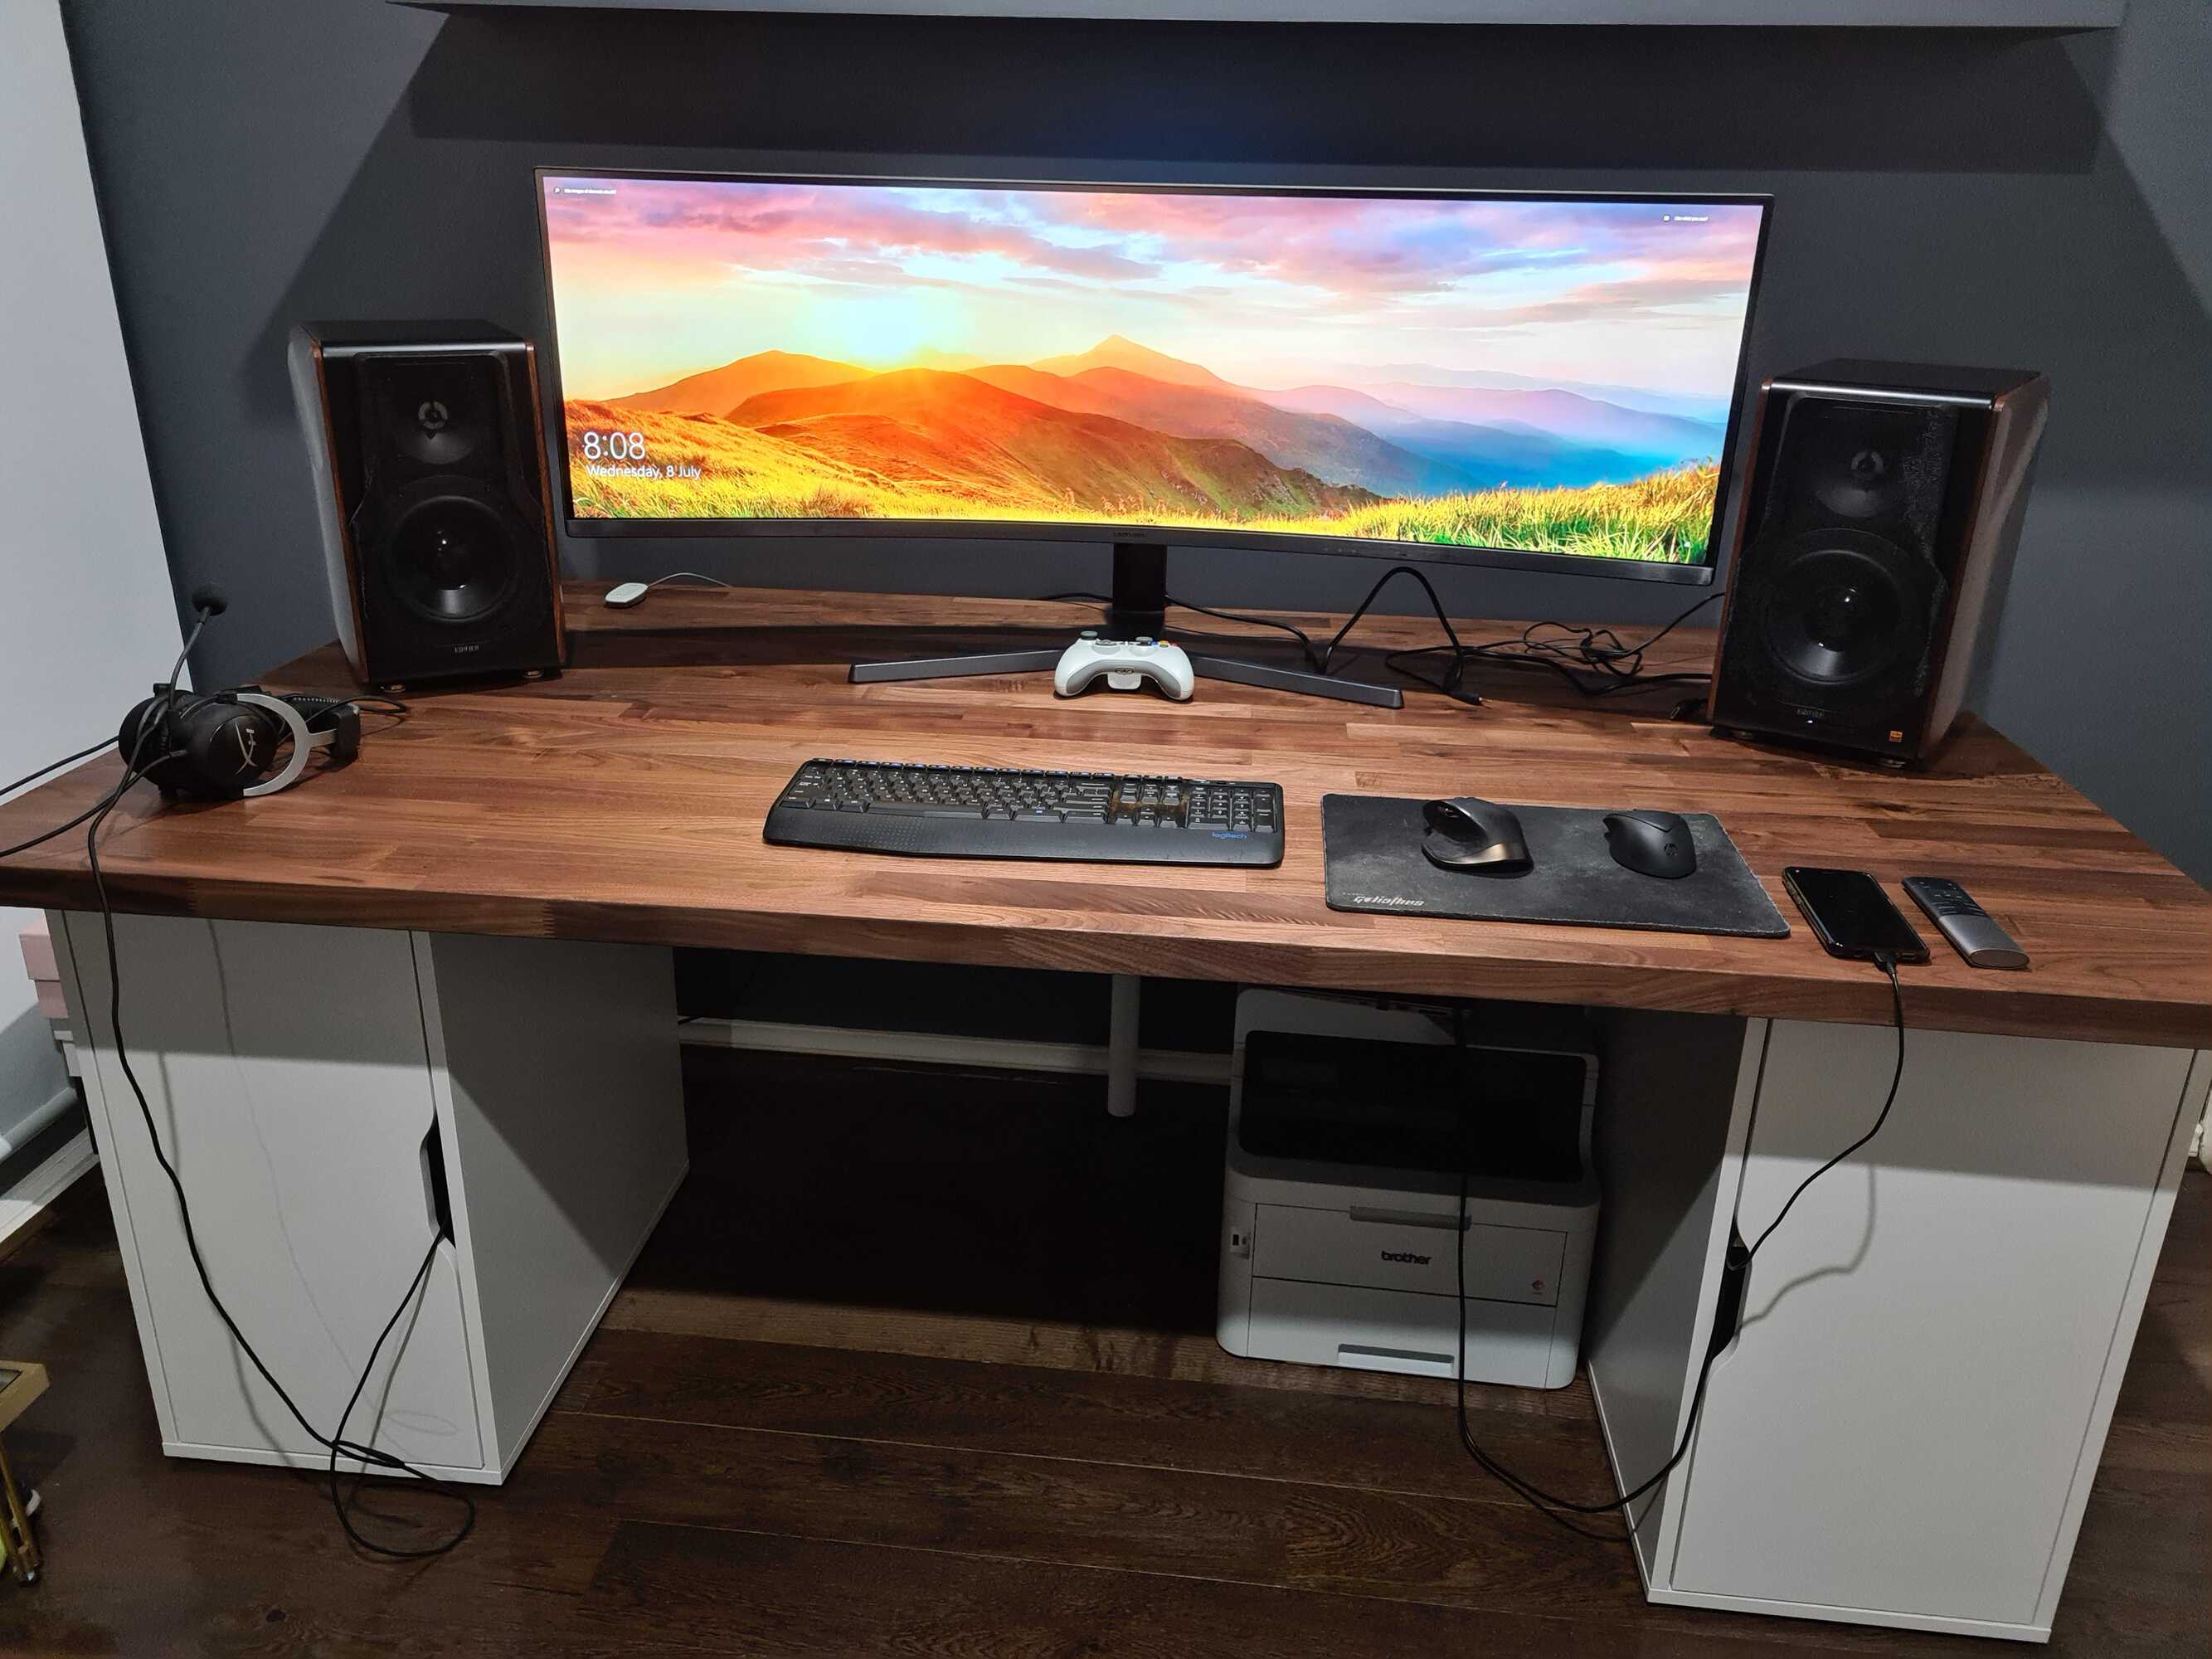
Step 3: Connect Speakers to the Computer
Now that you have determined the type of surround sound system you have and checked the compatibility of your computer, it’s time to connect the speakers to your PC. This step involves making physical connections between the central receiver or amplifier of your surround sound system and the audio ports on your computer.
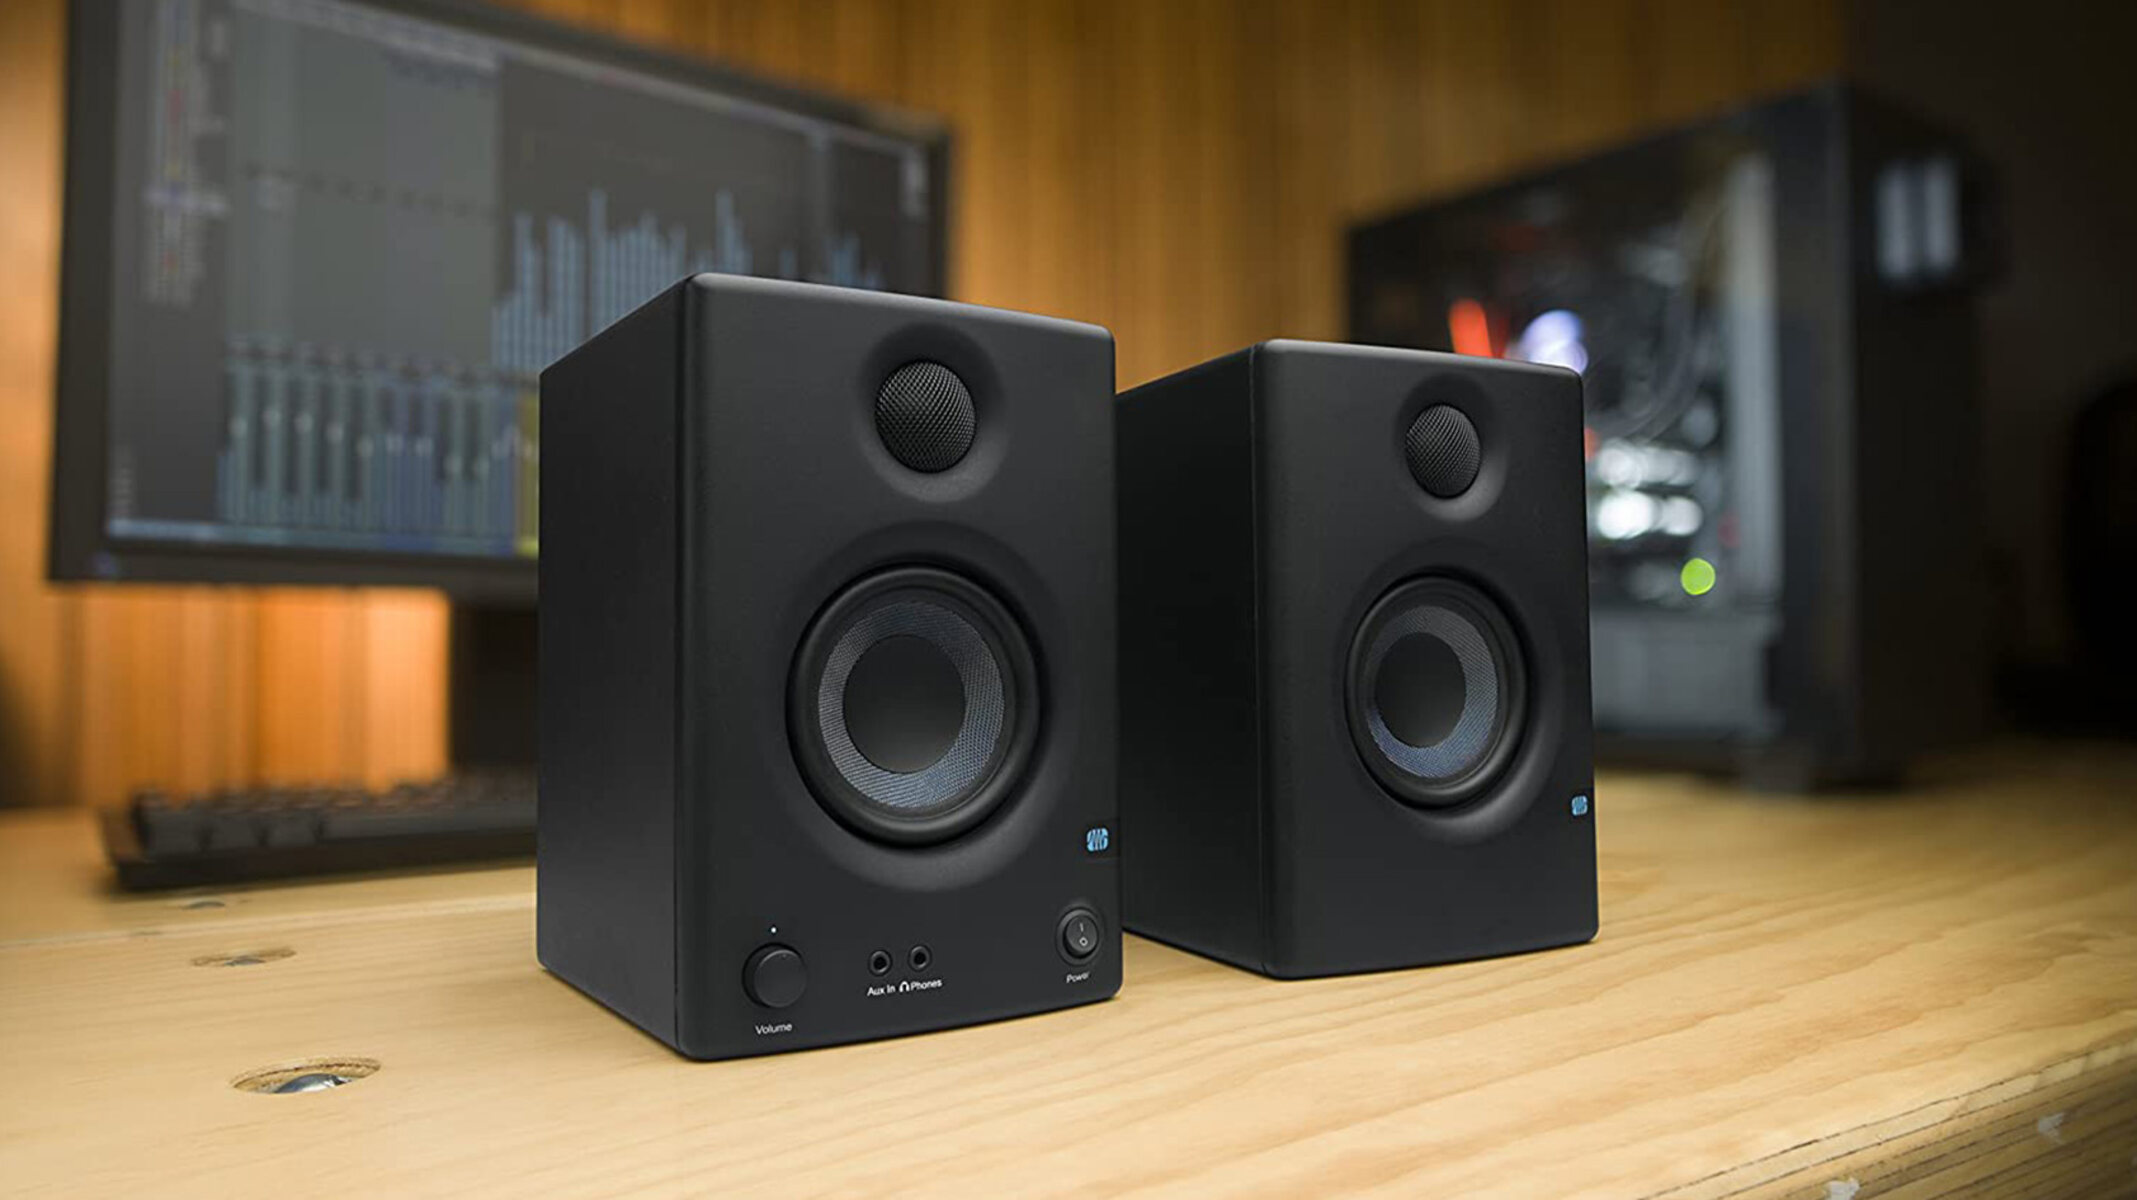
Start by locating the central receiver or amplifier of your surround sound system. This is typically the main hub that controls the audio output and connects to your speakers. It may have various input and output ports, including HDMI, optical, and analog audio.
Next, identify the appropriate audio output ports on your computer. Depending on your PC, this could be a line-out, headphone jack, or even an HDMI sound output. Refer to your computer’s user manual or specifications to determine the available audio ports.
Once you have identified the necessary ports, you will need the appropriate cables to connect the speakers. If your computer and surround sound system have HDMI ports, an HDMI cable will provide the best audio and video quality. Simply connect one end of the HDMI cable to the HDMI output on the central receiver and the other end to the HDMI input on your computer.
If HDMI is not available, you can use optical or analog audio connections. For optical connections, use an optical cable to connect the digital audio output on the central receiver to the optical input on your computer (if available). For analog connections, use the appropriate audio cables (usually 3.5mm or RCA) to connect the audio output on the central receiver to the line-in or headphone jack on your computer.
Once the physical connections are made, double-check that all cables are securely plugged in. Ensure that you have connected the correct output from the central receiver to the corresponding input on your computer.
Remember to consult the user manual or manufacturer’s instructions for any specific guidance on connecting your particular surround sound system to a PC.
With the speakers connected to your computer, you are one step closer to enjoying surround sound audio. In the next step, we will explore how to configure the sound settings on your PC.
Step 4: Configure Sound Settings
Now that you have connected the speakers of your surround sound system to your computer, it’s time to configure the sound settings to ensure optimal performance. This step involves adjusting the audio settings on your PC to enable surround sound and make any necessary adjustments for a balanced and immersive audio experience.
Start by accessing the sound settings on your computer. On Windows, you can do this by right-clicking on the speaker icon in the system tray and selecting “Open Sound settings” or “Playback devices”. On macOS, go to System Preferences and select “Sound”.
In the sound settings, look for the option to set up a surround sound system. If you have connected a 5.1 system, select “5.1 Surround Sound” or a similar option. For a 7.1 system, choose “7.1 Surround Sound” if available. Make sure to apply the changes to activate the surround sound feature on your computer.
Next, check the audio balance between the speakers. Some sound systems come with speaker calibration tools or built-in audio test tones. These tools can help you adjust the volume and balance of each speaker to achieve an optimal surround sound experience. Follow the instructions provided by your surround sound system or refer to the user manual for specific guidance on speaker calibration.
Additionally, you may want to adjust the equalizer settings to fine-tune the audio output. Experiment with different presets or manually adjust the equalizer sliders to enhance specific frequency ranges based on your personal preferences.
If your surround sound system has any proprietary software or drivers, make sure to install and configure them according to the manufacturer’s instructions. These software programs often provide additional audio customization options, including surround sound effects and virtualization.
Once you have configured the sound settings to your liking and ensured that the surround sound feature is enabled, it’s time to move on to the final step – testing the surround sound system.
Remember, the specific steps and options for configuring sound settings may vary depending on your operating system, sound card, and surround sound system. Refer to the respective user manuals or manufacturer’s documentation for more detailed instructions.
Step 5: Test the Surround Sound System
After connecting and configuring your surround sound system, it’s important to test the setup to ensure that everything is working properly. Testing allows you to verify the functionality of each speaker and ensure that the surround sound effect is accurately reproduced.
Start by playing content that supports surround sound, such as a movie or a game. Make sure the audio source is set to output in surround sound format, if applicable. This can usually be done through the settings of the media player or game console.
As the content is playing, pay attention to the audio coming from each speaker. Check if the sounds are properly distributed and if you can hear distinct audio cues from different directions. For example, in a 5.1 system, you should be able to hear sounds coming from the front and rear speakers as well as the center channel.
If you notice any issues with the audio distribution or if some speakers are not producing sound, double-check the connections between the central receiver and the speakers. Ensure that all cables are securely plugged in and that the polarity of the speaker wires is correct.
During the testing phase, you may also want to adjust the volume levels of individual speakers to achieve a balanced audio experience. Most surround sound systems allow you to control the volume of each speaker independently, either through the central receiver or through software controls.
Furthermore, pay close attention to any audio artifacts or distortion that may occur during playback. If you notice any unusual noises or audio quality issues, ensure that your sound card drivers are up to date, and consider adjusting the settings or troubleshooting the issue further.
Testing your surround sound system allows you to fine-tune the audio settings and ensure that the system is providing the immersive audio experience it was designed for. Proper testing will enhance your enjoyment of movies, games, and music, letting you experience sound in a whole new way.
With the surround sound system successfully tested and verified, you can now sit back, relax, and immerse yourself in a world of rich, multidimensional audio. Enjoy the breathtaking soundscapes that your surround sound system brings to life.
Conclusion
Connecting a surround sound system to your PC can transform your audio experience and bring a new level of immersion to your entertainment setup. By following the steps outlined in this guide, you can ensure a seamless and satisfying connection process.
Starting with determining the type of surround sound system you have and checking the compatibility of your computer, you can lay the foundation for a successful setup. By connecting the speakers to your PC and configuring the sound settings, you can optimize the audio output for a balanced and immersive surround sound experience.
Testing the surround sound system ensures that all speakers are functioning correctly and that the surround sound effect is accurately reproduced. By troubleshooting any issues and fine-tuning the settings, you can achieve the best possible audio quality.
Remember, every surround sound system and computer setup may have specific requirements and nuances. Consult the user manual for your surround sound system and your computer’s specifications for more detailed instructions and troubleshooting tips.
Now that you have connected and tested your surround sound system, it’s time to sit back, relax, and enjoy the immersive audio experience that awaits you. Whether you’re watching movies, playing games, or listening to music, your surround sound system will enhance every aspect of your entertainment.
So, grab some popcorn, put on your favorite movie, and prepare to be enveloped by the captivating audio that only a surround sound system can provide. Get ready to experience sound in a whole new dimension!