Introduction
Welcome to the world of immersive audio experience! If you’re looking to elevate your PC audio setup and take your entertainment to new heights, setting up a surround sound system is a game-changer. Whether you’re a music enthusiast, a movie buff, or a gamer, a surround sound system can transport you into a world of realistic soundscapes, bringing your media to life.
In this guide, we’ll walk you through the process of setting up a surround sound system on your PC. We’ll cover everything from understanding surround sound technology to choosing the right system for your needs, and configuring the settings on both Windows and Mac.
Surround sound refers to a system where multiple speakers are strategically placed around the room to create an immersive audio experience. Instead of sound coming from just the left and right speakers like in traditional stereo setups, surround sound systems use additional speakers placed behind, on the sides, and sometimes above or below the listener to envelop them in an immersive sound field.
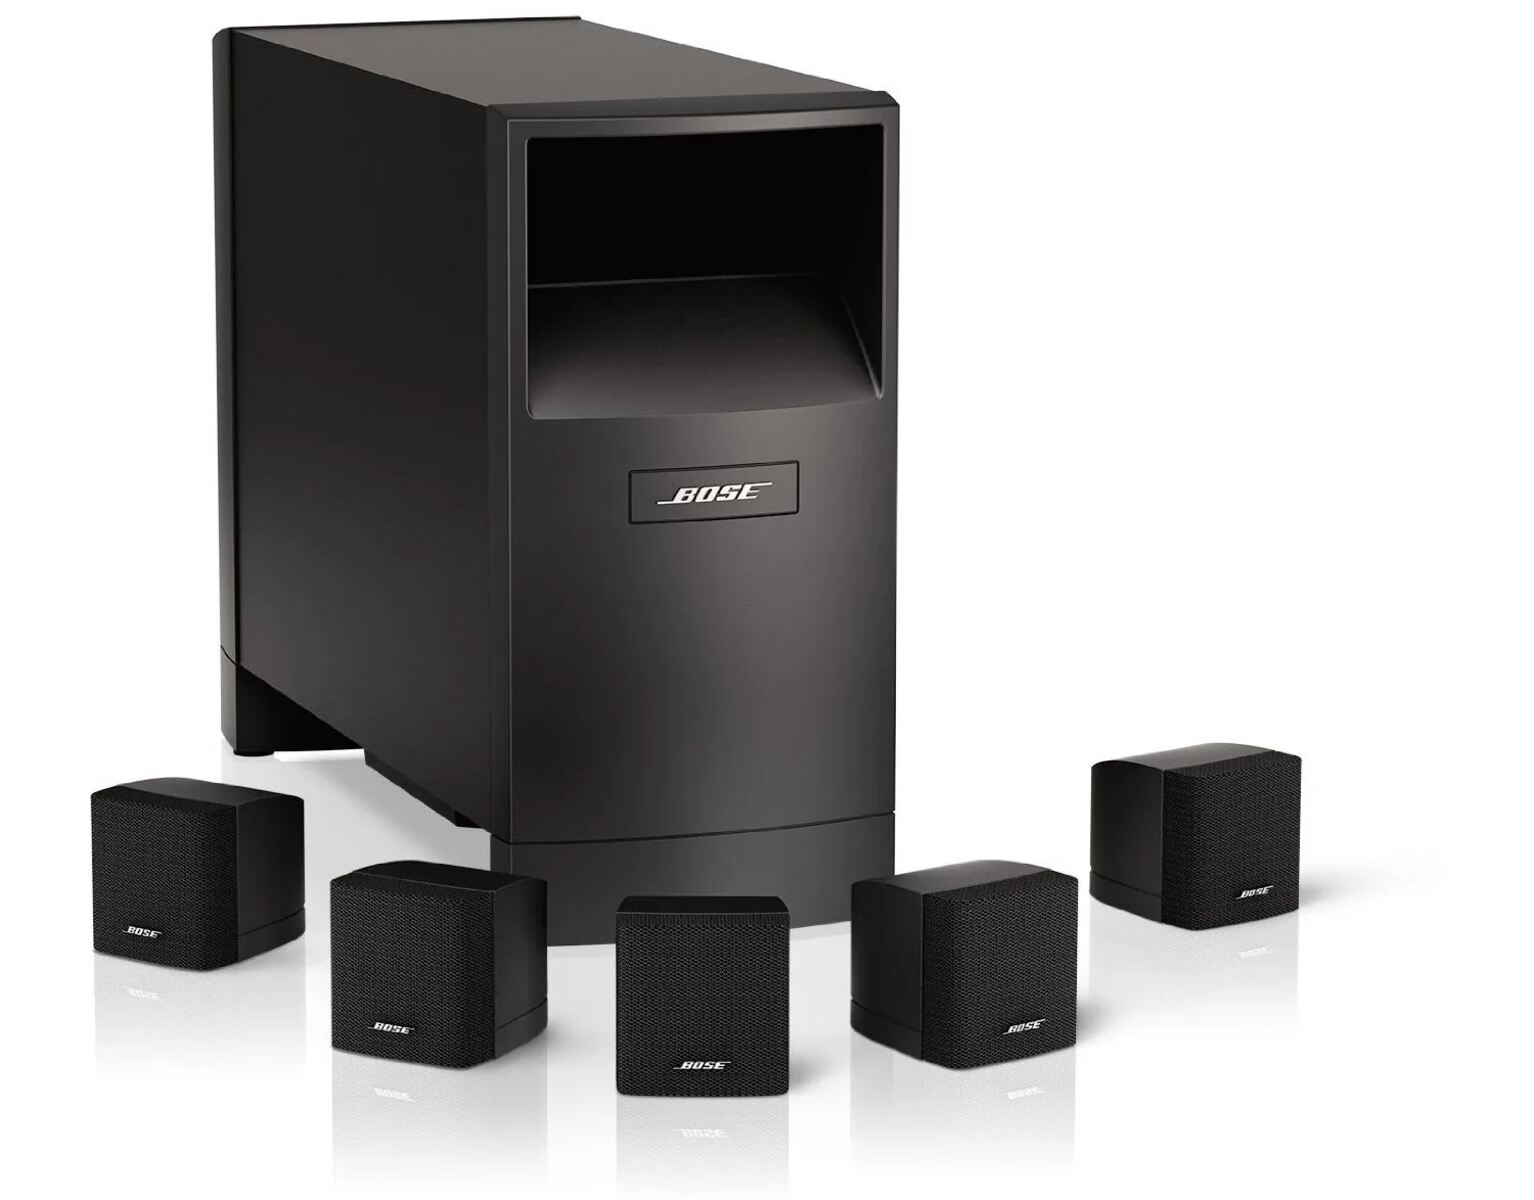
One of the first considerations when setting up a surround sound system is choosing the right system for your PC. There are various types of surround sound systems available, ranging from 2.1 setups (which include two stereo speakers and a subwoofer) to more advanced 7.1 or even 9.1 setups (which include multiple speakers and subwoofers).
Before diving into the setup process, it’s important to ensure that your PC is equipped to handle a surround sound system. Most modern PCs come with built-in audio interfaces that support surround sound, but it’s always a good idea to double-check the specifications of your PC’s sound card or audio chipset to confirm compatibility.
Once you’re sure that your PC is ready, it’s time to connect the speakers. This involves connecting each speaker to the appropriate audio ports on your PC. The exact setup process may vary depending on the specific system you’ve chosen, but generally, you’ll need to connect the front, rear, center, and subwoofer speakers to the corresponding ports on your PC.
Understanding Surround Sound
Before delving into the setup process, it’s essential to understand the concept of surround sound and how it enhances your audio experience. Surround sound is a technology that creates a three-dimensional audio environment by distributing sound through multiple speakers placed strategically around the room.
Surround sound systems are typically categorized by numbers, such as 2.1, 5.1, 7.1, or 9.1. The first number represents the main speakers or channels that produce audio, while the second number denotes the presence of a subwoofer. For example, a 2.1 system consists of two main speakers and one subwoofer.
The main speakers in a surround sound setup are usually placed in front of the listener. Additional speakers, referred to as surround or satellite speakers, are positioned at the sides, rear, or even above the listener to create a more immersive experience.
The primary aim of surround sound technology is to replicate the natural soundscape that our ears perceive in real-life situations. By distributing audio across different channels, surround sound systems can reproduce directional and three-dimensional sound effects.
Surround sound formats, such as Dolby Digital or DTS, use complex encoding techniques to encode audio signals and allow for precise placement of sounds in a room. This encoding enables the system to create a convincing illusion of sounds coming from specific directions, making movies, music, and games feel more realistic and immersive.
In movies, surround sound technology plays a crucial role in simulating a cinematic experience. It enables the sound to move seamlessly across the speakers, giving the viewer the impression that the action is happening all around them. This creates a heightened sense of immersion, enabling viewers to feel more involved in the story.
For gamers, surround sound enhances gameplay by providing accurate positional audio cues. This enables players to pinpoint the source of in-game sounds, such as footsteps or gunshots, which can give them a competitive edge.
When it comes to music, surround sound systems can breathe new life into your favorite tracks. It allows for a more expansive and enveloping listening experience, with instruments and vocals appearing to come from different directions, providing a greater sense of depth and clarity to the music.
Understanding the fundamentals of surround sound helps you appreciate the technology behind it and make informed choices when setting up your own system. With the right setup and configuration, you can transform your PC into a true entertainment powerhouse, elevating your audio experience to new heights.
Choosing the Right Surround Sound System
When it comes to choosing a surround sound system for your PC, there are a few key factors to consider to ensure you select the right setup that suits your needs and preferences. Here are some important aspects to keep in mind:
1. Number of Channels: The number of channels indicates the configuration of speakers in the surround sound system. The most common setups are 2.1, 5.1, 7.1, and 9.1. The first number represents the number of main speakers, while the second number denotes the presence of a subwoofer. Determine the level of immersion you desire and choose a system accordingly.
2. Room Size and Layout: The size and layout of your room play a significant role in deciding the ideal surround sound system. Larger rooms may benefit from setups with more speakers, while smaller rooms can still provide an immersive experience with fewer speakers. Consider the space available and ensure the speakers can be properly positioned for optimal sound distribution.
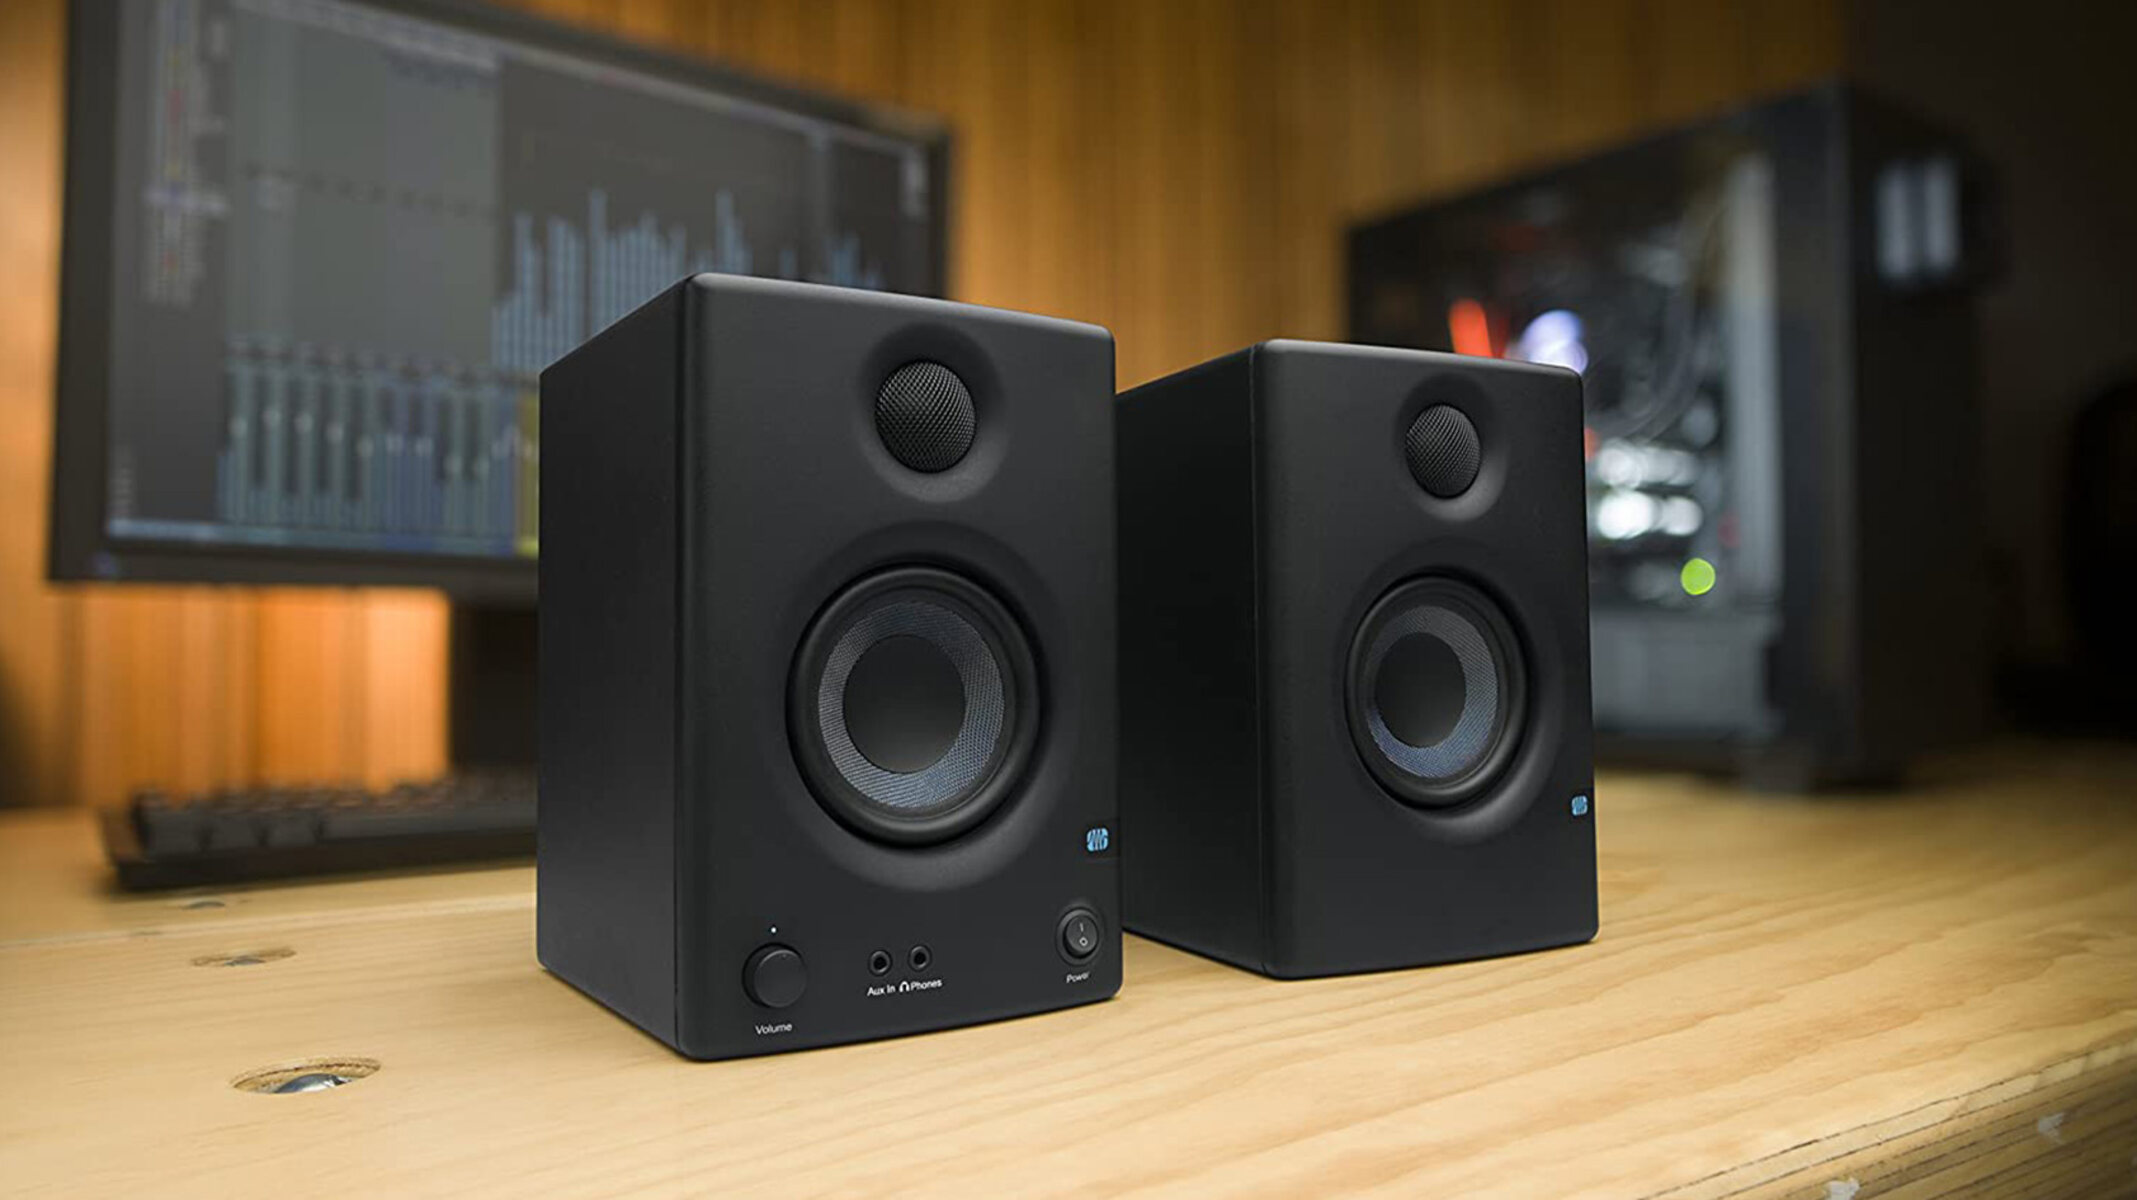
3. Speaker Type: Different speaker designs can impact the sound quality and overall experience. Bookshelf speakers are compact and suitable for smaller spaces, while floor-standing speakers provide a more robust and powerful audio output. Satellite speakers are typically used for surround sound setups, as they can be easily placed around the room to create the desired soundstage.
4. Subwoofer: The subwoofer is responsible for reproducing low-frequency sounds and adding depth to the audio experience. Ensure that the subwoofer matches the output capabilities of the main speakers and complements the overall system. It should be able to deliver rich and impactful bass without overwhelming the other frequencies.
5. Compatibility: Check the compatibility of the surround sound system with your PC. Confirm that the system supports the necessary audio codecs and has the appropriate connectivity options to connect to your PC’s audio outputs. Additionally, ensure that your PC’s sound card or audio chipset can handle the specific system you choose.
6. Budget: Consider your budget and allocate funds accordingly. Surround sound systems can range in price, so it’s important to set a budget and explore options within that range. Keep in mind that investing in a higher-quality system often results in superior audio performance and durability, so weigh the options carefully.
By considering these factors, you can make an informed decision when selecting the right surround sound system for your PC. Remember that each person’s audio preferences and needs may differ, so it’s important to choose a system that aligns with your specific requirements, whether you prioritize gaming, movies, music, or a combination of all.
Checking PC Compatibility
Before diving into setting up a surround sound system on your PC, it’s essential to ensure that your computer is compatible with the setup you have in mind. Here are a few steps to check the compatibility of your PC:
1. Audio Ports: Check the audio ports available on your PC. Most modern PCs have at least three audio ports: line-in, line-out, and microphone. However, for a surround sound setup, you’ll need additional ports to connect the multiple speakers. Look for ports labeled as “rear,” “center/subwoofer,” and “side” to accommodate the additional speaker connections.
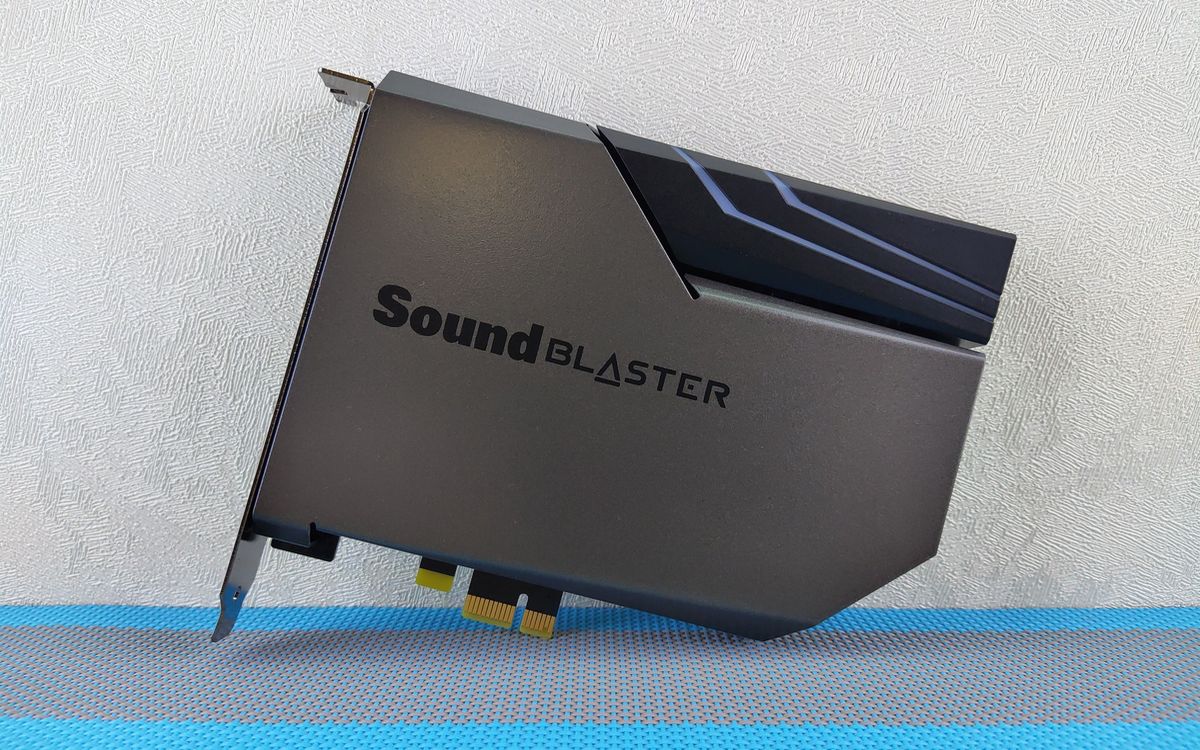
2. Sound Card or Audio Chipset: Confirm the specifications of your PC’s sound card or audio chipset. These components play a crucial role in delivering high-quality audio and supporting surround sound features. Check the manufacturer’s documentation or visit the manufacturer’s website to verify if your sound card or audio chipset supports the desired surround sound setup.
3. Audio Drivers: Update your audio drivers to the latest version. Outdated or incompatible drivers can create issues when setting up a surround sound system. Visit the manufacturer’s website or use a reliable driver update tool to ensure that your PC has the most up-to-date audio drivers installed.
4. Software Compatibility: Determine whether the software you use for multimedia playback or gaming supports surround sound. Check the settings within the software to enable surround sound output and ensure that it is compatible with the chosen audio format, such as Dolby Digital or DTS.
5. System Requirements: Review the system requirements of the surround sound system you plan to use. Some systems may have specific hardware or software requirements that need to be met for optimal performance. Ensure that your PC meets these requirements to prevent any compatibility issues.
6. Connectivity Options: Check the connectivity options available on your PC and compare them with the inputs on the surround sound system. Ensure that there are compatible connectors or cables to establish a proper connection. Common connectivity options include HDMI, optical audio, and analog RCA cables.
By conducting these compatibility checks, you can ensure that your PC is ready to support a surround sound system. Addressing any compatibility issues beforehand will save you time and frustration during the setup process and allow you to enjoy the immersive audio experience without any technical hurdles.
Connecting the Speakers
Once you have selected and confirmed the compatibility of your surround sound system, it’s time to connect the speakers to your PC. Follow these steps to properly connect the speakers:
1. Identify the Speaker Cables: Each speaker in your surround sound system will have its own cable. Take a moment to identify the cables for the front speakers, rear speakers, center speaker, and subwoofer. Most cables are color-coded or have labels to indicate their purpose.
2. Locate the Audio Ports: On the back of your PC, locate the audio ports corresponding to the speakers. The ports are typically labeled with icons or text indicating their purpose. Look for ports labeled “front,” “rear,” “center/subwoofer,” and “side” or any similar designations.
3. Connect the Front Speakers: Take the cable for the front left speaker and connect it to the audio port labeled “front left” or “front L.” Connect the front right speaker cable to the audio port labeled “front right” or “front R.” Ensure that the cables are securely plugged into the correct ports.
4. Connect the Rear Speakers: For a 5.1 or higher surround sound system, connect the cables for the rear left and rear right speakers. Plug the rear left speaker cable into the port labeled “rear left” or “rear L,” and connect the rear right speaker cable to the port labeled “rear right” or “rear R.” Again, double-check to make sure the cables are securely connected.
5. Connect the Center Speaker: For systems that include a center speaker, take the cable for the center speaker and connect it to the audio port labeled “center” or “center/subwoofer.” Ensure a secure connection to deliver clear dialogue and center-channel audio.
6. Connect the Subwoofer: Finally, connect the subwoofer cable to the audio port labeled “subwoofer” or “LFE” (low-frequency effects). The subwoofer cable is typically thicker and specially designed to handle low-frequency signals. Ensure a secure connection to enhance the bass performance of your surround sound system.
7. Power On and Test: Once all the speakers are connected, power on your PC and the surround sound system. As a test, play some audio or a video that has multi-channel audio. Make sure that sound is coming from all the speakers and that each speaker is functioning correctly.
Always refer to the instruction manual provided with your surround sound system for specific guidance on connecting the speakers. Properly connecting the speakers is crucial to achieving optimal audio performance and immersing yourself in a true surround sound experience.
Configuring Surround Sound Settings on Windows
Once you have physically connected the speakers to your PC, it’s important to configure the surround sound settings in Windows to ensure the audio is properly distributed across the connected speakers. Follow these steps to configure surround sound settings on Windows:
1. Open Sound Settings: Right-click on the speaker icon in the taskbar and select “Open Sound settings” or navigate to the Sound settings through the Control Panel.
2. Select Playback Devices: In the Sound settings window, click on the “Playback” tab. You will see a list of audio playback devices connected to your PC.
3. Configure Speakers: Locate the audio device that corresponds to your surround sound system. It may be labeled as “Realtek,” “High Definition Audio,” or with the name of your specific sound card. Right-click on the audio device and select “Configure Speakers.”
4. Speaker Setup Wizard: The Speaker Setup Wizard will guide you through the process of configuring the speakers. Choose the appropriate speaker configuration based on your setup, such as 5.1 or 7.1, and click “Next.”
5. Test Speaker Placement: In the Speaker Setup Wizard, the wizard will play audio test tones through each connected speaker. Follow the instructions to ensure that the test sounds are coming from the correct speakers. If any speakers are not working, double-check the connections and configuration settings.
6. Completing the Setup: Once the Speaker Setup Wizard has finished testing all the speakers, click “Finish” to apply the changes and exit the wizard.
7. Configure Audio Formats: If desired, you can further configure the audio formats and enhancements by going to the “Properties” of the selected audio device. In the Properties window, navigate to the “Advanced” tab, where you can select the audio formats supported by your surround sound system, such as Dolby Digital or DTS. You can also adjust additional audio enhancements to customize your audio experience.
After configuring the surround sound settings, test the audio output with various multimedia content to ensure that the surround sound system is functioning properly. Enjoy the immersive audio experience as the sound is now distributed accurately across the connected speakers, providing you with an enhanced audio journey.
Configuring Surround Sound Settings on Mac
If you’re using a Mac and have set up your surround sound system, you’ll need to configure the audio settings to ensure proper distribution of sound across the connected speakers. Follow these steps to configure surround sound settings on Mac:
1. Open Sound Preferences: Click on the Apple menu in the top-left corner of your screen and select “System Preferences.” In the System Preferences window, click on the “Sound” icon.
2. Choose the Output Tab: In the Sound preferences window, click on the “Output” tab. This will show the audio output devices connected to your Mac.
3. Select the Surround Sound Device: Locate the audio output device that corresponds to your surround sound system. It may be listed as “HDMI,” “Digital Output,” or with the name of your specific sound card. Select the appropriate audio output device for your system.
4. Configure Output Options: Once you have selected the surround sound device, click on the “Configure Speakers…” button. This will open the speaker configuration options for your surround sound system.
5. Speaker Configuration: In the Speaker Configuration window, choose the appropriate speaker setup for your system, such as 5.1 or 7.1 surround sound. Click “Continue” to proceed.
6. Test Speaker Placement: The Speaker Configuration window will guide you through testing each connected speaker. Follow the instructions to ensure that the test sounds are coming from the correct speakers. If any speakers are not working, double-check the connections and configuration settings.
7. Apply the Settings: After completing the speaker configuration and testing, click “Done” to save the settings and exit the configuration window.
With the surround sound settings properly configured, you can now enjoy an immersive audio experience on your Mac. Test the audio output with different media content to ensure that the surround sound system is working correctly, and sound is distributed accurately across the connected speakers.
If you want to adjust additional audio settings, you can explore the “Sound Effects” and “Output” tabs in the Sound preferences. From there, you can customize the audio balance, volume levels, and other enhancements to personalize your surround sound experience.
Take your entertainment to the next level as you sit back and enjoy the captivating audio experience provided by your properly configured surround sound system on your Mac.
Troubleshooting Common Issues
While setting up and configuring a surround sound system on your PC, you may encounter some common issues. Here are a few troubleshooting tips to help you resolve them:
1. No Sound from All Speakers: If you’re not hearing any sound from all the speakers, double-check the speaker connections to ensure they are properly plugged in. Also, verify that the audio settings on your PC are configured to output sound to all the speakers. If the issue persists, try adjusting the speaker balance settings to ensure sound is evenly distributed.
2. Single Speaker Not Working: If one particular speaker is not producing sound, check its individual connection to the PC. Make sure the cable is securely plugged into both the speaker and the corresponding audio port on the PC. Additionally, confirm that the speaker is functioning correctly by testing it with another audio source or swapping it with a known working speaker.
3. Incorrect Speaker Placement: If the audio doesn’t seem to be coming from the correct direction or the surround effect feels off, verify the placement of the speakers. Ensure they are positioned correctly as per the user manual or setup guides. Consider the distance, angle, and height of the speakers to achieve the desired sound distribution.
4. Inconsistent Sound Levels: If the sound levels vary significantly between different speakers, check the speaker volume settings on your PC. Ensure that the volume levels of each speaker are balanced and adjusted appropriately. You can also use audio calibration tools or software to help fine-tune the sound levels across the speakers.
5. Audio Codec Compatibility: If you’re experiencing issues with specific audio formats, ensure that your PC supports the necessary audio codecs. Some surround sound systems require specific codecs, such as Dolby Digital or DTS, to play certain audio formats. Update your audio drivers and multimedia software to the latest versions to ensure compatibility.
6. Audio Lag or Delay: If you notice a noticeable delay or lag between the audio and the visuals, adjust the audio settings in your multimedia software. Look for options like “audio delay” or “lip sync” and make small adjustments until the audio and video are in sync. Additionally, make sure your audio drivers are up to date to minimize any latency issues.
7. Interference or Distorted Sound: If you’re experiencing interference or distorted sound, ensure that there are no electronic devices or Wi-Fi routers near the speakers that could cause interference. Also, check the cables for any damage or loose connections. If the issue persists, you may need to consider upgrading or replacing the cables to improve audio quality.
If you encounter any other issues not mentioned here, refer to the troubleshooting section in the user manual of your surround sound system or seek support from the manufacturer’s website or customer service. Resolving these common issues will help you maximize the potential of your surround sound system and enjoy its immersive audio experience to the fullest.
Conclusion
Setting up a surround sound system on your PC is a fantastic way to elevate your audio experience and immerse yourself in a world of realistic soundscapes. By understanding the principles of surround sound, choosing the right system, checking PC compatibility, connecting the speakers correctly, and configuring the settings, you can create a captivating audio environment that enhances your music, movies, and gaming.
Whether you opt for a 2.1, 5.1, 7.1, or even more advanced surround sound setup, each speaker placement and configuration plays a crucial role in replicating the immersive audio experience found in movie theaters, concert halls, and gaming arenas.
Remember to verify the compatibility of your PC, update your audio drivers, and explore the available audio settings to guarantee optimal performance and proper sound distribution across the connected speakers.
Don’t hesitate to troubleshoot common issues that may arise, such as sound imbalance, speaker connectivity problems, or audio format compatibility. With the right troubleshooting steps and assistance, you can overcome these obstacles and enjoy an immersive soundscape tailored to your preferences.
Now that you have the knowledge and guidance to set up and configure a surround sound system on your PC, it’s time to embark on this audio journey. Elevate your entertainment experience, feel the music come alive, and immerse yourself in virtual worlds with a surround sound setup that truly transports you.
So, grab your favorite multimedia content, sit back, and let the power of surround sound take you on an enchanting audio adventure that will leave you captivated and amazed.