Introduction
Welcome to our guide on how to connect an iPod to a surround sound system! If you’re an avid iPod user and want to take your music listening experience to the next level, connecting your iPod to a surround sound system is a great choice. With a surround sound system, you can enjoy your favorite songs with enhanced audio quality, creating a more immersive and enjoyable experience.
Whether you’re hosting a party, watching a movie, or simply want to amplify the sound for personal listening, connecting your iPod to a surround sound system opens up a whole new world of audio possibilities. The process may seem a bit daunting, but fear not – we’re here to guide you through it step by step.
In this guide, we’ll take you through the different options for connecting your iPod to a surround sound system. We’ll discuss both analog and digital connections, and provide tips on how to choose the right cables and adapters for a seamless connection. By the end of this guide, you’ll have your iPod playing through your surround sound system like a pro!
Before we dive into the specific steps, it’s important to note that the options for connecting an iPod to a surround sound system can vary depending on the model of both devices. Therefore, it’s always a good idea to consult the user manuals for your iPod and the surround sound system to ensure compatibility and to find any device-specific instructions.
Now, without further ado, let’s get started with the first step: determining the output options on your iPod.
Step 1: Determine the output options on your iPod
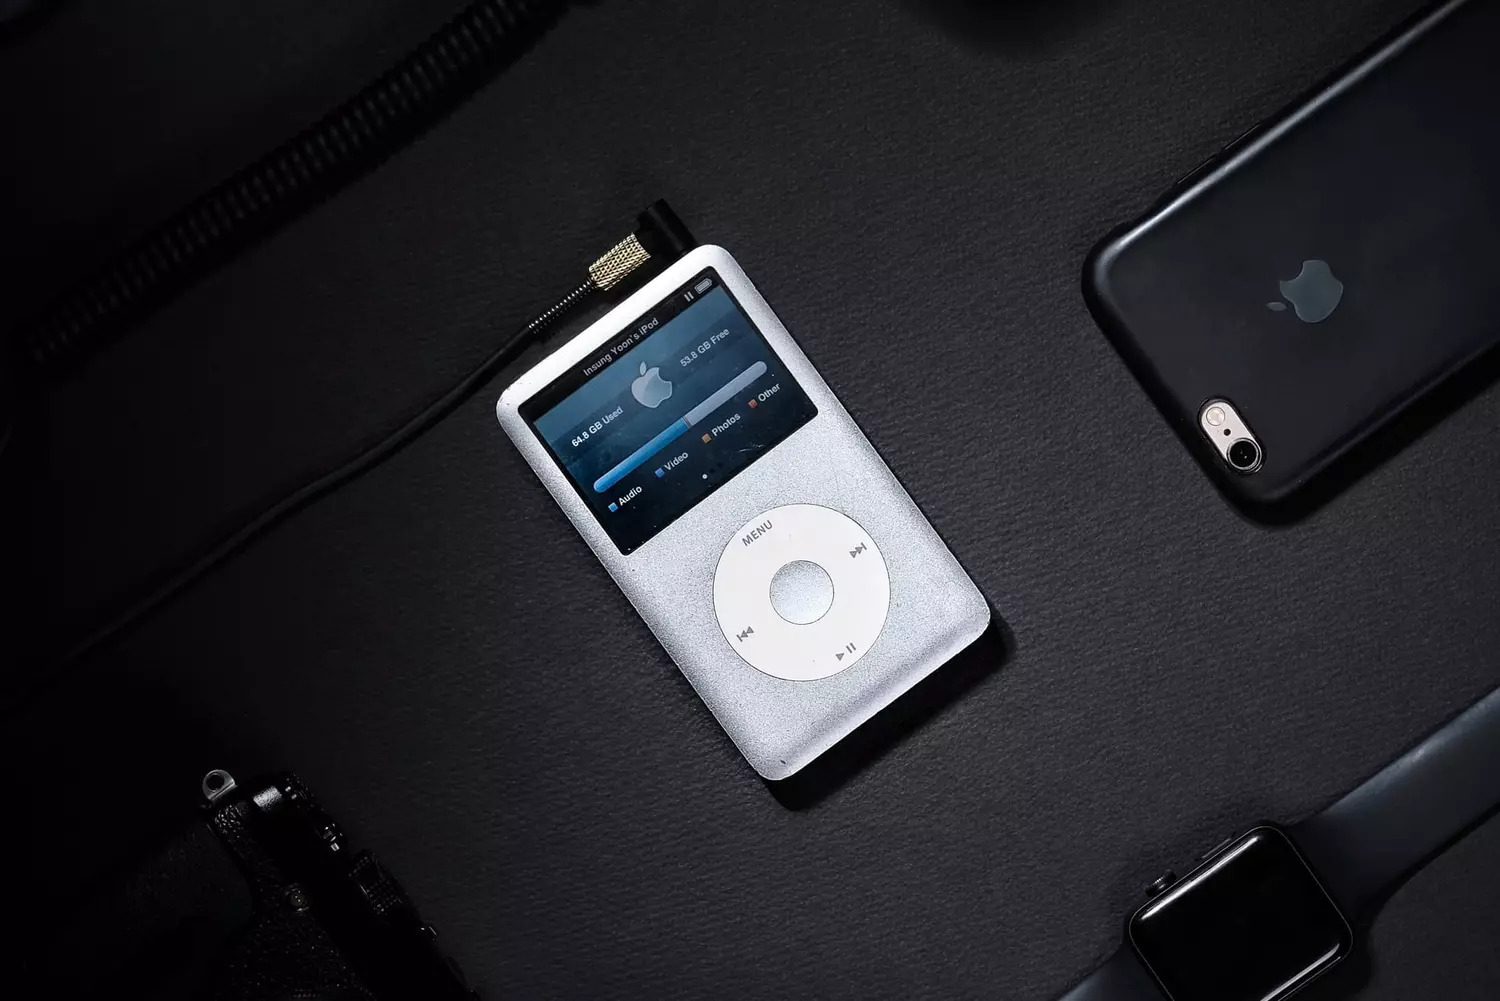
Before connecting your iPod to a surround sound system, it’s important to understand the output options available on your specific iPod model. Different iPods have different types of output ports, and knowing which ones are available will help determine the appropriate connection method.
There are two main types of output ports you may find on an iPod:
- Headphone Jack: Most iPod models come equipped with a standard 3.5mm headphone jack. This jack serves a dual purpose, as it can be used for both headphones and audio output to external devices like a surround sound system.
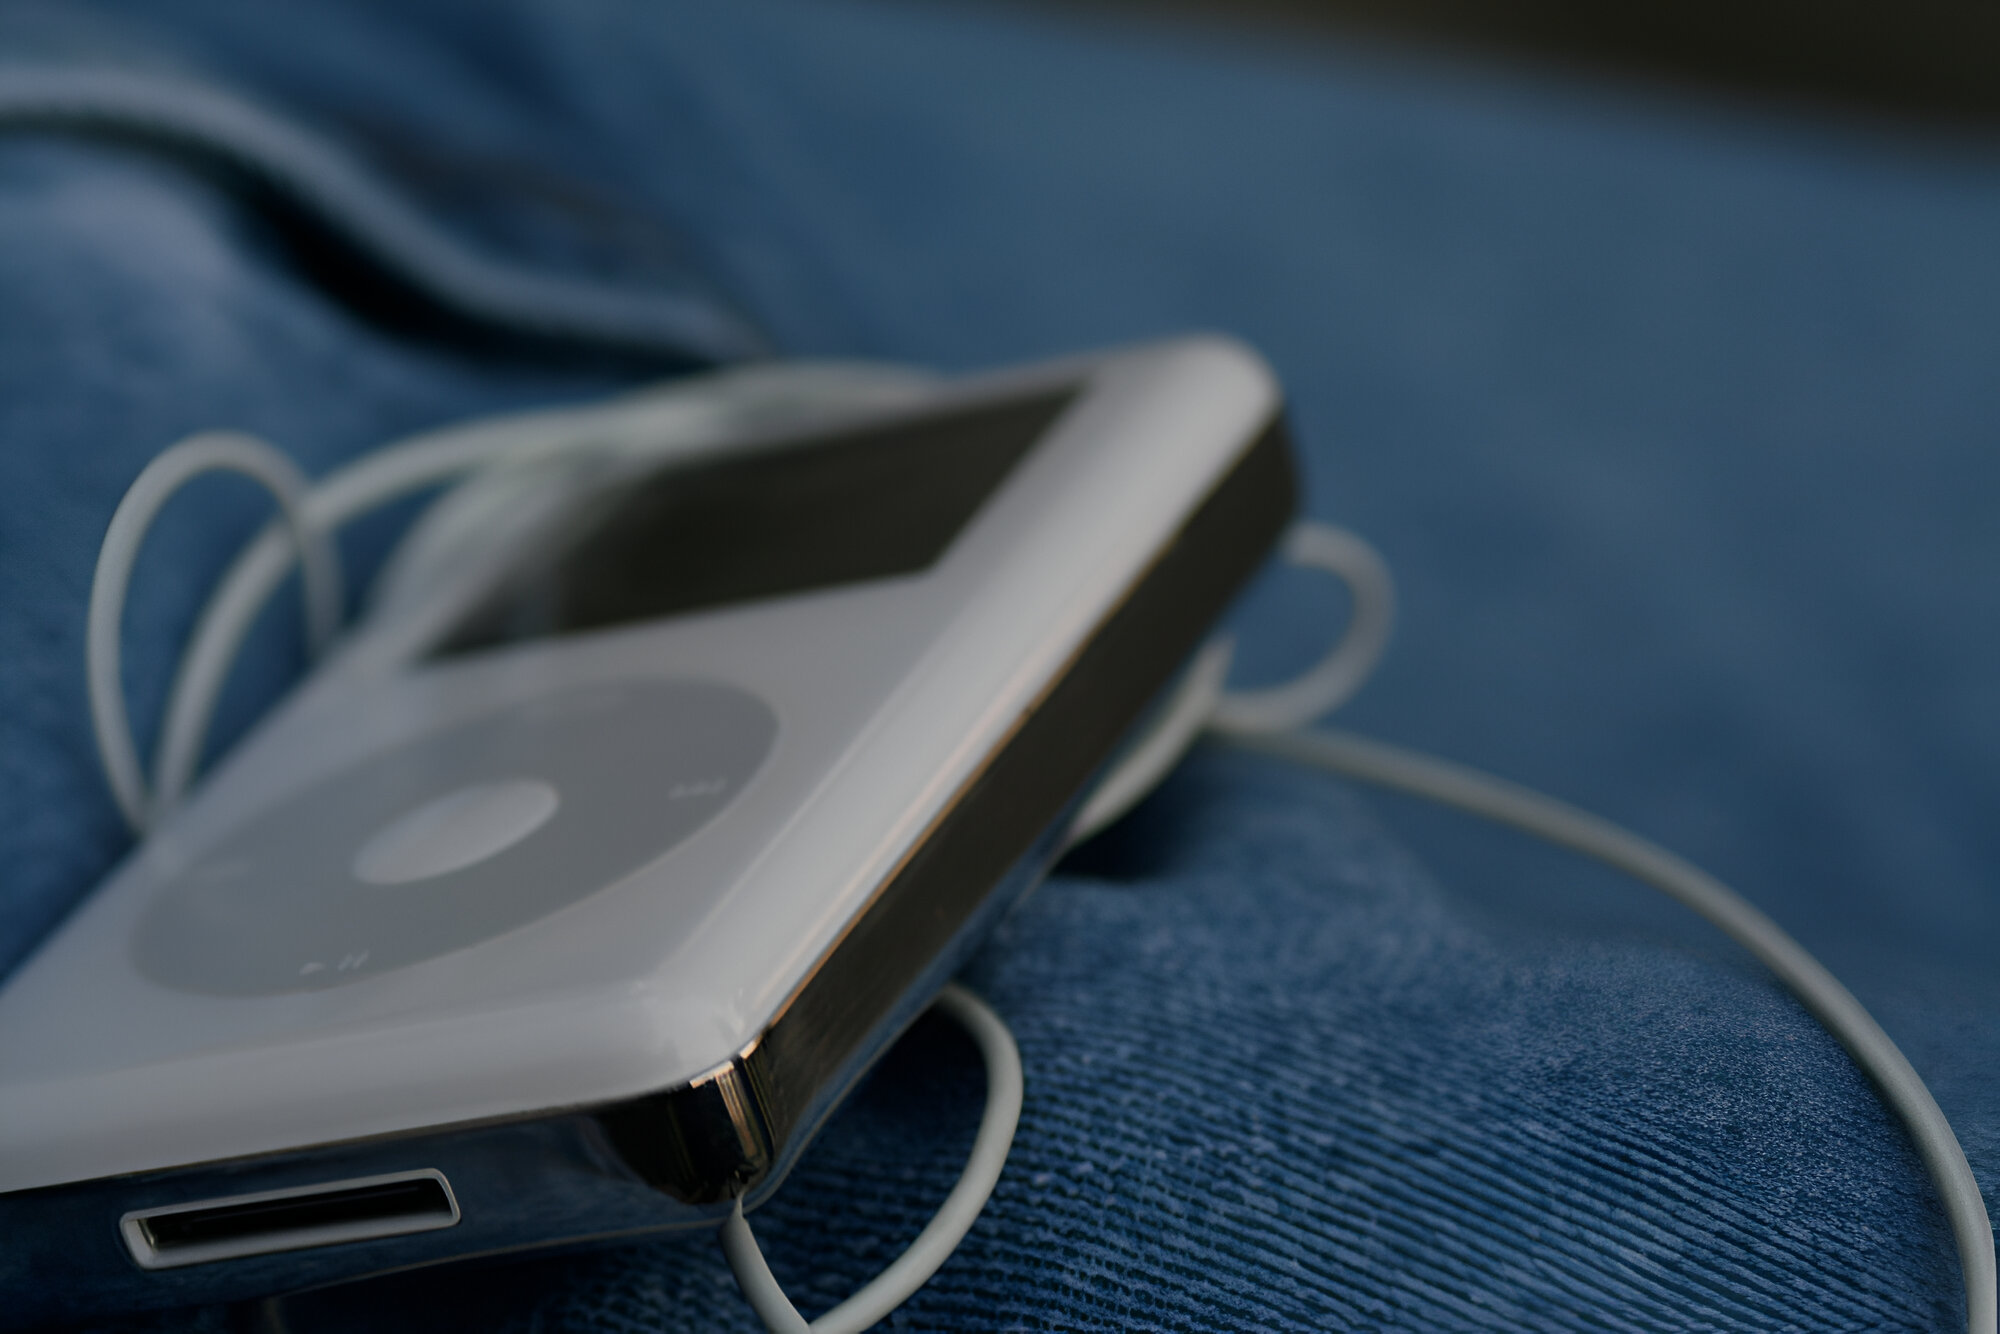
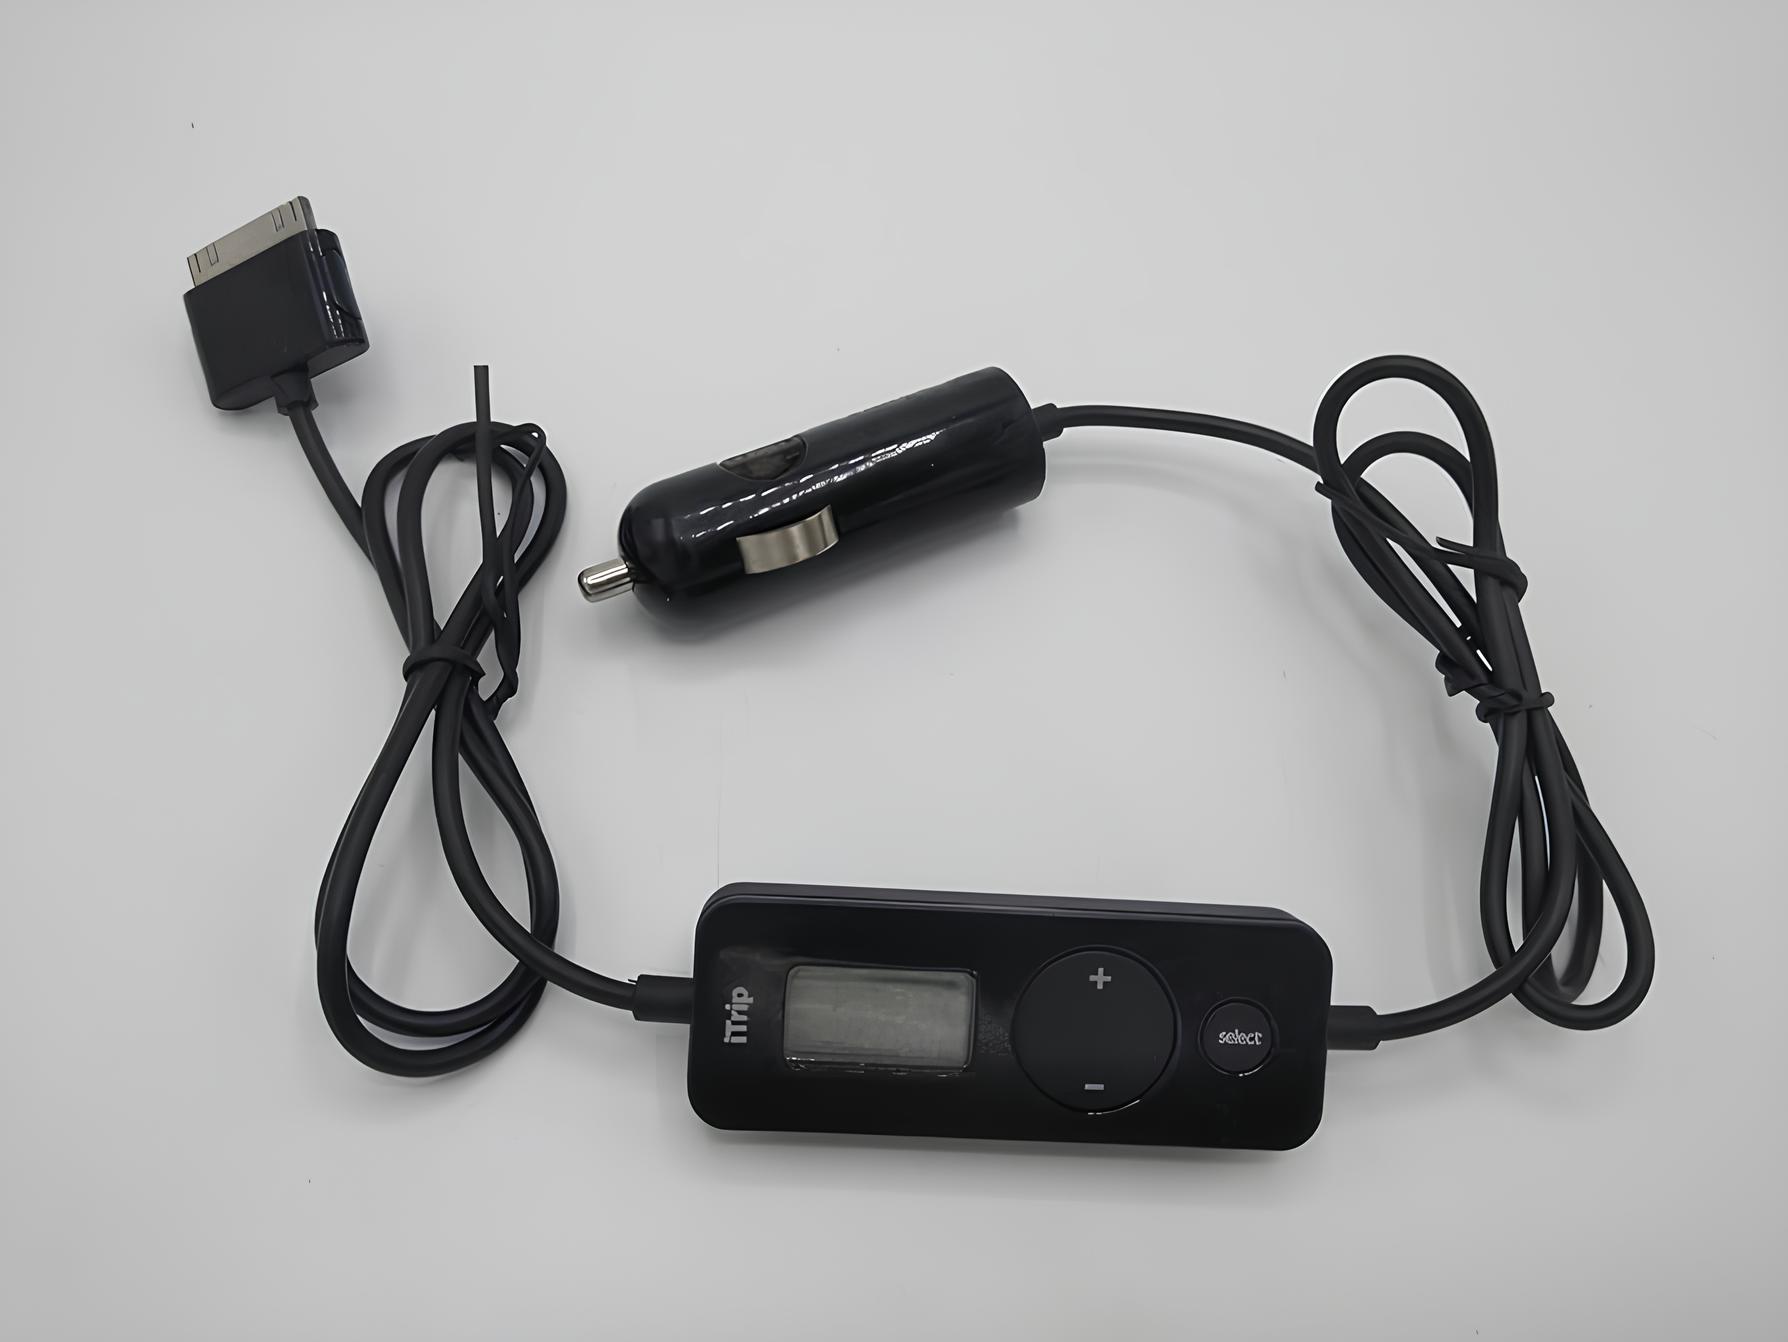
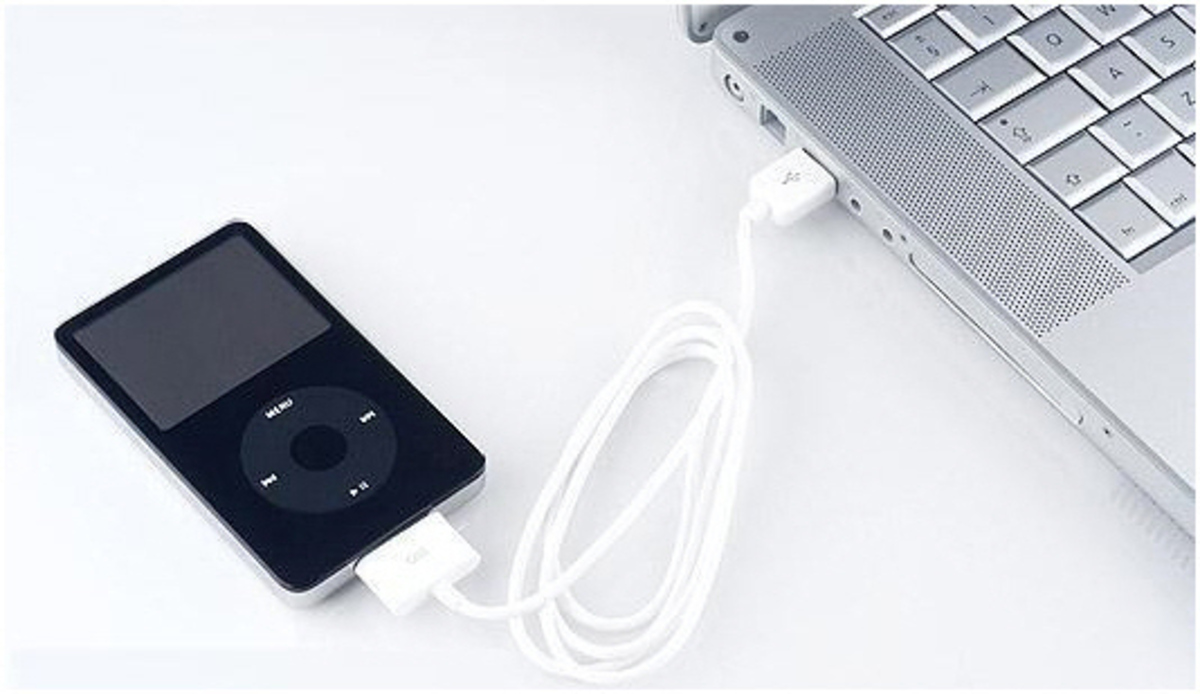
- Dock Connector: Older iPod models may have a dock connector, which requires a separate dock or adapter to connect to external devices.
To determine the output options on your iPod, take a close look at the physical ports and connectors on the device. If you see a headphone jack, it’s a good indication that you can connect your iPod directly to the surround sound system using an appropriate cable. If your iPod has a dock connector, you may need a specific dock or adapter to connect it to the surround sound system.
It’s important to note that some newer iPod models, such as iPod Touch, have replaced the traditional headphone jack with a Lightning connector. In this case, you will need a Lightning to 3.5mm adapter to connect your iPod to the surround sound system using the headphone jack.
Additionally, some iPod models may have both a headphone jack and a dock connector, offering multiple output options. Being aware of these options will allow you to choose the most suitable connection method based on the available ports on your iPod and the inputs on your surround sound system.
Once you’ve determined the output options on your iPod, you can move on to the next step: checking the audio inputs on your surround sound system.
Step 2: Check the audio inputs on your surround sound system
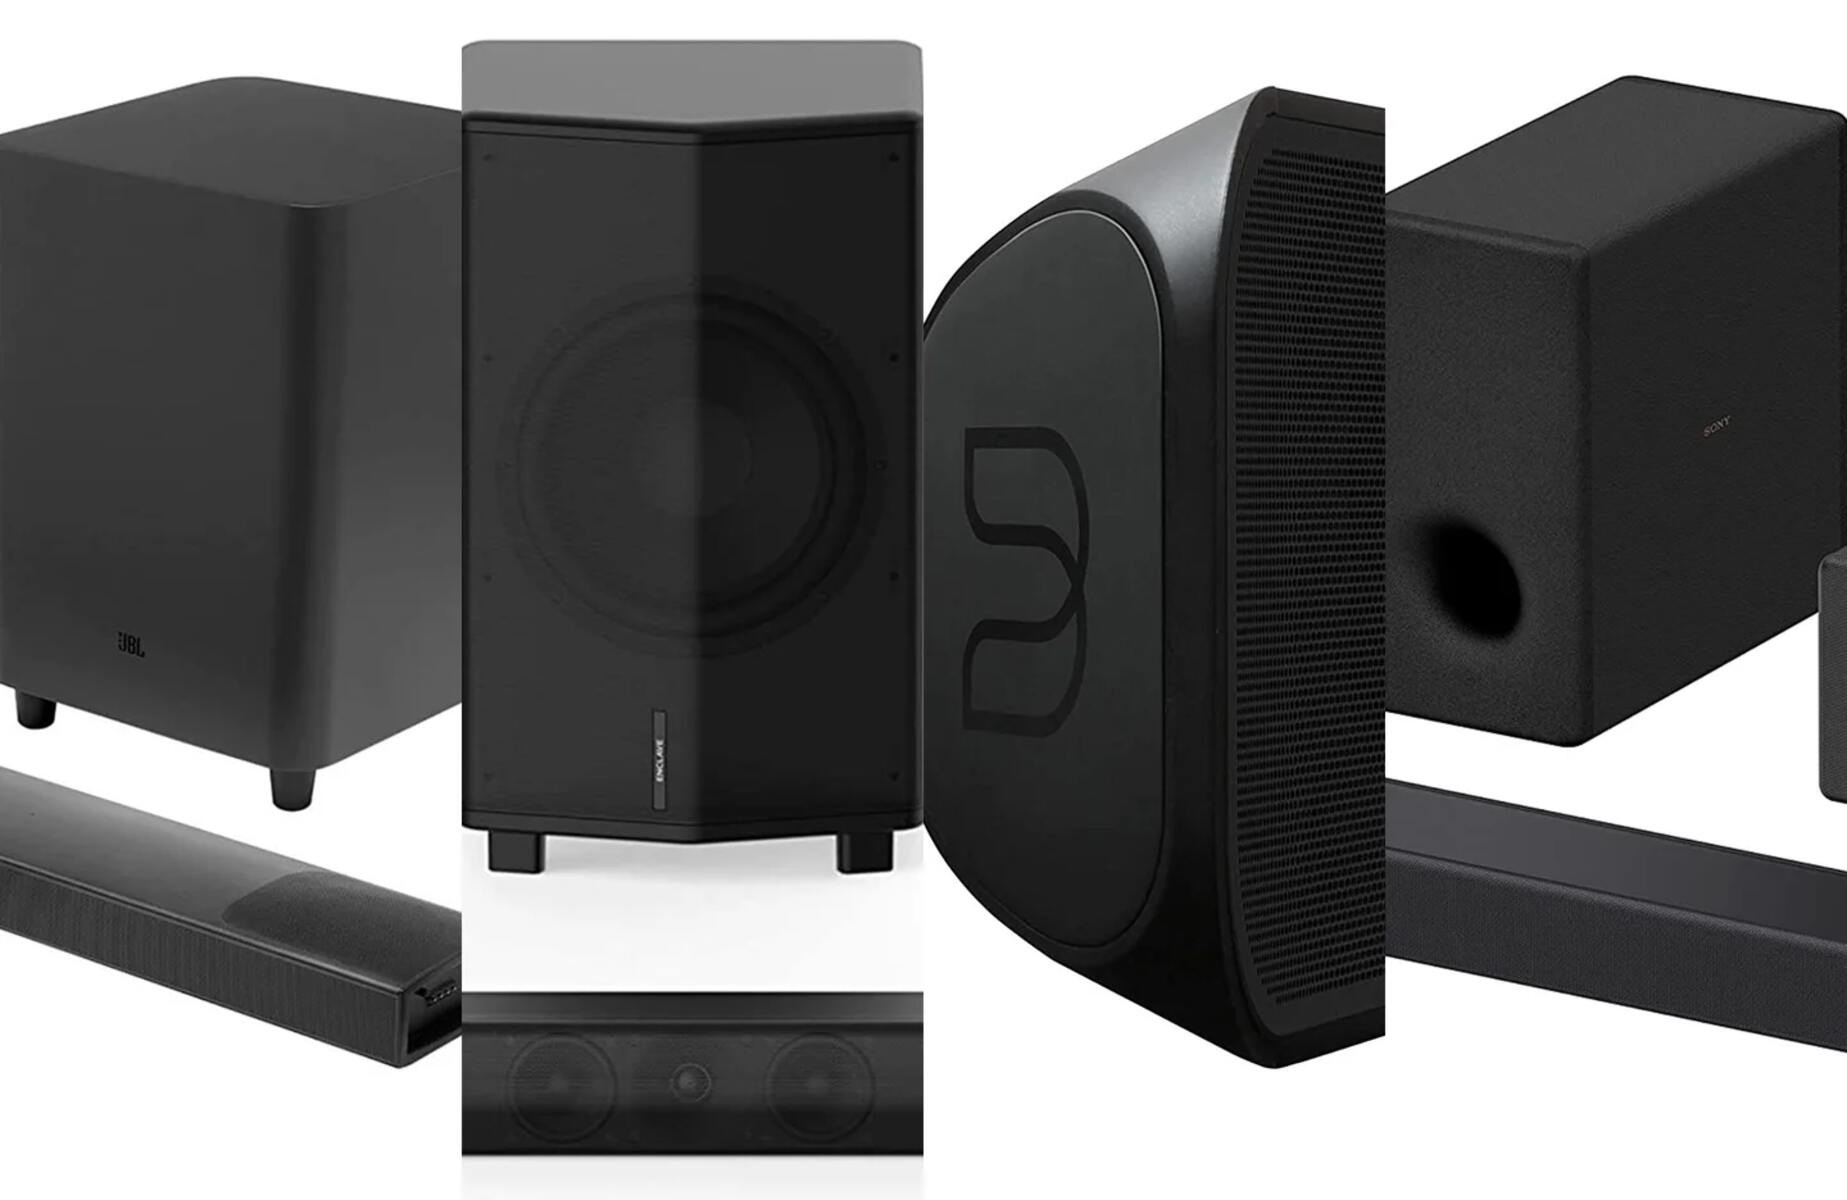
Before connecting your iPod to the surround sound system, it’s crucial to examine the audio inputs available on your surround sound system. Different systems may have different types of audio input ports, and knowing which ones are available will help determine the compatible connection method for your iPod.
Common audio input ports on surround sound systems include:
- Auxiliary (AUX) Input: This is a standard 3.5mm or RCA input that allows you to connect external audio devices, such as an iPod, using appropriate cables.
- HDMI Input: Some modern surround sound systems have HDMI inputs, which provide high-quality audio and video transmission. However, not all iPod models have HDMI output, so it’s essential to check if your iPod supports HDMI connectivity.
- Optical Input: Optical inputs use a fiber optic cable to transmit digital audio signals and are commonly found on surround sound systems. Some iPod models have optical output capabilities, so make sure to verify if your iPod supports this option.
- Coaxial Input: Coaxial inputs use coaxial cables to transmit digital audio signals. While not as common as other types of inputs, some surround sound systems may have this option available. Check if your iPod has a coaxial output, if needed.
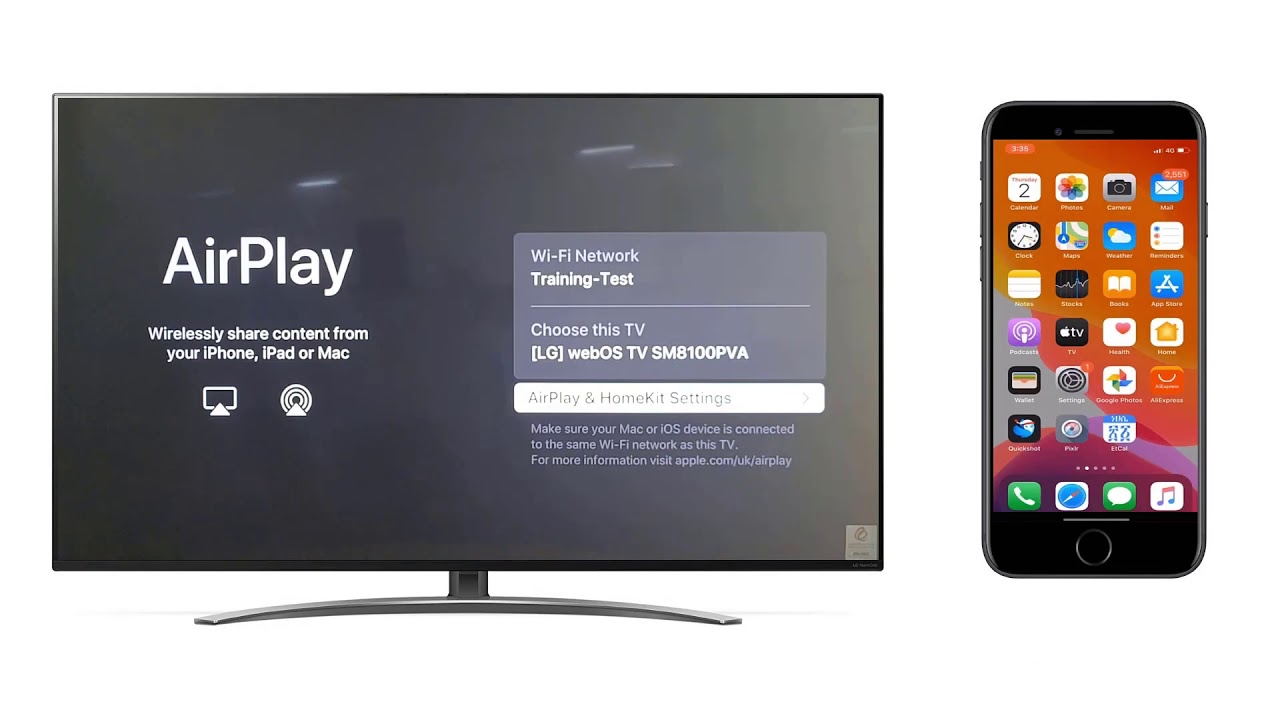
- Wireless Connectivity: Certain surround sound systems offer wireless connectivity options, such as Bluetooth or Wi-Fi. If your iPod supports wireless transmission, you may be able to pair it directly with the surround sound system.
By identifying the available audio inputs on your surround sound system, you can determine which connection method to use for your iPod. If both your iPod and surround sound system have compatible ports, such as a headphone jack and auxiliary input, you can make a direct analog connection using the appropriate cable. If your system has digital input options, you may need additional cables or adapters to establish a digital connection.
Now that you have checked the audio inputs on your surround sound system, it’s time to gather the necessary cables and adapters to connect your iPod to the system, which will be covered in the next step.
Step 3: Gather necessary cables and adapters
Now that you have identified the output options on your iPod and checked the audio inputs on your surround sound system, it’s time to gather the necessary cables and adapters to establish the connection between the two devices.
The type of cables and adapters you will need depends on the type of output port on your iPod and the input ports on your surround sound system. Here are some common options:
- 3.5mm Audio Cable: If both your iPod and surround sound system have a standard 3.5mm headphone jack, a simple 3.5mm audio cable will suffice. Ensure it has two male connectors to plug into the headphone jack of the iPod and the auxiliary input of the surround sound system.
- RCA Cable: If your surround sound system has RCA inputs, you can use an RCA cable to connect the iPod. In this case, you will need a cable with a 3.5mm or RCA connector on one end (for the iPod) and two RCA connectors on the other end (for the surround sound system).
- Lightning to 3.5mm Adapter: For newer iPod models with a Lightning connector, you will need an adapter that converts the Lightning output to a standard 3.5mm headphone jack. This will allow you to use a 3.5mm audio cable for the connection.
- HDMI Cable: If your iPod and surround sound system both support HDMI connectivity, you can use an HDMI cable for a high-quality digital audio and video transmission. Ensure you have the appropriate HDMI version (e.g., HDMI 1.4, HDMI 2.0) that is compatible with both devices.
- Optical Cable: If your surround sound system has an optical input and your iPod supports optical output, you will need an optical cable to establish a digital connection between the two devices.
- Wireless Connectivity: If your iPod and surround sound system support wireless connectivity, no physical cables or adapters are necessary. Simply follow the pairing instructions for Bluetooth or Wi-Fi connection.
It’s important to ensure that the cables and adapters you choose are of good quality to maintain optimal audio transmission. It’s worth investing in cables made with quality materials and shielding to reduce interference and enhance sound quality.
With the necessary cables and adapters in hand, you’re now ready to move on to the next steps, where we will cover how to connect your iPod to the surround sound system using both analog and digital connection methods.
Step 4: Connect the iPod to the surround sound system using an analog connection
Analog connections allow you to connect your iPod to the surround sound system using standard audio cables. This type of connection is suitable for iPods with a headphone jack and surround sound systems with an auxiliary input or RCA inputs.
Follow these steps to connect your iPod to the surround sound system using an analog connection:
- Ensure that both your iPod and the surround sound system are powered off.
- Take one end of the 3.5mm audio cable or the RCA cable and plug it into the headphone jack of your iPod.
- If using an RCA cable, plug the other end with the red and white connectors into the corresponding left and right audio inputs on the surround sound system. If using a 3.5mm audio cable, plug the other end into the auxiliary input of the surround sound system.
- Make sure all connections are secure and fit snugly.
- Turn on your iPod and the surround sound system.
- Select the appropriate input source on the surround sound system to correspond with the connected input (e.g., AUX, Line-In).
- Play a song or audio file on your iPod to test the connection. Adjust the volume settings on both the iPod and the surround sound system as desired.
With the analog connection established, you should now be able to enjoy your iPod’s audio through the speakers of your surround sound system. It’s worth noting that analog connections offer good audio quality, although they may not support surround sound formats or high-definition audio. If you’re looking for a more advanced audio experience, you may want to consider a digital connection method, which we will cover in the next step.
Now that your iPod is connected via analog, we can explore connecting it to the surround sound system using a digital connection in the next step.
Step 5: Connect the iPod to the surround sound system using a digital connection
If you’re looking to maximize audio quality and support advanced surround sound formats, a digital connection between your iPod and the surround sound system is the way to go. This method allows for the transmission of digital audio signals, ensuring high-fidelity sound reproduction. To establish a digital connection, follow these steps:
- Check if both your iPod and the surround sound system have compatible digital audio ports, such as HDMI, optical, or coaxial.
- If using HDMI, ensure that your iPod and surround sound system both support HDMI connectivity. Connect one end of the HDMI cable to the HDMI output port on your iPod and the other end to an available HDMI input port on the surround sound system.
- If using an optical or coaxial connection, verify that your iPod has the corresponding digital output port (optical or coaxial) and connect the respective cable to the appropriate port on your iPod and the surround sound system.
- Make sure all connections are secure and fit snugly.
- Power on your iPod and the surround sound system.
- Switch the surround sound system to the appropriate digital input source that corresponds to the connected input (e.g., HDMI, Optical, Coaxial).
- Play a song or audio file on your iPod to test the digital connection. Adjust the volume settings on both the iPod and the surround sound system as desired.
A digital connection offers benefits such as support for high-resolution audio, multi-channel surround sound, and improved audio clarity. Just ensure both your iPod and the surround sound system are compatible with the chosen digital connection method.
It’s important to note that if you’re using an HDMI connection, the HDMI cable not only transmits audio but also carries video signals. Make sure to adjust settings on your iPod and surround sound system if you want the video to be displayed on the connected display device.
With your iPod now connected to the surround sound system using a digital connection, you can enjoy the superior audio quality and immersive experience it provides.
Now that you know how to connect your iPod to a surround sound system using both analog and digital connections, you’re ready to proceed to the next step: testing the connection and adjusting settings.
Step 6: Test the connection and adjust settings on both devices
Once you’ve successfully connected your iPod to the surround sound system, it’s essential to test the connection and adjust the settings on both devices to ensure optimal audio playback. Follow these steps to test the connection and make any necessary adjustments:
- Play a song or audio file on your iPod.
- Listen carefully to ensure that audio is coming out of the surround sound system’s speakers.
- If you’re not hearing any sound or the sound is distorted, check the following:
- Ensure that both your iPod and the surround sound system are powered on and set to the correct input source.
- Check all cable connections to ensure they are secure and properly plugged in.
- Adjust the volume settings on both the iPod and the surround sound system.
- Test the audio playback at various volume levels to ensure that the sound quality and level are satisfactory.
- Use the control options on your iPod, such as the equalizer settings, to customize the audio output according to your preferences.
- Explore the settings on the surround sound system to adjust the audio mode, balance, and any other specific options available.
- Make any necessary adjustments to the settings on both devices until you achieve the desired audio quality and balance.
It’s also worth noting that some surround sound systems offer additional features, such as sound modes (e.g., stereo, movie, music) or virtual surround sound options. You may want to experiment with these settings to enhance your listening experience.
After testing the connection, adjusting settings, and ensuring that everything is working smoothly, you’re now ready to enjoy your favorite music, movies, or any other audio content from your iPod through the impressive sound output of your surround sound system.
Remember, if you ever encounter any issues or need further assistance, refer to the user manuals of your iPod and surround sound system for more specific troubleshooting steps and guidelines.
Congratulations, you’ve successfully connected your iPod to a surround sound system and are now ready to immerse yourself in an enhanced audio experience!
Conclusion
Connecting an iPod to a surround sound system can greatly enhance your audio experience and allow you to enjoy your favorite music, movies, and more with immersive sound quality. By following the steps outlined in this guide, you can successfully connect your iPod to a surround sound system using either analog or digital connections.
In the initial steps, we highlighted the importance of determining the output options on your iPod and checking the audio inputs on the surround sound system. Understanding these options is crucial in selecting the appropriate cables and adapters required for a seamless connection.
We then discussed how to connect your iPod to the surround sound system using analog and digital connections. Analog connections make use of standard audio cables and are suitable for systems with auxiliary or RCA inputs. On the other hand, digital connections offer enhanced audio quality, multi-channel surround sound, and the support of high-resolution audio.
After making the necessary connections, we explored the importance of testing the connection and adjusting settings on both the iPod and the surround sound system. These steps ensure optimal audio playback and allow you to customize the audio settings according to your preferences.
Remember that the specific steps and requirements may vary depending on the model of your iPod and surround sound system. It’s always a good idea to consult the user manuals and follow any device-specific instructions for the best results.
With your iPod successfully connected to a surround sound system, you can now sit back, relax, and enjoy an immersive audio experience like never before. Whether you’re hosting a party, watching a movie, or simply enjoying your favorite songs, the combination of your iPod and the surround sound system will surely elevate your audio enjoyment to new heights.
We hope this guide has provided you with the necessary information and guidance to connect your iPod to a surround sound system. Now, go ahead and immerse yourself in the world of high-quality audio!