Introduction
The AirPods Pro has become a popular choice for music lovers, thanks to its excellent sound quality and the added feature of noise cancellation. With the ability to block out unwanted external sounds, the AirPods Pro creates a more immersive and enjoyable listening experience. However, not everyone knows how to fully utilize the noise cancellation feature to its maximum potential.
In this article, we will guide you through the steps to make the most of AirPods Pro noise cancellation. Whether you’re in a noisy café, on a crowded train, or just want some peace and solitude, understanding how to activate and optimize this feature will ensure you can enjoy your music or podcasts without any distractions.
By following these simple steps, you’ll be able to customize and fine-tune the noise cancellation settings according to your preferences and surroundings. From adjusting the settings on your iPhone or Apple Watch to finding the perfect fit with the right ear tip, we’ll cover all the essential steps to help you achieve the best noise cancellation experience.
So, let’s get started and unlock the full potential of your AirPods Pro noise cancellation feature. Dive into the world of pristine audio and immersive soundscapes with the help of these easy-to-follow instructions.
Understanding the Technology Behind AirPods Pro Noise Cancellation
Before we delve into the steps to optimize the noise cancellation feature of your AirPods Pro, let’s take a moment to understand how this innovative technology works. The AirPods Pro utilizes a combination of hardware and software to deliver its impressive noise cancellation capabilities.
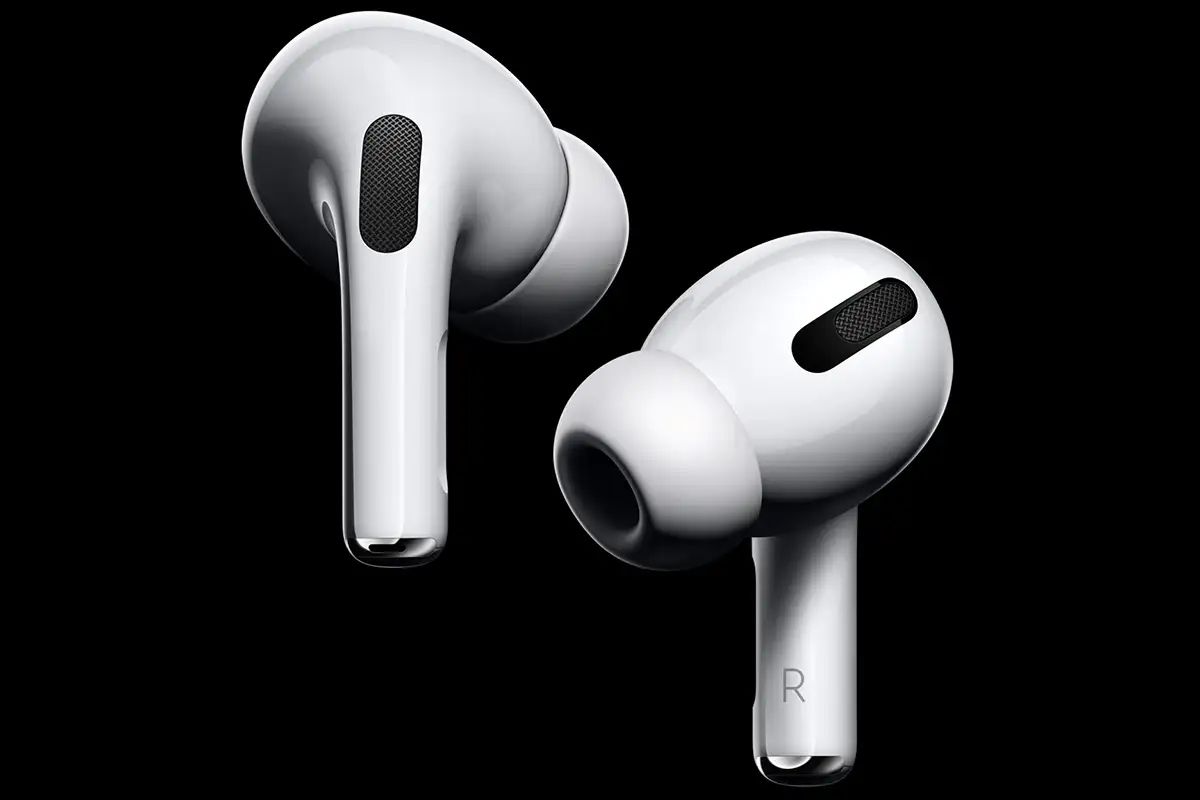
The primary component responsible for noise cancellation is the inward-facing microphone. This microphone detects external sounds and creates an anti-noise signal that is then combined with your audio playback. By doing so, the AirPods Pro actively cancels out background noise and enhances the clarity of your audio.
In addition to the microphone, the AirPods Pro also relies on advanced software algorithms to analyze the external sound environment. These algorithms continuously adapt and adjust the noise cancellation levels in real-time, delivering a more customized and optimized listening experience.
One of the standout features of the AirPods Pro noise cancellation technology is its ability to create a sealed in-ear fit. The inclusion of different sizes of silicone ear tips allows you to find the perfect fit for your ears, enhancing both comfort and noise isolation. This ensures that no external noise leaks in, giving you complete immersion in your audio.
Now that we have a basic understanding of how AirPods Pro noise cancellation works, let’s move on to the steps you can take to make the most of this feature. From ensuring your AirPods Pro are updated to utilizing the ear tip fit test, we’ll cover all the details needed to optimize your noise cancellation experience.
Step 1: Ensuring Your AirPods Pro are Updated
Before you begin customizing the noise cancellation settings on your AirPods Pro, it is important to ensure that your device is running the latest firmware. Apple frequently releases updates for the AirPods Pro, which not only improve performance but also introduce new features.
To check if your AirPods Pro are up to date, follow these simple steps:
- Connect your AirPods Pro to your iPhone or iPad.
- Open the Settings app on your device.
- Scroll down and tap on “General”.
- Select “About”.
- Tap on “AirPods Pro” in the list of available devices.
- Check the firmware version displayed. If it is not the latest version, you will have the option to update your AirPods Pro.
If an update is available, make sure your AirPods Pro are connected to your device and have sufficient battery life. Follow the instructions provided to download and install the update.
Updating your AirPods Pro ensures that you have the latest improvements and bug fixes, enhancing the overall performance of your device, including the noise cancellation feature.
Now that your AirPods Pro are updated, let’s move on to the next step, which involves finding the perfect fit with the right ear tip size.
Step 2: Choosing the Right Ear Tip Size
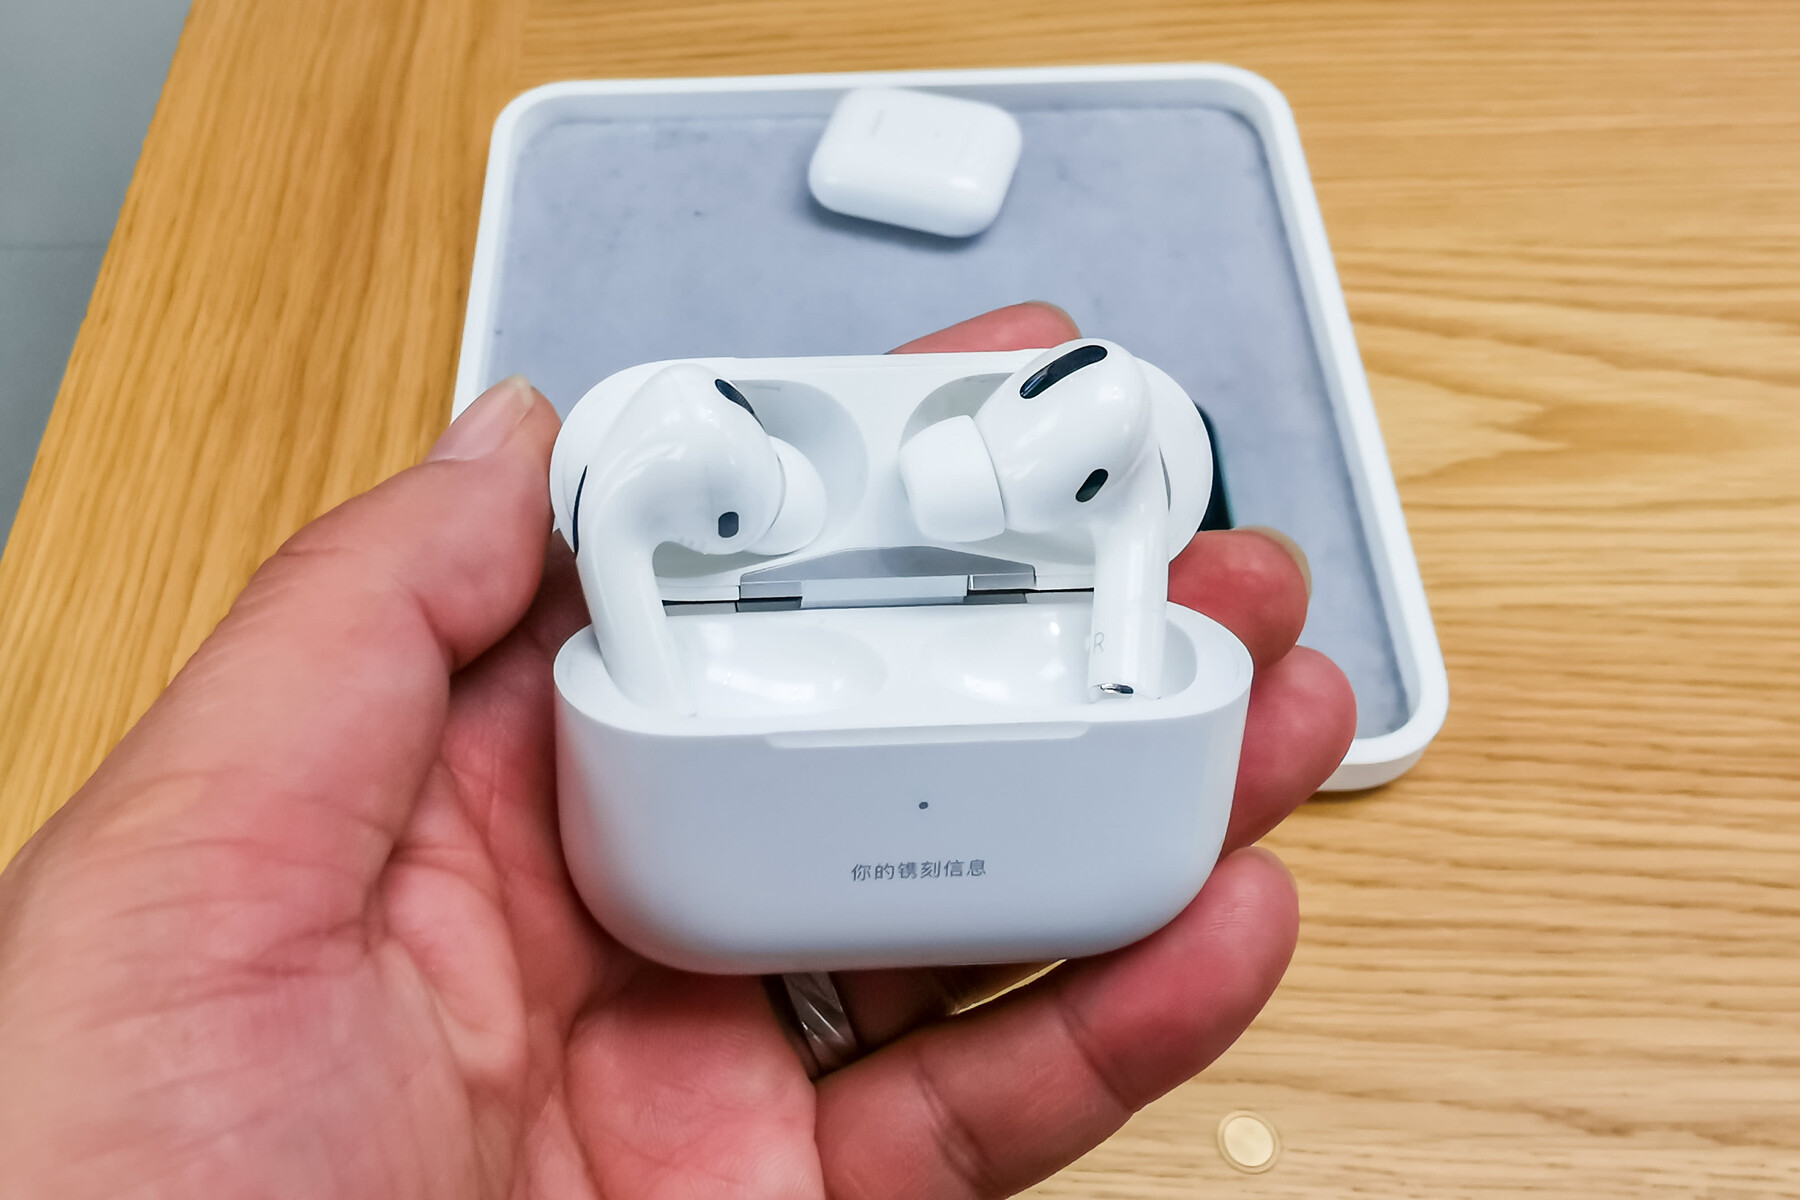
For optimal comfort and noise cancellation effectiveness, it is crucial to select the correct ear tip size for your AirPods Pro. The package comes with three different sizes of silicone ear tips – small, medium, and large. Everyone’s ear anatomy is unique, so finding the right fit is essential.
To determine the most suitable ear tip size, follow these steps:
- Start by placing the medium-sized ear tips on your AirPods Pro.
- Insert the AirPods Pro into your ears and listen to some audio content.
- Pay attention to the sound quality and the level of external noise you can hear.
- If the medium-sized ear tips feel comfortable and provide a good seal, you can stick with them. However, if you experience discomfort or notice that external noise is still prominent, try out the small or large ear tips.
- Experiment with each ear tip size and choose the one that offers the best fit, comfort, and noise isolation. It’s important to achieve a secure and snug fit to maximize the effectiveness of the noise cancellation feature.
Remember, a proper fit is crucial not only for optimal noise cancellation but also for ensuring a comfortable listening experience. If you’re unsure about which size to choose, don’t hesitate to try different sizes and seek feedback from friends or family members who use AirPods Pro.
After selecting the right ear tip size, you’re ready to move on to the next step – adjusting noise cancellation settings on your iPhone, iPad, or iPod touch.
Step 3: Adjusting Noise Cancellation Settings on iPhone, iPad, or iPod touch
Once you’ve ensured that your AirPods Pro are updated and have found the right ear tip size, it’s time to customize the noise cancellation settings on your iPhone, iPad, or iPod touch. This will allow you to control the level of noise cancellation according to your preferences and the noise environment around you.
To adjust the noise cancellation settings, follow these steps:
- Connect your AirPods Pro to your iPhone, iPad, or iPod touch.
- Open the Control Center by swiping down from the top right corner of the screen (or up from the bottom of the screen, depending on your device model).
- Press and hold the volume slider in the Control Center to reveal more options.
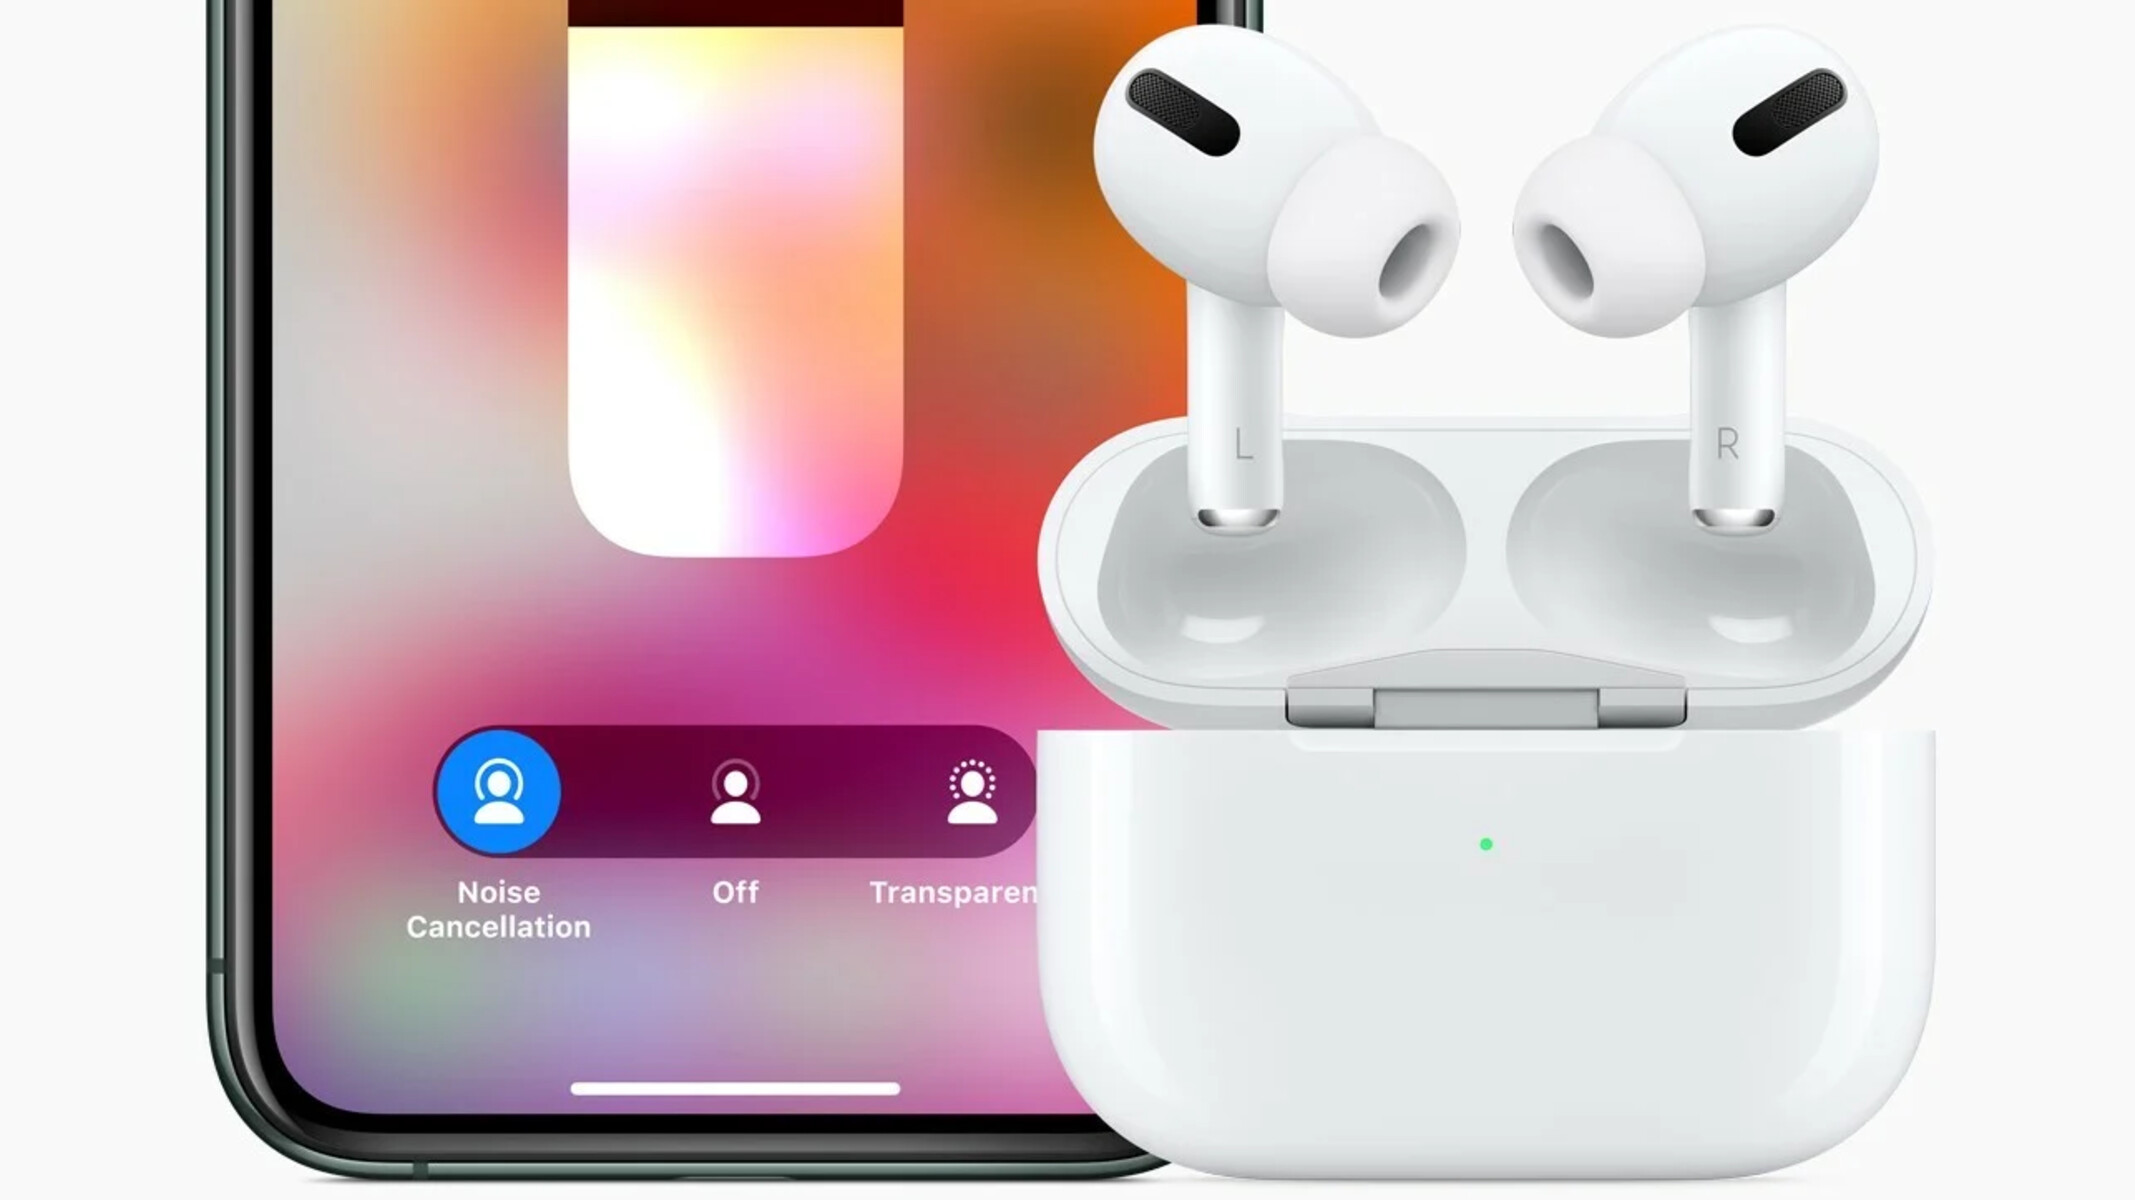
- Tap on the Noise Cancellation button to switch between Noise Cancellation, Transparency mode, and Off.
- Noise Cancellation mode blocks out external sounds, providing you with a focused listening experience.
- Transparency mode allows external sounds to pass through, making it ideal for situations when you need to be more aware of your surroundings.
- If you prefer to turn off noise cancellation altogether, select the Off option.
Additionally, you can also customize noise cancellation settings within the Settings app:
- Open the Settings app on your iPhone, iPad, or iPod touch.
- Go to Bluetooth and tap on the “i” icon next to your AirPods Pro name.
- Under the Noise Cancellation section, you can choose between Noise Cancellation or Transparency mode.
- Select the option that suits your current requirements.
By adjusting the noise cancellation settings, you have greater control over the immersive audio experience offered by your AirPods Pro. This feature allows you to adapt to any environment and enjoy your music, podcasts, or calls with enhanced clarity and reduced distractions.
Now that you’ve customized the noise cancellation settings on your device, we can move on to adjusting settings on other Apple devices, such as your Apple Watch or Mac.
Step 4: Adjusting Noise Cancellation Settings on Apple Watch or Mac
In addition to your iPhone, iPad, or iPod touch, you can also adjust the noise cancellation settings on your Apple Watch or Mac. This allows you to have control over your AirPods Pro noise cancellation even when using different devices.
To adjust the noise cancellation settings on your Apple Watch, follow these steps:
- Open the Control Center on your Apple Watch by swiping up from the bottom of the screen.
- Tap on the Noise icon (represented by an ear) to cycle between Noise Cancellation, Transparency mode, and Off.
- Just like on your iPhone, Noise Cancellation blocks out external sounds, Transparency mode lets external sounds in, and Off disables noise cancellation.
On your Mac, you can adjust the noise cancellation settings through the Sound preferences. Here’s how:
- Click on the Apple menu and select System Preferences.
- Choose the Sound preference pane.
- On the Output tab, select your AirPods Pro from the list of available devices.
- Click on the Output volume slider to reveal additional options.
- Toggle the Noise Cancellation or Transparency mode on or off according to your preferences.
By adjusting the noise cancellation settings on your Apple Watch or Mac, you can seamlessly transition between devices without compromising on your listening experience. Whether you’re working on your Mac or going for a run with your Apple Watch, you can enjoy the benefits of noise cancellation with just a few clicks.
Now that you’re familiar with adjusting noise cancellation settings on various devices, let’s move on to step 5 and explore how to maximize noise cancellation efficiency.
Step 5: Maximizing Noise Cancellation Efficiency
Now that you’ve adjusted the noise cancellation settings on your devices, let’s focus on maximizing the efficiency of this feature to ensure the best possible listening experience with your AirPods Pro.
Here are some tips to help you maximize noise cancellation efficiency:
- Ensure a secure and tight fit: Make sure that your AirPods Pro are inserted securely into your ears with the chosen ear tip providing a good seal. This will help maximize noise isolation and minimize external sound leakage.
- Pay attention to proper positioning: Ensure that your AirPods Pro are positioned correctly in your ears. The Apple logo should be facing up on each earpiece for optimal alignment.
- Use the right ear tip size: As mentioned in step 2, using the right size ear tips is essential for both comfort and noise isolation. Experiment with different sizes to find the perfect fit for your ears.
- Minimize obstructions: Avoid covering or obstructing the microphone on your AirPods Pro, as this can affect the effectiveness of noise cancellation. Keep your earpieces free from any obstructions as much as possible.
- Stay within the recommended range: For the best performance, try to keep your iPhone or other connected devices within the recommended range of your AirPods Pro. This will ensure a stable connection and optimal noise cancellation functionality.
By following these tips, you can enhance the noise cancellation capabilities of your AirPods Pro and enjoy a more immersive and uninterrupted listening experience. Keep these considerations in mind to make the most out of your device’s noise cancellation feature.
Now that you’ve optimized the noise cancellation efficiency, let’s explore another useful feature of AirPods Pro – Transparency Mode.
Step 6: Utilizing Transparency Mode
Besides noise cancellation, the AirPods Pro also offers a feature called Transparency Mode, which allows you to hear and interact with your surroundings while still wearing your earbuds. This is particularly useful in situations where you need to be aware of your environment, such as when crossing the street or having a conversation.
To enable Transparency Mode on your AirPods Pro, follow these steps:
- On your iPhone, iPad, or iPod touch, open the Control Center by swiping down from the top right corner of the screen (or up from the bottom of the screen, depending on your device model).
- Press and hold the volume slider to reveal additional options.
- Tap on the Transparency Mode button, represented by an ear with lines radiating outward.
- Your AirPods Pro will now switch to Transparency Mode, allowing external sounds to pass through.
You can also enable Transparency Mode using the AirPods Pro settings in the Bluetooth preferences on your device:
- Go to Settings on your iPhone, iPad or iPod touch.
- Select Bluetooth and tap on the “i” icon next to your AirPods Pro name in the list of connected devices.
- Under the Noise Cancellation section, you will find the option to switch to Transparency mode.
- Toggle the button to enable Transparency Mode.
Once you’ve activated Transparency Mode, you can have conversations, hear ambient noises, and be more aware of your surroundings without needing to remove your AirPods Pro. This feature provides a seamless transition between noise cancellation and natural sound perception, allowing you to stay connected to your environment while still enjoying your audio.
Now that you’re familiar with Transparency Mode, let’s move on to step 7 and explore the AirPods Pro Ear Tip Fit Test.
Step 7: Fine-tuning Noise Cancellation with the AirPods Pro Ear Tip Fit Test
To ensure optimal noise cancellation performance with your AirPods Pro, Apple has introduced the Ear Tip Fit Test. This handy feature helps you determine if you have chosen the right size ear tips for your device, ensuring a proper seal for effective noise isolation.
Here’s how to perform the Ear Tip Fit Test:
- Connect your AirPods Pro to your iPhone, iPad, or iPod touch.
- Open the Settings app on your device.
- Go to Bluetooth and tap on the “i” icon beside your AirPods Pro device.
- Scroll down until you reach the Ear Tip Fit Test section.
- Tap on the “Ear Tip Fit Test” option.
- Follow the on-screen instructions to initiate the test.
- Keep your AirPods Pro securely in your ears during the test.
- You will receive feedback on whether the ear tips provide a proper fit or if you should consider trying a different size.
If the Ear Tip Fit Test suggests that you should try a different size ear tip, you can adjust accordingly and repeat the test until you find the perfect fit. This ensures optimal comfort and noise cancellation performance.
By utilizing the Ear Tip Fit Test, you can fine-tune your AirPods Pro noise cancellation experience and enjoy the best possible sound quality without any distractions from external noise.
Congratulations! You’ve now gone through all the steps to make the most of the noise cancellation feature on your AirPods Pro. By updating your device, choosing the right ear tip size, adjusting the dedicated settings, maximizing noise cancellation efficiency, using Transparency Mode, and performing the Ear Tip Fit Test, you are now equipped to fully enjoy your AirPods Pro and immerse yourself in your audio like never before.
Conclusion
Congratulations on successfully optimizing the noise cancellation feature of your AirPods Pro! By following the steps outlined in this guide, you have learned how to ensure your AirPods Pro are updated, choose the right ear tip size, adjust noise cancellation settings on various devices, maximize noise cancellation efficiency, utilize Transparency Mode, and perform the Ear Tip Fit Test.
With these techniques and features at your disposal, you can now enjoy a truly immersive and distraction-free audio experience. Whether you’re listening to music, podcasts, or engaging in phone calls, the noise cancellation feature of the AirPods Pro helps create a more enjoyable and focused listening experience.
Remember, keeping your AirPods Pro updated and finding the right fit with the ear tips are fundamental steps to optimizing noise cancellation. Additionally, adjusting the noise cancellation settings on your iPhone, Apple Watch, or Mac allows you to adapt to different environments. Utilizing Transparency Mode allows you to remain aware of your surroundings when needed. And don’t forget to fine-tune your experience with the Ear Tip Fit Test.
Now that you’re equipped with the knowledge and techniques to maximize your AirPods Pro noise cancellation, go ahead and immerse yourself in your favorite music or podcasts without worrying about external noise distractions. Enjoy the enhanced sound quality and focus on what matters most to you.
Remember to regularly check for updates for your AirPods Pro to stay up to date with the latest enhancements and features. Experiment with different settings and find the combination that works best for your preferences and your environment.
Thank you for taking the time to learn how to make the most of your AirPods Pro noise cancellation feature. Enjoy your high-quality audio experience and happy listening!