Introduction
Welcome to our guide on how to cancel noise cancellation on Airpods Pro. If you’re an Airpods Pro user, you may already be familiar with the excellent active noise cancellation feature that allows you to immerse yourself in your favorite music or podcasts without any disturbances from the outside world. However, there may be times when you want to disable noise cancellation and let some ambient sound in. In this article, we will explore different methods to turn off noise cancellation on your Airpods Pro.
Noise cancellation is a popular feature that uses advanced technology to detect external sounds and neutralize them, creating a quiet and serene listening experience. It is especially useful in noisy environments like airplanes, busy offices, or crowded public spaces. However, there are situations where you might want to hear your surroundings, such as when you’re jogging outdoors or having a conversation with someone. Luckily, Apple has provided multiple ways to disable noise cancellation on your Airpods Pro, making it easy and convenient to switch between modes.
Whether you prefer using the Airpods Pro control center, voice commands with Siri, or adjusting settings on your iPhone, we’ve got you covered. We’ll walk you through each method step-by-step, ensuring that you can quickly disable noise cancellation and enjoy the audio experience that best suits your needs.
Please note that the methods mentioned in this guide are specifically for Airpods Pro and may not be applicable to other Airpods models. Additionally, it’s essential to keep your Airpods Pro firmware up to date to access all the features and functionality. Let’s dive into the methods now and discover how to turn off noise cancellation on your Airpods Pro!
Why Disable Noise Cancellation?
Noise cancellation is undoubtedly a remarkable feature that allows you to enjoy your audio content without any distractions. However, there are several reasons why you might want to disable noise cancellation on your Airpods Pro:
- Safety: In certain situations, it is crucial to be aware of your surroundings. When you’re walking on a busy street, jogging outside, or traveling in a crowded place, being able to hear ambient sounds is important for your safety.
- Socializing: Noise cancellation creates a cocoon of isolation, which can make it challenging to have conversations with people around you. By disabling noise cancellation, you can easily engage in conversations or communicate with others without needing to remove your Airpods Pro.
- Hearing Environmental Sounds: Sometimes, you may want to enjoy the serene sounds of nature or be more attuned to your environment. Whether it’s the chirping of birds, the sound of ocean waves, or the rustling of leaves, turning off noise cancellation allows you to appreciate the beauty of the world around you.
- Battery Life: Noise cancellation is a power-intensive feature that can reduce the battery life of your Airpods Pro. If you are in a situation where you don’t require noise cancellation, disabling it can help extend the usage time of your Airpods Pro.
- Preference: Lastly, it all comes down to personal preference. While noise cancellation provides an immersive audio experience, some users may find it uncomfortable or prefer to have a more natural listening experience.
By understanding these reasons, you can determine when it’s appropriate to disable noise cancellation on your Airpods Pro. Whether it’s for safety, socializing, hearing environmental sounds, conserving battery, or personal preference, having the ability to easily switch between noise cancellation and transparency mode gives you full control over your listening experience.
Step-by-Step Guide to Disable Noise Cancellation on Airpods Pro
Now let’s explore the different methods you can use to disable noise cancellation on your Airpods Pro. Follow these step-by-step instructions to switch to transparency mode:
Method 1: Using the Airpods Pro Control Center
- Ensure that your Airpods Pro are connected to your device.
- Open the Control Center on your iPhone or iPad by swiping down from the top right corner of the screen (iPhone X or later) or swiping up from the bottom (iPhone 8 or earlier).
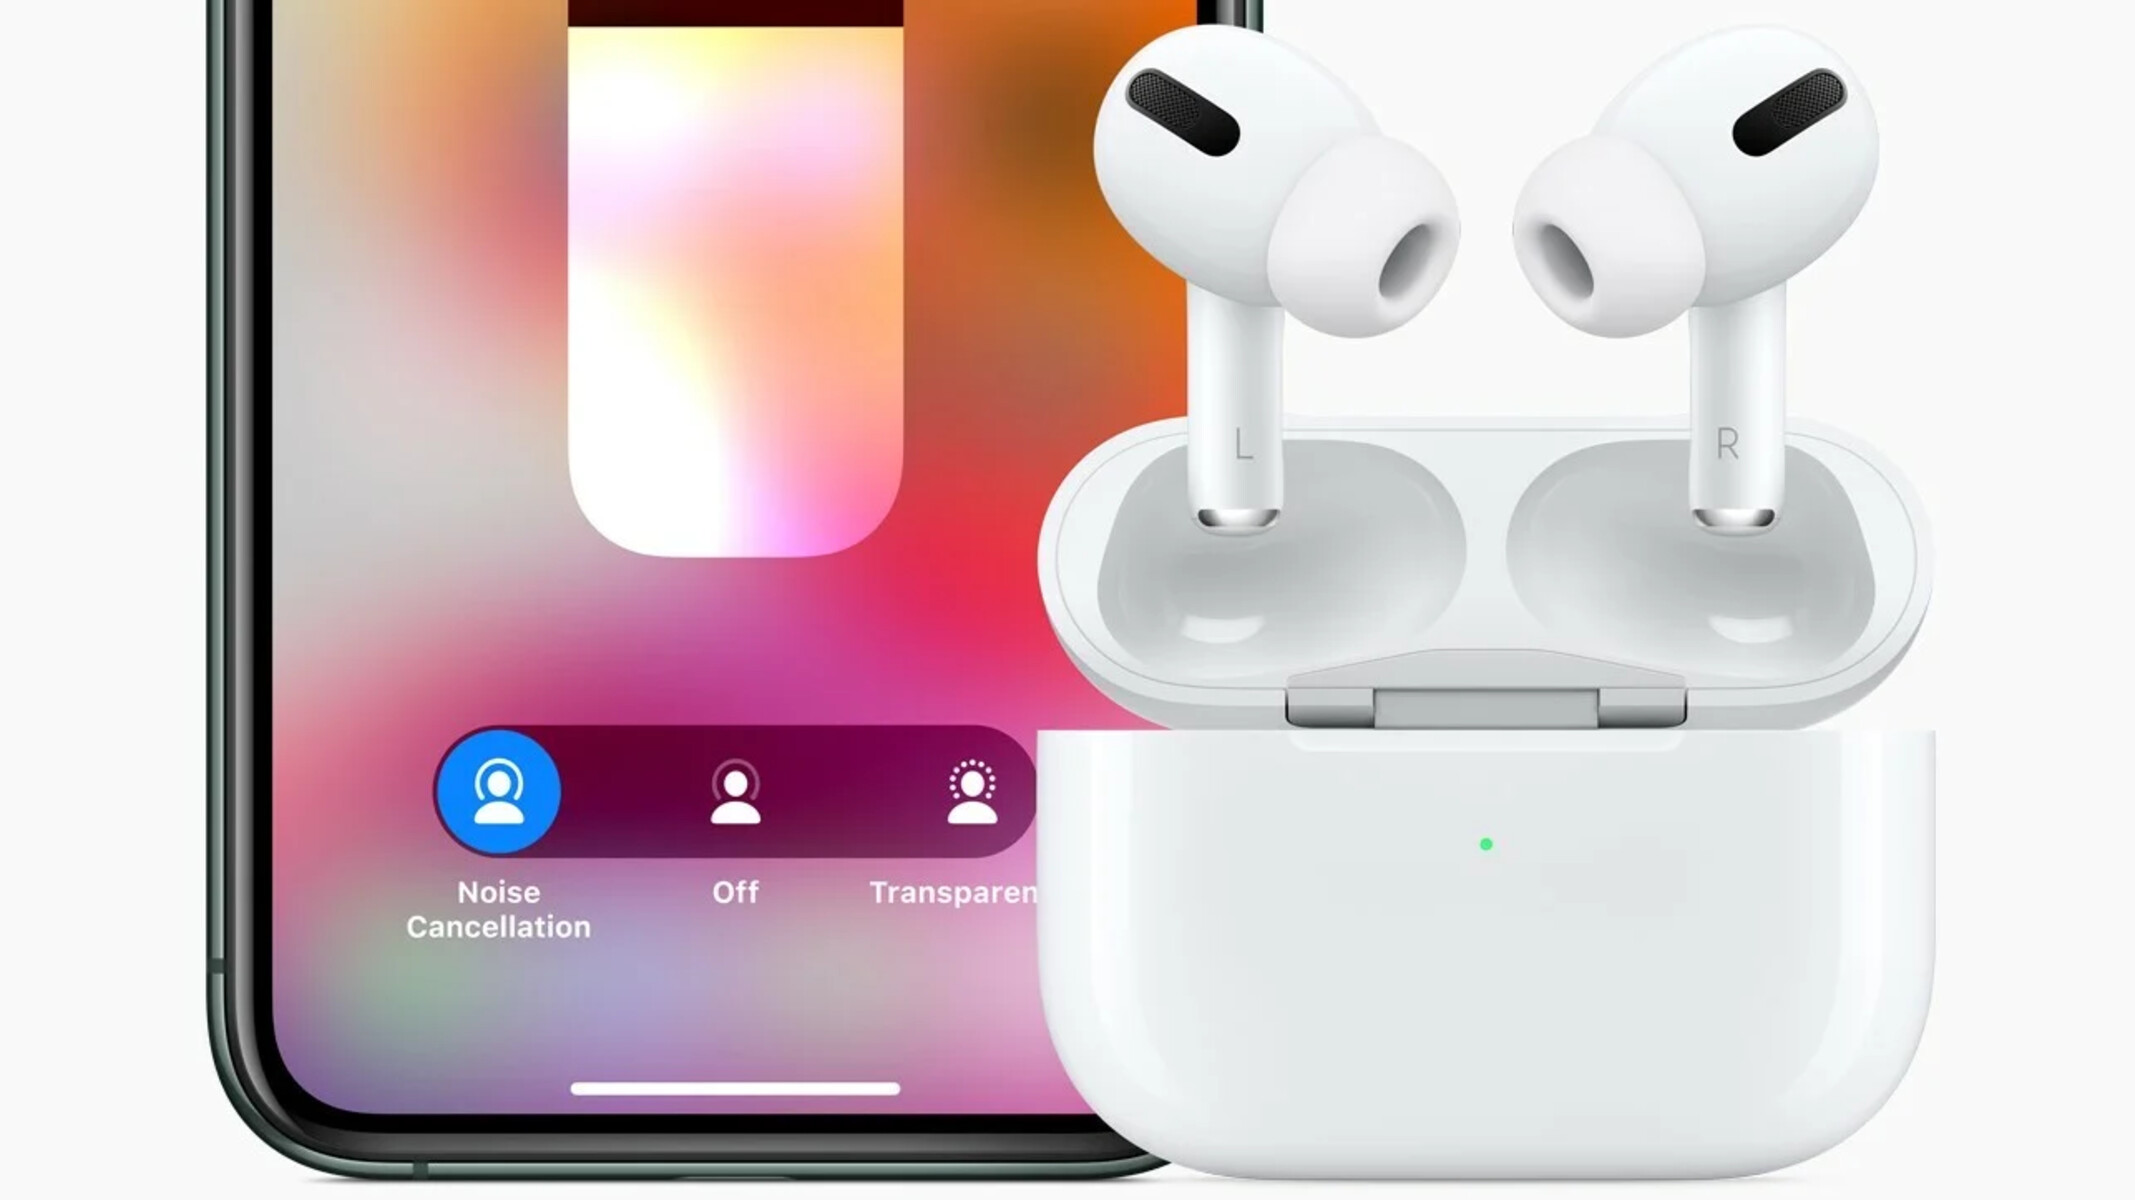
- Press and hold the volume slider.
- Airpods Pro settings will appear. Tap on the Noise Cancellation button to disable it. The button will turn gray, indicating that noise cancellation is turned off and transparency mode is activated.
Method 2: Using Siri Voice Command
- Activate Siri by pressing and holding the “Hey Siri” or side button on your device or simply using the “Hey Siri” voice command.
- Command Siri to disable noise cancellation on your Airpods Pro. For example, say “Hey Siri, turn off noise cancellation.”
- Siri will disable noise cancellation and transition to transparency mode.
Method 3: Using iPhone Settings
- Connect your Airpods Pro to your iPhone or iPad.
- Open the Settings app on your device.
- Scroll down and tap on “Bluetooth.”
- Locate your Airpods Pro in the list of connected devices and tap the “i” icon next to it.
- Under “Noise Control,” tap on “Noise Cancellation.”
- Select “Off” to disable noise cancellation and enable transparency mode.
By following these straightforward steps, you can quickly disable noise cancellation and switch to transparency mode on your Airpods Pro. Remember that noise cancellation will automatically reactivate when you put your Airpods Pro back in your ears or switch to another audio mode. Enjoy the flexibility and control over your listening experience!
Method 1: Using the Airpods Pro Control Center
One of the easiest and quickest ways to disable noise cancellation on your Airpods Pro is by using the Control Center on your iPhone or iPad. Here’s how to do it:
- Ensure that your Airpods Pro are connected to your device.
- Open the Control Center on your iPhone or iPad by swiping down from the top right corner of the screen (iPhone X or later) or swiping up from the bottom (iPhone 8 or earlier).
- Locate the volume slider in the Control Center, which is represented by a speaker icon.
- Press and hold the volume slider, and additional controls for your Airpods Pro will appear.
- In the expanded controls, you will see the Noise Cancellation button. Tap on it to disable noise cancellation.
- Upon tapping, the button will turn gray, indicating that noise cancellation is turned off, and transparency mode is activated.
Using the Control Center to switch to transparency mode allows you to have a more natural listening experience by letting in outside sounds. It is a convenient method that allows you to toggle noise cancellation on and off without needing to navigate through multiple settings menus.
Please note that the availability and appearance of the Control Center may vary slightly depending on the model and iOS version of your device. However, the steps to access the volume slider and Airpods Pro controls should be similar across most devices.
Now that you know how to disable noise cancellation using the Airpods Pro Control Center, you can easily switch between audio modes and customize your listening experience based on your preferences and needs.
Method 2: Using Siri Voice Command
If you prefer a hands-free approach, you can utilize Siri’s voice command feature to disable noise cancellation on your Airpods Pro. Here’s how to do it:
- Activate Siri on your device by either saying “Hey Siri” or pressing and holding the “Hey Siri” or side button (depending on your device).
- Issue a voice command to Siri to disable noise cancellation on your Airpods Pro. For example, you can say “Hey Siri, turn off noise cancellation.”
- Siri will process your command and disable noise cancellation, allowing sound from your surroundings to enter your Airpods Pro.
Using Siri to switch to transparency mode provides a hands-free and effortless way to toggle noise cancellation on and off. It’s particularly useful when you’re engaged in activities where your hands are occupied, such as exercising, cooking, or driving.
Please ensure that your device is connected to your Airpods Pro and that Siri is enabled. Additionally, make sure that your voice command is clear and concise to ensure accurate processing by Siri. If Siri doesn’t respond or the noise cancellation does not disable, ensure that your Airpods Pro firmware is up to date.
By utilizing Siri’s voice command, you have the freedom to control the audio mode of your Airpods Pro with just your voice, adding a touch of convenience and hands-free functionality to your listening experience.
Method 3: Using iPhone Settings
If you prefer to customize the settings of your Airpods Pro and disabling noise cancellation through more granular controls, you can use the iPhone Settings. Here’s how to disable noise cancellation using this method:
- Ensure that your Airpods Pro are connected to your iPhone or iPad.
- Open the Settings app on your device.
- Scroll down and tap on “Bluetooth.”
- Locate your Airpods Pro in the list of connected devices and tap the small “i” icon next to it.
- This will open the Airpods Pro settings page.
- Scroll down and under the “Noise Control” section, you will see the “Noise Cancellation” option.
- Tap on “Noise Cancellation.”
- Select “Off” to disable noise cancellation and activate transparency mode.
Using iPhone Settings to disable noise cancellation allows you to have fine-grained control over your Airpods Pro settings. It’s an ideal method if you want to customize additional aspects of your audio experience, such as adjusting the volume or changing the press-and-hold action of the force sensor on your Airpods Pro.
It’s important to note that you need to have the latest firmware on your Airpods Pro to access all the available settings. Ensure that you regularly update your Airpods Pro firmware to enjoy the latest features and enhancements.
By utilizing the iPhone Settings, you have the flexibility to tailor your Airpods Pro settings to your liking, including noise cancellation preferences, ensuring a personalized and immersive audio experience.
Troubleshooting: Common Issues and Solutions
While using the Airpods Pro and adjusting the noise cancellation settings, you may encounter some common issues. Here are a few troubleshooting tips to help you resolve them:
Issue 1: Noise cancellation not disabling
If you’re experiencing difficulty in disabling noise cancellation on your Airpods Pro, try the following solutions:
- Ensure that your Airpods Pro are properly connected to your device.
- Check if your Airpods Pro firmware is up to date.
- Try restarting your device and reconnecting your Airpods Pro.
Issue 2: Siri voice command not working
If Siri is not responding to your voice command, consider these troubleshooting steps:
- Ensure that Siri is enabled on your device. Go to Settings > Siri & Search to confirm.
- Make sure your device is connected to the internet as Siri requires an active internet connection for processing commands.
- Reboot your device and try issuing the voice command again.
Issue 3: Control Center not showing Airpods Pro settings
If you’re unable to see the Airpods Pro settings in the Control Center, follow these steps:
- Ensure that you have the Airpods Pro connected to your device. Check the Bluetooth settings to confirm the connection.
- Verify if your device and software are compatible with the Control Center settings for Airpods Pro.
- Restart your device and try accessing the Control Center again.
If you continue to experience issues with noise cancellation or any other Airpods Pro functionality, it’s recommended to consult the official Apple Support website or contact Apple Support directly for further assistance. They can provide specific troubleshooting steps tailored to your situation.
Remember that troubleshooting steps may vary depending on the device, software version, and individual circumstances. It’s recommended to stay updated with the latest device firmware and software updates to ensure optimal performance and compatibility with your Airpods Pro.
By troubleshooting common issues, you can ensure the seamless operation of your Airpods Pro and enjoy a hassle-free audio experience.
Conclusion
Disabling noise cancellation on your Airpods Pro is a useful feature that allows you to have more control over your audio experience. Whether you want to be more aware of your surroundings, engage in conversations, or simply prefer a more natural listening experience, knowing how to disable noise cancellation is essential.
In this guide, we explored three different methods to disable noise cancellation on your Airpods Pro. You can use the Airpods Pro Control Center for quick access, utilize Siri’s voice command for a hands-free approach, or adjust the settings in the iPhone Settings app for more customization.
We also discussed the reasons why you might want to disable noise cancellation, including safety, socializing, hearing environmental sounds, conserving battery life, and personal preference. It’s important to understand your needs and adjust the audio mode accordingly.
In addition, we provided troubleshooting tips for common issues you may encounter while using noise cancellation on your Airpods Pro. By following these troubleshooting steps and staying updated with firmware and software updates, you can overcome any obstacles and enjoy uninterrupted audio experiences.
Remember to experiment with different audio modes and find the balance that suits your preferences and situations. Whether it’s noise cancellation, transparency mode, or regular mode, the Airpods Pro provide a versatile and immersive listening experience.
Now that you have the knowledge to disable noise cancellation on your Airpods Pro, you can customize your audio experience and enjoy the best of both worlds—immersive audio and awareness of your surroundings.
So go ahead, try out different methods, explore the possibilities, and make the most out of your Airpods Pro!