Introduction
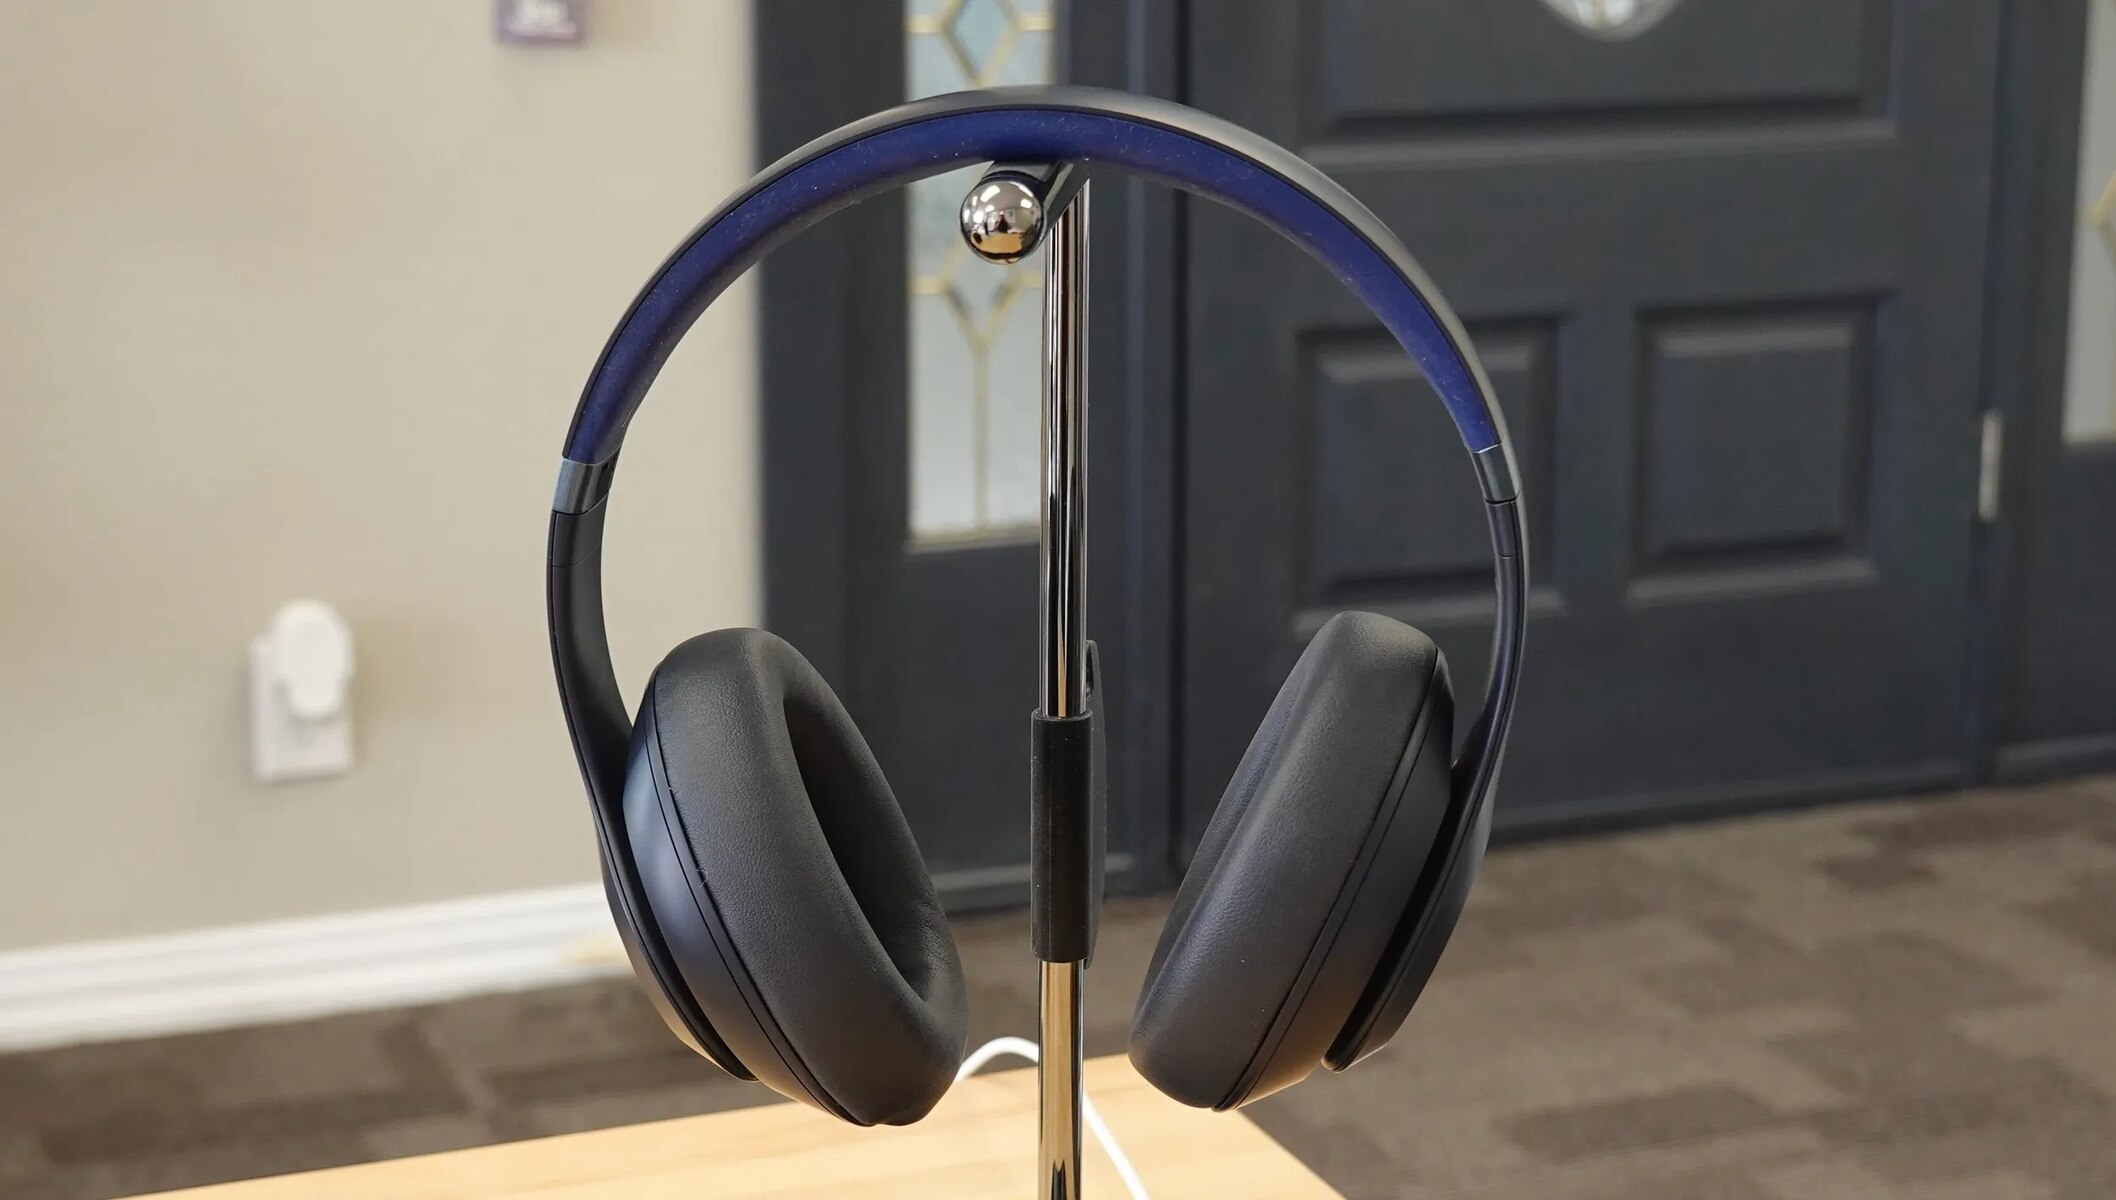
Welcome to our comprehensive guide on how to turn off noise cancellation in Beats Studio 3 headphones. Beats Studio 3 is known for its immersive audio experience, allowing you to enjoy your favorite music without any distractions. However, there may be times when you want to disable the noise cancellation feature for various reasons.
Whether you prefer to hear your surroundings while commuting, want to conserve battery life, or simply desire a different listening experience, turning off noise cancellation can be beneficial. In this article, we will walk you through the steps to disable noise cancellation in Beats Studio 3 headphones, ensuring that you have all the information you need to make the most of your audio experience.
By following our step-by-step instructions, you’ll be able to easily deactivate the noise cancellation feature and enjoy your music in a way that suits your preferences.
So, if you’re ready to take control of your audio experience and learn how to turn off noise cancellation in Beats Studio 3, let’s get started!
Why Turn Off Noise Cancellation in Beats Studio 3
Noise cancellation is undoubtedly a remarkable feature in Beats Studio 3 headphones, as it allows you to immerse yourself in your favorite music by blocking out background noises. However, there are several reasons why you might want to turn off noise cancellation:
- Hear your surroundings: Noise cancellation is great when you want to focus solely on your music, but there are times when you need to be aware of your surroundings. When walking on busy streets, commuting, or engaging in outdoor activities, it’s important to hear the sounds around you for safety purposes.
- Conserve battery life: Noise cancellation requires power, and turning it off can extend the battery life of your Beats Studio 3 headphones. This is especially useful when you’re in a situation where charging options are limited, such as during long flights or outdoor adventures.
- Personal preference: Some people simply prefer the sound quality of their music without noise cancellation. By turning off this feature, you can enjoy a different listening experience that may be more suitable for your personal taste.
- Reduce audio latency: In certain situations, such as when watching videos or playing games, noise cancellation can introduce a slight delay in the audio. By disabling this feature, you can eliminate any potential audio syncing issues and enjoy a seamless media consumption experience.
- Promote conversation: If you’re in a social setting and want to engage in conversations without taking off your headphones, turning off noise cancellation can help you hear and participate in discussions more easily.
By understanding the reasons to turn off noise cancellation in Beats Studio 3, you can customize your audio experience according to your current needs. Whether it’s for safety, battery saving, personal preference, reducing latency, or facilitating communication, the ability to disable noise cancellation is a valuable feature that allows you to adapt your headphones to various situations.
Steps to Turn Off Noise Cancellation in Beats Studio 3
If you’re ready to disable the noise cancellation feature in your Beats Studio 3 headphones, follow these simple steps:
- Put on your Beats Studio 3 headphones: Make sure the headphones are comfortably positioned on your head.
- Locate the power button: The power button is located on the left earcup of your Beats Studio 3 headphones. It is typically marked with the power symbol.
- Turn on your Beats Studio 3 headphones: Press and hold the power button until the LED indicator on the headphones turns on. This indicates that your headphones are powered on and ready to connect to your device.
- Access the control center on your device: Depending on the operating system of your device, swipe up from the bottom of the screen (on iOS devices) or swipe down from the top-right corner of the screen (on Android devices) to access the control center or quick settings panel.
- Find and open the Bluetooth settings: Look for the Bluetooth icon in the control center or quick settings panel and tap on it to open the Bluetooth settings.
- Locate your Beats Studio 3 device: In the list of available Bluetooth devices, find your Beats Studio 3 headphones and tap on them to select them. This will establish a connection between your device and the headphones.
- Disable noise cancellation: Once the connection is established, you should see various options related to your Beats Studio 3 headphones. Look for the noise cancellation settings or options, and toggle the switch to disable noise cancellation.
Following these steps will guide you through the process of turning off noise cancellation in your Beats Studio 3 headphones. Remember, the exact steps may vary slightly depending on your device’s operating system, but the general process remains the same.
Now that you know how to disable noise cancellation, you can enjoy your music or engage with your surroundings on your own terms. Take advantage of this feature to customize your audio experience and adapt to different situations effortlessly.
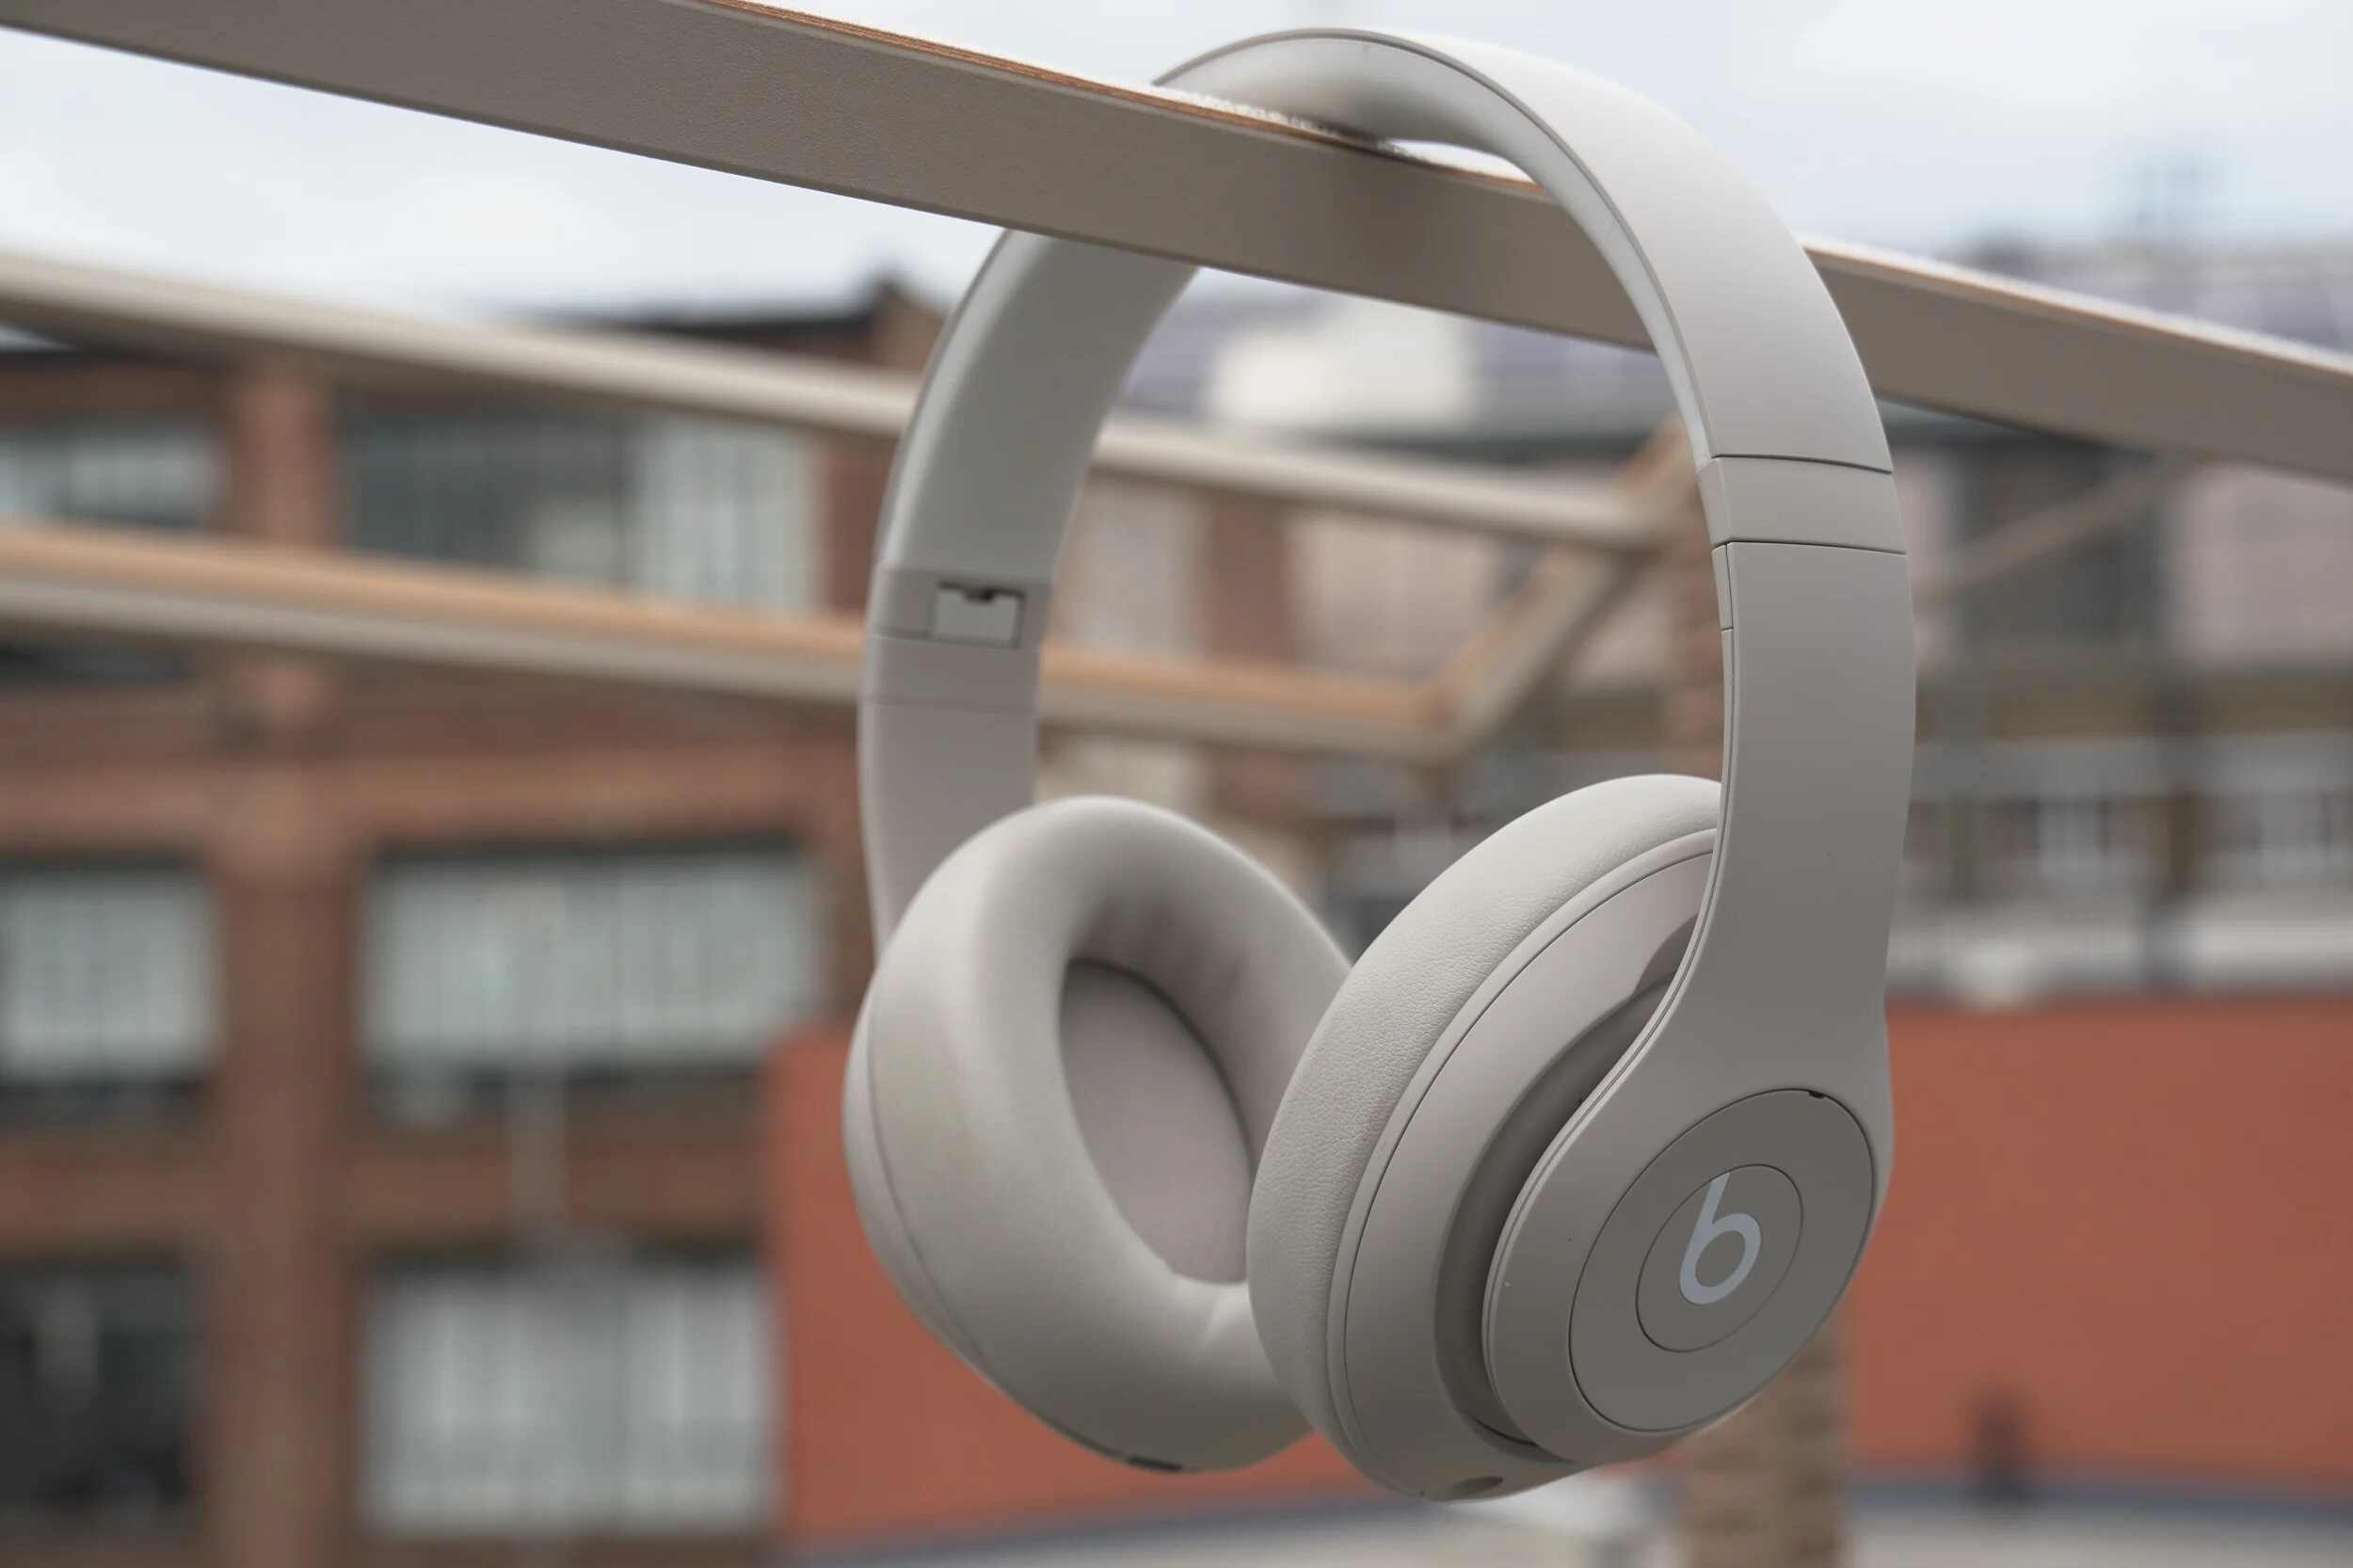
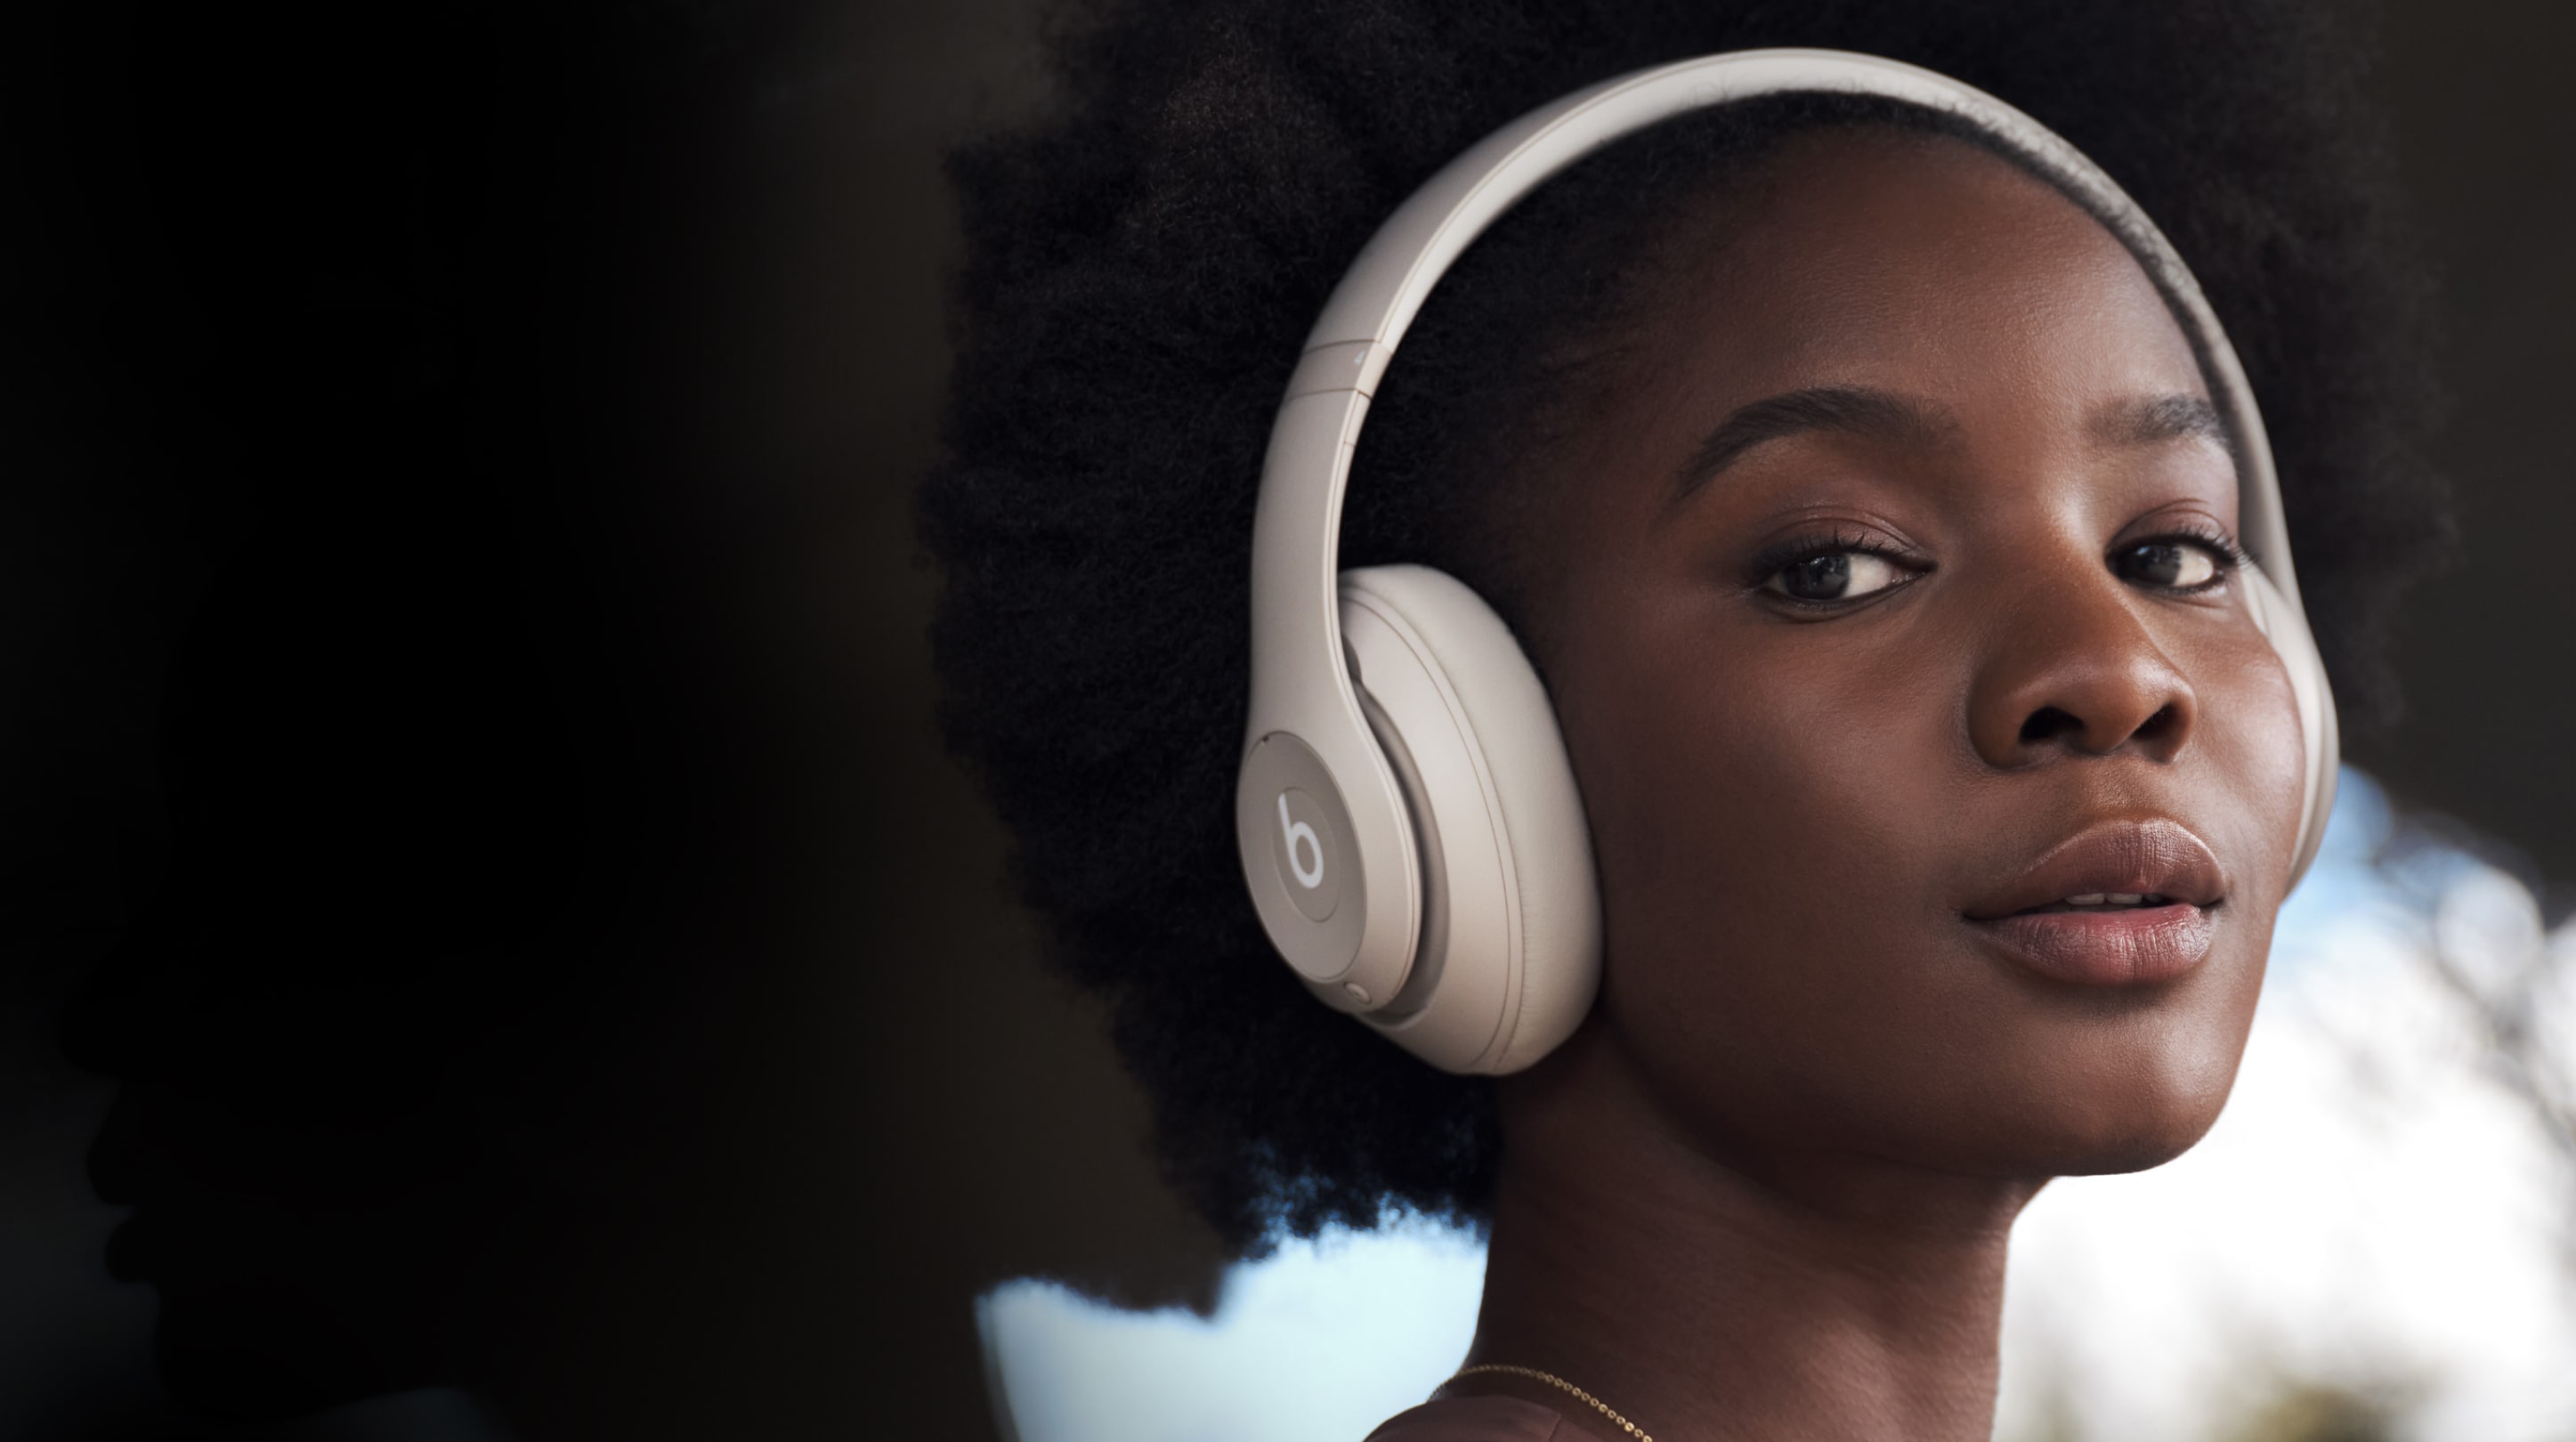
Step 1: Put on your Beats Studio 3 headphones
Before you can begin the process of turning off noise cancellation in your Beats Studio 3 headphones, make sure to put them on properly. Follow these steps:
1. Adjust the headband: Hold the headphones with both hands and place the headband over your head. Adjust the headband so that it sits comfortably on the top of your head.
2. Position the ear cups: The ear cups should rest securely around your ears. Ensure that they form a tight seal to provide optimal sound quality and noise cancellation.
3. Verify the fit: Gently press the ear cups to check if they are securely in place. The headphones should not feel loose or slide out of position. Adjust the fit if necessary to ensure a snug and secure fit.
4. Check comfort: Take a moment to assess the comfort of the headphones. They should not exert excessive pressure on your head or cause any discomfort. If needed, make additional adjustments to enhance the comfort level.
Putting on your Beats Studio 3 headphones correctly will ensure an optimal audio experience and allow you to proceed with turning off the noise cancellation feature smoothly.
Now that you have your headphones positioned correctly, you can move on to the next step in the process of turning off noise cancellation in your Beats Studio 3 headphones.
Step 2: Locate the power button
In order to turn off noise cancellation in your Beats Studio 3 headphones, you’ll need to locate the power button. Follow these instructions to find the power button:
1. Identify the earcup: Look at the left earcup of your Beats Studio 3 headphones. This is where you’ll find the power button.
2. Locate the power symbol: On the outer surface of the left earcup, you should see a small power symbol. It is usually represented by a circle with a vertical line on top.
3. Feel for the button: Place your finger on the left earcup and run it along the surface. You should be able to feel a small, slightly raised button beneath your fingertip.
4. Familiarize yourself with the button’s placement: The power button is typically positioned toward the back of the left earcup, near the outer edge.
By locating the power button on your Beats Studio 3 headphones, you’re one step closer to turning off noise cancellation and customizing your audio experience.
Once you’ve successfully identified the power button, you’re ready to progress to the next step and power on your Beats Studio 3 headphones.
Step 3: Turn on your Beats Studio 3 headphones
Now that you’ve located the power button on your Beats Studio 3 headphones, it’s time to turn them on. Follow these simple steps:
1. Press and hold the power button: Place your finger on the power button on the left earcup and press it down and hold it for a few seconds. You should feel a slight resistance as you press the button.
2. Look for the LED indicator: As you hold down the power button, keep an eye on the LED indicator located on the same earcup. The LED will light up, indicating that your Beats Studio 3 headphones are powering on.
3. Release the power button: After a moment, release the power button. Your Beats Studio 3 headphones should now be turned on and ready to connect to your device.
It’s important to note that the LED indicator may flash or display different colors to indicate different states, such as pairing mode or low battery. Make sure to refer to the user manual if you encounter any specific LED patterns or colors.
By following these simple steps, you’ve successfully turned on your Beats Studio 3 headphones. Now, you’re ready to connect them to your device and proceed to the next steps in turning off noise cancellation.
Step 4: Access the control center on your device
In order to disable noise cancellation in your Beats Studio 3 headphones, you’ll need to access the control center or quick settings panel on your device. The exact steps may vary depending on the operating system of your device. Follow these general instructions to access the control center:
1. iOS devices (such as iPhone or iPad):
- Swipe up from the bottom of the screen. This action will reveal the control center.
- The control center is a menu that provides quick access to essential settings and features of your device.
2. Android devices (such as Samsung Galaxy or Google Pixel):
- Swipe down from the top-right corner of the screen. This action will open the quick settings panel.
- The quick settings panel contains shortcuts to commonly used settings and features on your Android device.
If the above steps don’t work for your device, you can consult the user manual or search online for specific instructions on how to access the control center or quick settings panel for your particular device and operating system.
By accessing the control center or quick settings panel, you’ll be ready to proceed to the next steps and make the necessary adjustments to turn off noise cancellation in your Beats Studio 3 headphones.
Step 5: Find and open the Bluetooth settings
In order to turn off noise cancellation in your Beats Studio 3 headphones, you’ll need to navigate to the Bluetooth settings on your device. Follow these steps to find and open the Bluetooth settings:
1. Access the control center or quick settings panel: Follow the instructions provided in Step 4 to open the control center or quick settings panel on your device.
2. Look for the Bluetooth icon: In the control center or quick settings panel, locate the Bluetooth icon. It is usually represented by a stylized “B” or a combination of two arrows forming a circle.
3. Tap on the Bluetooth icon: Once you’ve located the Bluetooth icon, tap on it to open the Bluetooth settings. This will take you to the Bluetooth menu on your device.
4. Explore the Bluetooth settings: In the Bluetooth settings menu, you’ll find a list of available Bluetooth devices. This is where your Beats Studio 3 headphones will be listed.
5. Locate your Beats Studio 3 device: Scan the list of available devices and look for the name of your Beats Studio 3 headphones. It is usually displayed as “Beats Studio 3” or something similar.
6. Tap on your Beats Studio 3 device: Once you’ve found your Beats Studio 3 headphones in the Bluetooth device list, tap on the headphones’ name. This will establish a connection between your device and the headphones.
By following these steps, you’ll be able to find and open the Bluetooth settings on your device, allowing you to proceed to the next steps and disable noise cancellation in your Beats Studio 3 headphones.
Step 6: Locate your Beats Studio 3 device
Once you have accessed the Bluetooth settings on your device, the next step is to locate your Beats Studio 3 headphones in the list of available Bluetooth devices. Follow these steps to find your Beats Studio 3 device:
1. Scan the list: In the Bluetooth settings menu, you’ll see a list of available Bluetooth devices that your device can connect to.
2. Look for your Beats Studio 3: Scroll through the list and search for the name of your Beats Studio 3 headphones. It may be displayed as “Beats Studio 3” or a similar name.
3. Check device icons or descriptions: Some devices may display icons or additional details about the connected Bluetooth devices. Look for any icons or descriptions that indicate your Beats Studio 3 headphones.
4. Pay attention to signal strength: If your device displays signal strength indicators, look for an indicator that shows a strong signal for your Beats Studio 3 headphones. This can help you confirm that you’re selecting the correct device.
5. Tap on your Beats Studio 3 device: Once you have located your Beats Studio 3 headphones in the list, tap on the name of the headphones to select them as the active Bluetooth device.
By following these steps, you will be able to locate your Beats Studio 3 headphones in the Bluetooth settings of your device. Once you have successfully located your headphones, you can proceed to the next step and disable noise cancellation in your Beats Studio 3 headphones.
Step 7: Disable noise cancellation
Now that you have located your Beats Studio 3 headphones in the Bluetooth settings, it is time to disable noise cancellation. Follow these steps to turn off this feature:
1. Access the settings for your Beats Studio 3 headphones: Depending on your device, you may need to tap on the name of your Beats Studio 3 headphones or access a dropdown menu to reveal additional settings.
2. Look for the noise cancellation option: Once you are in the settings for your Beats Studio 3 headphones, navigate to the noise cancellation option. This may be labeled as “Noise Cancellation,” “ANC,” or a similar term.
3. Disable noise cancellation: Toggle the switch or button associated with the noise cancellation feature to the off position. The switch may be labeled with “On” and “Off” or represented by a graphical icon.
4. Confirm the changes: Some devices may require you to confirm your selection before applying the changes. Follow any prompts or confirmations that appear on your device’s screen.
5. Verify noise cancellation is disabled: After disabling noise cancellation, you can check if the feature is turned off by listening for any changes in the audio or checking the settings on your device to ensure noise cancellation is visually indicated as disabled.
By following these steps, you have successfully disabled noise cancellation in your Beats Studio 3 headphones. Enjoy your music or audio with the noise cancellation feature turned off, providing you with a different listening experience tailored to your preferences.
Conclusion
Congratulations! You have successfully learned how to turn off noise cancellation in your Beats Studio 3 headphones. By following the step-by-step instructions provided in this guide, you can now customize your audio experience to suit your preferences and needs.
Turning off noise cancellation can be beneficial in various situations. Whether you want to hear your surroundings for safety purposes, conserve battery life, or simply enjoy a different listening experience, the ability to disable noise cancellation in your Beats Studio 3 headphones gives you the flexibility to adapt to different situations.
Remember to put on your Beats Studio 3 headphones properly, locate the power button, turn on the headphones, access the control center or quick settings panel on your device, find and open the Bluetooth settings, locate your Beats Studio 3 device, and finally, disable noise cancellation. Following these steps will ensure a seamless and hassle-free process.
Now, you can enjoy your music, videos, and other audio content with noise cancellation turned off, allowing you to hear your surroundings or experience a different audio atmosphere. Explore different settings and find the audio experience that suits you best.
We hope this guide has been helpful in assisting you with turning off noise cancellation in your Beats Studio 3 headphones. Enjoy your audio journey with enhanced control over your listening experience!