Introduction
Noise cancelling technology has transformed the way we enjoy our favorite music and podcasts, allowing us to immerse ourselves in a world of pure audio bliss. As one of the leading audio brands, Beats has been at the forefront of this innovation, providing users with top-notch noise cancelling headphones like the Beats Studio 3. Whether you’re a music lover, a frequent traveler, or someone who enjoys peace and quiet, understanding how to activate noise cancelling on your Beats Studio 3 is essential.
In this article, we will delve into the world of noise cancelling technology, guiding you through the step-by-step process of turning on noise cancelling on your Beats Studio 3. We’ll also address common issues that may arise and provide troubleshooting tips to ensure you have the best listening experience possible. So, buckle up and get ready to elevate your auditory journey with noise cancelling on your Beats Studio 3.
Before we dive into the specifics, let’s take a moment to understand the magic behind noise cancelling technology.
Understanding Noise Cancelling Technology
Noise cancelling technology is designed to reduce or eliminate unwanted external noise, allowing you to focus on the sounds you want to hear. It utilizes a combination of advanced hardware and software to achieve this feat. The Beats Studio 3 headphones employ active noise cancelling technology, which means they actively analyze and process the ambient sounds around you in real time.
Active noise cancelling works by using microphones placed on the outside of the headphones to capture the surrounding sounds. These captured sounds are then inverted and played through the headphones’ speakers. When the inverted sound waves mix with the external noise, they cancel each other out, minimizing or even eliminating the unwanted sounds. This process happens seamlessly and instantaneously, creating an immersive listening experience.
Beats Studio 3 takes noise cancelling technology a step further with the help of the Apple W1 chip. This chip not only enhances the stability and efficiency of the wireless connection but also optimizes noise cancelling performance. The W1 chip intelligently adapts to the environment, ensuring that you get the most effective noise cancelling in any given situation.
In addition to blocking out external noise, the Beats Studio 3 also features a transparency mode. This mode lets you hear what’s happening around you without having to remove the headphones. By activating this mode, you can have conversations or stay aware of your surroundings without sacrificing audio quality.
Understanding the technology behind noise cancelling can help you appreciate the sophisticated engineering that goes into creating the immersive audio experience offered by the Beats Studio 3. Now, let’s dive into the steps required to activate noise cancelling on your headphones.
Steps to Turn On Noise Cancelling on Beats Studio 3
Activating the noise cancelling feature on your Beats Studio 3 headphones is a breeze. Just follow these simple steps:
- Ensure that your Beats Studio 3 headphones are powered on and connected to your device via Bluetooth.
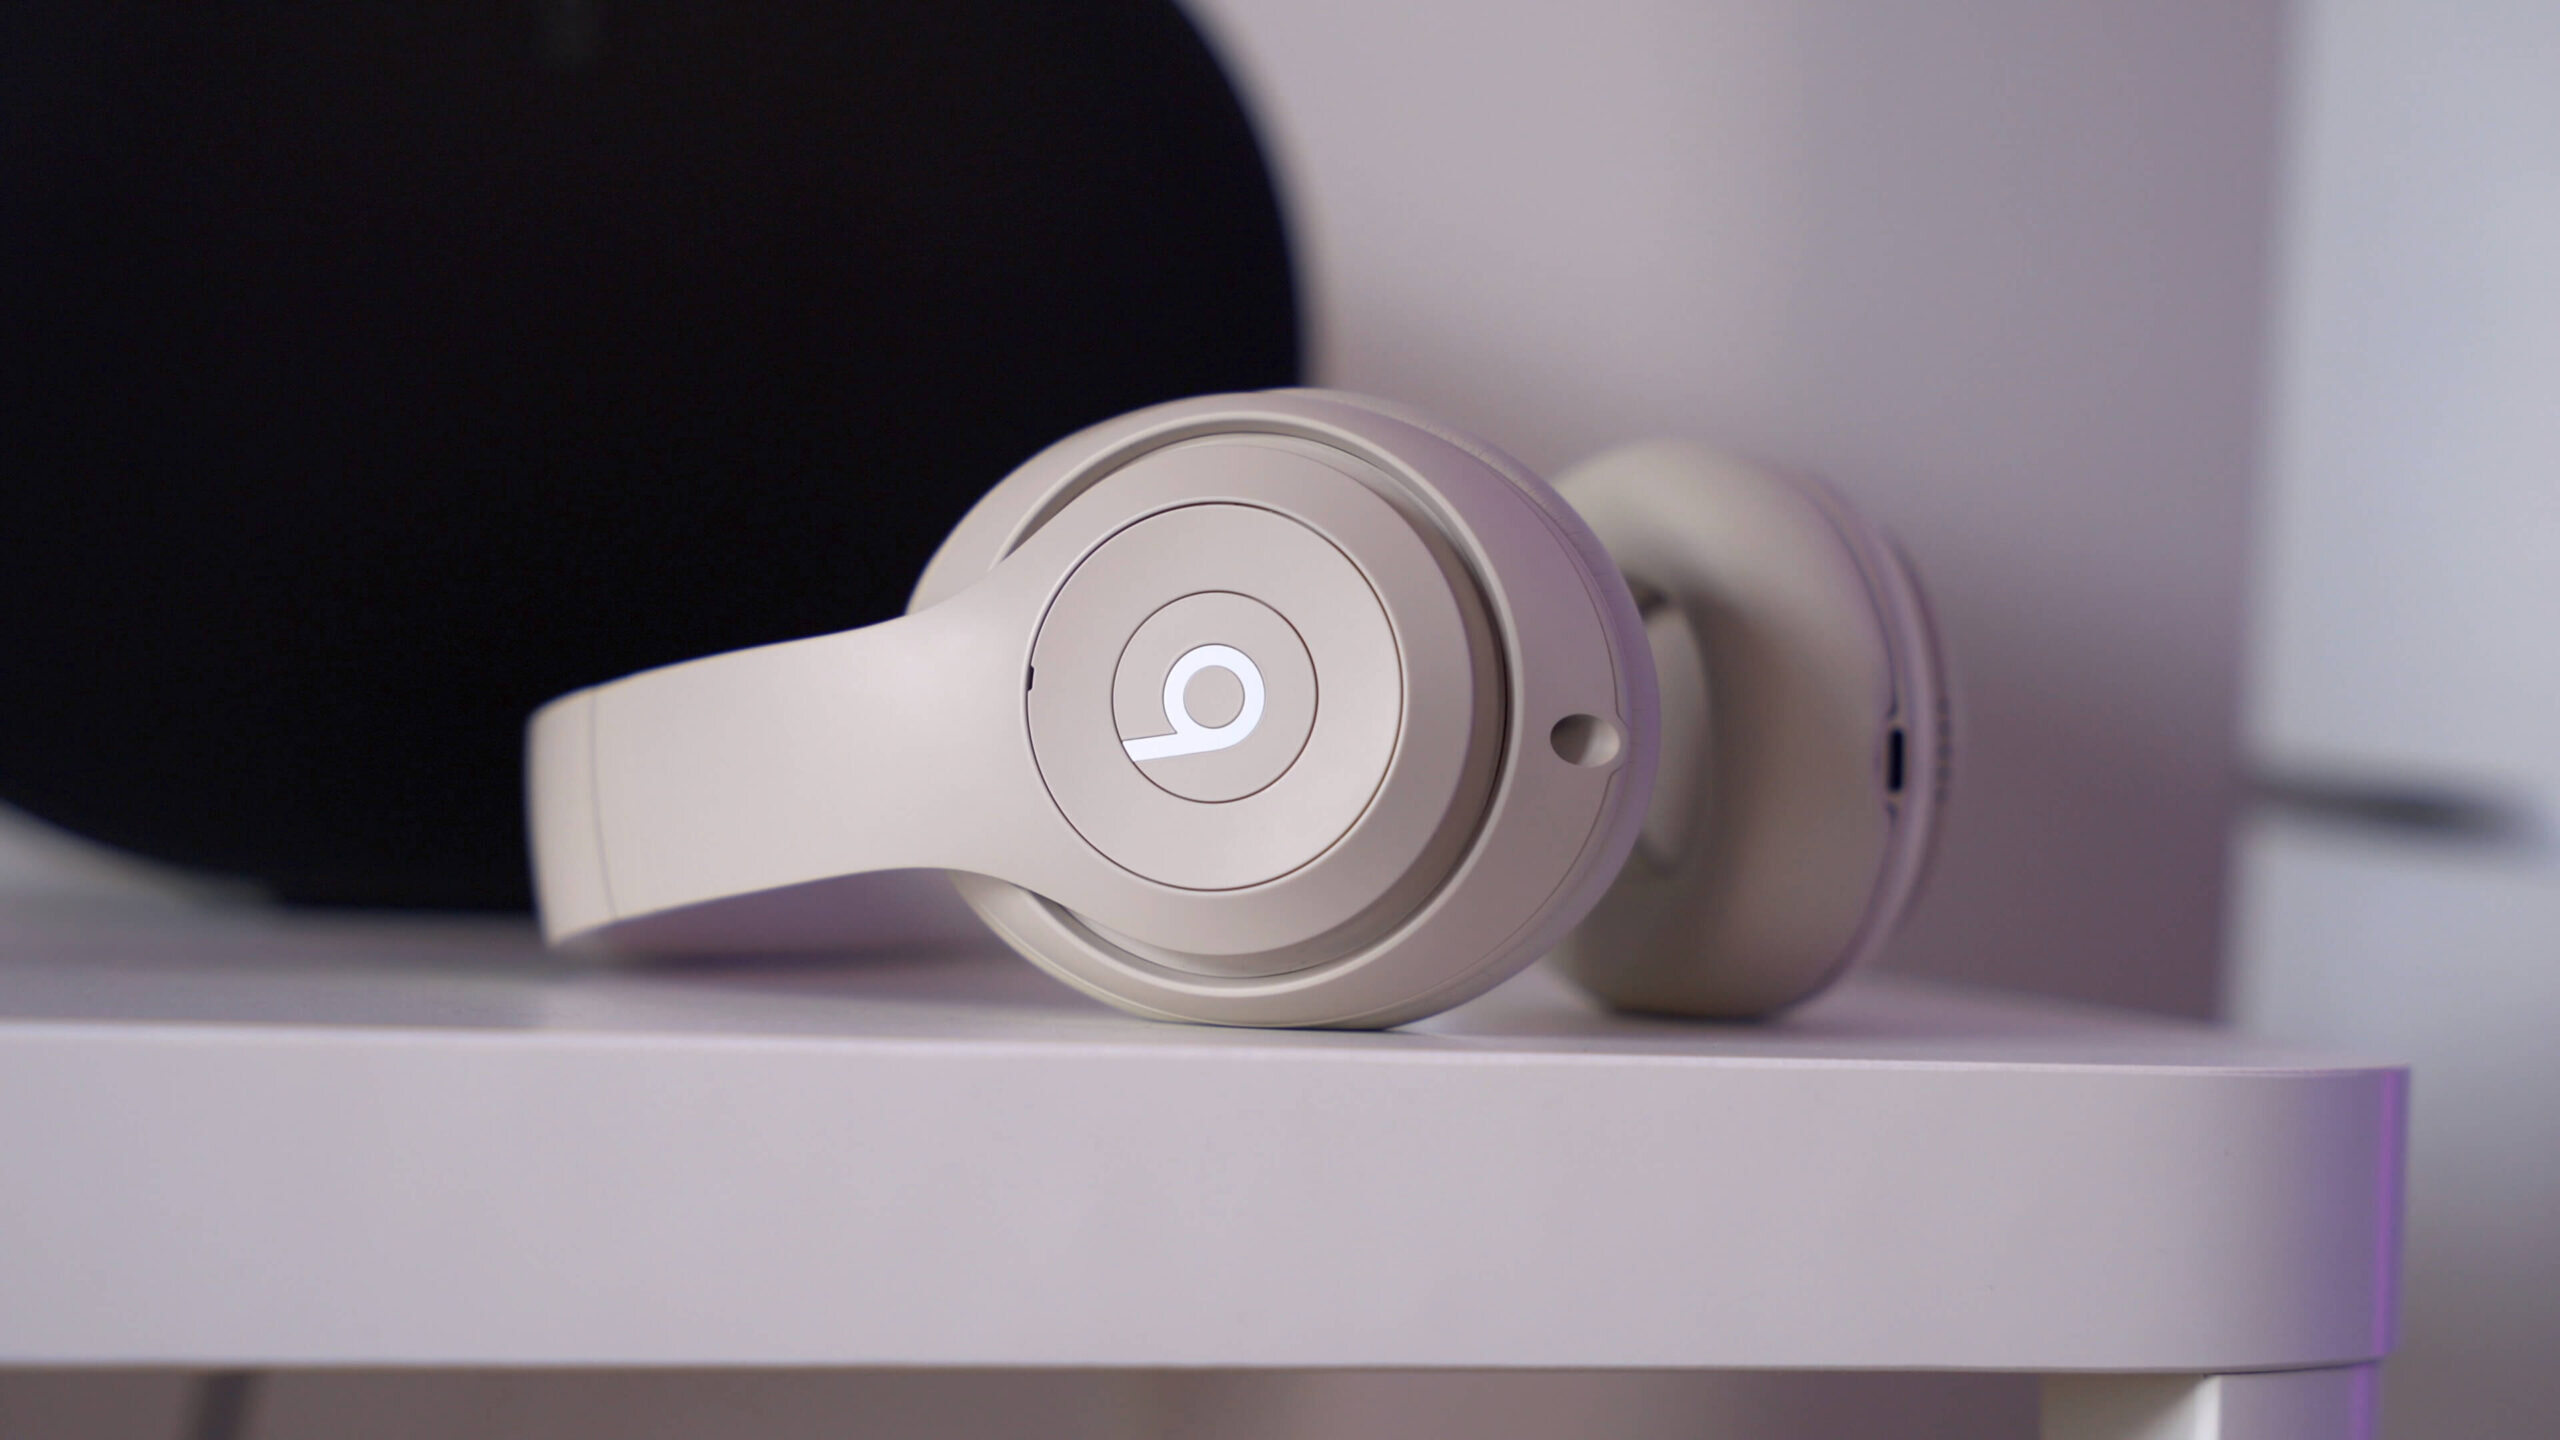
- Locate the “b” button on the left ear cup of your headphones. This button is used for various functions, including controlling noise cancelling.
- Press and hold the “b” button for a few seconds until you hear a confirmation tone or see the LED indicator light on the headphones turn on.
- Once the noise cancelling feature is activated, you will experience a significant reduction in external noise, allowing you to fully immerse yourself in your audio.
- If you wish to disable noise cancelling, simply press and hold the “b” button again until you hear the confirmation tone or see the LED indicator light turn off.
- Remember, the transparency mode we mentioned earlier can be accessed by pressing the “b” button twice quickly. This mode is particularly useful when you need to hear your surroundings while still enjoying your audio.
That’s all there is to it! With just a few button presses, you can effortlessly activate or deactivate the noise cancelling feature on your Beats Studio 3 headphones. Now, let’s explore some common issues you may encounter and how to troubleshoot them.
Troubleshooting Common Issues with Noise Cancelling
While the noise cancelling feature on the Beats Studio 3 headphones is highly effective, there may be occasions when you encounter some issues. Here are a few common problems and their possible solutions:
- Noise Cancelling Not Working: If you find that the noise cancelling feature is not working as expected, first ensure that it is enabled by checking the LED indicator light on the headphones. If the light is off, try turning off and on the headphones again. If the issue persists, make sure your headphones are charged and update the firmware through the Beats app or the Beats Updater.
- Loss of Sound Quality: Sometimes, when activating noise cancelling, you may notice a slight reduction in sound quality. This could be due to the nature of noise cancelling technology itself. However, if the loss of sound quality is significant or persistent, check the audio settings on your device, adjust the equalizer settings to enhance audio clarity, or consider updating your headphones’ firmware.
- Excessive Ear Pressure: Some users may experience a feeling of increased pressure on their ears when noise cancelling is active. This sensation is normal and is caused by the way noise cancelling technology works. If the pressure becomes uncomfortable, try adjusting the fit of the ear cups or take short breaks from using noise cancelling.
- Interference or Connectivity Issues: If you encounter connectivity problems while using noise cancelling, make sure your headphones are within the recommended range of your device. Additionally, check for any potential sources of interference, such as other wireless devices, and move them away from your headphones. Resetting Bluetooth settings on your device or re-pairing your headphones can also help resolve connectivity issues.
If you continue to experience issues with your Beats Studio 3 headphones and their noise cancelling feature, refer to the user manual or contact the Beats customer support team for further assistance. Now that you’re equipped with troubleshooting knowledge, you can maximize your noise cancelling experience.
Conclusion
Unlocking the noise cancelling capabilities of your Beats Studio 3 headphones allows you to transport yourself to a world of immersive audio without the distractions of the outside world. By understanding the technology behind noise cancelling and following the simple steps outlined in this guide, you can easily activate and enjoy the benefits of noise cancelling.
Remember to take advantage of the transparency mode when you need to be aware of your surroundings without compromising your audio experience. And if you encounter any issues along the way, refer to the troubleshooting tips provided to resolve common problems.
Whether you’re a music aficionado, a frequent traveler, or someone who craves moments of peace and tranquility, the noise cancelling feature on your Beats Studio 3 headphones can greatly enhance your listening experience. So go ahead, turn on noise cancelling, and immerse yourself in a world of pure sound.
Now, put on your headphones and indulge in the pleasure of your favorite music, podcasts, and more with the power of noise cancelling on your Beats Studio 3.