Introduction
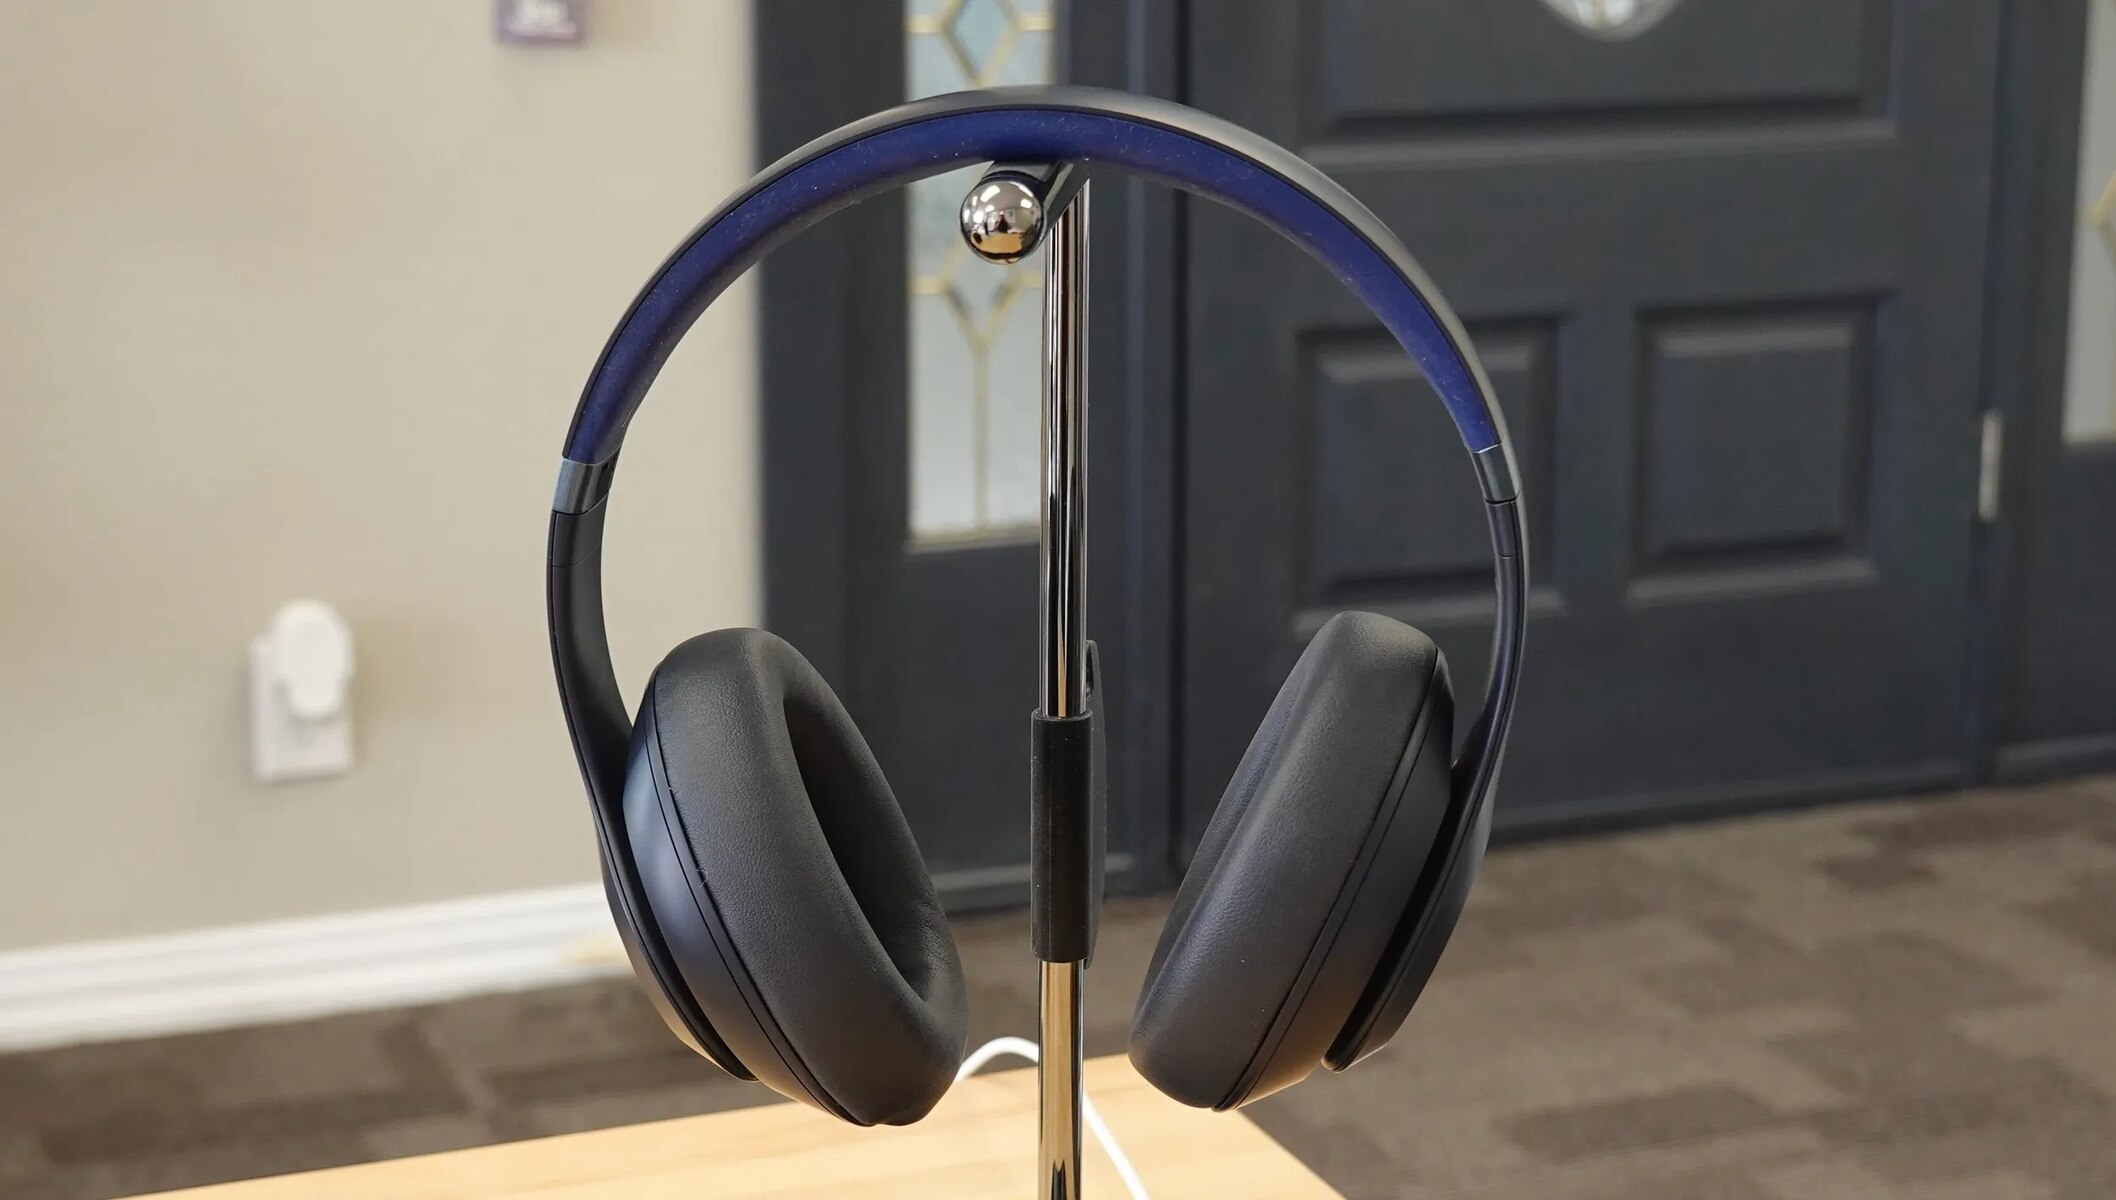
Noise-cancelling headphones are a popular accessory for music lovers and frequent travelers alike. They use advanced technology to reduce ambient noise, allowing users to enjoy their favorite tunes or focus on work without distractions. One of the most renowned brands in the market is Beats, known for their stylish design and powerful sound quality.
While noise cancellation can be a lifesaver in noisy environments, there are instances when you may want to turn it off. Whether you prefer to be aware of your surroundings or want to conserve battery life, knowing how to disable noise cancelling on your Beats headphones is essential.
In this article, we will guide you step by step on how to turn off noise cancelling on your Beats headphones. Whether you are an Apple user with Beats Studio3 or Beats Solo Pro, or you have a pair of BeatsX, Powerbeats, or Powerbeats Pro, we’ve got you covered with comprehensive instructions.
Before we dive into the nitty-gritty, let’s take a moment to understand why you might want to turn off noise cancellation on your Beats headphones.
Why turn off noise cancelling on Beats?
Noise cancelling headphones are designed to block out external sounds, creating a serene listening experience. However, there are situations where you may prefer to disable this feature.
1. Safety: Noise cancelling technology effectively isolates you from your surroundings. While this can be great in certain situations, it can also pose a safety risk, especially in busy or unfamiliar environments. By turning off noise cancelling, you can stay more aware of your surroundings, ensuring your personal safety.
2. Battery saving: Noise cancelling requires additional power from the headphones’ battery. If you are running low on battery and don’t have access to a charger, disabling noise cancelling can help prolong your listening time.
3. Sound quality: While noise cancelling is excellent for blocking out background noise, it can also impact the overall sound quality of your music. Disabling noise cancelling may provide a clearer audio experience, allowing you to fully appreciate the nuances and details within your favorite tracks.
4. Avoiding audio artifacts: In rare cases, noise cancelling technology can introduce audio artifacts or slight audio quality degradation. This can be more noticeable in certain genres of music or during quiet passages. By turning off noise cancellation, you can eliminate any potential interference or distortion.
5. Interacting with others: When you are in a social setting or need to communicate with others, turning off noise cancelling can facilitate better conversation. It allows you to hear and engage with those around you without the need to remove your headphones entirely.
6. Preference: Ultimately, personal preference plays a significant role in the decision to disable noise cancelling. Some individuals simply prefer the natural soundscape of their environment or find that noise cancelling affects their overall listening experience. Being able to turn off this feature gives you control over your audio preferences.
Now that we have explored the reasons why you may want to disable noise cancelling on your Beats headphones, let’s move on to the practical steps on how to do it.
Step by step guide to turn off noise cancelling on Beats
Depending on the model of your Beats headphones, the process of turning off noise cancelling may vary slightly. Here, we provide instructions for several popular Beats headphone models:
- Beats Studio3:
- Ensure your headphones are turned on and connected to your device.
- Press and hold the power button on the left earcup for a few seconds.
- You will hear a voice prompt that confirms noise cancelling has been turned off.
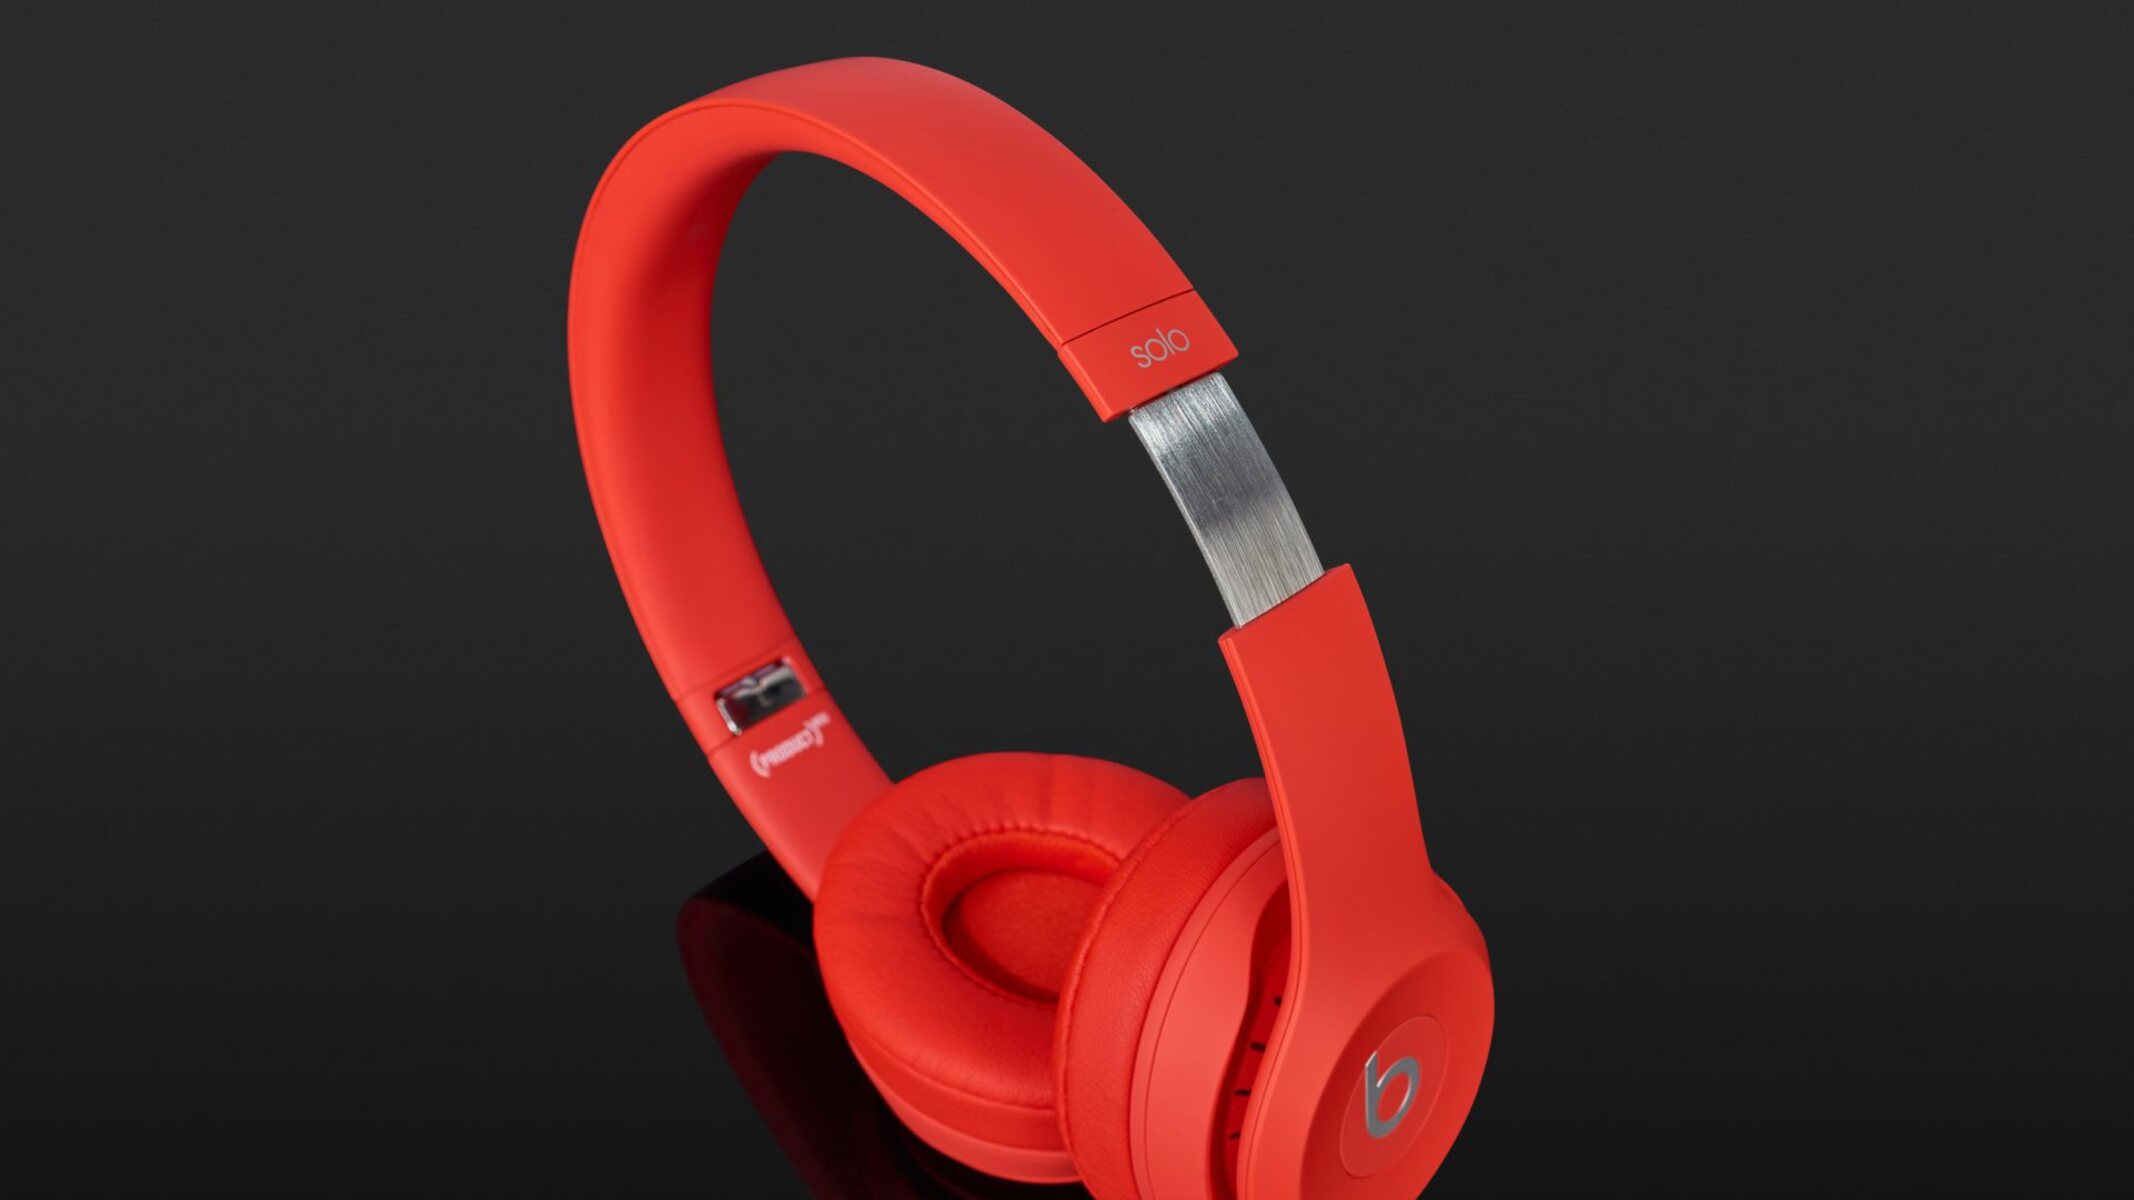
- Beats Solo Pro:
- Ensure your headphones are turned on and connected to your device.
- Locate the button on the left earcup with an icon that looks like a crossed-out ear.
- Press and hold that button for a few seconds.
- You will hear a voice prompt confirming that noise cancelling has been deactivated.
- BeatsX:
- Ensure your earphones are turned on and connected to your device.
- Locate the power button on your earphones (usually located on the cable).
- Press and hold the power button for a few seconds until the LED indicator turns off.
- Powerbeats and Powerbeats Pro:
- Ensure your earphones are turned on and connected to your device.
- Open the Bluetooth settings on your device and locate your Powerbeats or Powerbeats Pro.
- Select the “i” icon next to the name of your earphones.
- Under the “Noise Cancellation” section, toggle the switch to turn it off.
To disable noise cancelling on Beats Studio3 headphones, follow these steps:
If you own Beats Solo Pro headphones, here’s how you can turn off noise cancelling:
If you have a pair of BeatsX wireless earphones, use the following steps to disable noise cancelling:
To turn off noise cancelling on Powerbeats or Powerbeats Pro, follow these instructions:
Remember, the specific steps may vary slightly depending on the model and firmware version of your Beats headphones. If you encounter any difficulties or if the steps provided do not apply to your device, referring to the user manual or reaching out to Beats customer support can provide further assistance.
Turning off noise cancelling on your Beats headphones can help you stay aware of your surroundings, conserve battery life, and potentially enhance your overall listening experience. Experiment with different modes and settings to find what works best for you.