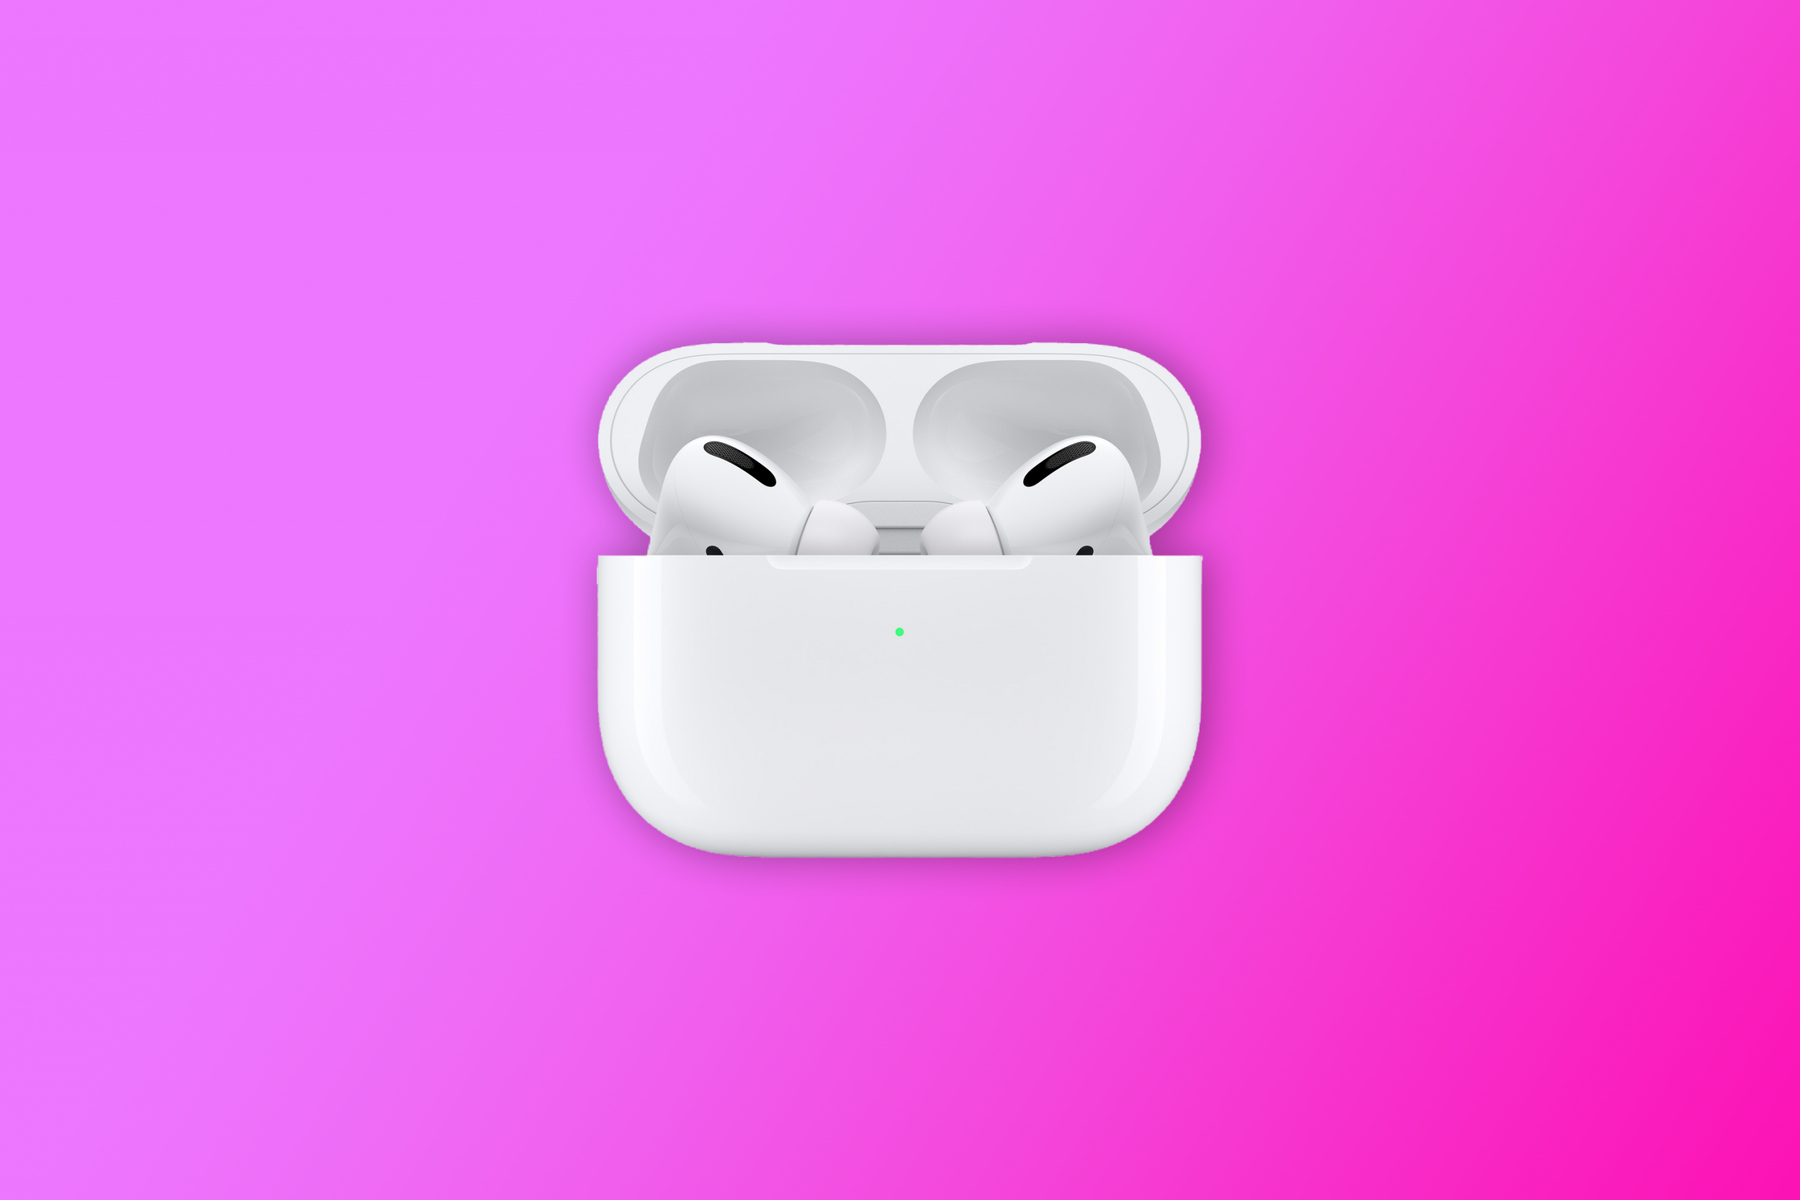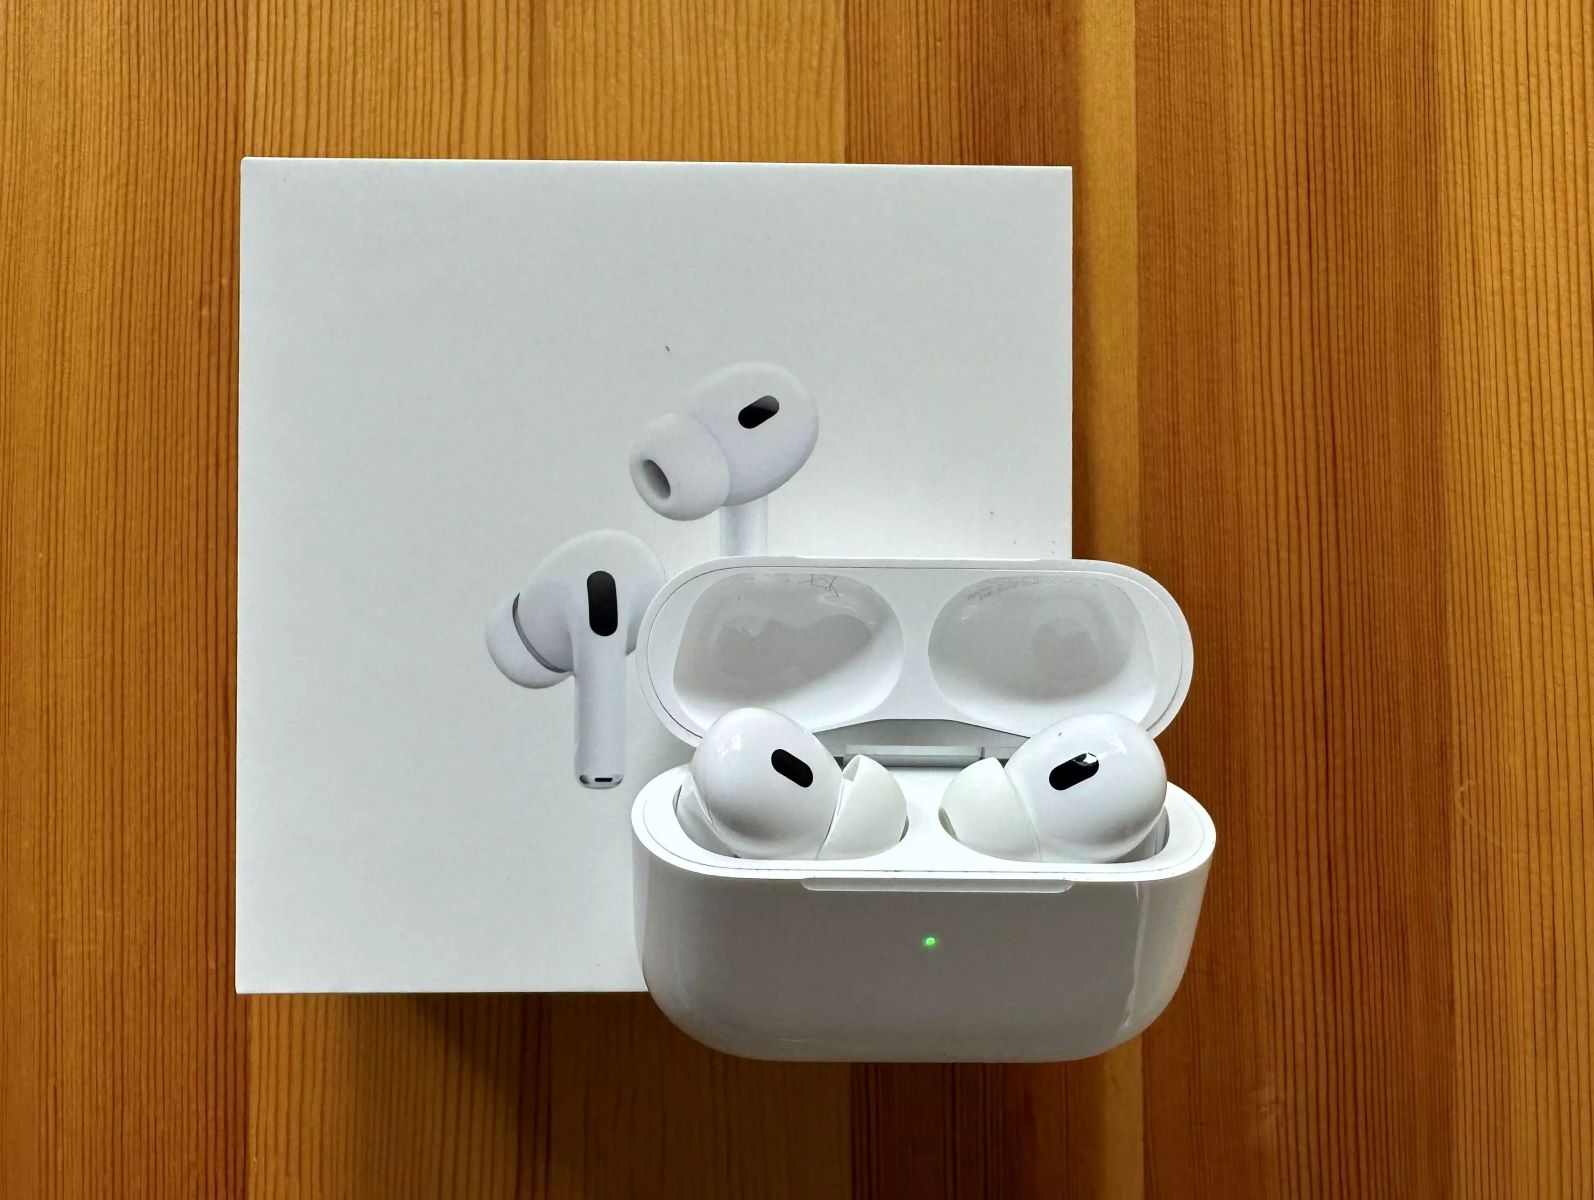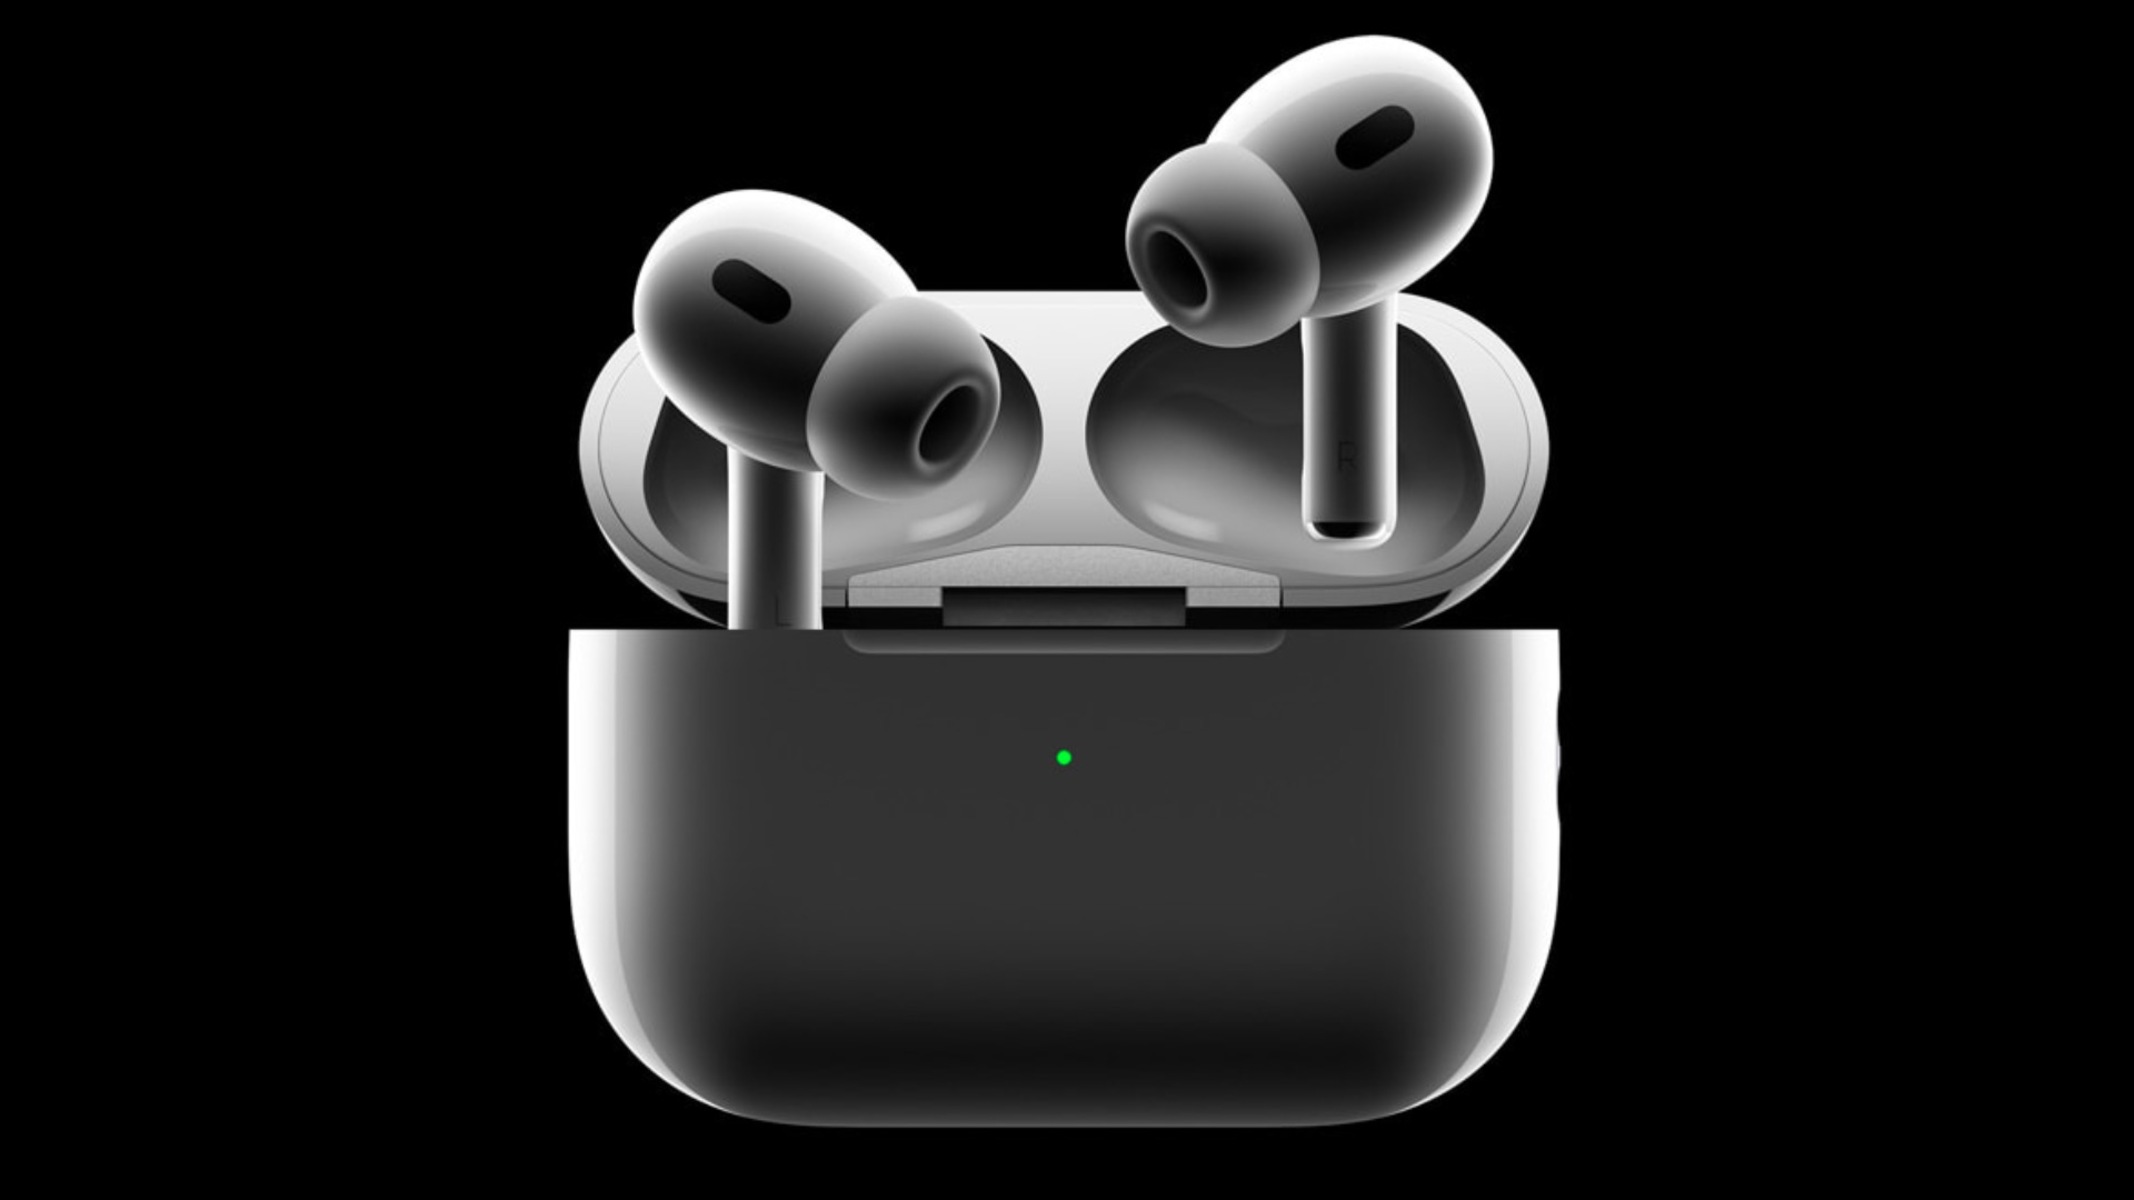
Reasons Why Your AirPods Pro Might Not be Noise Cancelling
AirPods Pro are renowned for their excellent noise cancelling capabilities, ensuring an immersive audio experience for users. However, there may be instances when you notice that your AirPods Pro are not delivering the expected noise cancelling performance. Here are some reasons why this could be happening:
- Insufficient Seal: The effectiveness of the AirPods Pro’s noise cancelling feature relies on a tight seal between the earbud and your ear. If the ear tips are not properly inserted or are not the right size, it can affect the seal and lead to reduced noise cancellation.
- Low Battery Level: Noise cancellation requires a significant amount of power, so if the battery level of your AirPods Pro is low, it may impact the noise cancelling performance. Ensure that your AirPods Pro are adequately charged before expecting optimal noise cancellation.
- Software Issues: Occasionally, software glitches can affect the functionality of your AirPods Pro, including the noise cancelling feature. Make sure that your AirPods Pro are running on the latest firmware by regularly updating them through your iPhone’s settings.
- Audio Settings: Certain audio settings on your device can override the noise cancelling feature. Check if the “Transparency” mode is disabled and that the noise cancelling option is selected in the AirPods Pro settings on your iPhone or other connected devices.
- Environmental Factors: External noises, such as loud conversations or background music, can interfere with the AirPods Pro’s ability to cancel out sound effectively. In such situations, it may be more challenging for your AirPods Pro to provide complete noise cancellation.
- Physical Damage or Wear: If your AirPods Pro have been subjected to moisture or physical damage, it can impact their performance, including the noise cancelling feature. Ensure that your AirPods Pro are free from any damage and properly maintained.
- Compatibility Issues: Certain devices may not be fully compatible with the AirPods Pro’s noise cancelling feature. Verify the compatibility of your AirPods Pro with the device you are using and check for any recommendations or updates from the manufacturer.
- Other Connected Devices: If you have multiple devices connected to your AirPods Pro simultaneously, it can create conflicts and affect the noise cancelling performance. Disconnect any unnecessary devices and test the noise cancellation again.
- Firmware Updates: Apple periodically releases firmware updates for AirPods Pro that address various performance issues. Ensure that your AirPods Pro are up to date to benefit from any bug fixes or enhancements related to noise cancellation.
- Service or Repair Needs: If all else fails, and you have ruled out any other possible causes, it’s advisable to reach out to Apple support or authorized service providers for assistance. They can diagnose the issue and provide solutions or advise on any necessary repairs.
By understanding and addressing these potential reasons, you can troubleshoot and improve the noise cancelling capabilities of your AirPods Pro, ensuring a more immersive and enjoyable listening experience.
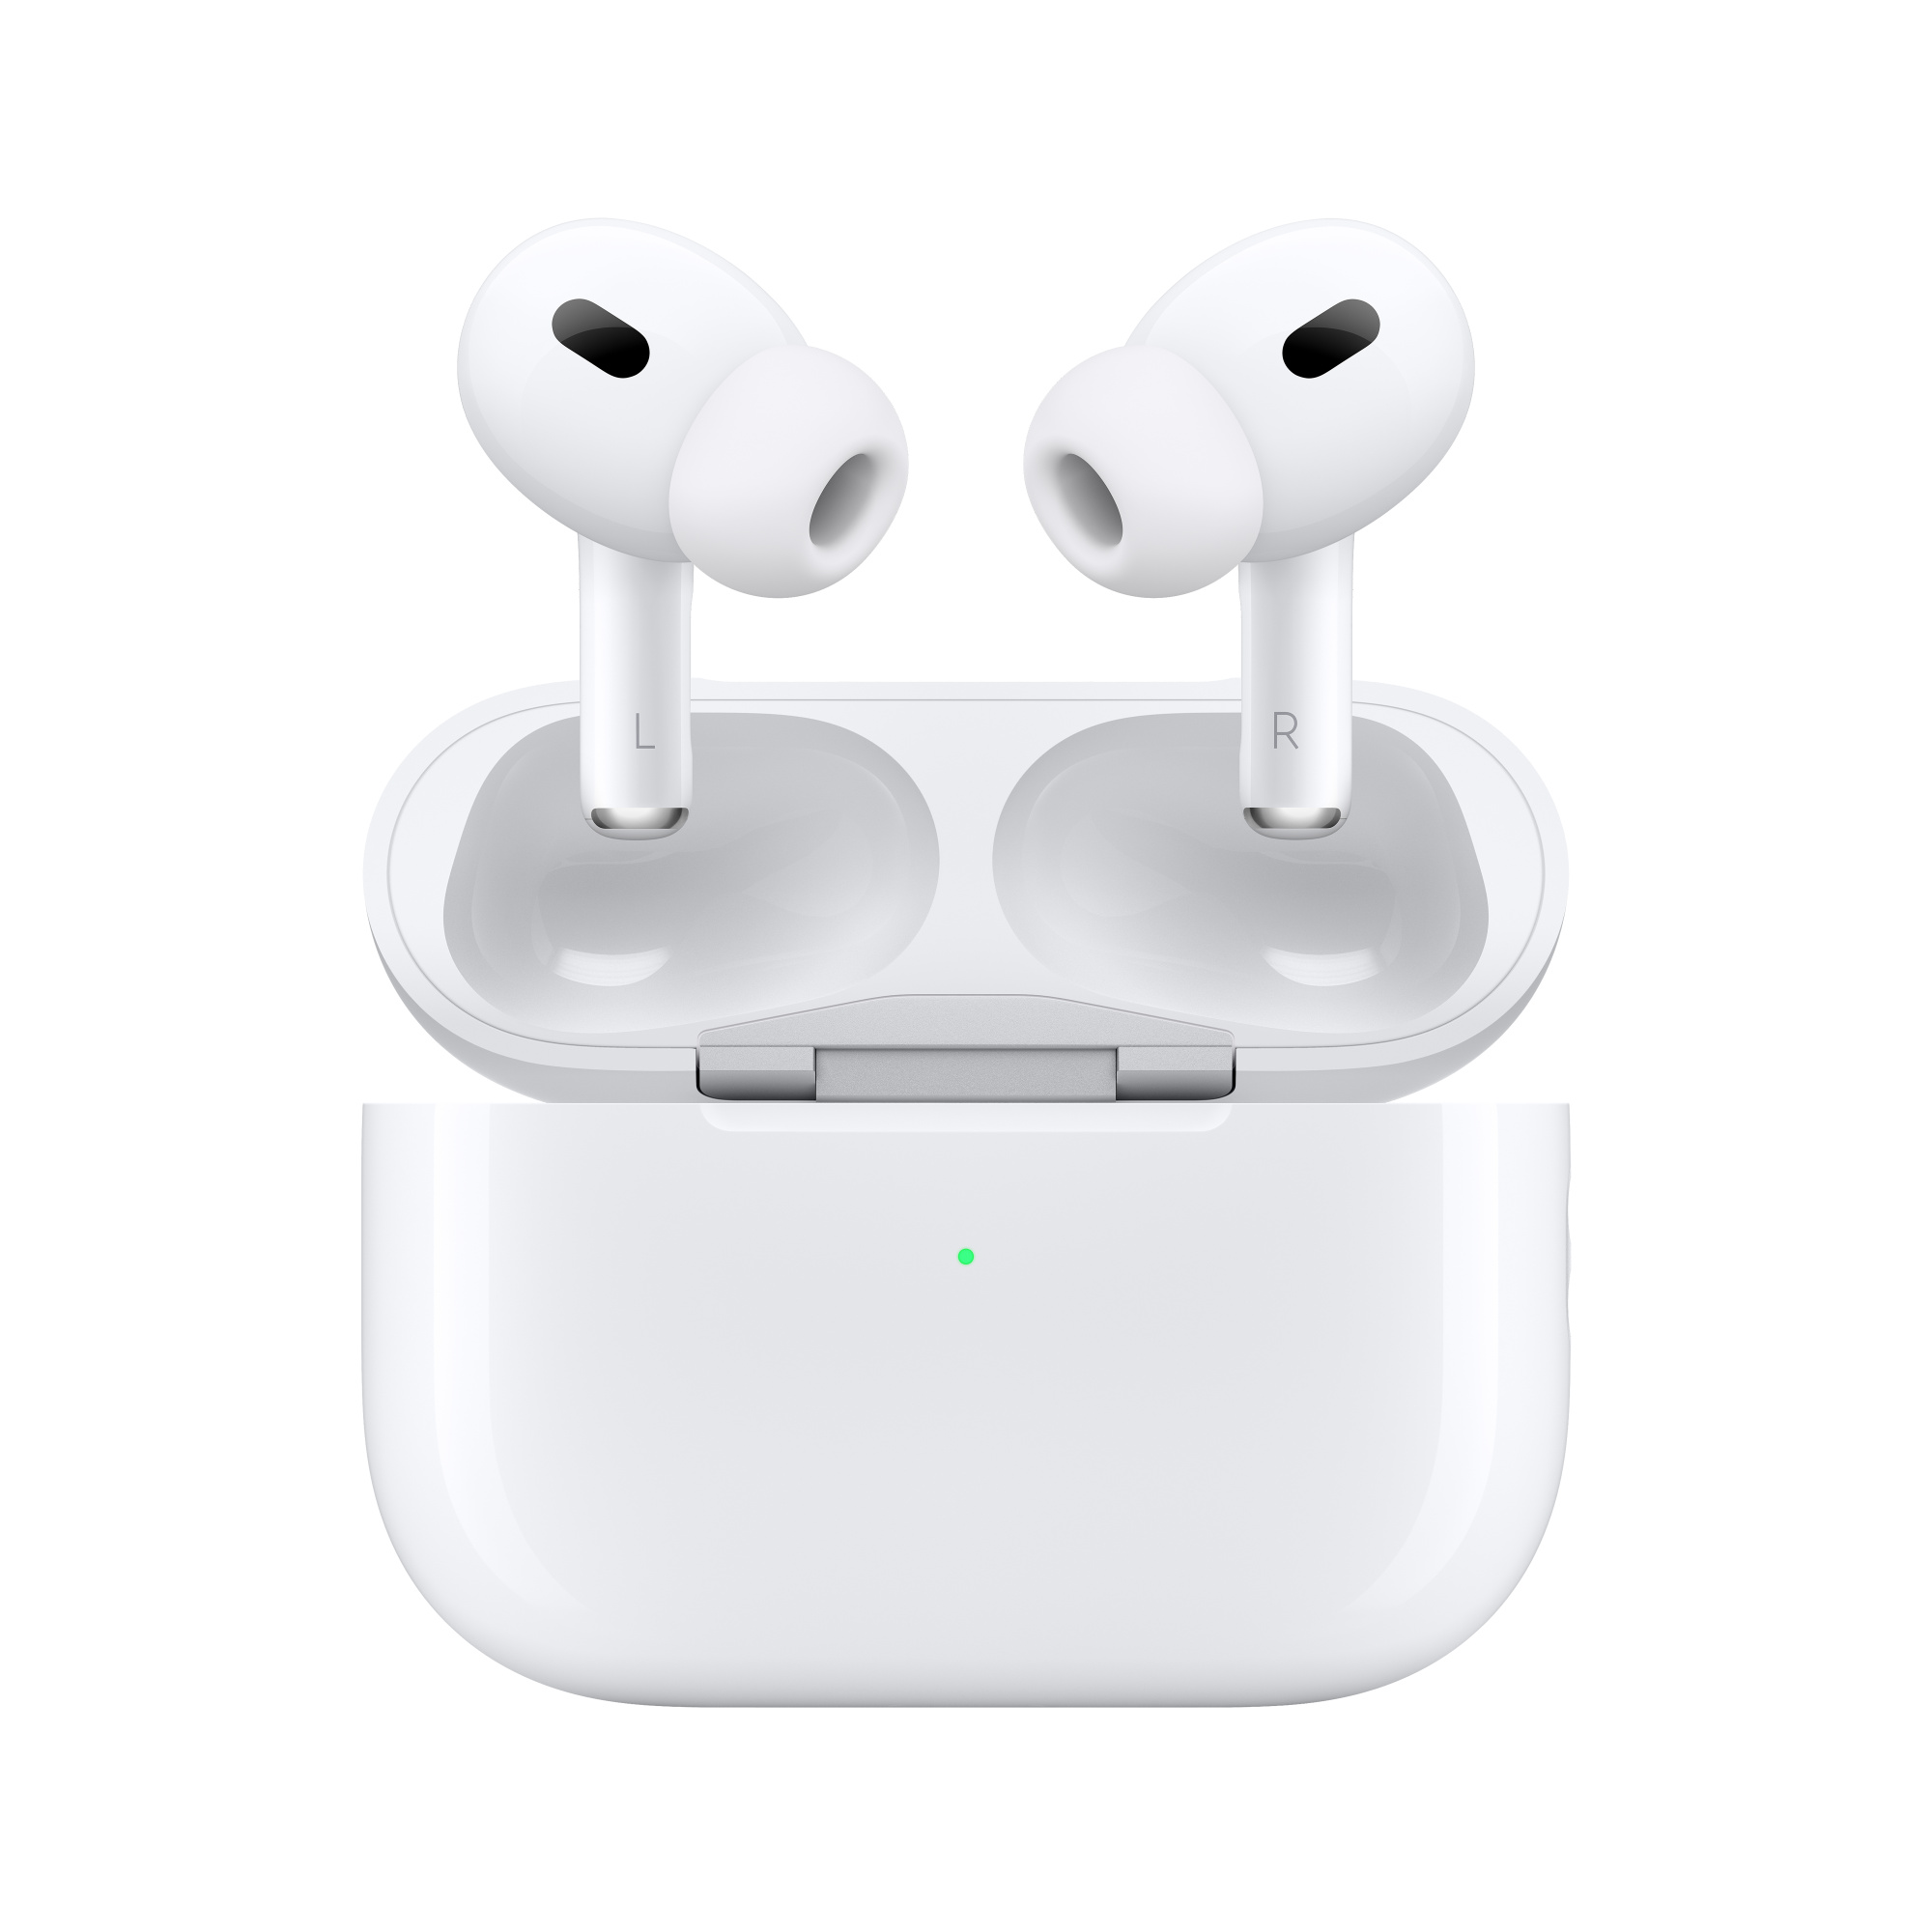
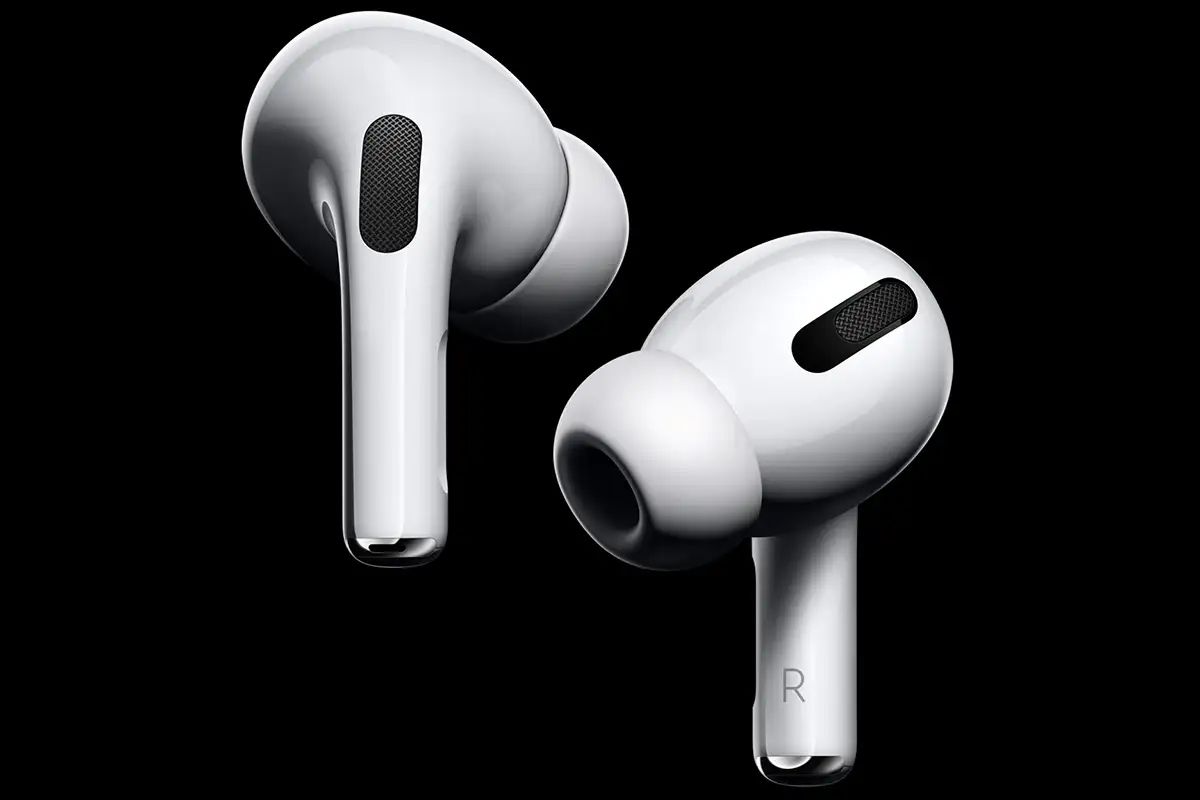
Insufficient Seal
One of the primary reasons why your AirPods Pro may not be delivering the expected noise cancelling performance is an insufficient seal between the earbud and your ear. The noise cancellation feature of the AirPods Pro relies on creating a tight seal to effectively block out external noise.
When inserting your AirPods Pro, it’s crucial to ensure that the ear tips are properly inserted and fit snugly in your ears. If the ear tips are not inserted correctly or are the wrong size for your ears, it can compromise the seal, resulting in reduced noise cancellation.
To check if you have a proper seal, start by trying different sizes of ear tips that come with the AirPods Pro. Experiment with different sizes and see which provides the best fit and seal for your ears. You should feel a slight pressure and a secure fit when the ear tips are inserted correctly.
It’s worth noting that everyone’s ear shape and size vary, so it may take a bit of trial and error to find the perfect fit. Take your time to ensure that the ear tips are properly seated and that you have a comfortable seal before testing the noise cancelling feature again.
If you’re still experiencing issues with the seal, another tip is to clean the ear tips and the AirPods Pro thoroughly. Over time, earwax and debris can accumulate on the ear tips, affecting the seal and the overall performance. Gently remove the ear tips and wash them with warm water and mild soap. Dry them thoroughly before reattaching them to the AirPods Pro.
If you’ve tried various ear tips and cleaning methods but are still unsatisfied with the seal, it may be worth considering third-party ear tips specifically designed for the AirPods Pro. These aftermarket options can provide a more customized and secure fit for your ears, enhancing the noise cancelling capabilities.
Remember: A proper seal is crucial for optimal noise cancellation with your AirPods Pro. Take the time to find the right size ear tips, clean them regularly, and consider third-party options if necessary. By ensuring an adequate seal, you’ll be able to enjoy the full potential of the noise cancelling feature.
Low Battery Level
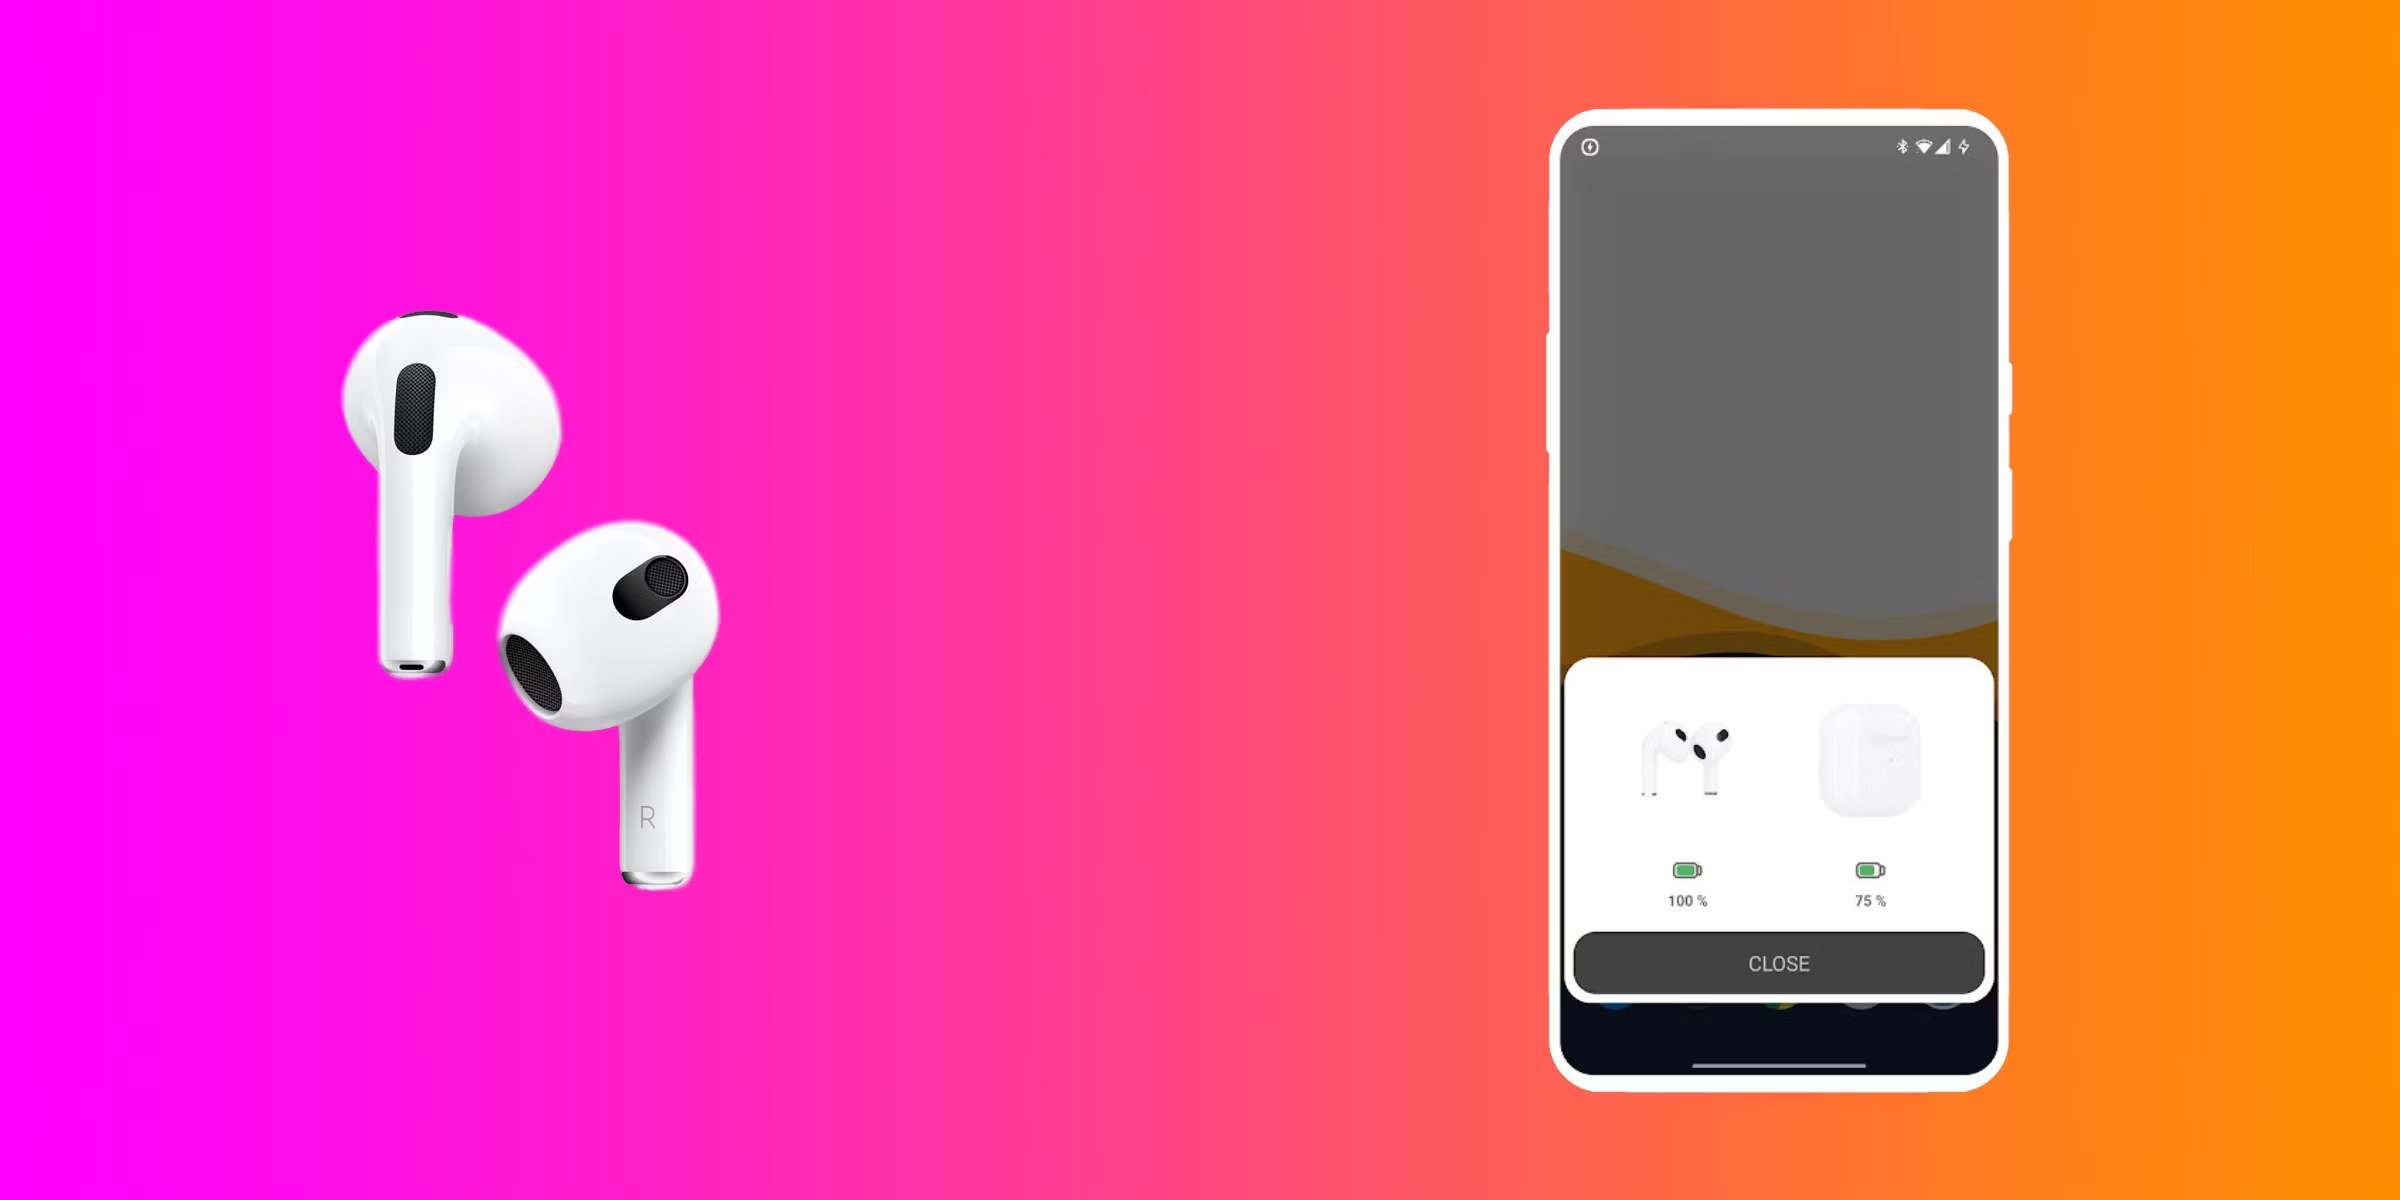
One of the common reasons why your AirPods Pro may not be providing the desired noise cancelling performance is a low battery level. Noise cancellation requires a significant amount of power to operate effectively, so if your AirPods Pro have a low battery, it can impact their ability to suppress external sounds.
To make sure that your AirPods Pro have sufficient power for noise cancellation, it is essential to regularly check and charge them. When you notice that the battery level is getting low, it is recommended to charge them before using the noise cancelling feature extensively.
You can check the battery level of your AirPods Pro on your connected iOS device by opening the Control Center and swiping right to access the Now Playing screen. You will see the battery status of your AirPods Pro, indicating the charge level of the case as well as the individual earbuds.
Charging your AirPods Pro is simple. Place them in the charging case and ensure that the case is connected to a power source using a Lightning cable. The status light on the front of the case will indicate the charging progress, turning green when the AirPods Pro are fully charged.
It’s worth mentioning that even if your AirPods Pro are not fully charged, you can still use them for noise cancellation. However, if the battery level is critically low, it may affect the performance and duration of the noise cancellation feature. So, it’s best to keep your AirPods Pro adequately charged for optimal noise cancelling functionality.
If you’re experiencing issues with low battery life, it may be worth considering some power-saving tips to prolong the battery life of your AirPods Pro. These include reducing the use of additional features like “Hey Siri,” adjusting the volume level, and minimizing the time spent on calls or media playback.
By regularly monitoring and maintaining the battery level of your AirPods Pro, you can ensure that they have sufficient power to deliver the best noise cancelling performance possible. Keep them charged and make the most of their noise cancelling capabilities.
Software Issues
Software issues can sometimes be the culprit behind your AirPods Pro not delivering the expected noise cancelling performance. These issues can range from minor bugs to compatibility problems that affect the functionality of the noise cancellation feature.
To address software-related problems, it is crucial to ensure that your AirPods Pro are running on the latest firmware. Apple periodically releases firmware updates that include bug fixes, performance improvements, and optimizations for various features, including noise cancellation.
To check for firmware updates for your AirPods Pro, make sure they are connected to your iOS device. Then, go to the “Settings” app on your iPhone or iPad, tap on “General,” and select “Software Update.” If an update is available for your AirPods Pro, follow the prompts to install it.
Another vital step in resolving software issues is to reset your AirPods Pro. This can help address any temporary glitches or conflicts that might be affecting the noise cancelling feature. To reset your AirPods Pro, follow these steps:
- Put your AirPods Pro in the charging case and close the lid.
- Wait for about 30 seconds, then open the lid.
- On your iOS device, go to the “Settings” app, tap on “Bluetooth,” and find your AirPods Pro in the list of devices.
- Tap on the “i” icon next to your AirPods Pro, and then select “Forget This Device.”
- Confirm the action and reset your AirPods Pro.
- Set up your AirPods Pro again by placing them near your device and following the on-screen prompts.
If software issues persist even after updating and resetting your AirPods Pro, it may be worth reaching out to Apple support or visiting an authorized service center for further assistance. They can help diagnose the problem and provide solutions specific to your situation.
Remember to check for firmware updates regularly and take advantage of any bug fixes or performance improvements provided by Apple. By keeping your AirPods Pro software up to date, you can minimize the chances of encountering software-related issues that may affect the noise cancelling functionality.
Audio Settings
When troubleshooting issues with noise cancelling on your AirPods Pro, it’s essential to check your audio settings to ensure they are optimized for noise cancellation. Sometimes, certain settings can override or interfere with the noise cancelling feature, resulting in less effective noise reduction.
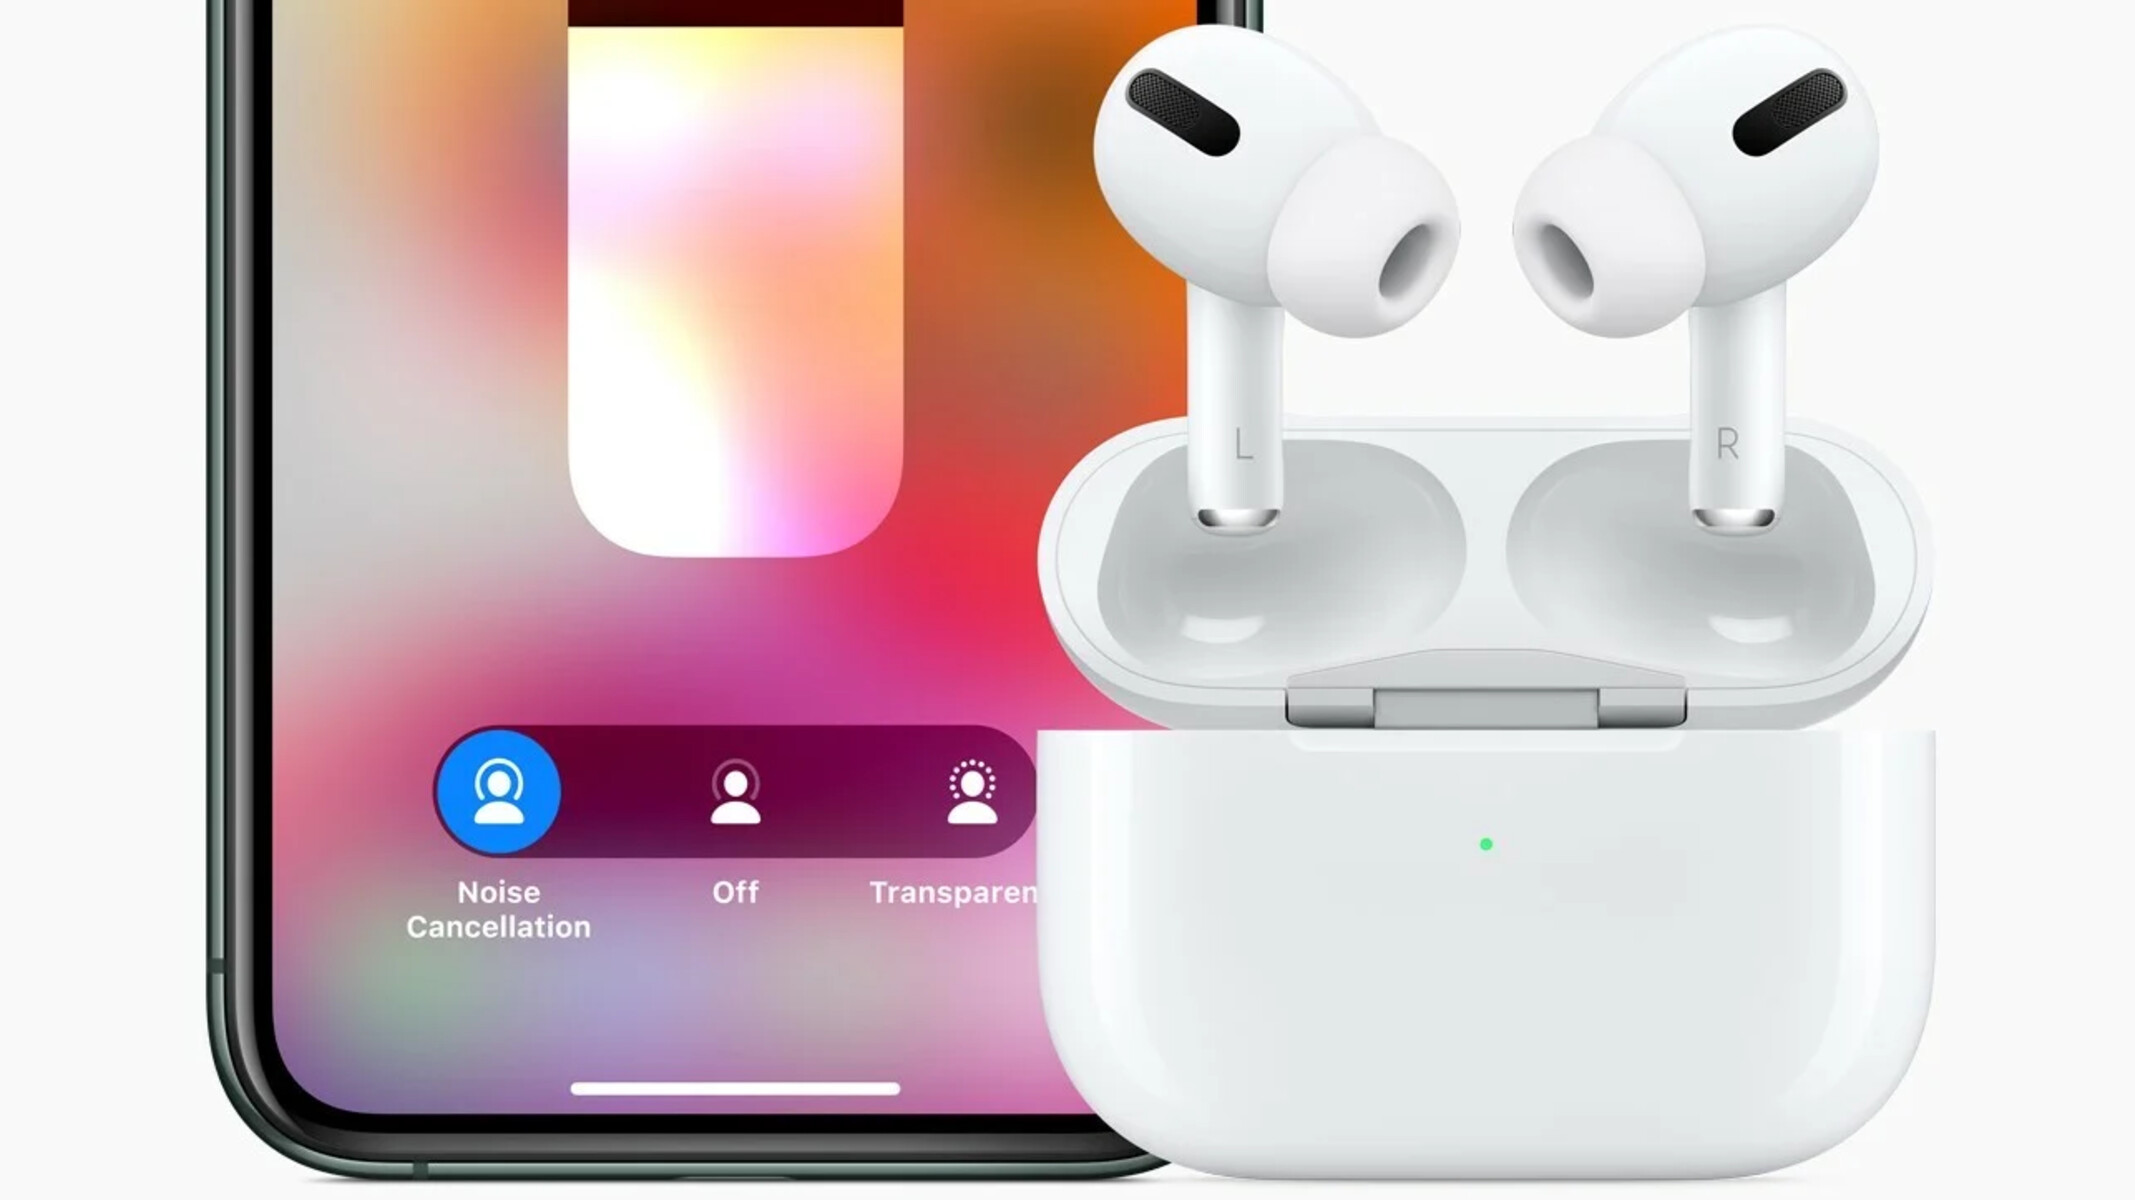
Start by verifying that the “Transparency” mode is disabled on your AirPods Pro. Transparency mode allows you to hear ambient sounds, making the noise cancellation less prominent. To turn off Transparency mode, follow these steps:
- On your connected iOS device, go to the Control Center by swiping down from the top right corner of the screen (or up from the bottom for older iPhones with a Home button).
- Press and hold down the volume slider, which should reveal additional audio controls.
- Ensure that the “Noise Cancellation” option is selected, and the toggle for Transparency mode is turned off.
In addition to the Transparency mode, ensure that the noise cancellation setting is enabled in the AirPods Pro settings on your iPhone or other connected devices. This setting should be available in the Bluetooth settings section under the specific AirPods Pro device.
Keep in mind that the noise cancellation feature on the AirPods Pro works best when used with media playback. If you are only using the AirPods Pro for phone calls, the noise cancellation may not be as noticeable. So, try playing music or videos to fully experience the noise cancelling capabilities.
Lastly, check the volume level of your AirPods Pro. Very high or very low volume levels can impact the effectiveness of noise cancellation. Adjust the volume to a comfortable level that is neither too loud nor too quiet to optimize the noise cancelling experience.
By ensuring that the appropriate audio settings are enabled and properly adjusted on your AirPods Pro and connected devices, you can maximize the noise cancelling performance and enjoy an immersive audio experience.
Environmental Factors
When it comes to noise cancelling performance, it’s important to consider the environmental factors that may be affecting your AirPods Pro. While they are designed to effectively reduce external noise, certain conditions or situations can make it challenging for the noise cancelling feature to work optimally.
One common environmental factor is the presence of exceptionally loud or constant background noise. In situations where there is high ambient noise, such as construction sites, crowded areas, or loud conversations, the AirPods Pro may struggle to cancel out all the sound effectively. Although they will still offer some level of noise reduction, the performance may not be as noticeable or complete.
Furthermore, certain types of sounds, such as sharp or sudden noises, may not be effectively cancelled out by the active noise cancellation feature. These noises might still break through, albeit at a reduced volume. It’s worth noting that noise cancellation works best with continuous, steady-state sounds like the hum of airplane engines or background traffic noise.
Another factor to consider is the fit of your AirPods Pro. If the ear tips are not properly inserted or have become loose during use, it can compromise the seal and reduce the effectiveness of noise cancellation. Ensure that the ear tips are securely in place and provide a tight seal to optimize noise reduction.
It’s also worth considering that outdoor environments, with their wide range of frequencies and unpredictable sound sources, can present challenges for noise cancellation. Even with the most advanced noise cancelling technology, there may be limitations to how much ambient noise can be effectively reduced in outdoor settings.
Lastly, keep in mind that individual sensitivity to noise and personal hearing characteristics can vary. What may be deemed as effective noise cancellation for one person may differ for another. It’s essential to set realistic expectations based on your personal experience and the nature of the environment you are in.
While the AirPods Pro are designed to offer excellent noise cancelling capabilities, it’s important to understand the environmental factors that can impact their performance. By being aware of these factors, you can better manage your expectations and find suitable solutions for an enhanced audio experience.
Physical Damage or Wear
If you notice that your AirPods Pro are not providing the expected noise cancelling performance, it’s important to consider the possibility of physical damage or wear that may be affecting their functionality.
Your AirPods Pro are designed to be durable, but they can still be vulnerable to physical damage. If they have been dropped, exposed to moisture, or subjected to rough handling, it can impact their performance, including the noise cancelling feature.
Inspect your AirPods Pro for any visible signs of damage, such as cracks, dents, or water damage. Pay close attention to the charging case and the earbuds themselves. If you notice any damage, it’s important to have them assessed and potentially repaired by Apple or an authorized service provider.
Wear and tear can also affect the noise cancelling capabilities of your AirPods Pro over time. The ear tips, in particular, may suffer from degradation due to regular use. The silicone material can wear out or become hardened, compromising the seal and, consequently, reducing noise cancellation performance.
Check the condition of the ear tips and replace them if they appear worn or damaged. Apple provides replacement ear tips that are specifically designed for the AirPods Pro. Make sure to select the correct size for your ears to ensure a proper fit and optimal noise cancelling performance.
Regular cleaning is also important to maintain the performance of your AirPods Pro. Over time, earwax, dirt, and debris can accumulate in the nooks and crannies of the earbuds, affecting the seal and overall sound quality. Use a soft, lint-free cloth or a slightly damp cloth to gently clean the exterior surfaces of the AirPods Pro and the charging case. Be careful not to get moisture inside the charging port or any openings.
By taking care of your AirPods Pro, addressing any physical damage promptly, and ensuring that the ear tips are in good condition, you can help maintain their noise cancelling capabilities and enjoy a satisfying audio experience.
Compatibility Issues
Compatibility issues can sometimes be the reason why your AirPods Pro are not performing as expected in terms of noise cancelling. While AirPods Pro are designed to work seamlessly with Apple devices, there can be compatibility limitations with certain third-party devices or older software versions.
If you are experiencing problems with noise cancellation, start by ensuring that your AirPods Pro are connected to a compatible device. Make sure the device you are using meets the minimum requirements for pairing and operating your AirPods Pro. For example, AirPods Pro require an iPhone or iPad running iOS 13.2 or later to access all their features, including active noise cancellation.
Check for any available software updates for your connected device. Apple regularly releases updates that include bug fixes and compatibility enhancements. Updating your device’s operating system can potentially address any compatibility issues that may be affecting the noise cancellation feature.
If you are using your AirPods Pro with a third-party device, such as an Android smartphone or a Windows computer, be aware that there may be some limitations in terms of compatibility and the availability of certain features, including noise cancellation. Check the device’s user manual or support documentation to ensure compatibility with AirPods Pro.
Additionally, keep in mind that some advanced features, like automatic switching or customizable controls, may be exclusive to Apple devices due to the integration of the AirPods Pro with the iOS ecosystem. These features may not be available or function differently when used with non-Apple devices.
If you have ruled out other possible causes and compatibility issues persist, it may be worth reaching out to Apple support or visiting an authorized service center for further assistance. They can provide guidance specific to your situation and help troubleshoot any compatibility concerns.
By ensuring that your AirPods Pro are compatible with your device and updated to the latest software version, you can maximize their noise cancelling performance and enjoy a seamless audio experience.
Other Connected Devices
If you are experiencing issues with noise cancelling on your AirPods Pro, it’s important to consider any other devices that may be connected to them. Multiple connected devices can sometimes create conflicts or hinder the performance of the noise cancellation feature.
If you have paired your AirPods Pro with multiple devices, such as an iPhone, iPad, or MacBook, it’s possible that one of these devices is interfering with the noise cancellation functionality. In some cases, an active connection to another device may override the noise cancellation settings on the device you are currently using.
To troubleshoot this issue, consider disconnecting any unnecessary or idle devices from your AirPods Pro. Go to the Bluetooth settings on each device and either disconnect or forget the AirPods Pro from the list of paired devices. This will help ensure that the device you want to use for noise cancelling is the primary and active connection.
It’s worth noting that some devices may have their own settings for noise cancellation or audio enhancements. Check the settings on your connected devices and verify that they are not conflicting with the noise cancellation settings on the AirPods Pro.
If you are using your AirPods Pro with a Mac, make sure that the sound output settings are correctly configured. Go to “System Preferences,” select “Sound,” and ensure that the AirPods Pro are selected as the output device. Adjust any relevant audio settings to ensure optimal noise cancellation performance.
By managing your connected devices and ensuring that the settings are properly configured, you can eliminate any potential conflicts and optimize noise cancellation on your AirPods Pro.
Firmware Updates
Firmware updates play a crucial role in the functionality and performance of your AirPods Pro, including the noise cancelling feature. Apple periodically releases firmware updates that address various issues, introduce new features, and enhance overall performance.
To ensure that your AirPods Pro are running on the latest firmware, it’s important to regularly check for updates. The process for updating the firmware on your AirPods Pro is seamless and can be done through your connected iOS device.
Make sure your AirPods Pro are connected to your iOS device and open the “Settings” app. Scroll down and tap on “General,” then select “Software Update.” If a firmware update is available for your AirPods Pro, you will see a prompt to install it. Follow the on-screen instructions to complete the update.
Firmware updates can include bug fixes, performance enhancements, and optimizations specifically for noise cancellation. By staying up to date with the latest firmware, you can ensure that your AirPods Pro are operating at their best and delivering optimal noise cancelling performance.
If you have recently updated your AirPods Pro, it’s a good idea to reset them. To do this, place your AirPods Pro in the charging case, close the lid, and wait for about 30 seconds before opening the lid again. Pair your AirPods Pro with your iOS device and test the noise cancelling feature to verify that the update has been successfully applied.
It’s important to note that firmware updates for AirPods Pro are typically released alongside iOS updates. When you update your iPhone or iPad to the latest iOS version, it often includes the necessary firmware updates for your AirPods Pro as well.
By prioritizing firmware updates and regularly checking for new releases, you can take advantage of the latest improvements and ensure that your AirPods Pro are delivering the best possible noise cancellation performance.
Service or Repair Needs
If you have tried all the troubleshooting steps and are still experiencing issues with noise cancelling on your AirPods Pro, it may be necessary to seek service or repair from Apple or an authorized service provider.
Before proceeding with service or repair, ensure that you have ruled out all other possible causes, such as software issues, compatibility issues, or physical damage. If none of the previous troubleshooting steps have resolved the problem, it’s advisable to contact Apple Support or visit an authorized service center for further assistance.
Apple or authorized service providers have trained technicians and specialized equipment to diagnose and address any hardware-related issues that may be affecting the noise cancelling functionality. They can provide a comprehensive assessment and recommend the appropriate course of action, such as repair or replacement of components.
Keep in mind that Apple provides a limited warranty for AirPods Pro, which covers manufacturing defects and hardware failures. If your AirPods Pro are within the warranty period and the noise cancelling issue is deemed to be a covered defect, Apple will typically repair or replace them at no additional cost.
However, if your AirPods Pro are out of warranty or the issue is not covered under warranty, there may be a cost associated with the service or repair. Apple or the authorized service provider will provide an estimate for any required repairs and seek your approval before proceeding.
It’s important to note that unauthorized repair attempts or tampering can void the warranty and potentially cause further damage to your AirPods Pro. Therefore, it’s best to rely on professional service providers who are authorized by Apple.
If you seek service or repair for your AirPods Pro, ensure that you have all the necessary documentation and proof of purchase to verify the warranty status. Contact Apple Support or visit the Apple website to find a nearby authorized service provider and arrange for assistance.
By reaching out to Apple or an authorized service provider, you can have your AirPods Pro properly evaluated and receive the necessary service or repair to address the noise cancelling issue, allowing you to enjoy the full potential of your device once again.