Introduction
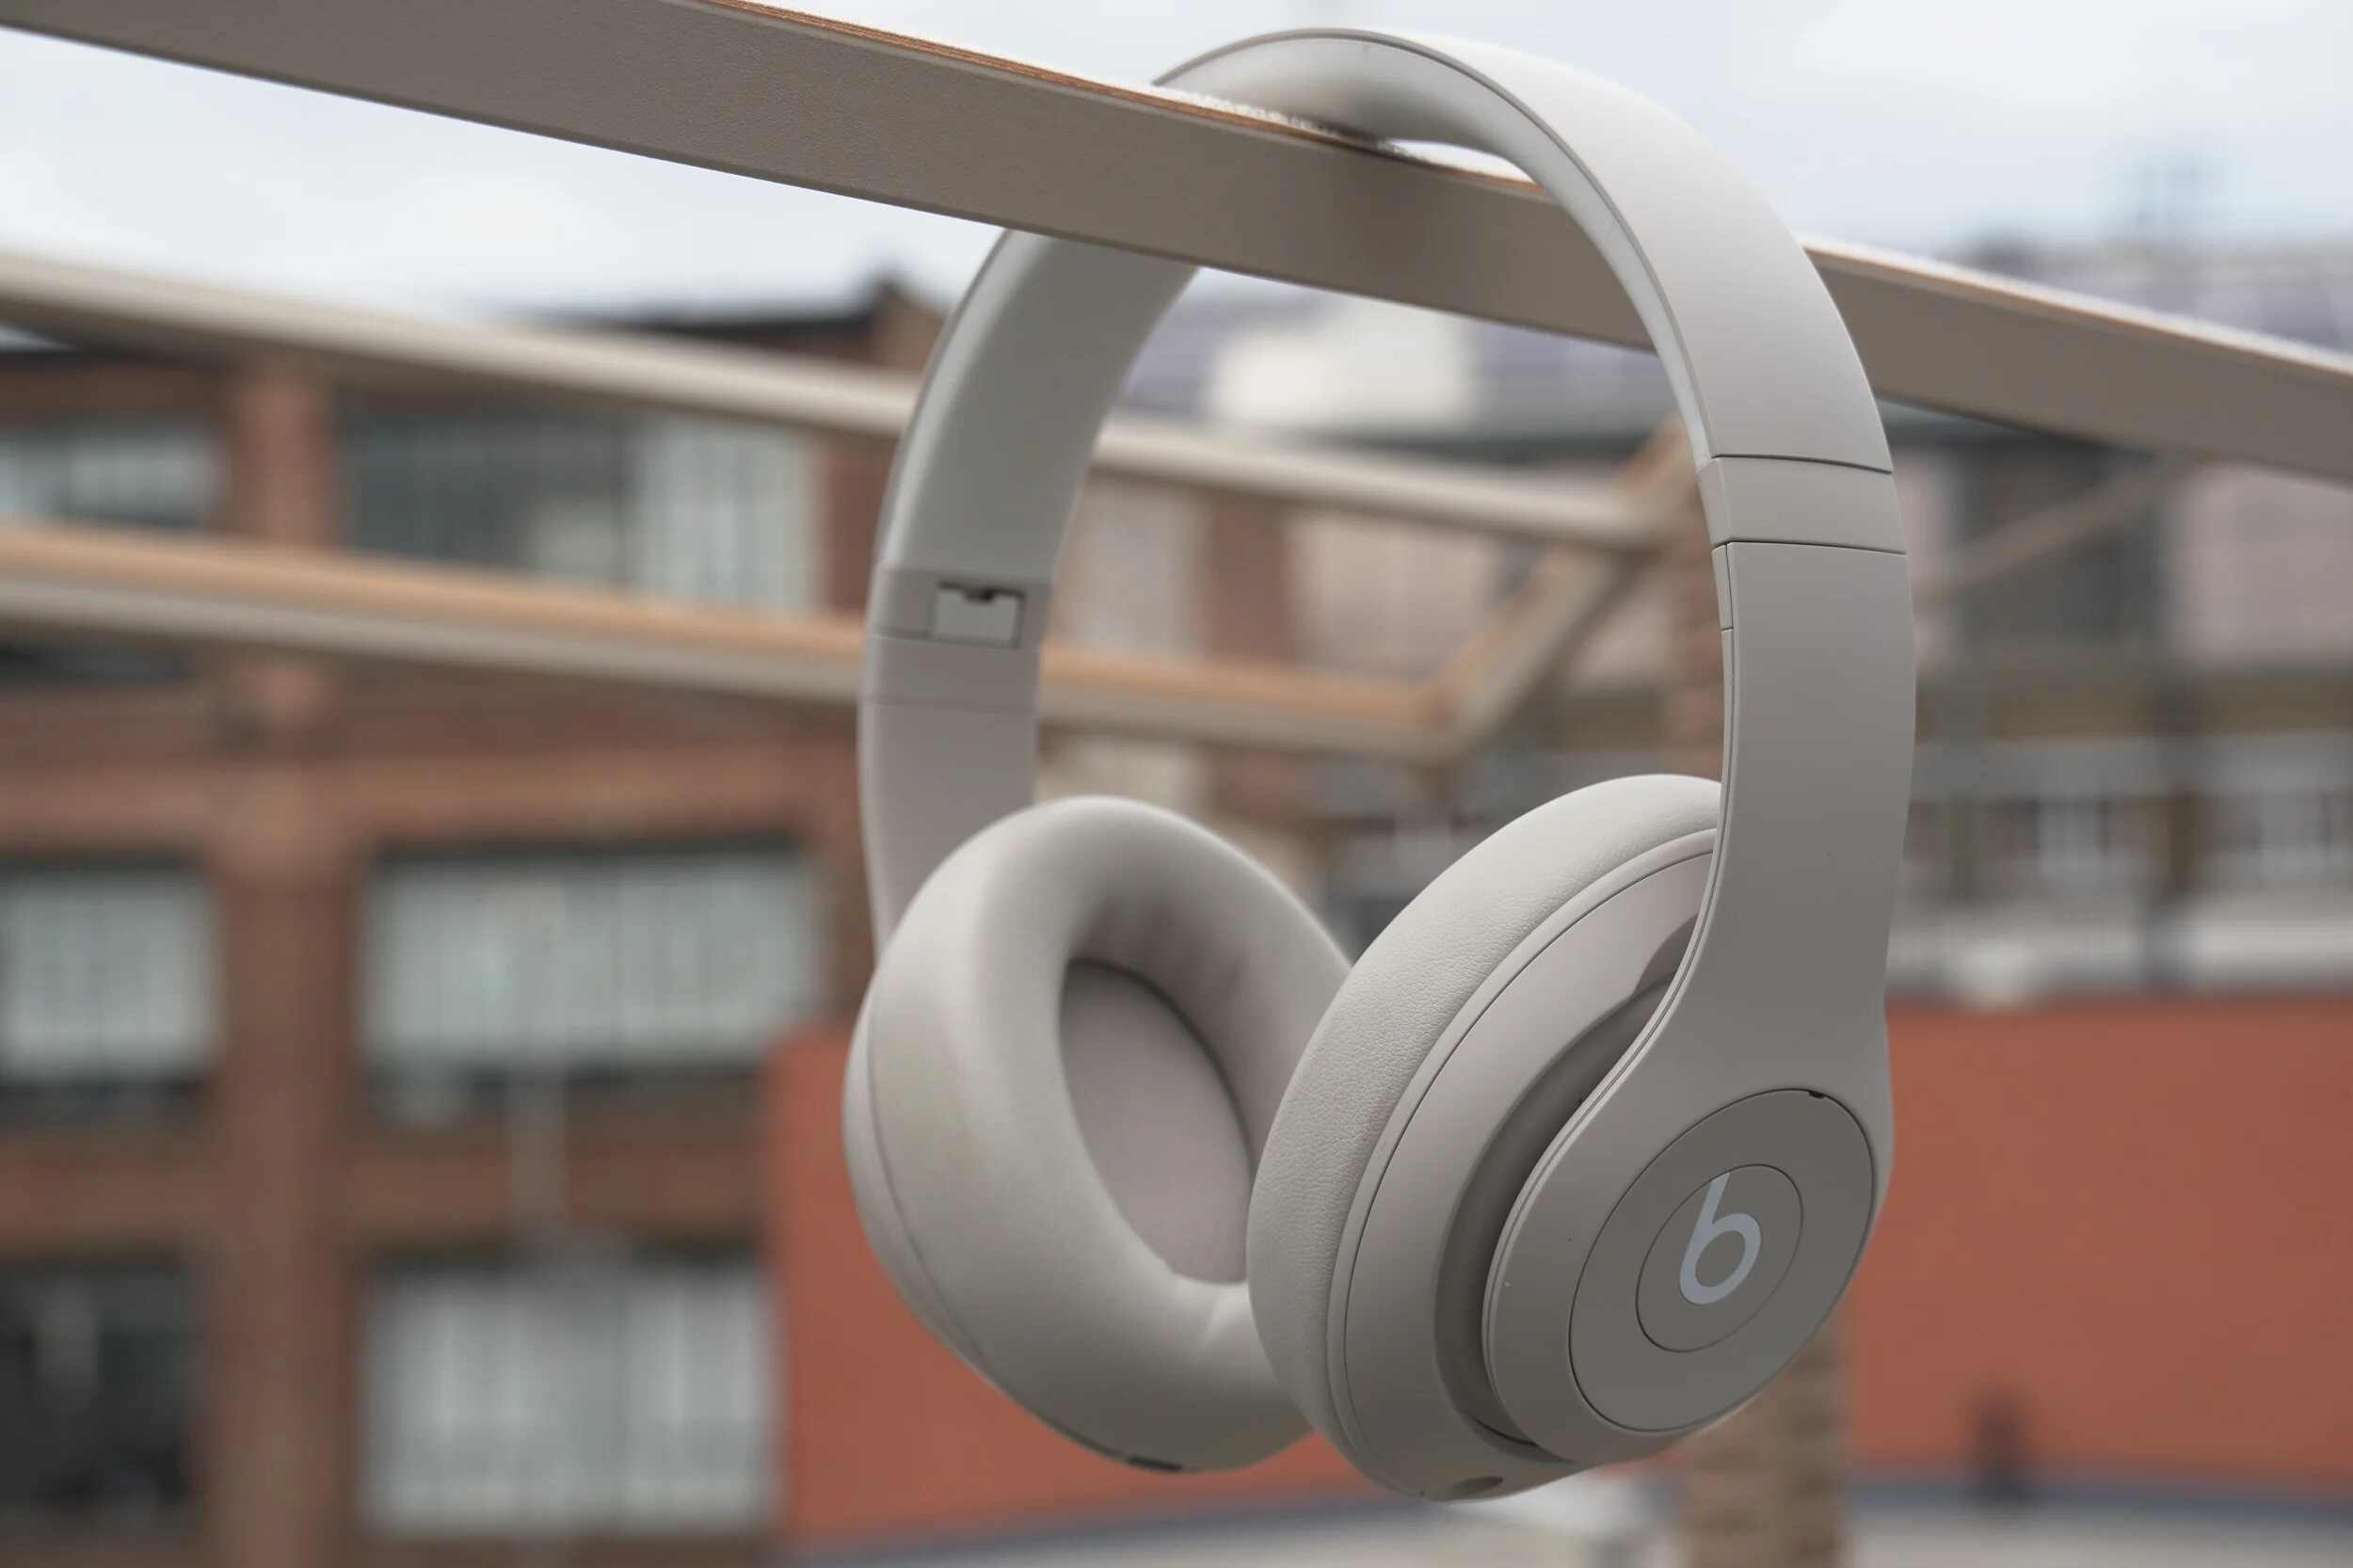
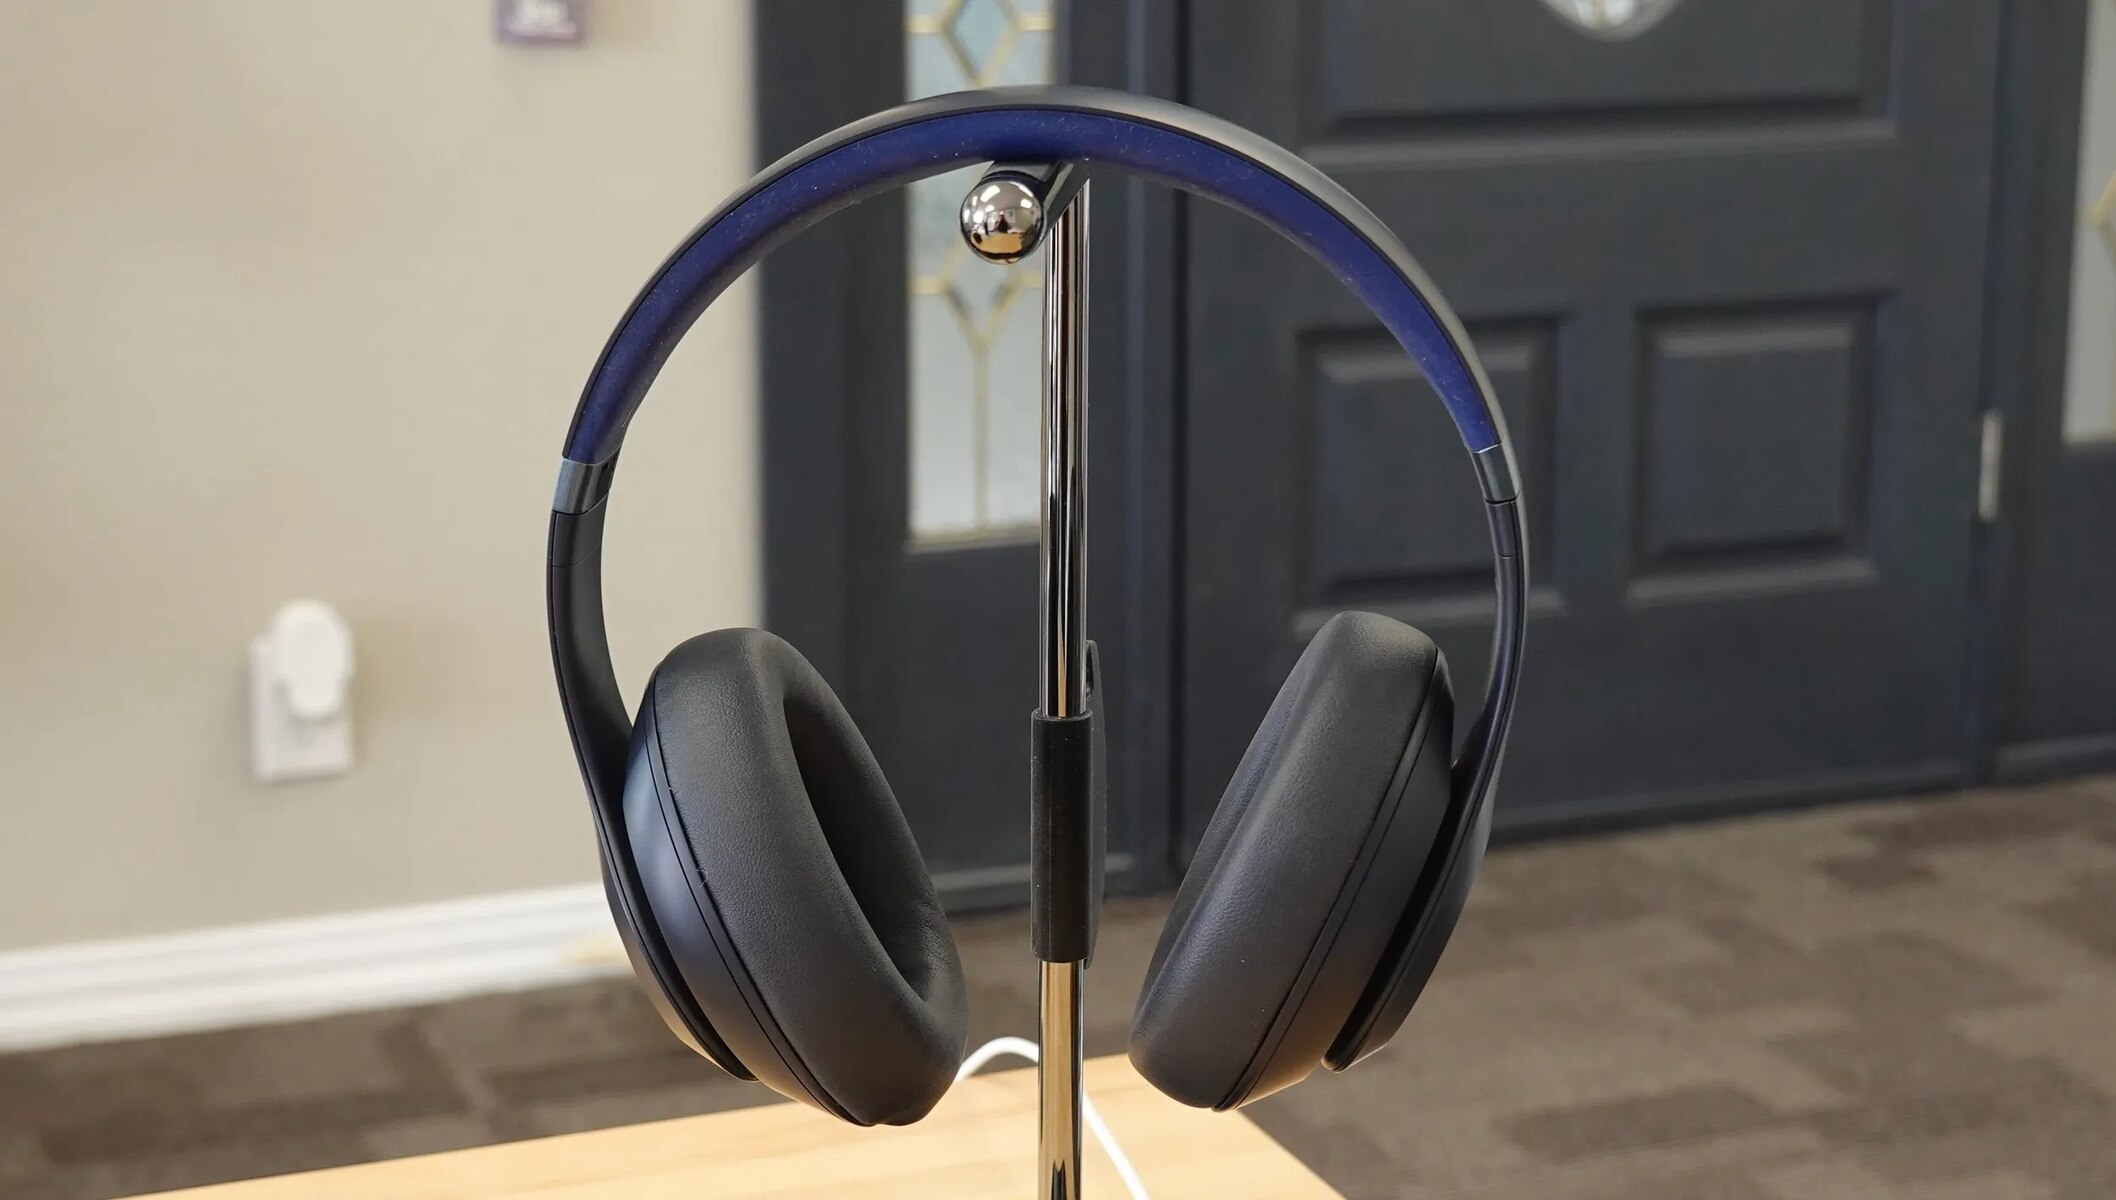
Are you tired of the constant noise and distractions around you? Do you long for a moment of peace and serenity, where you can fully immerse yourself in your favorite music or podcasts? Look no further than the Noise Cancelling Beats Studio headphones. These technologically advanced headphones are designed to effectively block out external noise, allowing you to enjoy your audio content without any interruptions.
In this guide, we will walk you through the simple steps to turn on noise cancelling on your Beats Studio headphones. Whether you’re a tech-savvy audiophile or a beginner looking to enhance your audio experience, this guide will help you get started.
So why should you choose noise cancelling headphones in the first place? Well, imagine being able to listen to your music or podcasts without the constant hum of traffic, the chatter of coworkers, or the background noise of a busy coffee shop. Noise cancelling headphones create a sanctuary of sound, allowing you to fully immerse yourself in your audio and experience it the way it was intended.
With noise cancelling technology, the Beats Studio headphones utilize advanced algorithms and microphones to analyze the outside noise and generate inverse sound waves. These waves effectively cancel out the unwanted noise, creating a quiet and serene environment for you to enjoy your audio content. Whether you’re on a noisy commute, working in a busy office, or simply seeking solace from the world around you, noise cancelling headphones provide an oasis of tranquility.
In the following sections, we will guide you through the simple process of turning on noise cancelling on your Beats Studio headphones. So, sit back, relax, and let us help you create your own personal haven of sound.
Why Use Noise Cancelling Beats Studio?
There are numerous reasons why you should consider using the Noise Cancelling Beats Studio headphones. Let’s explore some of the key benefits that make these headphones a worthy investment:
- Immersive Audio Experience: By using noise cancelling headphones, you can immerse yourself in your favorite music, movies, or podcasts without distractions. The advanced noise cancellation technology effectively blocks out external noise, allowing you to focus on the audio content and enjoy it in its purest form. Whether you’re a music enthusiast, a frequent traveler, or someone who simply values high-quality sound, the Beats Studio headphones with noise cancellation deliver an unparalleled audio experience.
- Enhanced Focus and Productivity: In a noisy and bustling environment, it can be challenging to concentrate on your work or studies. Noise cancelling headphones create a quiet atmosphere, isolating you from the surrounding noise and helping you stay focused on the task at hand. With fewer distractions and interruptions, you can improve your productivity and achieve better results in your work or studies.
- Reduced Stress and Fatigue: Constant exposure to loud and disruptive noises can have a negative impact on your well-being. Noise cancelling headphones provide a sanctuary of peace, allowing you to relax and unwind in even the noisiest environments. Whether you’re on a long flight, commuting in a crowded train, or working in a bustling office, the Beats Studio headphones help reduce stress, fatigue, and the sensory overload associated with excessive noise.
- Protect Your Hearing: Prolonged exposure to high-decibel noise can lead to permanent hearing damage. By using noise cancelling headphones, you can lower the volume of your audio content, as you don’t need to turn up the volume to drown out external noise. This helps protect your hearing and prevents potential long-term damage. The Beats Studio headphones with noise cancellation offer a safe and enjoyable listening experience without sacrificing audio quality.
- Versatility: The Noise Cancelling Beats Studio headphones are not limited to just canceling out noise. They can also function as regular headphones, allowing you to switch between noise cancellation mode and regular mode based on your preferences. This versatility makes them suitable for various scenarios, whether you’re using them for work, travel, leisure, or a combination of activities.
With these compelling reasons, it’s clear that investing in the Noise Cancelling Beats Studio headphones is a wise choice. Now that you understand the benefits they offer, let’s dive into the steps to turn on the noise cancellation feature and experience the true power of these headphones.
Step 1: Check the Battery
Before you can turn on the noise cancelling feature on your Beats Studio headphones, it’s crucial to ensure that the battery has enough charge. Here’s how you can check the battery status:
- Locate the power button on your Beats Studio headphones. It’s usually located on one of the ear cups.
- Press and hold the power button for a few seconds to turn on the headphones. If the battery is sufficiently charged, the LED indicators on the headphones will light up, indicating the battery level.
- Refer to the user manual or the manufacturer’s website to understand the meaning of the LED indicators. Different models may have different LED indicators, so familiarize yourself with the specific indicators for your headphones.
- Based on the LED indicators, you can determine the battery level. If the LED indicators show a full or near-full battery charge, you’re good to go. However, if the battery is low, you may need to charge the headphones before using the noise cancelling feature.
It’s important to note that the battery life of your headphones may vary depending on usage and settings. Regularly checking the battery status before using noise cancelling will ensure that you have ample power to enjoy your audio content without any interruptions.
Now that you’ve confirmed the battery status, it’s time to power on your Beats Studio headphones and unlock the noise cancelling feature. Continue reading to learn the next steps.
Step 2: Power On the Headphones
Once you have ensured that the battery of your Beats Studio headphones is sufficiently charged, it’s time to power them on. Here are the steps to follow:
- Locate the power button on the headphones. It is typically located on one of the ear cups.
- Press and hold the power button for a few seconds until the headphones turn on. You may hear a chime or see an LED indicator light up to indicate that the headphones are powered on.
- Once the headphones are powered on, you’re ready to move on to the next step to enable the noise cancelling feature.
It’s worth mentioning that the exact location and design of the power button may vary slightly between different models of the Beats Studio headphones. Refer to the user manual or the manufacturer’s website for specific instructions related to your headphones model.
With your headphones now powered on, you’re one step closer to experiencing the immersive sound quality that the Beats Studio headphones have to offer. In the next section, we will explore how to enable the noise cancelling functionality.
Step 3: Enable Noise Cancellation
With your Beats Studio headphones powered on, it’s time to enable the noise cancellation feature. Follow these simple steps:
- Locate the noise cancellation button on your headphones. The button is typically labeled with an icon that represents noise cancellation.
- Press the noise cancellation button once to activate the noise cancelling feature. You may hear a small beep or notice a change in the LED indicators, indicating that noise cancellation is now enabled.
- At this point, the headphones will start analyzing the ambient noise and generating inverse sound waves to cancel out the unwanted external sounds.
- You can now enjoy your audio content without the distractions of background noise, allowing for a more immersive and focused listening experience.
It’s important to note that the exact location and design of the noise cancellation button may vary depending on the specific model of your Beats Studio headphones. Consult the user manual or the manufacturer’s website for detailed instructions pertaining to your headphones.
Once you have successfully enabled noise cancellation, you can move on to the next step to adjust the level of noise cancellation according to your preferences. Continue reading to learn how.
Step 4: Adjust the Level of Noise Cancellation
Now that you have enabled the noise cancellation feature on your Beats Studio headphones, you may want to fine-tune the level of noise cancellation to suit your preferences. Here’s how you can adjust it:
- Locate the volume control buttons on your headphones. These buttons are typically located on one of the ear cups.
- Increase or decrease the volume using the volume control buttons to adjust the level of noise cancellation.
- Raising the volume will amplify the sound of your audio content while still canceling out a significant amount of external noise.
- Lowering the volume will reduce both the sound of your audio content and the cancellation of external noise.
- Experiment with different volume levels to find the optimal balance for your specific environment and listening preferences.
Keep in mind that adjusting the volume affects both the noise cancellation level and the overall sound output. Finding the right balance is crucial to ensure an enjoyable listening experience without compromising on the benefits of noise cancellation.
Remember, some models of the Beats Studio headphones may offer additional features that allow for more precise control over the level of noise cancellation. Consult the user manual or the manufacturer’s website for specific instructions related to your headphones model.
Now that you have adjusted the level of noise cancellation, it’s time to sit back, relax, and enjoy your audio content in a distraction-free environment.
Step 5: Enjoy the Immersive Experience
With the noise cancellation feature enabled and the level of noise cancellation adjusted to your liking, it’s time to fully immerse yourself in the audio experience with your Beats Studio headphones. Follow these final steps to make the most of your headphones:
- Connect your headphones to the audio source of your choice. This could be your smartphone, tablet, computer, or any other device that supports Bluetooth or wired connections.
- Play your favorite music, podcasts, or any other audio content that you desire.
- Put on your Beats Studio headphones and adjust them comfortably on your head.
- Notice how the noise cancellation technology effectively blocks out the surrounding noise, allowing you to focus on the audio and enjoy it in its purest form.
- Take a moment to appreciate the immersive sound quality, crisp details, and enhanced clarity that the Beats Studio headphones provide.
- Feel the bass vibration and richness in the sound that adds depth to your music.
- Experience the joy of being fully absorbed in your audio without any distractions or interruptions from the outside world.
Whether you’re looking to enjoy music on your daily commute, zone out in a busy office, or simply relax at home, the Noise Cancelling Beats Studio headphones offer an unparalleled listening experience that transports you to a world of pure audio bliss.
Now that you have successfully turned on the noise cancellation and are fully equipped to enjoy your audio content, go ahead and indulge yourself in the immersive experience that the Beats Studio headphones provide.
Conclusion
Turning on the noise cancellation feature on your Beats Studio headphones opens up a whole new world of immersive audio experiences. By following the simple steps outlined in this guide, you can enjoy your favorite music, movies, podcasts, and more without the distractions of external noise.
We discussed why noise cancelling headphones, specifically the Beats Studio headphones, are a valuable investment. They offer an enhanced audio experience, improved focus and productivity, reduced stress and fatigue, protection for your hearing, and versatility for various scenarios.
In Step 1, we emphasized the importance of checking the battery status to ensure that you have enough power to use the noise cancellation feature effectively. Step 2 guided you through the process of powering on the headphones. In Step 3, we explained how to enable noise cancellation, while Step 4 focused on adjusting the level of noise cancellation according to your preferences. Finally, in Step 5, we highlighted the importance of fully immersing yourself in the audio experience and enjoying the benefits that noise cancelling brings.
Whether you’re a frequent traveler seeking solace on long flights, a professional looking to boost focus in a noisy office, or simply an audio enthusiast who appreciates the highest quality sound, the Noise Cancelling Beats Studio headphones deliver the immersive experience you desire.
So, don your Beats Studio headphones, enable the noise cancellation, and allow yourself to be transported into a world of pure audio bliss. Experience your music, movies, and podcasts like never before, free from the disruptions of the outside world.
Take advantage of the noise cancellation feature on your Beats Studio headphones and rediscover the joy of truly immersive sound.


