Introduction
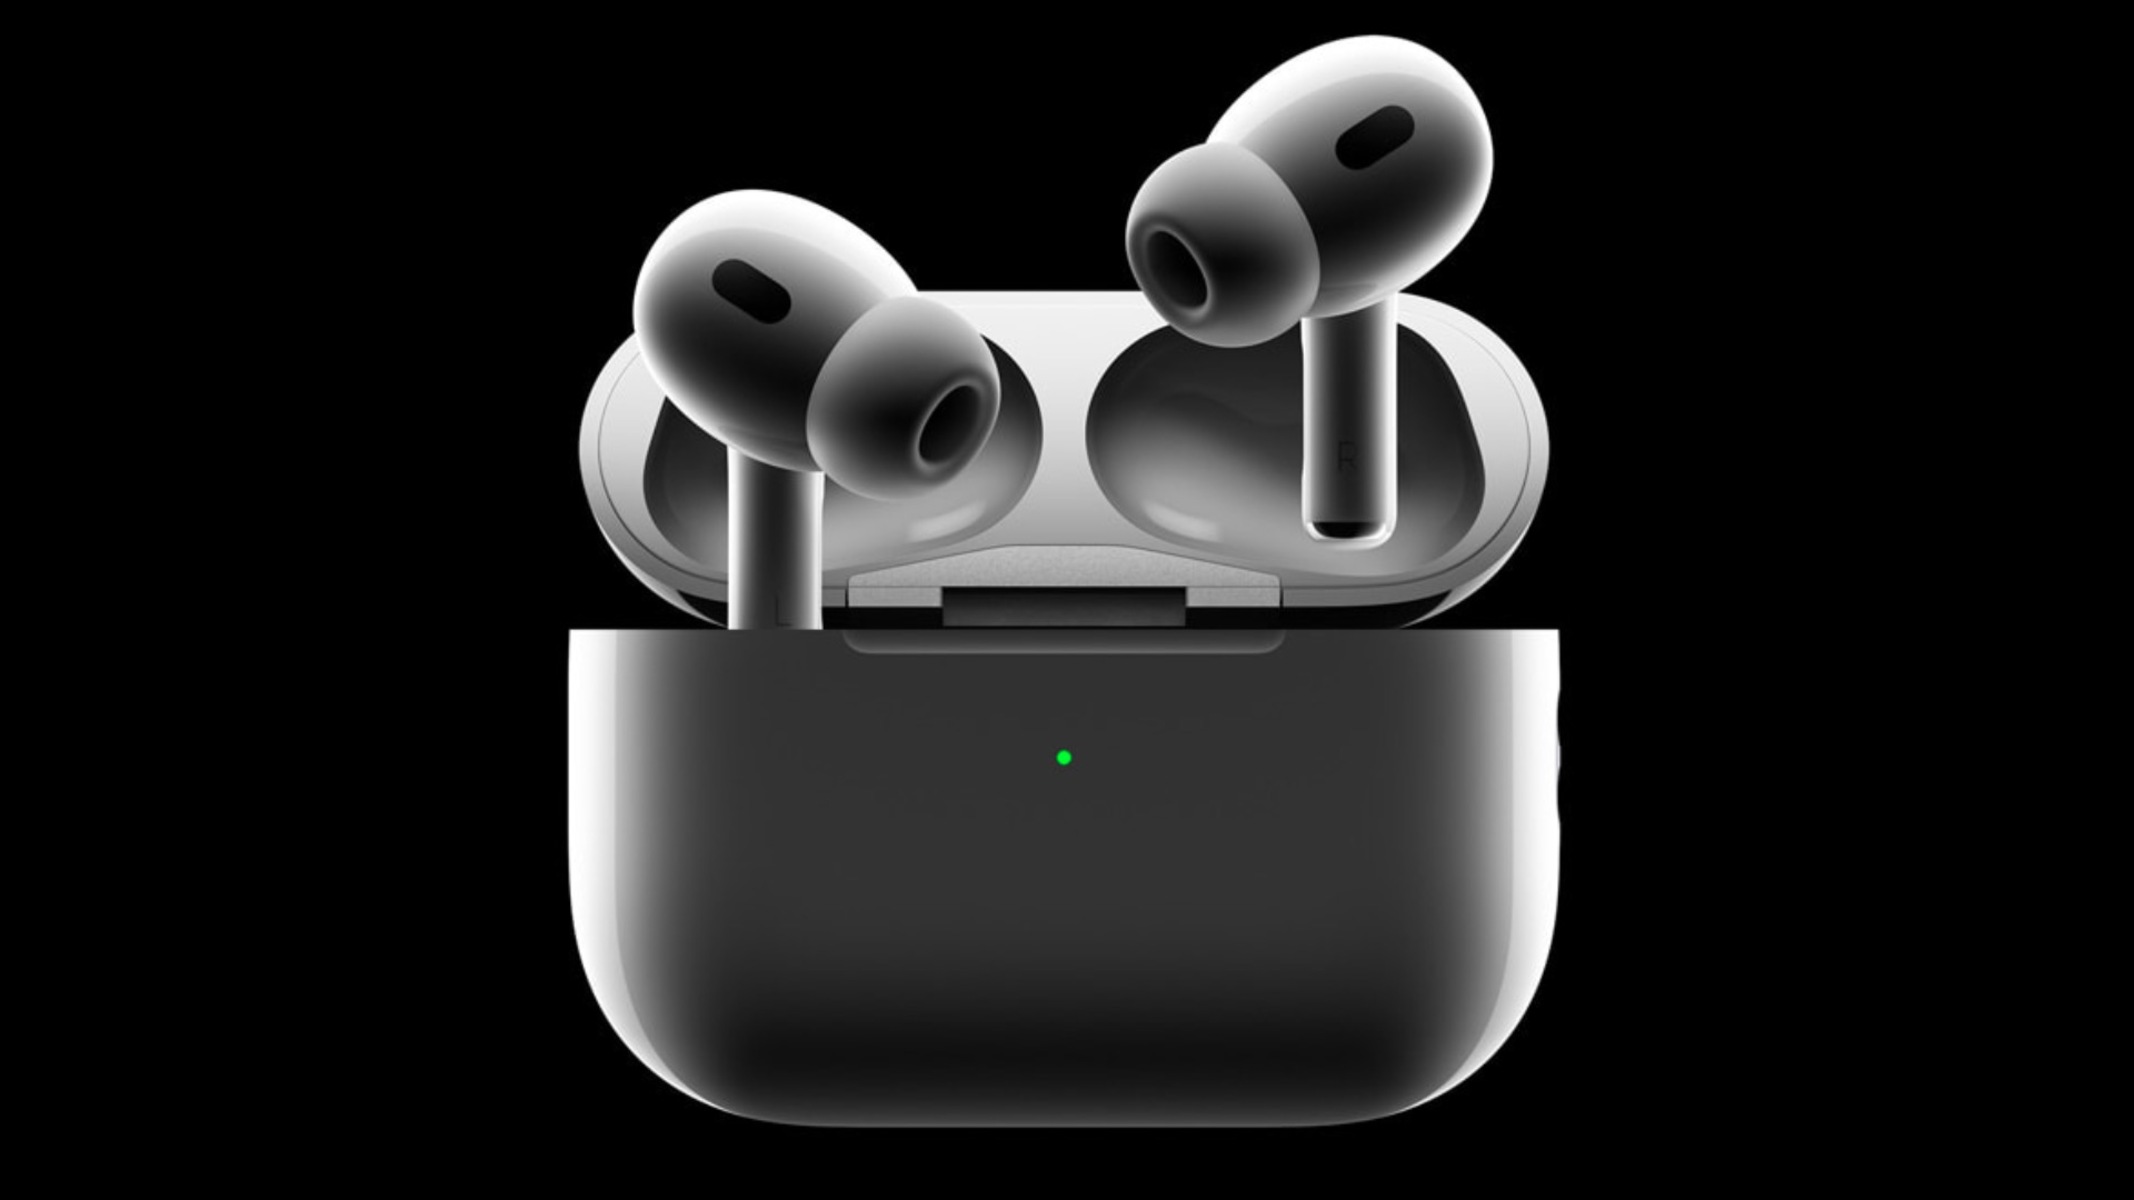
Welcome to our guide on how to turn on noise cancellation on AirPods Pro. If you are a proud owner of these cutting-edge wireless earbuds, you may already know that their noise cancellation feature can provide a truly immersive audio experience. Whether you’re listening to your favorite music, watching a movie, or even just enjoying some peace and quiet, noise cancellation can significantly enhance your audio enjoyment.
The AirPods Pro are equipped with advanced technologies that actively reduce background noise, allowing you to focus on what matters most. This feature is especially useful in busy environments, like public transportation, busy offices, or even while traveling. With noise cancellation, you can block out distractions and immerse yourself fully in your audio content.
In this guide, we will walk you through the step-by-step process of enabling noise cancellation on your AirPods Pro. We’ll also show you how to adjust the noise cancellation level to suit your preferences. So, let’s get started and unlock the full potential of your AirPods Pro!
Step 1: Make sure your AirPods Pro are connected to your device
Before diving into the process of turning on noise cancellation, it’s crucial to ensure that your AirPods Pro are properly connected to your device. Whether you’re using an iPhone, iPad, or Mac, the steps may vary slightly, but the overall process remains fairly straightforward.
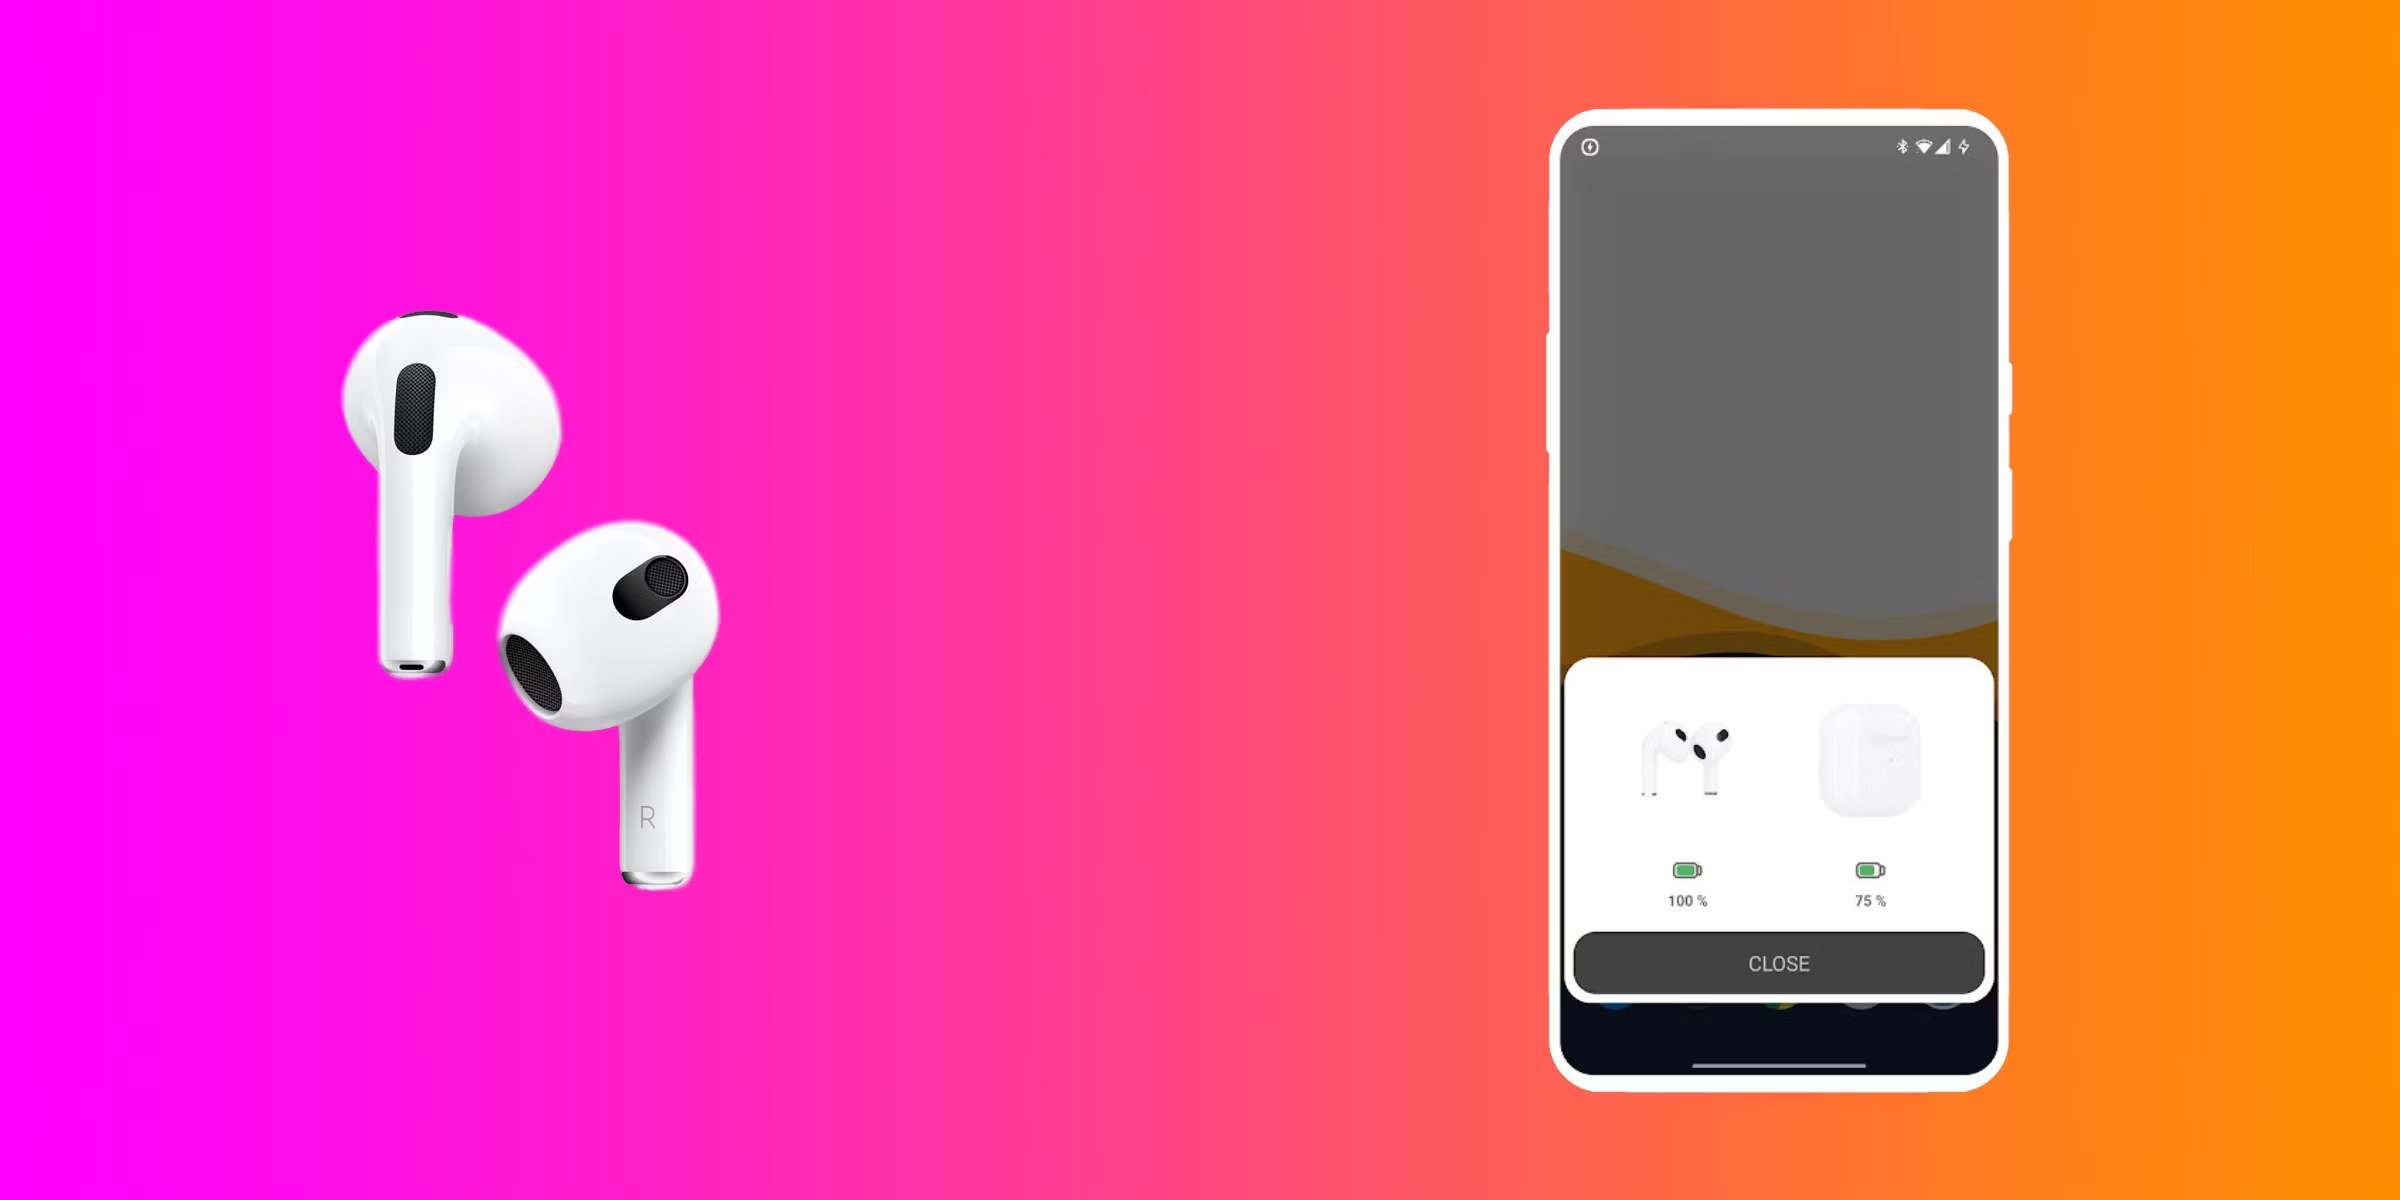
To check if your AirPods Pro are connected, start by unlocking your device and navigating to the home screen. Look for the Bluetooth icon, typically located in the top menu bar or Control Center.
If the Bluetooth icon is present and highlighted, it means your AirPods Pro are already connected. If not, follow these steps to establish a connection:
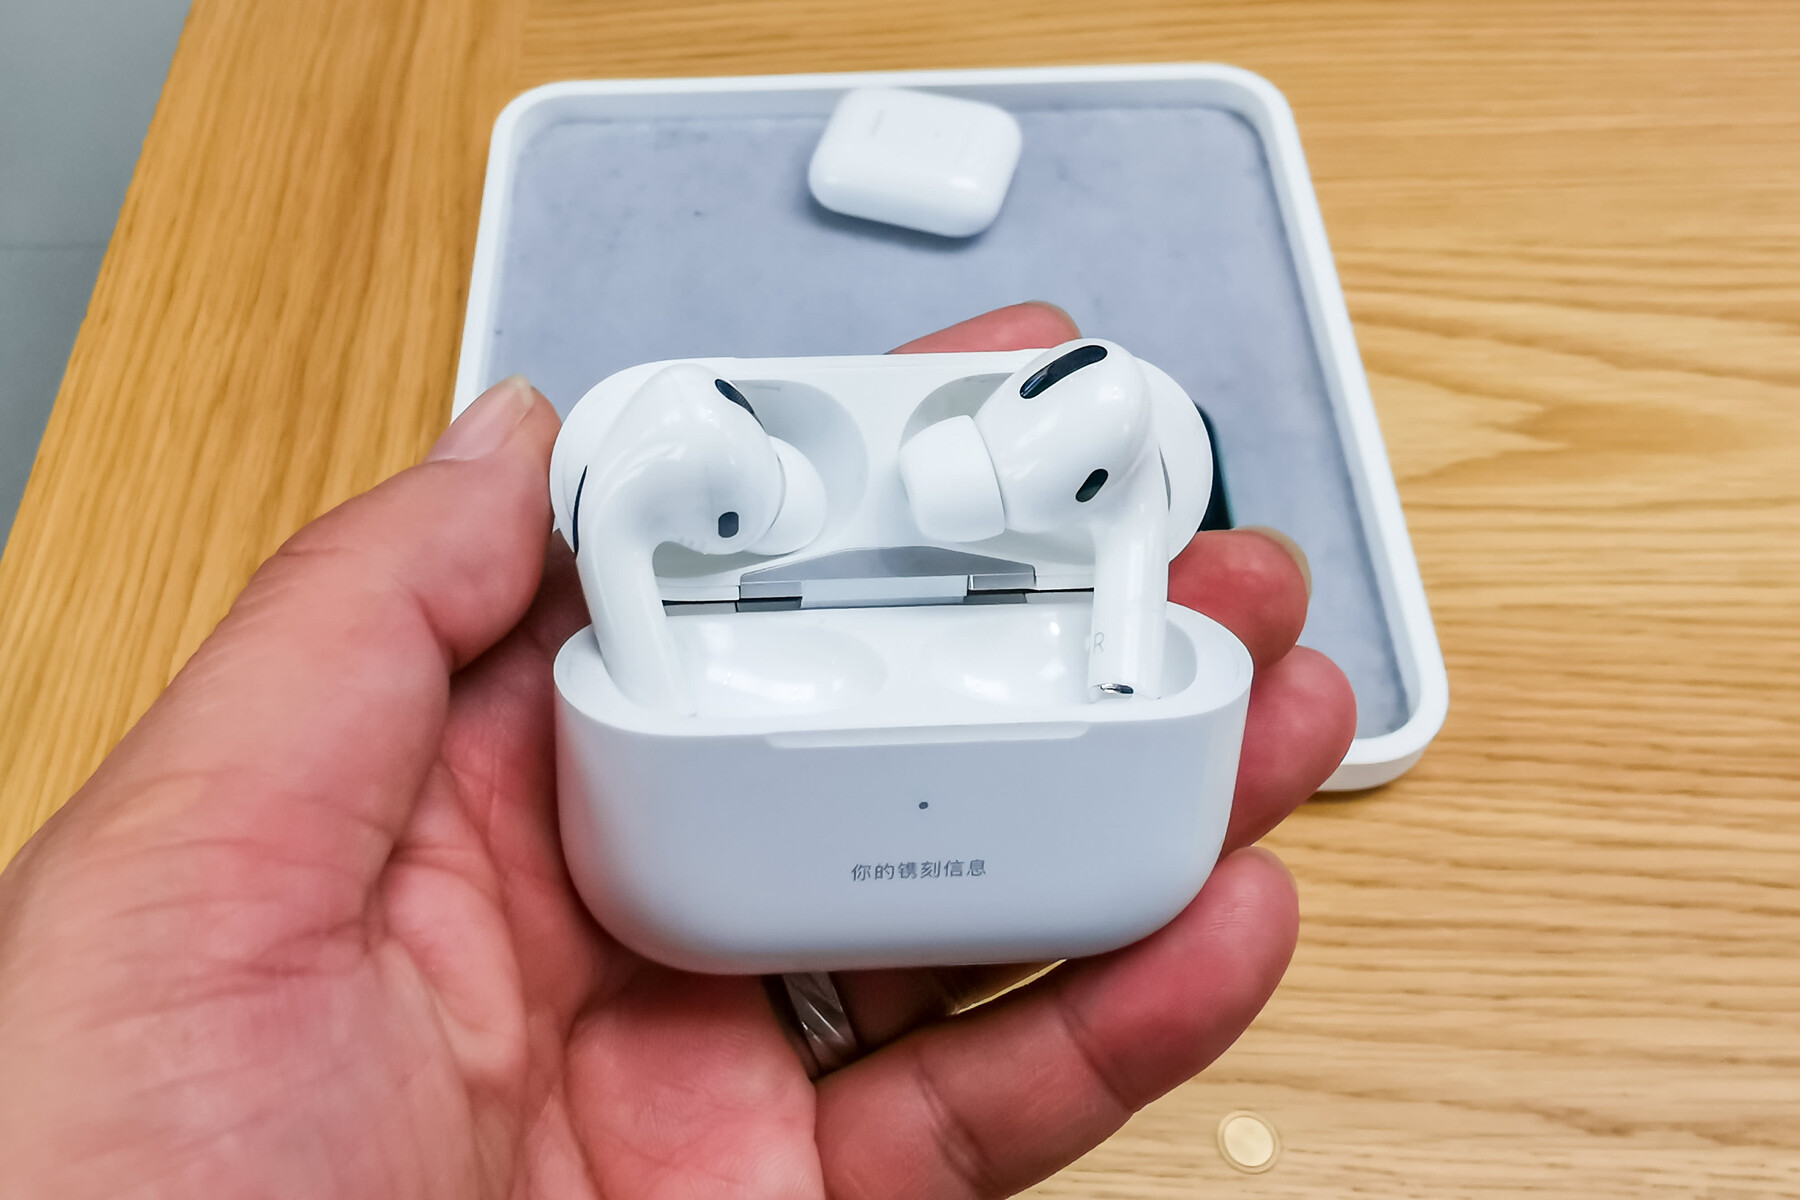
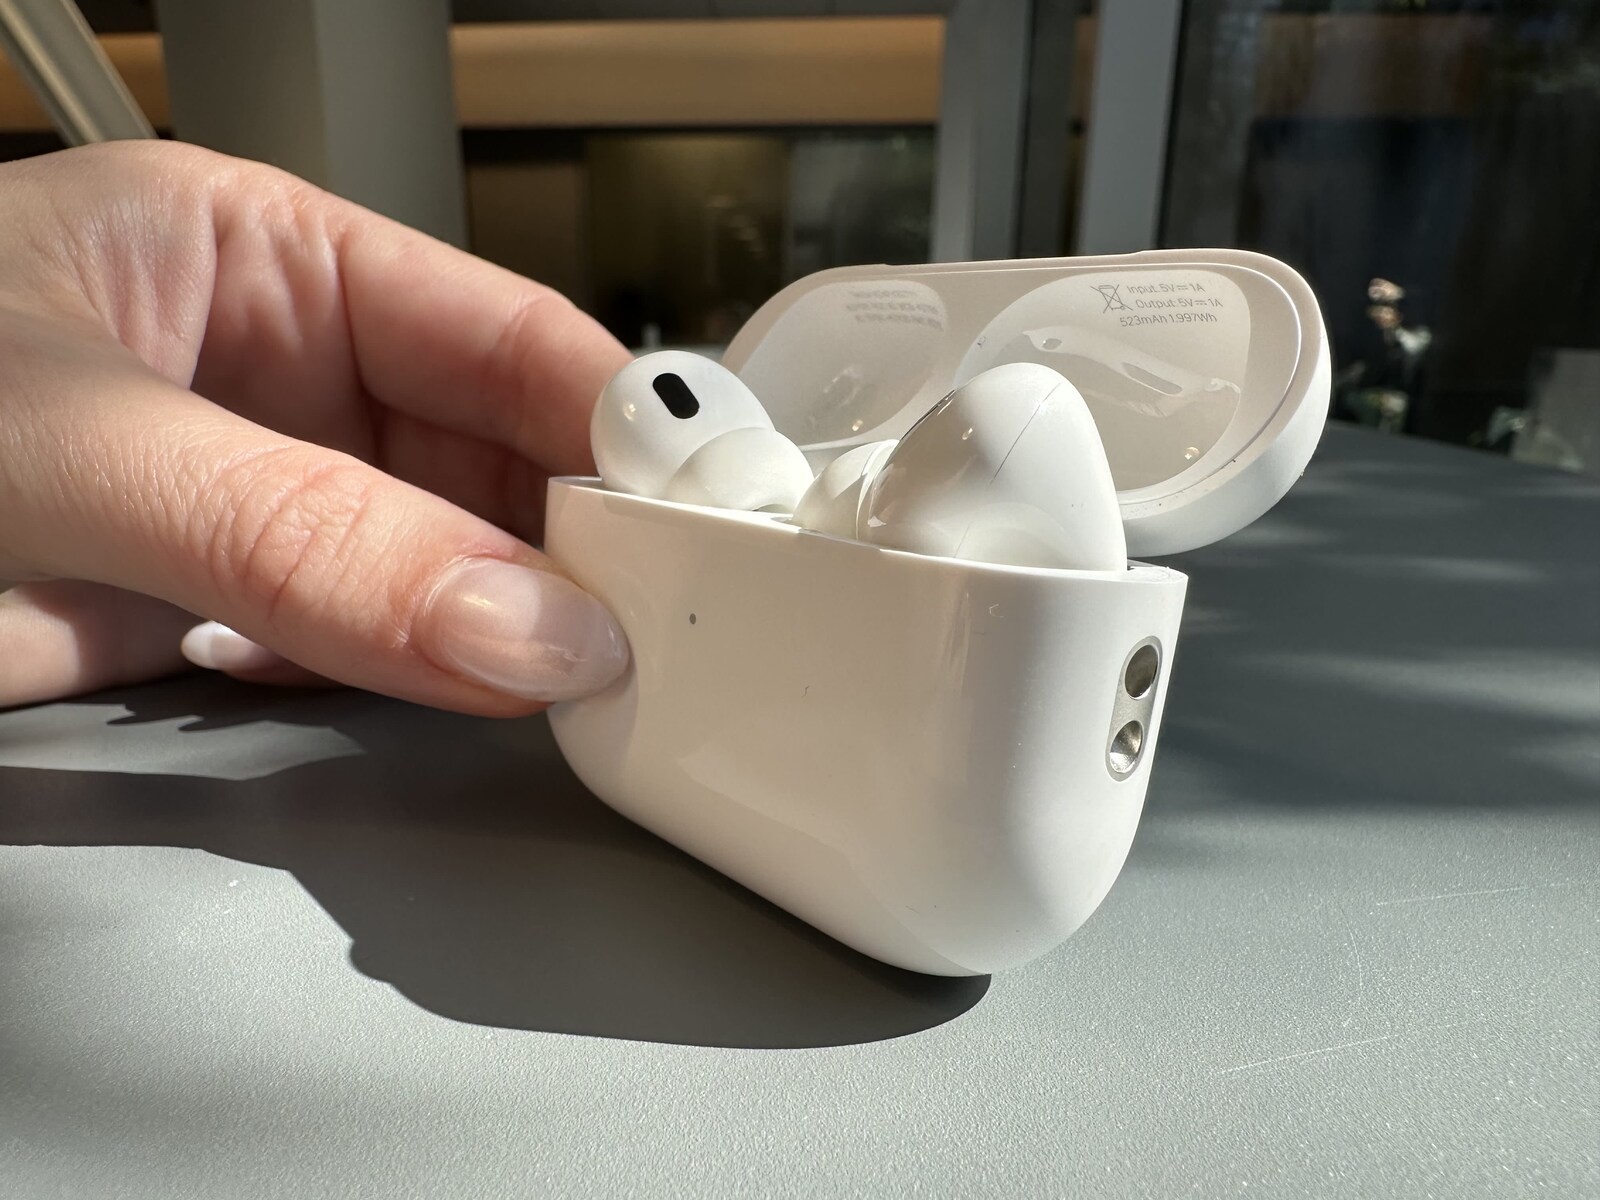
- Open the lid of your AirPods Pro case.
- Place the open case near your device.
- On your device, go to the Bluetooth settings.
- Look for your AirPods Pro in the list of available devices and tap on them to initiate the pairing process.
- Follow any additional prompts or instructions on your device’s screen to complete the pairing.
Once the pairing process is complete, you should see a notification or indicator on your device confirming the successful connection of your AirPods Pro. Now that your AirPods Pro are connected, you can proceed to the next step and enable noise cancellation.
Step 2: Open the Control Center
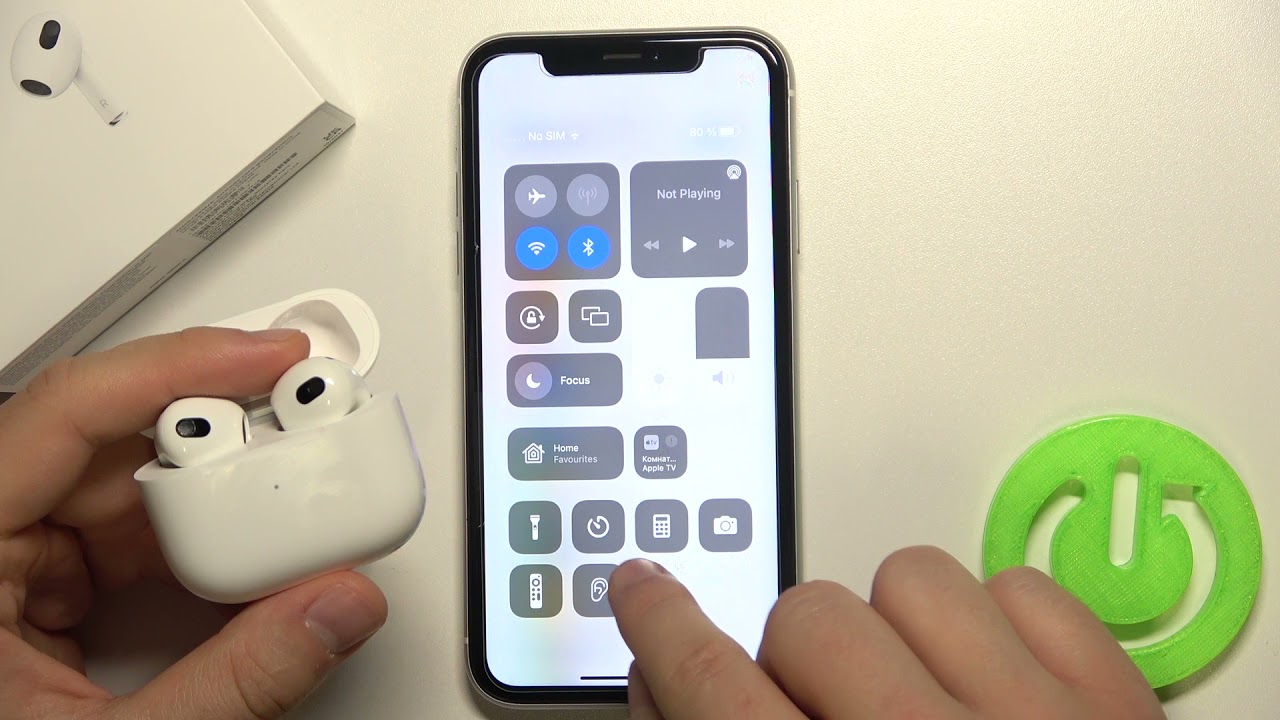
In order to turn on noise cancellation on your AirPods Pro, you will need to access the Control Center on your device. The Control Center is a convenient panel that allows you to quickly adjust various settings, including those for your AirPods Pro.
The method to open the Control Center can vary depending on the device you’re using. Below, we’ll outline the steps for accessing the Control Center on different devices:
- iPhone X or later: Swipe down from the top right corner of the screen to open the Control Center.
- iPhone 8 or earlier, iPod touch: Swipe up from the bottom edge of the screen to open the Control Center.
- iPad with Face ID: Swipe down from the top right corner of the screen to open the Control Center.
- iPad with Home button: Double-click the Home button to open the Control Center.
- Mac: Click on the Bluetooth icon located in the menu bar at the top of the screen and select “Open Bluetooth Preferences.” Alternatively, you can use the keyboard shortcut “Shift + Option + B” to open the Bluetooth preferences directly.
Once you have successfully opened the Control Center, you’re ready to proceed to the next step and locate the noise cancellation option.
Step 3: Locate the Noise Cancellation option
Now that you have accessed the Control Center on your device, it’s time to locate the noise cancellation option specifically designed for your AirPods Pro. The Noise Cancellation feature allows you to block out external sounds and immerse yourself fully in your audio experience.
Follow these steps to find the Noise Cancellation option:
- In the Control Center, look for the section that displays your audio output devices. This section may be represented by a set of headphones or an AirPlay icon.
- Tap or click on the audio output device section. This will expand the options related to your AirPods Pro.
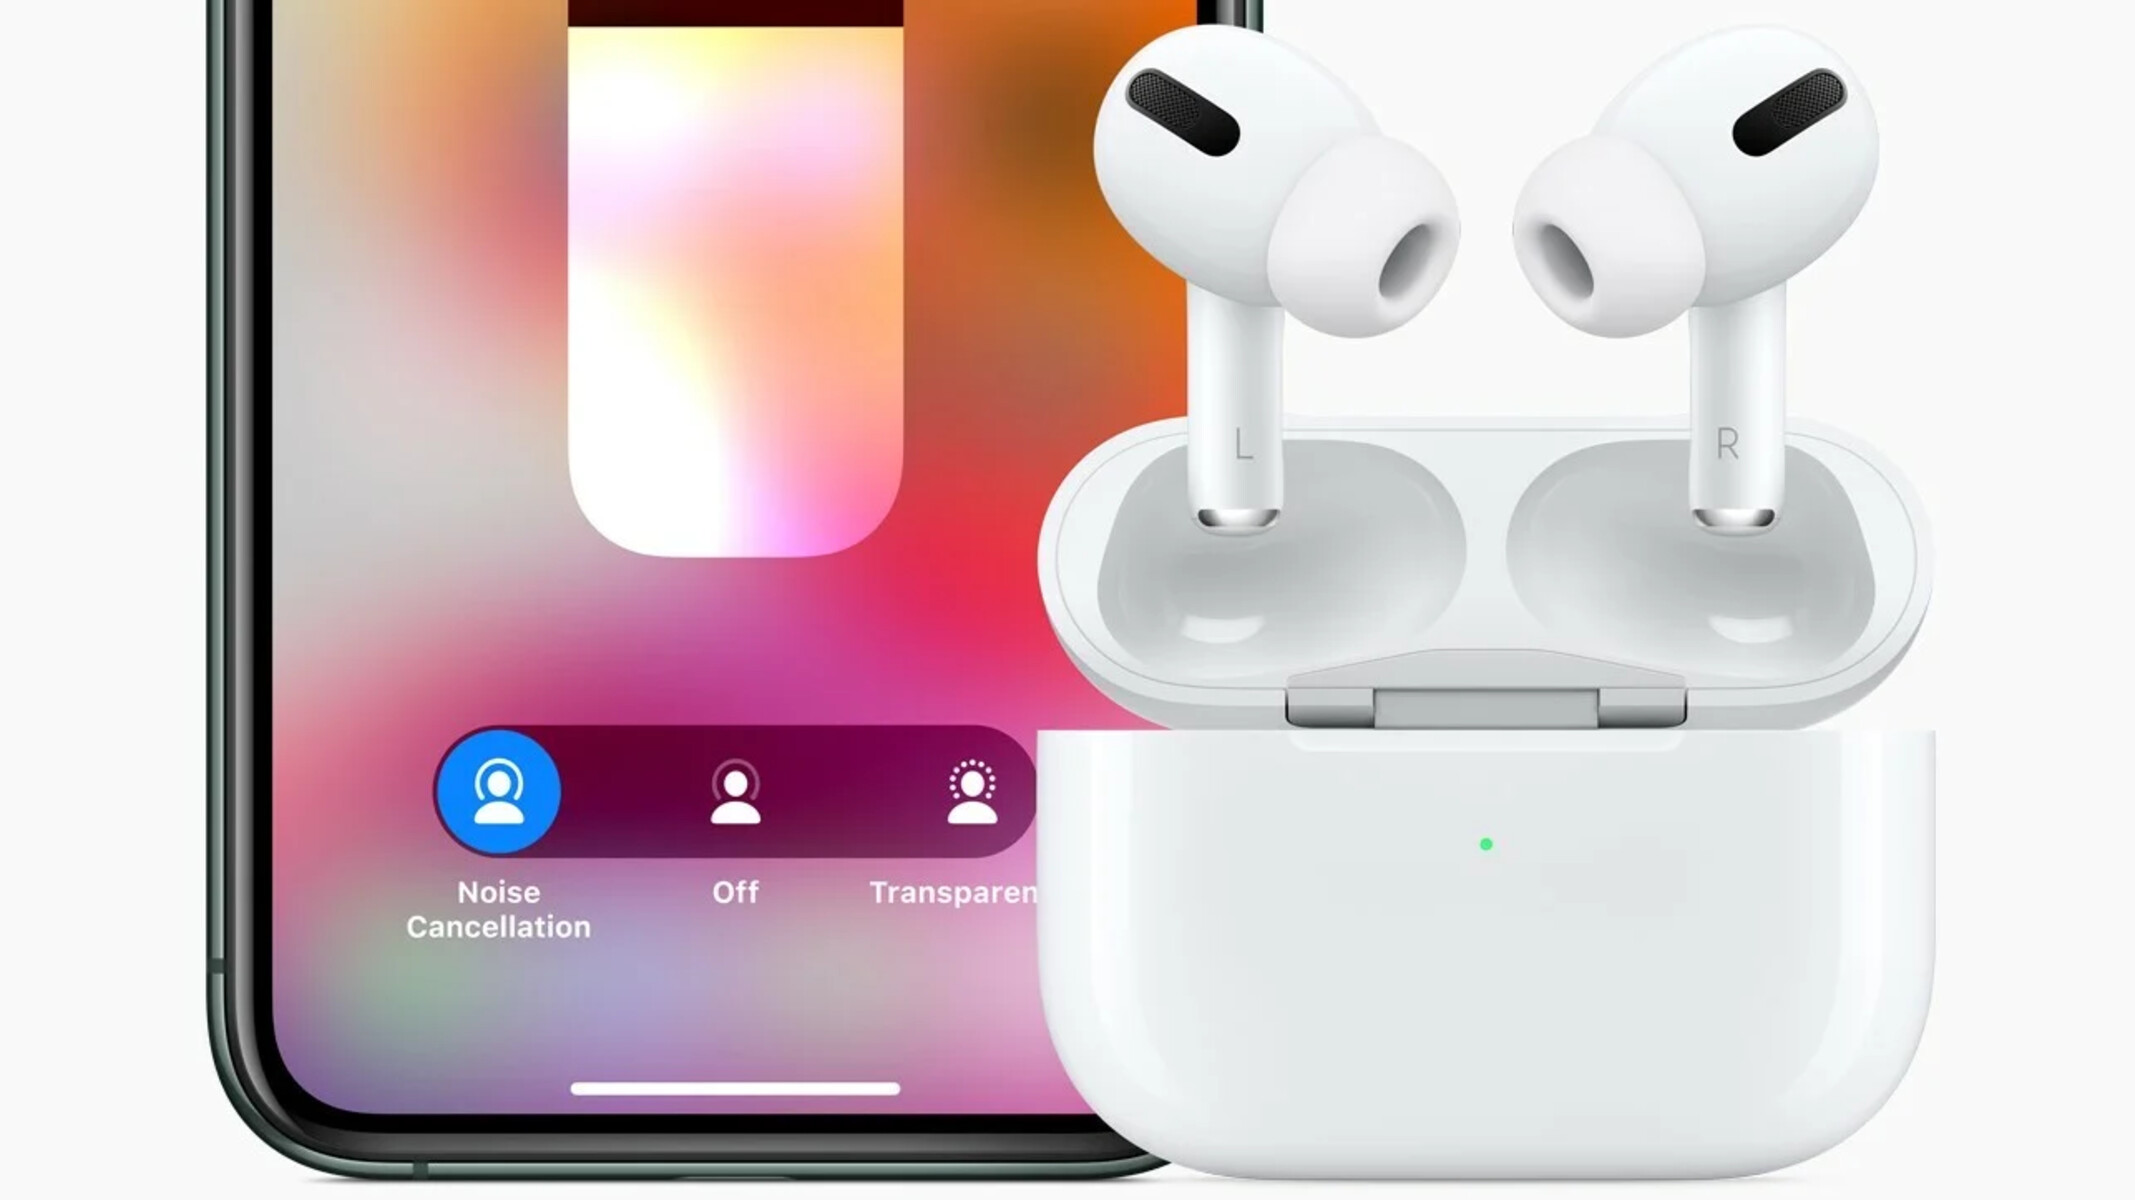
- Within the expanded options, you should see the Noise Cancellation button. It is typically represented by an icon of an ear with sound waves.
Once you have located the Noise Cancellation button, you’re one step closer to enjoying a more immersive audio experience with your AirPods Pro.
Note: If you are unable to find the Noise Cancellation option in the Control Center, make sure that your AirPods Pro are properly connected to your device. If the issue persists, check for any software updates for your device and AirPods Pro, as the option to enable noise cancellation may require the latest software versions.
Step 4: Turn on Noise Cancellation
Now that you have located the Noise Cancellation option in the Control Center, it’s time to turn it on and unleash the power of active noise cancellation on your AirPods Pro.
Follow these steps to enable noise cancellation:
- Tap or click on the Noise Cancellation button in the Control Center. It should now be highlighted or activated.
- Once enabled, the AirPods Pro will start analyzing the ambient sound around you and generating anti-noise to cancel out the external sounds.
- You will hear a subtle chime or tone in your AirPods Pro, indicating that noise cancellation is now active.
With noise cancellation turned on, you’ll experience a significant reduction in background noise, allowing you to fully immerse yourself in your audio content without distractions.
It’s important to note that noise cancellation may not completely eliminate all sounds, especially sudden loud noises. However, it will significantly reduce the overall noise level to enhance your listening experience.
Now that you have successfully turned on noise cancellation, let’s move on to the next step and explore how to adjust the noise cancellation level to suit your preferences.
Step 5: Adjust the Noise Cancellation level (optional)
While the default noise cancellation level on your AirPods Pro provides excellent performance, you may prefer to fine-tune the intensity of the noise cancellation to better suit your environment and personal preferences. Luckily, you have the option to adjust the noise cancellation level on your AirPods Pro.
Follow these steps to adjust the noise cancellation level:
- Ensure that your AirPods Pro are connected to your device and noise cancellation is already turned on.
- Launch the Settings app on your iOS device or open the Control Center on your Mac.
- Navigate to the Bluetooth settings or audio output device settings.
- Look for your AirPods Pro in the list of connected devices and tap or click on the small “i” icon or the settings icon next to the device.
- Within the AirPods Pro settings, you should see the option to adjust the Noise Control.
- Tap or click on the Noise Control option to expand the menu.
- You will then be presented with three options: Noise Cancellation, Transparency, and Off.
- Slide the slider to the left or right to adjust the noise cancellation level according to your preference. Moving the slider towards the left will decrease the intensity, while moving it towards the right will increase it.
Experiment with different noise cancellation levels to find the one that provides the optimal balance between noise reduction and awareness of your surroundings.
Remember, this step is optional, and the default noise cancellation level may already be suitable for most situations. However, feel free to customize it to match your specific needs and environment.
Once you have adjusted the noise cancellation level, you’re all set to enjoy your audio content in the optimal listening environment created by your AirPods Pro.
Step 6: Start enjoying Noise Cancellation on your AirPods Pro
Congratulations! You have successfully enabled noise cancellation and adjusted the level to your preference on your AirPods Pro. Now it’s time to sit back, relax, and enjoy the immersive audio experience without the distractions of the outside world.
Put on your AirPods Pro and start listening to your favorite music, podcast, audiobook, or any other audio content. With noise cancellation activated, you’ll notice a significant reduction in unwanted background noise, allowing you to fully immerse yourself in the sound you’re listening to.
Whether you’re traveling on a noisy train, working in a bustling coffee shop, or simply enjoying some quiet time at home, the noise cancellation feature on your AirPods Pro will enhance your audio experience by isolating you from the surrounding noise. You’ll be able to hear all the nuances and details of your audio content with clarity and focus.
Remember, when you’re done using your AirPods Pro, it’s a good practice to turn off noise cancellation to conserve battery life. You can easily turn it off by following the same steps mentioned earlier in this guide.
So, go ahead and enjoy the blissful moments of undisturbed audio with your AirPods Pro and the power of noise cancellation at your fingertips.
Conclusion
In conclusion, turning on noise cancellation on your AirPods Pro can significantly enhance your audio experience by reducing unwanted background noise and immersing you in the sound you’re listening to. By following the simple steps outlined in this guide, you can easily enable noise cancellation and adjust the level to your preference.
First, ensure that your AirPods Pro are properly connected to your device. Open the Control Center and locate the Noise Cancellation option. Once found, simply tap or click on it to activate noise cancellation. You’ll hear a chime confirming its activation.
If you prefer, you can further customize your noise cancellation experience by adjusting the level. Navigate to the AirPods Pro settings on your device, select the Noise Control, and slide the slider to the left or right to decrease or increase the intensity of noise cancellation.
Once noise cancellation is enabled and adjusted, you can enjoy your favorite audio content with improved clarity and focus, free from distractions caused by external sounds. Whether you’re commuting, working, or simply relaxing, AirPods Pro’s noise cancellation feature will create a more immersive and enjoyable listening environment.
Remember to turn off noise cancellation when you’re finished using your AirPods Pro to conserve battery life. You can easily do this by following the steps mentioned earlier in this guide.
So, get ready to experience audio like never before with your AirPods Pro and the power of noise cancellation. Immerse yourself in the sound and enjoy a more immersive, uninterrupted listening experience.