Introduction
The AirPods Pro are known for their advanced features, including the impressive noise cancellation capability. By effectively blocking out external noise, these wireless earbuds enable users to enjoy their favorite music or focus on important tasks without any distractions. If you’re wondering how to activate the noise cancelling feature on your AirPods Pro, you’ve come to the right place. In this article, we will provide you with a step-by-step guide on how to change your AirPods Pro to noise cancelling mode.
Whether you’re in a loud environment or simply want to immerse yourself in audio bliss, activating noise cancellation on your AirPods Pro can greatly enhance your listening experience. With just a few taps and adjustments, you’ll be able to enjoy crisp and clear sound while minimizing external disturbances.
Before we dive into the steps, it’s important to ensure that your AirPods Pro are updated with the latest firmware. Updating your AirPods Pro will not only provide you with the best performance but also ensure that you have access to the latest features and bug fixes.
Now that we have the basics covered, let’s get started on changing your AirPods Pro to noise cancelling mode!
Step 1: Checking if your AirPods Pro are updated
Before you begin using the noise cancelling feature on your AirPods Pro, it’s essential to ensure that they are updated with the latest firmware. Apple regularly releases firmware updates to improve the performance and functionality of their devices.
To check for updates on your AirPods Pro, follow the steps below:
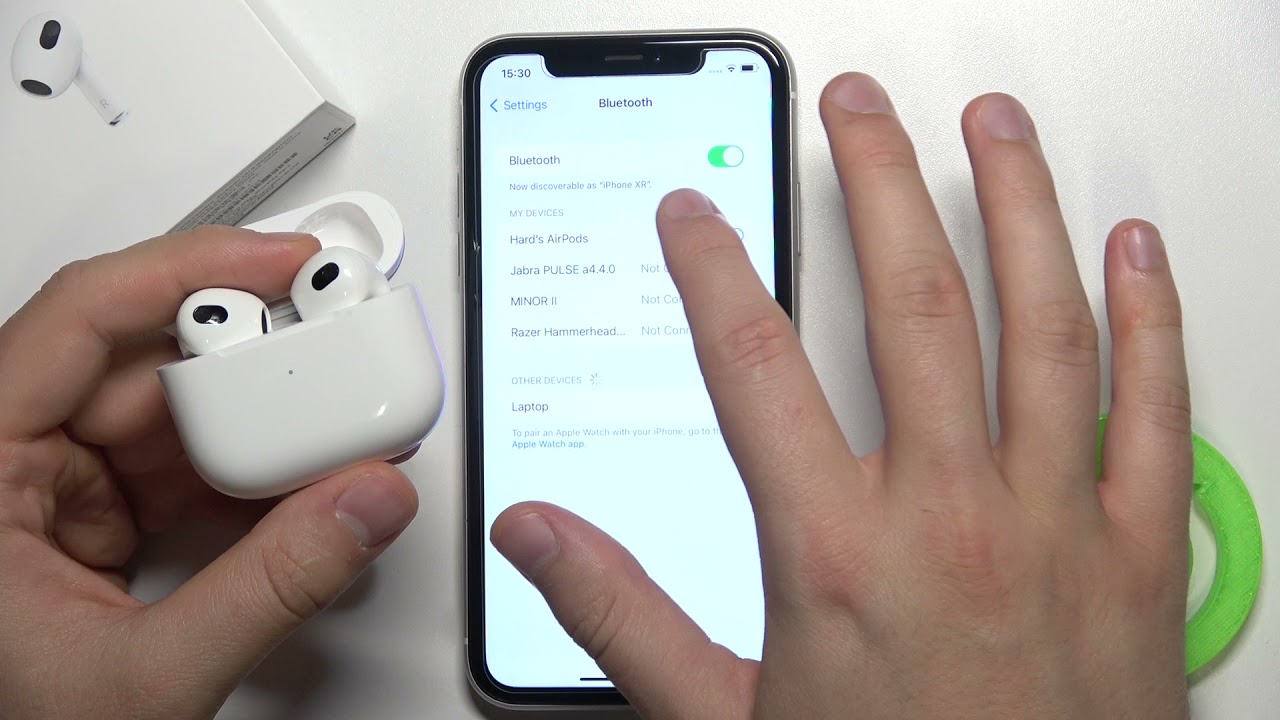
- Make sure your AirPods Pro are connected to your iOS device.
- Open the Settings app on your iOS device.
- Scroll down and tap on “General”.
- Tap on “About”.
- Scroll to find your AirPods Pro in the list of devices.
- If an update is available for your AirPods Pro, you will see a prompt to install it. Follow the on-screen instructions to complete the update process.
It’s important to keep your AirPods Pro updated to enjoy the best performance and access to the latest features. Once you have confirmed that your AirPods Pro are up to date, you can proceed to the next step of activating the noise cancelling mode.
Step 2: Putting your AirPods Pro in noise cancelling mode
Activating the noise cancelling mode on your AirPods Pro is a straightforward process. Follow the steps below to put your AirPods Pro in noise cancelling mode:
- Ensure that your AirPods Pro are connected to your iOS device.
- Open the Control Center on your iOS device by swiping down from the top right corner on iPhone X or later, or swipe up from the bottom of the screen on earlier iPhone models.
- Press and hold the volume slider in the Control Center.
- You will now see a volume slider and an expanded audio control section.
- In the expanded control section, you will find an icon that represents your AirPods Pro. Tap on it.
- Tap on the “Noise Cancellation” option to activate noise cancelling mode.
Once you have followed these steps, your AirPods Pro will be in noise cancelling mode, effectively reducing the external noise and providing you with a focused and immersive listening experience.
Note that you can also activate the noise cancelling mode using Siri. Simply activate Siri by saying “Hey Siri” or by pressing and holding the side button on your iPhone. Then, say “Turn on noise cancellation” to enable the feature instantly.
Now that you’ve successfully put your AirPods Pro in noise cancelling mode, let’s move on to the next step to ensure the feature is activated.
Step 3: Verifying the noise cancelling feature is activated
Once you have put your AirPods Pro in noise cancelling mode, it’s essential to verify that the feature is successfully activated. Here’s how you can do it:
- Wear your AirPods Pro and make sure they are securely in your ears.
- Open the Control Center on your iOS device again.
- Tap on the expanded audio control section, which displays the volume slider and the icon representing your AirPods Pro.
- Check for a small “?” symbol above the AirPods Pro icon. This indicates that the noise cancelling feature is active.
If you see the “?” symbol, it means that the noise cancelling feature is successfully activated, and your AirPods Pro are working to reduce the external noise. You can now enjoy a more focused and immersive audio experience.
In case you don’t see the “?” symbol, double-check the steps in the previous section to put your AirPods Pro in noise cancelling mode. Make sure you followed the instructions correctly and try again. If the issue persists, you may need to troubleshoot your AirPods Pro or seek assistance from Apple Support.
With the noise cancelling feature activated and verified, you’re now ready to fine-tune the level of noise cancellation according to your preferences. This is covered in the next step, so let’s move on!
Step 4: Adjusting the noise cancellation level
The AirPods Pro allows you to adjust the level of noise cancellation based on your surroundings and personal preference. By finding the right balance, you can optimize your listening experience. Here’s how you can adjust the noise cancellation level:
- Ensure that your AirPods Pro are connected and in noise cancelling mode.
- Open the Control Center on your iOS device.
- Tap on the expanded audio control section.
- Tap on the “✻” icon located next to the volume slider.
- You will now see three options: “Noise Cancellation”, “Transparency”, and “Off”.
- Slide the switch to adjust the noise cancellation level according to your preference.
Move the switch towards the left to reduce the noise cancellation level, allowing more external sounds to pass through. This can be useful in situations where you need to be aware of your surroundings, such as when walking on a busy street or listening for announcements in a public setting.
On the other hand, moving the switch towards the right increases the noise cancellation level, minimizing external sounds and creating a more immersive audio experience. This is ideal for noisy environments or when you want to fully focus on your music or podcast.
Experiment with different levels and find the right balance that suits your needs. Remember that adjusting the noise cancellation level is a personal preference and can vary depending on the situation.
Now that you’re familiar with adjusting the noise cancellation level, let’s explore how to switch between the noise cancellation mode and the Transparency mode in the next step.
Step 5: Alternating between Transparency mode and noise cancelling mode
The AirPods Pro offers another feature called Transparency mode, which allows you to hear and interact with the outside world while still wearing your earbuds. This can be handy when you need to have a conversation or remain aware of your surroundings. Here’s how you can switch between Transparency mode and noise cancelling mode:
- Ensure that your AirPods Pro are connected and in either noise cancelling mode or Transparency mode.
- On your iOS device, open the Control Center.
- Tap on the expanded audio control section.
- Tap on the “✻” icon next to the volume slider.
- Select “Transparency” to switch to Transparency mode or “Noise Cancellation” to switch back to noise cancelling mode.
When you switch to Transparency mode, you’ll be able to hear your surroundings more clearly, making it easier to have conversations or hear important announcements. This mode utilizes the built-in external microphones on the AirPods Pro to capture and amplify the sounds around you, enhancing your awareness of the environment.
On the other hand, switching back to noise cancelling mode will block out external noise again, allowing you to fully immerse yourself in your chosen audio content without any distractions.
Being able to quickly alternate between these two modes gives you the flexibility to adapt to different situations and preferences throughout the day.
With this final step, you have successfully learned how to change your AirPods Pro to noise cancelling mode, adjust the noise cancellation level, and switch between Transparency mode and noise cancelling mode.
Now, put your newfound knowledge to use and enjoy a personalized, immersive, and versatile audio experience with your AirPods Pro!
Conclusion
Congratulations! By following the step-by-step guide provided in this article, you have learned how to change your AirPods Pro to noise cancelling mode and optimize your audio experience. The noise cancelling feature on the AirPods Pro allows you to block out external noise, providing a clear and immersive listening experience whether you’re listening to music, podcasts, or taking calls.
Remember to always ensure that your AirPods Pro are updated with the latest firmware to enjoy the best performance and access to the latest features. Checking for updates is a simple process that can be done through your iOS device’s Settings app.
Once your AirPods Pro are updated, activating noise cancelling mode can be easily done through the Control Center on your device. With a few taps, you can enjoy a more focused and uninterrupted audio experience.
Furthermore, adjusting the noise cancellation level allows you to customize your audio experience according to your surroundings and personal preference. Whether you need to be aware of your surroundings or fully immerse yourself in your music, finding the right balance is key.
Lastly, the AirPods Pro offers the option to switch between noise cancelling mode and Transparency mode. This feature enables you to remain aware of the outside world when necessary without having to remove your earbuds.
Now that you have a comprehensive understanding of how to utilize the noise cancelling feature on your AirPods Pro, you are empowered to create your ideal audio experience and enjoy your favorite content with enhanced clarity and focus.
So, put on your AirPods Pro, activate the noise cancelling mode, and immerse yourself in a world of uninterrupted audio bliss!