Introduction
Welcome to the exciting world of sliding on acoustic guitar! Sliding is a technique that adds a unique and expressive element to your playing, allowing you to effortlessly glide between notes and create soulful melodies. Whether you’re a beginner looking to explore new guitar techniques or an advanced player seeking to improve your sliding skills, this guide will provide you with valuable insights and tips to master the art of sliding on your acoustic guitar.
A slide, also known as a bottleneck or a slide, is a small metallic or glass cylinder that is worn on one of your fingers. By lightly pressing the slide against the strings and gliding it up or down the fretboard, you can produce smooth and fluid slides between notes.
Choosing the right slide is crucial for achieving the desired sound and comfort while playing. Slides are available in different materials, such as glass, metal, and ceramic, each offering a unique tone and feel. We’ll delve into the factors to consider when selecting a slide in the next section.
Before diving into sliding techniques, it’s important to prepare your guitar for sliding. This involves adjusting the action, or the height of the strings above the fretboard, to ensure smooth movement of the slide. Additionally, you may want to experiment with different tunings to accommodate the specific style of sliding you want to achieve.
In the following sections, we’ll cover the basics of sliding, including different techniques and exercises for beginners to get started. We’ll then explore advanced sliding techniques that will push your skills to new heights. You’ll also find a collection of valuable tips and tricks to help you hone your sliding abilities and troubleshoot common issues that may arise along the way.
So, grab your acoustic guitar, slip on your slide, and get ready to embark on an exciting journey into the world of sliding. Whether you’re drawn to blues, country, or any other genre where sliding shines, this guide will equip you with the knowledge and techniques to add a whole new dimension to your playing.
What is a Slide?
A slide, often referred to as a bottleneck or slide, is a small cylindrical object that is worn on one of your fingers to produce distinctive sounds on the guitar. It is a key tool used in various genres such as blues, country, and slide guitar playing styles.
Slides can be made of different materials, each with its own unique characteristics. Glass slides are popular among guitarists for their warm and smooth tone, while metal slides offer a brighter and more cutting sound. Ceramic slides provide a balance between the two, with a warm tone and good sustain. The choice of material ultimately depends on your personal preference and the sound you want to achieve.
The slide is used by lightly pressing it against the strings and sliding it up or down the fretboard. This action creates a gliding motion, allowing you to smoothly transition between notes and produce expressive melodies. The slide acts as a movable fret, effectively increasing the pitch of the notes as you move it along the strings. This sliding technique adds a distinctive and soulful character to your playing, allowing you to evoke emotions and create captivating musical phrases.
Slides come in various sizes, typically ranging from small to large. The size you choose depends on the fit and comfort of the slide on your finger, as well as the specific sound you want to achieve. A snug fit is important to ensure proper control and technique while playing. It is also worth noting that different fingers can produce slightly different tones due to variances in pressure and angle, so experimenting with the placement of the slide on different fingers may yield interesting results.
Slides can be used on both acoustic and electric guitars, with each providing their own distinct sound. On an acoustic guitar, the slide produces a warm and resonant tone, emphasizing the natural resonance and nuances of the instrument. On the other hand, using a slide on an electric guitar can result in a more cutting and sustained sound, often associated with blues and rock styles.
In the next section, we will explore how to choose the right slide for your playing style and preferences. So, let’s dive in and discover the world of sliding with your acoustic guitar!
Choosing the Right Slide
When it comes to choosing the right slide for your guitar playing, there are several factors to consider. The material, size, and design of the slide all contribute to the tone, playability, and comfort of your sliding experience. Let’s delve into these factors to help you make an informed decision.
Material: Slides are commonly made of glass, metal, or ceramic. Glass slides are favored for their smooth and warm tone, offering a classic sound ideal for blues and country music. Metal slides, such as brass or steel, provide a brighter and more cutting sound that works well for rock or slide guitar solos. Ceramic slides offer a balanced tone with warmth and good sustain, making them a versatile choice for various styles. Consider experimenting with different materials to find the slide that best matches your desired sound.
Size: Slides come in various sizes, ranging from small to large. The size you choose depends on both your finger size and the type of sound you want to achieve. A smaller slide allows for more precise control, while a larger slide may provide enhanced sustain and a fuller sound. It’s essential to find a slide that fits comfortably on your finger without being too loose or too tight, allowing you to play with ease and control.
Design: Slide designs can vary, with some featuring a straight cylinder shape, while others have a tapered or flared end. The shape and weight distribution of the slide can influence the tone and playability. Straight slides provide consistent contact with the strings, while tapered or flared designs allow for greater versatility in terms of playing techniques and tone control. It’s worth trying different slide designs to determine which one feels most comfortable and suits your playing style.
Sound: Ultimately, the sound you want to achieve should guide your slide choice. Do you prefer a smooth and mellow tone, or are you after a bright and cutting sound? Consider the genre of music you play and the specific songs or solos you want to emulate. Experimenting with different slides can help you discover the one that perfectly suits your sound preferences.
Try Before Buying: If possible, try out different slides in person before making a purchase. This way, you can assess how they feel on your finger, how they produce different tones on your guitar, and check for any potential comfort issues. If you don’t have the opportunity to try them in person, reading reviews and listening to demo videos online can provide valuable insights into the characteristics of different slides.
By considering these factors and experimenting with different slides, you’ll be able to find the perfect match for your sliding needs. So, take your time, explore your options, and get ready to enhance your guitar playing with the right slide.
Preparing Your Guitar for Sliding
Before you dive into sliding techniques on your acoustic guitar, it’s important to prepare your instrument to ensure optimal playability and sound. Here are some essential steps to get your guitar ready for sliding.
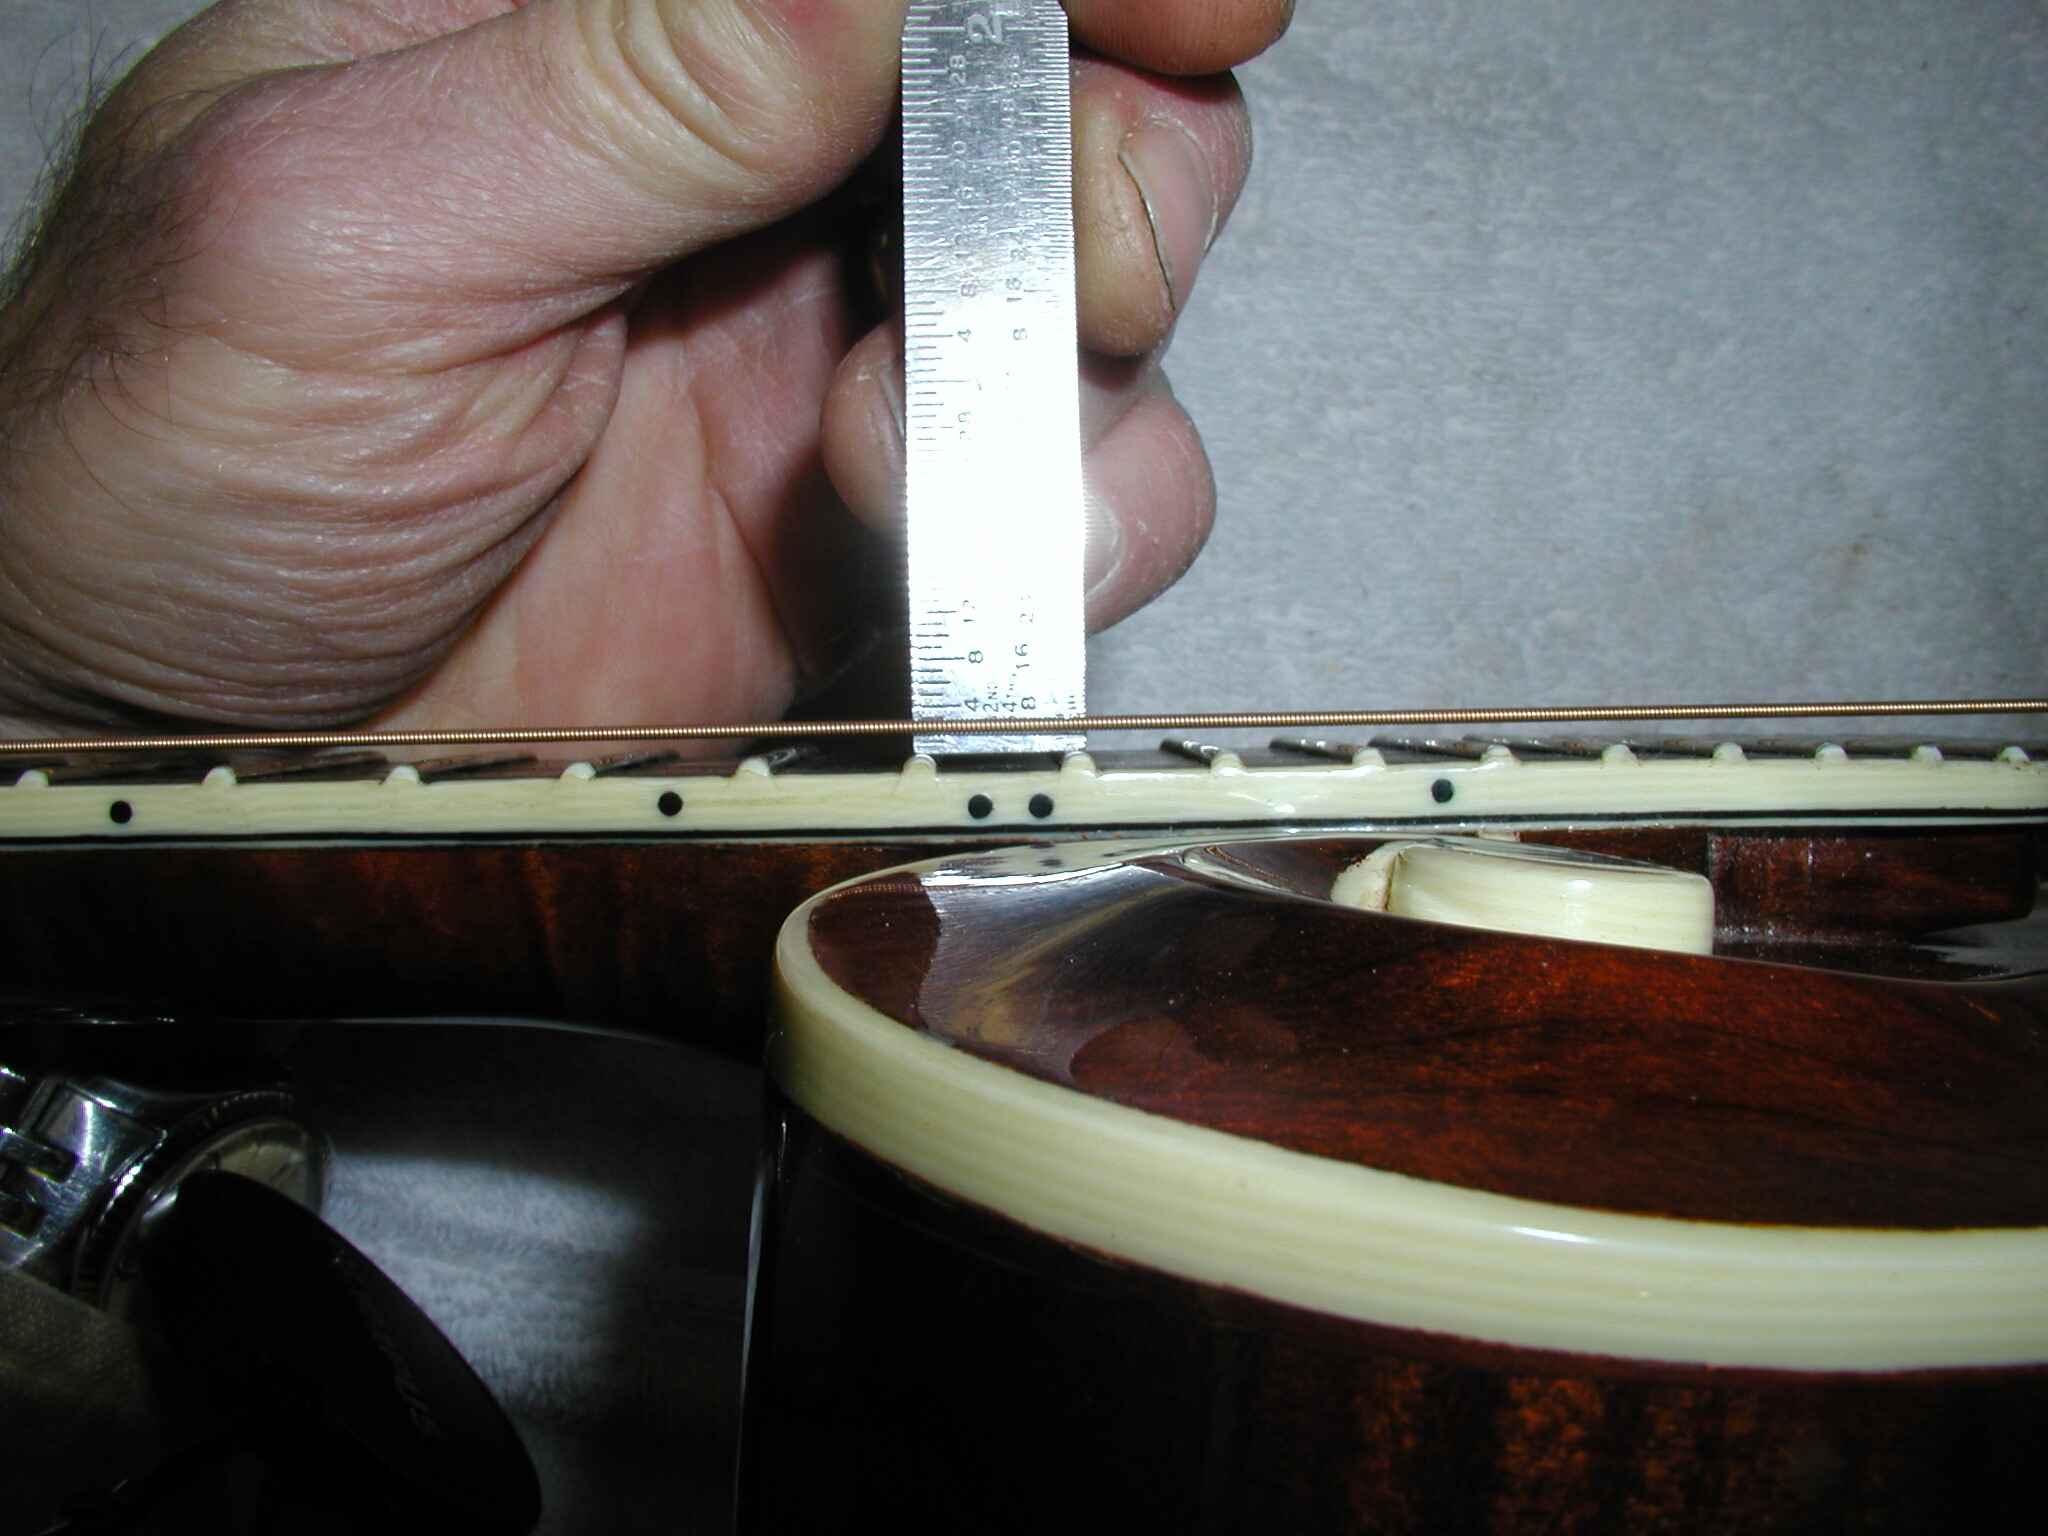
1. Adjust the Action: The action refers to the height of the strings above the fretboard. To facilitate smooth sliding, you’ll want to ensure that the action is not too high or too low. High action can make it difficult to press the strings down against the frets, while low action may cause undesirable buzzing or rattling sounds. If you’re unsure about adjusting the action yourself, it’s best to consult a professional guitar technician.
2. Consider String Gauge: The gauge or thickness of your guitar strings can affect your sliding experience. Thicker strings generally offer more sustain and resistance, making them suitable for slide playing. However, they can also require more finger pressure to play. Experimenting with different string gauges can help you find the balance between tone and playability that works best for you.
3. Explore Different Tunings: While standard tuning (EADGBE) is commonly used for guitar playing, certain tunings are particularly well-suited for sliding. Open tunings, such as Open D (DADF#AD) or Open G (DGDGBD), create a chord when you strum all the open strings and can provide easier access to slide-friendly chords and licks. Trying out different tunings can open up new possibilities for your slide playing.
4. Experiment with Slide Placement: The placement of the slide on your finger can have an impact on the sound and feel of your playing. Some guitarists prefer to wear the slide on their pinky or ring finger, while others find it more comfortable on their middle finger. You can also experiment with different angles and pressures to see how it affects the tone and control.
5. Assess Your Guitar’s Nut and Bridge: The nut and bridge of your guitar play a role in supporting the strings. If you’re experiencing any issues with string height or buzzing, it may be worth inspecting these components. A properly set-up nut and bridge can help ensure smooth string action and playability.
By taking these steps to prepare your guitar for sliding, you can optimize your playing experience and achieve the best possible sound. Remember to make any adjustments gradually, as small modifications can have a significant impact on your instrument’s playability. Now that your guitar is ready, let’s explore some basic sliding techniques to get you started on your sliding journey!
Basic Sliding Techniques
Now that your guitar is prepared for sliding, it’s time to delve into some basic sliding techniques. These techniques will help you get familiar with the motion and control required to produce smooth and expressive slide guitar sounds. Let’s explore three fundamental sliding techniques: slide up, slide down, and vibrato.
1. Slide Up: To perform a slide up, start by fretting a note on the desired string with your non-slide hand. With your slide hand, lightly touch the string above the desired fret. Apply gentle pressure and slide the slide hand up towards the body of the guitar. As you do this, maintain even pressure and ensure that all the notes sound clear and connected. Experiment with different slide lengths to create different musical effects.
2. Slide Down: The slide down technique is the opposite of the slide up. Begin by fretting a note with your non-slide hand. With your slide hand, rest the slide on the string above the desired fret. Apply gentle pressure and slide the slide hand down towards the headstock of the guitar. Just like with the slide up technique, focus on maintaining even pressure to ensure clear and connected notes.
3. Vibrato: Vibrato adds a subtle pitch variation to your slide playing, adding expressiveness to your sound. To perform vibrato, while sliding up or down, gently sway the slide hand back and forth horizontally. This slight movement creates a pulsating effect on the pitch of the note. Practice controlling the speed and depth of your vibrato to develop your own unique style and sound.
As you practice these basic sliding techniques, pay attention to the clarity and sustain of each note. It may take some time to develop the muscle memory and control required to produce smooth slides. Start with slow and deliberate movements, gradually increasing your speed and fluidity as you become more comfortable with the technique.
Remember to experiment with different strings, frets, and slide positions to discover the range of sounds and musical possibilities that sliding offers. Each combination will produce a slightly different tone and feel, allowing you to express yourself in various ways on your acoustic guitar.
In the next section, we’ll provide you with some sliding exercises specifically designed for beginners. These exercises will help you further develop your sliding technique and gain confidence in incorporating slides into your guitar playing. So, let’s keep sliding!
Sliding Exercises for Beginners
To improve your sliding technique and build confidence in your slide guitar playing, practicing specific exercises is key. These exercises will focus on different aspects of sliding, such as accuracy, control, and muscle memory. Let’s explore some sliding exercises designed specifically for beginners.
1. Single Note Slides: Start by playing a single note on one string using your non-slide hand. Practice sliding up and down the fretboard using your slide hand to reach different notes. Focus on maintaining even pressure and a smooth gliding motion. Begin with slow and deliberate movements, gradually increasing your speed as you become more comfortable.
2. Slide Between Two Frets: Choose a pair of adjacent frets on one string. Play the first note using your non-slide hand, then slide up or down to the second note using your slide hand. Repeat this motion several times, aiming for accuracy and clarity in each note. Pay attention to the distance between the frets and adjust your slide hand’s movement accordingly.
3. Sliding Chords: Experiment with sliding between different chords. Start with simple open chords and slide the entire chord shape up or down the fretboard. Focus on maintaining the relative positions of the chord notes while sliding. This exercise will help you develop finger coordination and muscle memory for sliding chords smoothly.
4. String Skipping: Begin by playing a note on one string using your non-slide hand. Then, slide across to a different string while maintaining the same finger position with your slide hand. Repeat this exercise with different combinations of strings, focusing on accuracy and smooth transitions.
5. Incorporating Slides into Riffs: Take a riff or a simple melody that you’re familiar with and incorporate slides into it. Identify specific notes where you can add slides to create a unique twist. Experiment with sliding up or down to those notes, and feel how the slides enhance the overall sound and expressiveness of the riff.
Remember to practice these exercises at a comfortable pace, gradually increasing the speed as your skills improve. Focus on maintaining control and clarity in each slide. Additionally, be patient with yourself and embrace the learning process. Sliding can initially feel challenging, but with consistent practice, it will become more natural and fluid.
In the upcoming sections, we will explore advanced sliding techniques and provide valuable tips and tricks to enhance your sliding skills. So, keep practicing these exercises, and soon enough, you’ll be sliding like a pro on your acoustic guitar!
Advanced Sliding Techniques
Now that you’ve mastered the basic sliding techniques, it’s time to dive into more advanced sliding techniques that will take your slide guitar playing to the next level. These techniques will add complexity, depth, and versatility to your playing, allowing you to explore new musical territories. Let’s explore three advanced sliding techniques: double stops, harmonics, and slide bends.
1. Double Stops: Double stops involve sliding with two fingers simultaneously, producing two notes played together. Start by fretting two adjacent strings with your non-slide hand and use your slide hand to slide up or down the fretboard while maintaining pressure on both strings. This technique creates a rich and full sound, commonly used in blues and rock music. Experiment with different finger combinations and sliding patterns to explore various double stop possibilities.
2. Harmonics: Harmonics are ethereal and sparkling tones produced by lightly touching the strings without fully pressing them down on the fretboard. To incorporate harmonics into your sliding, gently touch the string above the desired fret with your slide hand, making sure to keep contact with the string as you slide. This produces a soaring and resonant sound that adds a touch of magic to your playing. Experiment with different slide placements and sliding techniques to find the sweet spots for harmonics on your acoustic guitar.
3. Slide Bends: Slide bends combine the techniques of sliding and bending, allowing you to bend the pitch of a note while sliding. Start by fretting a note with your non-slide hand and then slide up or down the fretboard. While sliding, use your non-slide hand to bend the string upwards or downwards, enhancing the expressiveness of the slide. This technique adds a vocal-like quality to your playing and can create dramatic and passionate musical phrases.
As with any advanced technique, mastery comes with practice and patience. Start by isolating each technique and practice it slowly, focusing on precision and control. Gradually increase your speed as you become more comfortable. Incorporate these advanced techniques into your playing and experiment with combining them with the basic sliding techniques to create captivating and dynamic guitar solos and melodies.
Remember, the key to successfully executing these advanced sliding techniques lies in maintaining good technique, control, and a strong sense of musicality. Pay attention to nuances like dynamics, timing, and phrasing to bring out the true potential of each technique.
In the next section, we’ll provide you with valuable tips and tricks to help you improve your sliding skills. These insights will assist you in refining your technique, troubleshooting common challenges, and taking your slide guitar playing to even greater heights. So, keep sliding and exploring the wide range of possibilities offered by your acoustic guitar!
Tips and Tricks for Improving Your Sliding Skills
Mastering the art of sliding on acoustic guitar requires practice, patience, and a few helpful tips and tricks. Below are some valuable insights to enhance your sliding technique and take your skills to the next level.
1. Practice with a Metronome: Sliding with precision and accuracy is crucial in creating a seamless and expressive sound. Incorporate a metronome into your practice routine to improve your timing and control. Start at a slower tempo and gradually increase the speed as you become more comfortable.
2. Focus on Tone Control: Experiment with different pressures and angles of the slide against the strings to achieve varying tones. Lighter pressure will produce a smoother and more ethereal sound, while firmer pressure will create a more intense and resonant tone. Explore the full range of sonic possibilities by adjusting your slide technique.
3. Listen and Learn from Others: Study the slide guitar playing of accomplished musicians in your preferred genre. Pay attention to their phrasing, vibrato, and overall musicality. Try to replicate their techniques and incorporate them into your own playing. It’s a great way to expand your repertoire and develop a unique slide guitar style.
4. Experiment with Slide Bar Techniques: Apart from the traditional sliding techniques discussed earlier, explore different slide bar techniques such as rake slides, muted slides, and percussive slides. These techniques can add texture, rhythmic punch, and a bit of flair to your slide guitar playing.
5. Use Vibrato for Emotional Expression: Vibrato adds a touch of emotion and expression to your slide guitar playing. Practice different types of vibrato, such as wide, narrow, or subtle variations, and experiment with using it at various points during your slide to add depth and character to your notes.
6. Record and Analyze Your Playing: Record yourself while practicing or playing slide guitar. Listen back to your recordings and analyze the areas where you can improve. It’s an effective way to identify any inconsistencies or areas where you can refine your technique and overall sound.
7. Play Along with Backing Tracks: Utilize backing tracks specifically designed for slide guitar playing. Playing along with backing tracks can help you develop your improvisation skills, explore different musical contexts, and enhance your overall sense of timing and groove.
Remember, consistent practice, exploration, and a willingness to push your boundaries are key to improving your sliding skills. Embrace the learning process and don’t be afraid to make mistakes. With time and dedication, you’ll become a confident and expressive slide guitarist.
In the following section, we’ll address some frequently asked questions about sliding on acoustic guitar. These FAQs will further enhance your understanding of this technique and provide answers to common concerns. So, let’s dive in and expand our knowledge of sliding!
Frequently Asked Questions (FAQs)
Here are some commonly asked questions about sliding on acoustic guitar, along with their answers, to further deepen your understanding of this technique.
Q: Can I use a slide on any type of acoustic guitar?
A: Yes, slides can be used on both acoustic and electric guitars. However, the tone and sound production may vary slightly between the two. Acoustic guitars tend to produce a warmer and more resonant sound when using a slide, emphasizing the natural characteristics of the instrument.
Q: Do I need to use a specific type of guitar strings for sliding?
A: While there are no specific strings required for sliding, heavier gauge strings are often preferred as they provide better sustain and resistance. Thicker strings also tend to be more forgiving and less prone to buzzing or rattling when using a slide.
Q: How do I prevent unwanted string noise when sliding?
A: String noise can be minimized by practicing proper muting techniques. Use your non-slide hand to lightly touch the strings you’re not playing to prevent them from vibrating and creating unwanted noise. Additionally, practicing smooth and controlled sliding techniques can help reduce string noise.
Q: Can I slide on multiple strings simultaneously?
A: Yes, you can slide on multiple strings simultaneously, producing double stops or harmonies. This technique requires practice and good finger coordination to ensure that both strings produce clear and connected notes.
Q: How can I improve my accuracy and control when sliding?
A: Improving accuracy and control requires consistent practice. Start by practicing slow and deliberate slides, focusing on hitting the right notes accurately. Gradually increase your speed while maintaining control. Using a metronome can also aid in improving timing and precision.
Q: What are some ways to add more expression to my slides?
A: Vibrato and variation in slide pressure are effective ways to add expression to your slides. Experiment with different types of vibrato, such as wide or narrow, to achieve the desired effect. Additionally, varying the pressure and touch of the slide against the strings can create different tones and dynamics, adding depth and emotion to your slide guitar playing.
Q: Can I slide on different parts of the guitar neck?
A: Absolutely! You can slide on any part of the guitar neck. Sliding closer to the bridge will produce brighter and more treble-rich tones, while sliding towards the soundhole will create warmer and rounder tones. Experiment with different positions on the neck to explore the sonic possibilities.
Hopefully, these FAQs have addressed some of your burning questions about sliding on acoustic guitar. If you have any more, don’t hesitate to explore further and seek guidance from experienced musicians or instructors. Now, let’s wrap up this guide with a final thought on the joys of sliding on your acoustic guitar!
Conclusion
Congratulations! You have now journeyed through the world of sliding on acoustic guitar. By mastering the basic techniques, exploring advanced techniques, and incorporating tips and tricks into your practice, you have expanded your guitar playing skills and added a new dimension of expression to your music.
Remember that sliding is a technique that requires patience, practice, and experimentation. It may take time to develop the muscle memory and control needed to slide smoothly and accurately. Embrace the learning process and don’t be afraid to make mistakes – it’s all part of the journey toward becoming a proficient slide guitarist.
As you continue to explore sliding, remember to listen to and learn from accomplished slide guitarists. Study their techniques, styles, and musicality. Immerse yourself in a variety of genres and experiment with different slide positions, techniques, and materials. By doing so, you’ll develop your unique slide guitar voice and expand your musical horizons.
Whether you’re drawn to the soulful sounds of blues, the twang of country, or the versatility of slide in various other genres, sliding on the acoustic guitar offers a wide range of possibilities. With practice and dedication, you’ll be able to create captivating melodies, soaring harmonics, and dynamic double stops that will captivate any audience.
So, grab your guitar, slip on your slide, and let your creativity soar. Let the smooth glides, resonant tones, and expressive slides take your guitar playing to new heights. Enjoy the journey of discovery and embrace the wonderful world of sliding on acoustic guitar!