Introduction
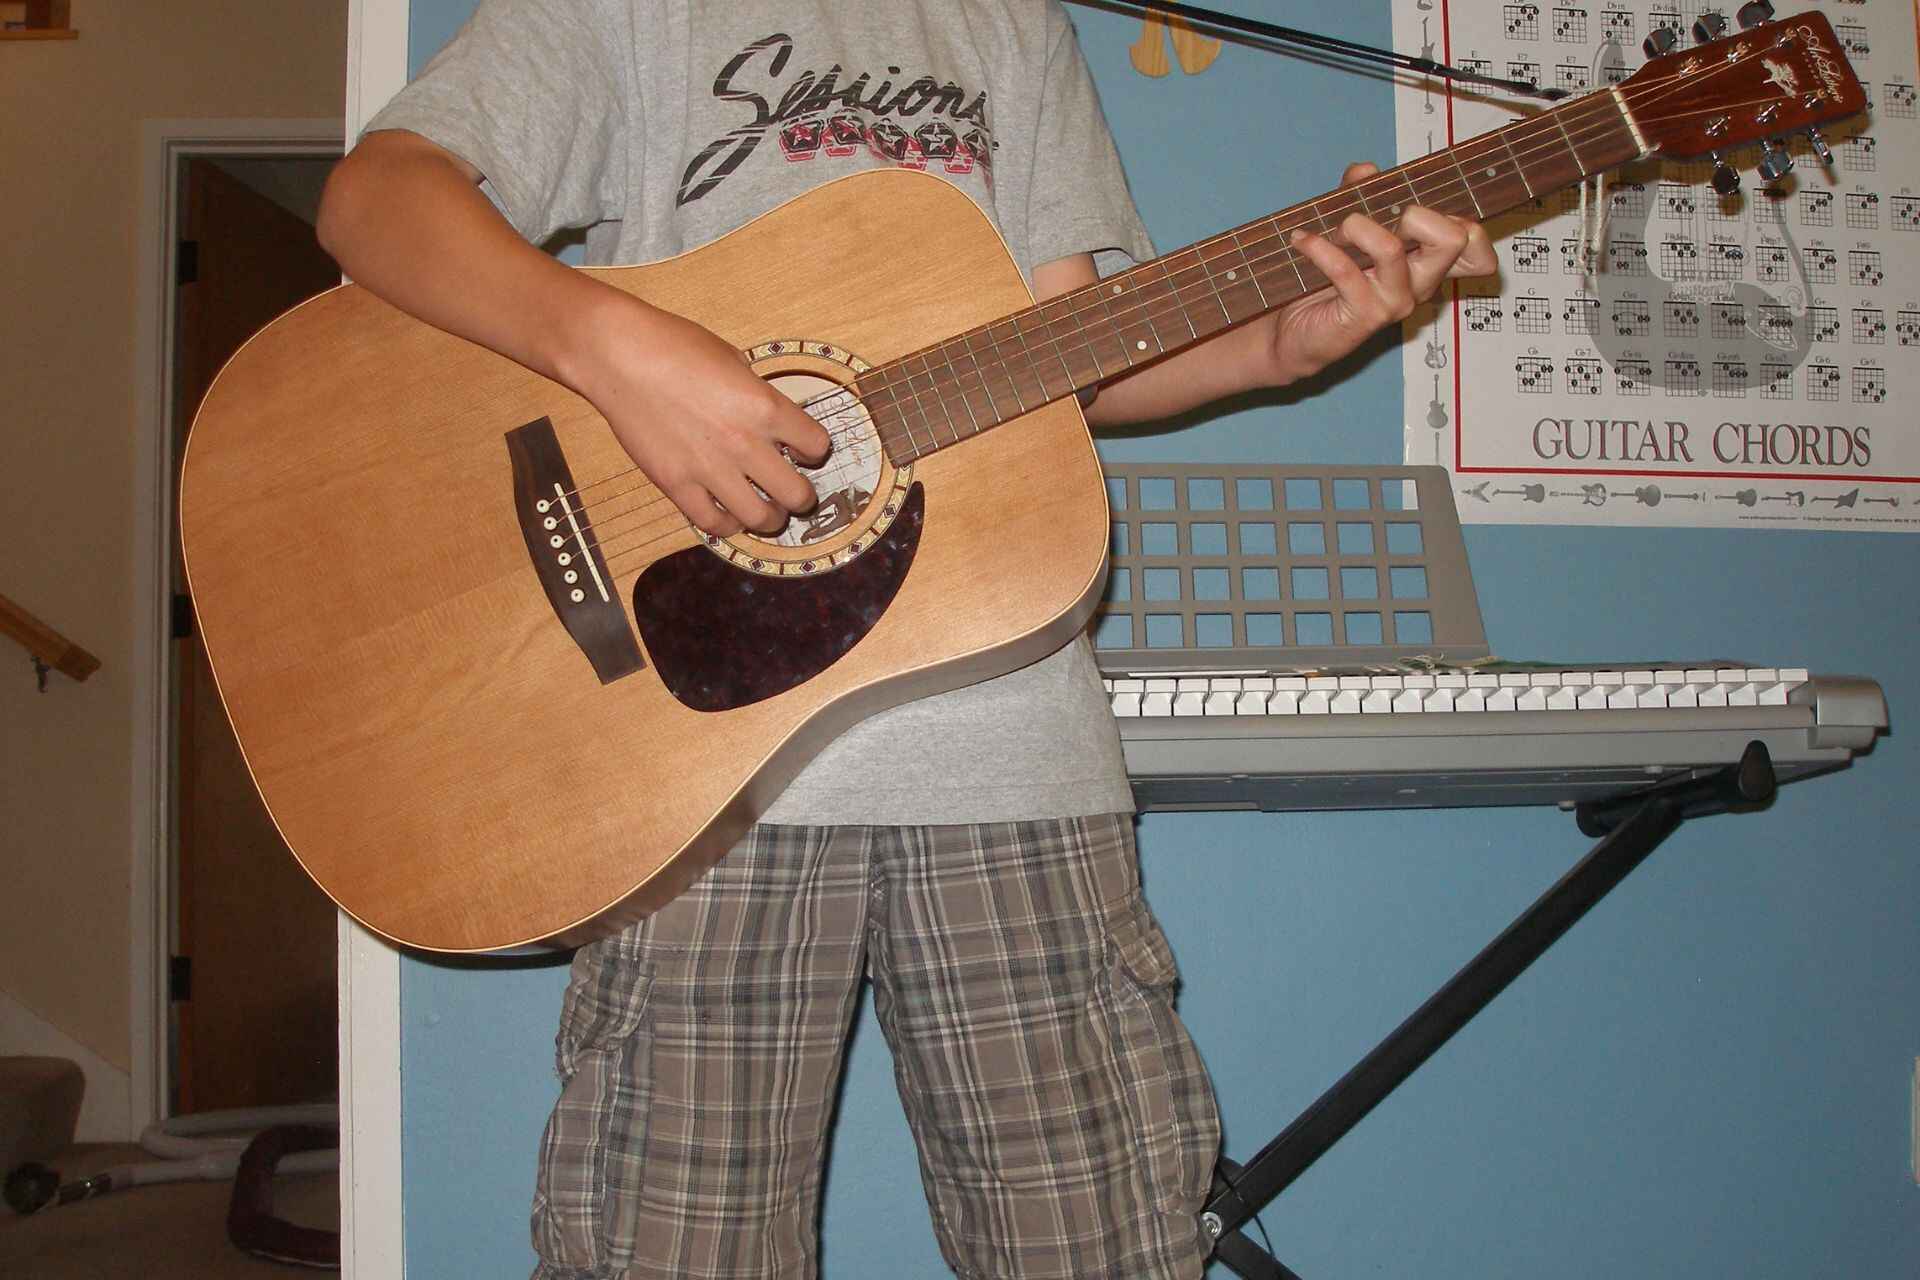
So, you've just acquired a shiny new acoustic guitar and can't wait to start strumming away. But before you can channel your inner rock star, there's one essential step to take: attaching a guitar strap. Whether you're a beginner or a seasoned player, knowing how to properly attach a guitar strap to your acoustic instrument is crucial for comfort, stability, and overall playing experience.
A guitar strap not only allows you to play standing up, but it also provides support and security while you're seated. With the right technique, you can ensure that your guitar stays firmly in place, allowing you to focus on making beautiful music without worrying about it slipping or sliding around.
In this guide, we'll walk you through the steps to attach a guitar strap to your acoustic guitar with ease. From locating the strap button to adjusting the strap length, we'll cover everything you need to know to get your guitar ready for hours of playing enjoyment. So, grab your guitar, your favorite strap, and let's dive into the process of securely attaching your guitar strap.
Step 1: Locate the Strap Button
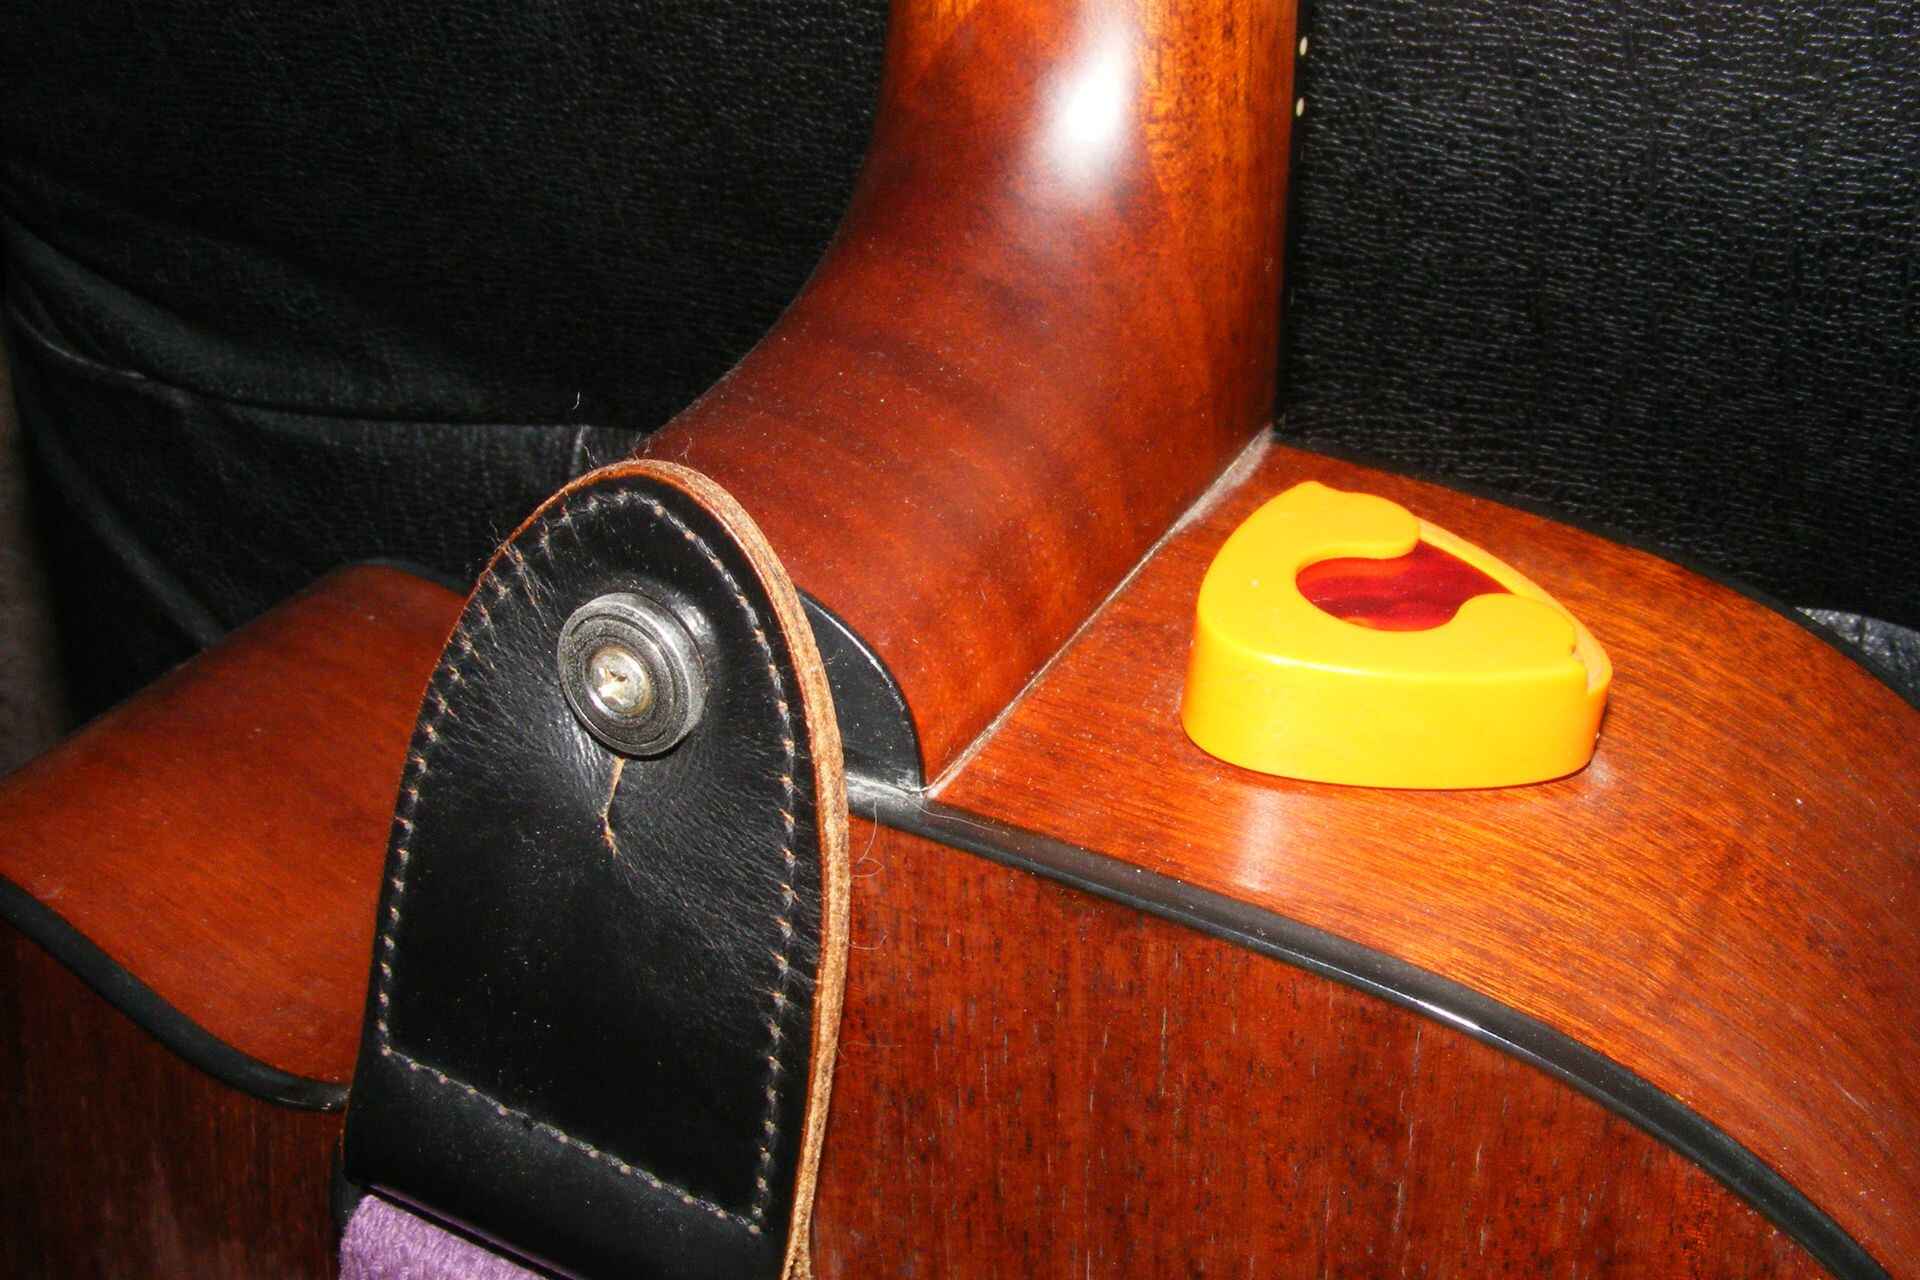
The first step in attaching a guitar strap to your acoustic guitar is to locate the strap button. Most acoustic guitars come equipped with a strap button at the bottom of the body, which is specifically designed for this purpose. The strap button is typically located at the bottom end of the guitar, near the edge of the body. It is a small, often metallic, protrusion that serves as an anchor point for one end of the guitar strap.
If your acoustic guitar doesn’t have a strap button installed, you may need to have one professionally added by a guitar technician. However, many acoustic guitars are designed with a strap button already in place, making the process much simpler. Some acoustic guitars also feature a second strap button at the heel of the neck, providing additional support and stability when the guitar is in a standing position.
Before proceeding, ensure that the strap button is securely attached to the body of the guitar. Check for any signs of looseness or damage, as a loose strap button can pose a risk to the guitar’s safety and your playing comfort. Once you’ve located and inspected the strap button, you’re ready to move on to the next step of attaching the strap to your acoustic guitar.
Step 2: Attach the Strap to the Bottom of the Guitar
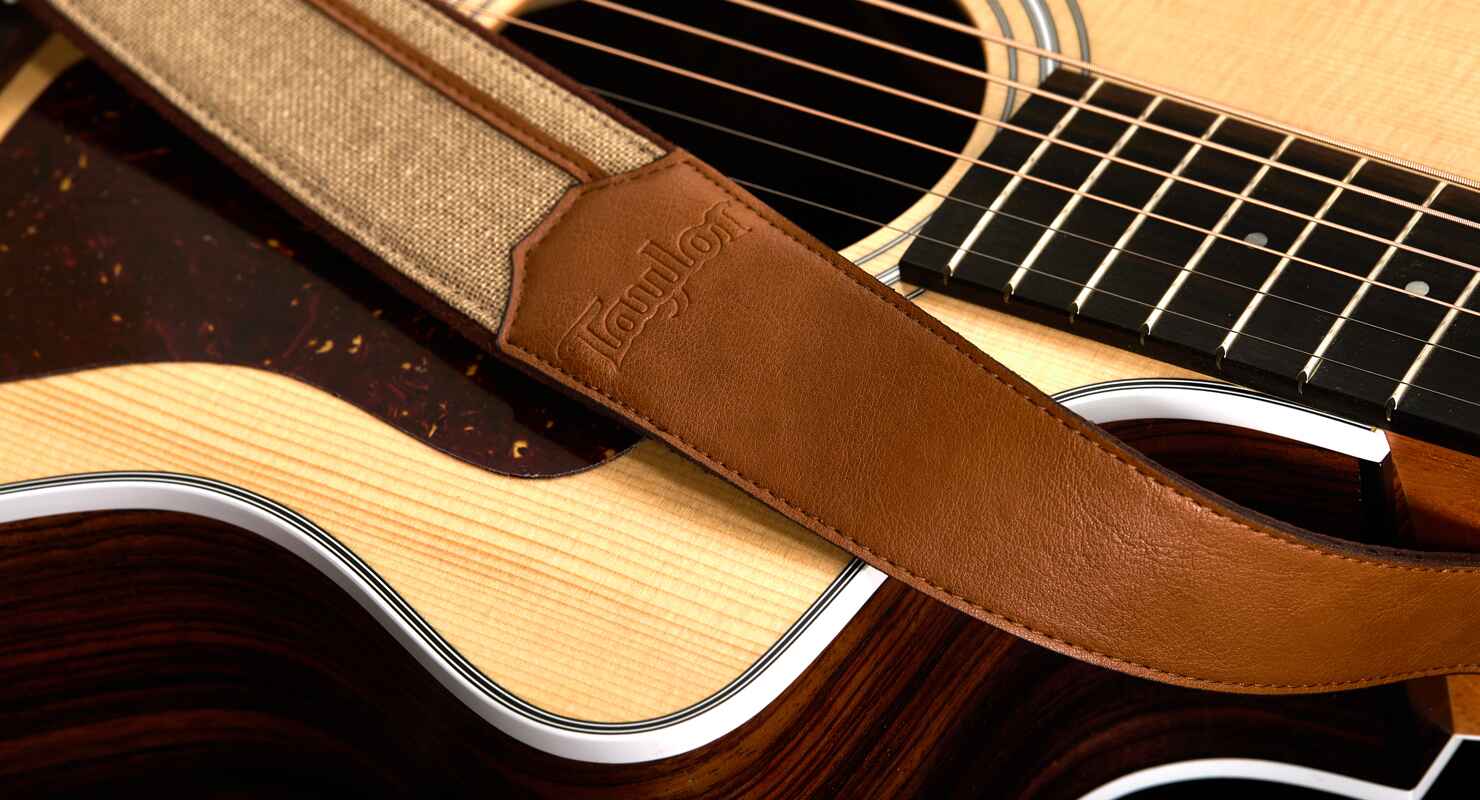
With the strap button located, it’s time to attach one end of the guitar strap to the bottom of the guitar. Begin by taking the end of the strap with the pre-installed leather or plastic hole and sliding it onto the strap button. The strap should securely fit over the button, ensuring that it won’t accidentally slip off during play. It’s important to double-check that the strap is properly attached to prevent any mishaps while you’re playing.
Some guitar straps come with a built-in locking mechanism, such as a clip or a secure fastening system. If your strap includes this feature, make sure it is engaged and holding the strap firmly in place on the strap button. This added security can provide peace of mind, especially during energetic performances or extended playing sessions.
Once the strap is attached to the bottom of the guitar, give it a gentle tug to confirm that it’s securely fastened. Ensuring that the strap is firmly in place will prevent any unexpected slippage or movement while you’re playing, allowing you to focus on creating music without any distractions. With one end of the strap securely attached, you’re ready to move on to the next step of attaching the other end of the strap to the neck of the guitar.
Step 3: Attach the Other End of the Strap to the Neck of the Guitar
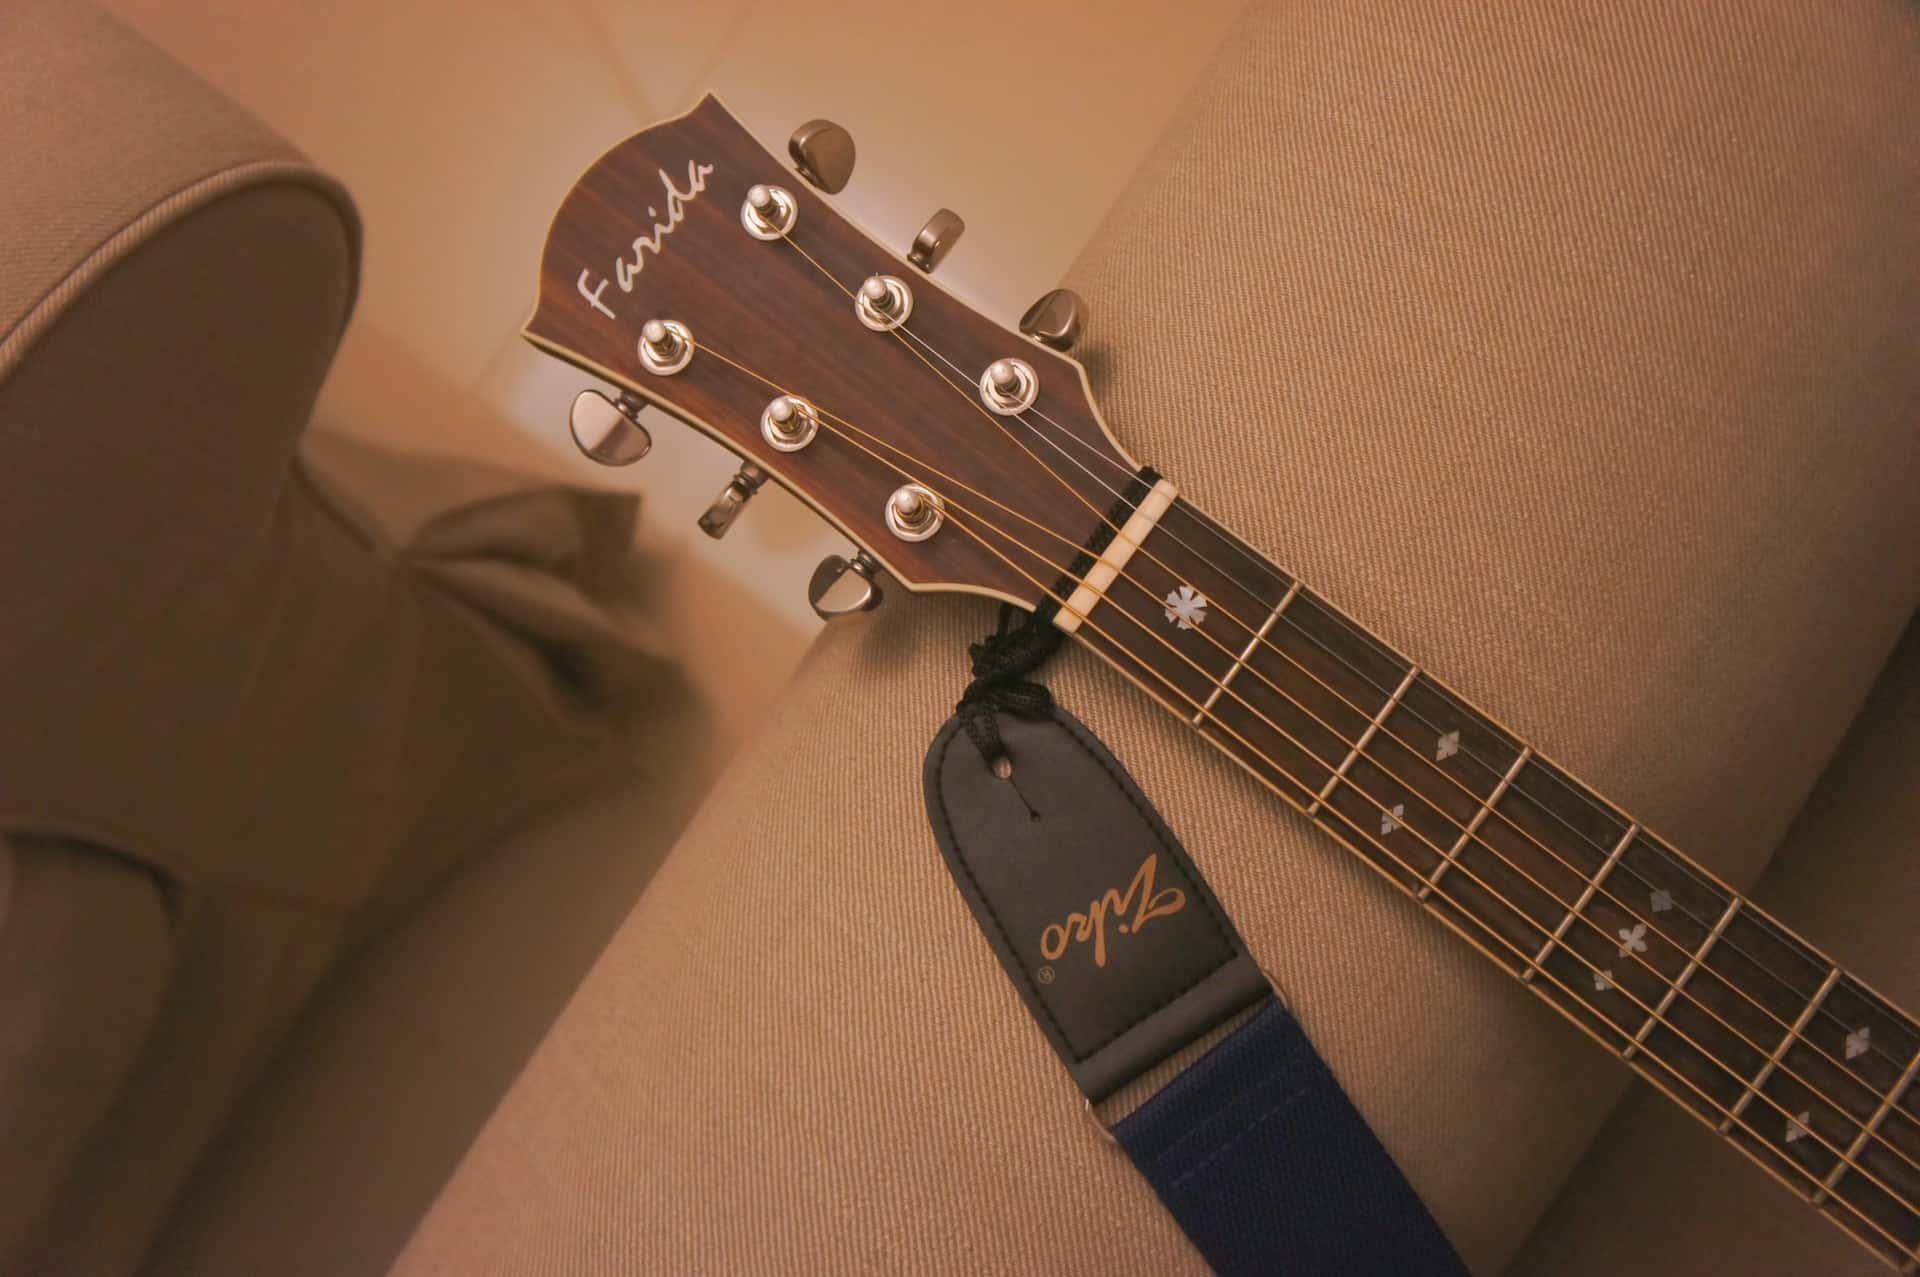
After securing one end of the guitar strap to the bottom of the guitar, the next step is to attach the other end of the strap to the neck of the guitar. This step is crucial for maintaining stability and balance while playing, especially when standing. Many acoustic guitars feature a second strap button at the heel of the neck, providing a designated anchor point for the other end of the strap.
Slide the other end of the strap over the second strap button, ensuring a snug fit to prevent any accidental detachment. If your guitar doesn’t have a second strap button, you can still attach the strap to the neck using an alternative method. Some guitar straps come with a lace or string that can be tied around the headstock just behind the nut. This makeshift attachment point can provide the necessary support for the strap, allowing you to play comfortably in a standing position.
Once the strap is attached to the neck of the guitar, give it a gentle tug to confirm that it’s securely fastened. Ensuring that both ends of the strap are firmly in place will provide the stability and support needed for confident and comfortable playing. With both ends of the strap securely attached, you’re ready to move on to the final step of adjusting the length of the strap to suit your preferences.
Step 4: Adjust the Length of the Strap
Once both ends of the strap are securely attached to your acoustic guitar, it’s time to ensure that the length of the strap is adjusted to your preference. The ideal length of the strap will allow you to comfortably hold and play the guitar while sitting or standing, without causing strain or discomfort.
To adjust the length of the strap, most guitar straps are equipped with a mechanism that allows for easy length modification. This could be in the form of a buckle, slider, or similar adjustment feature. By loosening or tightening this mechanism, you can customize the length of the strap to suit your playing style and body size.
When adjusting the length, consider factors such as the height at which you prefer to position the guitar, whether you play sitting down or standing up, and your personal comfort level. Experiment with different lengths until you find the setting that feels most natural and supportive for your playing needs.
It’s important to ensure that the strap is not too loose, as this can compromise the stability of the guitar, nor too tight, as this can restrict your movement and cause discomfort. Finding the right balance will enhance your playing experience and allow you to focus on creating music without any distractions.
Once you’ve adjusted the length of the strap to your satisfaction, give it a gentle tug to confirm that it’s securely fastened at the desired length. Ensuring that the strap is both secure and comfortable will provide the support and freedom of movement needed for enjoyable and uninterrupted play.
Conclusion
Congratulations! You’ve successfully attached a guitar strap to your acoustic guitar, setting the stage for countless hours of musical enjoyment. By following the simple steps outlined in this guide, you’ve ensured that your guitar is securely supported, allowing you to play with confidence and comfort.
Attaching a guitar strap is not only a practical necessity but also a way to personalize your playing experience. Whether you’re performing on stage, practicing at home, or jamming with friends, a properly attached guitar strap provides the stability and freedom of movement needed to fully express your musical creativity.
Remember, the proper attachment of a guitar strap contributes to the overall safety and security of your instrument. By locating the strap button, attaching the strap to the bottom and neck of the guitar, and adjusting the length to your preference, you’ve taken the essential steps to ensure that your acoustic guitar is ready for any playing situation.
Now that your guitar strap is securely in place, it’s time to let the music flow. Whether you’re strumming, picking, or fingerpicking, you can now play your acoustic guitar with the assurance that it will remain stable and comfortable as you bring your melodies to life.
So, grab your guitar, adjust the strap to your liking, and let the music resonate. With your guitar securely strapped on, the stage is set for you to showcase your musical talent and immerse yourself in the joy of playing your acoustic guitar.