Introduction
Guitar playing is not just about strumming chords and playing melodies; it’s also about getting comfortable and ensuring you can play without any restrictions. One way to achieve this is by using a guitar strap. Acoustic guitars typically come with only one strap button at the bottom of the body, which can pose a challenge when trying to secure the strap. However, with the right technique and tools, you can easily put a strap on an acoustic guitar with just one strap button.
In this guide, we will walk you through the step-by-step process of attaching a strap to an acoustic guitar with only one strap button. We will cover everything from choosing the right strap to installing the strap button and adjusting the strap length. Whether you’re a beginner guitarist or an experienced player, this guide will help you ensure that your guitar is comfortable, secure, and ready for any playing situation.
So, let’s dive in and learn how to put a strap on an acoustic guitar with just one strap button!
Tools and Materials Needed
Before you start putting a strap on your acoustic guitar, it’s important to gather all the necessary tools and materials. Here’s a list of what you’ll need:
- Acoustic guitar with one strap button
- Guitar strap
- Strap button
- Phillips screwdriver (if needed)
- Drill (if needed)
- Drill bit (if needed)
- Marker or pencil
- Masking tape (optional)
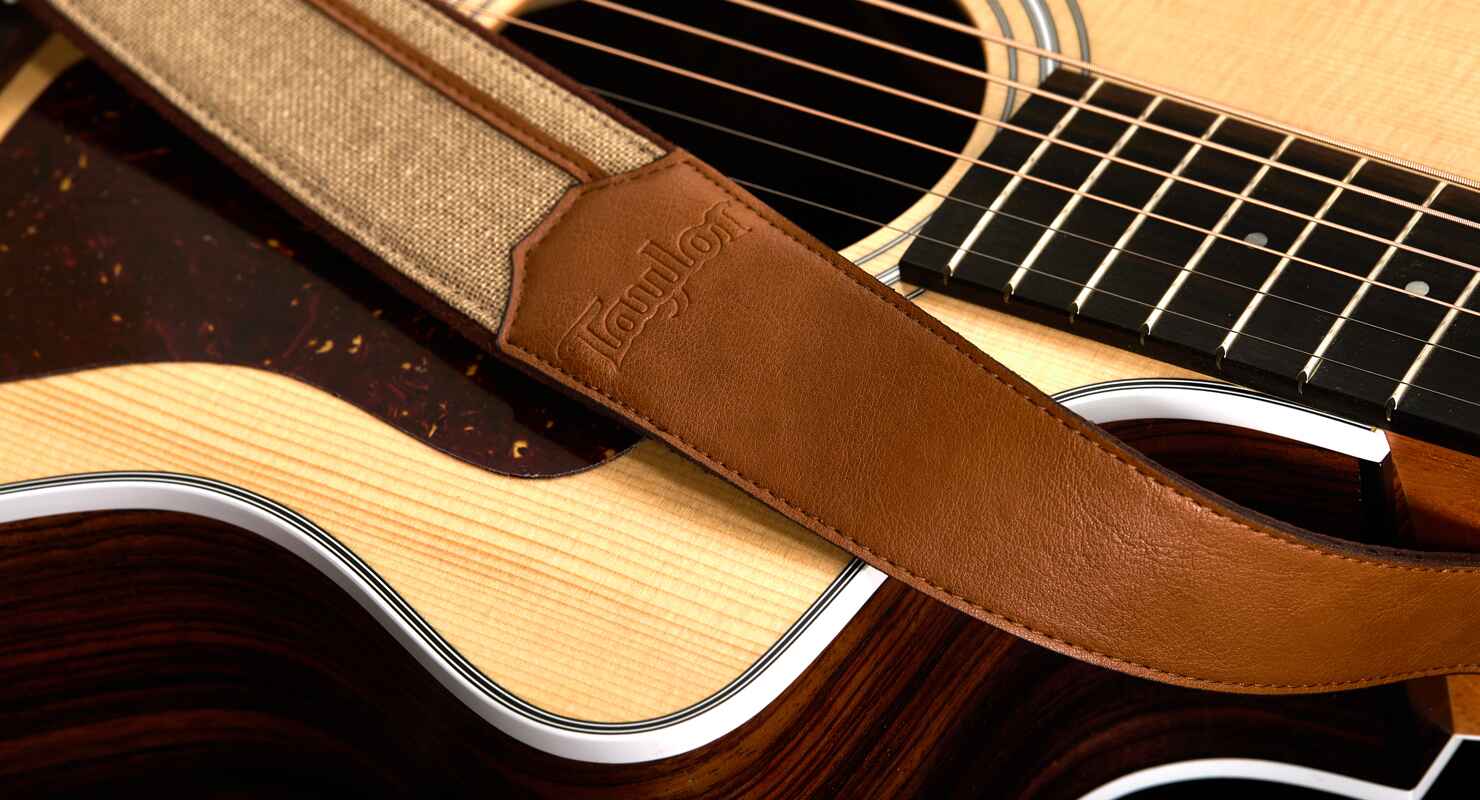
The most important item on the list is the guitar strap itself. Choose a high-quality strap that is comfortable to wear and matches your personal style. Look for straps made from durable materials such as leather or nylon. You can find a wide variety of guitar straps online or at your local music store.
If your acoustic guitar doesn’t have a strap button installed, you’ll need to purchase one. Strap buttons are small metal or plastic pieces that attach to the guitar’s body, providing a secure anchor point for the strap. Make sure to choose a strap button that is compatible with your guitar and matches the existing hardware.
In some cases, you may need additional tools such as a Phillips screwdriver or a drill to install the strap button. Check your guitar’s specifications and determine if any additional equipment is required. It’s always a good idea to have masking tape on hand to protect the guitar’s finish when drilling.
Now that you have all the necessary tools and materials, you’re ready to move on to the next step: choosing the right strap for your guitar.
Step 1: Choosing the Right Strap
When it comes to choosing a strap for your acoustic guitar, there are a few factors to consider. The strap you choose should not only be comfortable but also match your personal style and preferences. Follow these steps to ensure you select the right strap:
- Comfort: Look for a strap that is padded and adjustable. This will help distribute the weight of the guitar evenly across your shoulder, reducing fatigue during long playing sessions. Additionally, choose a strap with a width that feels comfortable for you. Some people prefer wider straps for better support, while others find narrower straps more appealing.
- Style: Consider your personal style and the aesthetic you want to achieve with your guitar. Guitar straps come in a wide range of designs, colors, and patterns, allowing you to find one that suits your musical taste and individuality. Whether you prefer a classic leather strap, a vibrant pattern, or a simple solid color, there’s a strap out there that will perfectly complement your guitar and stage presence.
- Durability: It’s important to invest in a strap that is well-made and durable. Look for straps that are made from high-quality materials and have sturdy hardware, such as metal buckles and reinforced stitching. This will ensure that your strap can withstand regular use and securely hold your guitar in place.
- Length: Check the length of the strap to ensure it’s suitable for your playing style and height. Some straps have adjustable lengths, while others come in standard sizes. You want to make sure the strap allows you to position the guitar at a comfortable playing height while maintaining stability. If possible, try on different straps or read customer reviews to get an idea of how the length will work for you.
Take your time to explore different options and find a strap that meets your needs. Remember, the right strap can enhance your playing experience by providing comfort, style, and security. Now that you’ve chosen the perfect strap, it’s time to move on to the next step: installing the strap button to your acoustic guitar.
Step 2: Installation of the Strap Button
If your acoustic guitar doesn’t already have a strap button installed, you’ll need to take a few extra steps to attach one. Follow these instructions to install a strap button on your guitar:
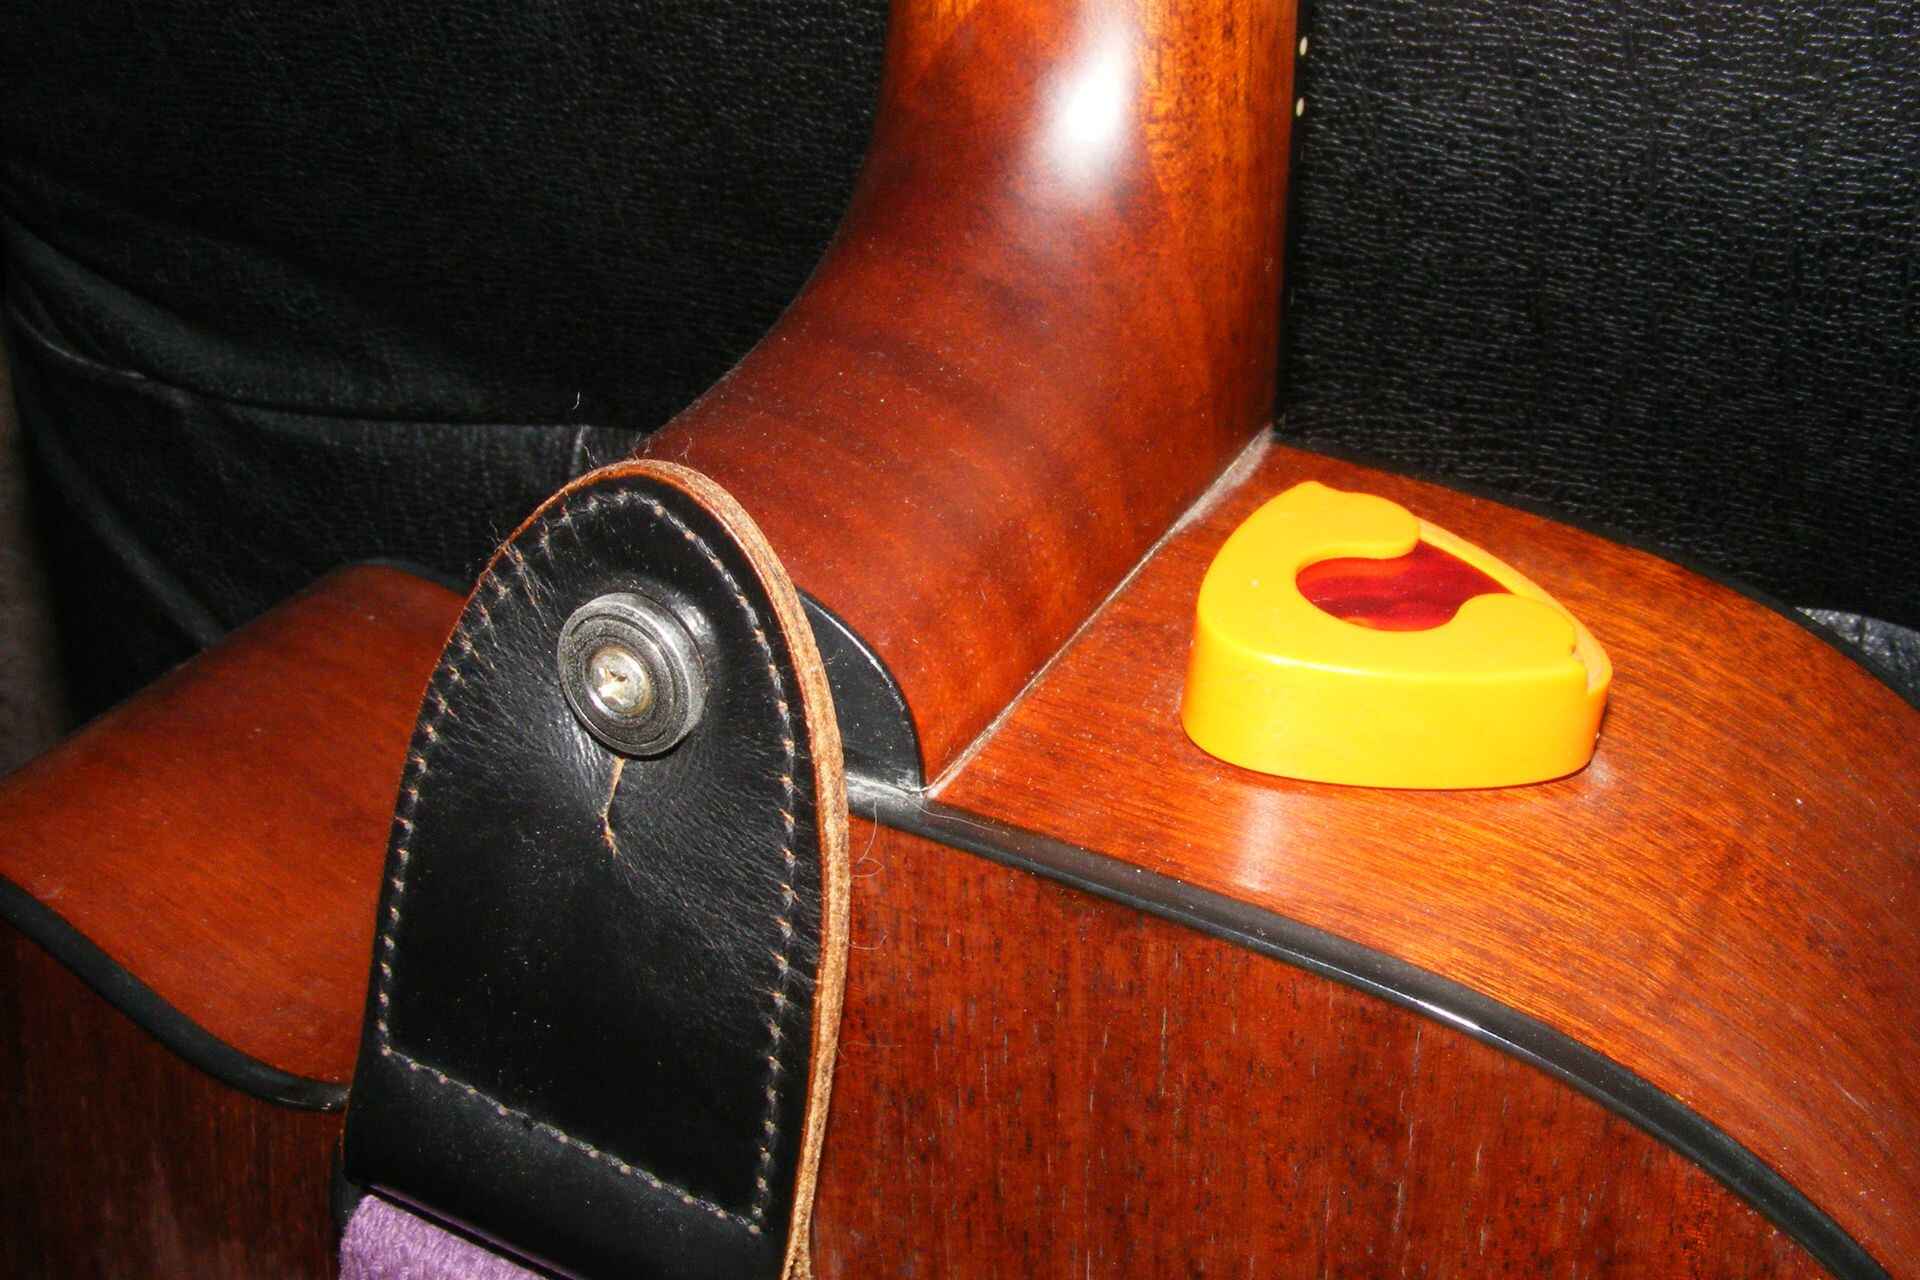
- Choose the location: Decide where on the guitar’s body you want to install the strap button. The most common placement is on the upper bout, near the neck, on the side opposite the existing strap button. This ensures a balanced weight distribution when the guitar is hanging from the strap.
- Mark the spot: Once you’ve chosen the location, use a marker or pencil to make a small dot on the spot where the strap button will go. Make sure to align it properly with the guitar’s body shape and avoid placing it too close to the edges.
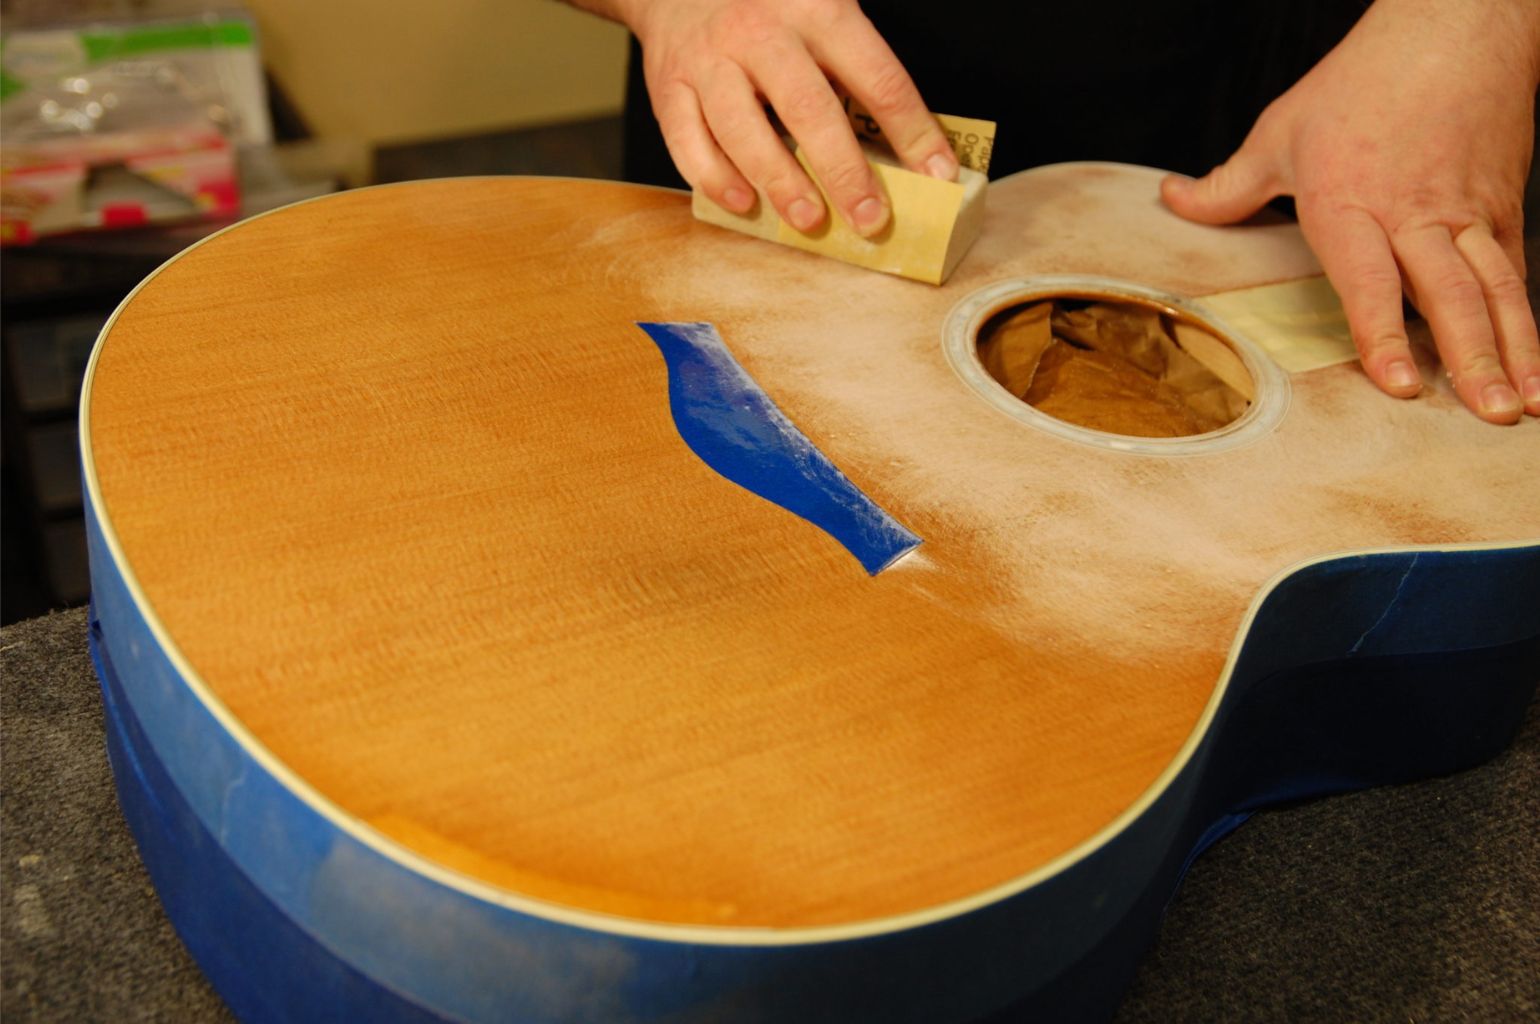
- Prepare for drilling (if necessary): If your guitar requires drilling to install the strap button, take the necessary precautions to protect the instrument. You can place a piece of masking tape over the marked spot to prevent the drill bit from slipping and scratching the guitar’s finish.
- Drill the hole: Use a drill with the appropriate bit size for your strap button. Start by making a pilot hole, then slowly drill deeper until the hole is deep enough to accommodate the strap button screw. Be careful not to apply too much pressure or drill too quickly, as this can damage the guitar’s body.
- Install the strap button: Insert the strap button into the newly drilled hole and screw it in securely. Use a Phillips screwdriver to tighten the screw, ensuring that the strap button is firmly attached to the guitar’s body. Test the stability by gently tugging on the button to make sure it is secure.
If you are uncertain about drilling into your guitar or installing the strap button yourself, it is recommended to seek the assistance of a professional guitar technician. They will have the expertise and tools needed to perform the installation safely and correctly.
Now that the strap button is securely in place, you’re ready to move on to the next step: attaching the strap to the button.
Step 3: Attaching the Strap to the Button
Now that you have successfully installed the strap button on your acoustic guitar, it’s time to attach the strap itself. Follow these steps to securely fasten the strap to the button:
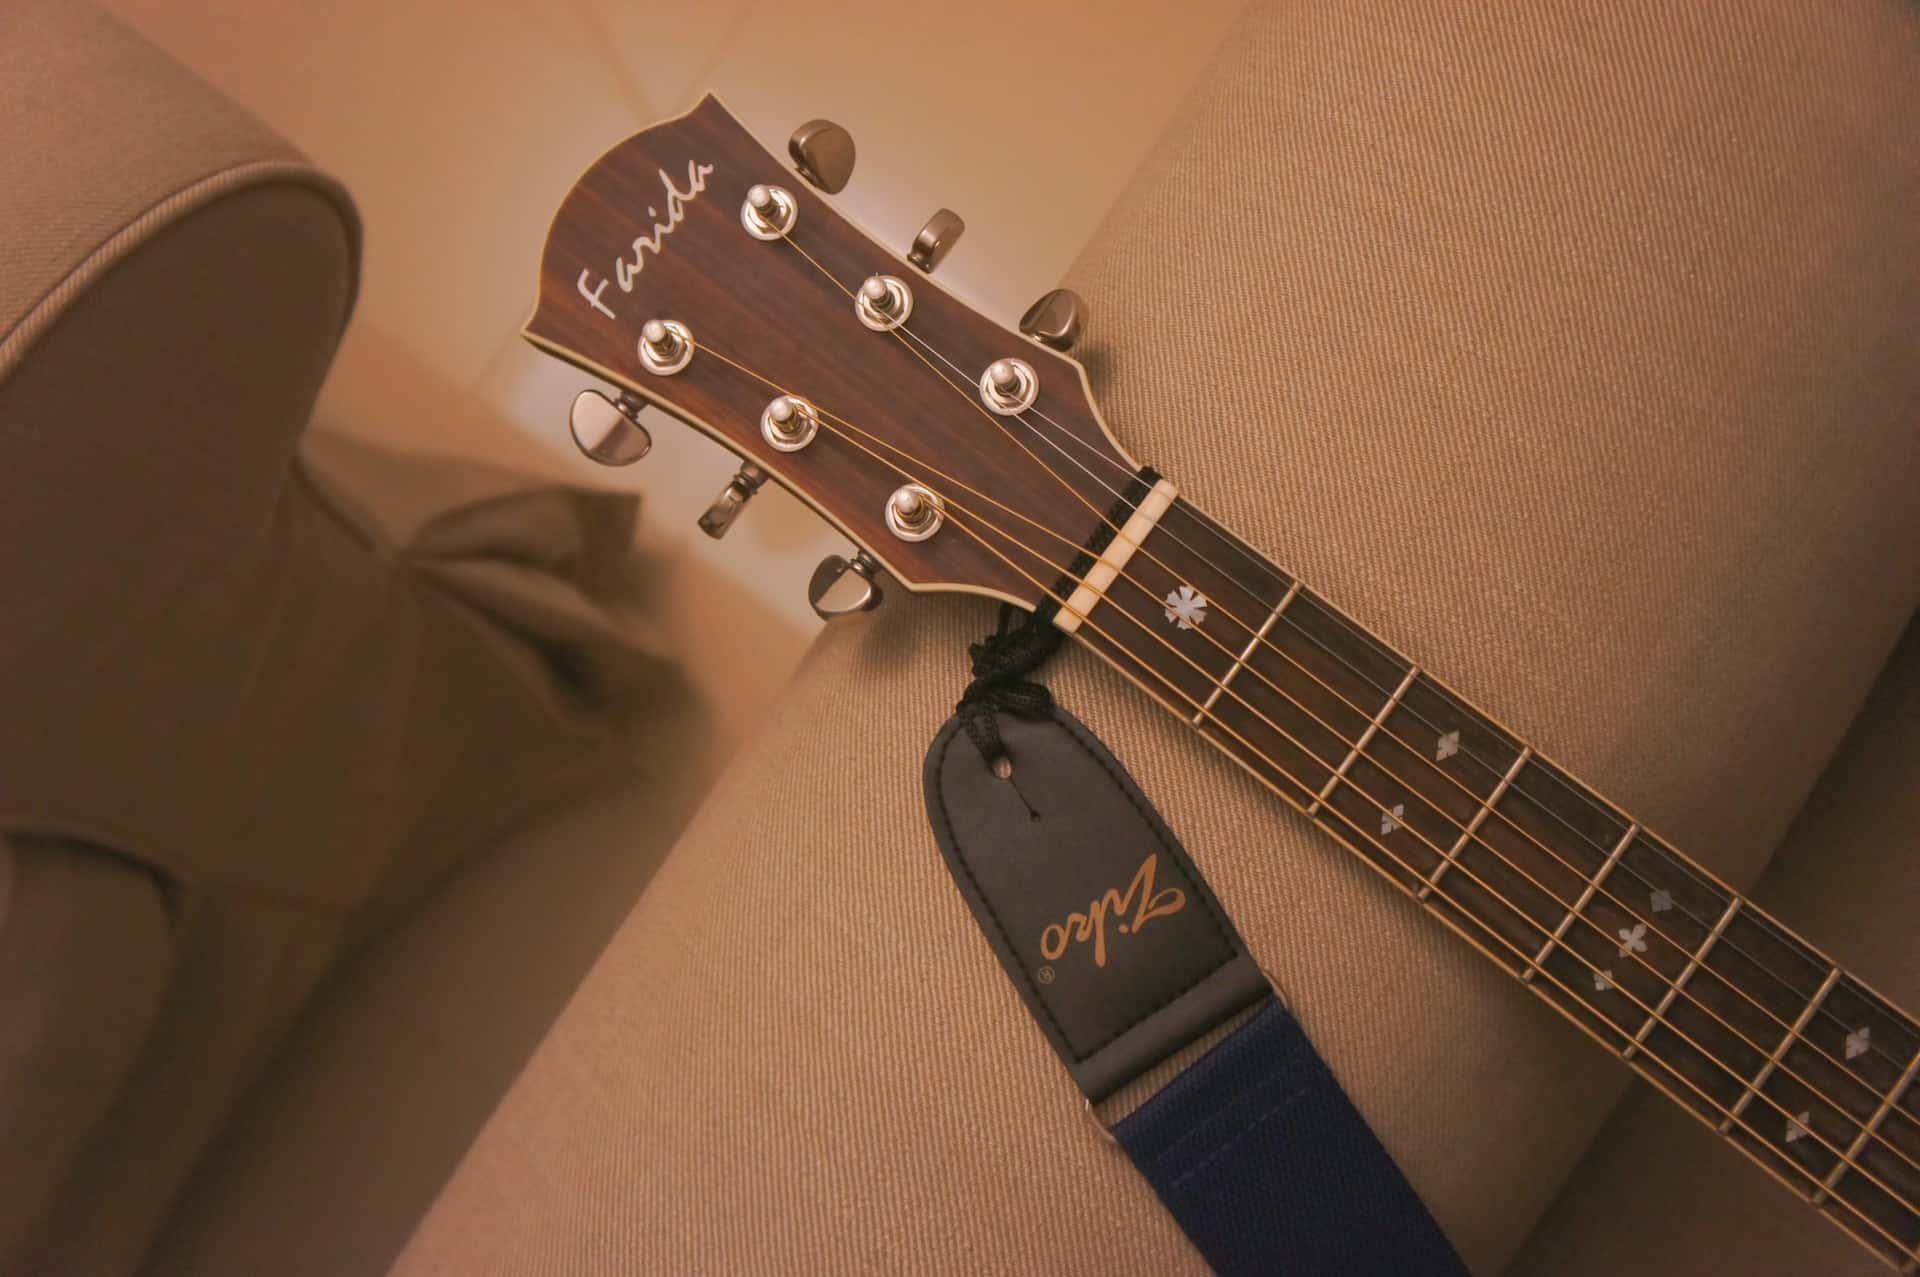
- Thread the strap through the button: Start by locating the end of the strap that has a hole or a slot. This is where the strap will attach to the strap button. Insert the end of the strap through the button’s opening, making sure it is threaded securely.
- Feed the strap through the hole: Once the end of the strap is threaded through the button, feed it back through the hole or slot in the strap to create a loop. This loop will provide a secure connection between the strap and the button.
- Pull the strap tight: Pull the strap tight to ensure that the loop is secure and won’t easily come undone. Test the strap by gently tugging on it to make sure it is securely attached to the strap button.
- Double-check the attachment: Take a moment to double-check that the strap is properly attached. Make sure there are no twists or tangles in the strap and that it is securely threaded through the button. This will prevent any accidental detachment while playing.
It’s important to note that some straps may have a different attachment mechanism, such as a clip or a buckle. In such cases, follow the manufacturer’s instructions for attaching the strap to the strap button.
Once you have successfully attached the strap to the button, give it a gentle tug to test its security. It should feel snug and hold the weight of the guitar without slipping or coming loose. If you experience any issues or the strap feels insecure, double-check the attachment or seek assistance from a professional guitar technician.
Now that the strap is securely attached, you can move on to the next step: adjusting the strap length to your preference.
Step 4: Adjusting the Strap Length
Adjusting the strap length is an essential step to ensure optimal comfort while playing your acoustic guitar. Follow these steps to adjust the strap to your desired length:
- Stand or sit in playing position: Put on the guitar and stand or sit in the position you usually play in. This will help you determine how high or low you want the guitar to hang when using the strap.
- Adjust the strap buckle or mechanism: Depending on the type of strap you have, there may be different methods for adjusting the length. Common adjustment mechanisms include buckles, sliders, or holes with strap pins. Refer to the instructions provided with your strap to understand how to make the necessary adjustments.
- Find the ideal strap length: Experiment with different lengths until you find the one that feels most comfortable and allows you to play with ease. Some guitarists prefer a higher position for better reach, while others prefer a lower position for a more relaxed playing posture. Adjust the strap until you find the ideal length that suits your playing style and body size.
- Double-check the strap attachment: Once you’ve adjusted the strap length, double-check that the attachment to the strap button is still secure. Ensure that the strap is threaded through the button properly and that there are no twists or tangles that could affect its stability.
Remember, the goal is to find a strap length that keeps the guitar at a comfortable and playable height, while also allowing you to maintain good posture. Take your time to experiment with different lengths until you find the one that works best for you.
Once you’ve adjusted the strap to your preferred length, test it by playing the guitar while holding it with the strap. Make sure it feels secure and doesn’t cause any discomfort or strain. If you experience any issues, readjust the strap or seek assistance from a professional if needed.
Now that the strap length is adjusted to your liking, it’s time to move on to the final step: testing the strap for security.
Step 5: Testing the Strap for Security
Once you have attached and adjusted the strap on your acoustic guitar, it’s crucial to test its security to ensure that it can handle the weight of the instrument and provide you with a worry-free playing experience. Follow these steps to test the strap’s security:
- Hold the guitar by the strap: With the strap attached and adjusted, hold the guitar by the strap and gently lift it off the ground. This will test the strap’s ability to support the weight of the guitar. Hold the guitar in different positions and angles to mimic your playing movements and ensure that the strap remains secure.
- Perform some light movements: While holding the guitar by the strap, perform some gentle movements such as walking or swaying side to side. Pay attention to how the guitar feels and if the strap stays securely attached. If you notice any signs of looseness or slippage, recheck the strap attachment and make necessary adjustments.
- Practice playing with the strap: Sit or stand in your usual playing position and play the guitar while using the strap. Move around and play different chords or melodies to fully test the strap’s security. Ensure that the guitar remains stable and doesn’t shift or sway uncomfortably.
- Listen for any unusual sounds or sensations: While playing, listen for any rattling or unusual sounds that may indicate a problem with the strap attachment. Pay attention to how the guitar feels against your body and if there are any uncomfortable pressure points caused by the strap.
If you experience any concerns or issues during the testing process, it’s essential to address them promptly. Double-check the strap attachment, adjust the length if necessary, or seek assistance from a qualified guitar technician to ensure the strap is secure and reliable.
By testing the strap for security, you can have peace of mind knowing that your guitar will stay in place and allow you to play comfortably and confidently.
Congratulations! You have successfully put a strap on your acoustic guitar with just one strap button. Now you’re ready to enjoy the freedom and convenience of playing with your guitar securely attached to you. Remember to always check the strap’s security before each playing session and make any adjustments as needed.
Conclusion
Putting a strap on an acoustic guitar with just one strap button may seem like a challenge, but with the right tools and technique, it’s a straightforward process. By following the steps outlined in this guide, you can securely attach and adjust a strap to your acoustic guitar, providing comfort and freedom of movement during your playing sessions.
Remember, choosing the right strap is essential. Consider factors such as comfort, style, durability, and length when selecting a strap that suits your preferences and guitar. Installing a strap button, if required, involves careful marking, drilling (if necessary), and securely attaching the button to the guitar’s body.
Attaching the strap to the button may vary depending on the strap’s design, but threading the strap through the button and creating a secure loop is typically the standard method. Adjusting the strap length to your desired playing position is crucial for comfort and proper posture, allowing you to play more effectively and without strain.
Testing the strap for security is a final step to ensure that it can handle the weight of the guitar and sustain the movements associated with playing. By performing gentle movements, testing the strap during playing, and listening for any unusual sounds or sensations, you can ensure a secure and stable strap attachment.
With these steps, you can confidently put a strap on your acoustic guitar with just one strap button, enabling you to play with ease and comfort in any setting. Now, it’s time to enjoy the freedom and versatility that a guitar strap provides and explore new musical horizons!