Introduction
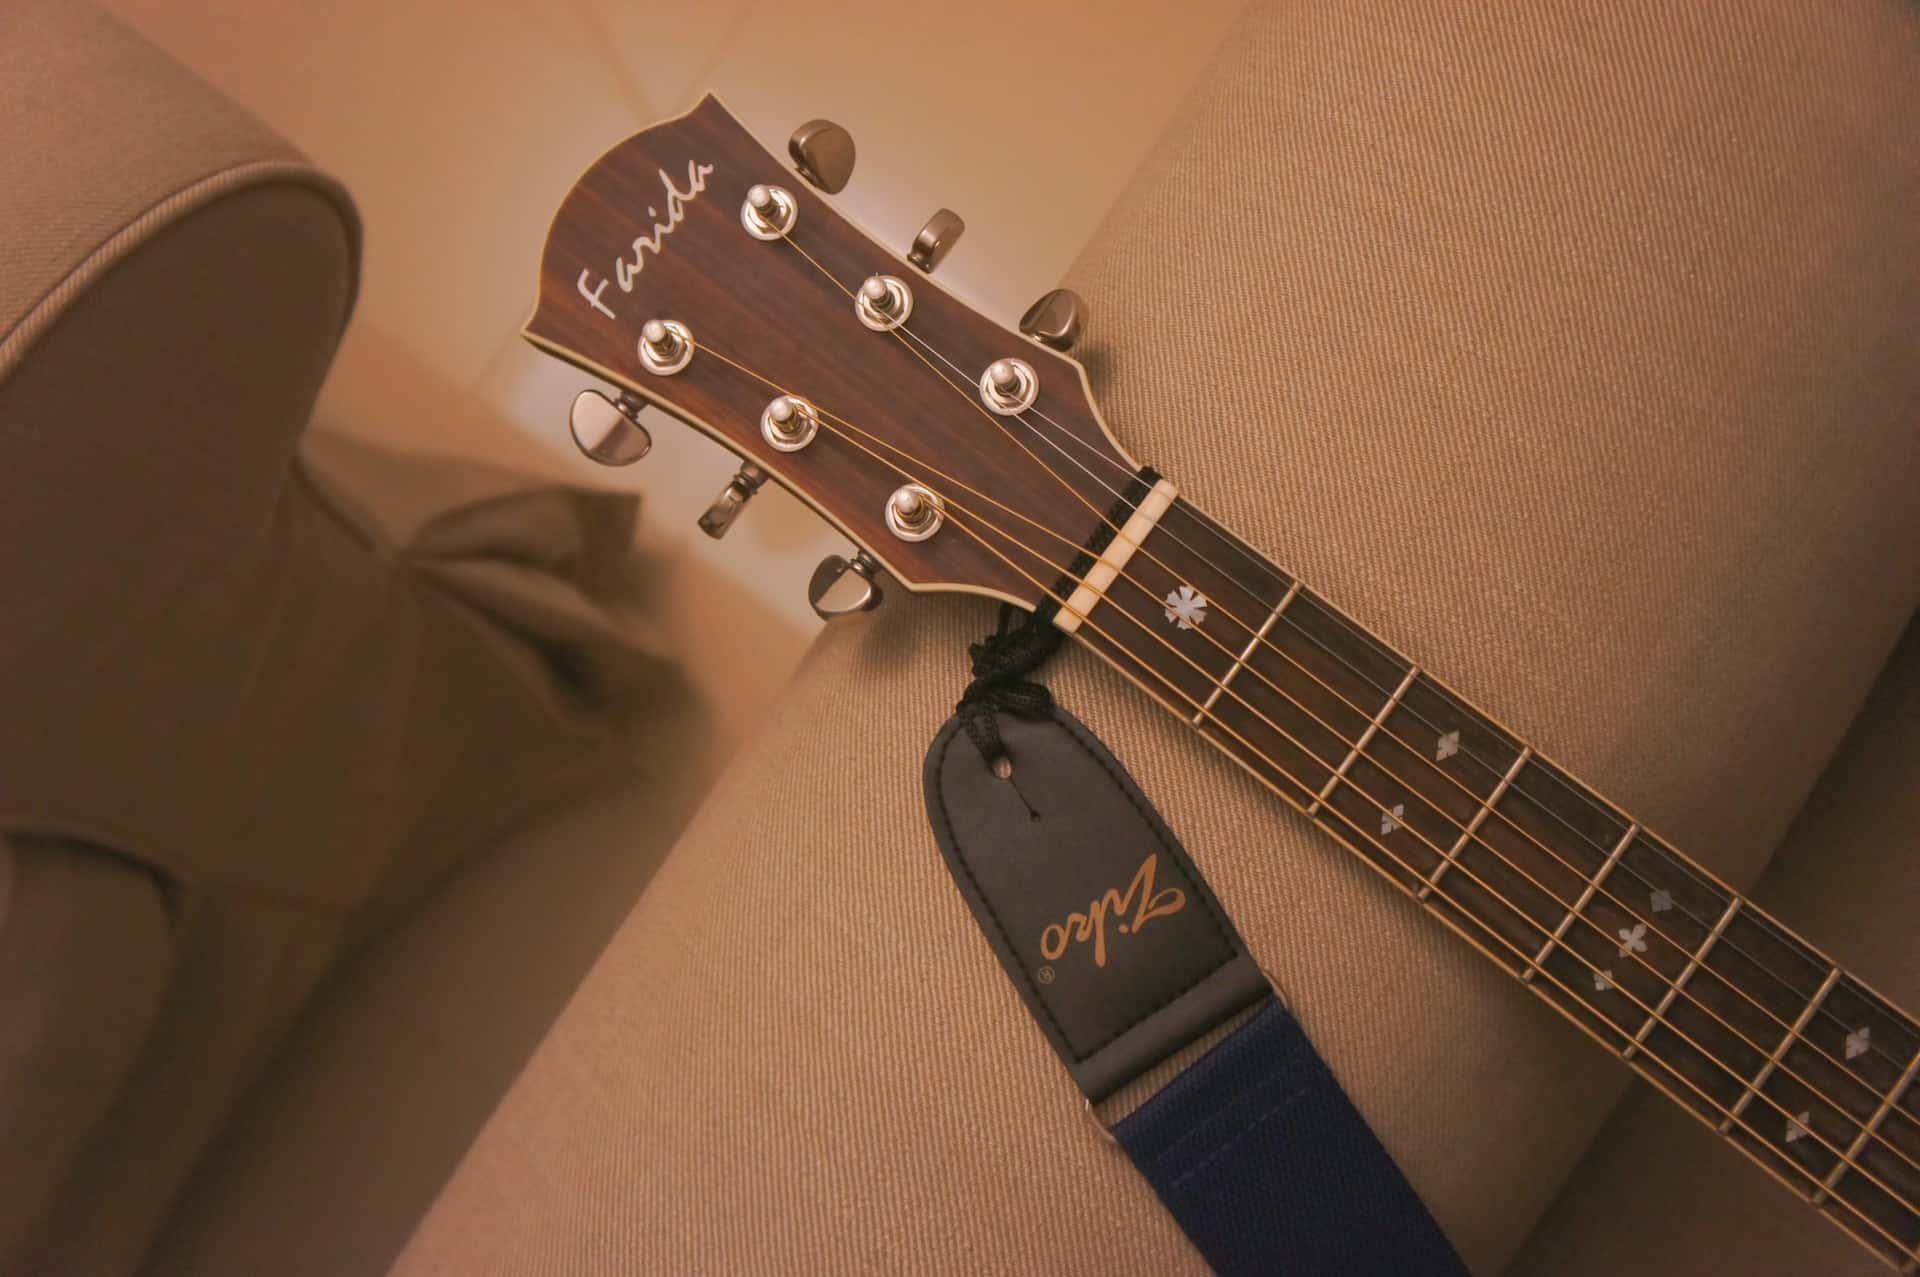
Putting on an acoustic guitar strap is a crucial step for any guitarist who wants to play while standing or moving around on stage. A guitar strap not only holds your guitar securely but also allows you to find a comfortable playing position. Whether you’re a beginner or an experienced musician, knowing how to properly attach and adjust your guitar strap is essential.
In this article, we will guide you through the step-by-step process of putting on an acoustic guitar strap. From gathering the necessary materials to adjusting the length and testing the positioning, we’ve got you covered. So, let’s dive in and get your guitar ready for a comfortable and secure playing experience!
To follow along with this tutorial, you will need a few basic materials. Firstly, you will need your acoustic guitar. Make sure it’s in proper playing condition with all the necessary strings. Secondly, you will need a guitar strap. You can choose from a wide variety of straps available in different designs, materials, and widths. Select one that suits your personal style and preferences.
Additionally, you may need a screwdriver and some strap locks if your guitar doesn’t have built-in strap buttons. Strap locks can provide extra security and prevent accidental slipping of the strap. Once you’ve gathered all the required materials, you’re ready to move on to the next step – attaching the strap button!
Step 1: Gather your materials
Before you start putting on your acoustic guitar strap, it’s important to gather all the necessary materials. Here’s what you’ll need:
1. Acoustic guitar: Ensure that your guitar is in good condition with properly attached strings. It’s essential to have your guitar ready for playing.
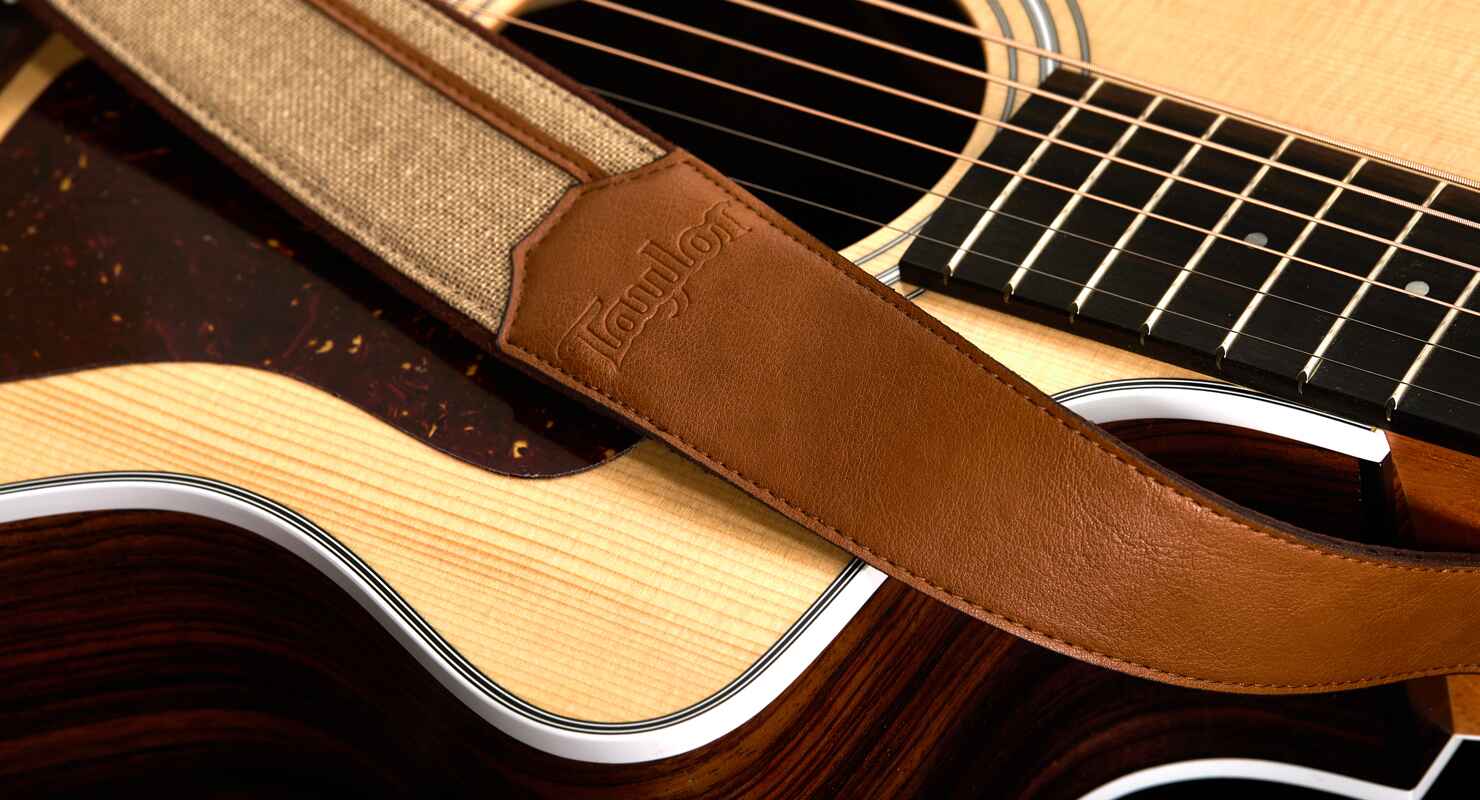
2. Guitar strap: Choose a strap that suits your style and preferences. There are various types of straps available, such as leather, nylon, or fabric. Consider factors like comfort, durability, and design when selecting your strap.
3. Strap buttons or strap locks (optional): If your guitar doesn’t already have built-in strap buttons, you might need to install them. Strap buttons provide a secure attachment point for the strap. Alternatively, you can use strap locks, which are designed to prevent the strap from accidentally detaching from the guitar. These can be a worthwhile investment for added security.
4. Screwdriver (if required): If you’re installing strap buttons, you’ll need a screwdriver to attach them securely to your guitar. Make sure to use the appropriate size and type of screwdriver for the screws provided with your strap buttons.
Once you have gathered all the necessary materials, ensure that you have a comfortable and well-lit workspace to work in. Having everything ready beforehand will make the process smoother and more convenient.
In the next steps, we’ll guide you through attaching the strap button to your guitar and securing the strap for comfortable playing. Let’s dive into the exciting process of putting on your acoustic guitar strap!
Step 2: Attach the strap button
To securely attach your guitar strap, you’ll need to install a strap button on your acoustic guitar. Here’s how you can do it:
1. Identify the location: Choose the desired location on your guitar where you want to attach the strap button. It is usually located just below the neck joint or on the upper side of the guitar’s body. This position will provide balance and stability while playing.
2. Prepare the area: Before attaching the strap button, ensure that the surface is clean and free from any dust or debris. Wipe the area with a soft cloth to remove any dirt or oils that may affect the adherence.
3. Align the button: Place the strap button on the chosen location and align it properly. Make sure it is parallel to the guitar’s body and centered on the surface.
4. Screw it in: Using a screwdriver, carefully insert the screw into the pre-drilled hole on the strap button. Gently apply pressure and start turning the screw clockwise until it is securely fastened to the guitar. Avoid over-tightening to prevent any damage to the guitar’s body.
5. Confirm the attachment: Once the strap button is attached, give it a gentle tug to ensure it holds the weight of the guitar. A secure attachment will prevent any accidental slippage of the strap while playing.
If your guitar already has a built-in strap button at the bottom, you only need to attach the strap to that button. However, if your guitar doesn’t have a strap button at the top, you can use a headstock strap holder or tie the strap around the headstock if it provides a secure fit.
Attaching the strap button is an important step to ensure the stability of your guitar strap. Once the strap button is securely in place, you can move on to the next step – attaching the other end of the strap.
Step 3: Attach the other end of the strap
Now that you have securely attached the strap button to your acoustic guitar, it’s time to attach the other end of the strap. This will complete the connection and allow you to comfortably wear your guitar. Here’s how you can do it:
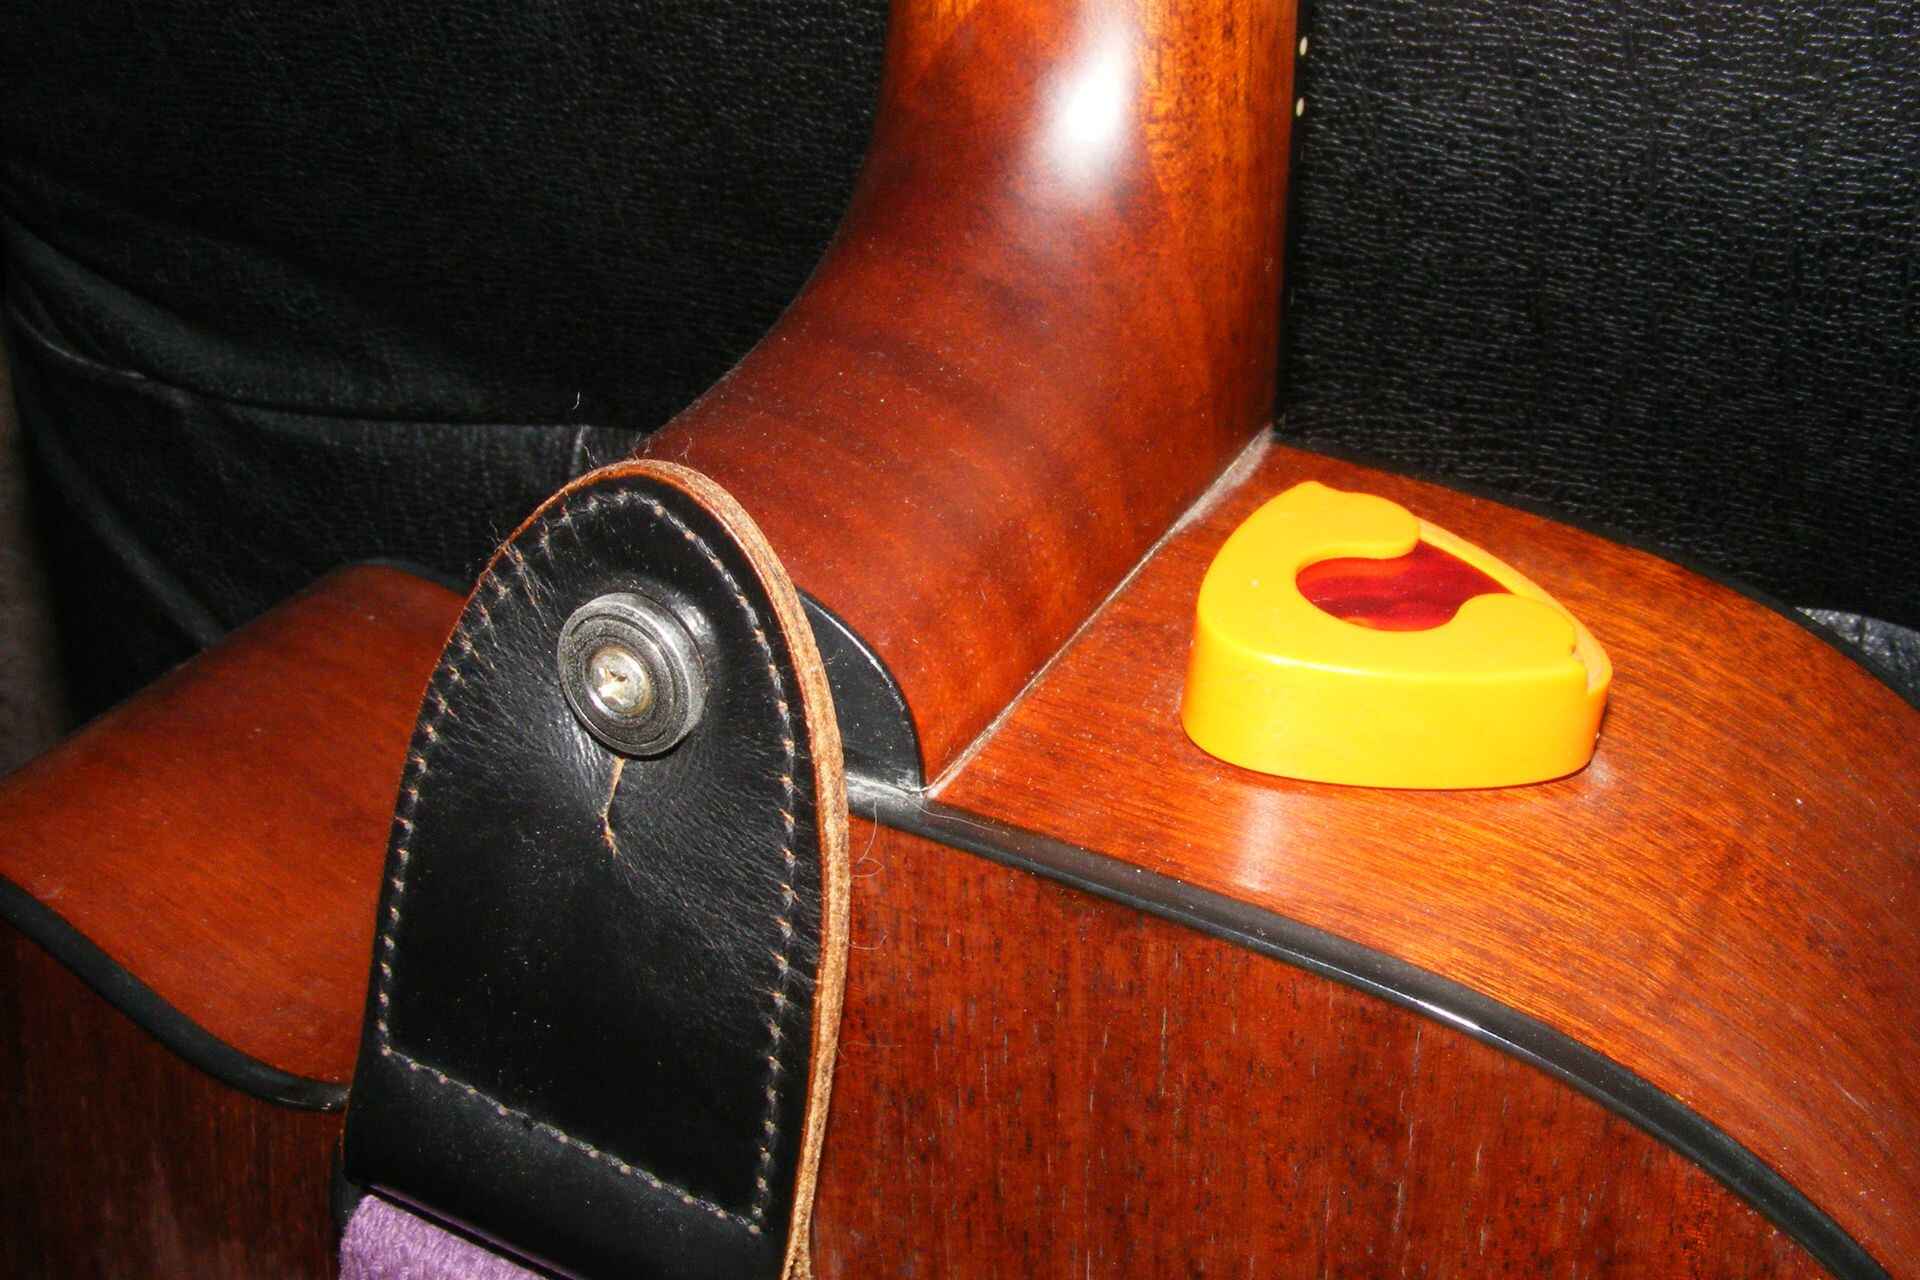
1. Locate the other end: Identify the end of the strap that does not have a built-in attachment mechanism. This end is typically equipped with a loop, hook, or other means of securing it to the second strap button or headstock strap holder.
2. Thread the end through the attachment point: If your guitar has a second strap button at the bottom, simply thread the end of the strap through it. Ensure that the strap is aligned properly and insert it into the hole or slot of the button.
3. Secure the strap: Pull the strap end firmly to ensure a tight fit. Make sure it is securely fastened to prevent any slippage during play. Give it a gentle tug to confirm that it is securely attached.
4. Alternative attachment method: If your guitar doesn’t have a second strap button, you can use a headstock strap holder or tie the strap securely around the headstock. Take the strap end and loop it around the headstock, pulling it tightly. Then, tie a secure knot or use a suitable fastening mechanism to hold it in place.
Make sure the strap is not too loose or too tight when attached to the guitar. It should provide a comfortable and secure fit while allowing freedom of movement. Adjust the length if necessary to find the optimal position for your playing style.
By attaching the other end of the strap, you have completed the connection and can proceed to the next step – adjusting the length of the strap.
Step 4: Adjust the length of the strap
Adjusting the length of your guitar strap is crucial to finding a comfortable playing position and ensuring optimal control over your instrument. Here’s how you can adjust the length of the strap:
1. Determine your preferred playing height: While standing or sitting, hold your guitar in the desired position. Adjust the strap length to achieve a comfortable playing height. This position will vary depending on your stature, playing style, and personal preference. Experiment with different lengths until you find the one that feels right for you.
2. Locate the adjustment mechanism: Most guitar straps come with an adjustable buckle or slider mechanism near one end. This allows you to easily lengthen or shorten the strap to your desired length.
3. Slide or buckle adjustment: If your strap has a slider mechanism, simply slide it up or down to lengthen or shorten the strap. If it has a buckle, release it and adjust the length accordingly. Once you’ve reached your desired length, secure the buckle.
4. Test the length: Put on the guitar strap and test the length by assuming your preferred playing position. Your guitar should rest comfortably against your body, with the fretboard and strings easily accessible. Ensure that the strap keeps the guitar securely in place but doesn’t restrict your movement or cause discomfort.
Remember, the length adjustment is not set in stone. You can always fine-tune it later if needed. It’s essential to find the balance between comfort, stability, and ease of playing. Take your time to experiment and make any necessary adjustments until you find the sweet spot.
Pro Tip: If you tend to switch between standing and sitting while playing, consider using a strap with a quick-release mechanism. This allows you to easily adjust the length on the go without having to detach and reattach the strap.
Once you’re satisfied with the length of your guitar strap, it’s time to move on to the next step – testing the positioning and comfort.
Step 5: Test the positioning and comfort
After adjusting the length of your guitar strap, it’s important to test the positioning and comfort to ensure an optimal playing experience. Here’s what you need to do:
1. Assume your playing position: Stand or sit in your preferred playing position with the guitar strapped on. Find a comfortable posture and hold the guitar in the position you typically play.
2. Check the guitar placement: Take a moment to observe the positioning of the guitar on your body. It should be balanced and secure, with the neck slightly tilted upward for easy access to the fretboard.
3. Adjust the strap if needed: If you feel the guitar is too high or too low, make minor adjustments to the strap length. Remember, the goal is to find a position that allows you to comfortably reach all the frets and strumming area without straining your arms or back.
4. Test your playing movements: Play a few chords or scales and determine if the strap placement allows for smooth and effortless playing. Pay attention to any discomfort or strain in your arms, shoulders, or back, as well as any limitations in your range of motion.
5. Make additional adjustments if necessary: If you encounter any issues with positioning or comfort, go back to Step 4 and fine-tune the strap length. Minor adjustments can make a significant difference in your playing experience.
Remember, every guitarist has unique preferences and playing styles, so it’s essential to find the positioning and comfort that works best for you. Don’t be afraid to experiment and make adjustments until you find the perfect balance.
If you’re still having trouble finding the optimal positioning or experiencing discomfort, consider consulting with a guitar instructor or an experienced guitarist. They can offer valuable advice and insights based on their own experiences.
Once you’re satisfied with the positioning and comfort of your guitar strap, proceed to the final step – making any additional adjustments and considerations.
Step 6: Final adjustments and considerations
As you near the end of the process of putting on your acoustic guitar strap, there are a few final adjustments and considerations to keep in mind:
1. Strap length recheck: After testing the positioning and comfort of your guitar strap, double-check the length to ensure it hasn’t shifted or loosened. Make any necessary adjustments to maintain the desired playing height.
2. Strap locks (if applicable): If you’re using strap locks, ensure that they are securely fastened to prevent accidental detachments. Give the strap a gentle tug to confirm that it remains firmly attached to the guitar at both ends.
3. Strap maintenance: Regularly inspect your guitar strap for any signs of wear and tear. Replace the strap if it becomes frayed or damaged to prevent any accidents during performances or practice sessions. Keep your strap clean and free from dirt or sweat to prolong its lifespan.
4. Personalize your strap: Consider adding personal touches to your guitar strap to make it unique and reflect your style. You can add decorative elements, embroidery, or even customize it with your name or favorite symbols.
5. Practice with the strap: Get accustomed to playing with the strap by practicing in various positions and movements. This will help you develop a comfortable playing style and build confidence while performing on stage or in any other setting.
Remember, attaching and adjusting your guitar strap is a personal process. It may take time to find the perfect fit and positioning that suits your playing style and body structure. Be patient and willing to make modifications as needed.
By following these steps and considering these final adjustments, you will be well-prepared to securely and comfortably wear your guitar strap. So, grab your guitar, put on your strap, and get ready to rock!
Conclusion
Putting on an acoustic guitar strap is a necessary skill for any guitarist looking to play while standing or moving around on stage. By following the step-by-step process outlined in this article, you can attach and adjust your strap with ease and precision.
Remember to gather all the necessary materials, including your acoustic guitar and a suitable guitar strap. Ensure that you have a secure attachment by installing a strap button or using strap locks if needed. Then, attach the other end of the strap to the second strap button or headstock strap holder.
Adjust the length of the strap to find a comfortable playing position. Test the positioning and comfort by assuming your preferred playing posture and making minor adjustments if needed. Once you’re satisfied, make any final adjustments and consider caring for your strap.
Putting on an acoustic guitar strap is not just a functional task; it allows you to express your personal style and enhance your stage presence. Take the opportunity to personalize your strap and make it uniquely yours.
Now that you’ve learned how to put on an acoustic guitar strap, it’s time to practice and incorporate it into your playing routine. Get comfortable with playing while wearing the strap, experiment with different positions, and enjoy the newfound freedom and mobility it offers.
Remember, the process of putting on a guitar strap may vary slightly depending on your guitar’s design and your personal preferences. Adapt and modify the steps as necessary to suit your specific instrument and playing style.
With your guitar securely strapped on, you’re ready to rock the stage, jam with friends, or simply enjoy playing while standing. Embrace the experience, let the music flow, and showcase your talent with confidence!